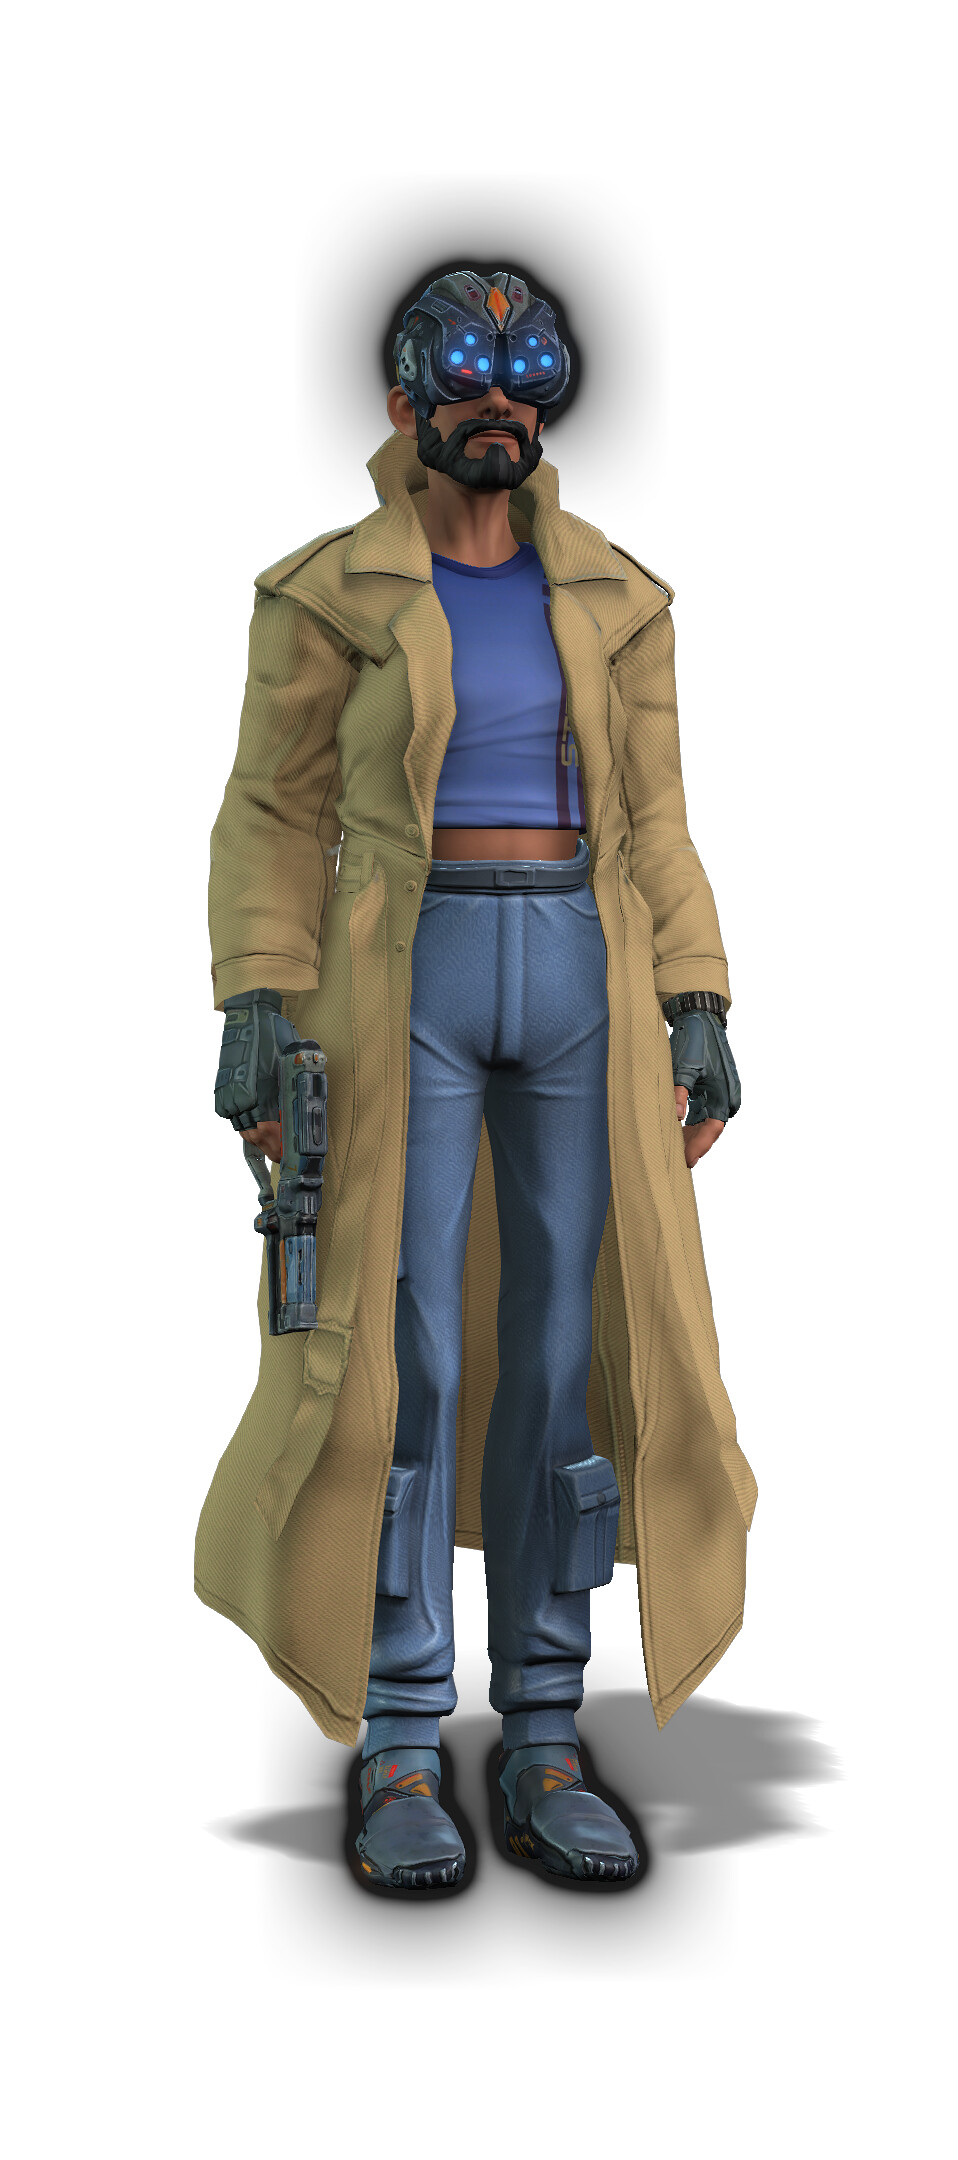
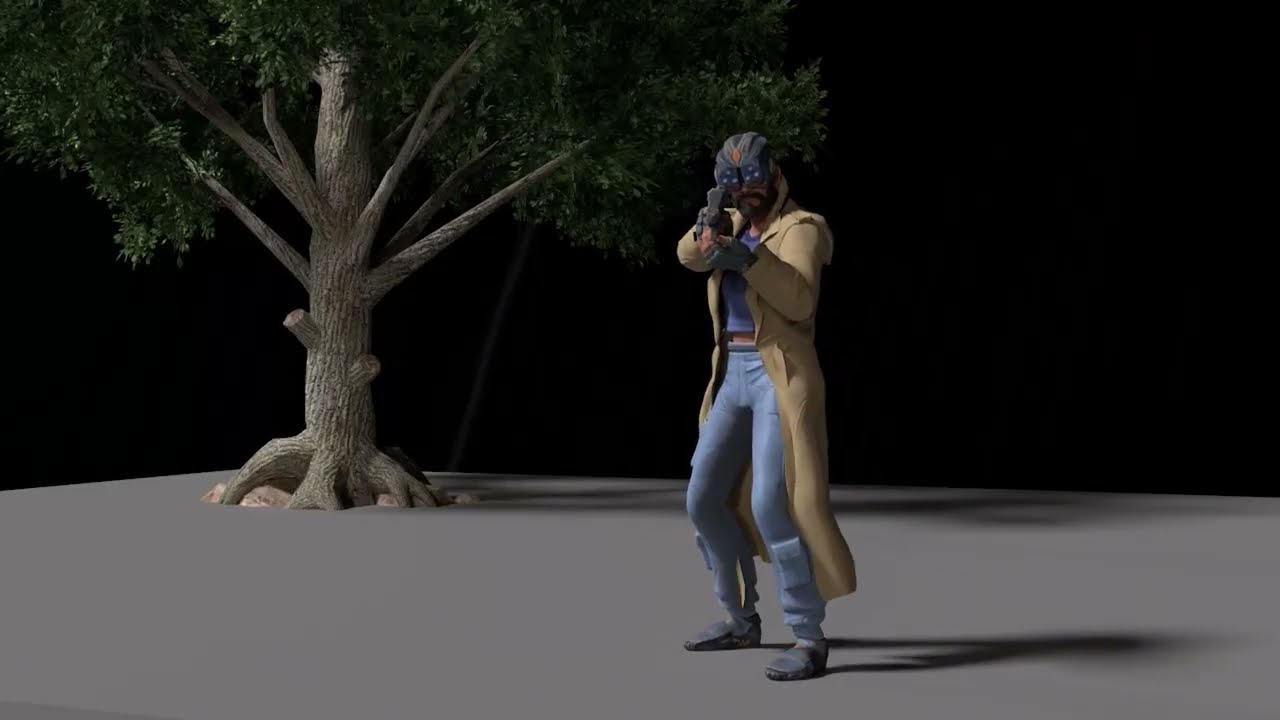
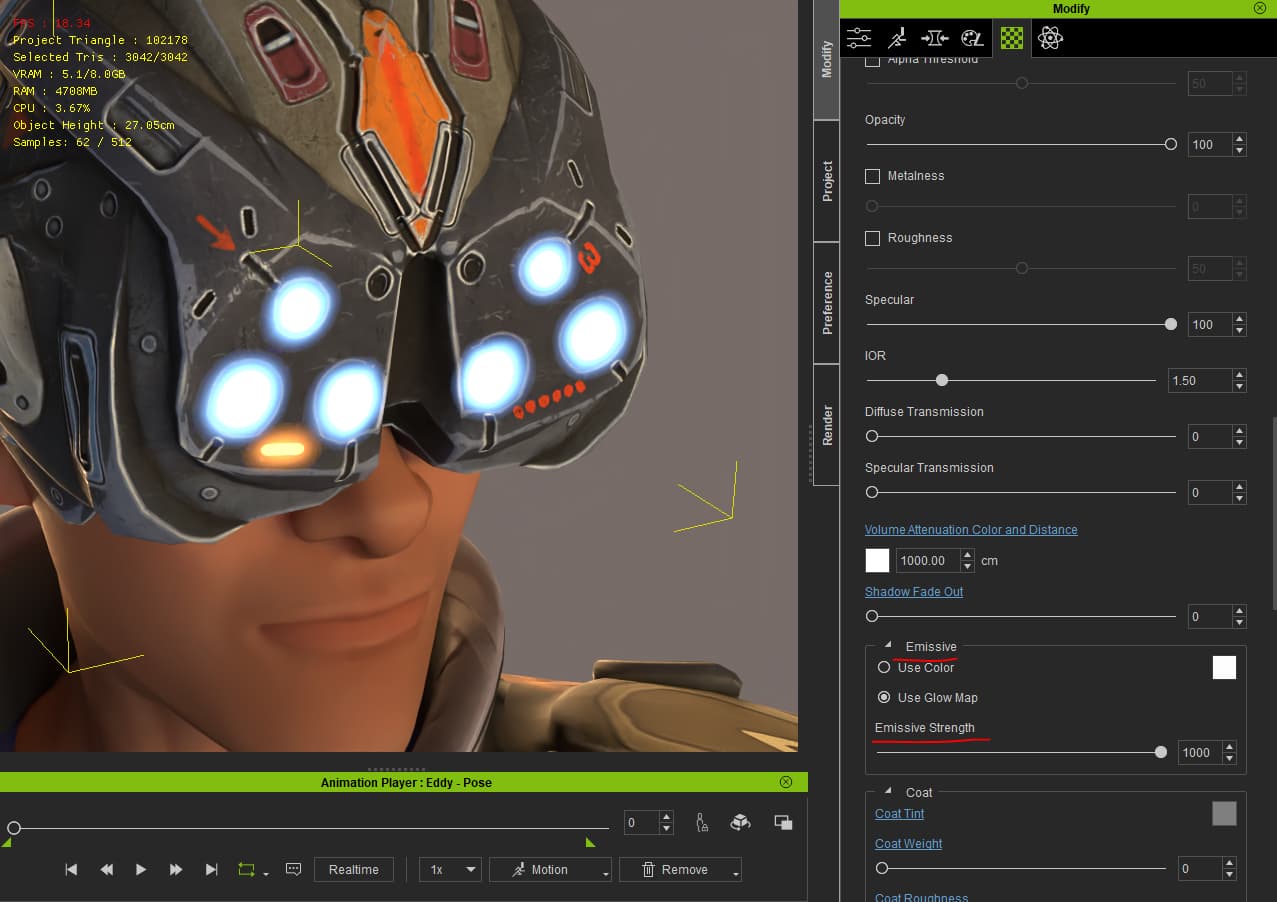
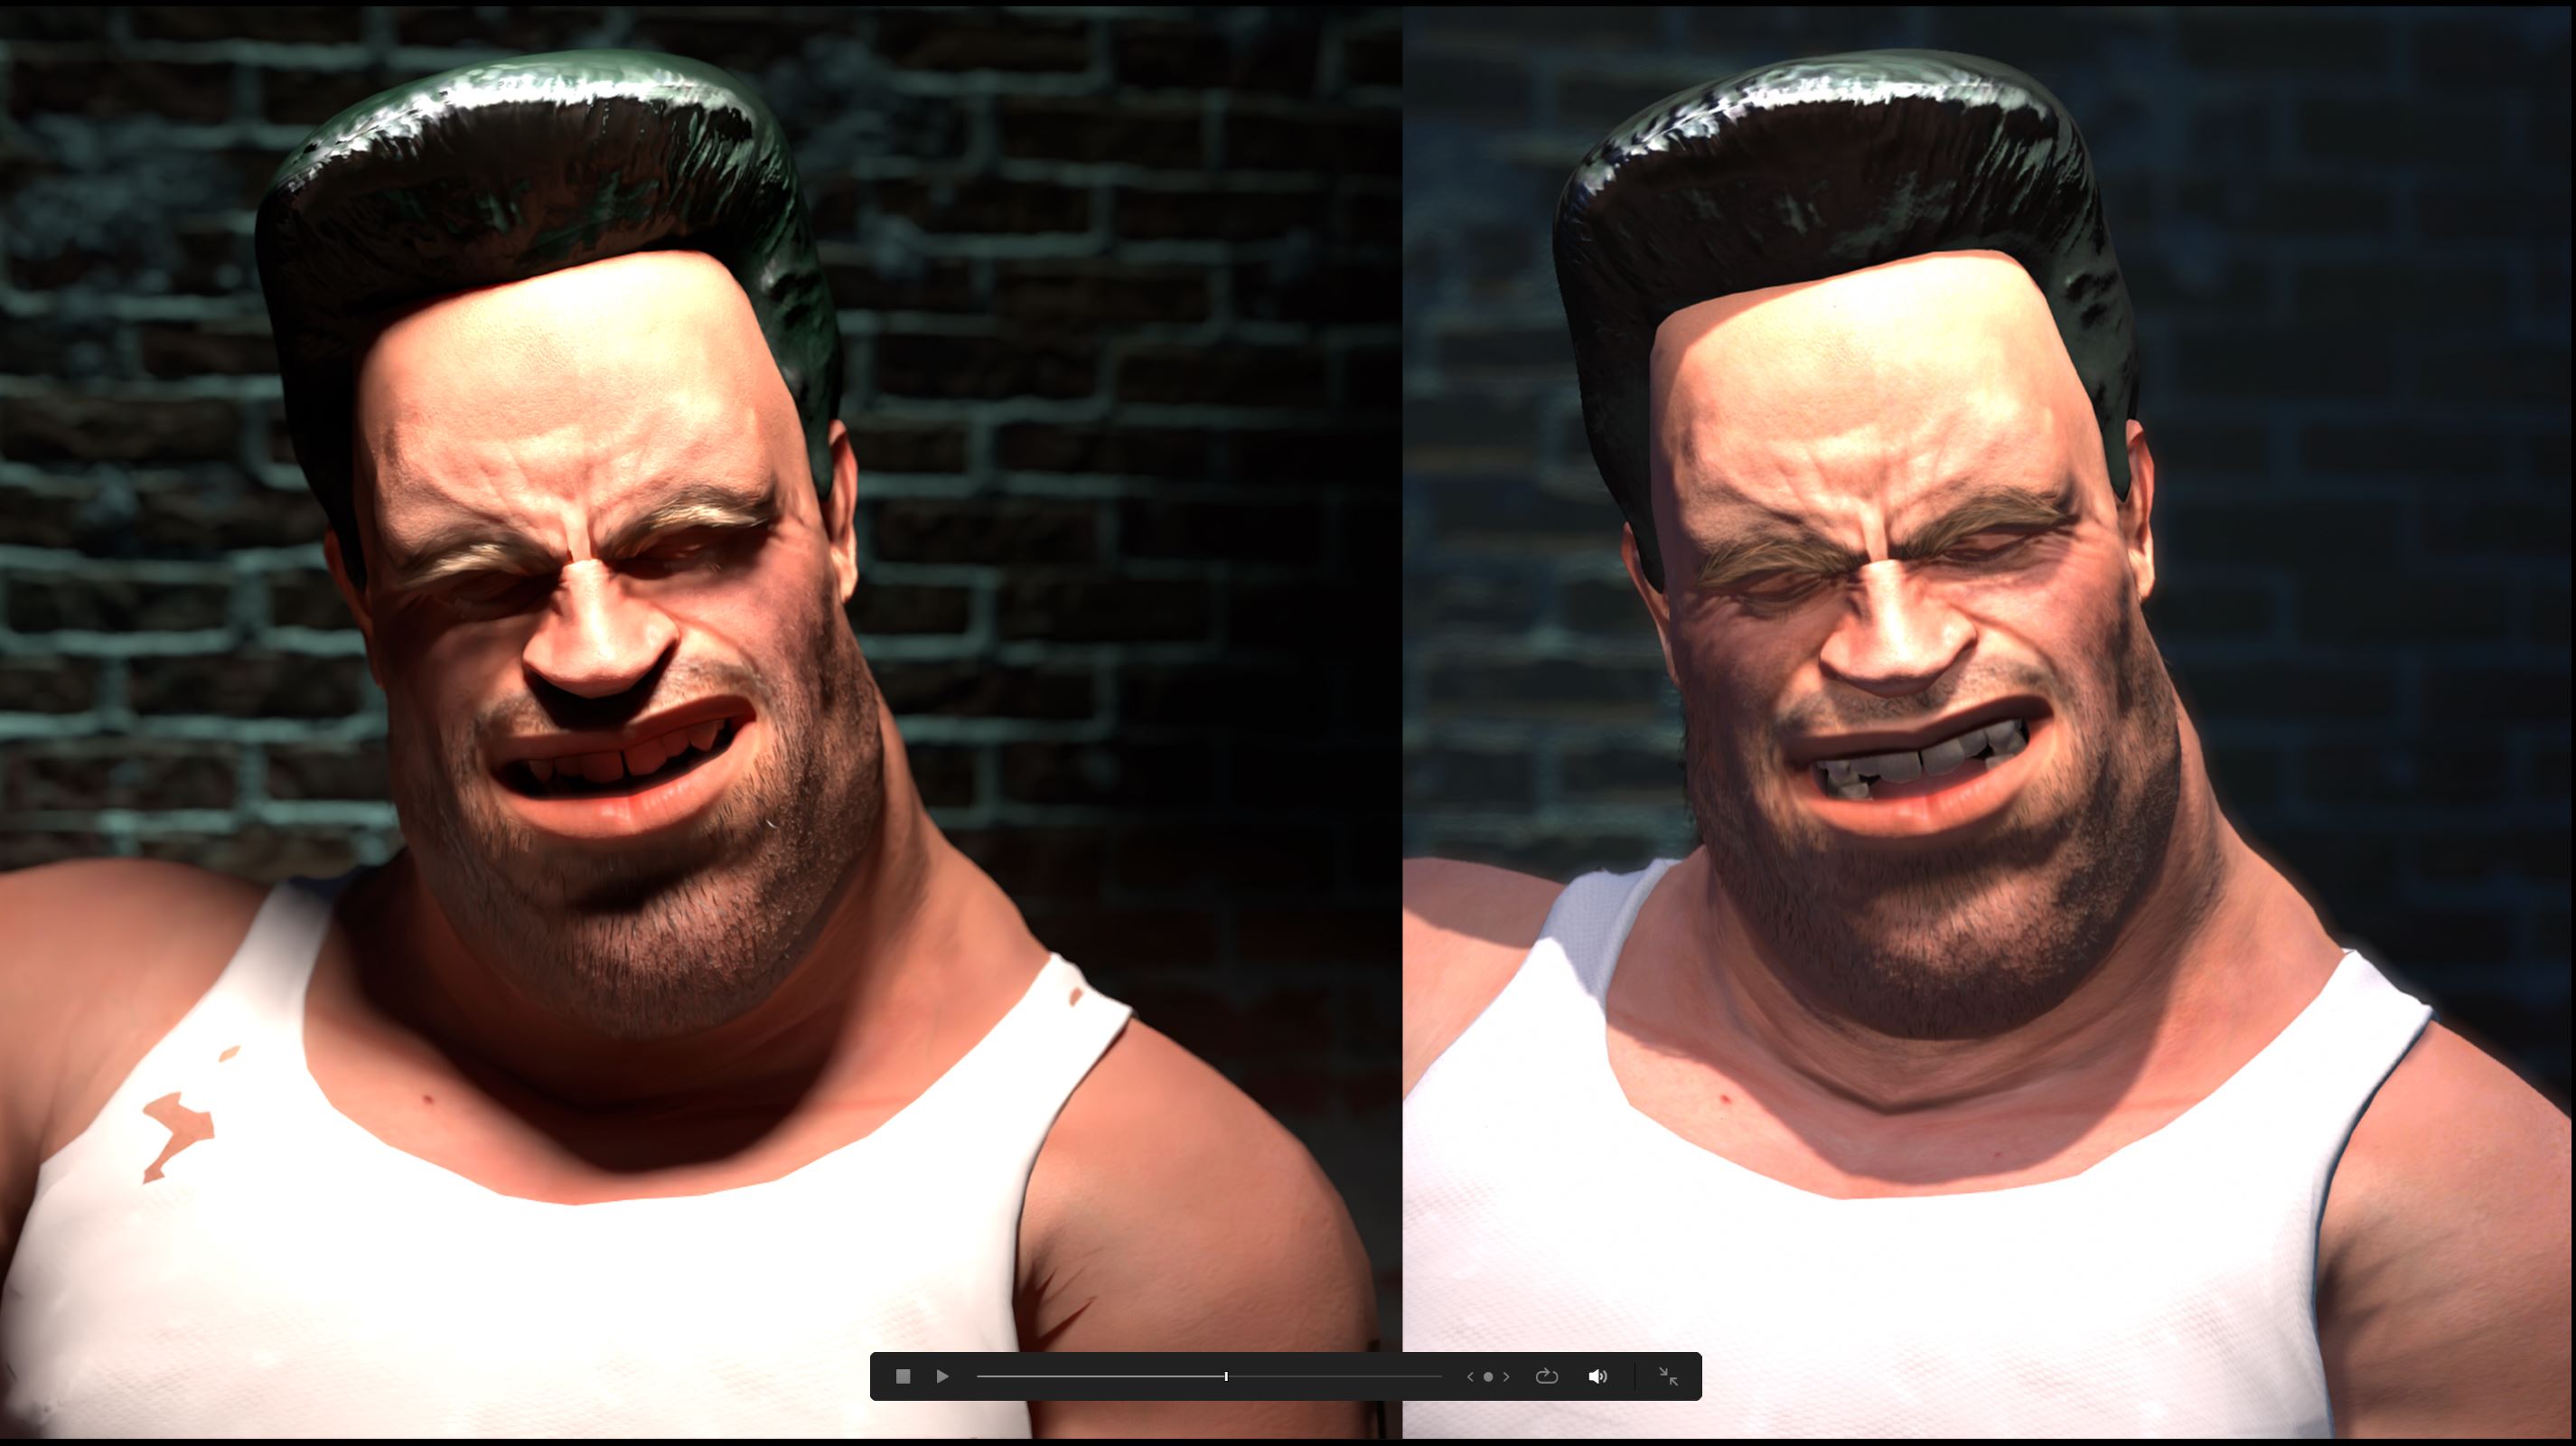
Want RTX-quality results without touching a single slider? This post covers the ready-to-use content library that ships with the beta: 55 RTX materials across clearcoat, transmissive, SSS, and fabric categories, 18 studio-style light presets, and demo projects you can apply and render right away, then open up to see how they’re built.
New here? Start with
RTX Render Open Beta (1): Overview & Getting Started
RTX Render Open Beta (2): Render Settings, Lights, Camera & Sky
This post covers:
- Part 1: How to install?
- Part 2: Material Library: 55 RTX materials in 4 categories
- Part 3: Light Room Presets: 18 studio-style setups
- Part 4: Demo Projects
- Part 5: How to use this library to learn fast
The RTX open beta ships with a content library built specifically to show off what path tracing does best. Apply a material, drop in a light preset, or open a demo project, then reverse-engineer the settings to learn how they’re made.
Part 1: How to install?
- Download the Content ZIP package.
- Extract the ZIP file.
- Copy the extracted content into your Reallusion Custom folder.
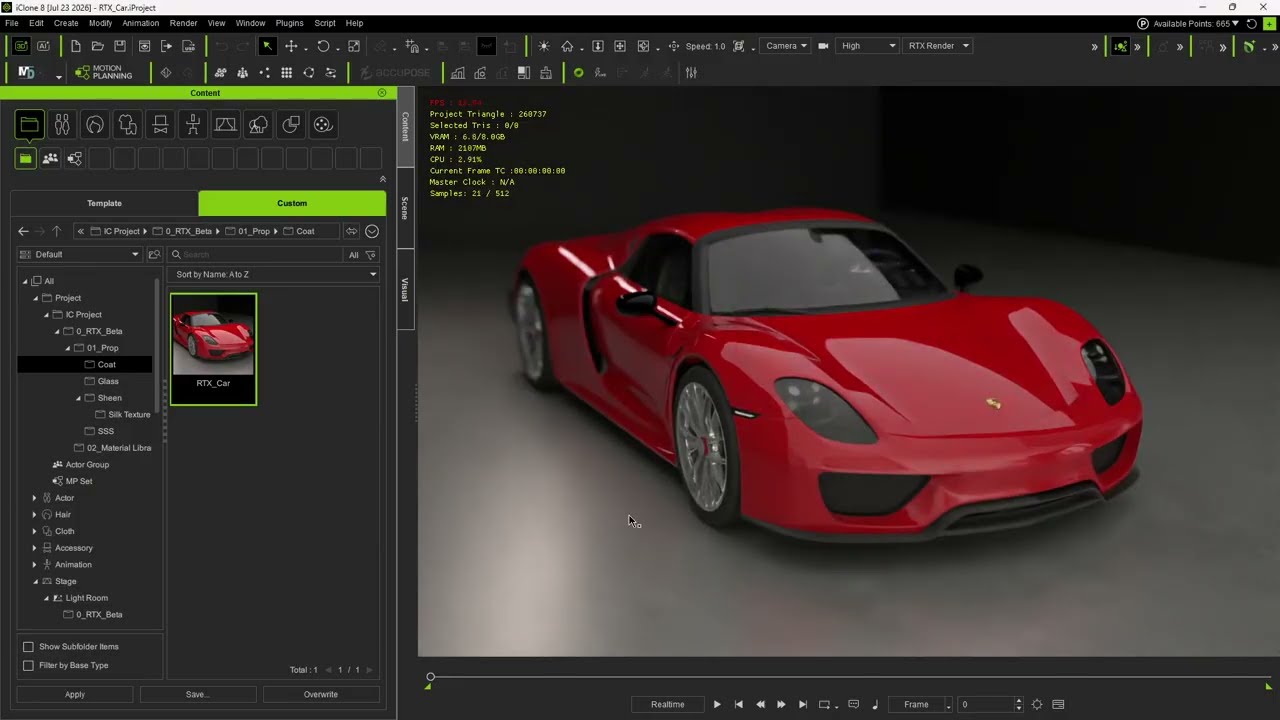
Part 2: Material Library: 55 RTX materials in 4 categories
Each category exists to showcase one of the new RTX material systems. Apply them as-is, or open their settings as a live tutorial for Post 2’s parameters.
Reflective Surface / Clearcoat (17)
The Coat system in action: a transparent polished layer over a base.
Coat Red, Coat Blue, Pearl, Pearl White, Wood, Wood Floor, Ceramics, Blue-and-white Porcelain, Marble, Marble Dark, Verdi Almi Marble, Blue Dune Marble, Jade Tiles Irregular Bond, Mirror, Piano, Polished Carbon Fiber, Matte
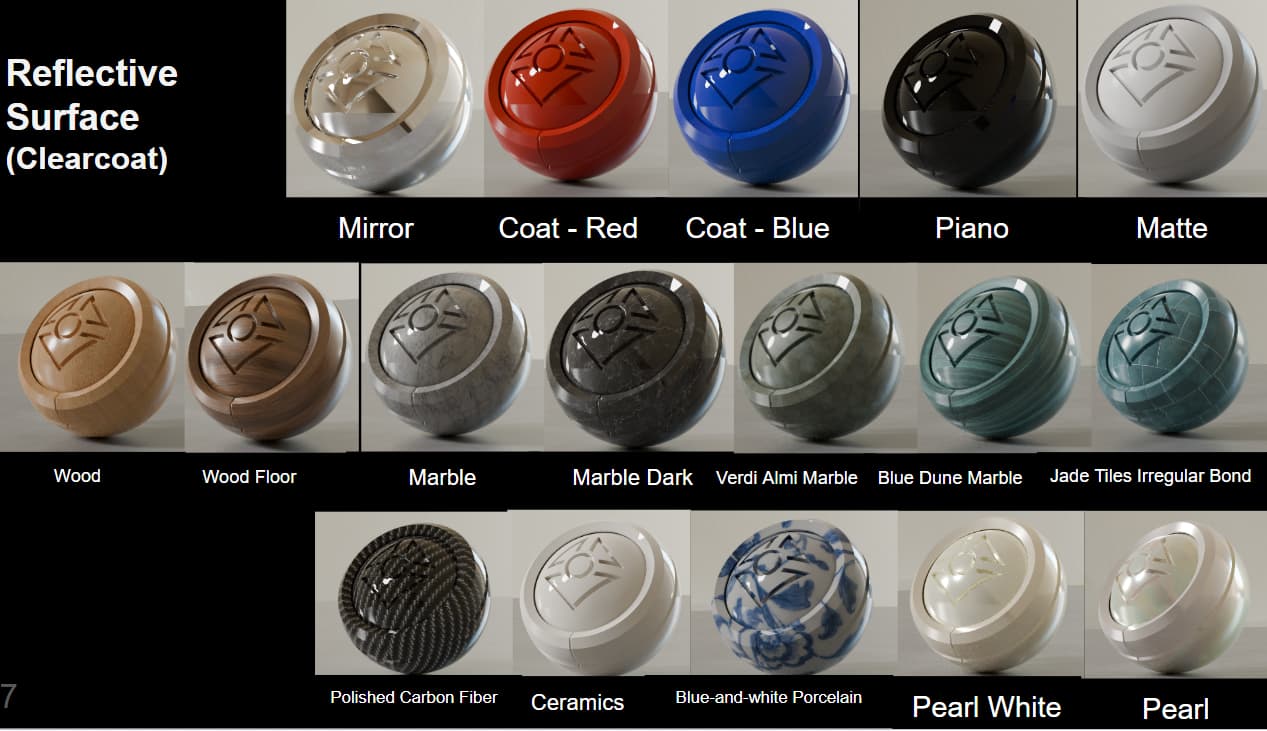
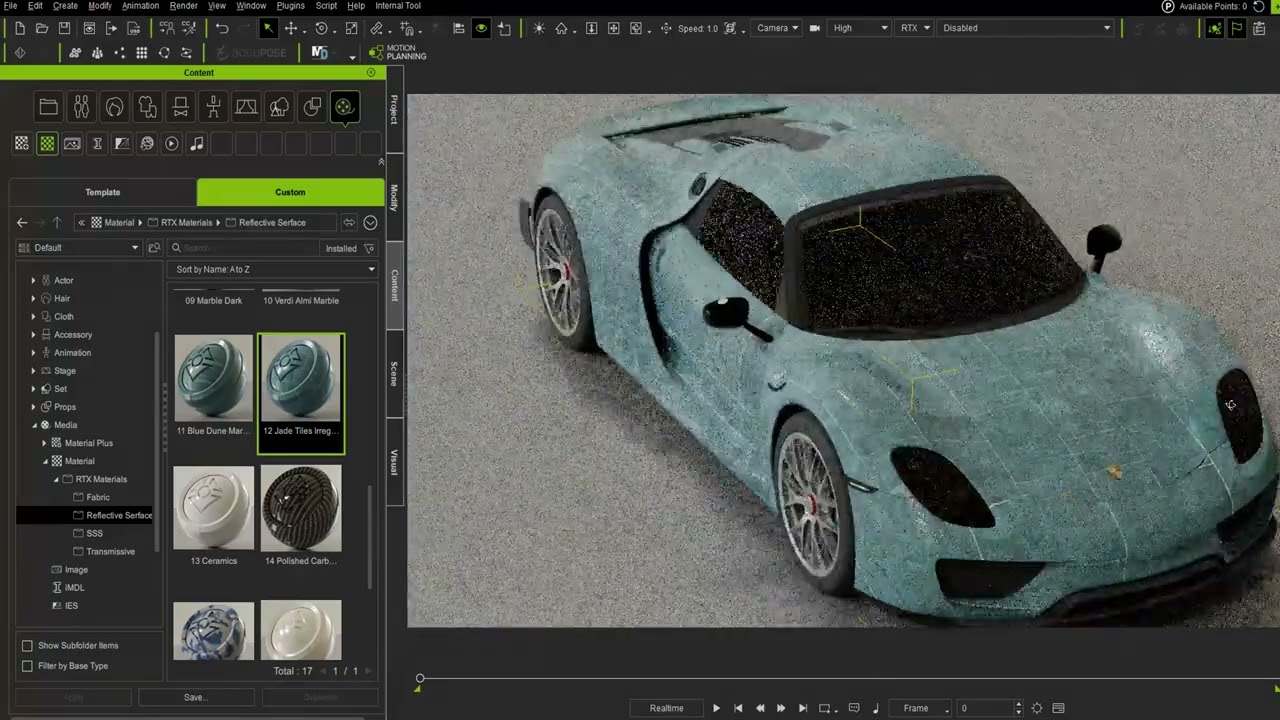
Try first: Piano and Polished Carbon Fiber, the clearest demonstration of why Coat is a separate layer from base roughness.
Transmissive (13)
Real refraction, volume color, and thin surfaces.
Glass, Matte Glass, Cloudy Glass, Stained Glass Blue, Stained Glass Red, Wine Bottle, Colored Glaze 01, Colored Glaze 02, Jelly, Ice, Ruby, Translucent Plastic, Bubble
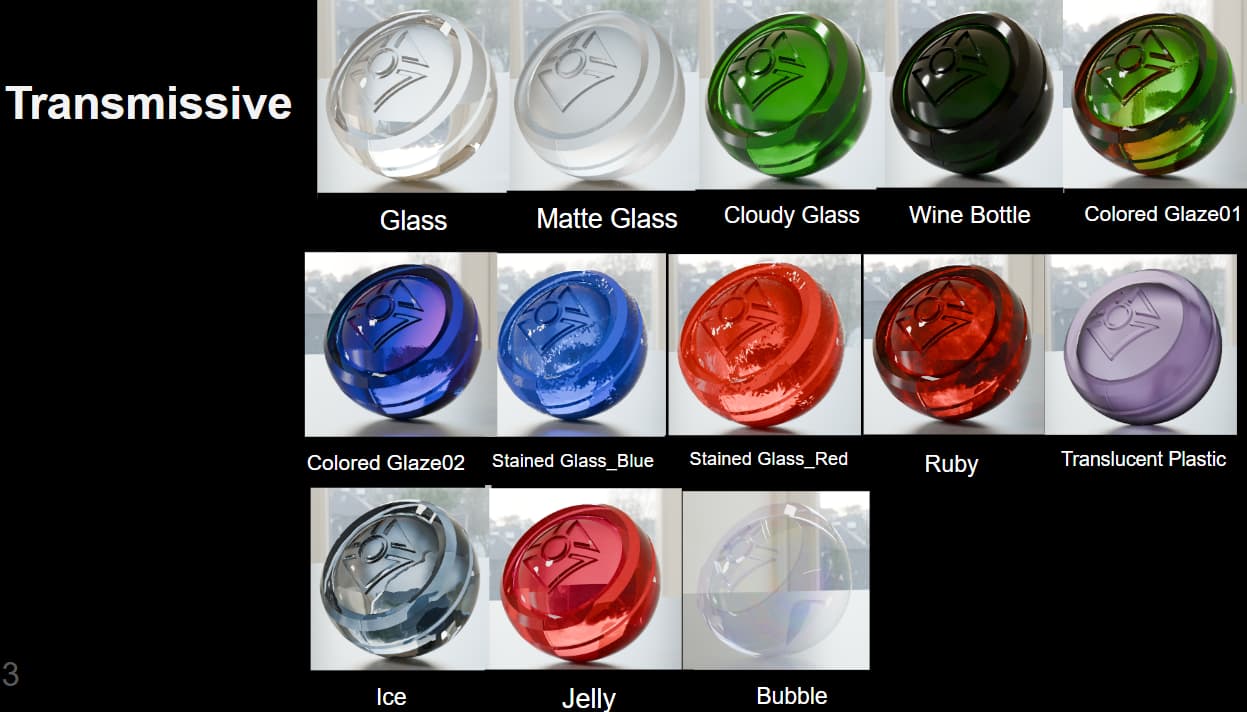
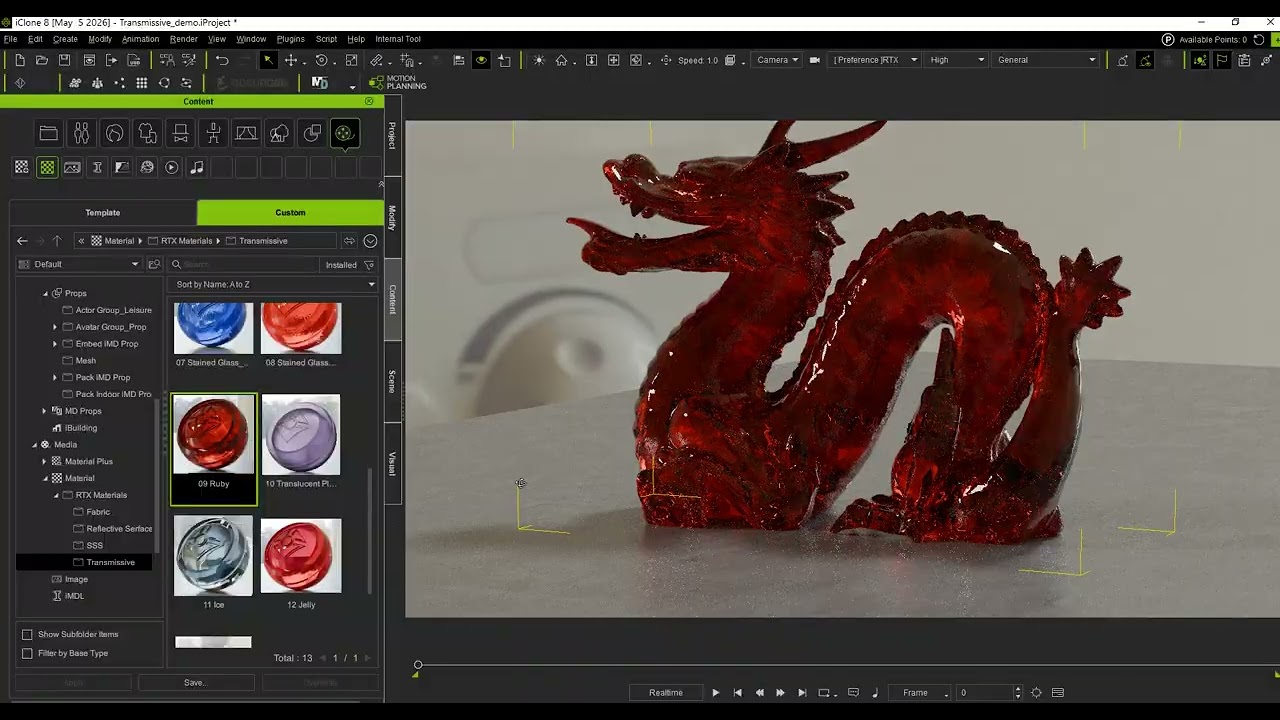
Try first: Wine Bottle, tinted with Volume Attenuation so color deepens with thickness, and Bubble, a Thin Surface example.
SSS / Subsurface Scattering (12)
Light entering a surface, scattering inside, and exiting elsewhere. The same effect that makes skin read as skin, showcased on materials where it’s easy to see.
Wax, Soap, Jade, Soft Plastic, Silicone, Slime, Gummy Bear, Grape, Green Grape, Jam, Chocolate, Milk Chocolate
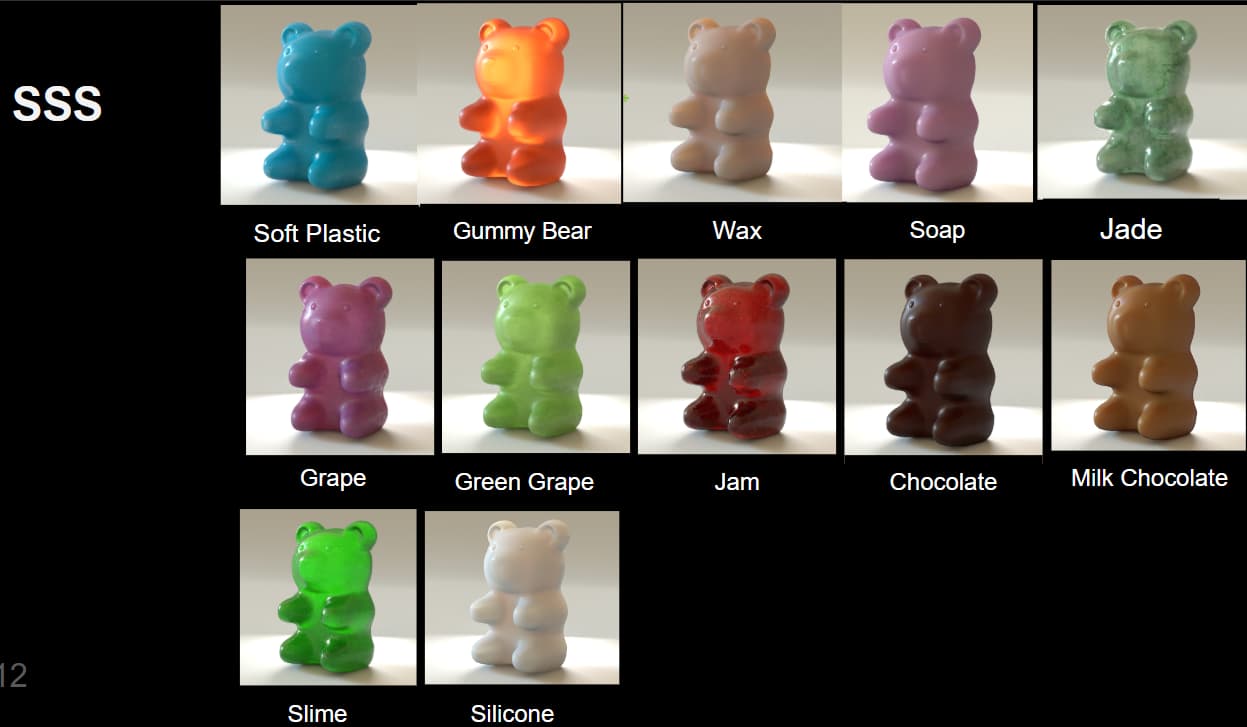
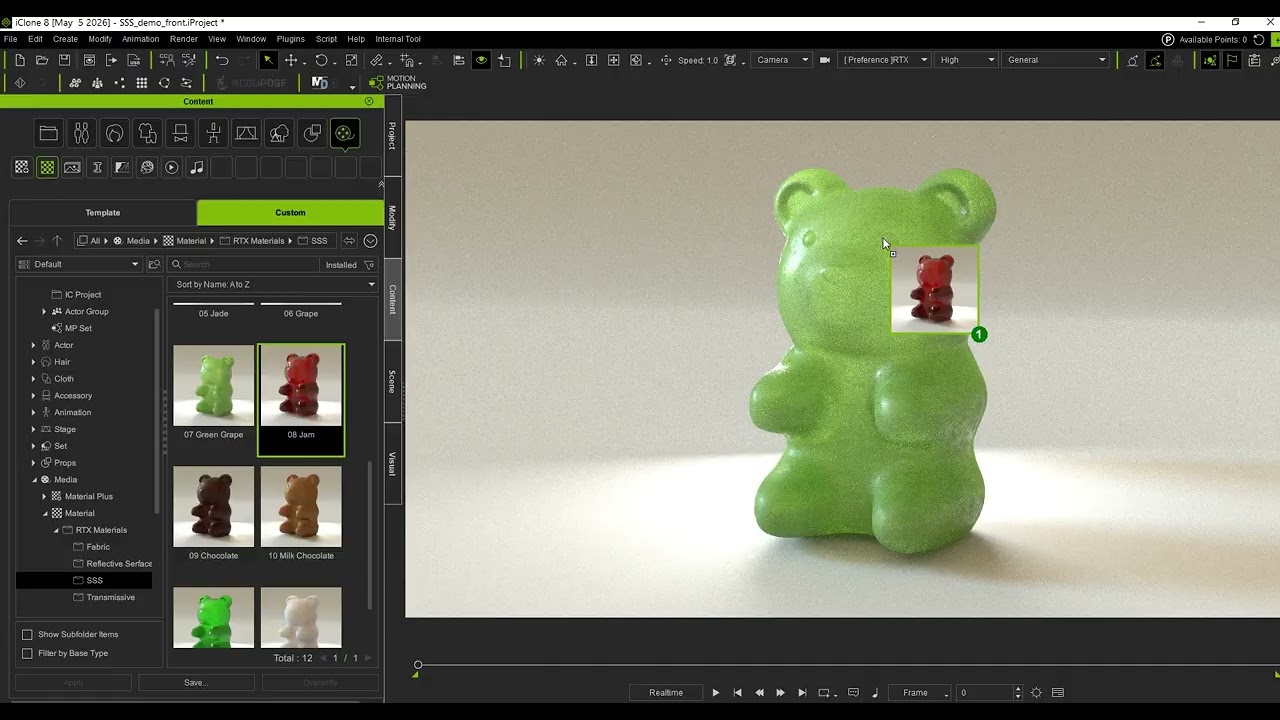
Try first: Gummy Bear and Wax, hold them against a backlight and watch the glow.
Fabric / Sheen (13)
The soft fiber highlight that separates cloth from plastic.
Velvet, Silk, Tulle, Lace, Towel, Flannel, Stretch Denim, Peach, Moisture-Wicking, Standard Milano Rib, Blanket, Teddy Bear, Scarf
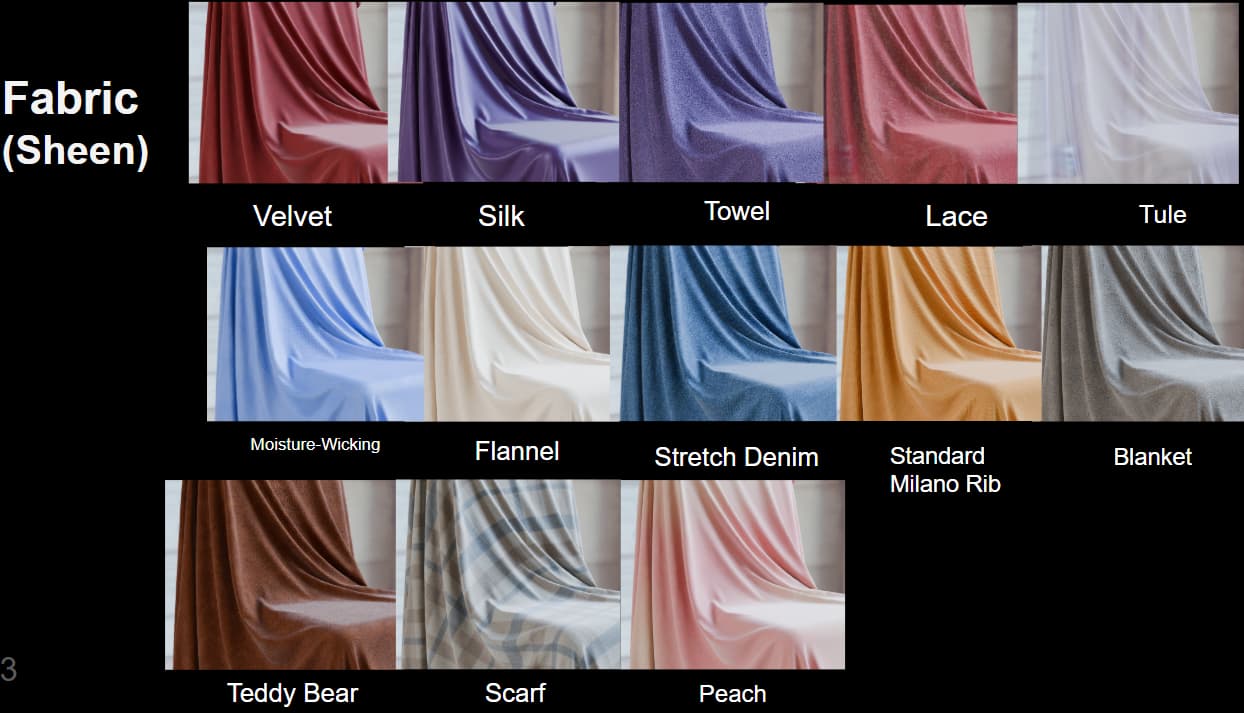
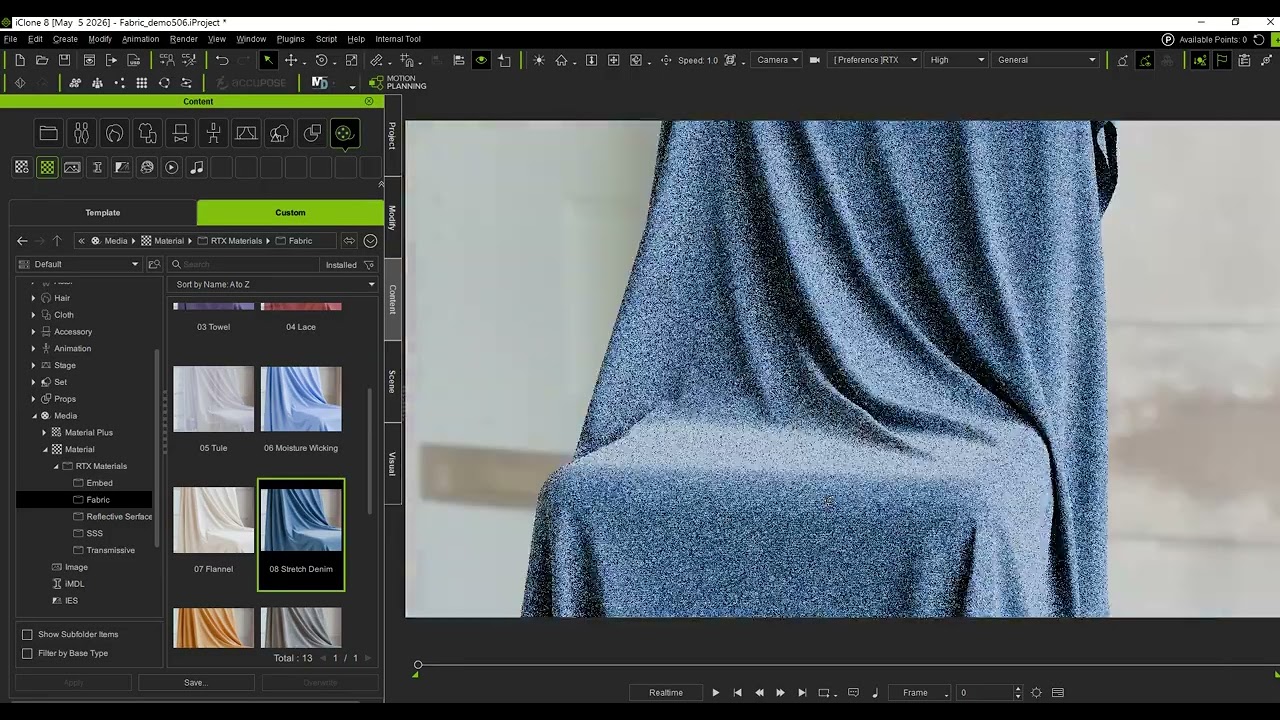
Try first: Velvet vs Silk, same Sheen system, opposite roughness settings.
Part 3: Light Room Presets: 18 studio-style setups
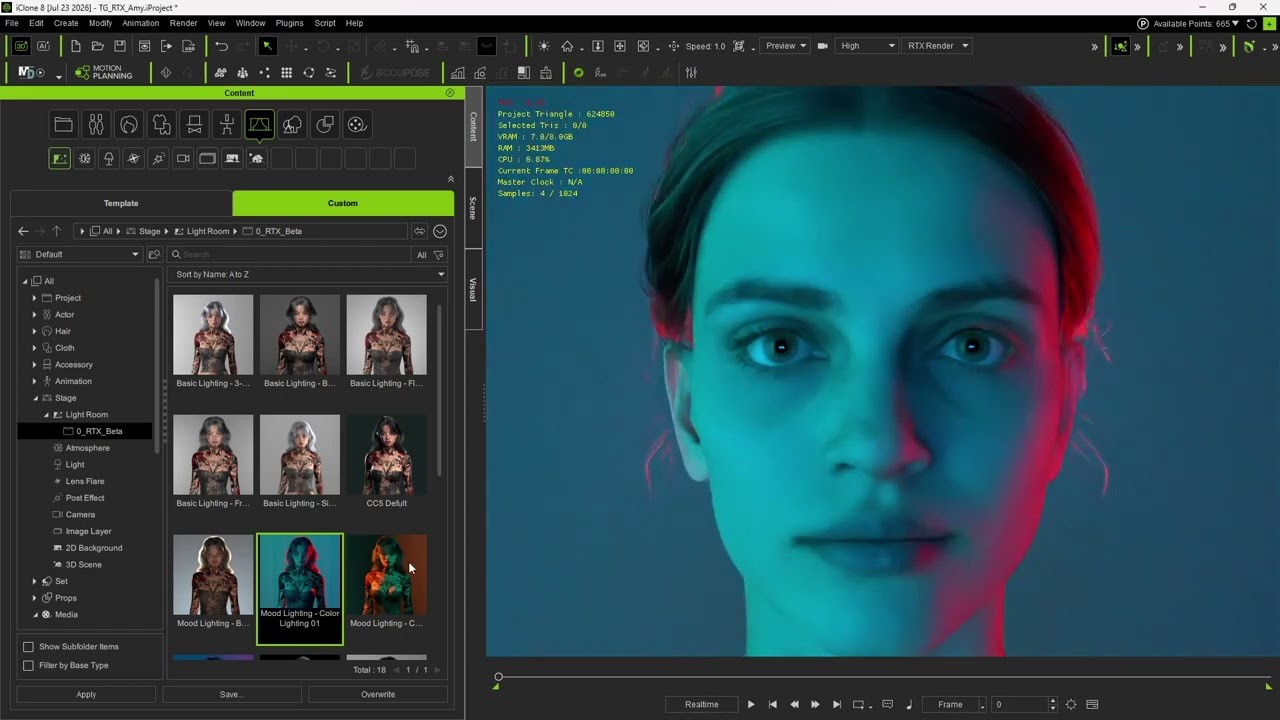
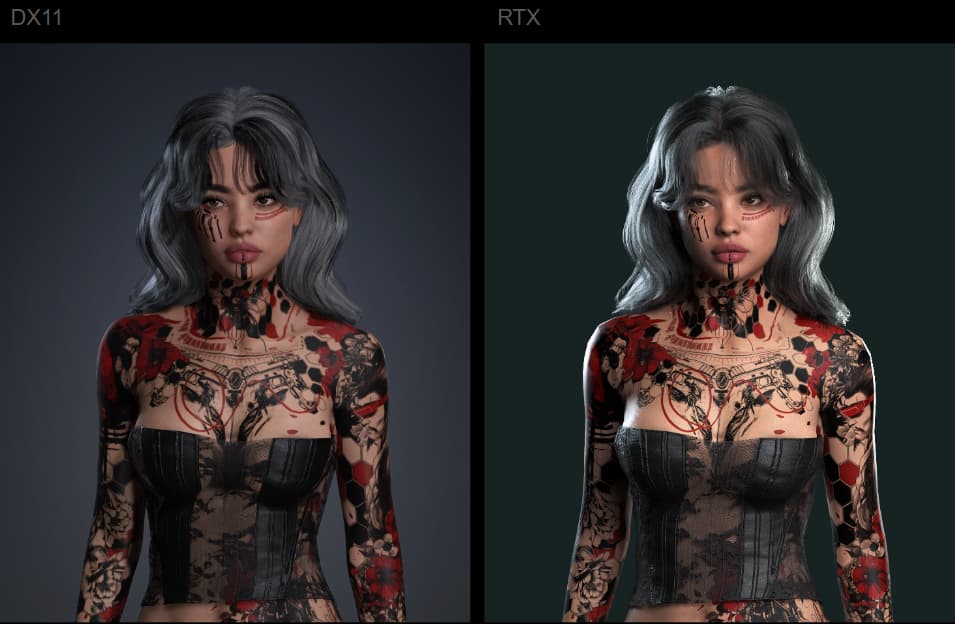
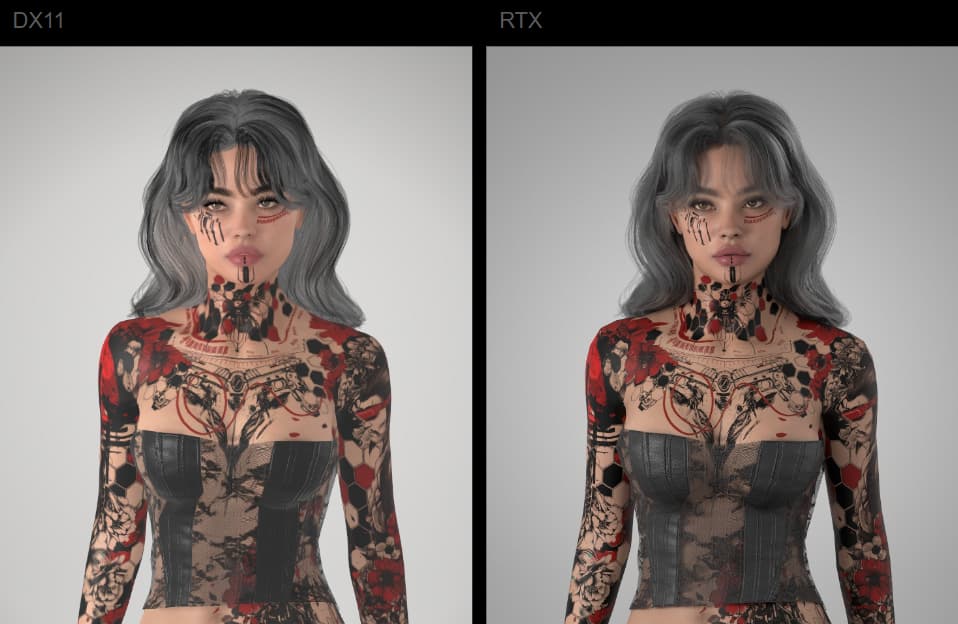
1 default + 5 basic + 12 atmosphere presets, designed around a real photography-studio philosophy: fewer lights, placed deliberately, the way an actual portrait studio works, rather than stacking many lights the DX11 way. Under path tracing, a few well-placed lights carry further because bounce light fills in naturally.
Basic lighting (5): Three-Point, Side Light, Front Light, Even Light, Butterfly Light. The classic portrait vocabulary; Three-Point is the safe default for any character shot.
Atmosphere lighting (12): Rembrandt, Side Light 01–04, Color 01–03, Under Light 01–02, Top Light, Backlight. These trade even coverage for mood: Rembrandt for classic drama, the Color sets for stylized shots, Backlight for rim-lit silhouettes.
Two studio tricks are built into the presets, worth stealing for your own setups:
- Eye light: some presets add one weak frontal light purely to put a catchlight in the character’s eyes.
- Background fill: some lighting angles throw shadows onto the backdrop, so a dedicated light is aimed at the background to clean them up.
Note on older lightroom content: existing lightroom presets (Default_CC5, Default_CC4, Contrast, etc.) work in RTX but have been re-tuned for it, since IBL now casts shadows and light accumulates physically. If you load an old lightroom item via Content Manager, remember it is not auto-converted; run the conversion manually.
Part 4: Demo Projects
A set of complete scenes, each with DX11 vs RTX comparisons so you can toggle the engine and see exactly what path tracing changes.
Material Library Demo

Prop
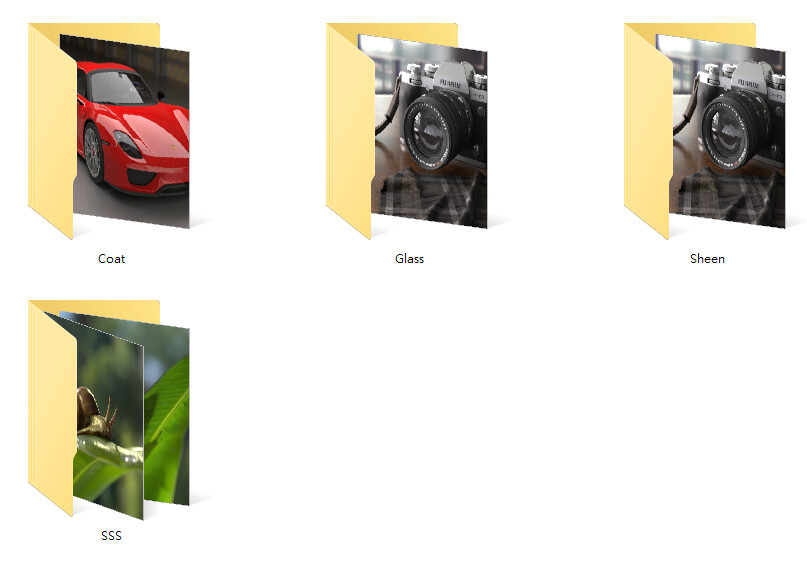
Notes:
- The car project’s lights are already hand-tuned for RTX: do not check Clamp Light when opening it, or the intended look will be pulled down.
- Two of the outdoor projects take their entire lighting and background from the RTX procedural sky, no other light source. Open those to see what the sky system alone can do, then play with Time Offset and watch the whole scene re-light.
Part 5: How to use this library to learn fast
- Apply a preset material or light setup.
- Open its settings panel next to Post 2’s parameter guide.
- Change one value at a time and watch the render converge.
The library is the fastest path from “installed the beta” to “produced something worth posting.” Speaking of which: share your renders in this thread. The best community RTX renders will be featured across Reallusion channels, including the 2026 3D Character Contest spotlight.