Welcome to the RTX Render Open Beta! It’s a major leap in render quality, and you never have to leave the app or send your work to an external renderer to get it.
This post covers the basics: what RTX Render is, how to install it, system requirements, and how to get your first render out. For deeper tuning, see the two companion posts:
- RTX Render Open Beta (2): Render Settings, Lights, Camera & Sky
- RTX Render Open Beta (3): Material Library
This post covers:
- Part 1: What is RTX Render?
- Part 2: How to Join the RTX Render Open Beta
- Part 3: Installation Guide
- Part 4. System requirements
- Part 5: Getting Started Your First RTX Project
- Part 6: Not yet supported in RTX mode
Part 1: What is RTX Render?
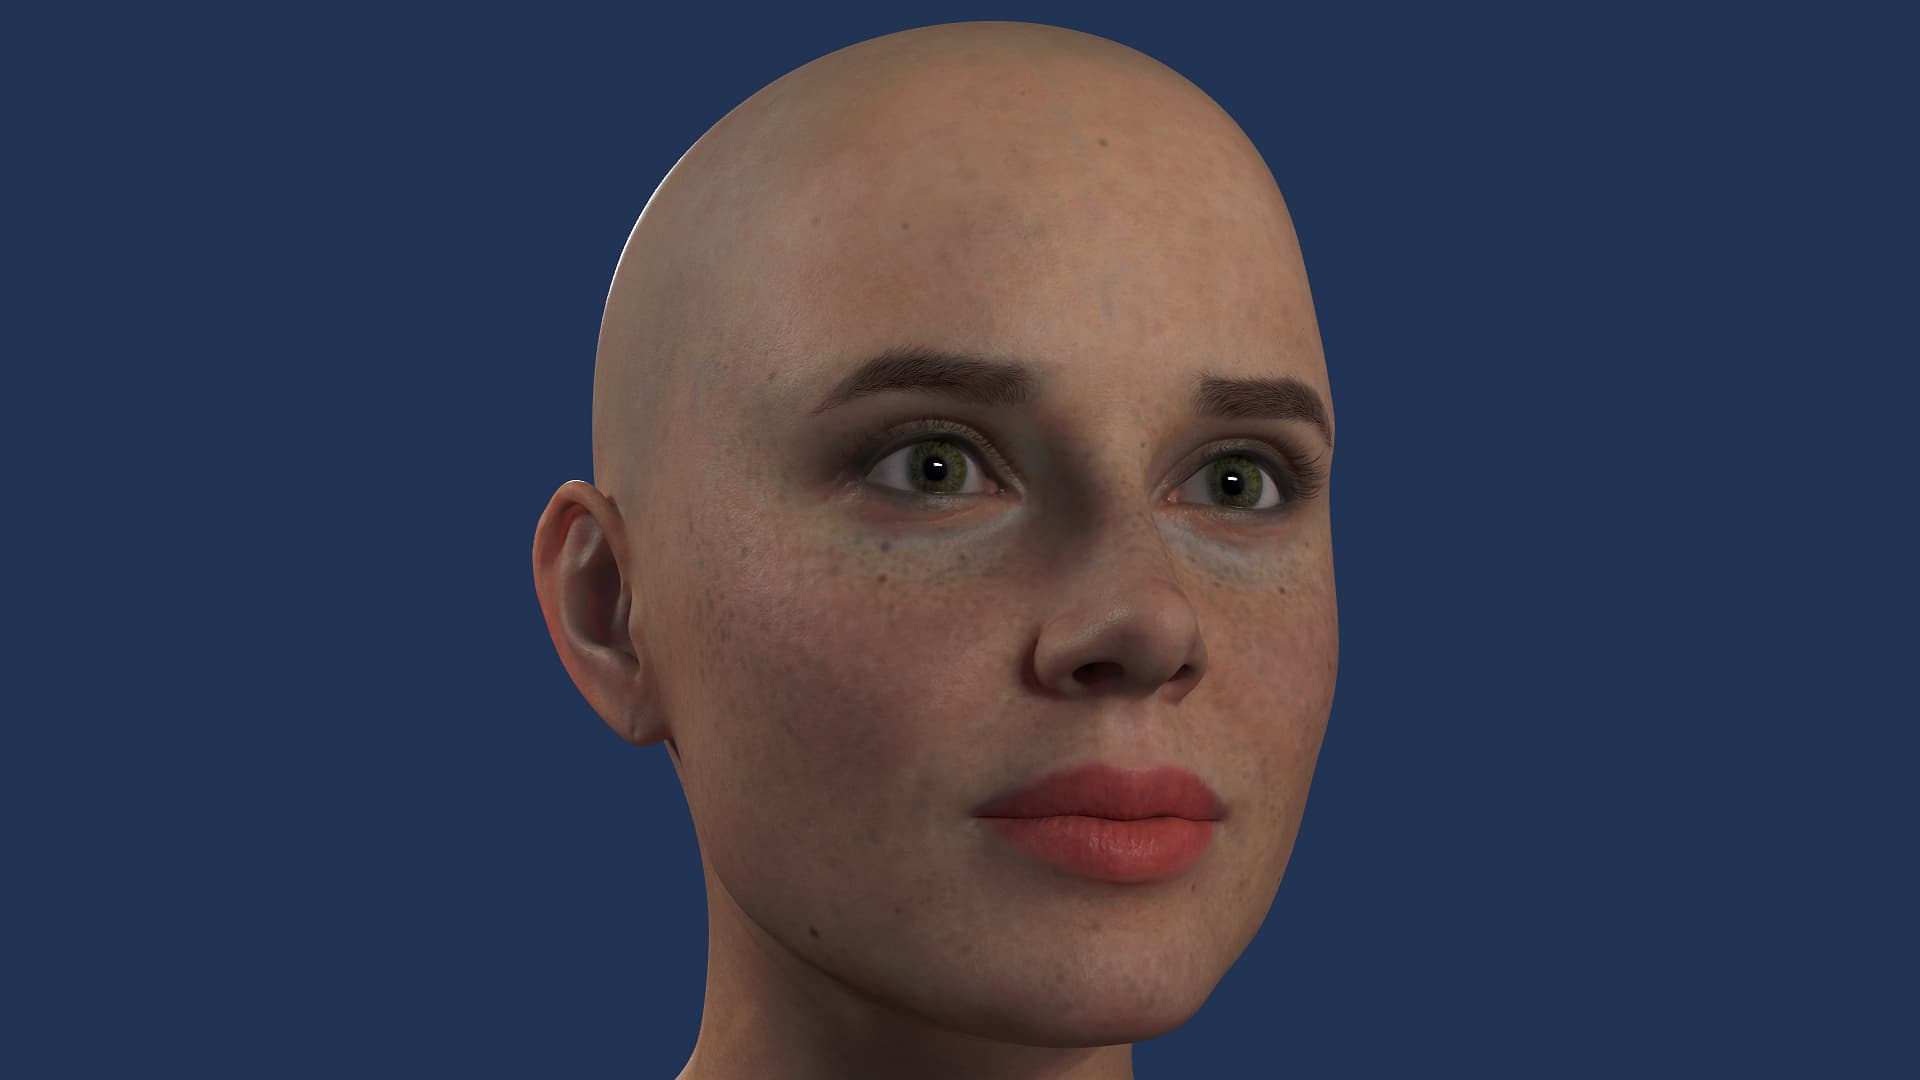
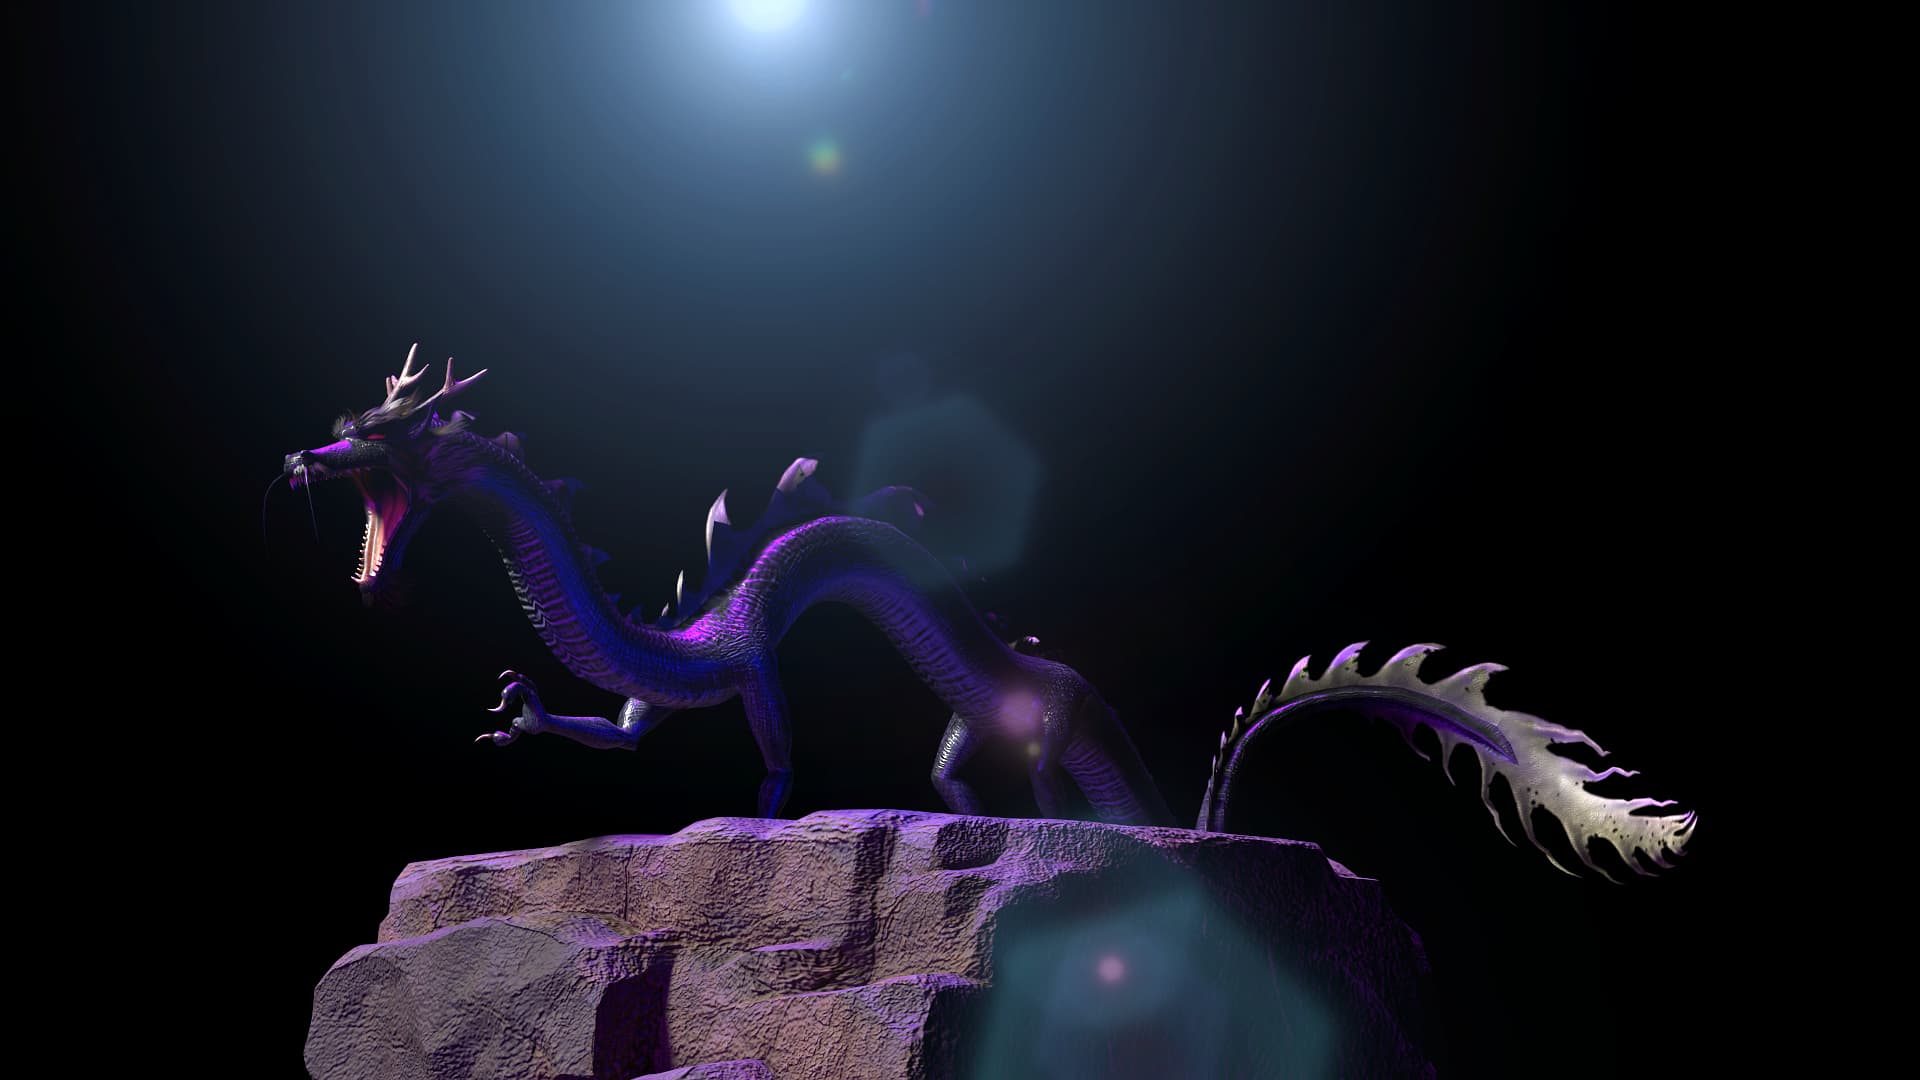
RTX Render is a new path traced rendering mode inside iClone and Character Creator, built on NVIDIA RTX Path Tracing technology. Instead of approximating light the way a real time rasterizer does, it simulates how light actually bounces through your scene, so skin, hair, eyes, and PBR materials reach a quality much closer to an offline renderer. You get near offline visual quality without leaving your app and without exporting to an external renderer.
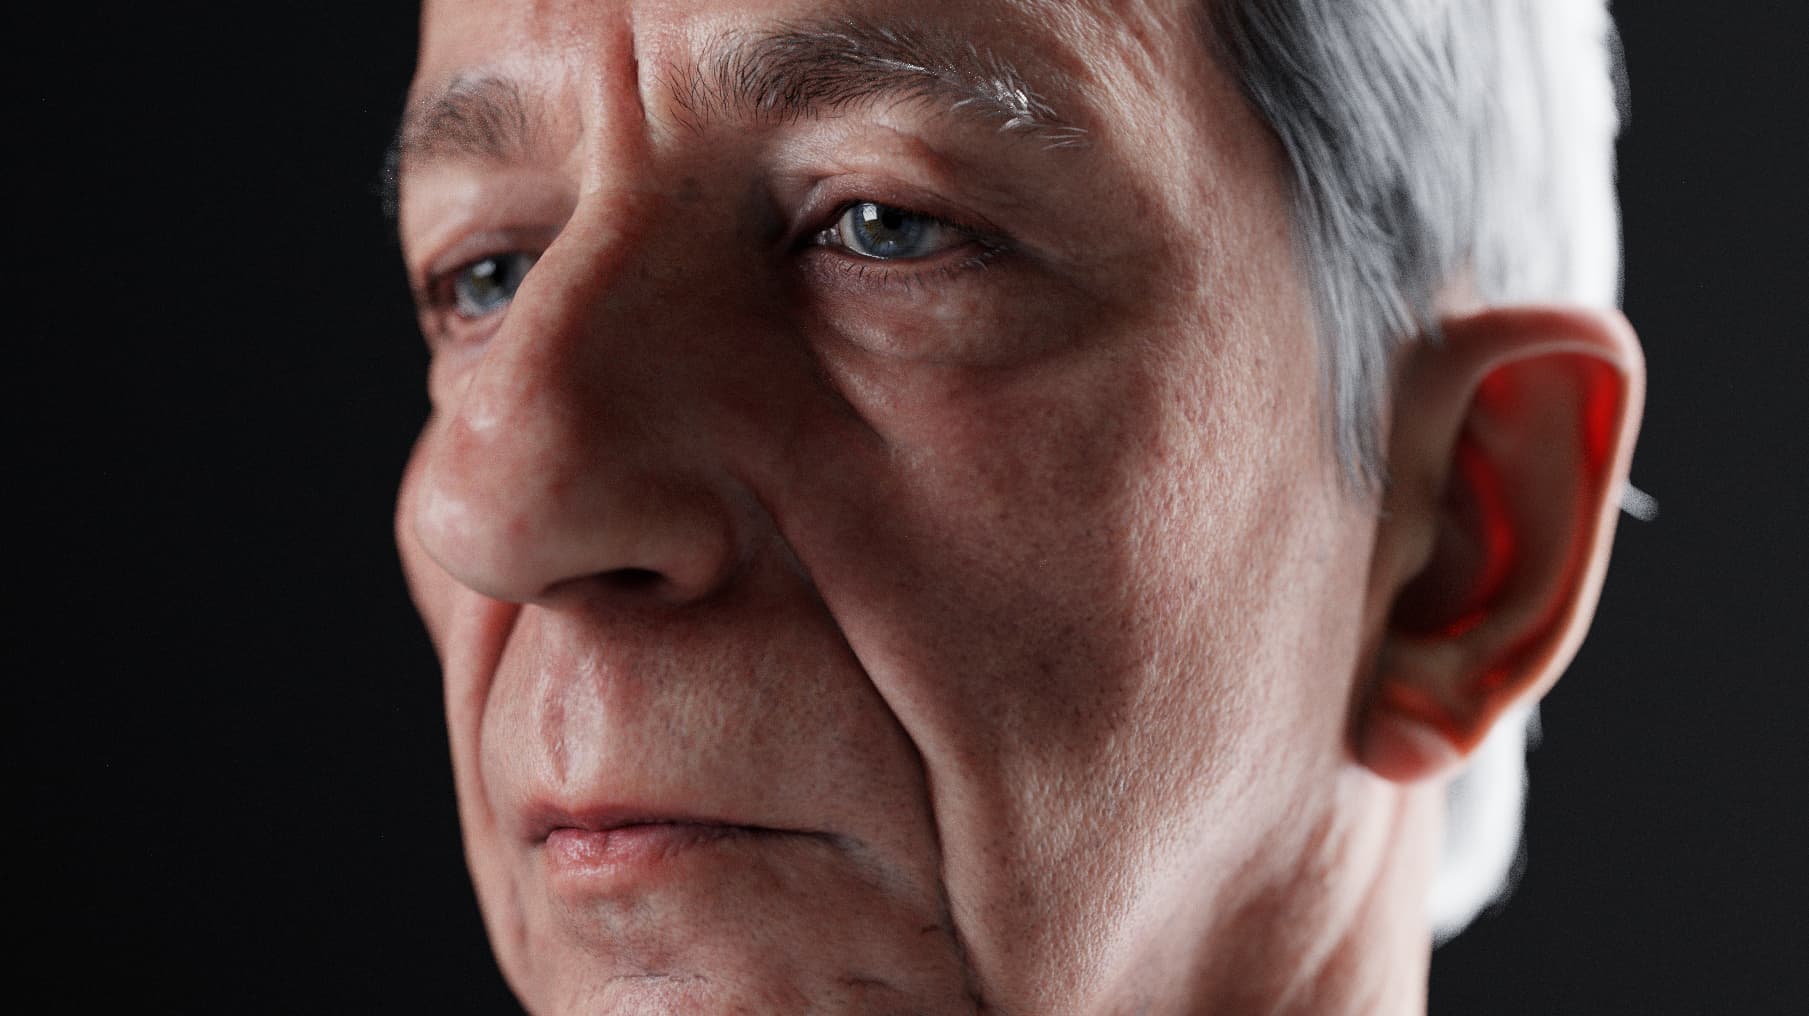
RTX Render is a second render engine that lives alongside the existing DX11 engine. It does not replace DX11. You can switch between the two at any time, and switching back to DX11 restores your original settings without reconfiguration.
This is an open beta. Some features are still being tuned. Please read the limitations at the bottom of this post before reporting an issue.
What’s new and what you can get?
A rendering engine built on real light. Translucent skin, true hair rim light, glass refraction, right inside the app.
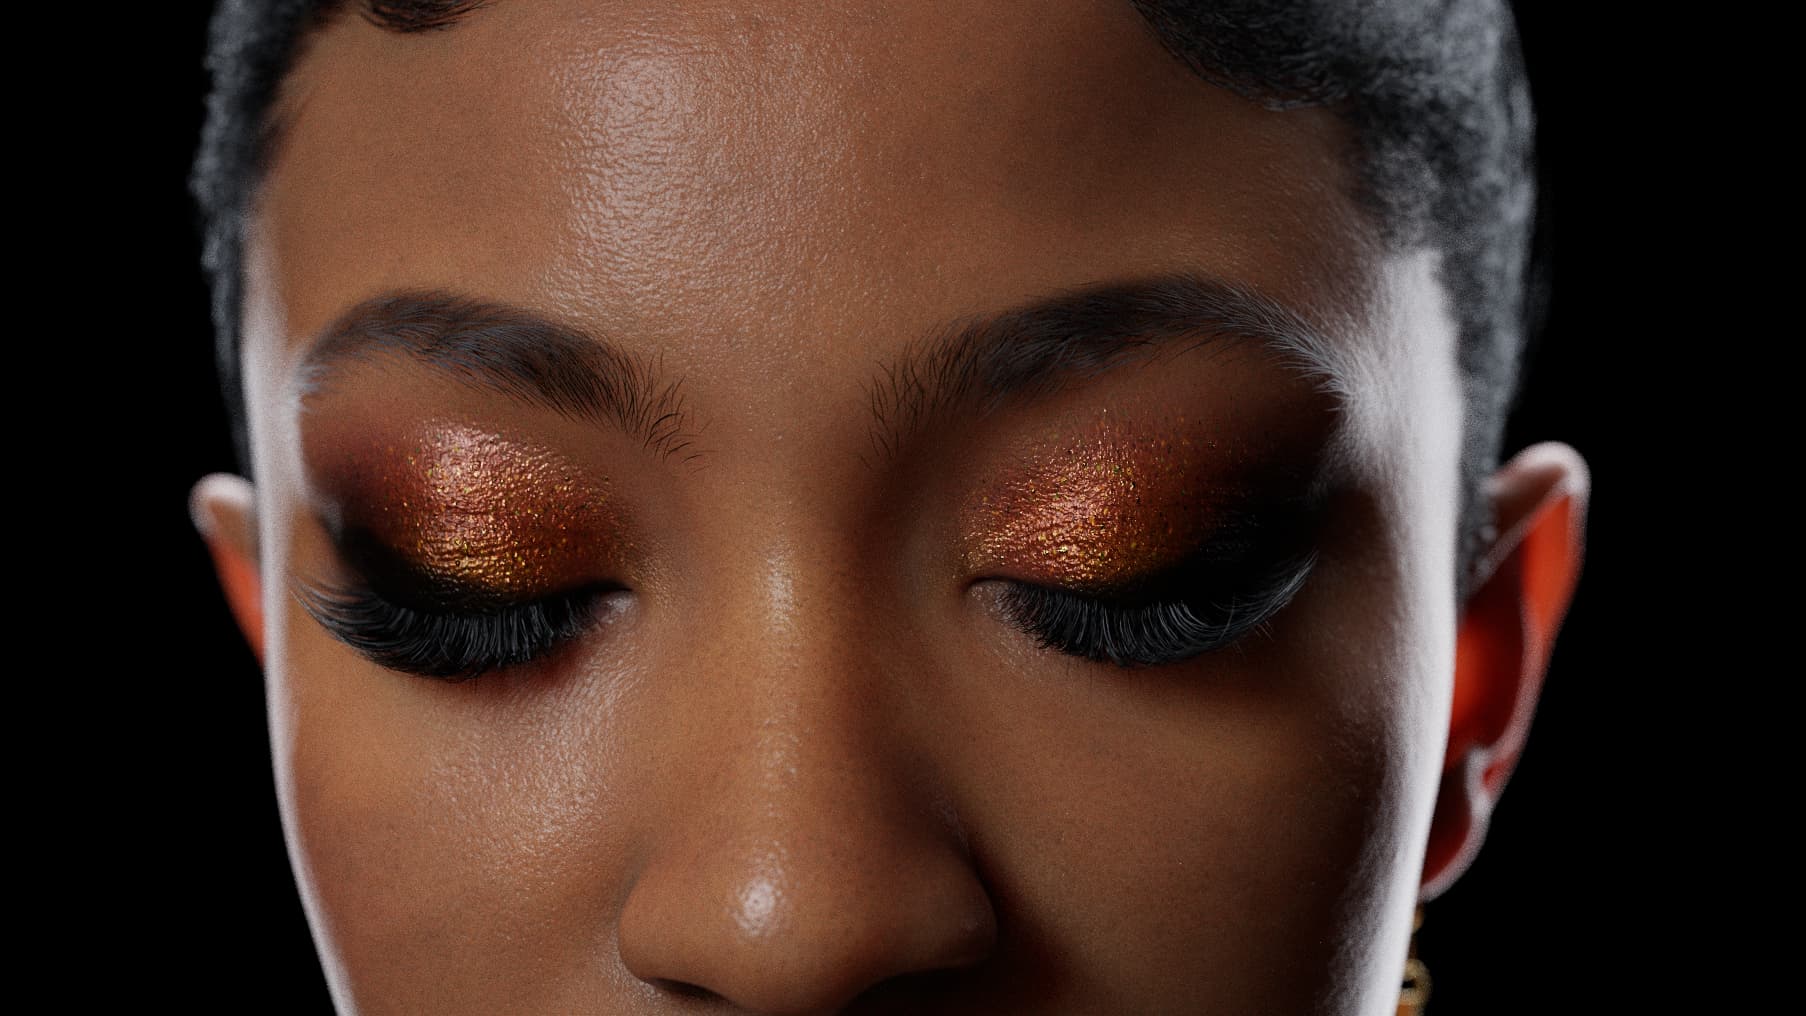
A full new material toolkit. Coat, Sheen, and Transmission unlock looks iClone couldn’t produce before.
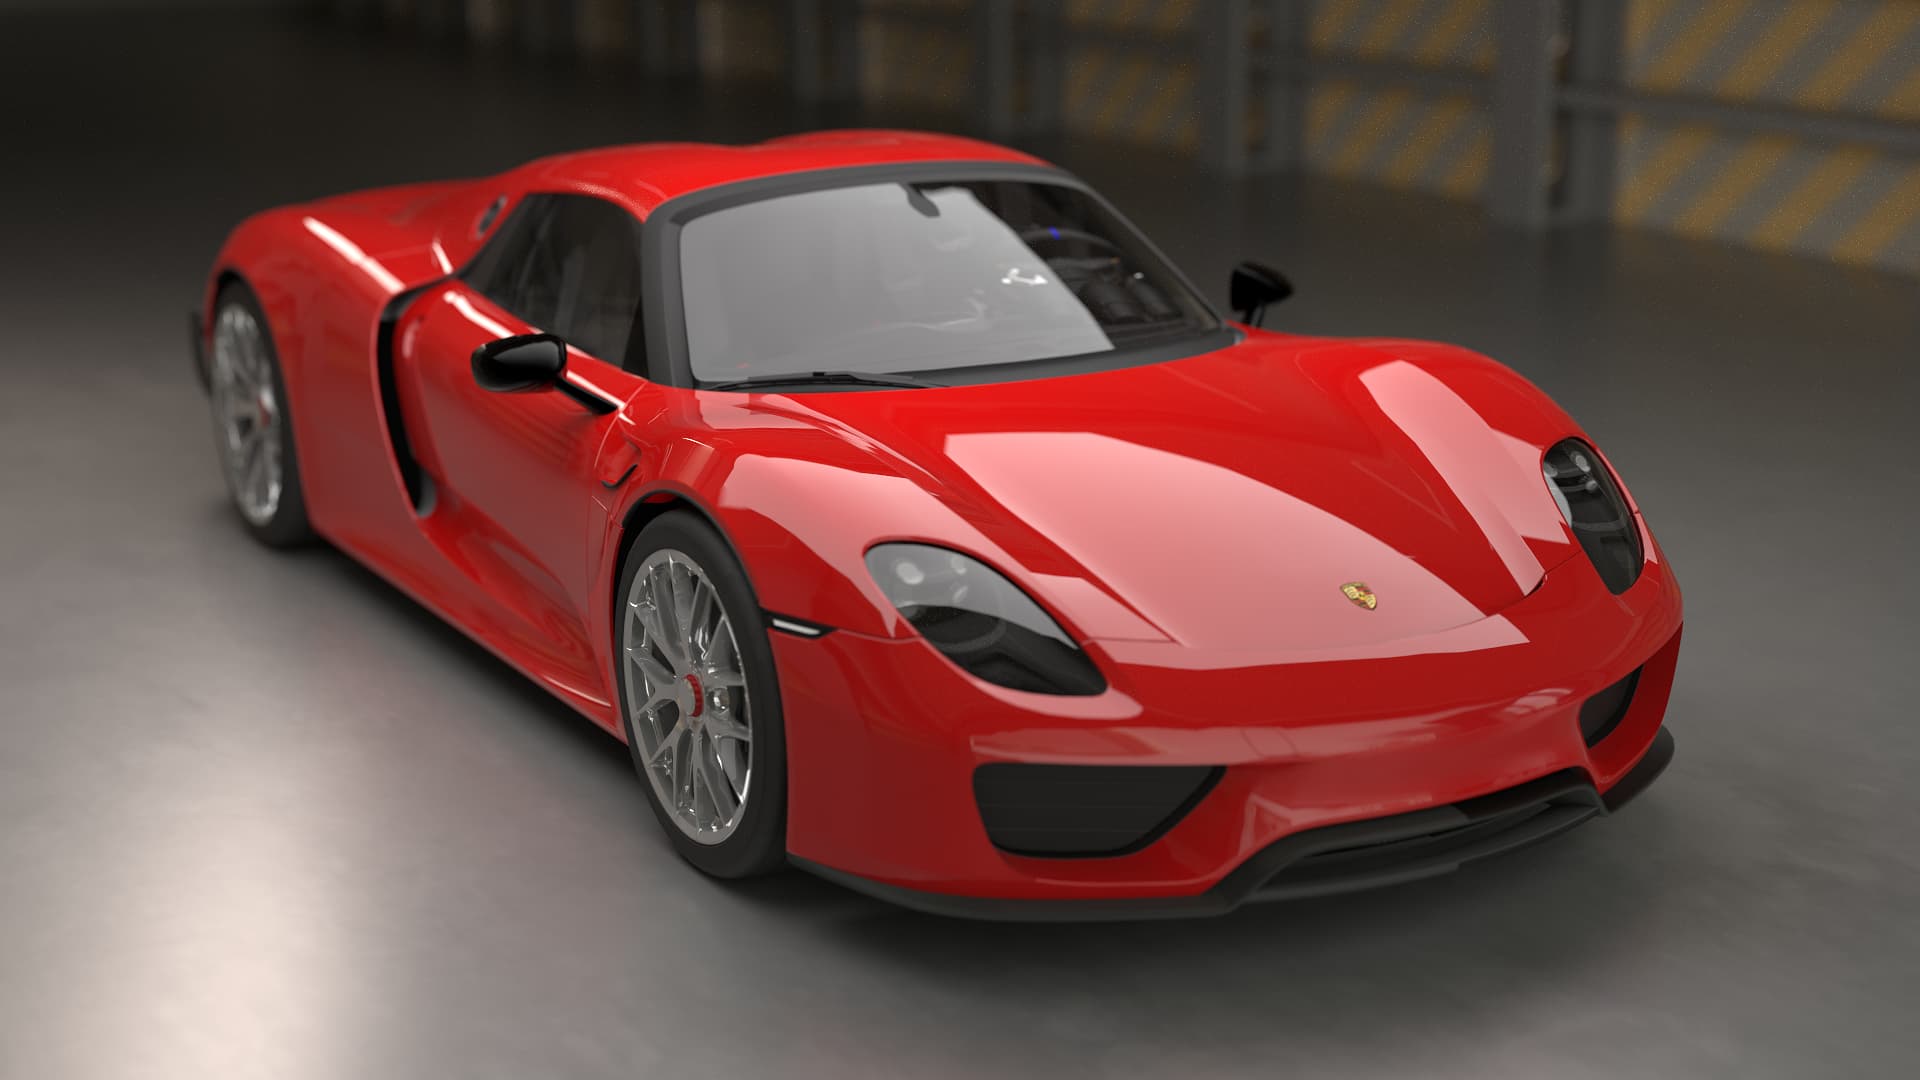
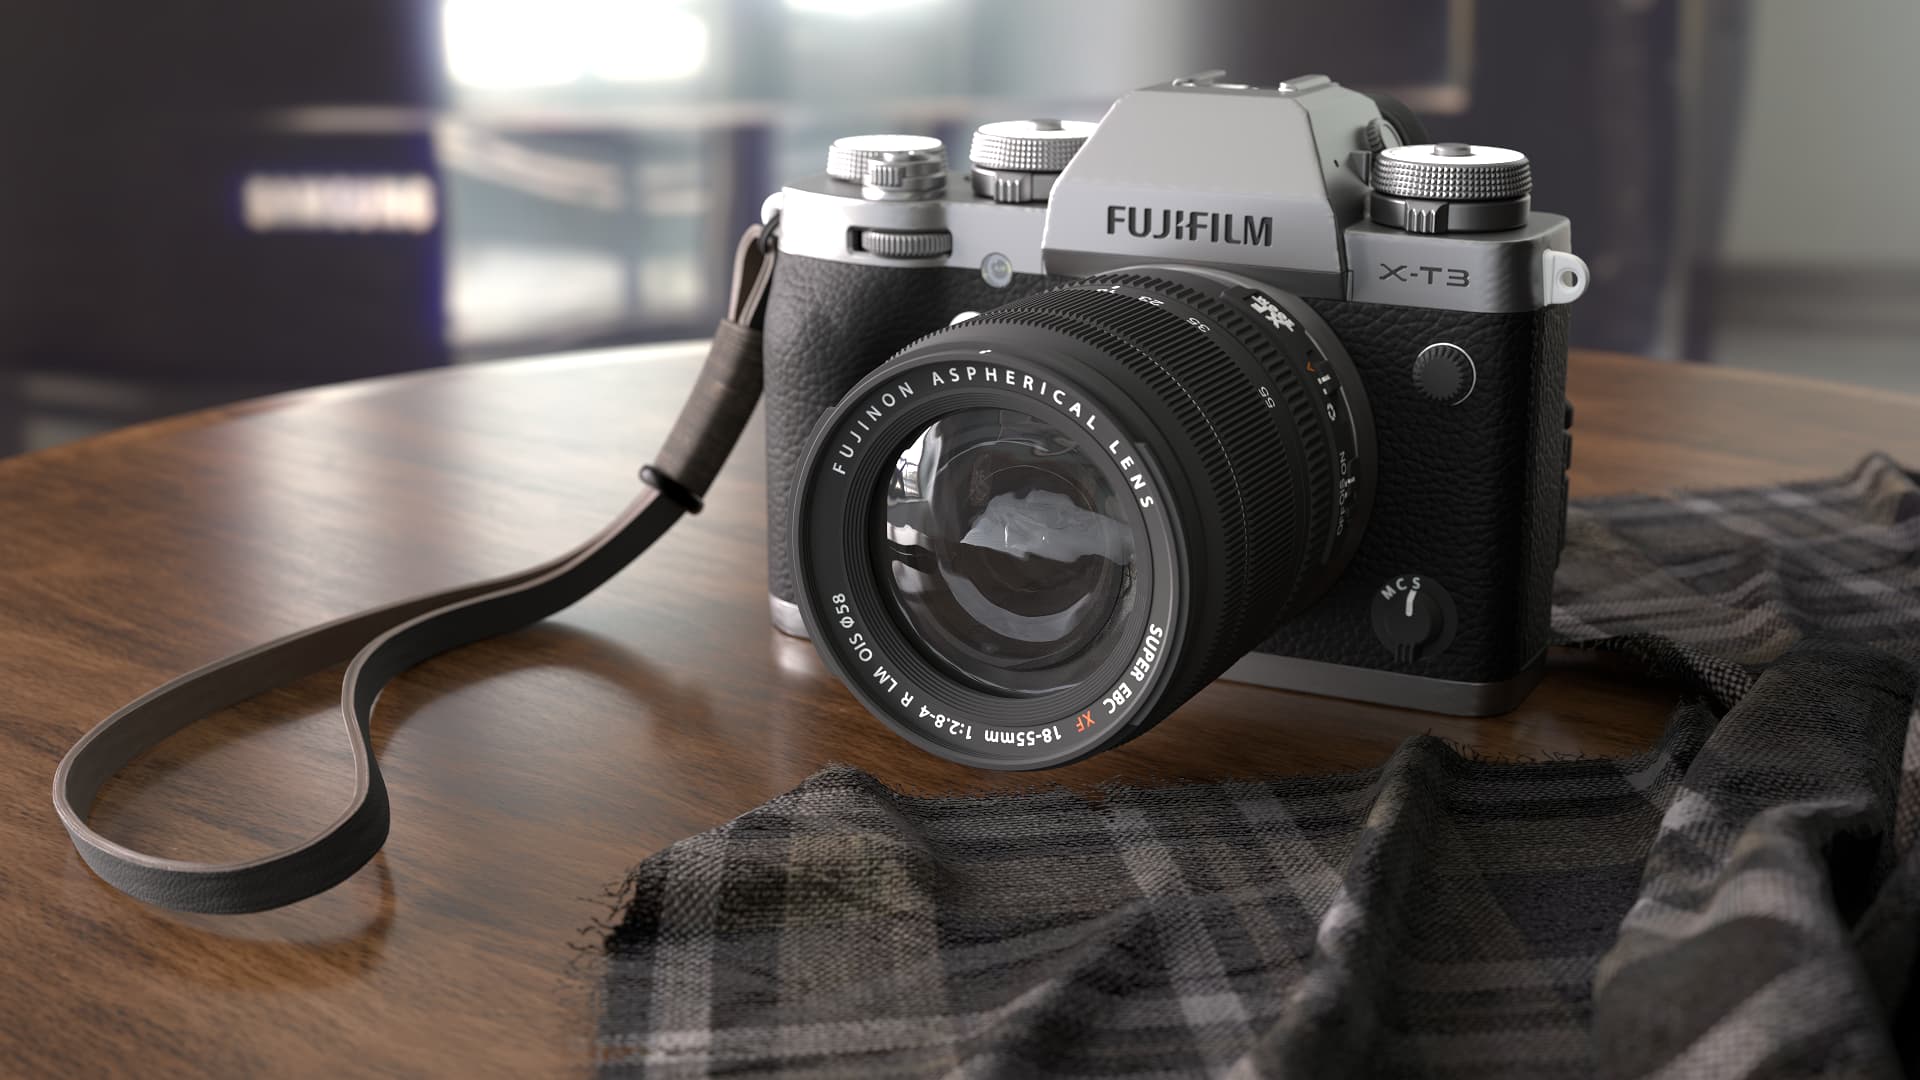
A ready-to-use content library. 55 RTX materials, 18 light presets, and demo projects. Apply and render from day one.
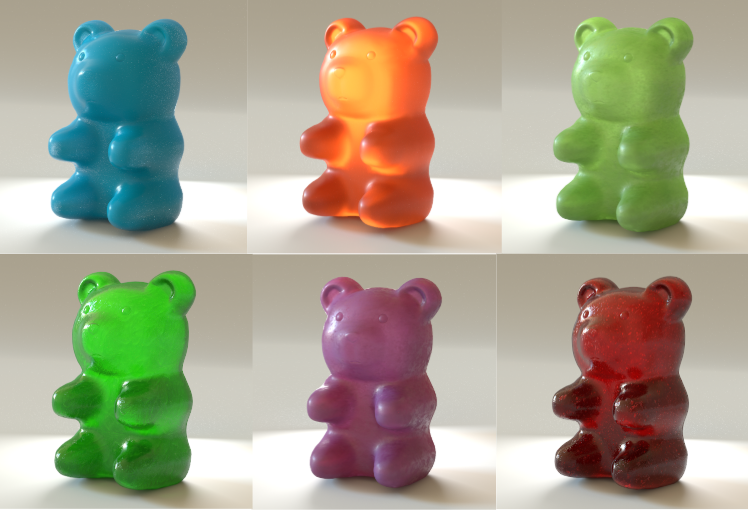
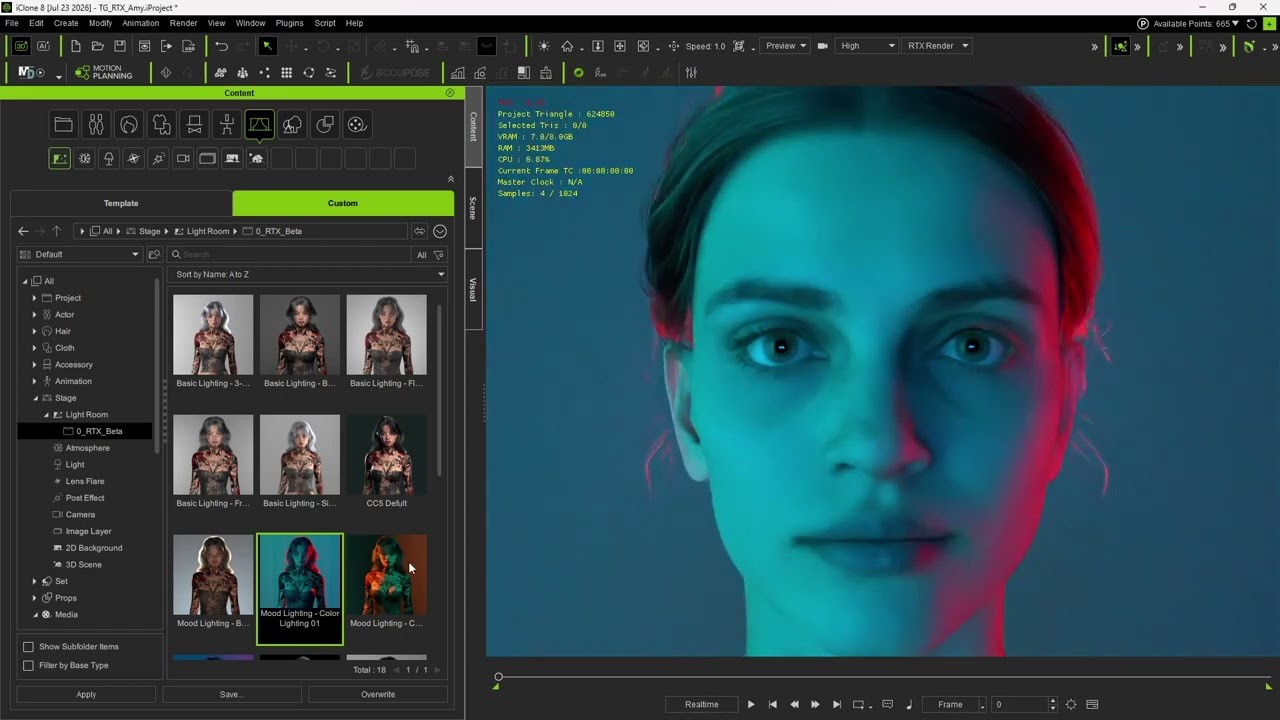
Part 2: How to Join the RTX Render Open Beta
- Fill out the beta signup form: FORM LINK
- You’ll receive an email with the official download link.
- Install the beta build. RTX Render is built in; no separate renderer or plugin is needed.
Part 3: Installation Guide
Before using the iClone/CC RTX version, you must first install one of the following supported versions:
iClone 8 Perpetual, Subscription, or Personal
Character Creator 5 (CC5) Perpetual or Subscription
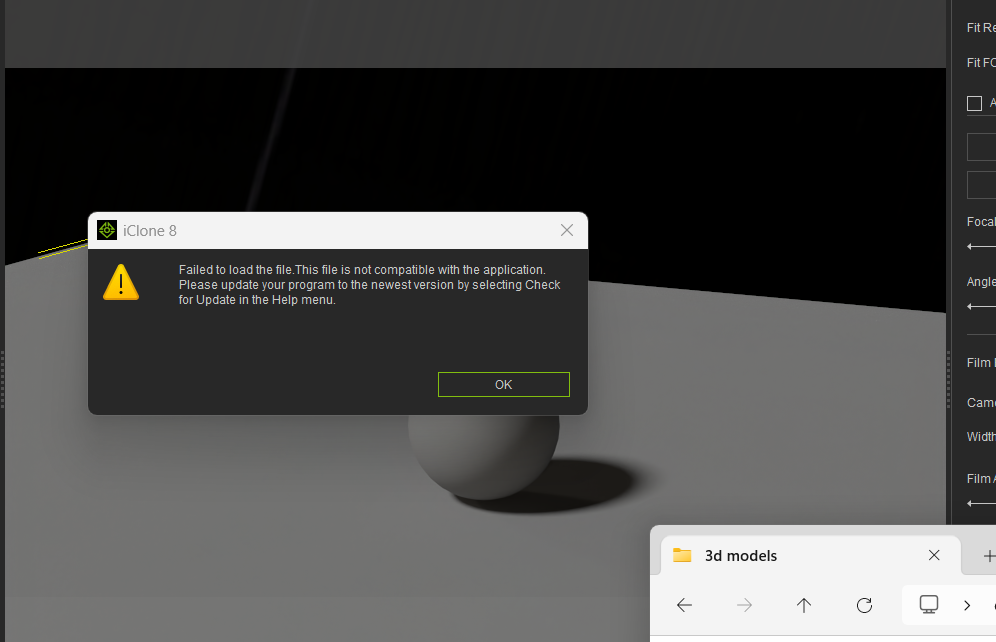
Do not uninstall the base version while using the RTX version, as doing so may cause the RTX version to stop working properly.
Download the correct ZIP package for your license type.
Important:
The download locations are different for Perpetual/Subscription licenses and the Personal version. Make sure you download the correct package for your edition.
-
Install the Application
-
Extract the ZIP file to your preferred installation directory.
-
Do not overwrite your existing iClone or Character Creator installation.
-
Please extract the files to a non-system drive (such as D: or E:) instead of the C: drive.
-
-
After extraction, open the Bin64 folder.
-
Launch either:
- iClone.exe
- CharacterCreator.exe
-
The application is now ready to use.
-
Install the Content
- Download the Content ZIP package.
- Extract the ZIP file.
- Copy the extracted content into your Reallusion Custom folder.
Can’t find your Reallusion Custom folder?
- Open the application.
- Go to Content Manager.
- Switch to the Custom tab.
- Right-click any custom asset and select Find File.
- The folder that opens is your Reallusion Custom folder. Copy the extracted content there.
Important Notes
-
Projects saved with this version may not be compatible with future official releases. Please keep backups of any important projects before using this version.
-
This version is not compatible with the official release version. Do not use the two versions interchangeably, as doing so may result in unexpected behavior, compatibility issues, or data corruption.
-
Always download the package that matches your license type. Using the wrong package may prevent the application from working correctly.
-
A note on antivirus warnings: When you run iClone.exe or CharacterCreator.exe, some antivirus software may flag it as potentially risky. This is a false positive and can be safely ignored.
If you’d prefer to verify the files yourself, you can check that their MD5 hashes match the ones below. On Windows, open Command Prompt and runcertutil -hashfile "filename.zip" MD5, then compare the result to the value here.- iClone8_RTX_Beta1_0725.zip
MD5:f612cd7bc17a9120a144cf881cd5c30c - CC5_RTX_Beta1_0725.zip
MD5:c9f27f37c39f38b12b0028bba283cd60
- iClone8_RTX_Beta1_0725.zip
Part 4. System requirements
Minimum System Requirements
-
OS: Windows 10 (20H1) / Windows 11
-
CPU: Intel Core i5 (6-core) / AMD Ryzen 5
-
Memory: 16 GB RAM
-
GPU: NVIDIA GeForce RTX 3060 (8 GB VRAM) or newer
-
Storage: 100 GB available SSD space
-
Graphics API: DirectX 12 (DXR 1.1)
Recommended System Requirements
-
OS: Windows 11
-
CPU: Intel Core i7 / Ultra 7 or AMD Ryzen 7 (8-core or higher)
-
Memory: 32 GB RAM
-
GPU: NVIDIA GeForce RTX 4070 Super (12 GB VRAM) or newer
-
Storage: 100 GB available SSD space
-
Graphics API: DirectX 12 (DXR 1.2)
-
We recommend updating your GPU driver to the latest NVIDIA Studio Driver (currently v610.62).
Part 5: Getting Started Your First RTX Project
Switching to RTX mode
Project Settings → General (or the Toolbar) lets you switch:
Important note
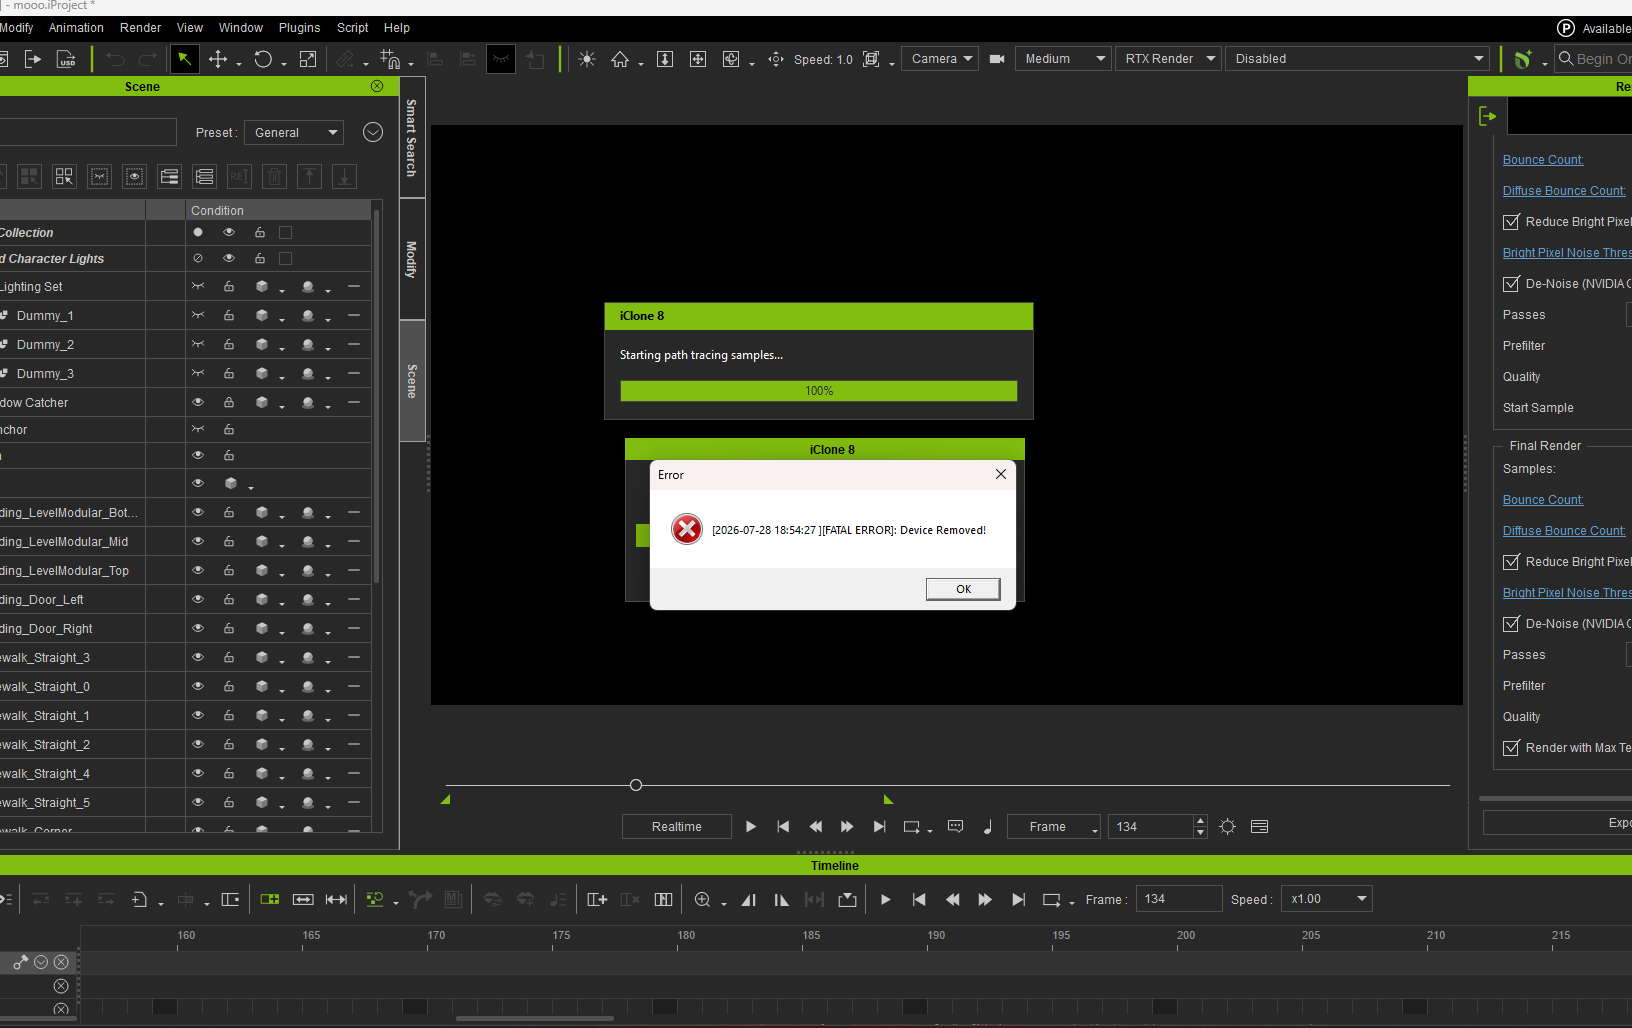
Switching from DX11 to RTX requires your scene’s materials to be converted, and how long that takes varies. Simple props convert almost instantly, while heavier scenes take longer, and the same project can convert at different speeds depending on your hardware. Digital human characters take the longest: each one carries a full set of digital human shaders across skin, hair, eyes, and teeth, and every one of them has to be remapped to its path-traced equivalent.
-
Render Engine: DX11 or RTX, driving both viewport and final render.
-
Render Pass: preview specific passes. The available options differ between DX11 and RTX.
-
Light Pass (RTX only): preview All / Direct / Indirect lighting separately. Useful for diagnosing where light in your scene is actually coming from.
-
The Toolbar quick-switch button
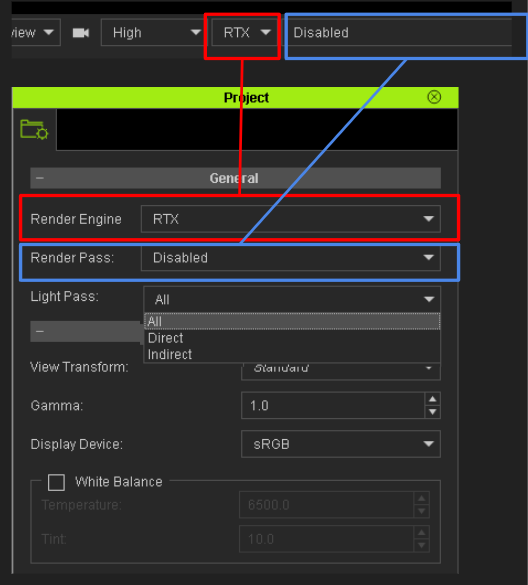
The engine you select drives both the viewport and the final render.
-
Substance textures are auto-baked (RTX does not support live Substance). To edit Substance again, switch back to DX11. Important: do not load a Substance project while already in RTX mode; load it in DX11 first, then switch.
-
Clamp Light option: under RTX, light accumulates physically, so strong or closely placed lights overexpose more easily. Conversion offers to cap light multipliers above 5 down to 5. If you’ve intentionally pushed lights above 5 in RTX, leave this unchecked.
-
Glow Map Strength converts to the new Emissive Strength.
-
Material auto convert
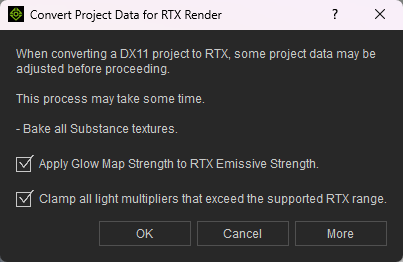
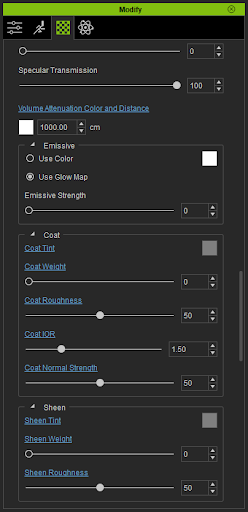
Note: lights opened via Content Manager (iprop / lightroom items) are not auto-converted.
Your first render: the quality settings
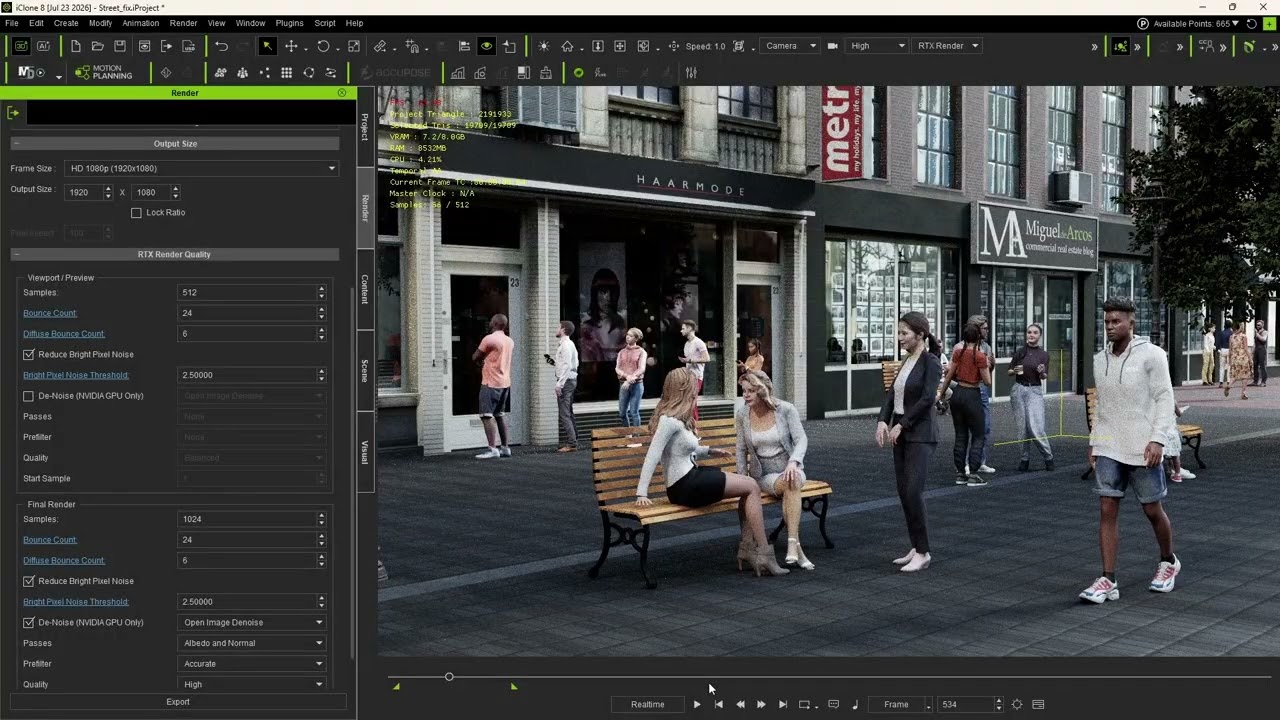
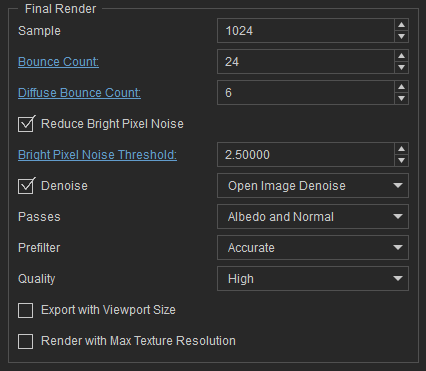
Everything you need to output is in Render Export. Each control (except Denoise) has separate Preview and Final values, so keep Preview light for fast iteration and raise Final for output.
-
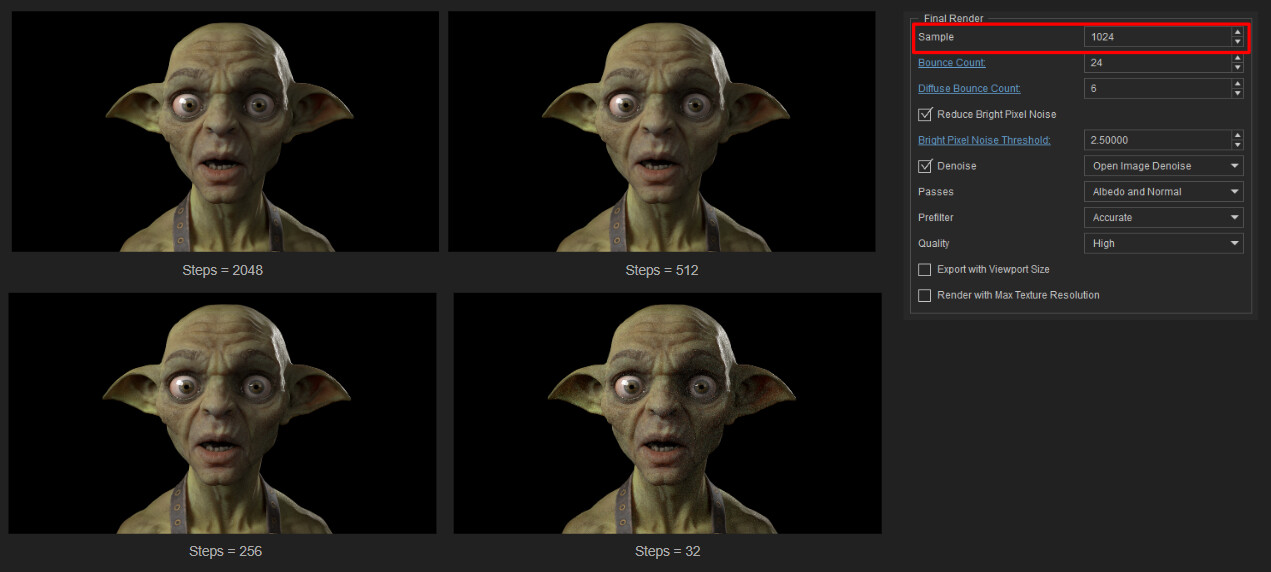
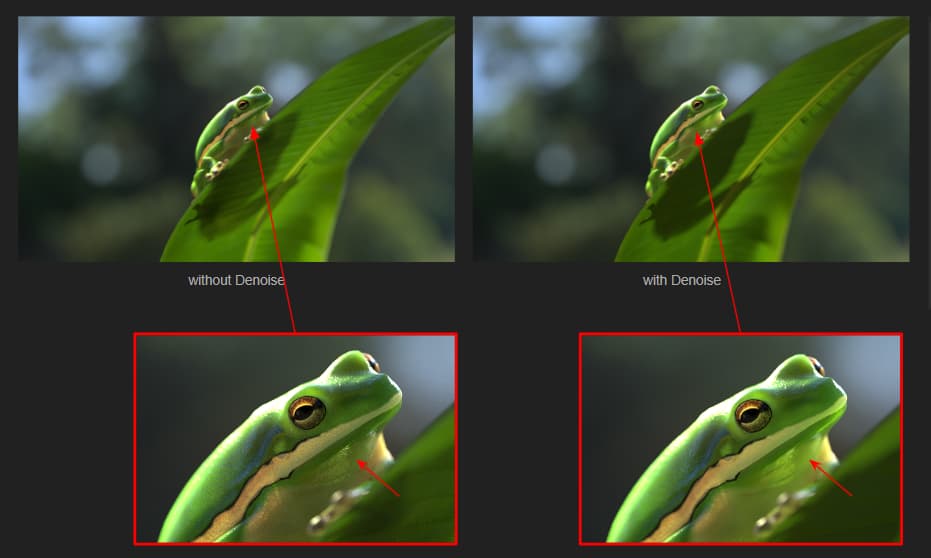
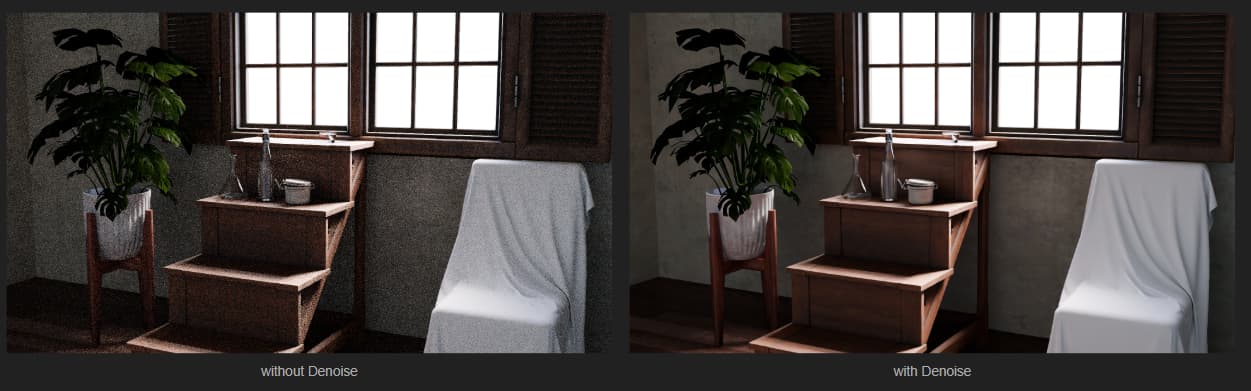
Steps (Samples): how many light rays per pixel. Higher = cleaner, slower. If your image is grainy, raise this first.
-
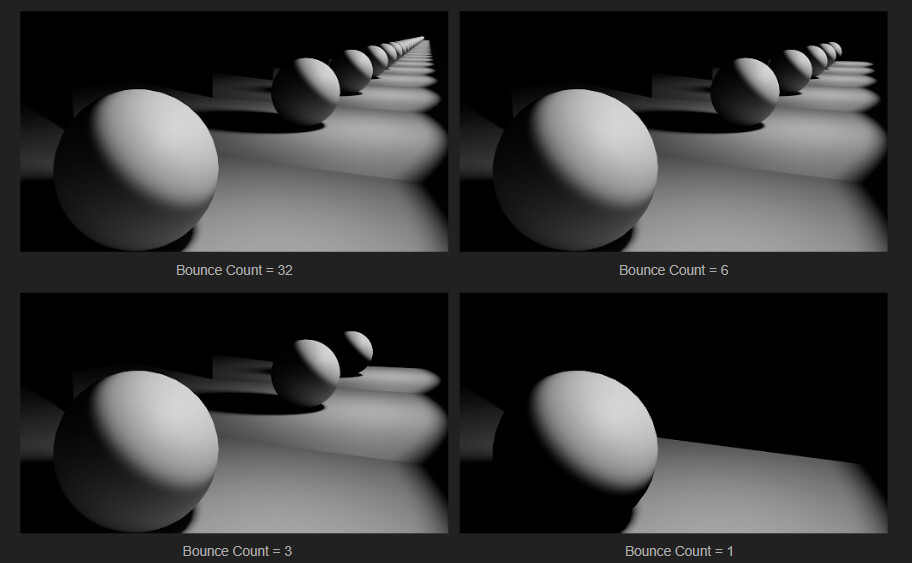
Bounce Count (1–32): how many times light rays bounce. Matters most in high inter-reflection scenes (mirrors, glass).
-
Diffuse Bounce Count: bounces for indirect diffuse light; controls how far bounce light spreads and fills.
-
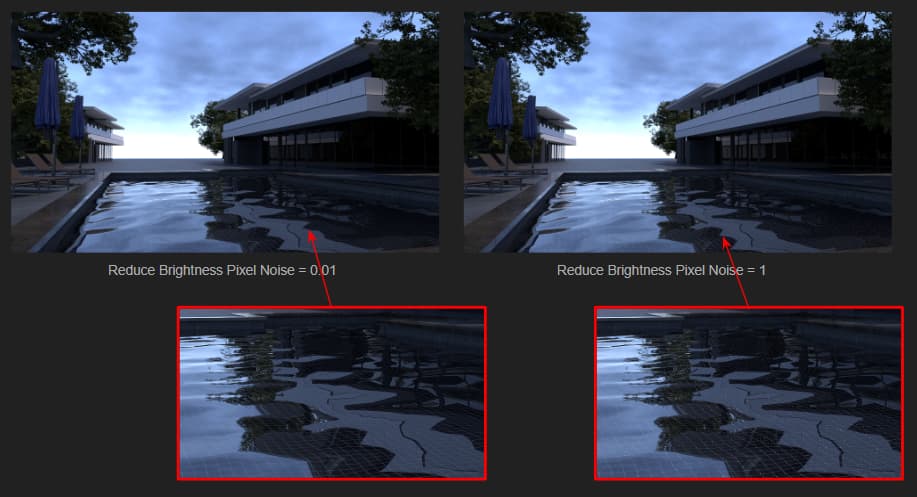
Reduce Brightness Pixel Noise: suppresses “fireflies,” isolated bright stray pixels. Disable for a strictly physically correct result.

- Denoise: cleans remaining noise. At very low sample counts it can blur fine detail (hair, fabric); raise samples for detail work.
Watch your render converge: enable the Info overlay (Preference Settings → Display → Info, hotkey Ctrl + F) to see Current Samples / Max Samples in real time.
That’s it. Switch engine, check the conversion options, set your samples, render. For everything tunable beyond this, see Post 2. For ready-made materials, light presets, and demo projects you can apply instantly, see Post 3.
Part 6: Not yet supported in RTX mode
RTX Open beta does not support the following VFX, you can switch back to DX11 to restore all of these:
- Content/Texture: Height Map/Terrain, Displacement, AO Map, PopcornFX/Particles/SpeedTree, live Substance, UV Animation
- Visual: Ambient Occlusion, Toon Shader, Fog, GI settings, Lens Flare, Motion Blur, Sky Mesh, Exclude Effect
- CC editing: Edit Mesh/Normal, Skin Weights, AccuRig, Facial Profile Editor, SkinGen
- Light: Light Range, Volumetric, IES, Falloff Attenuation
- Render: 3D Stereo, Panorama, alpha channel export
Known limitations (beta)
- Denoise can blur fine detail at low sample counts
- Rectangle and Tube mesh lights render slower
- Adding a new IBL clip still has a defect
- Ambient color currently conflicts with IBL
- Procedural sky can overexpose at high brightness
Feedback
Post bugs and findings in this thread with your GPU, build number, reproduction steps, and a screenshot or sample project. Your reports directly shape the public release.