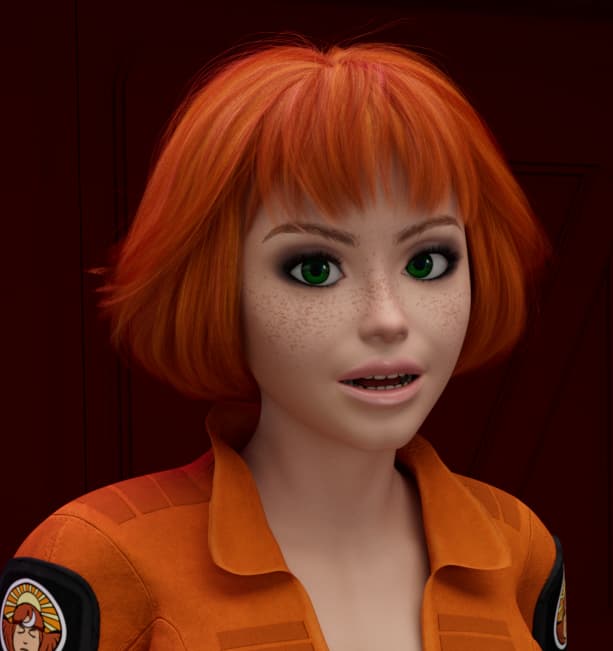
The next chapter of Quest of the Key is now available. A lot of Daz assets, custom motion capture, composed in CC/iClone, rendered in Cinema 4D. CC/iClone have really made the animation process so much easier (relatively—animation is always hard ), and I think with better results. Let me know what you think!
As always, very entertaining. The dialogue is fun to follow. Hopefully, it’ll continue soon, even though I know there’s a lot of work to be done for one episode.
Thank you! Acculips really helps with selling the dialog, and keeps getting better–it’s now more a task of tweaking than fixing. “Soon” is a relative term in animation as I’m sure we all here know LOL.
Thanks! I think we all learn from each other, so it’s great to have a forum like this.
Thanks! Yes, this and the last ep were using Redshift–got a decent GPU (rtx4070) that does a pretty good job. Still, it’s an arms race against wanting to do more complex things because I can, so some renders are still pretty long, like shots that literally took days to render.
I’m open to suggestions! There are things I know I would change or want to do better (sometimes you just gotta let it go) but I may not have seen all of them.
When Alleyway showed up, his foot contact seems slightly off.
The ranger used pretty much the same hand motion twice when explaining things. Also, whenever he was not speaking, he was pretty “stiff” (but perhaps that is in line with his character).
The textures on Smithhammer’s armor looked a little stretched in places (perhaps due to his rotund shape).
The background of the “cave scene” looks a little too bluish and detailed. Personally, I would have used more reddish lighting and perhaps stronger DOF to more strongly separate the characters from the background. The barrels in the background also look a little strange to me (as if they are not 3D; and they have the same texture).
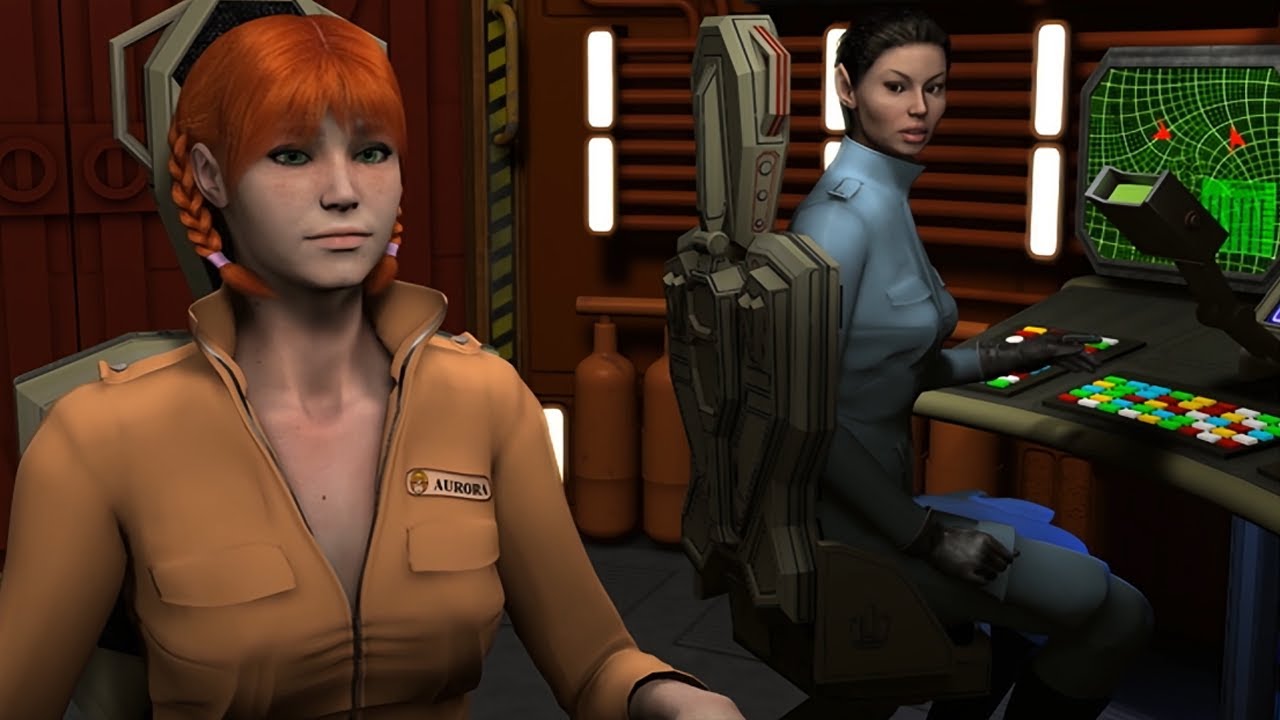
The “captain” should perhaps have had more of an introduction (but perhaps that will happen in a future episode); she also reminded me of a character from the Auroratrek series). The sailor in the boat did not have any lines and also seemed not to react to anything that happened. Neither did the captain, except to hurry things along a little. I think that more quick reaction shots (close-ups) might help to convey the emotions of those not speaking.
The sailing boat has decent detail (e.g. the ropes and rigging), however the sails could have been animated and the flag (with the Auroratrek channel logo) does not seem to quite align with the presumed direction of the wind. I also would have placed the bow wave a little closer to the tip of the bow; the texture for the wake seems a little too rectangular, perhaps a trapezoid shape with a fade-out towards the edges would have been preferable.
The ending shot with Darla at the bow reminds me of a still from Queen Christina (1933) with Greta Garbo; while I like the scene and the subtle facial animation, the eye light is distracting because it seems to come from the wrong direction (the sun is to the left and behind Darla and, IMO, shouldn’t be able to light up her eyes like that—yes, I realize that it is not always “correct” in the movies either, but here the eye light is quite prominent and draws attention to itself). Also, since Darla has dark brown eyes, there is almost no contrast between her iris and the black of the pupil, which makes the eye-light reflextion stand out even more. You could perhaps subtlely light her eyes separately (without reflection and obvious eye light use, by limiting a light to her eyeballs only) to help with the contrast in difficult lighting. (I sometimes use two eye lights, one to show up in the reflection and one to make the eyes more clearly visible; while both are pointed at the eyes, they may not necessarily be on-axis because they serve different purposes).
Tim,
I just had a quick look at the original Aurora film( 4K version).
You say you have switched to Redshift, but honestly unless it is just way way faster I am not seeing any major visual quality improvement over the older Star Trek fan film
made with the standard renderer.
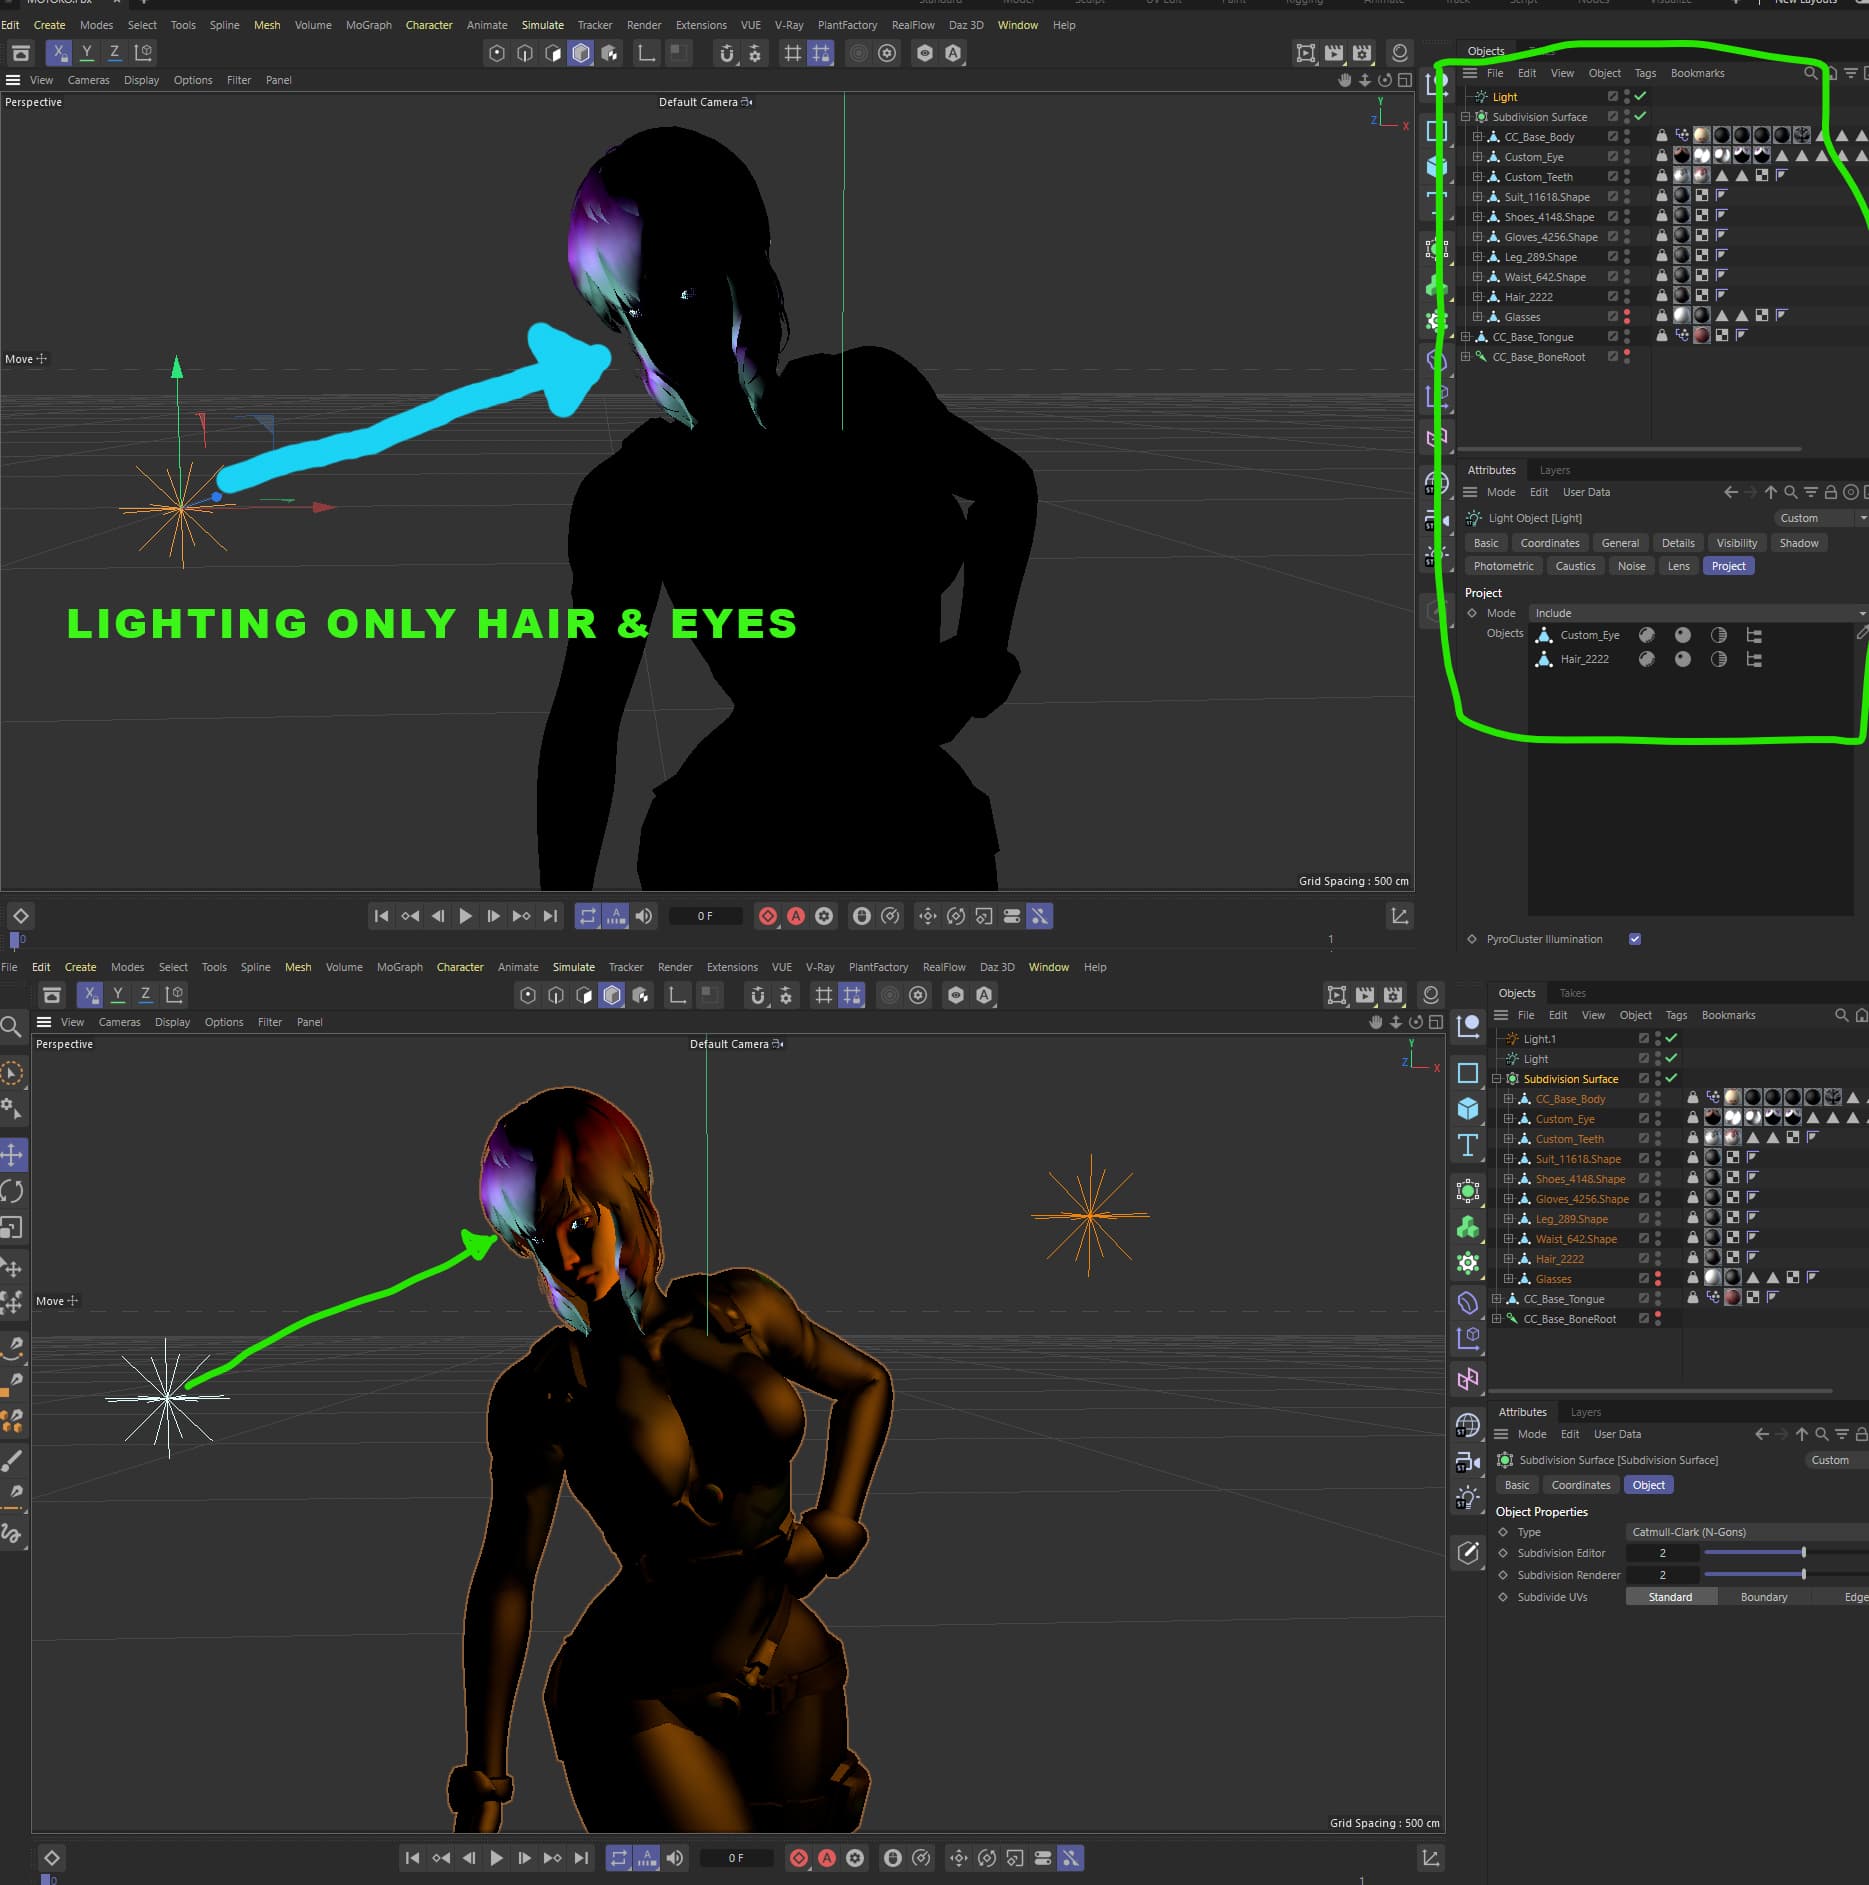
@Nirwana: thanks for the “nitpicks”–it’s always good to have another set of eyes on something. For a lot of these, I guess it’s why big productions have production meetings to catch little things that stand out to other animators, tho some may be intentional or stylistic choices that I guess people will have to decide if they work. Stranger’s stiffness is his personality, as you suspect. The blue lighting I amped up so–visually–the whole video isn’t just shades of brown, and also to make a more dramatic and cartoony color scheme, tho it’s possible to overdo these things. The captain and sailor are “NPCs” to use a gaming term, so I didn’t want to introduce them as characters per se, since, narratively, this episode is when the “party” for the series is finally assembled–I wouldn’t want anyone to think they are main characters that we’ll see again. (And the captain is the character from Auroratrek–just a little easter egg.) I agree that–looking at it afresh–the eye spot in the final shot should be on the other side. In the larger sense, eye lighting is the bane of my existence, and It seems to be a limitation of the C4D software that I can’t seem to be able to light the eyes separately when a character model is inside a subdivision surface object that I use to give them better mesh resolution. I’ve tried to figure out how to do it a number of times, to no avail, but maybe I need to break down and ask on an official forum, then maybe I can try your technique. In any case, thanks again for giving this a look!
Thanks for checking this! I do agree that the improvement is subtle and that I was able to achieve similar lighting to Redshift in the standard render. The disadvantage of Redshift certainly is the render time, but the advantage is that lighting a scene is a lot simpler for me with Redshift since it calculates reflected lighting that with the standard renderer I’d have to fake with a bunch of lights all around the scene–particularly to fill in shadows–so it’s a bit of give and take, tho maybe I’m erring on the side of laziness LOL. I’m hoping that the next GPU upgrade will finally catch up to the demands of the software, but it sometimes feels like an endless arms race.
and It seems to be a limitation of the C4D software that I can’t seem to be able to light the eyes separately when a character model is inside a subdivision surface object that I use to give them better mesh resolution. I’ve tried to figure out how to do it a number of times, to no avail,
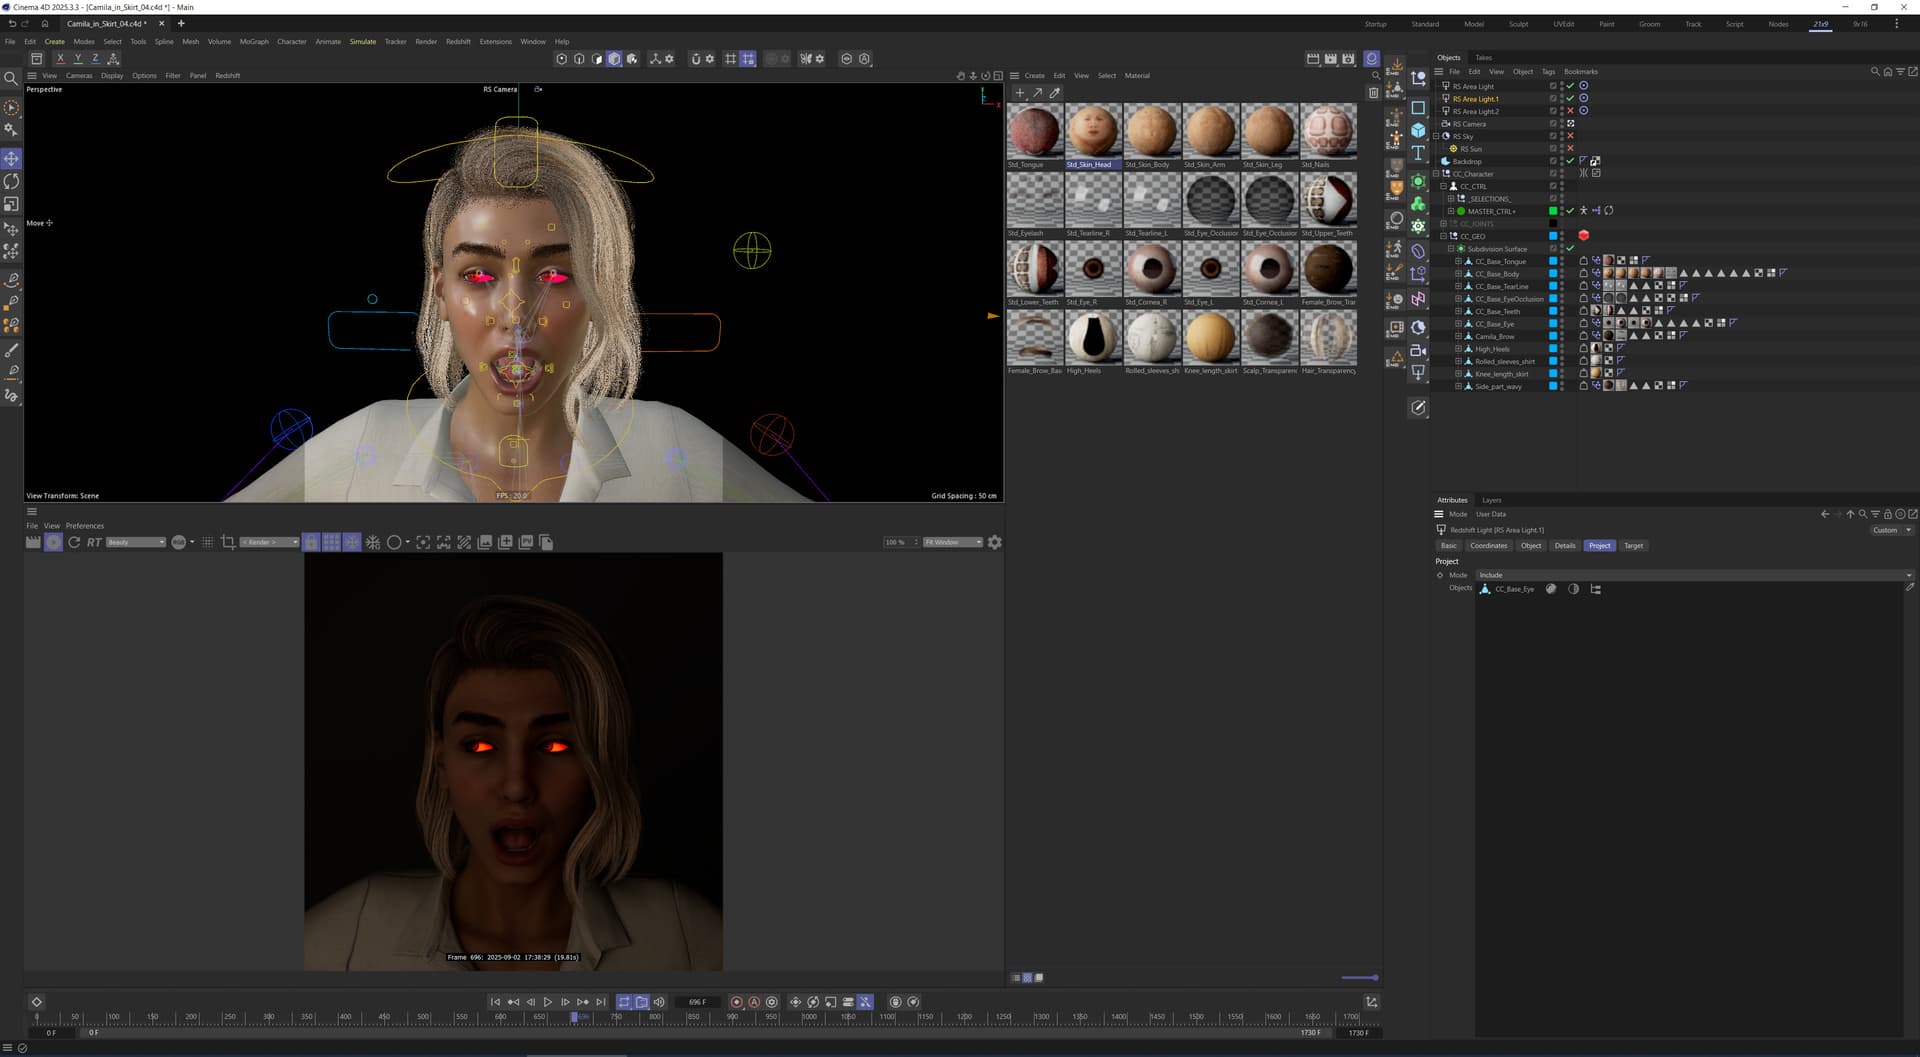
Could this be a Redshift lighting conversion issue not recognizing item under the subD object ??
I did a quick character export from my old CC3 to C4D with the standard renderer and lights I was able to exclusively light her eyes and hair even with them all under a subD object.
That said, I usually don’t put my entire characters into a subdiv surface because I like more granular control; instead of subdiv, I use RS tessellation (RS object tag) which allows me to use different levels of subdivision on the individual character meshes (e.g. I sometimes find that I reduce/disable subdivision/tessellation on teeth and increase it on hair) and also supports displacement maps.
I moved from Standard to Physical renderer in C4D some 10+ years ago, and after I switched to Redshift (about 7 years ago), I never looked back.
Quest of the Key is a long-term thing, the first chapter came out two years ago (I rewatched all five chapters yesterday) and I do notice differences, especially with character textures (e.g. the fabric material of Darla’s sleeves and the render quality of metals) and appreciate the switch to Redshift. However, Tim needs to be careful to not change the look too much for “normie” followers of Quest which means, any changes due to a switch in the render engine need to be rather subtle. In other words, the visual difference could be larger, if visual continuity did not have to be maintained or if the render style were less stylized to begin with.
I never really cared all that much for the layer-based material system for Standard and Physical and much prefer the node-based system that Redshift uses (depending on the intended look, it may not make that much of a difference in the final render, but it sure is different when setting things up).
Also, there are far more ready-made materials for Redshift than for Standard (which are quite useful when you need to re-texture or put materials on things) and Redshift supports PBR (and metalness workflow) which, AFAIK, Standard does not. Standard is also not a “physically accurate” render engine, which is probably why Maxon decided to add “Physical” (which is also often slower than Standard if I recall correctly—as I said, it’s been a long time).
Now, the Auroratrek movie you referenced uses what could be called a semi-NPR style with relatively simple materials/textures; the more complex the materials, the more Redshift wins. In that video, the textures/materials of the outfits are far less complex/detailed than in Quest; if Tim had tried to use high-res textures with bump/normal maps and subdivision in Auroratrek, I’m quite sure the render times with Standard would also have jumped. I’m also assuming that video does not use GI and SSS all that much, if at all. If you add those (in Physical) render times increase considerably.
What I’m trying to say is that Redshift is faster if you try to get the same render quality out of Standard/Physical. However, for a simpler, NPR render style, the Standard/Physical may have a speed advantage. It is a little like the iClone render engine and Iray; iClone renders faster, Iray looks better, but the differences may not be “earth-shattering”.
I would also not be surprised if some scenes in Quest rendered faster in Redshift (if properly optimized) than in Standard, e.g. those with a ton of instanced trees.
Finally, Redshift being a GPU render engine, scales with the GPU power and that has been, in my experience, increasing faster than CPU performance over the past years. Cinebench 2024 uses a render benchmark based on Redshift and runs on the CPU or GPU. On all my C4D systems, the GPU scores run circles around the CPU scores on the same system (note: Cinebench does not work on RTX50xx GPUs yet).
Thanks! I might be doing something wrong, but I thought that a character only gets affected by the SS if it’s first inside a Group. When I put the hierarchy just “loose” inside the SS, it doesn’t seem to be affected. I think it may be that “nesting” that puts it beyond the reach of the light. As it turns out, Nirwana might have pointed things in the right direction in the Redshift world:
Okay, I didn’t know this RS Tesselation was a thing LOL. I gave it a try, and I can already see the possible benefit that it doesn’t slow things down in the viewport like a SS tag does, but seems to do the same thing, render-wise. Also, by not having to nest the objects (as above) lights seem to able to “reach” individual objects (like the eyes) in the hierarchy, so this might be the way to go. Thanks! I’ll need to explore this some more and see if it works for me, but it’s certainly promising. I’m still pretty new to Redshift, so I guess I have a lot to learn.
Metals are definitely a big improvement–they were a total PITA in the standard materials, so I appreciate a “Metalness” slider
The nodes took some getting used to, and I’m still not sure what everything does, but I think I’m getting there. More powerful for sure, but seems a bit more complicated too.
Yes, far simpler textures, not least because I began work on it almost 20 years ago! As I noted to others at the time, one of the reasons I could attempt something like Aurora at the time was partly because the environments were mostly flat shiny surfaces and simple geometric shapes–no grass, no dirt, no fog, nothing too organic. I don’t think Quest would have been possible back then.
Yes, the “Sprite” node is pretty nice for speedier renders for objects with a lot of alpha channels.
Anyway, thanks to both of you for helping me revisit the SS/RS/lighting issue, I think this will be very helpful going forward.
It does not do exactly the same thing. The C4D subdiv gives you a choice of the algorithm to use for the subdivision. Also, you can use the C4D subdivided mesh as input for other things (the tessellation is only at render time; however, if you want to use displacement maps, it’s pretty much a necessity). You may want to check out the documentation on the RS Object tag and tessellation in Redshift to avoid a “hanging system” or wasting render time without visual benefit. I would also advise looking into the wireframe node to help you visually judge what kind of tessellation levels may be a good compromise between looks and speed (the default values are often overkill).
Again, I don’t know what the problem appears to be. As you can see in the screenshot I linked before, the entire character mesh is in a C4D SubDiv object and the eye-light works just fine.
I would use that metalness slider only if the assets you are using don’t come with a metalness map or if you are creating your own RS materials from scratch; in all other cases, a proper metalness maps is usually preferably. BTW: Characters, clothing, and other objects exported from iClone via FBX that have PBR materials should also come with metalness textures. However, these may have to be linked manually in C4D.
I was not just thinking about the Sprite node, but also populating a scene with instanced objects. If you have complex backgrounds (i.e. many polys), that need to be rendered several times/over a number of frames, I would suggest looking into Redshift proxies. For some scenes, they can (a) speed things up in the viewport (simplified look) and when rendering and (b) take up less VRAM.
Okay, thanks, I’ll look into the nuances of the RS Tesselation. Initially, however, I did a side-by-side render comparison between using the RS Tesselation and a SS, and they looked exactly the same, but RS didn’t bog down the system.
It might be working on yours because you have an RS Object tag on the Group(?) I didn’t and that seems to be an issue for me. But, no matter, I’ll use the RS Tesselation going forward.
Okay, I’ll look into this more, thanks!
I’m guessing the plants that come with C4D come in as Redshift Proxies? They do render nicely in large numbers!
But, since I mentioned the Sprite node, I did get some really great results using it for this card-based hair I recently purchased. With the help of your and Autodidact’s suggestions, I was able to work with the textures which–if left as simple transparencies–would have killed the render, but what I ended up doing was doubling the size of the alpha channel, increasing the contrast a bit, then making it a black-and-white bitmap and using that in the Sprite, and not only did it render quickly, but I’d challenge anyone (okay, not you guys LOL) to not think this was strand hair. Thanks again for all the help!
 ), and I think with better results. Let me know what you think!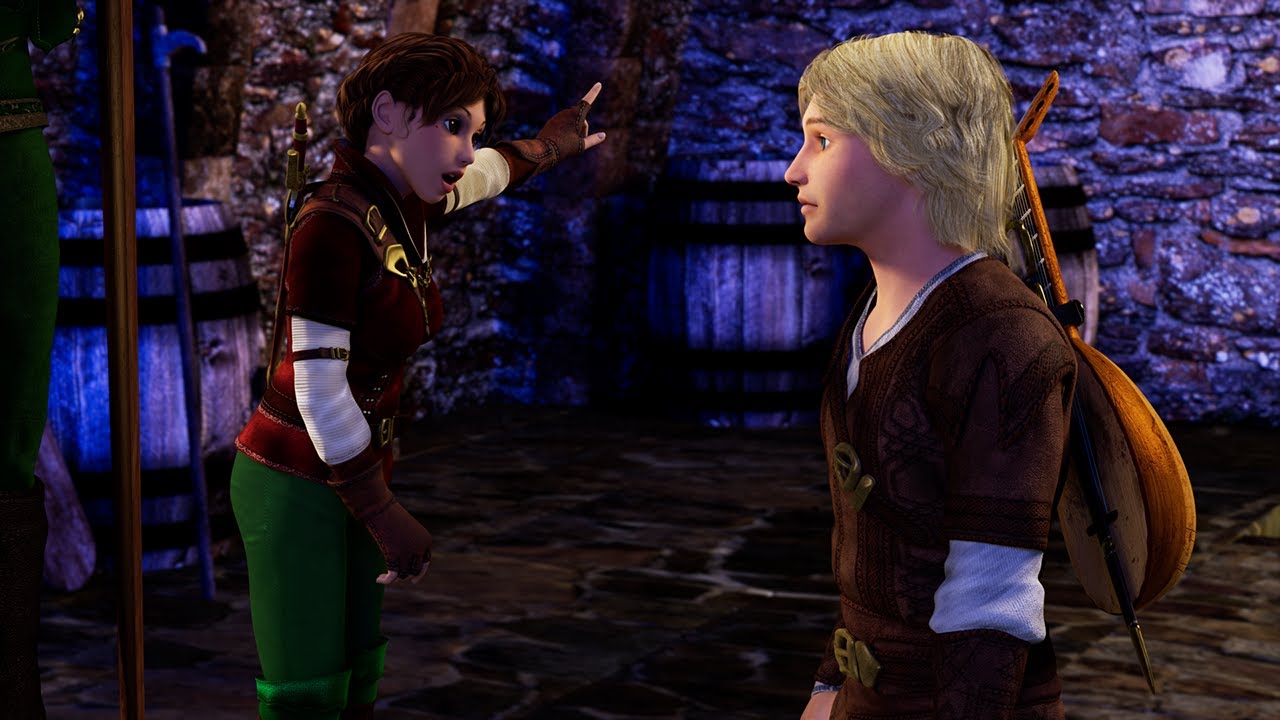

 For a lot of these, I guess it’s why big productions have production meetings to catch little things that stand out to other animators, tho some may be intentional or stylistic choices that I guess people will have to decide if they work. Stranger’s stiffness is his personality, as you suspect. The blue lighting I amped up so–visually–the whole video isn’t just shades of brown, and also to make a more dramatic and cartoony color scheme, tho it’s possible to overdo these things. The captain and sailor are “NPCs” to use a gaming term, so I didn’t want to introduce them as characters per se, since, narratively, this episode is when the “party” for the series is finally assembled–I wouldn’t want anyone to think they are main characters that we’ll see again. (And the captain is the character from Auroratrek–just a little easter egg.) I agree that–looking at it afresh–the eye spot in the final shot should be on the other side. In the larger sense, eye lighting is the bane of my existence, and It seems to be a limitation of the C4D software that I can’t seem to be able to light the eyes separately when a character model is inside a subdivision surface object that I use to give them better mesh resolution. I’ve tried to figure out how to do it a number of times, to no avail, but maybe I need to break down and ask on an official forum, then maybe I can try your technique. In any case, thanks again for giving this a look!