Hi all,
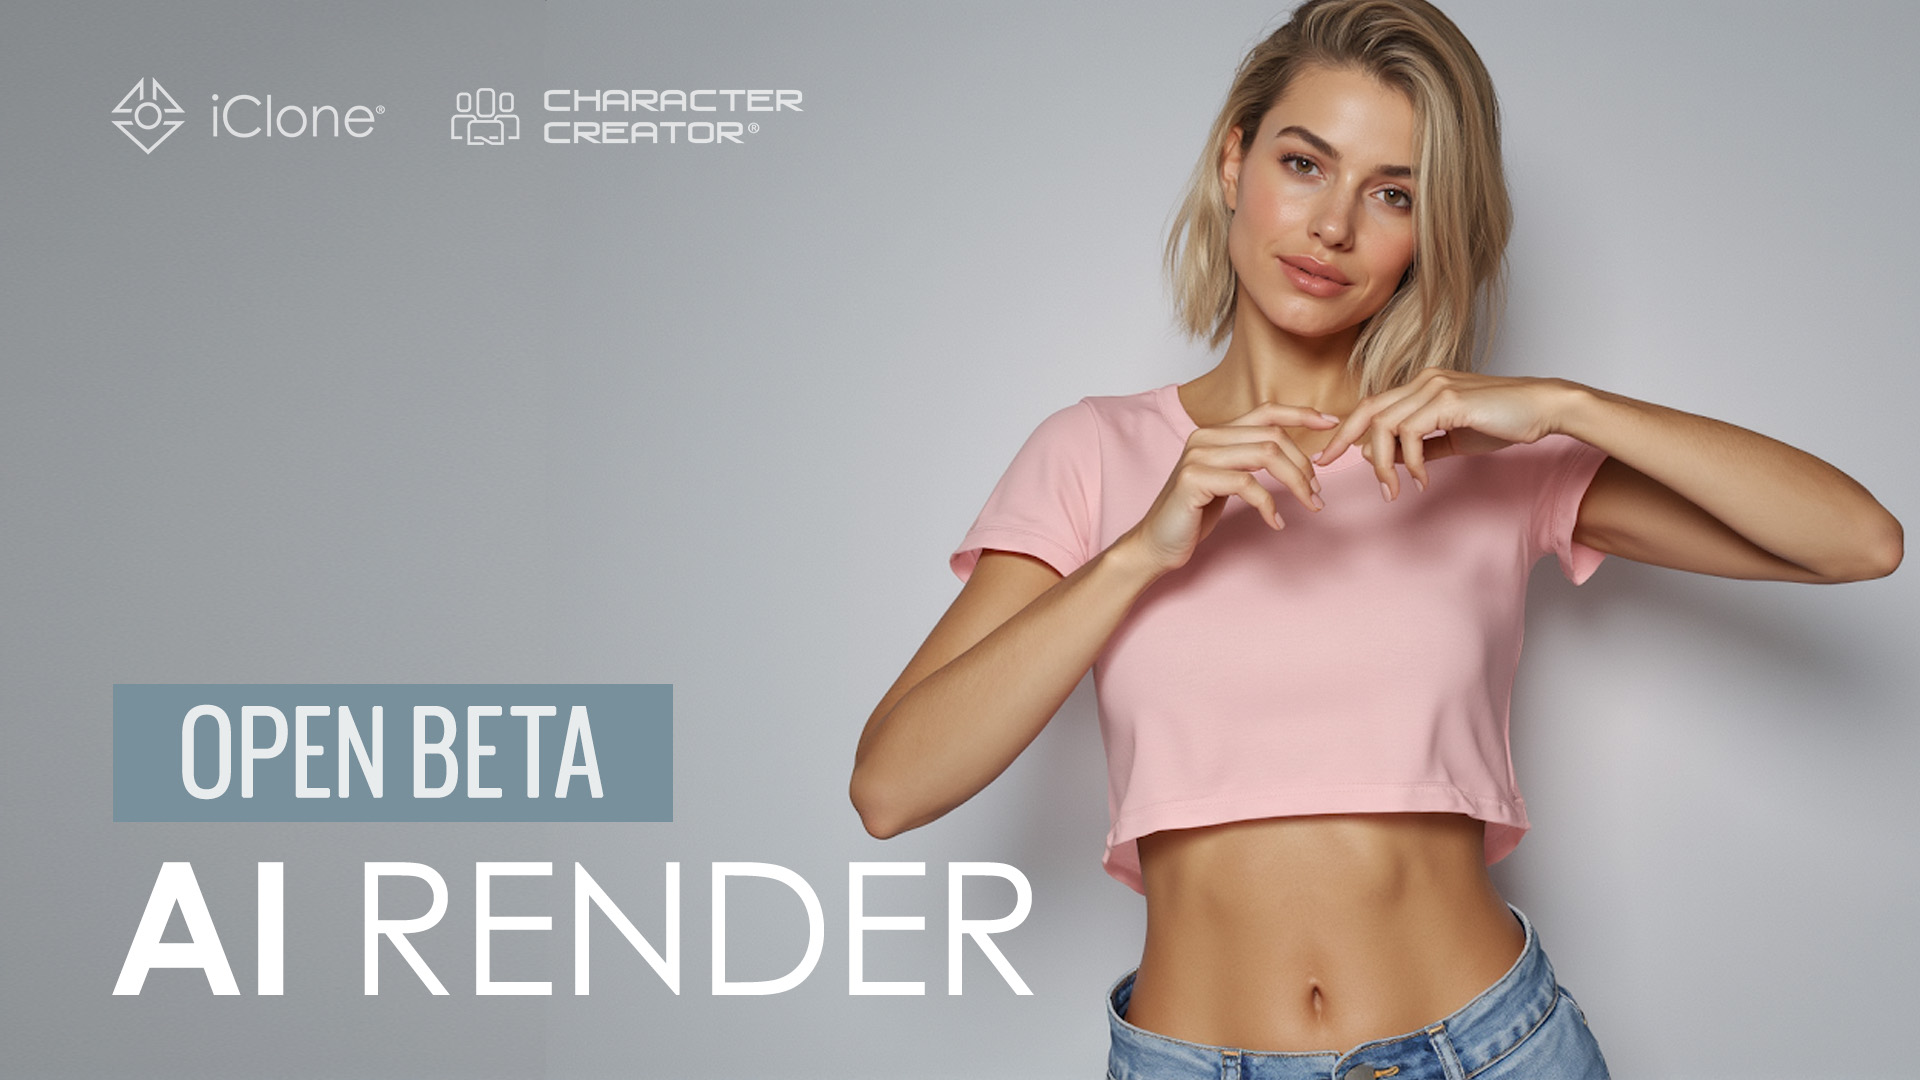
Welcome aboard! AI Render is a powerful free plugin that connects real-time 3D tools like Character Creator and iClone to AI-powered rendering through the advanced ComfyUI workflow.
This is where AI generation meets 3D precision. Whether you’re an experienced ComfyUI creator or just starting with AI rendering, this forum is your go-to resource hub for tips, workflows, and community support.
 Installation & Setup Guide
 Environment Requirements
![]() Operating System: Windows 10 or above
Operating System: Windows 10 or above
![]() Graphics Card: NVIDIA 30 series 8GB (minimum), AMD GPUs are not supported
Graphics Card: NVIDIA 30 series 8GB (minimum), AMD GPUs are not supported
![]() Program Version:
Program Version:
- Character Creator 5, Character Creator 4.6 or above
- iClone 8.6 or above
![]() Recommended Storage Space: 80 GB
Recommended Storage Space: 80 GB
![]() ComfyUI & Models
ComfyUI & Models
-
The AI Render installer will also set up ComfyUI automatically for you — no separate installation required.
-
Default models included: Stable Diffusion 1.5 for image generation, Wan2.1 Fun 1.3B Control, and Wan2.1 VACE 1.3B for video generation.
-
You don’t need to install all models in advance. Instead, simply download the ones required for the style presets you want to use from the AI Render Settings, ComfyUI tab.
 Download the Plugin
Character Creator 5:
https://cdn4.reallusion.com/AI_Render_Beta_1002_for_CC5_Enu_Full.zip
Character Creator 4.6:
https://cdn4.reallusion.com/AI_Render_Beta_1002_for_CC4_Enu_Full.zip
iClone 8.6:
https://cdn4.reallusion.com/AI_Render_Beta_1002_for_IC8_Enu_Full.zip
Check out the latest version
 Quick Start — Install Plugin + Pre-built ComfyUI
If you’re new to ComfyUI or just want to start creating with ease, download the plugin and the Reallusion-built ComfyUI package.
-
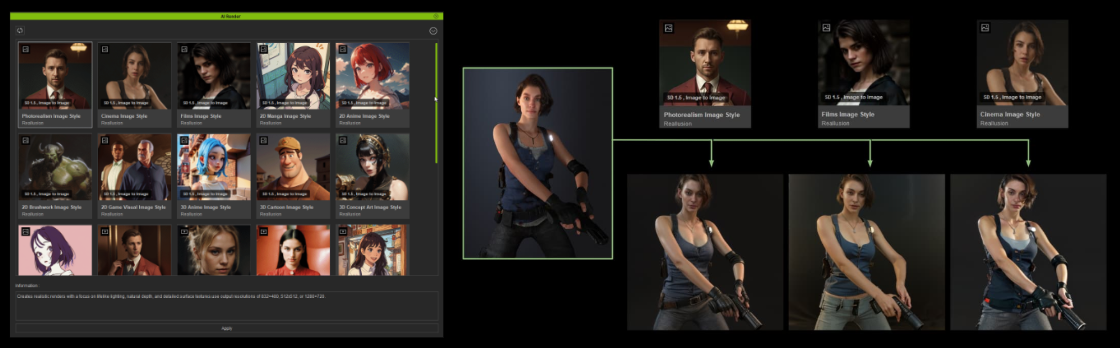
Includes ready-to-use Style Presets (2D, 3D, and photorealistic looks).
-
No need to set up complex workflows — just plug in and start rendering.
-
Presets can all run locally as long as your system meets the environment requirements.
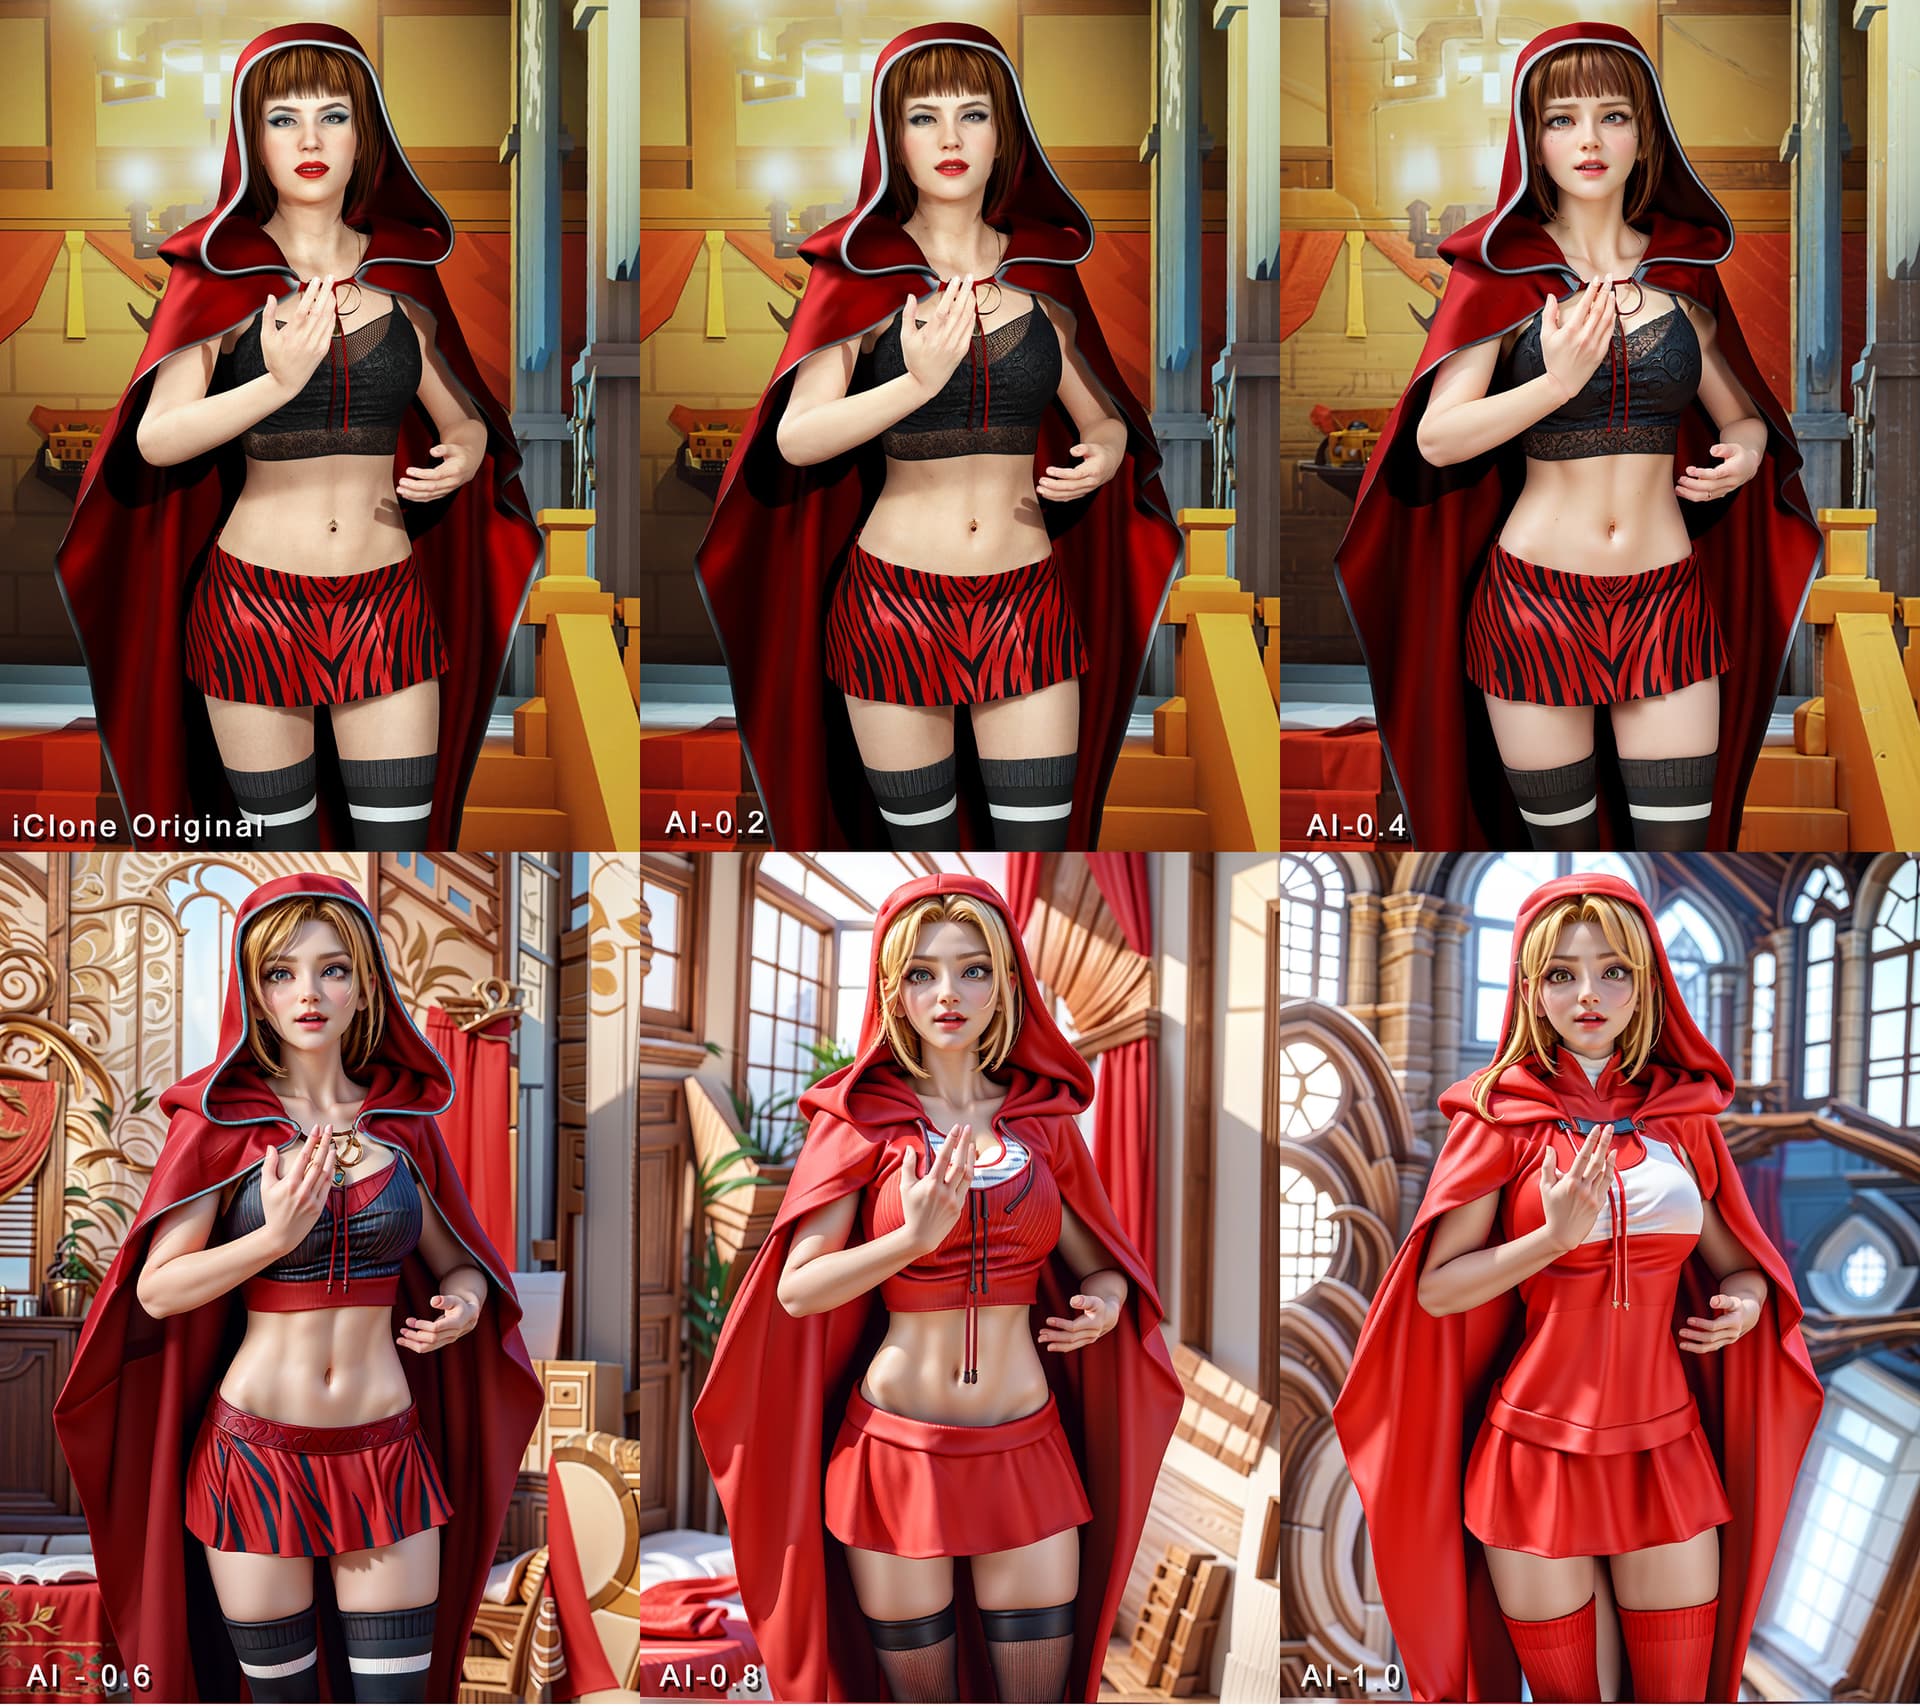
![]() Learn more about the style presets and how to fine-tune in:
Learn more about the style presets and how to fine-tune in:
[Official] ![]() Fully Customizable 2D, 3D, and Photorealistic Rendering Styles
Fully Customizable 2D, 3D, and Photorealistic Rendering Styles

 Advanced Setup — Integrate with Your Own ComfyUI
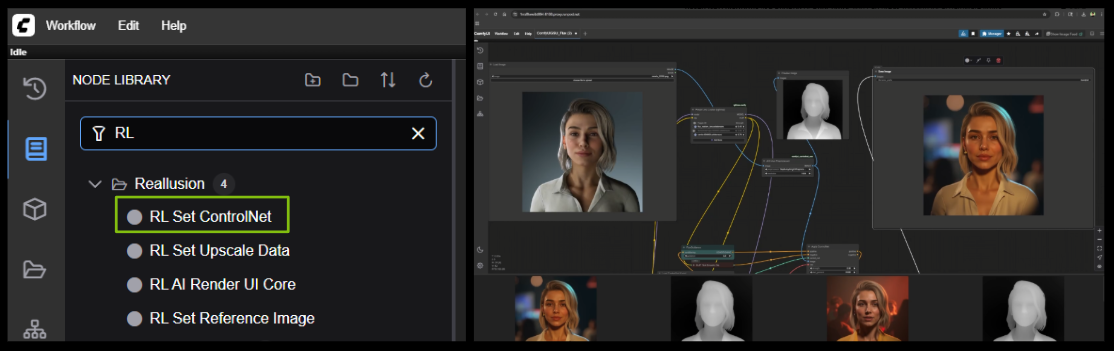
If you already have ComfyUI installed and are familiar with workflows, you can connect the plugin to your existing environment. This lets you:
- Achieve pro-level character consistency and precision for multi-frame AI videos.
- Make the plugin compatible with your existing ComfyUI workflows, so you can continue working with setups you already use.
- Build custom workflows and experiment with high-end models (e.g., Flux, WAN FusionX).
![]() Learn more about how to achieve production level controllability and quality in:
Learn more about how to achieve production level controllability and quality in:
[Official] ![]() Consistent Characters and Precise Control for AI Films and Commercial Production
Consistent Characters and Precise Control for AI Films and Commercial Production
[Official] ![]() Maximize AI Render Performance: Custom Workflow Setup & Tips
Maximize AI Render Performance: Custom Workflow Setup & Tips

 Scaling Up with Cloud-GPU
Running heavy workflows with large models can be demanding on local hardware. To break through these limitations, you can leverage Cloud-GPU solutions:
- We’re providing RunPod & RunComfy templates.
- Skip complex local setup and access powerful GPUs instantly.
- Great for rendering advanced workflows that require high VRAM.
![]() Learn more about how to set up cloud GPU and get templates in:
Learn more about how to set up cloud GPU and get templates in:
[Official] ![]() Cloud-GPU Templates for AI Render — Powered by RunComfy & RunPod
Cloud-GPU Templates for AI Render — Powered by RunComfy & RunPod
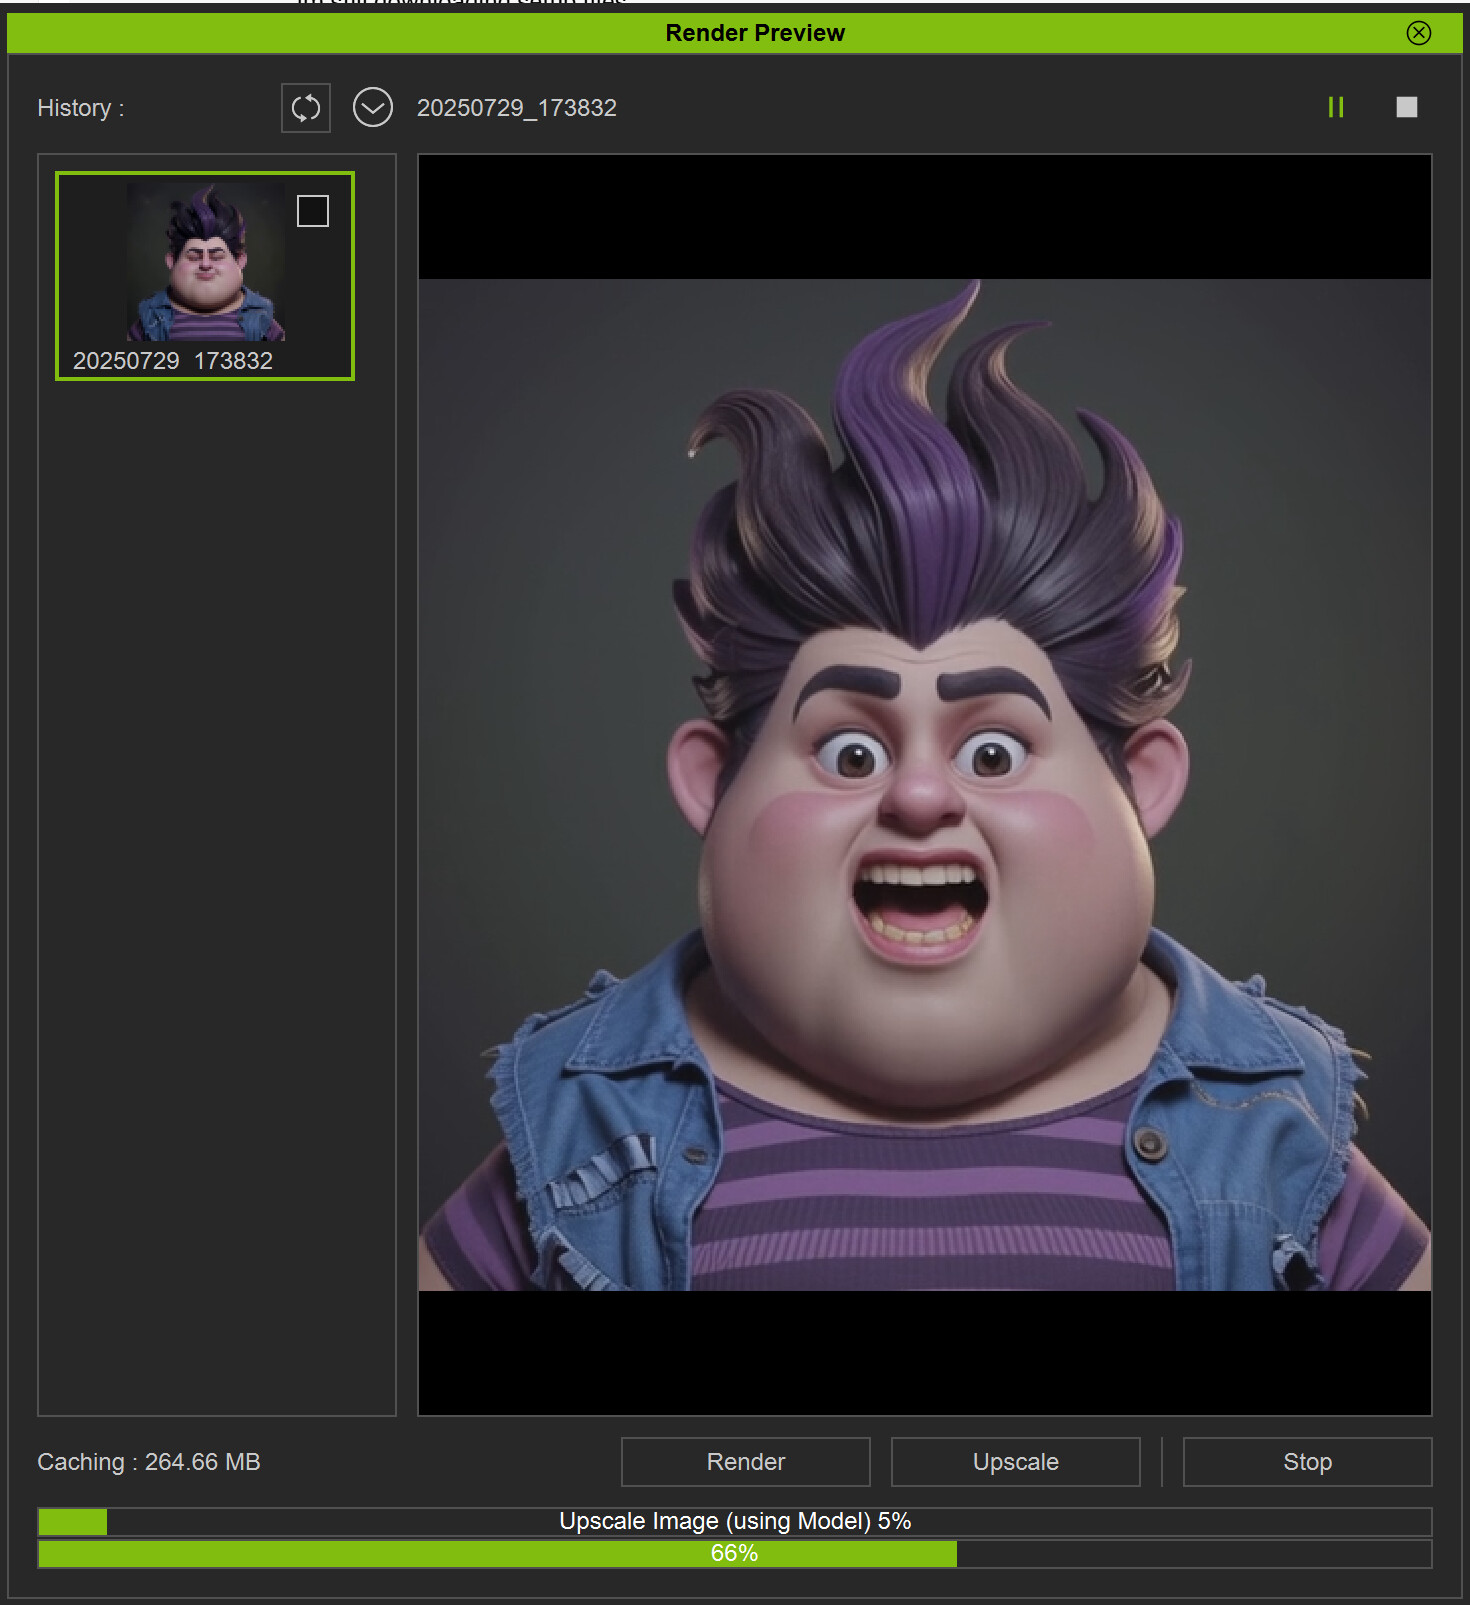
 Estimated Render Time
Based on default models: Stable Diffusion 1.5 for image generation, and Wan2.1 Fun 1.3B Control and Wan2.1 VACE 1.3B for video generation.
- Image (512×512): ~5–10 seconds per render
- Video (512×512, 5 seconds): ~5–10 minutes per render
These estimates do not include model loading time.
Actual performance may vary depending on your system specs (GPU, CPU, RAM) and the complexity of your scene, prompt, and style settings.
![]() Performance Tips
Performance Tips
For GPUs with less than 16 GB VRAM, we recommend:
-
Use 512×512 or 832×480 resolution for video.
-
Keep video length under 5 seconds for best stability and speed. (If the project frame rate is 60 FPS, 5 seconds equates to 300 frames.)
-
You can upscale videos later after previewing, to balance speed and quality.
 Navigating the Forum – How Official Threads Work
All official threads are labeled with [Official] in the title. These threads are monitored by the Reallusion team and contain the most accurate, up-to-date information.
Product Features:
[Official] ![]() Fully Customizable 2D, 3D, and Photorealistic Rendering Styles
Fully Customizable 2D, 3D, and Photorealistic Rendering Styles
Explore unique style presets and customize AI outputs.
[Official] ![]() Consistent Characters and Precise Control for AI Films and Commercial Production
Consistent Characters and Precise Control for AI Films and Commercial Production
Learn advanced workflows for multi-frame AI videos and character consistency.
[Official] ![]() Maximize AI Render Performance: Custom Workflow Setup & Tips
Maximize AI Render Performance: Custom Workflow Setup & Tips
Get the best results by optimizing performance for your system.cl3
[Official] ![]() Cloud GPU Templates for AI Render – Powered by RunComfy & RunPod
Cloud GPU Templates for AI Render – Powered by RunComfy & RunPod
Access cloud GPUs for heavy workflows without local hardware limits.
Version Update:
[Official] ![]() AI Render Plugin Update — Coming September 1
AI Render Plugin Update — Coming September 1
Announcement of the upcoming AI Render plugin update
[Official] ![]() AI Render Plugin 0901 Version Release Note
AI Render Plugin 0901 Version Release Note
[Official] ![]() AI Render Plugin 1002 Version Release Note
AI Render Plugin 1002 Version Release Note
Educational Resources:
[Official] ![]() First AI Render Webinar on Aug 22 – Register Now!
First AI Render Webinar on Aug 22 – Register Now!
Learn how to set up Flux 1 Dev on cloud GPU and connect it with iClone for production-level AI image generation with precise 3D guidance.
[Official] ![]() Second AI Render Webinar on Aug 29 - Register NOW!
Second AI Render Webinar on Aug 29 - Register NOW!
Master the full LoRA training workflow—from preparing CC/iClone characters to training with FluxGym on RunPod—for consistent character results in AI Render.
[Official] ![]() Third AI Render Webinar on Sep 5 - Register NOW!
Third AI Render Webinar on Sep 5 - Register NOW!
Explore WAN video workflows in iClone, combining 3D animation control with advanced video-to-video rendering for dynamic, cinematic results.
Events:
[Official] ![]() AI Makeover Community Challenge – Free CC5 Awaits!
AI Makeover Community Challenge – Free CC5 Awaits!
Showcase your creations and participate in the community challenge.
Get Help:
[Official] ![]() Bug Report & Technical Support
Bug Report & Technical Support
Central hub for troubleshooting and bug reporting.
 Community Guidelines
 Be Respectful
- Treat all members with courtesy and professionalism.
- Respect different skill levels, backgrounds, and creative styles.
- No hate speech, harassment, or personal attacks.
 Stay On Topic
- Post in the correct forum threads (e.g., bug reports, style guides, challenge entries).
- Keep replies relevant to the thread topic to help others find information easily.
 Share Constructively
- Offer helpful, respectful feedback when commenting on others’ work.
- Ask questions, share tips, and support fellow creators — we’re all learning together!
 Report Bugs Responsibly
- Use the official [Bug Report & Technical Support] thread.
- Include clear details, screenshots, and system specs where possible.
Please avoid posting offensive, inappropriate, or infringing content.
Reallusion is not responsible for any user-submitted content that violates legal, ethical, or community standards.