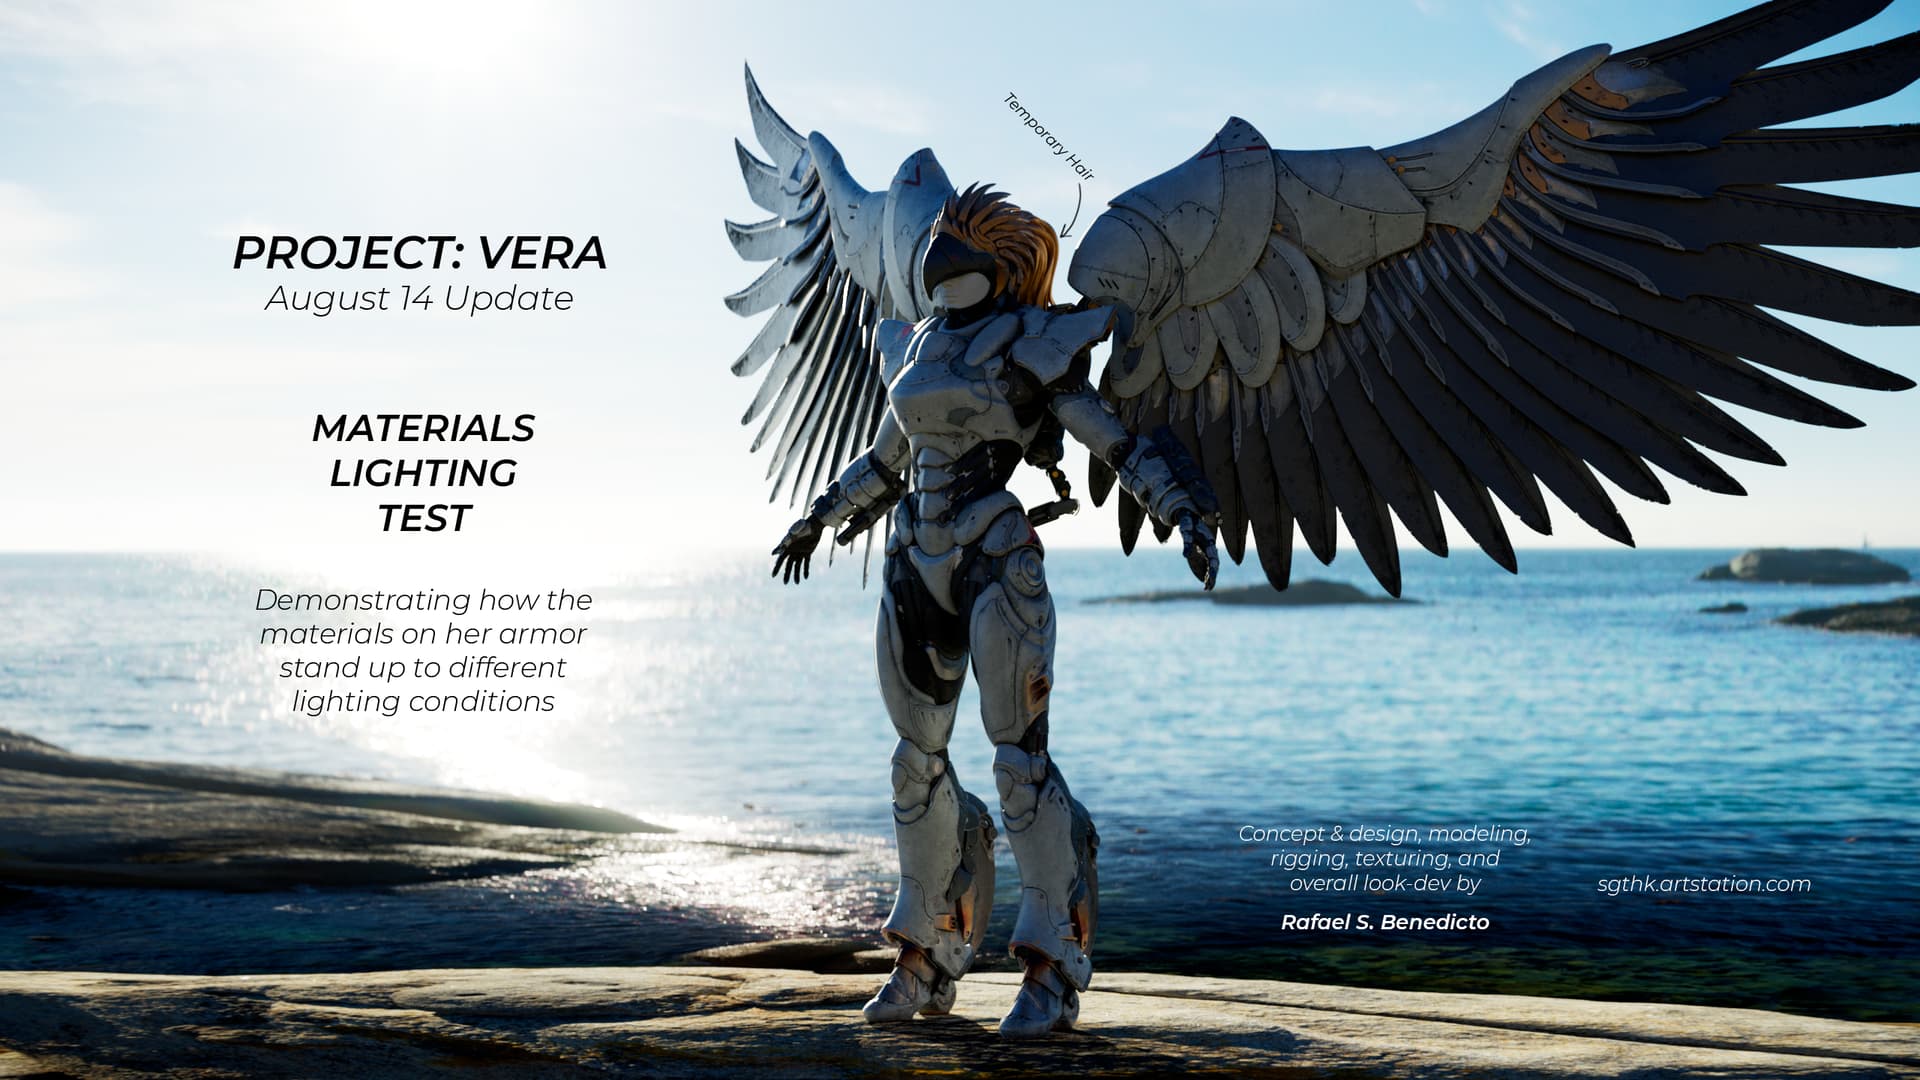
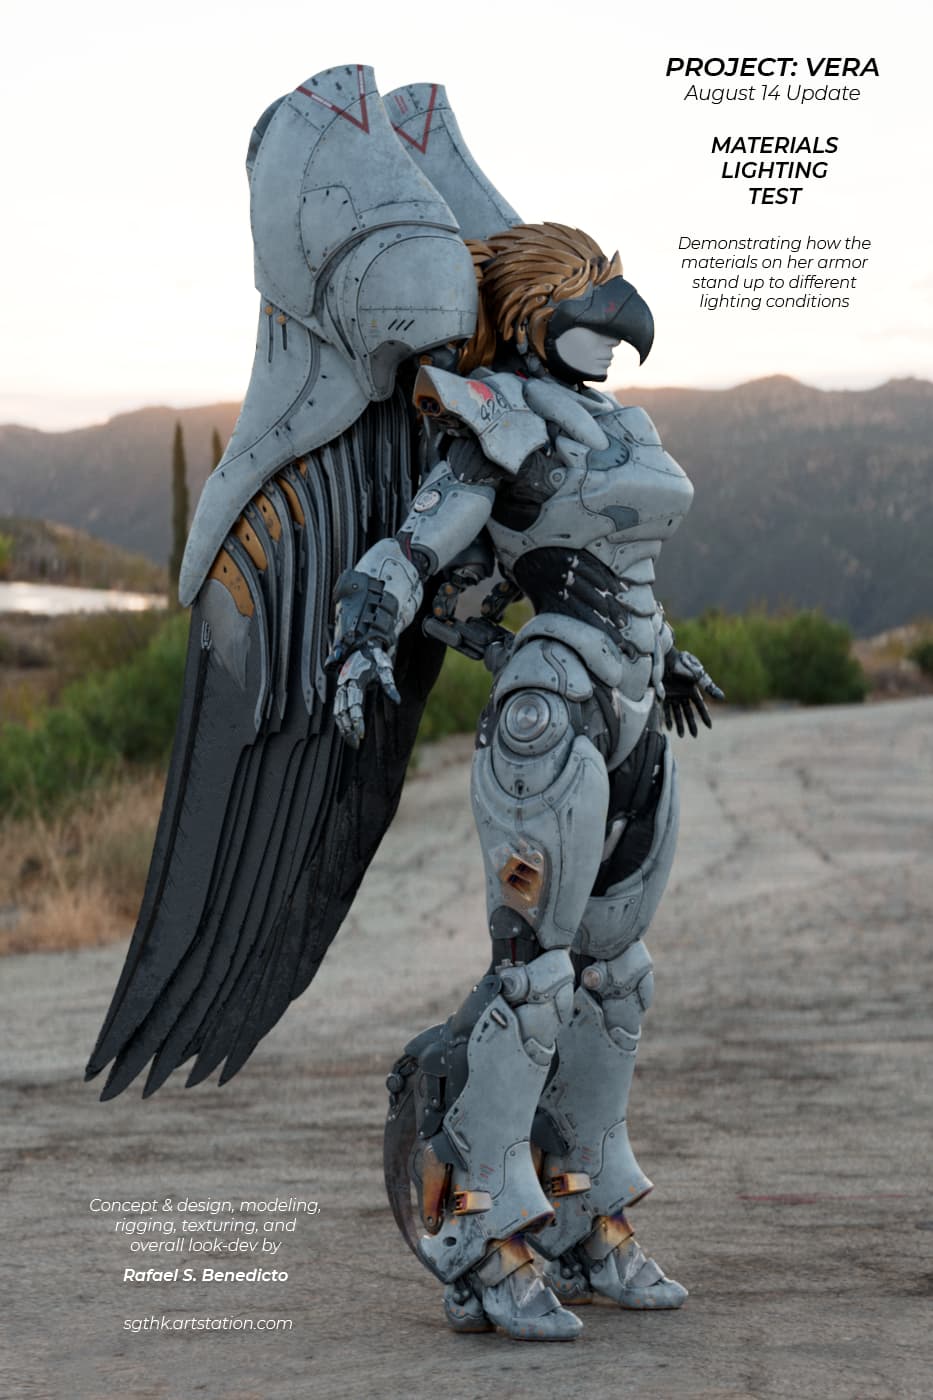
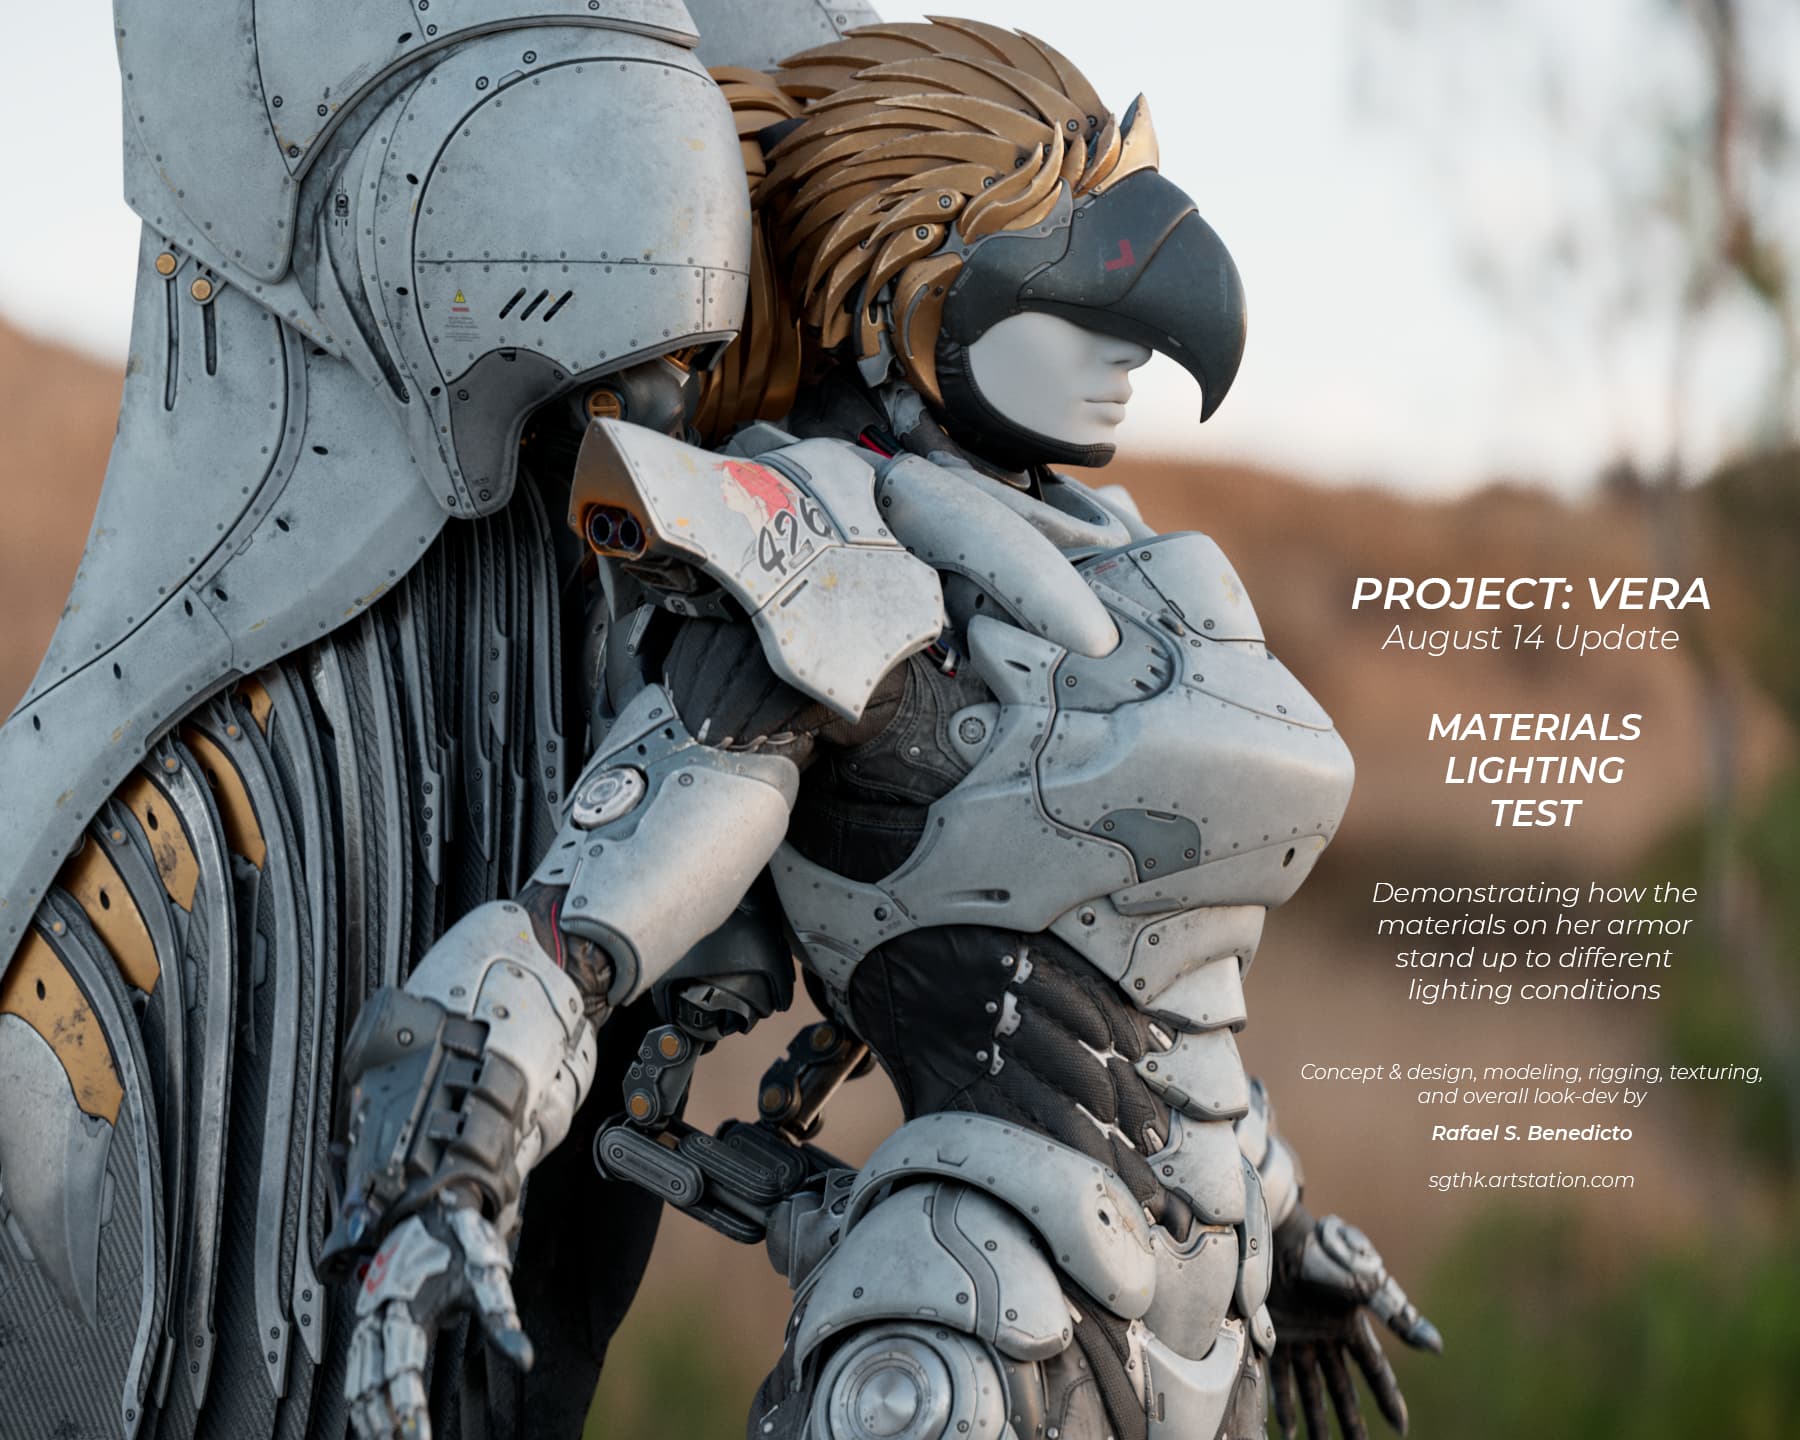
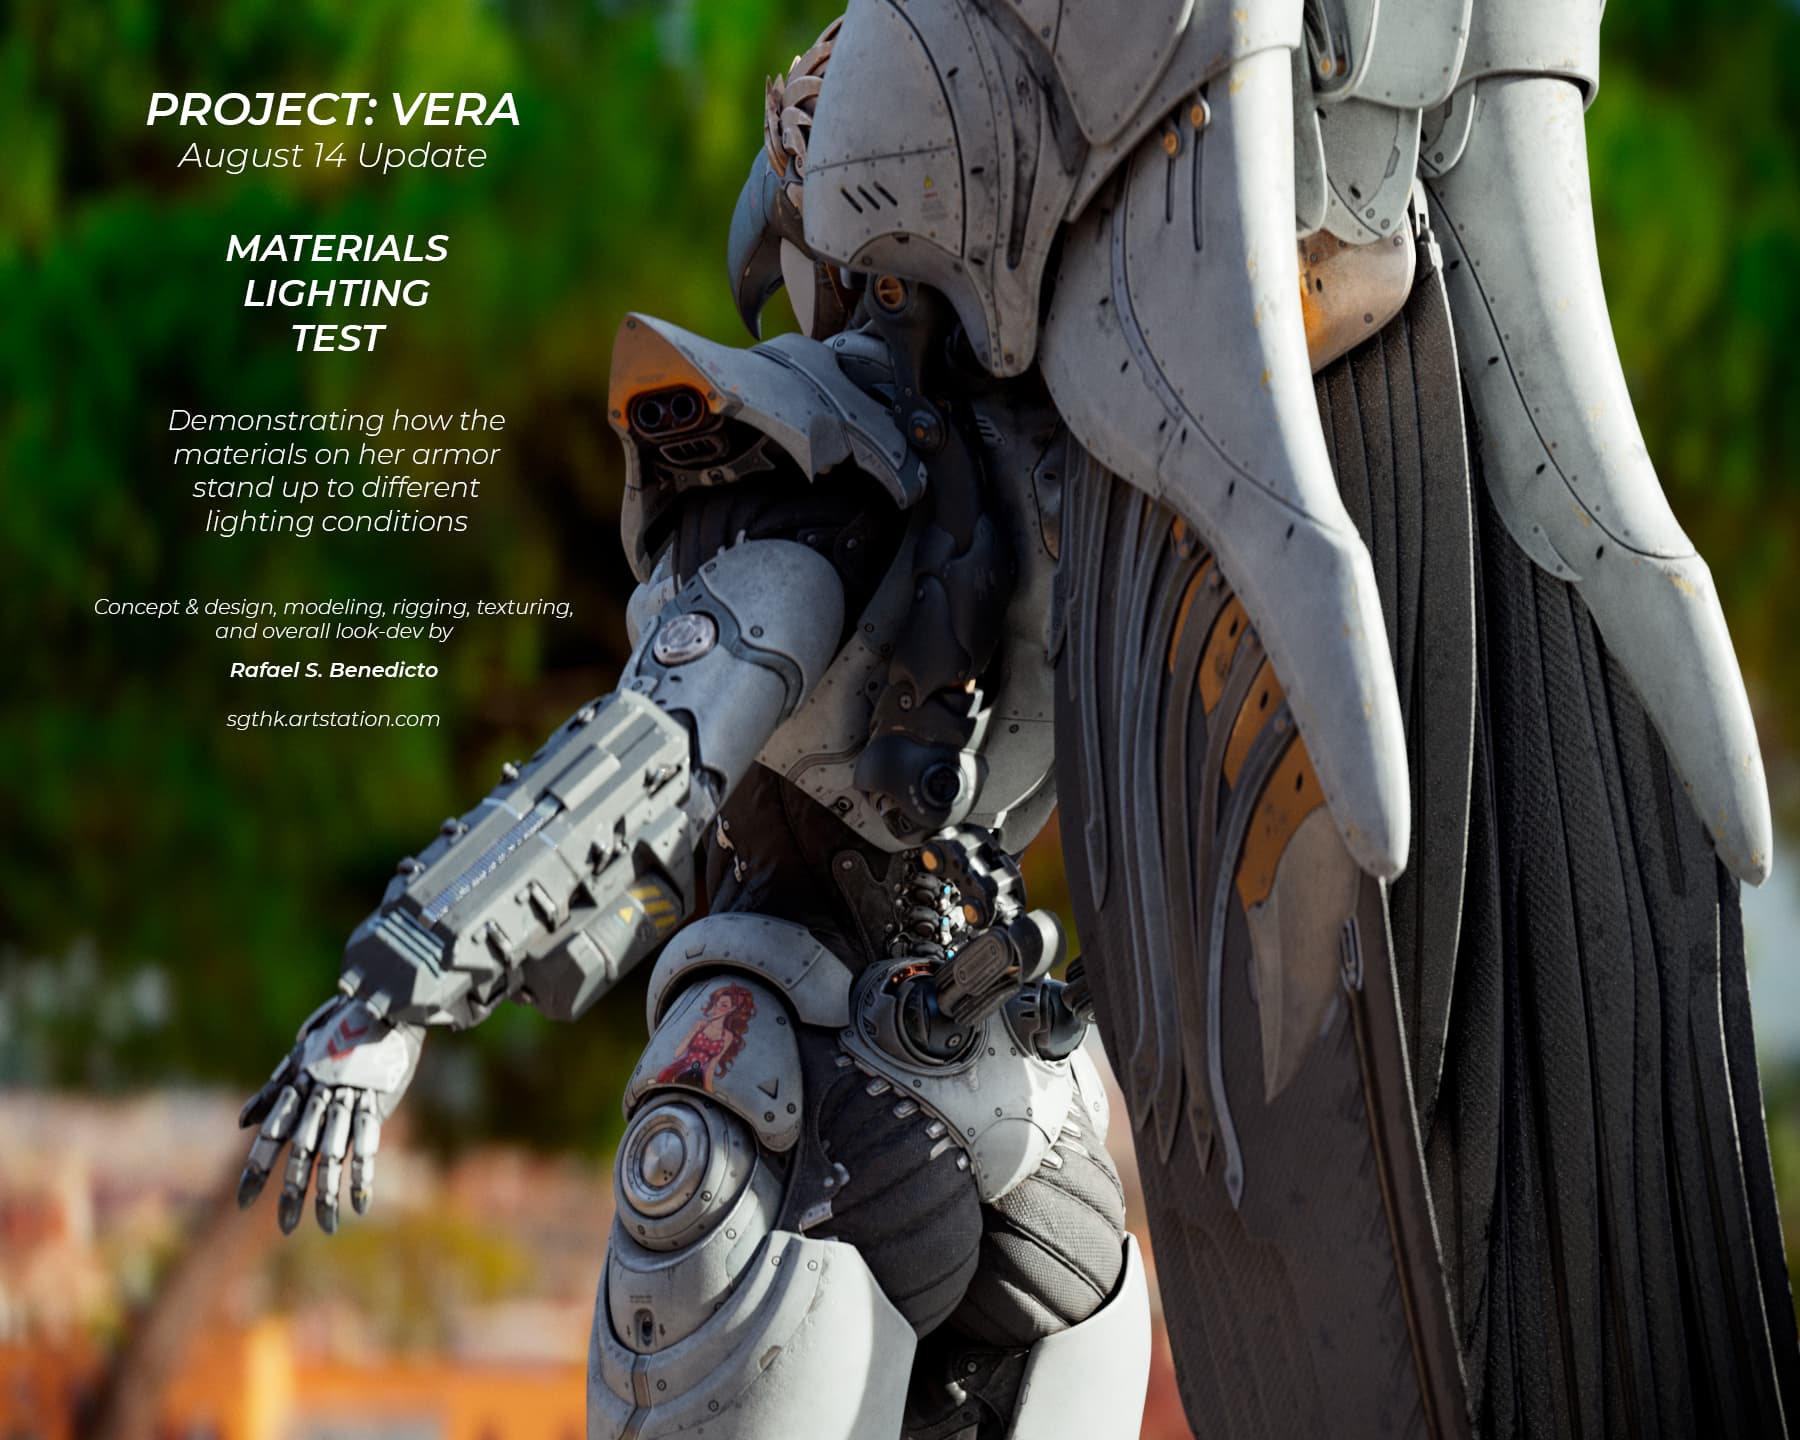
Hello!
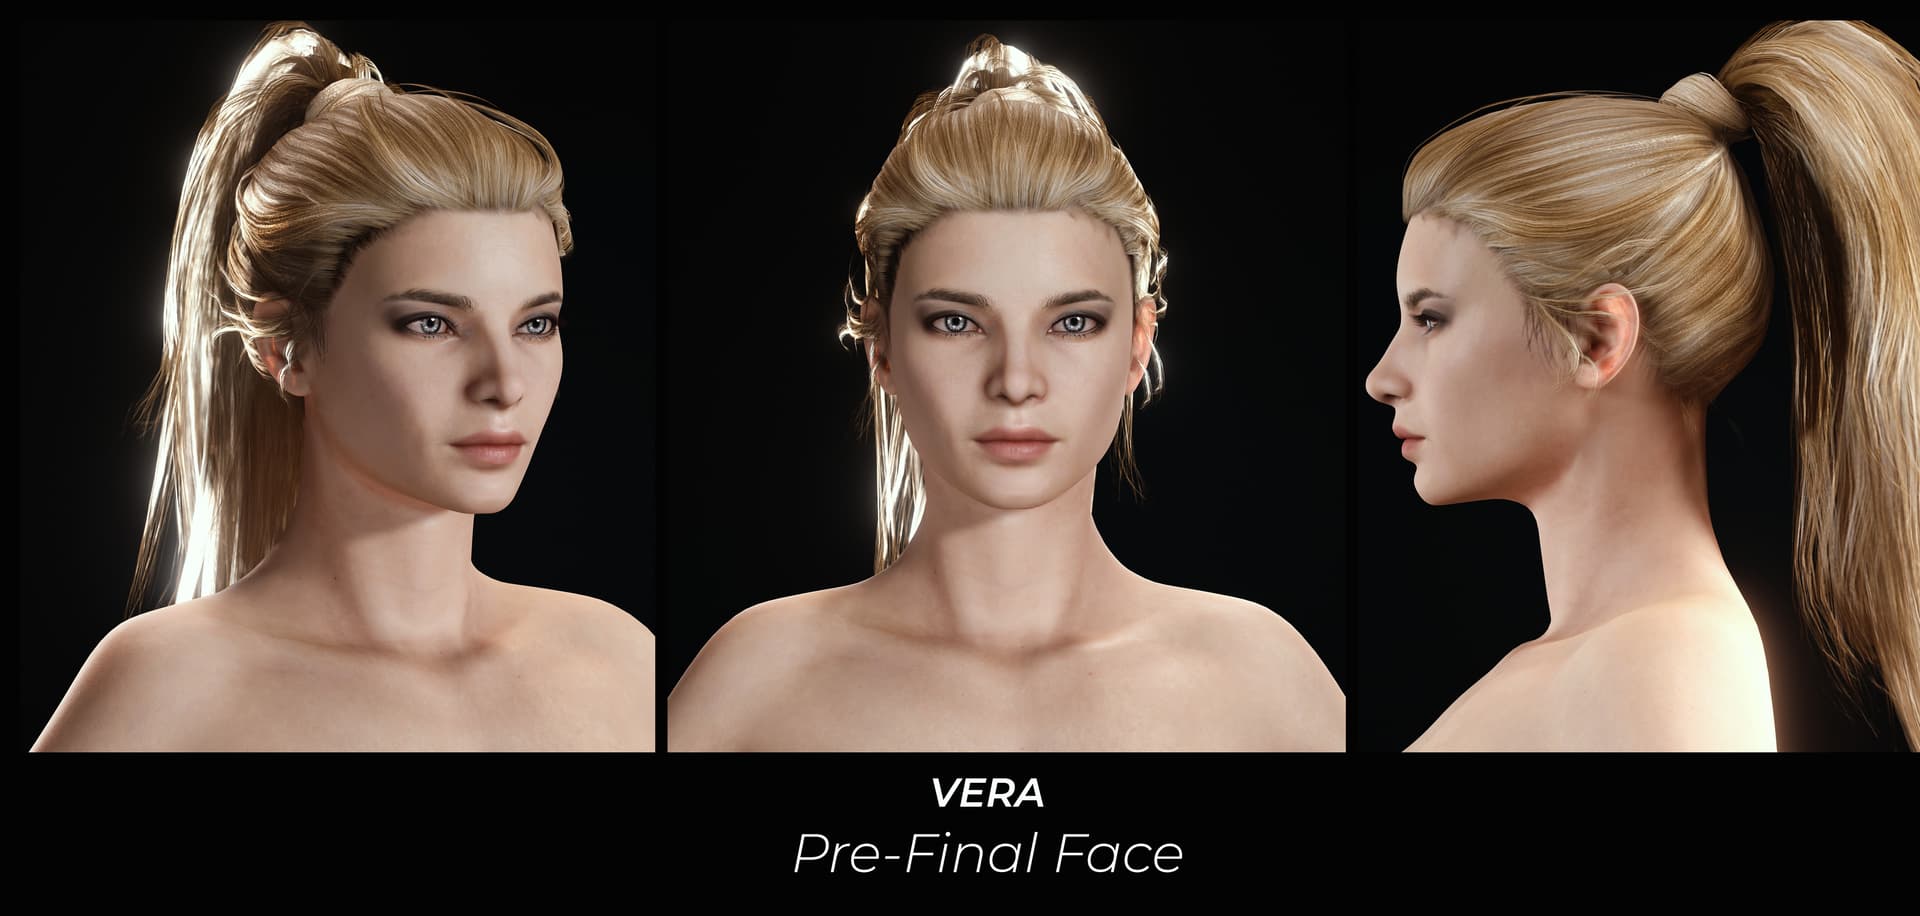
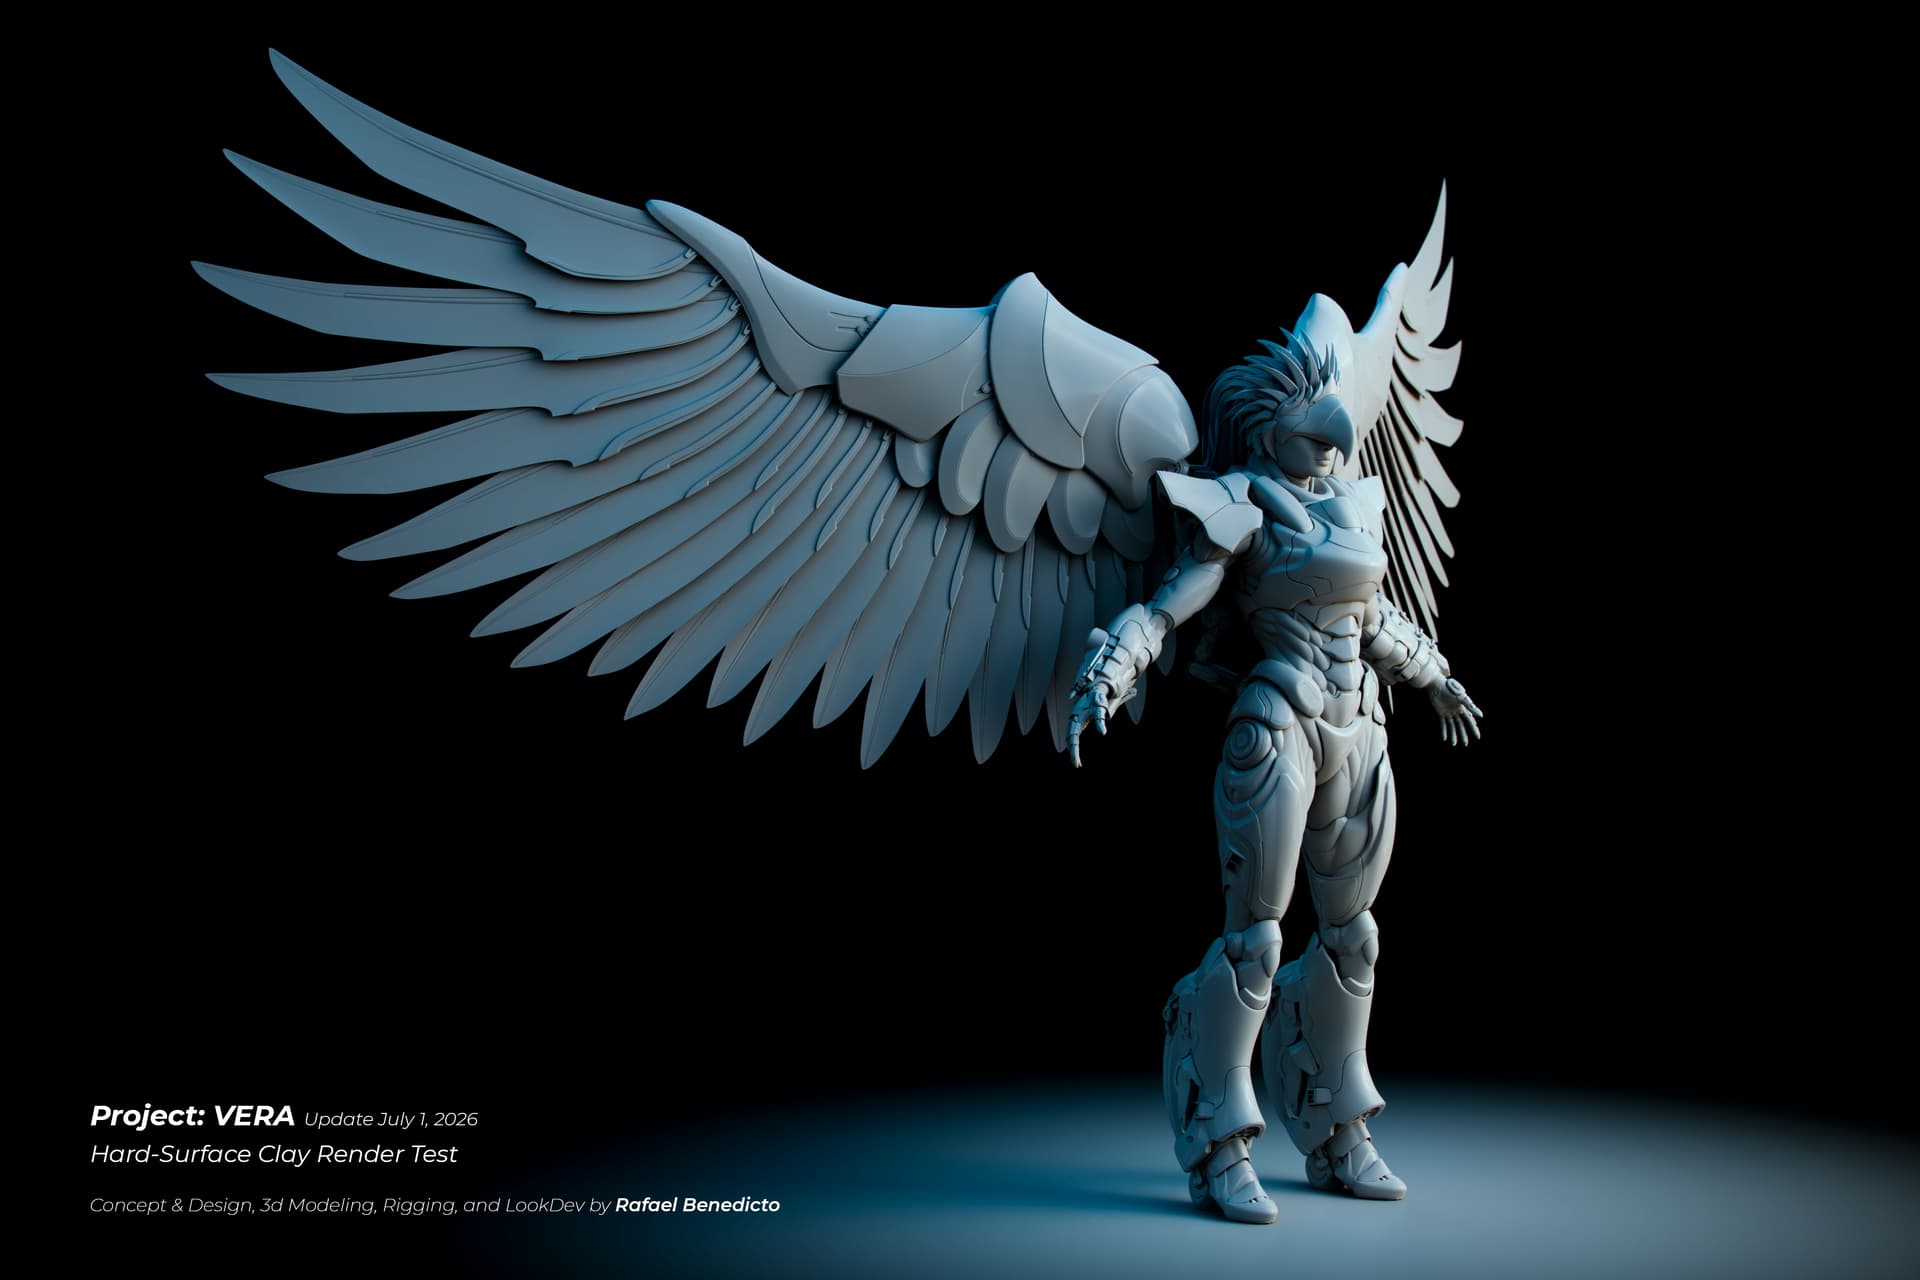
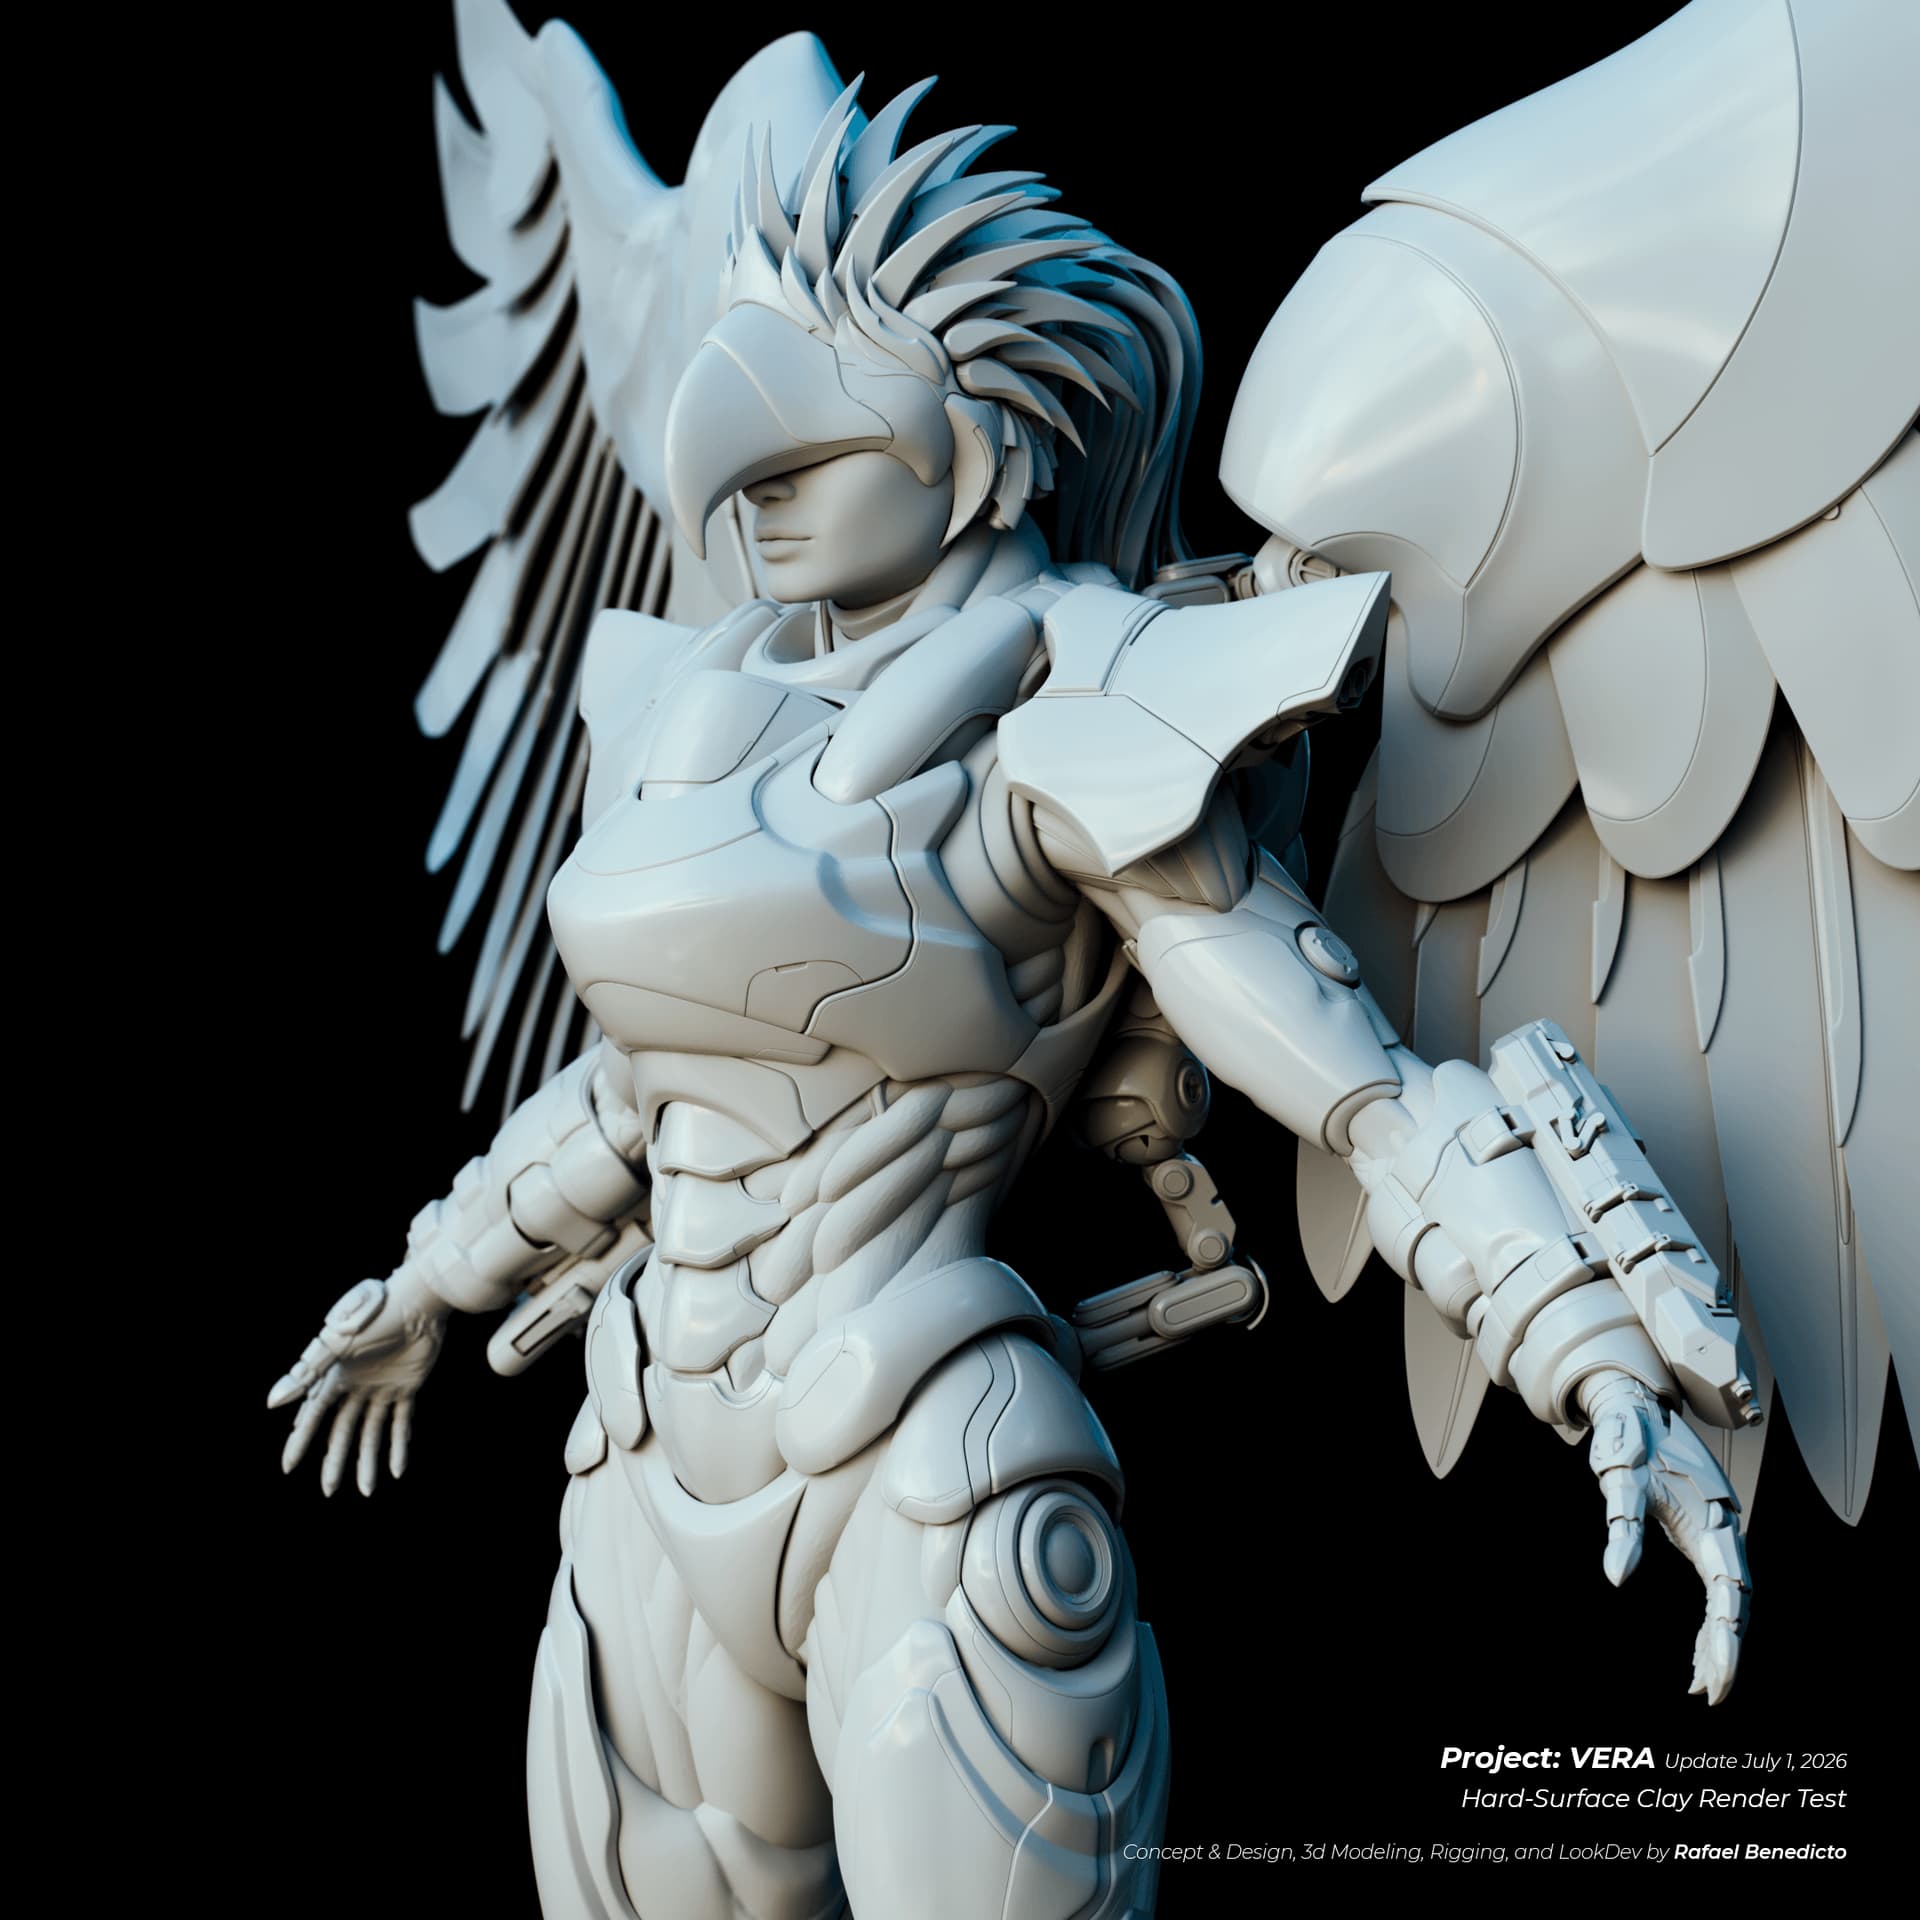
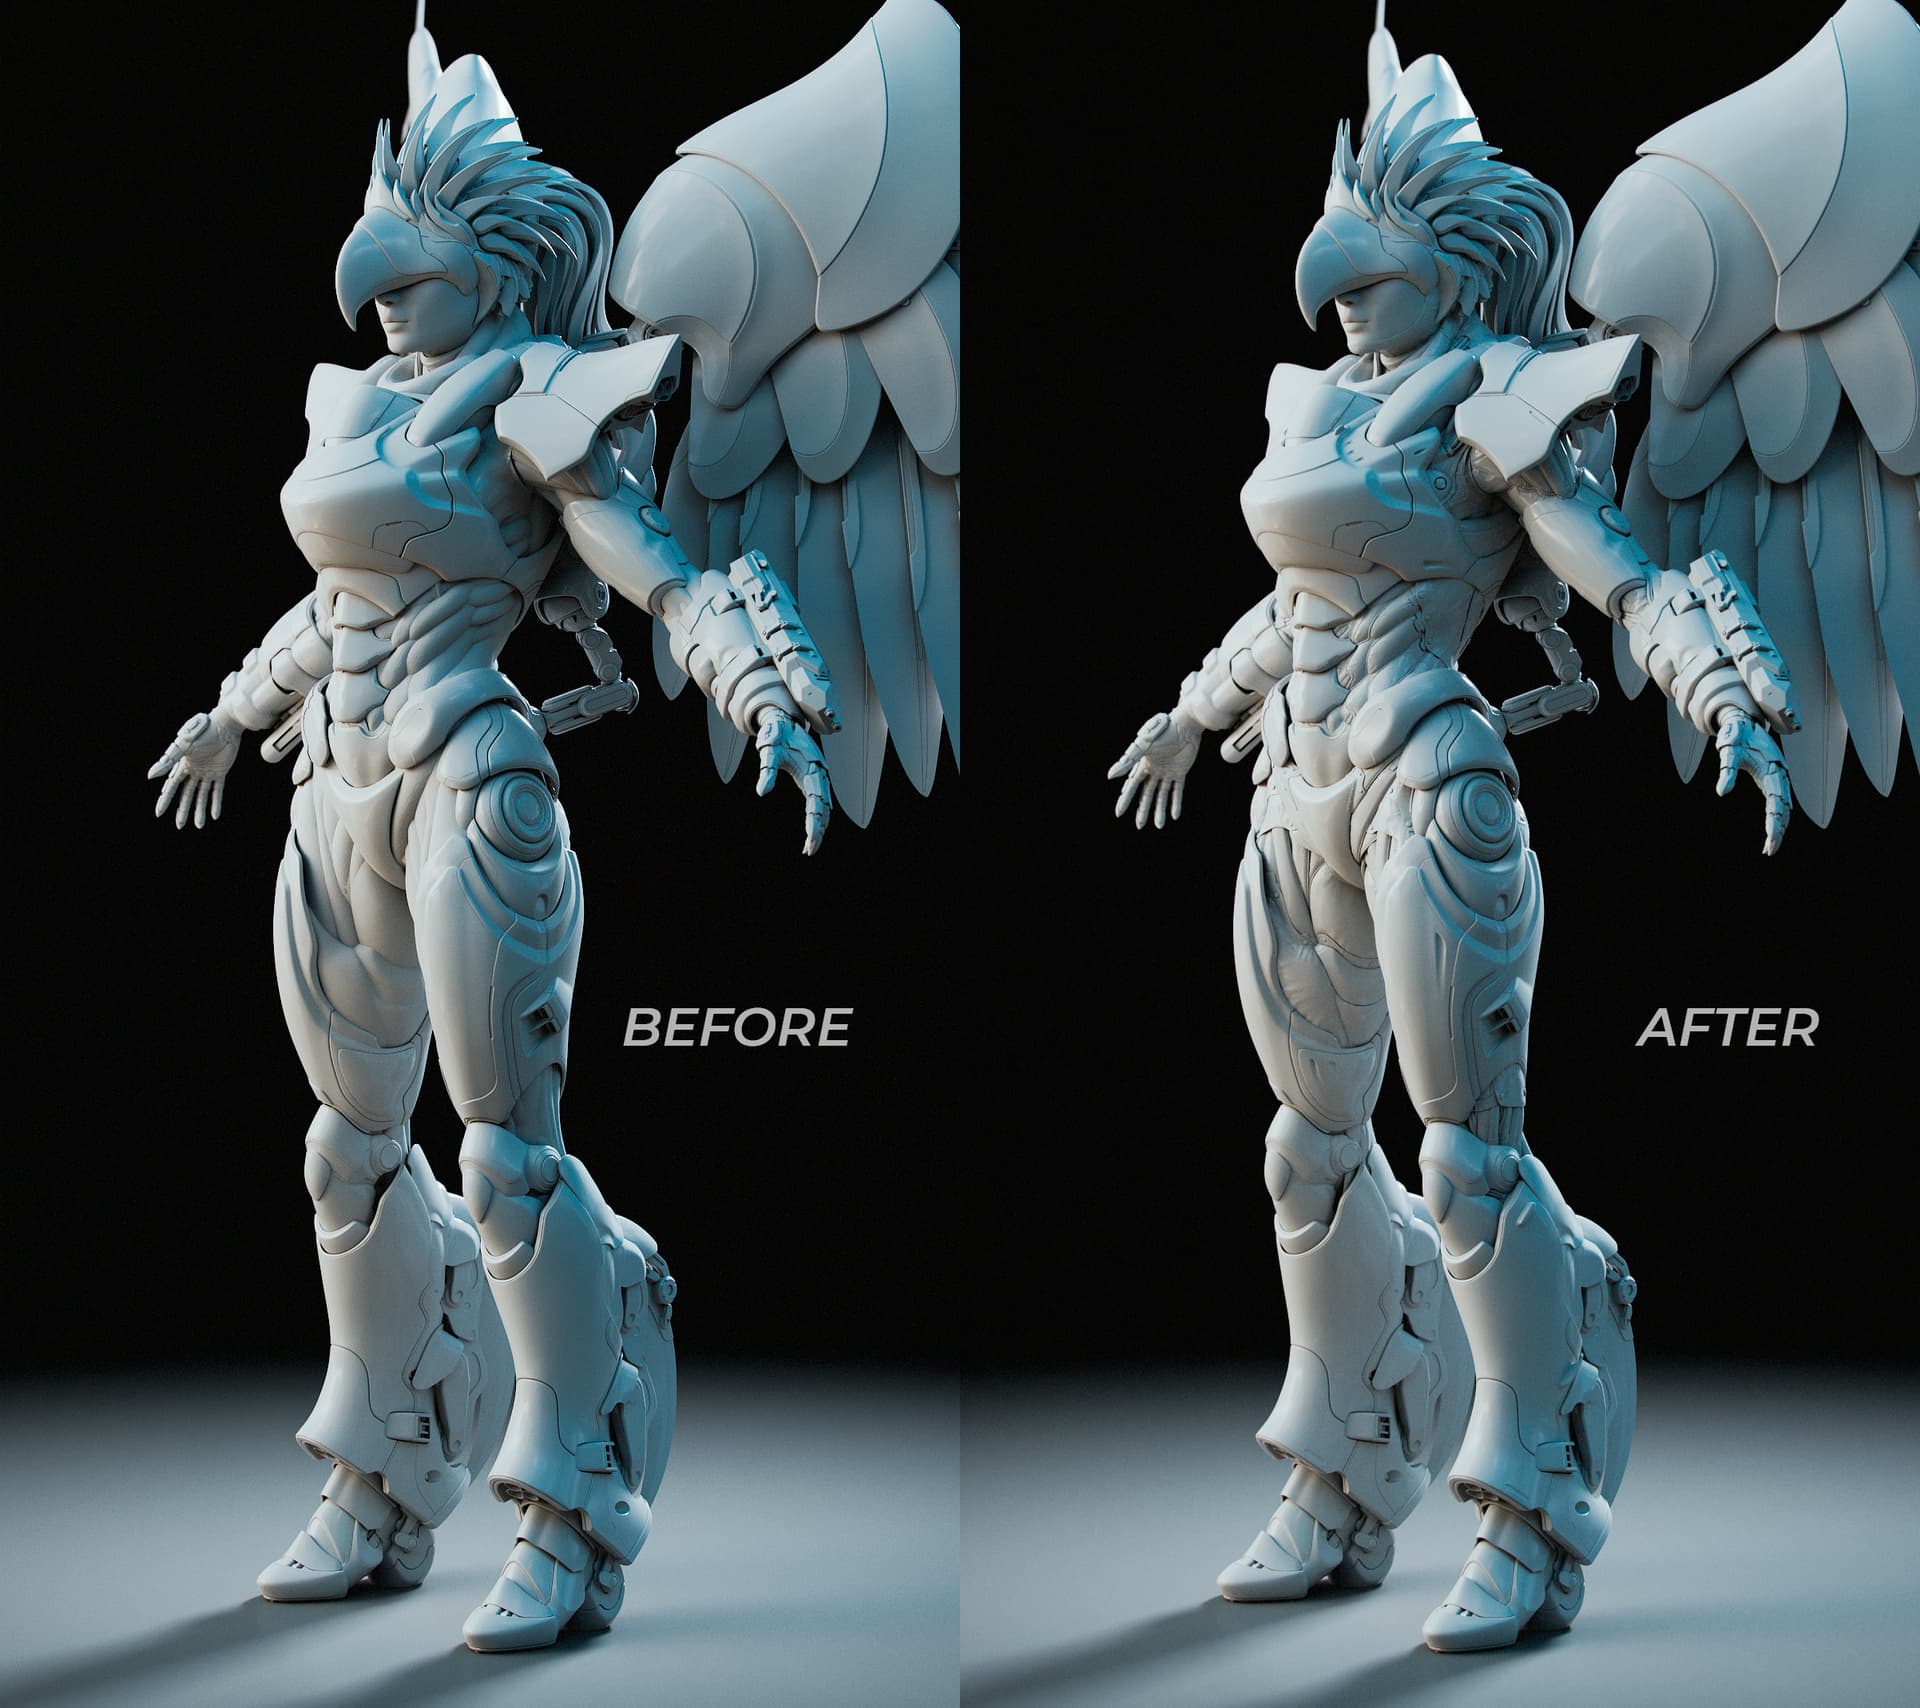
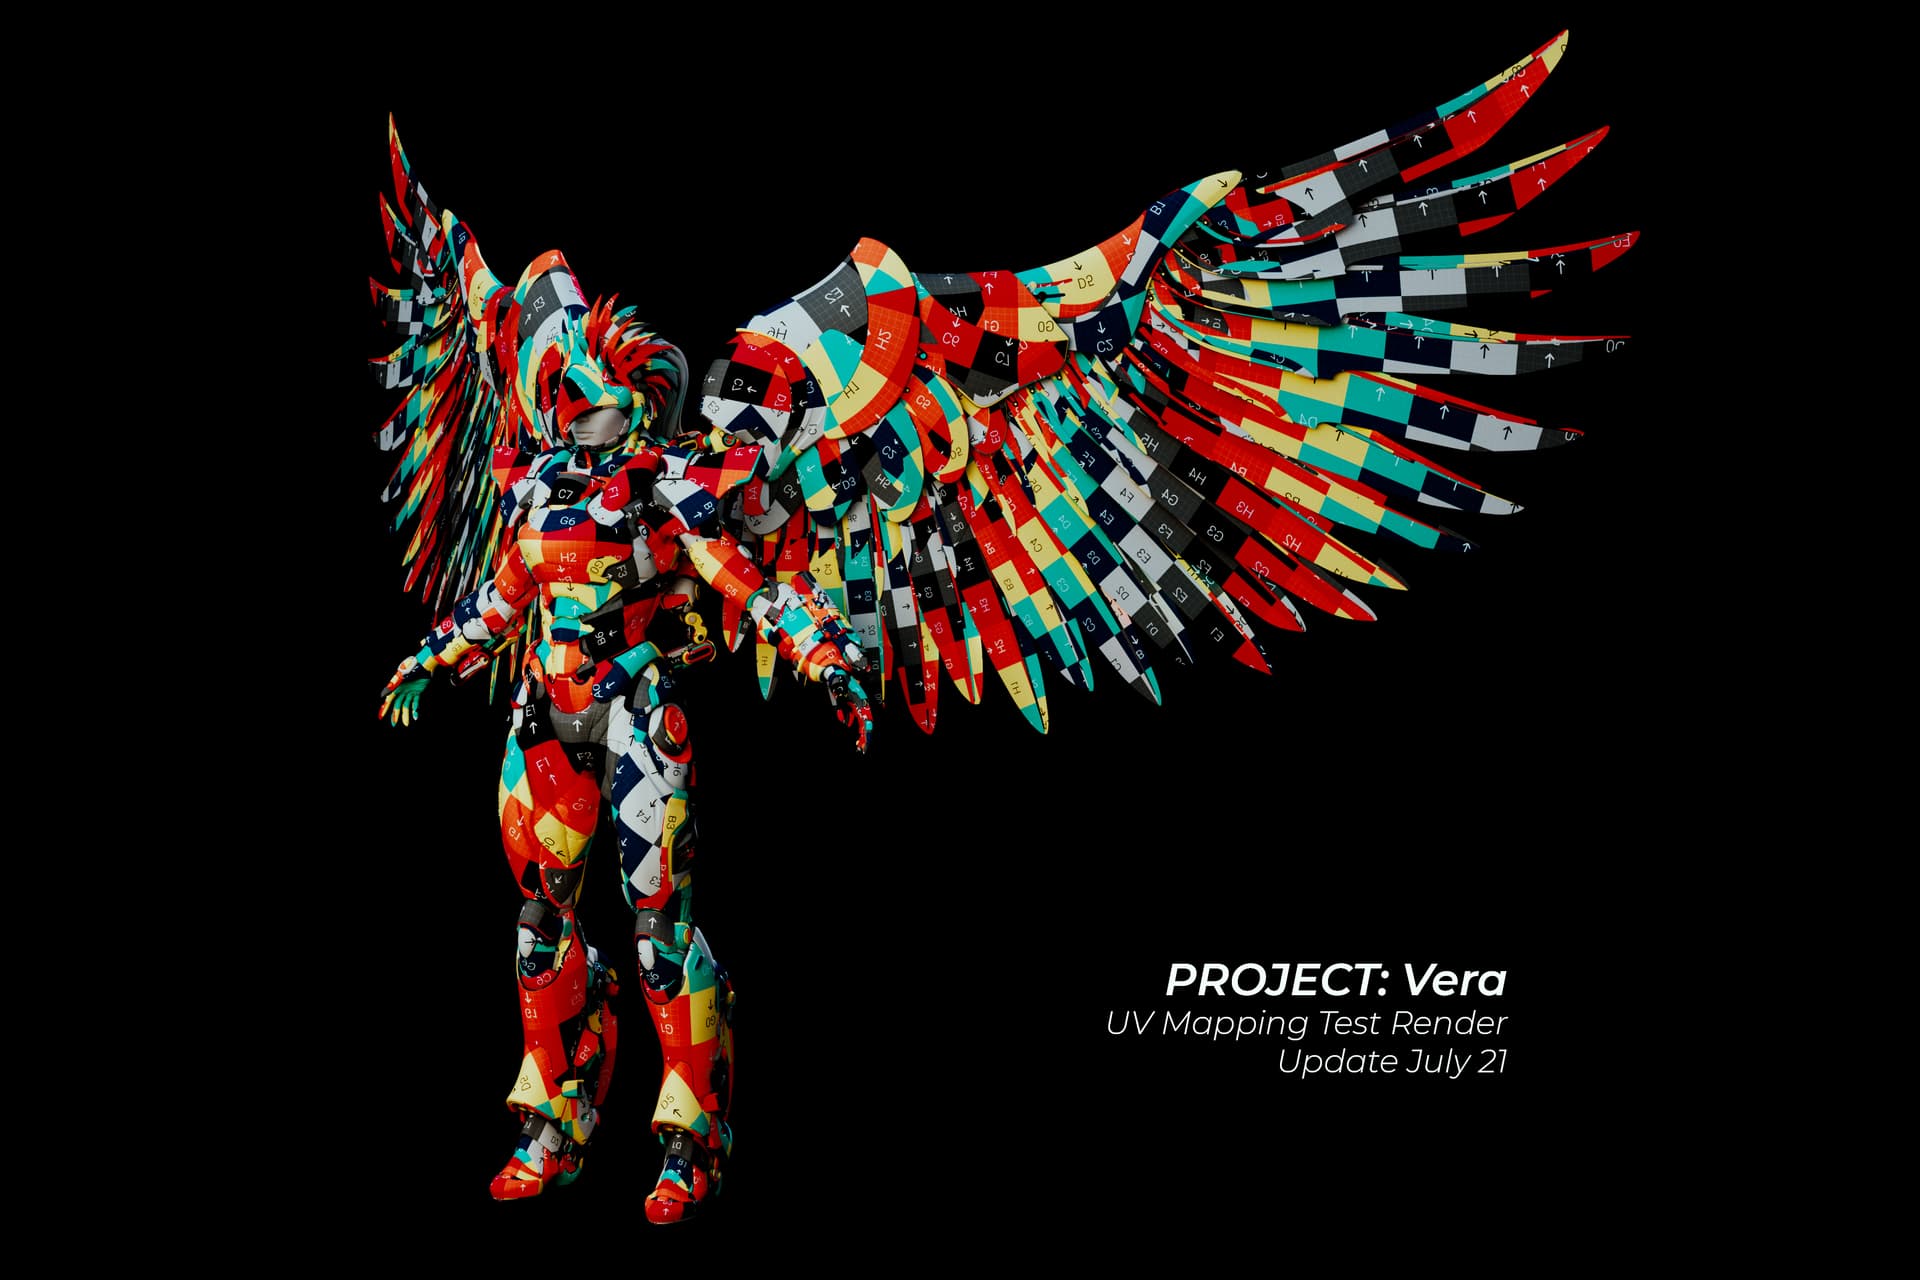
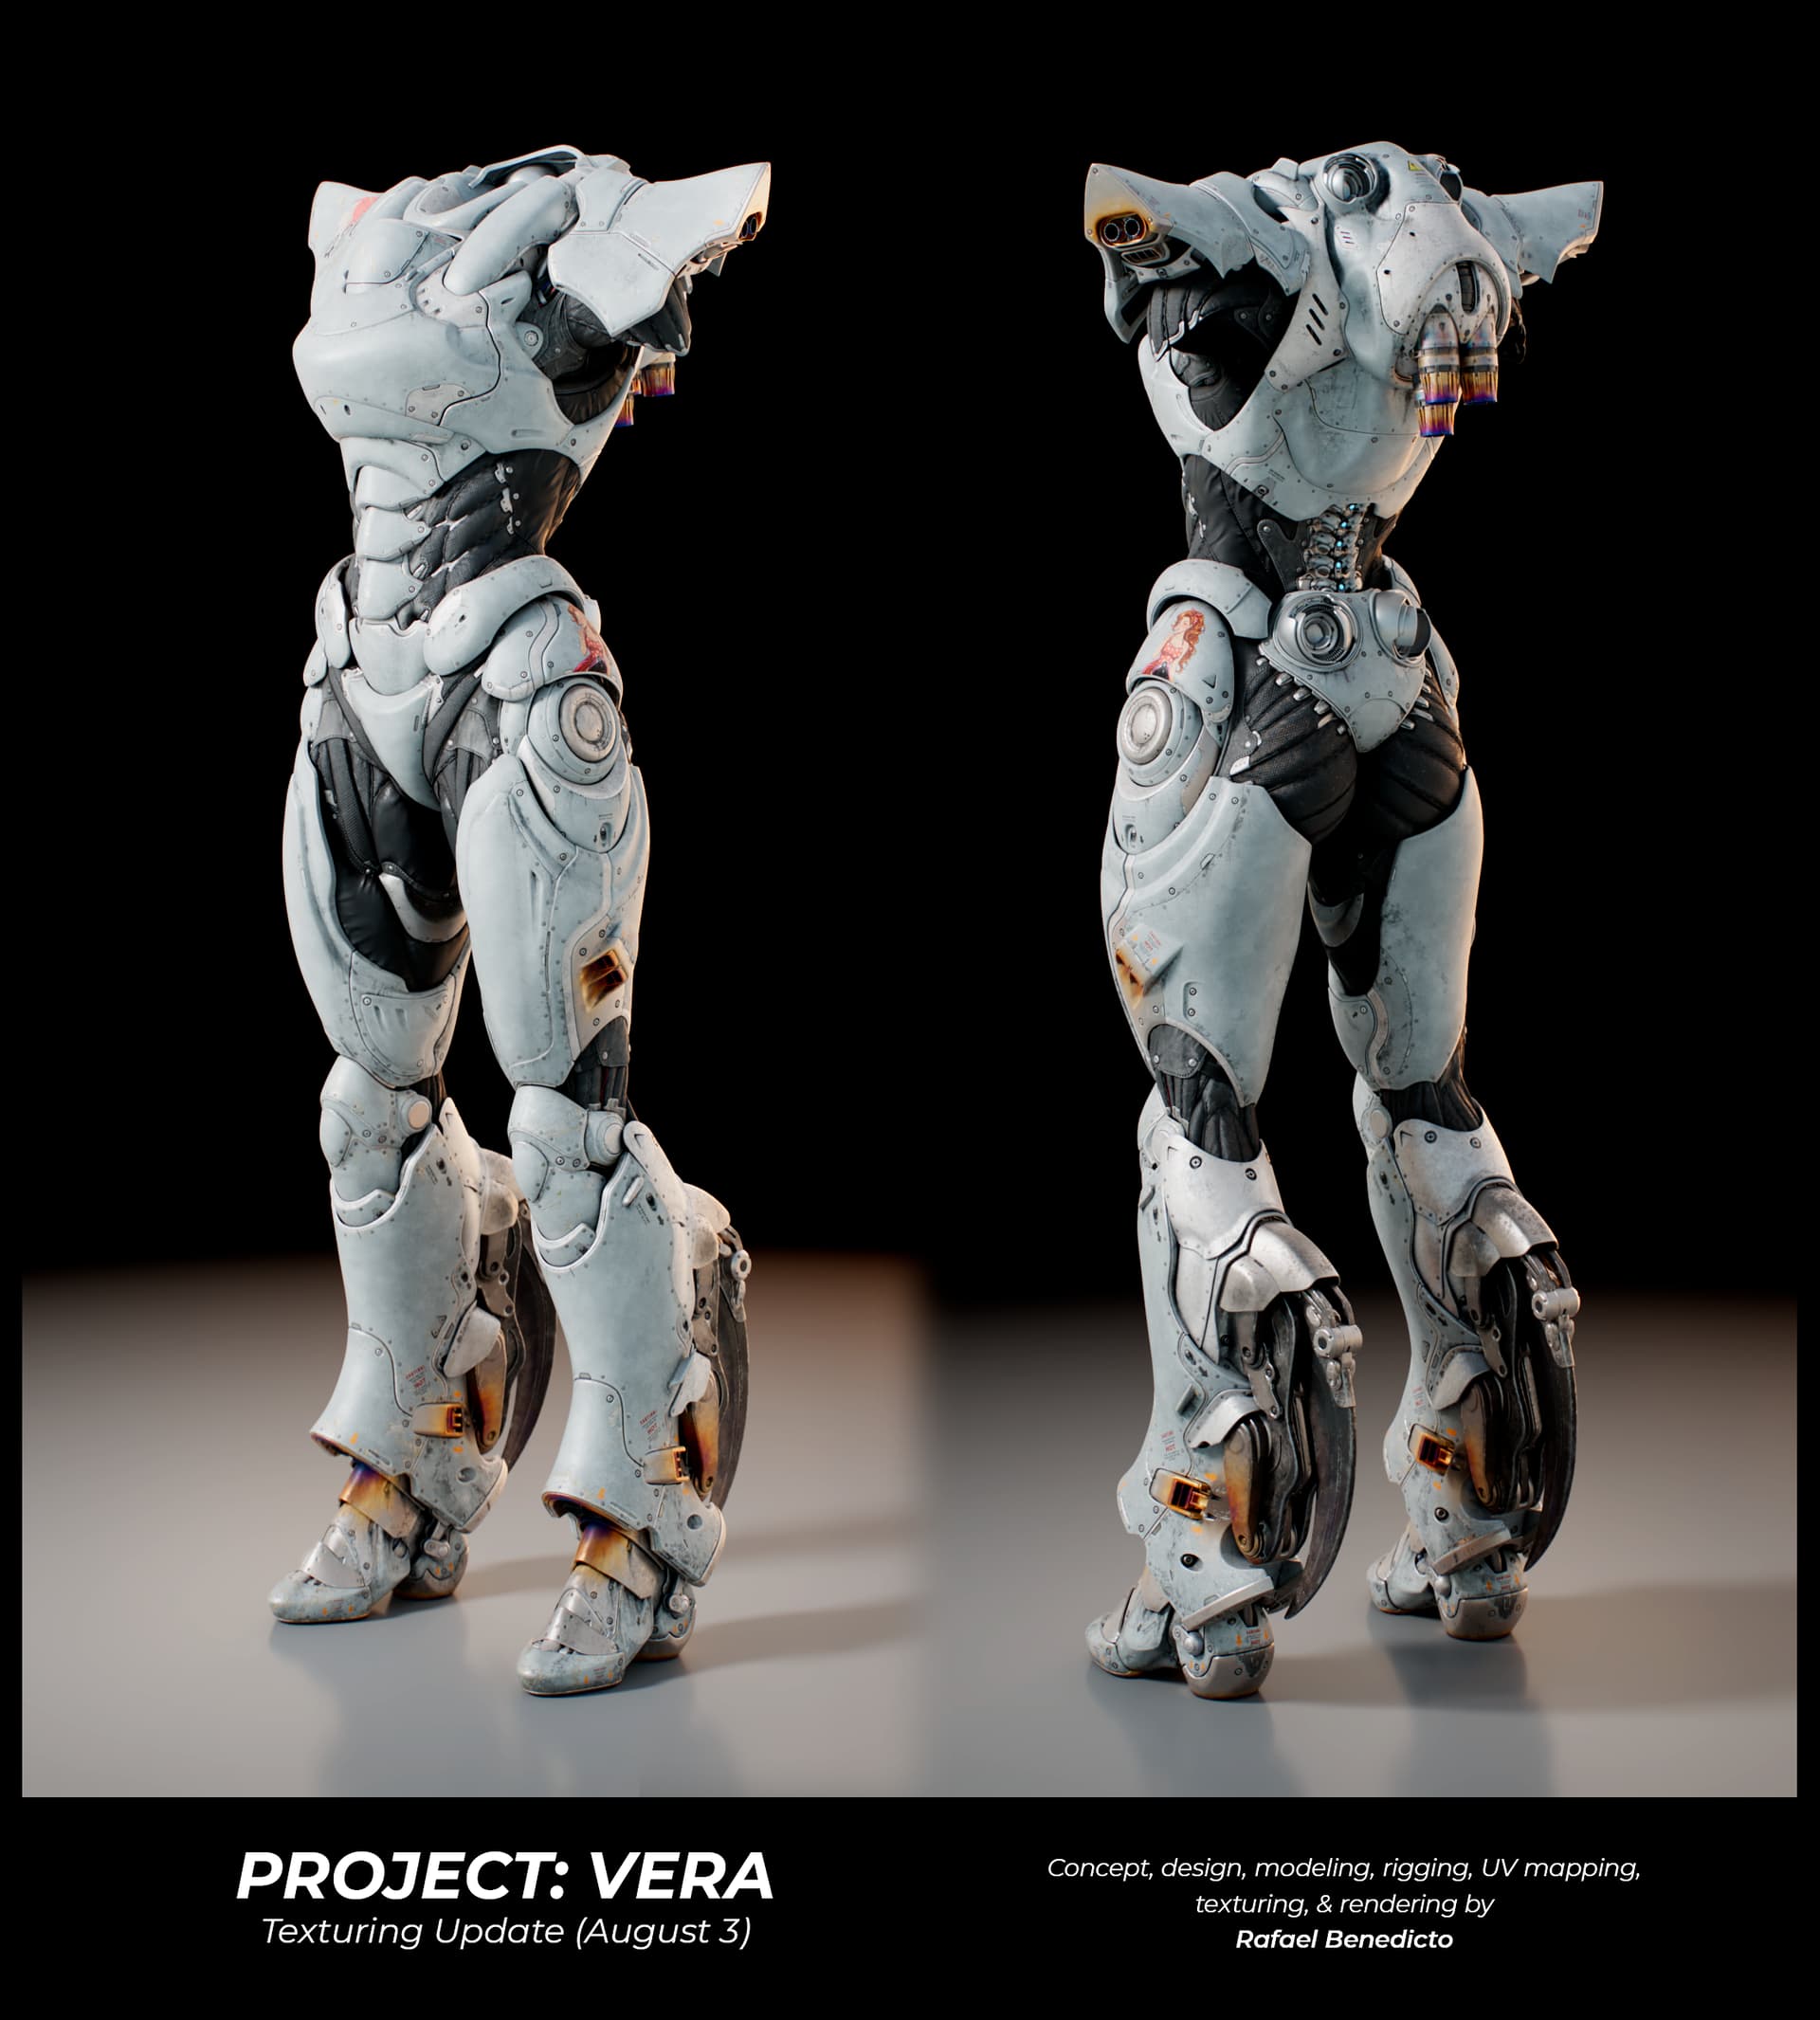
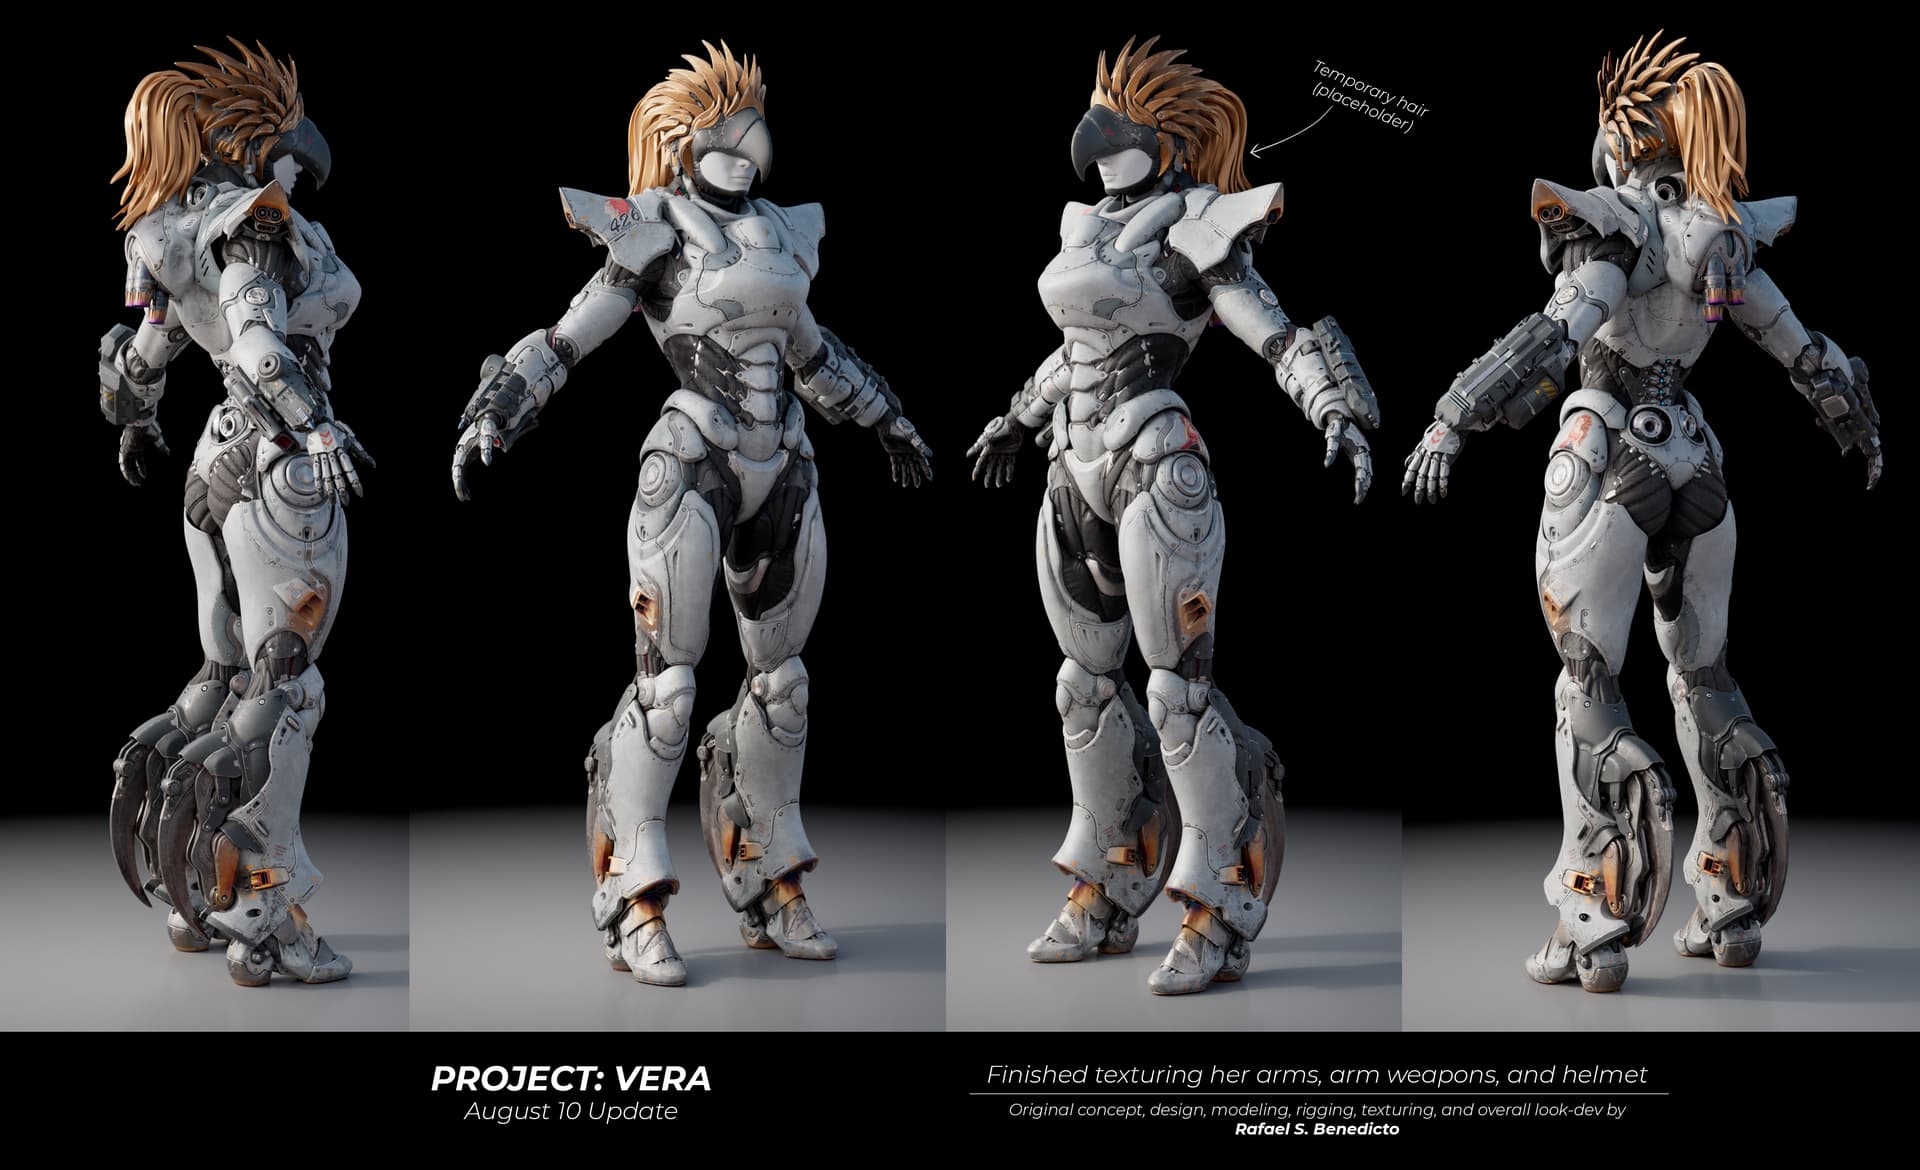
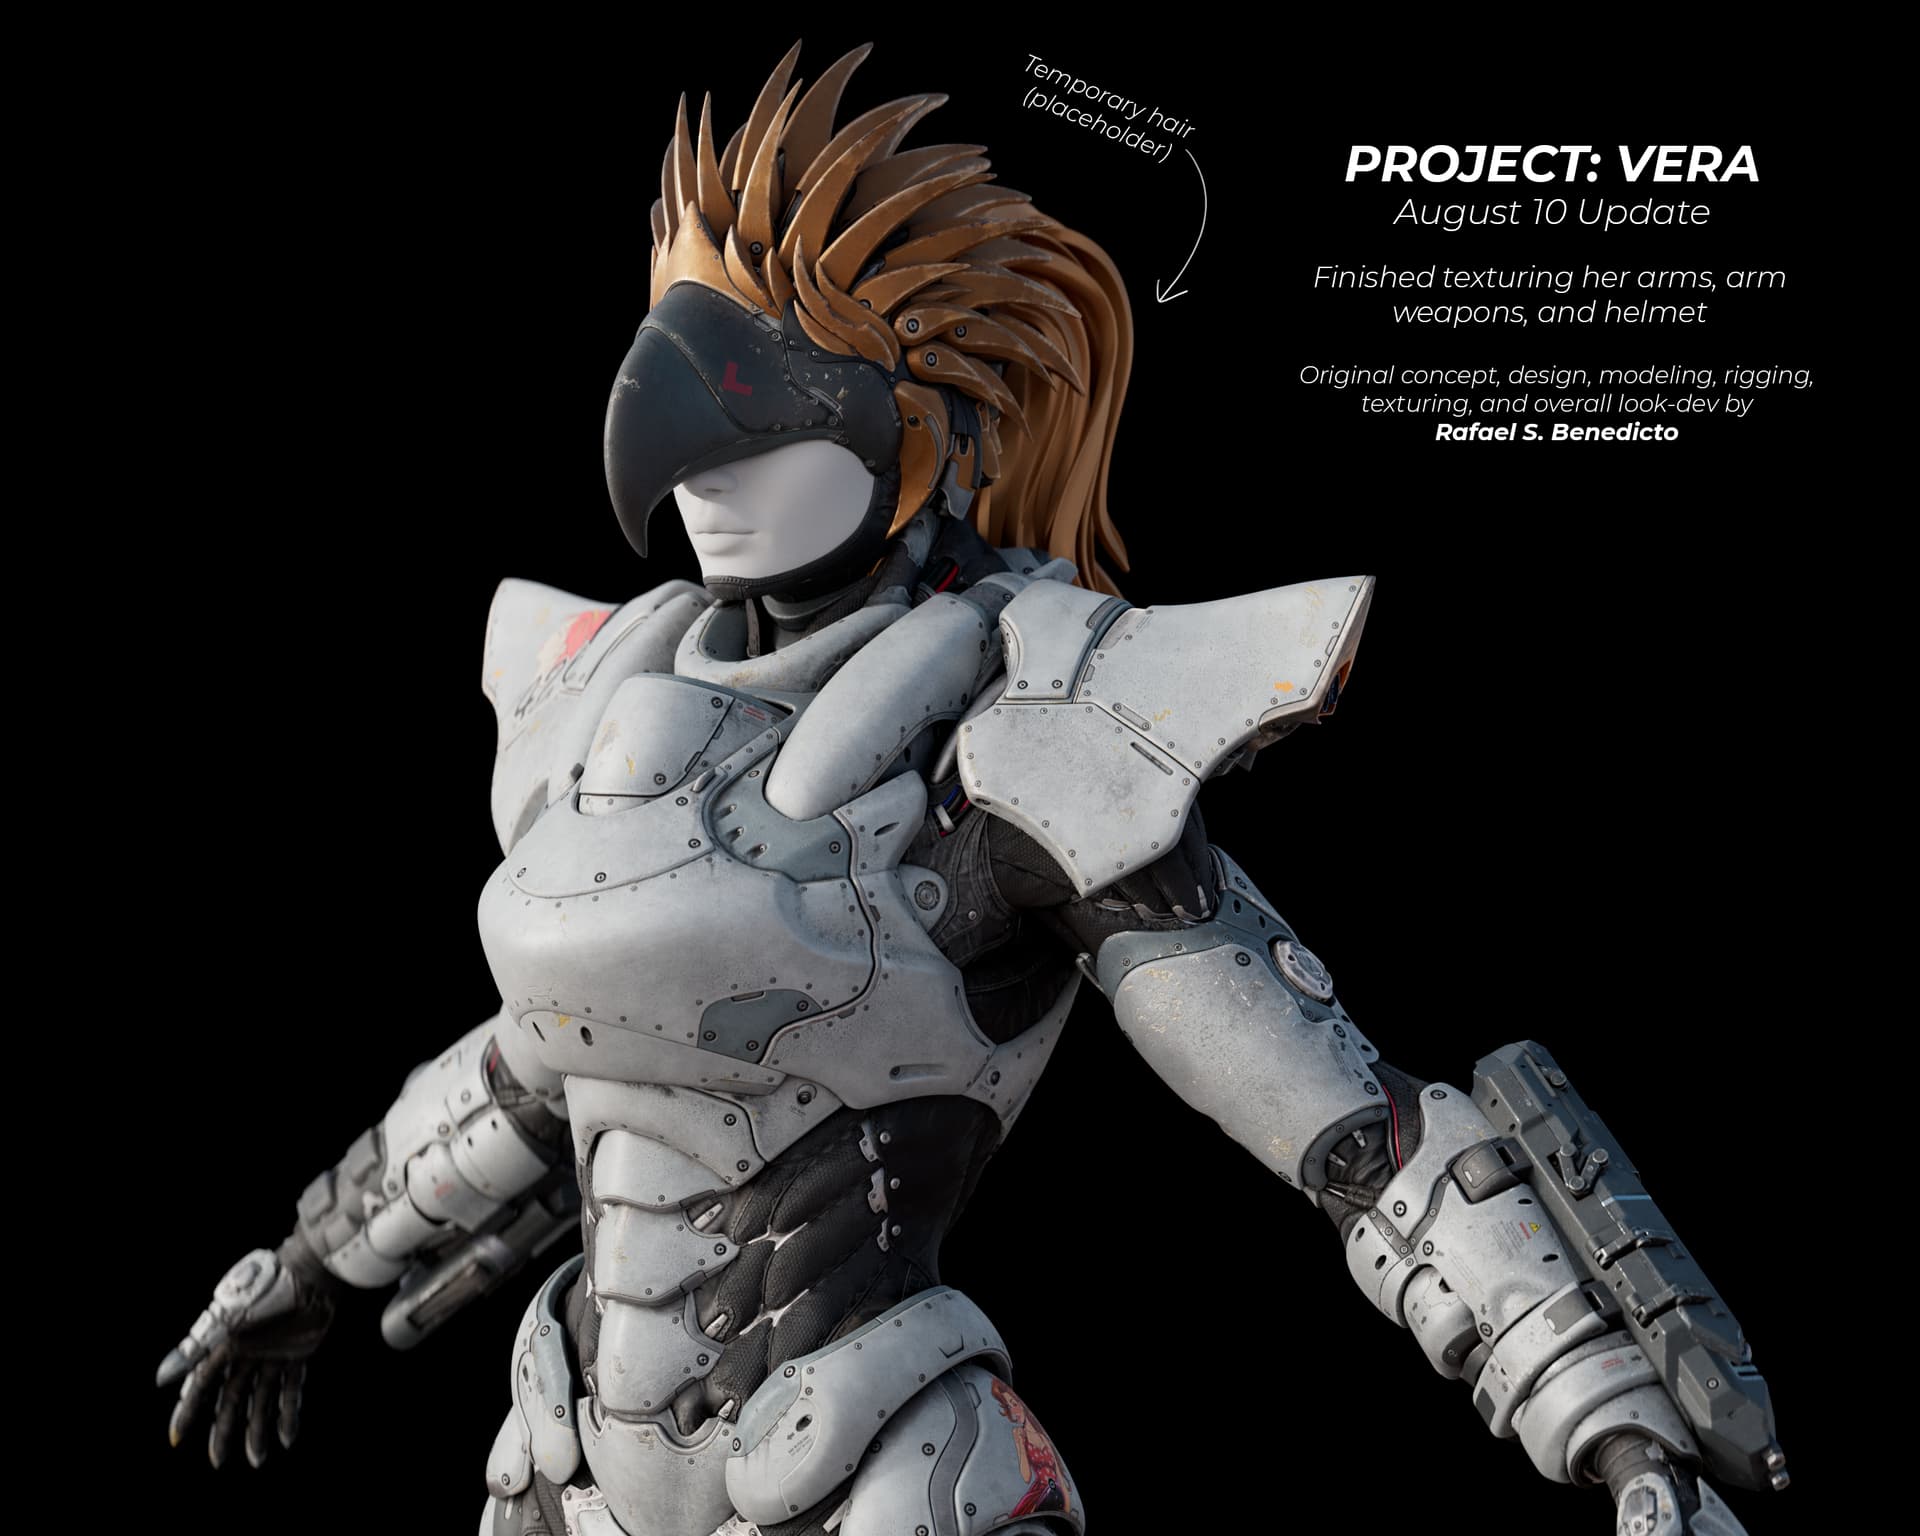
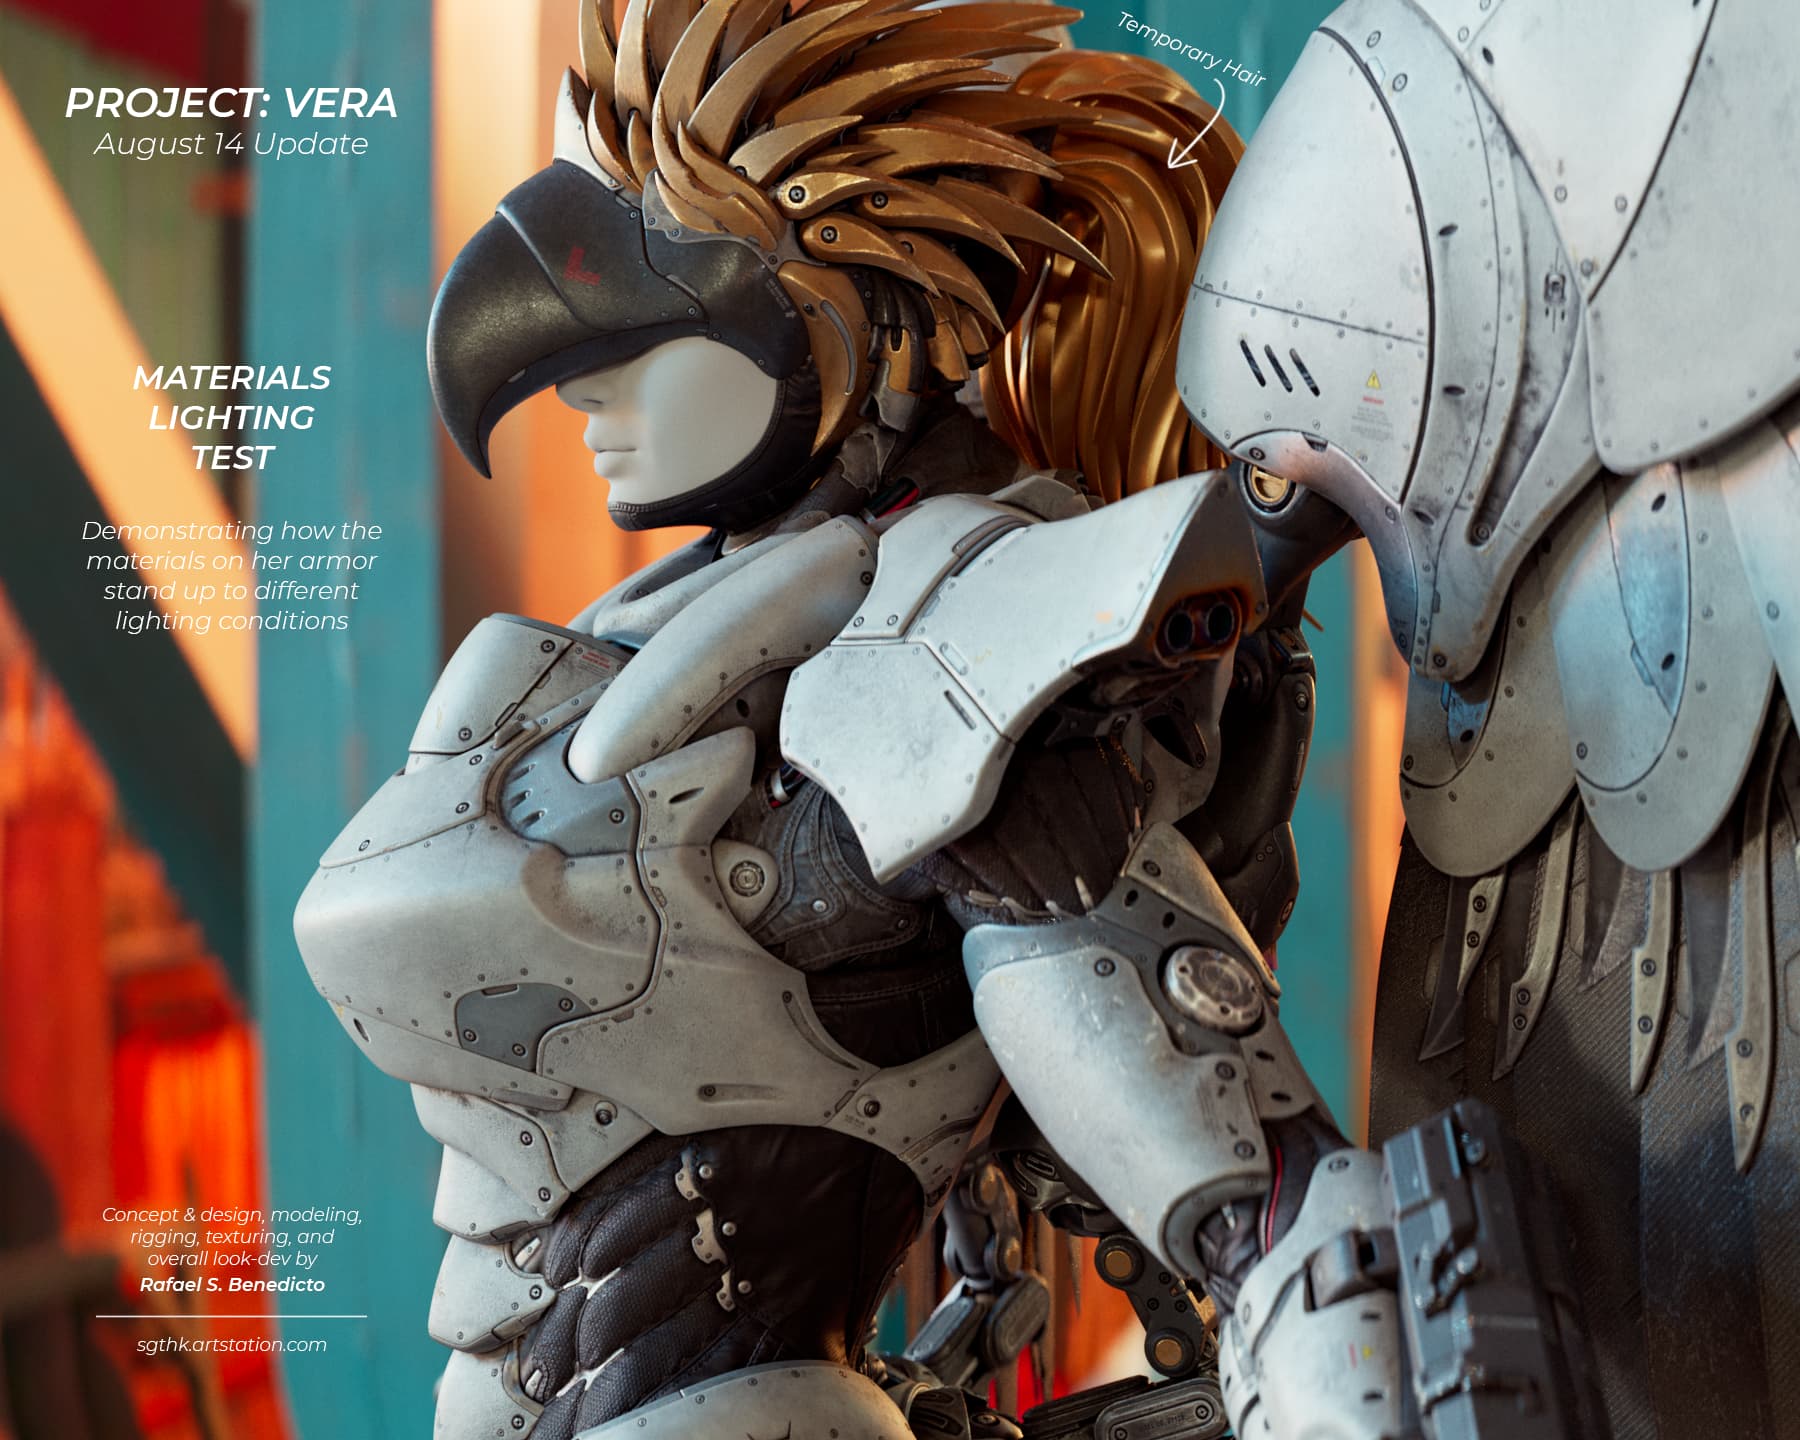
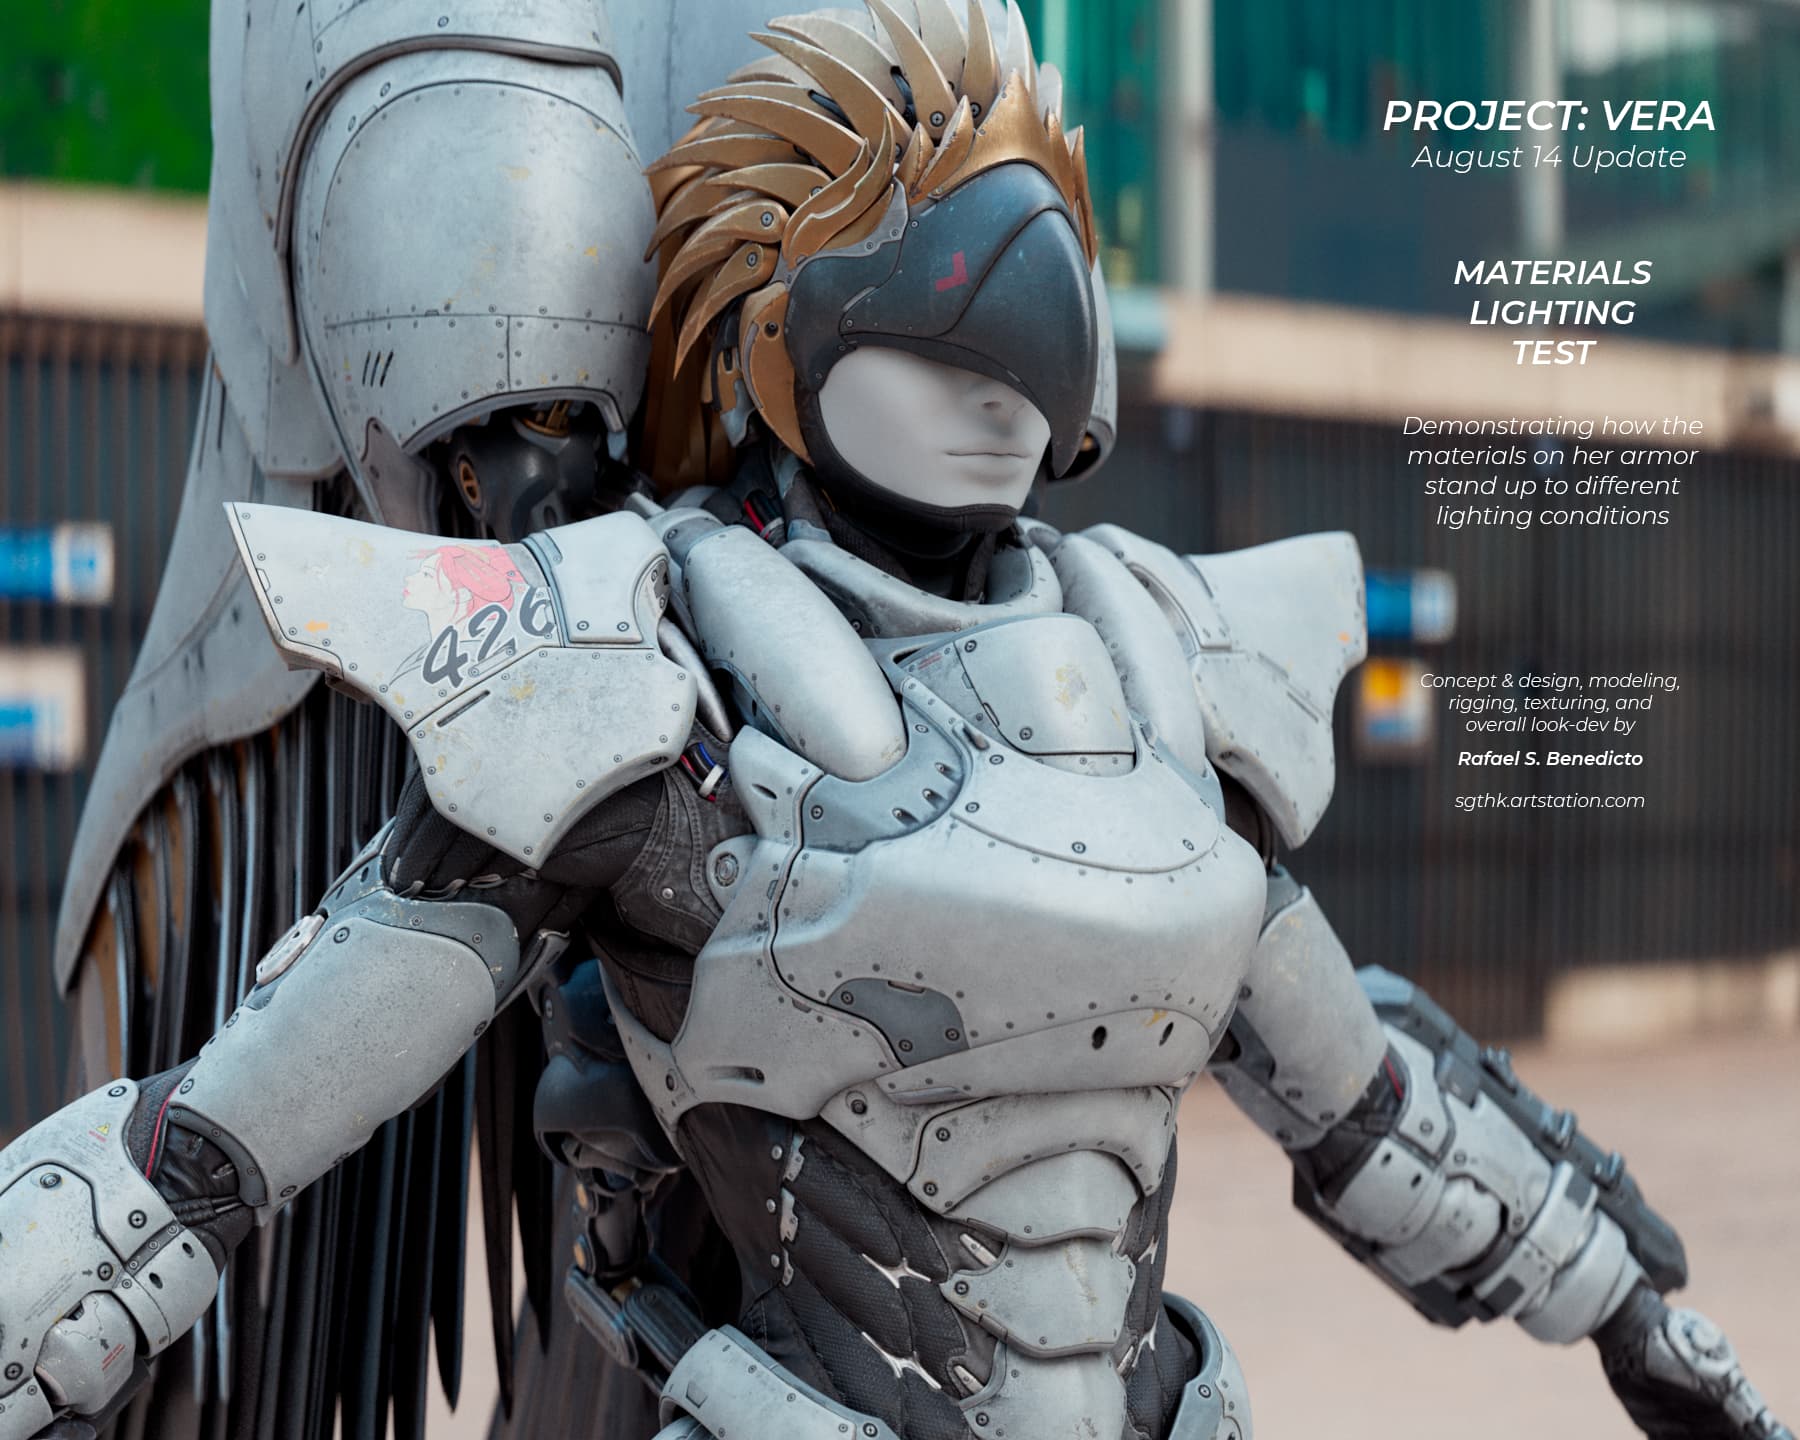
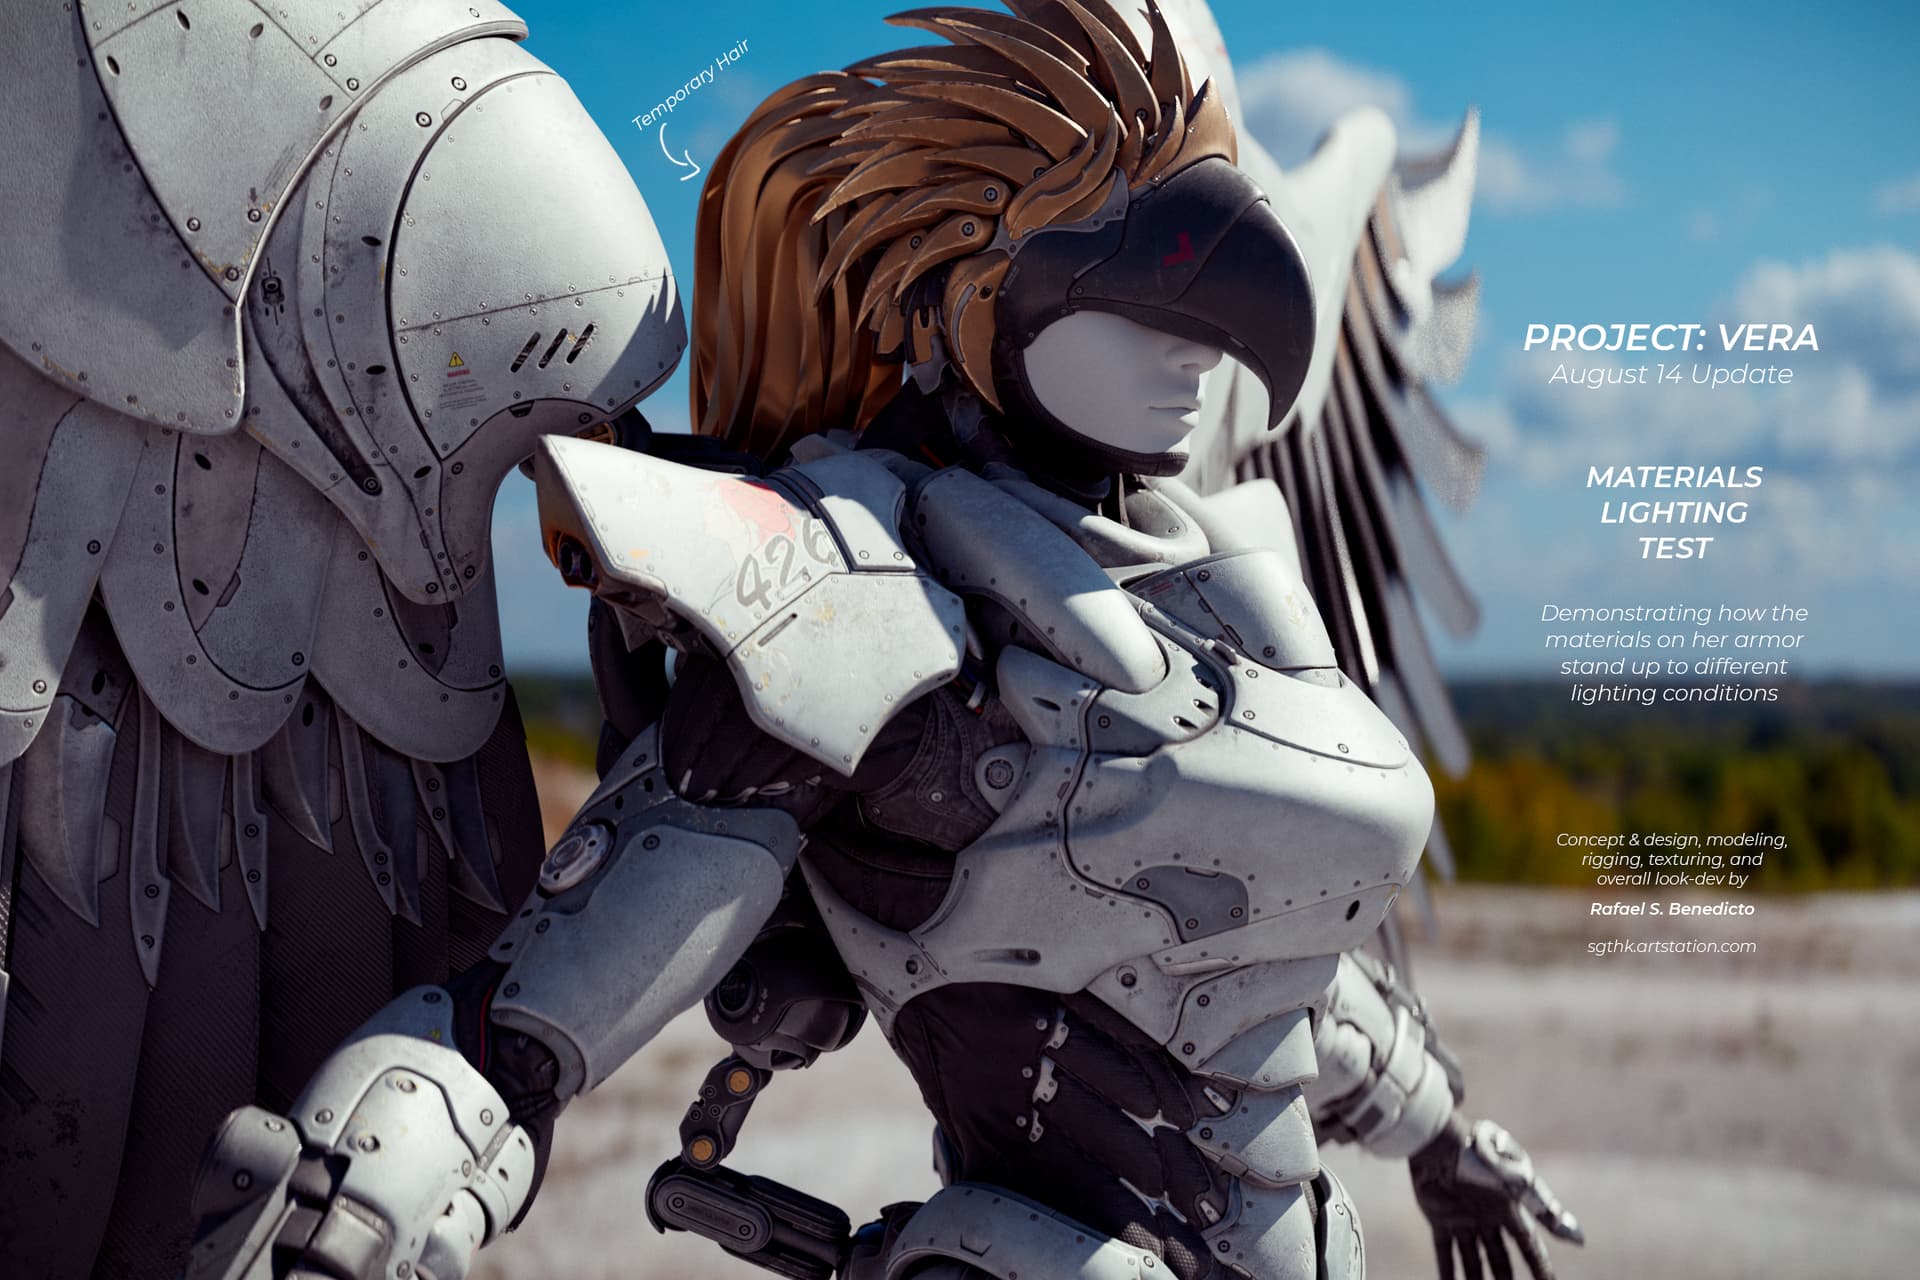
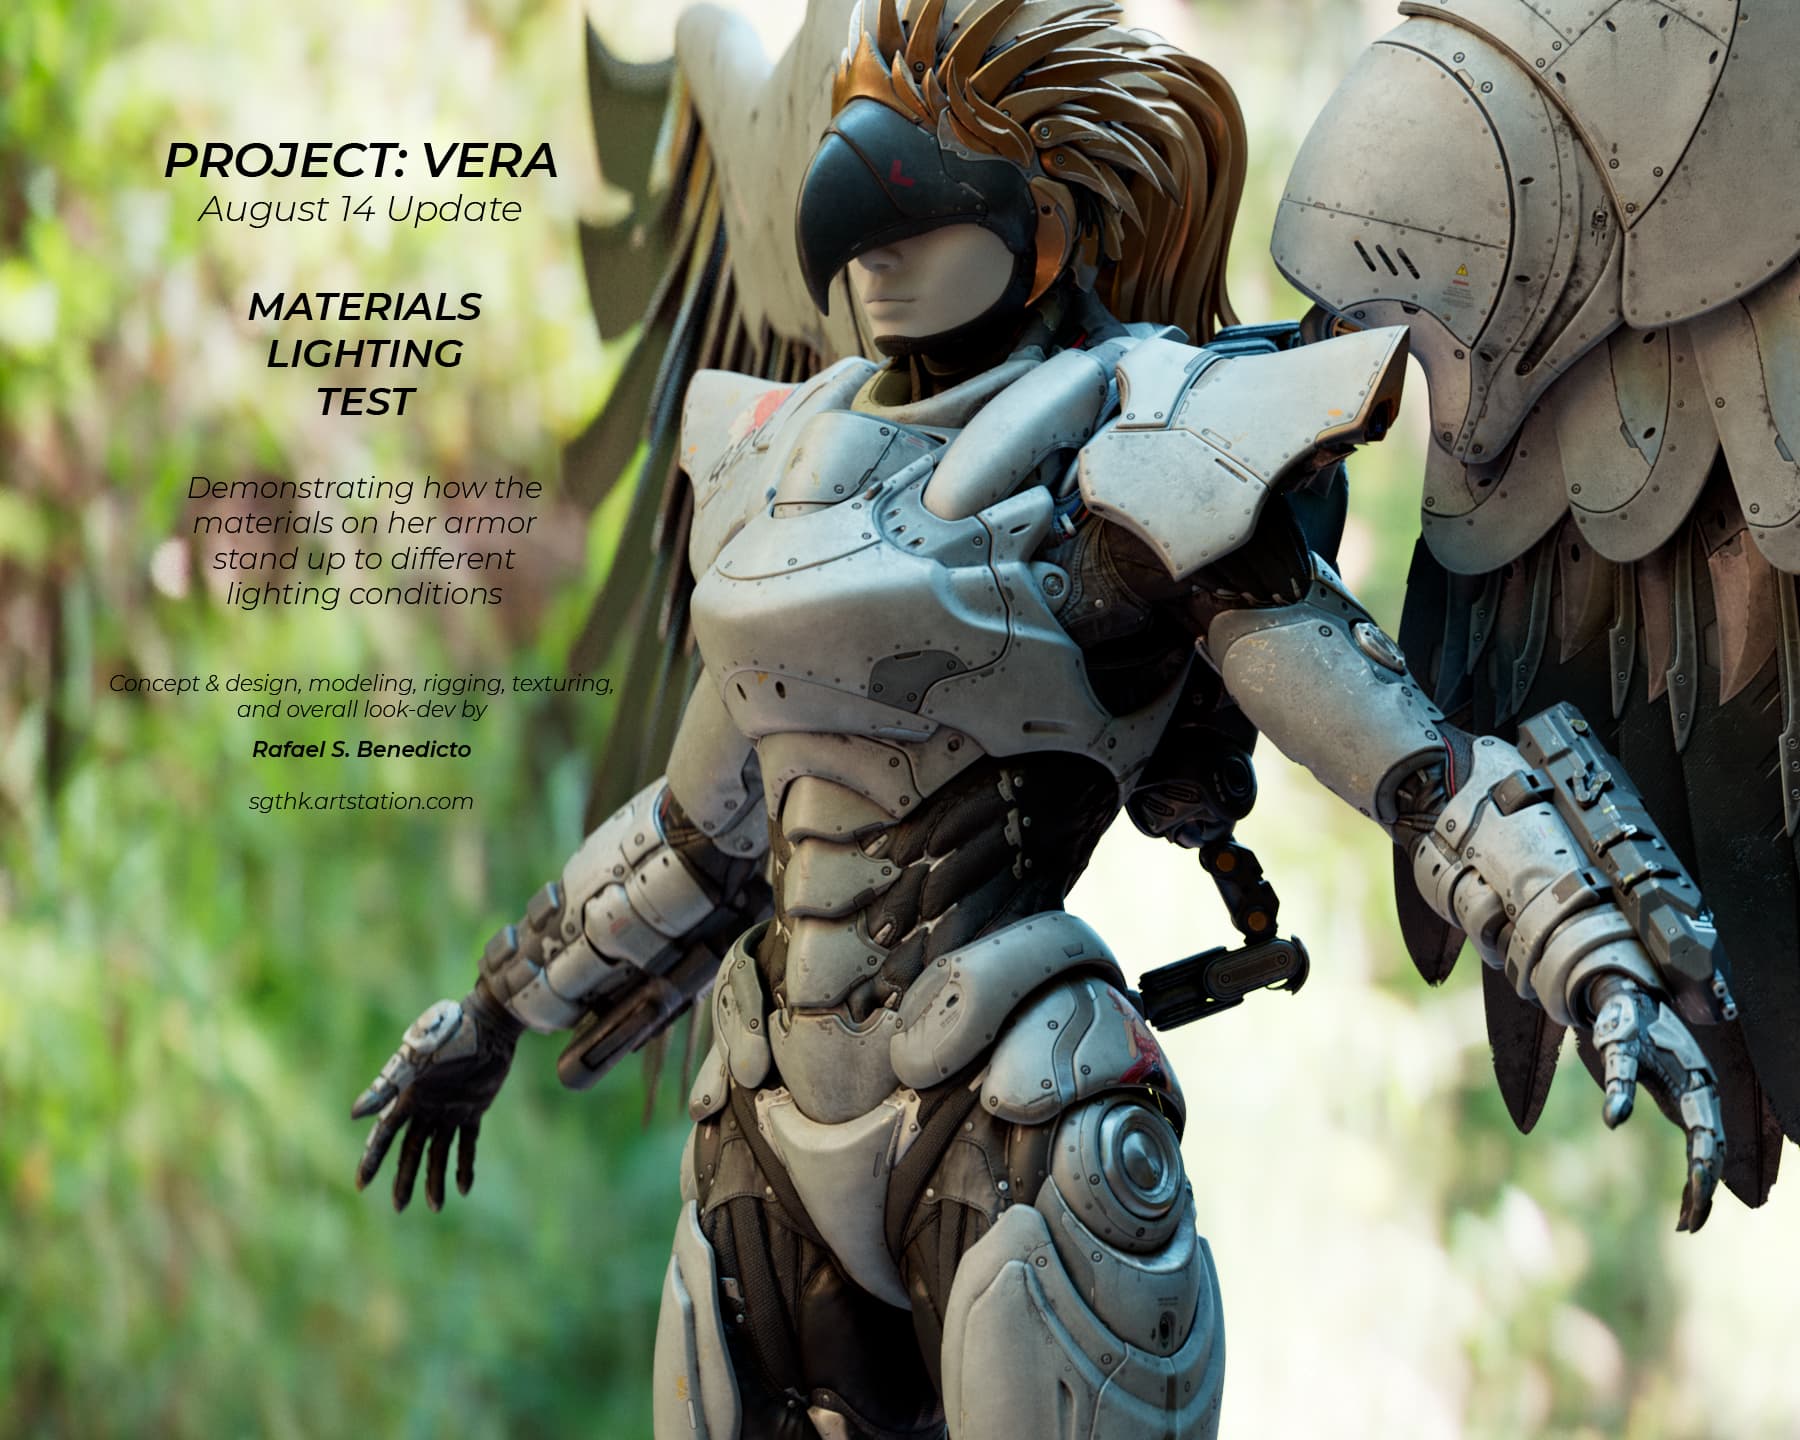
I started working on this original character last April. I previously made a prototype of her in 2019, but I scrapped it in favor of this design.
Here’s my ArtStation blog posts for this entry:
https://www.artstation.com/blogs/sgthk/PQMzz/project-vera-part-1
https://www.artstation.com/blogs/sgthk/BdYqd/project-vera-part-2
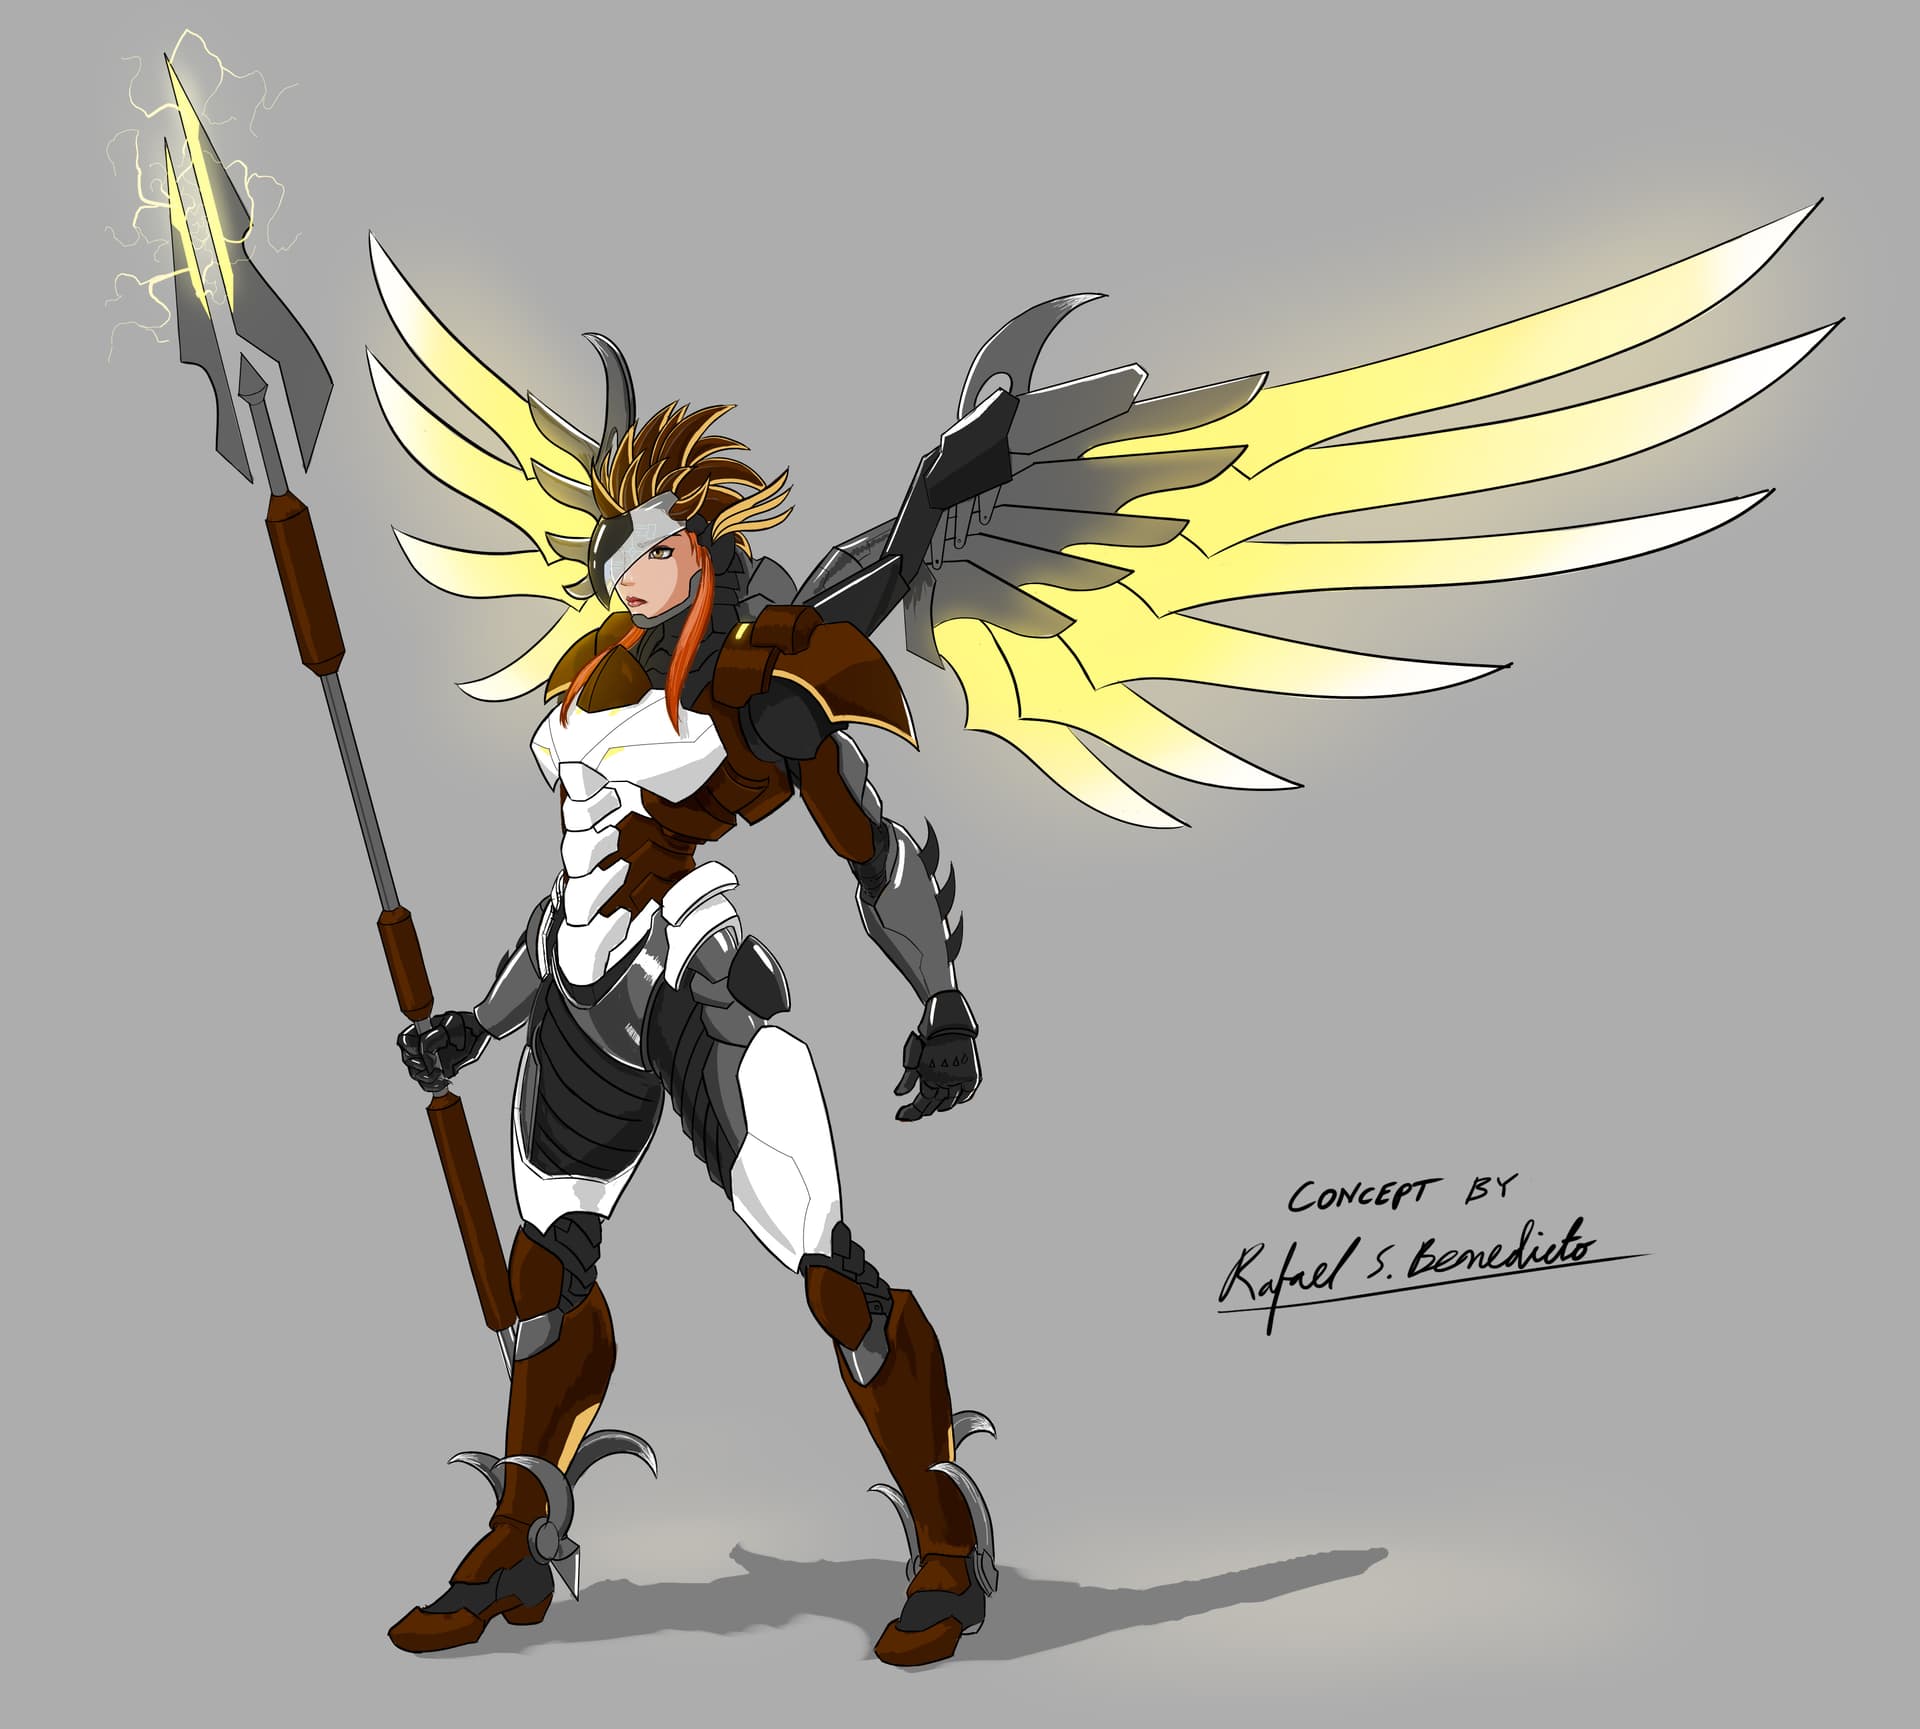

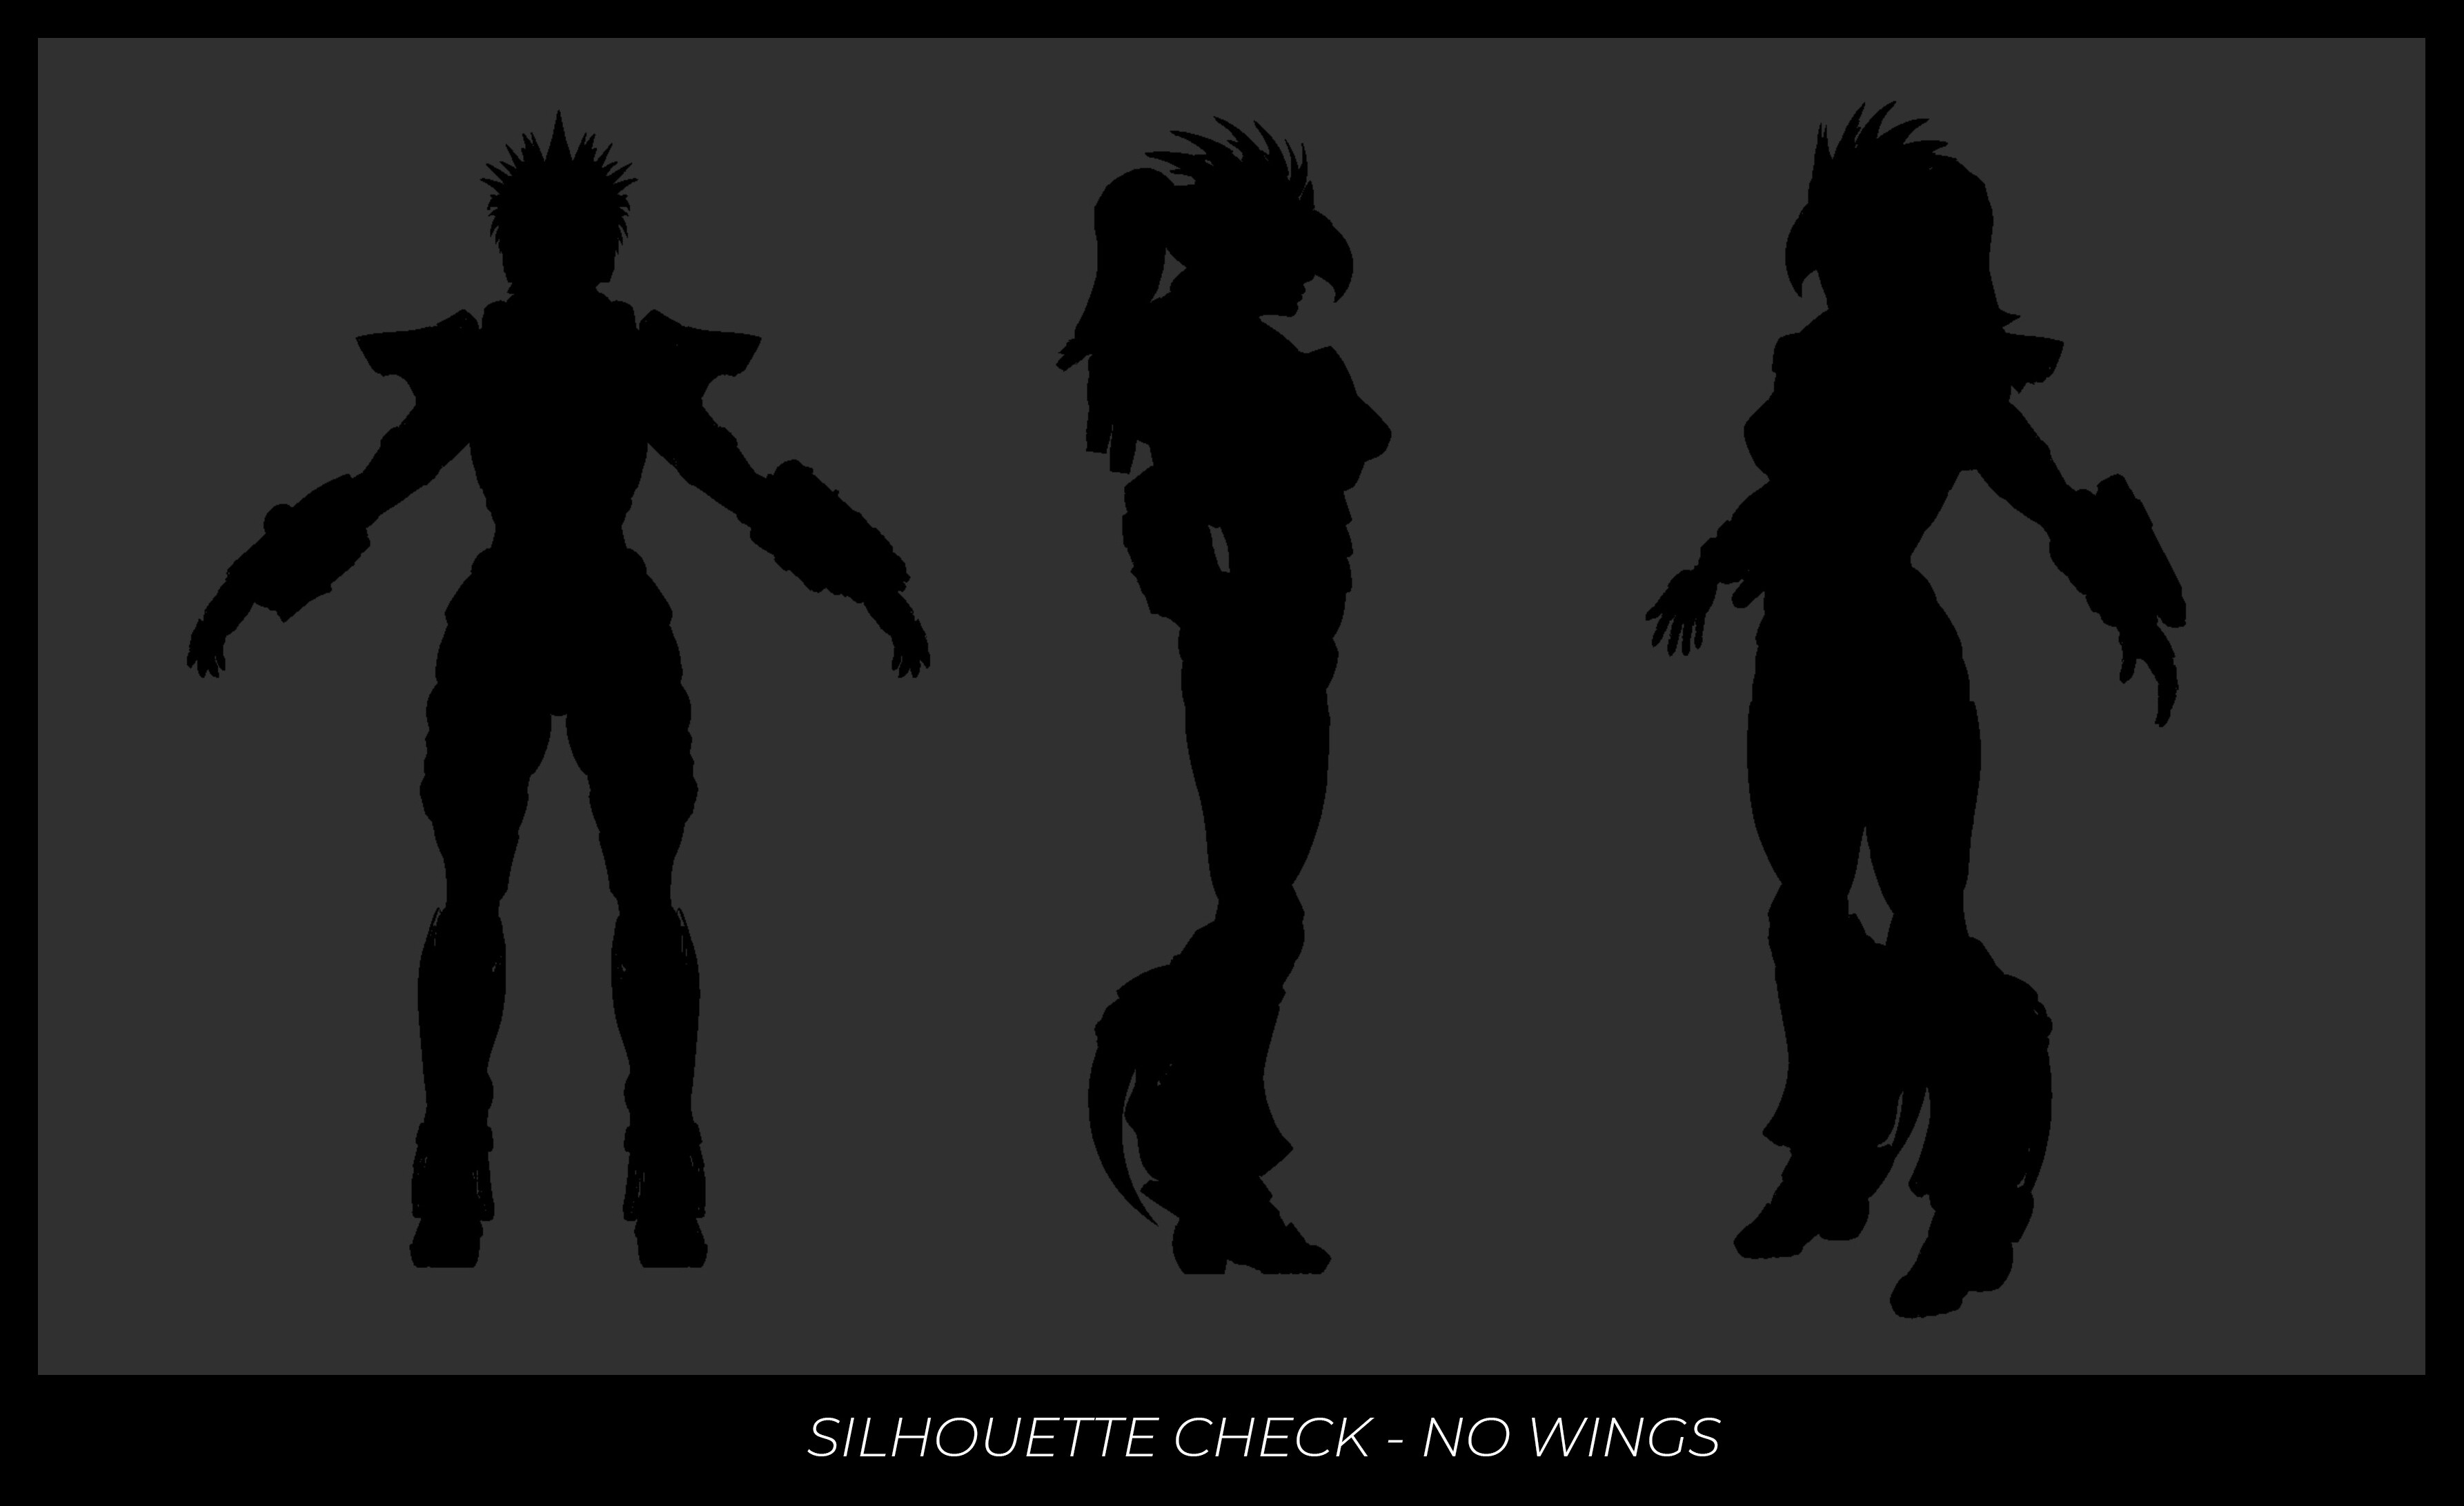
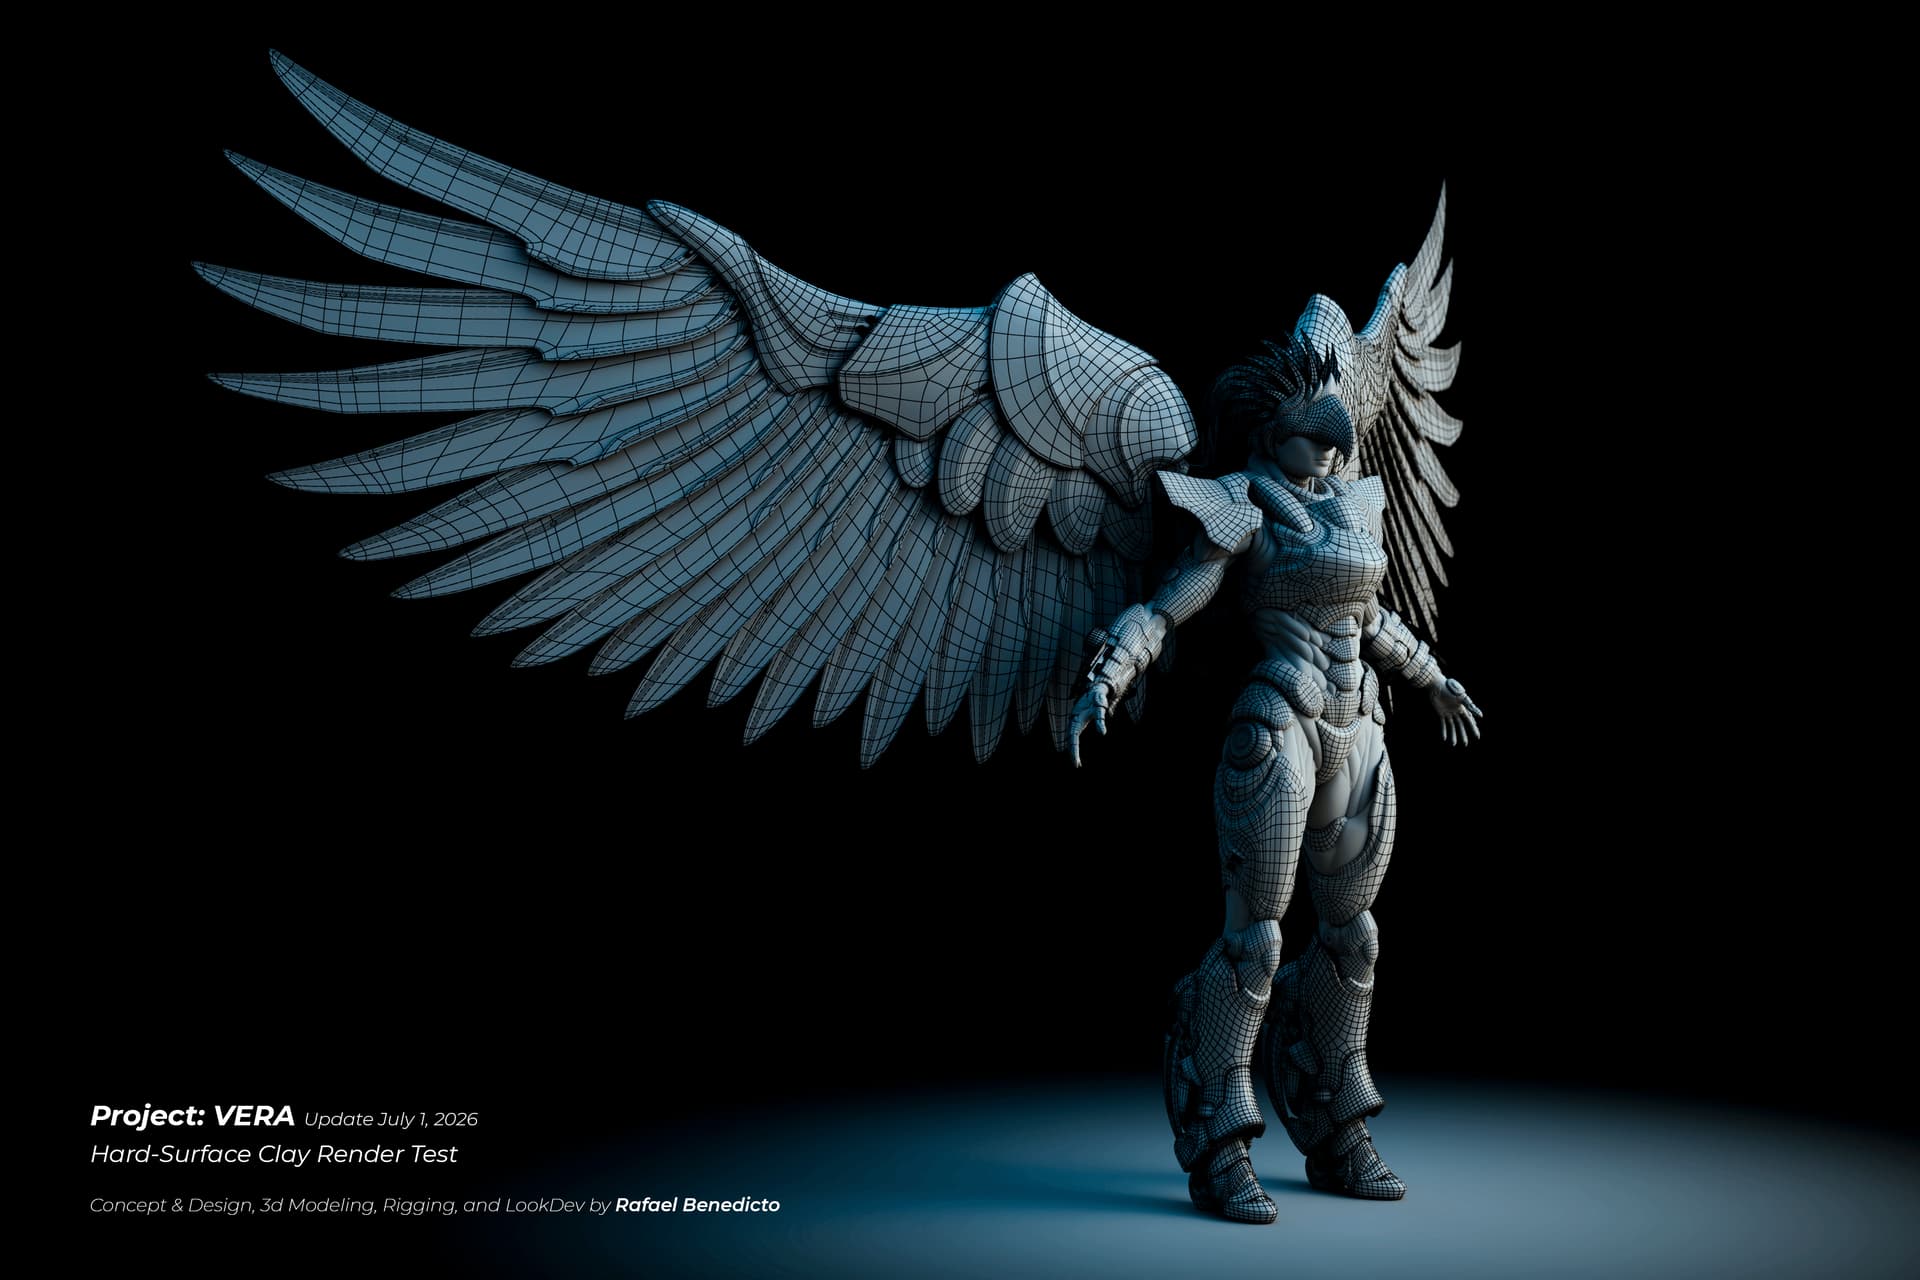
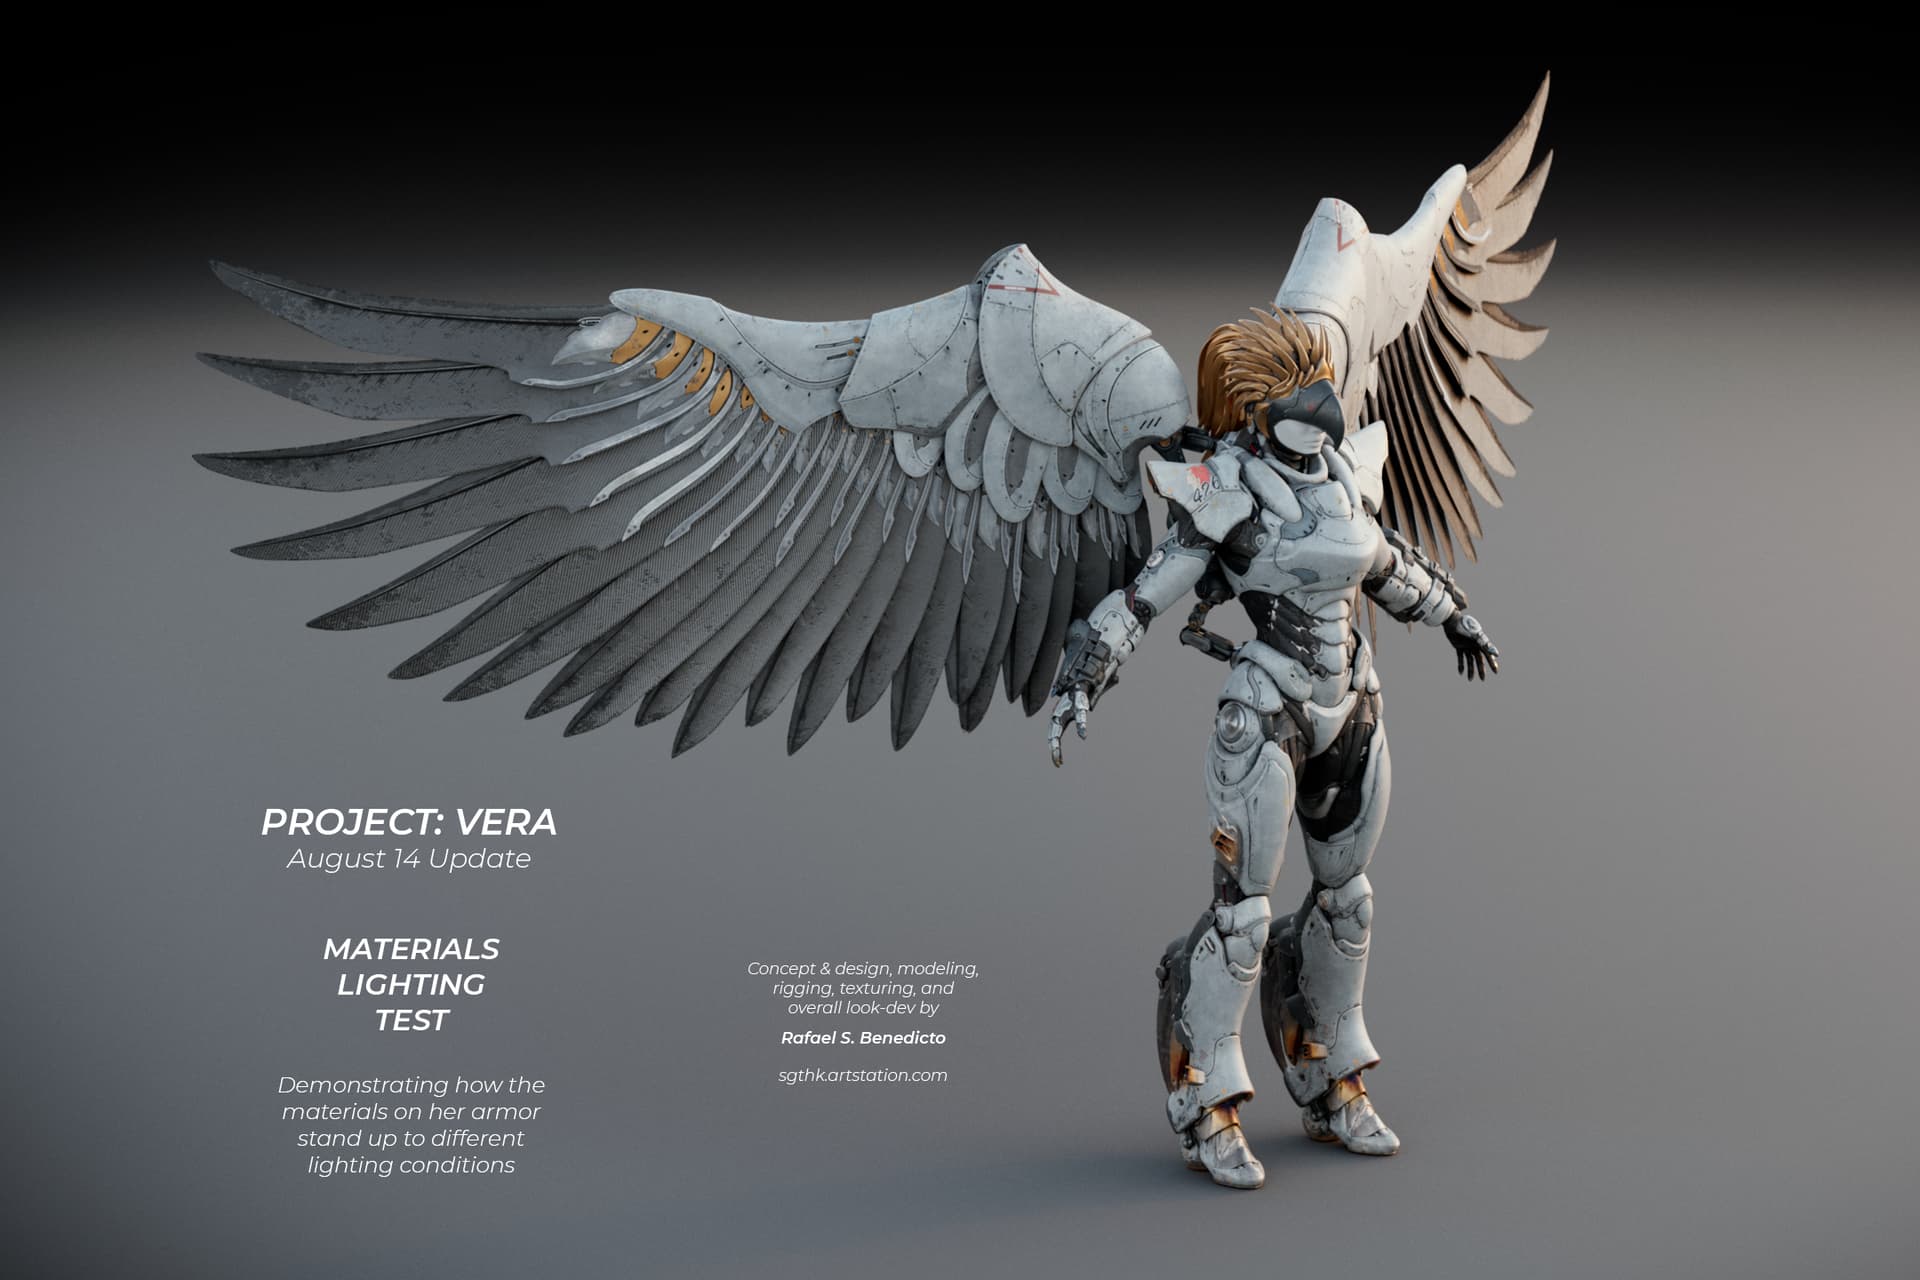
She began as a concept art a long time ago, inspired by the Philippine Eagle. A 2D cartoony sketch is a decent starting point, but the real challenge is figuring out how to make that design actually move and bend in 3D.
As for who this character is: She is an aerial mercenary and the main character in my own Aero-Punk universe.
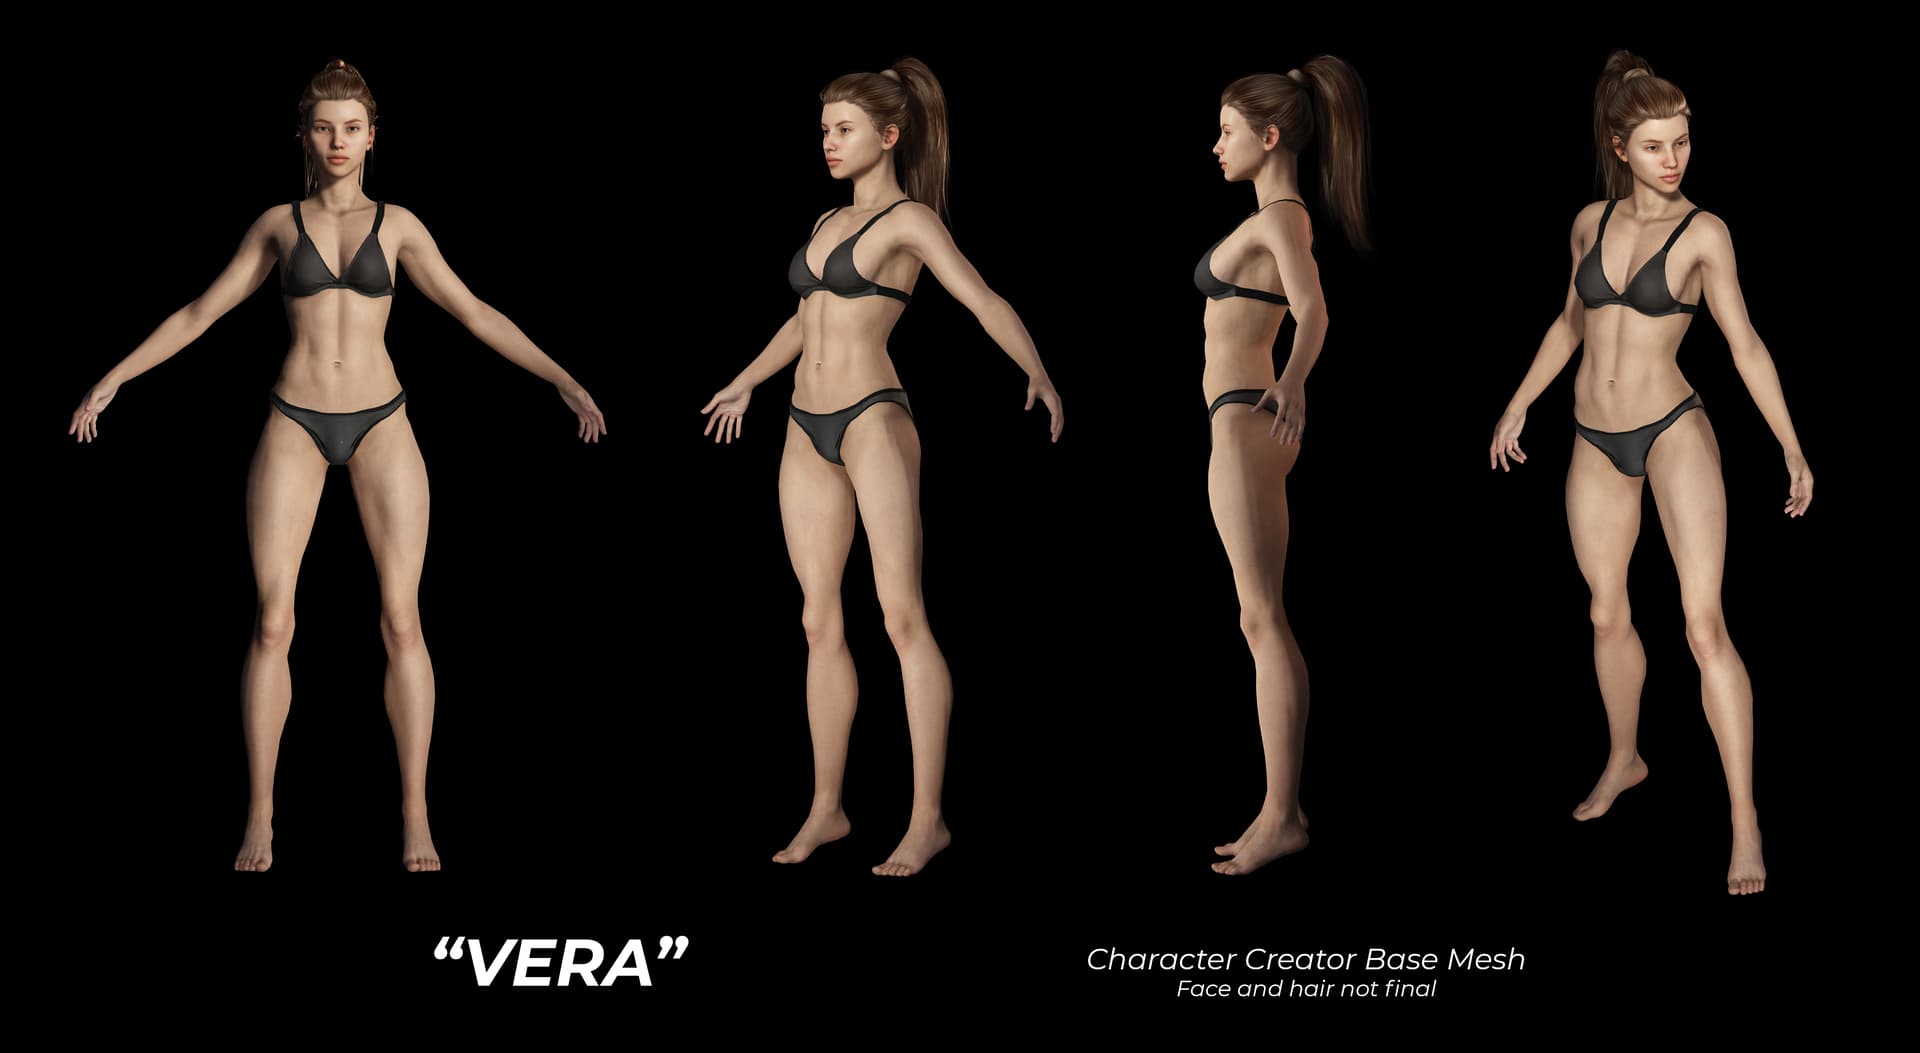
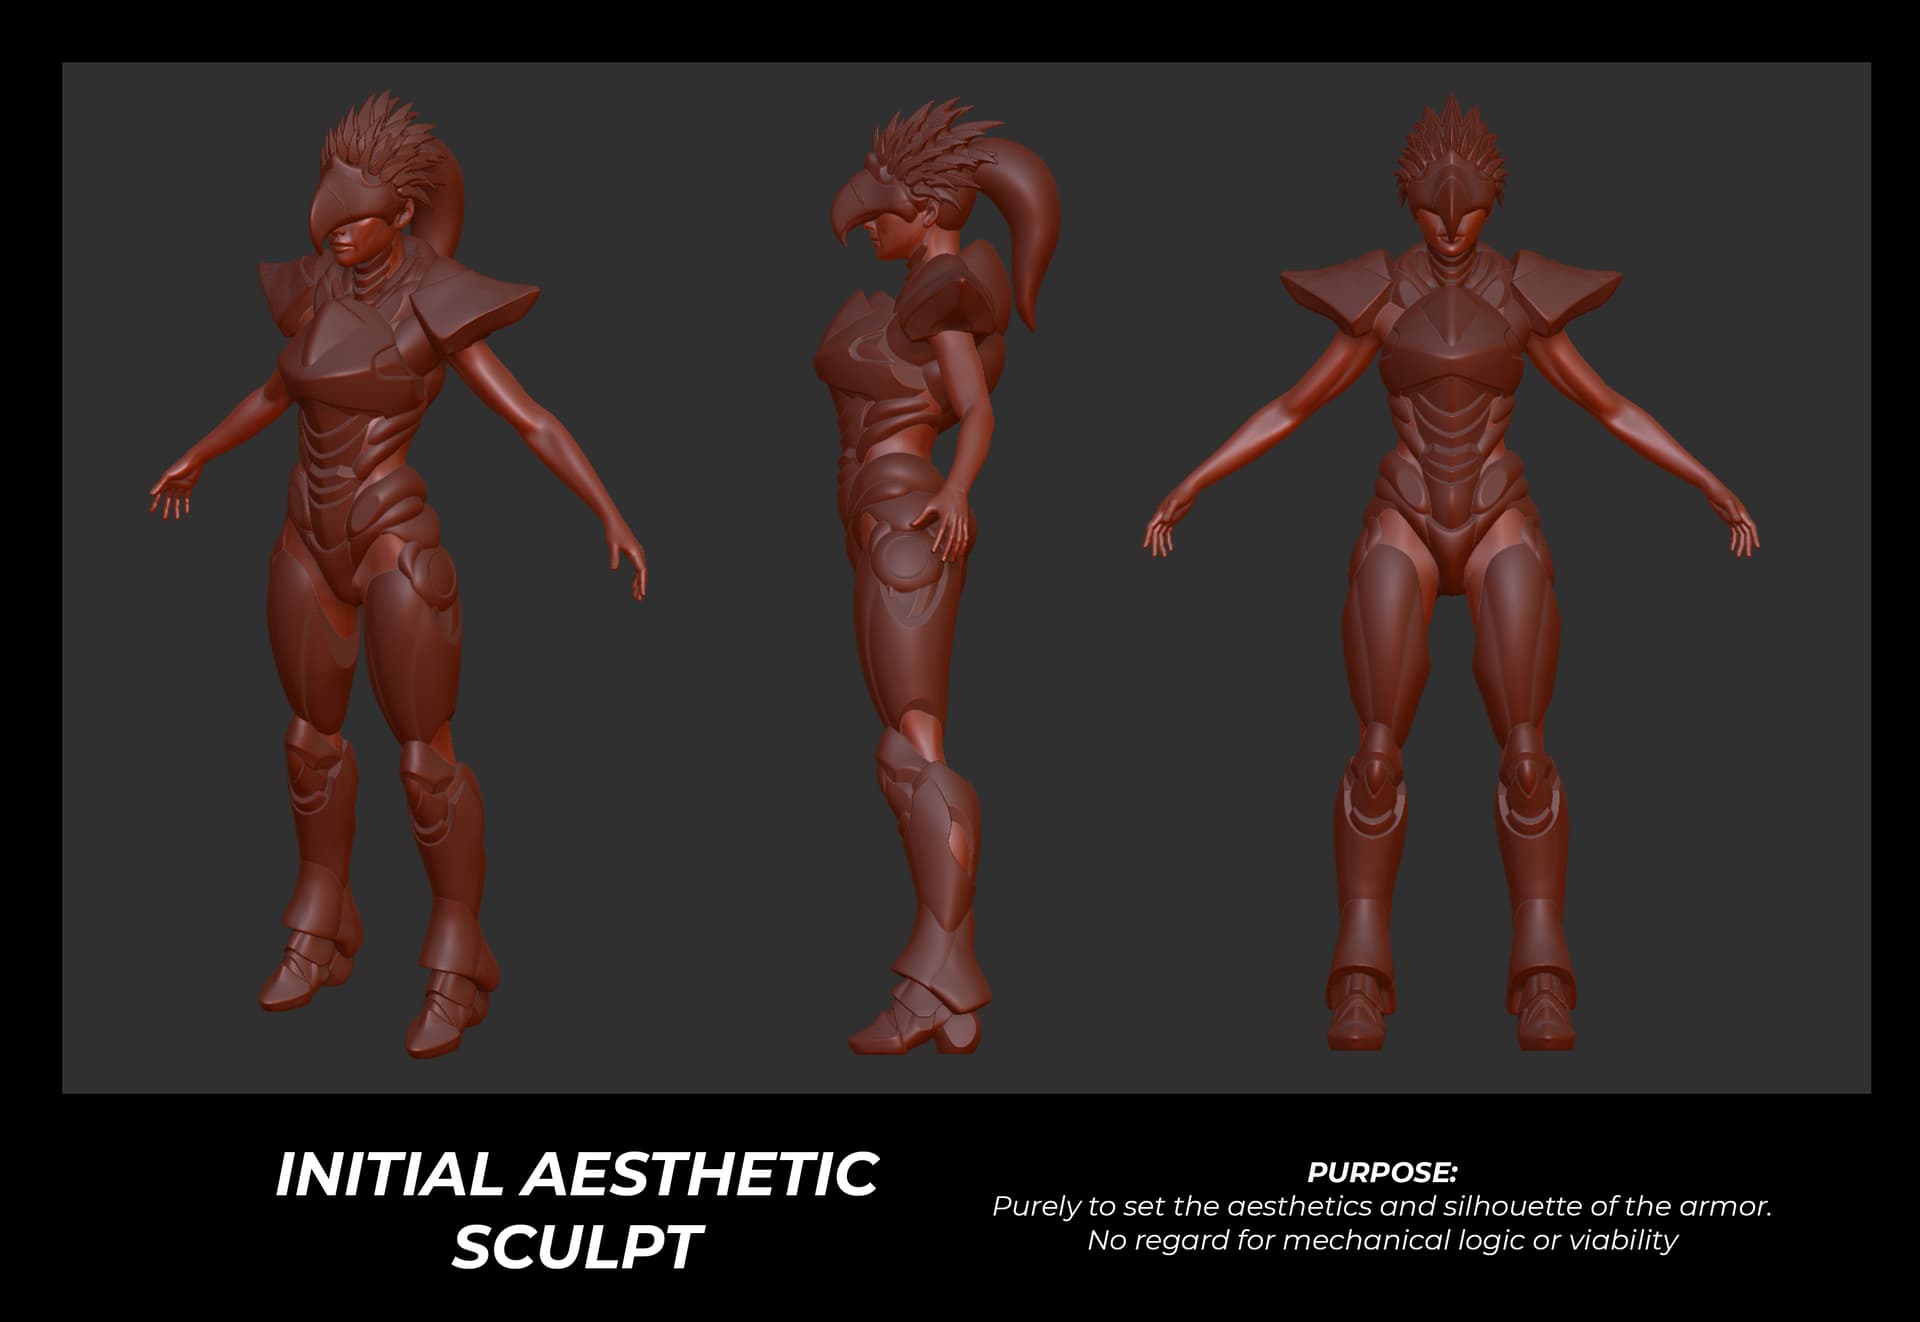
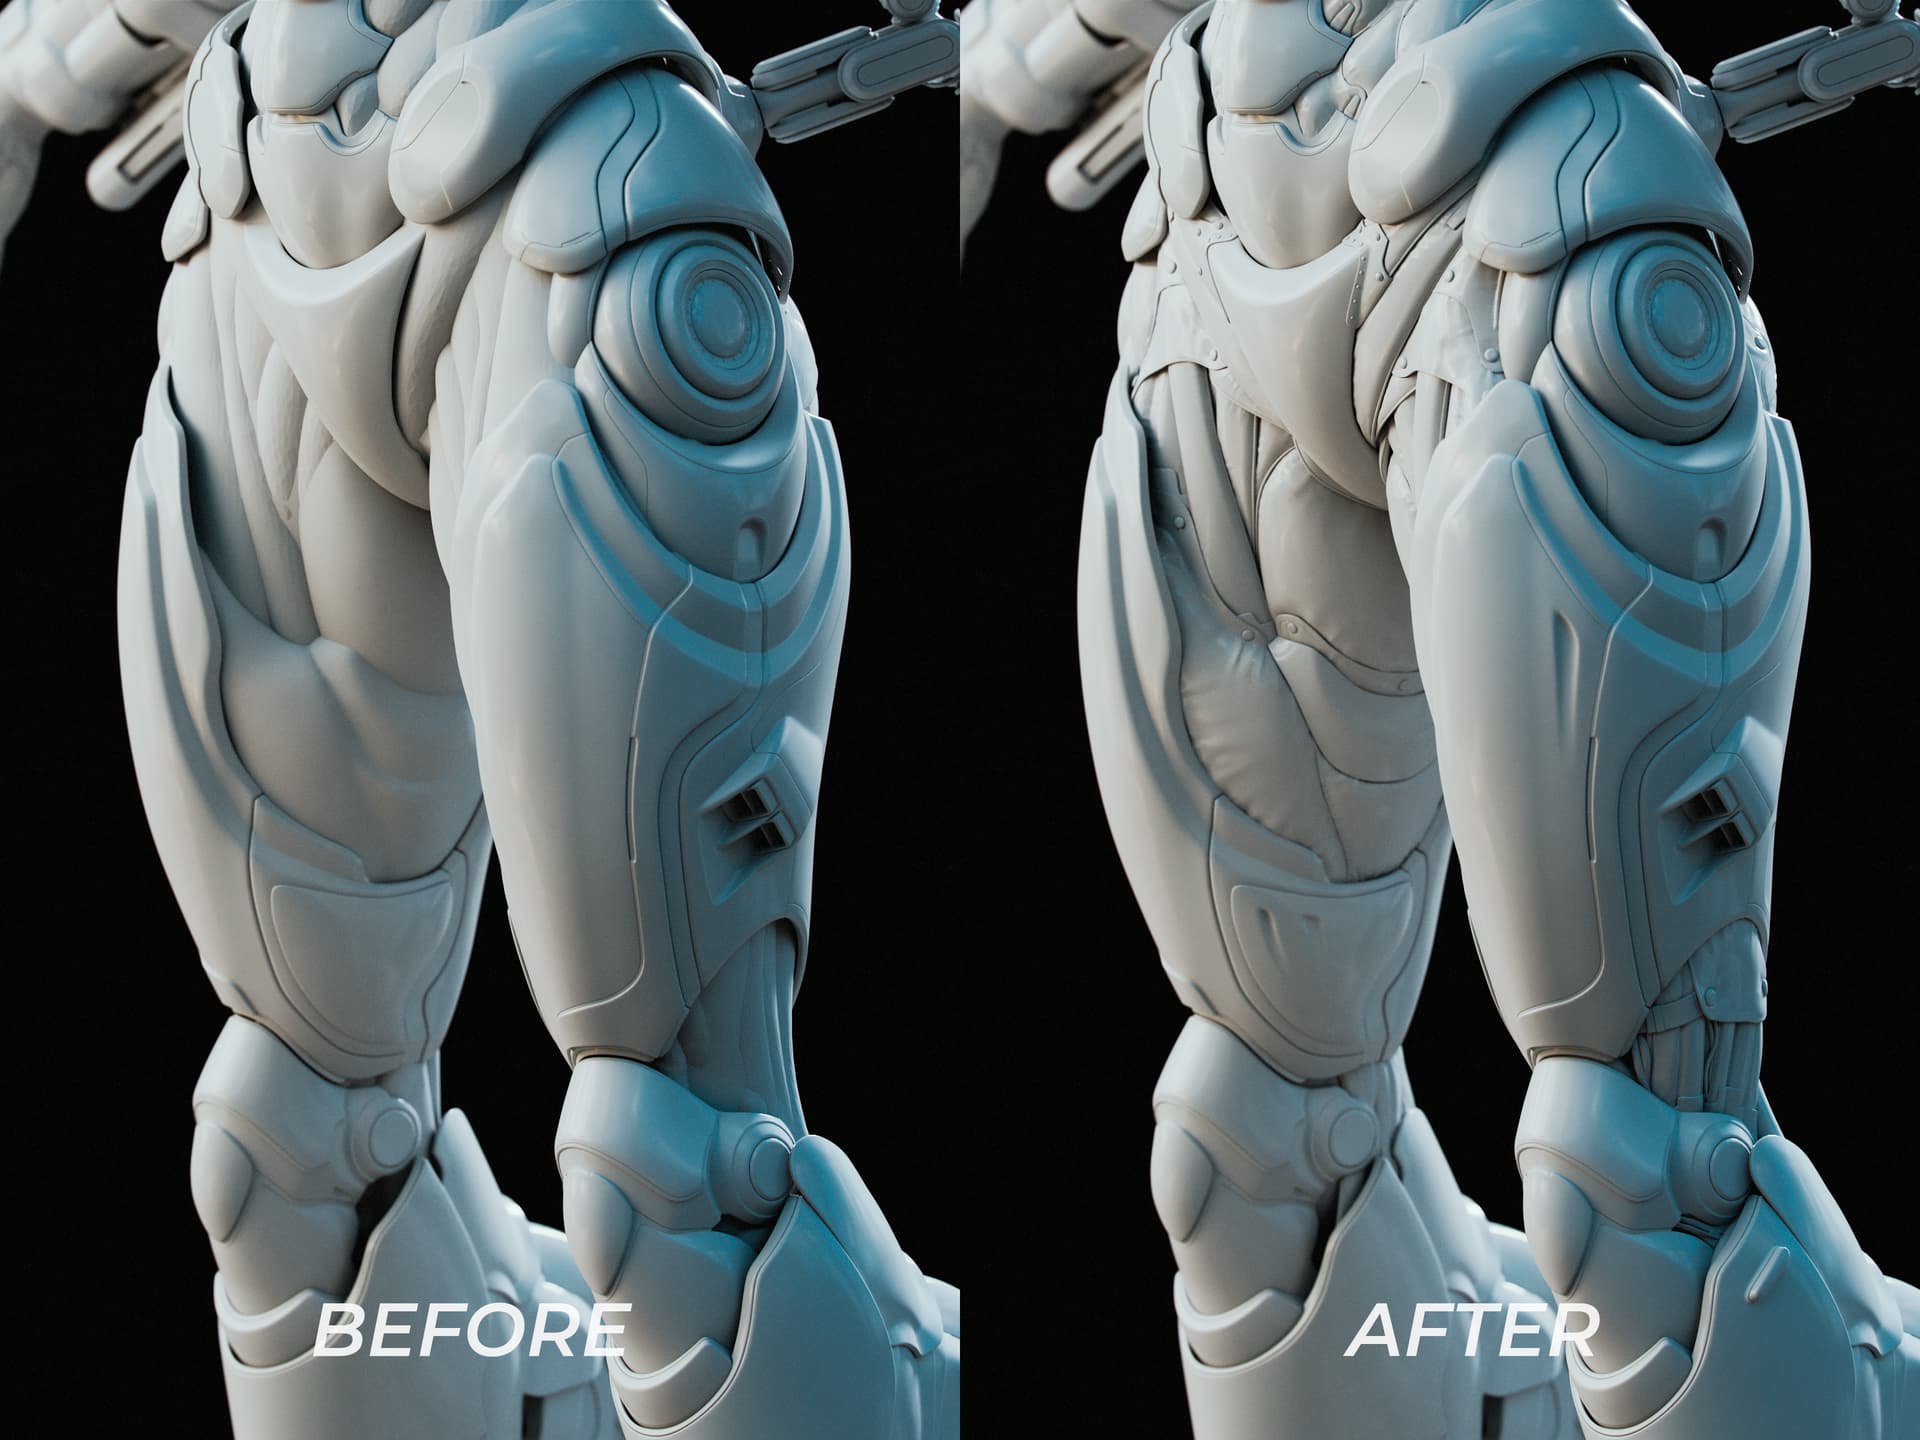
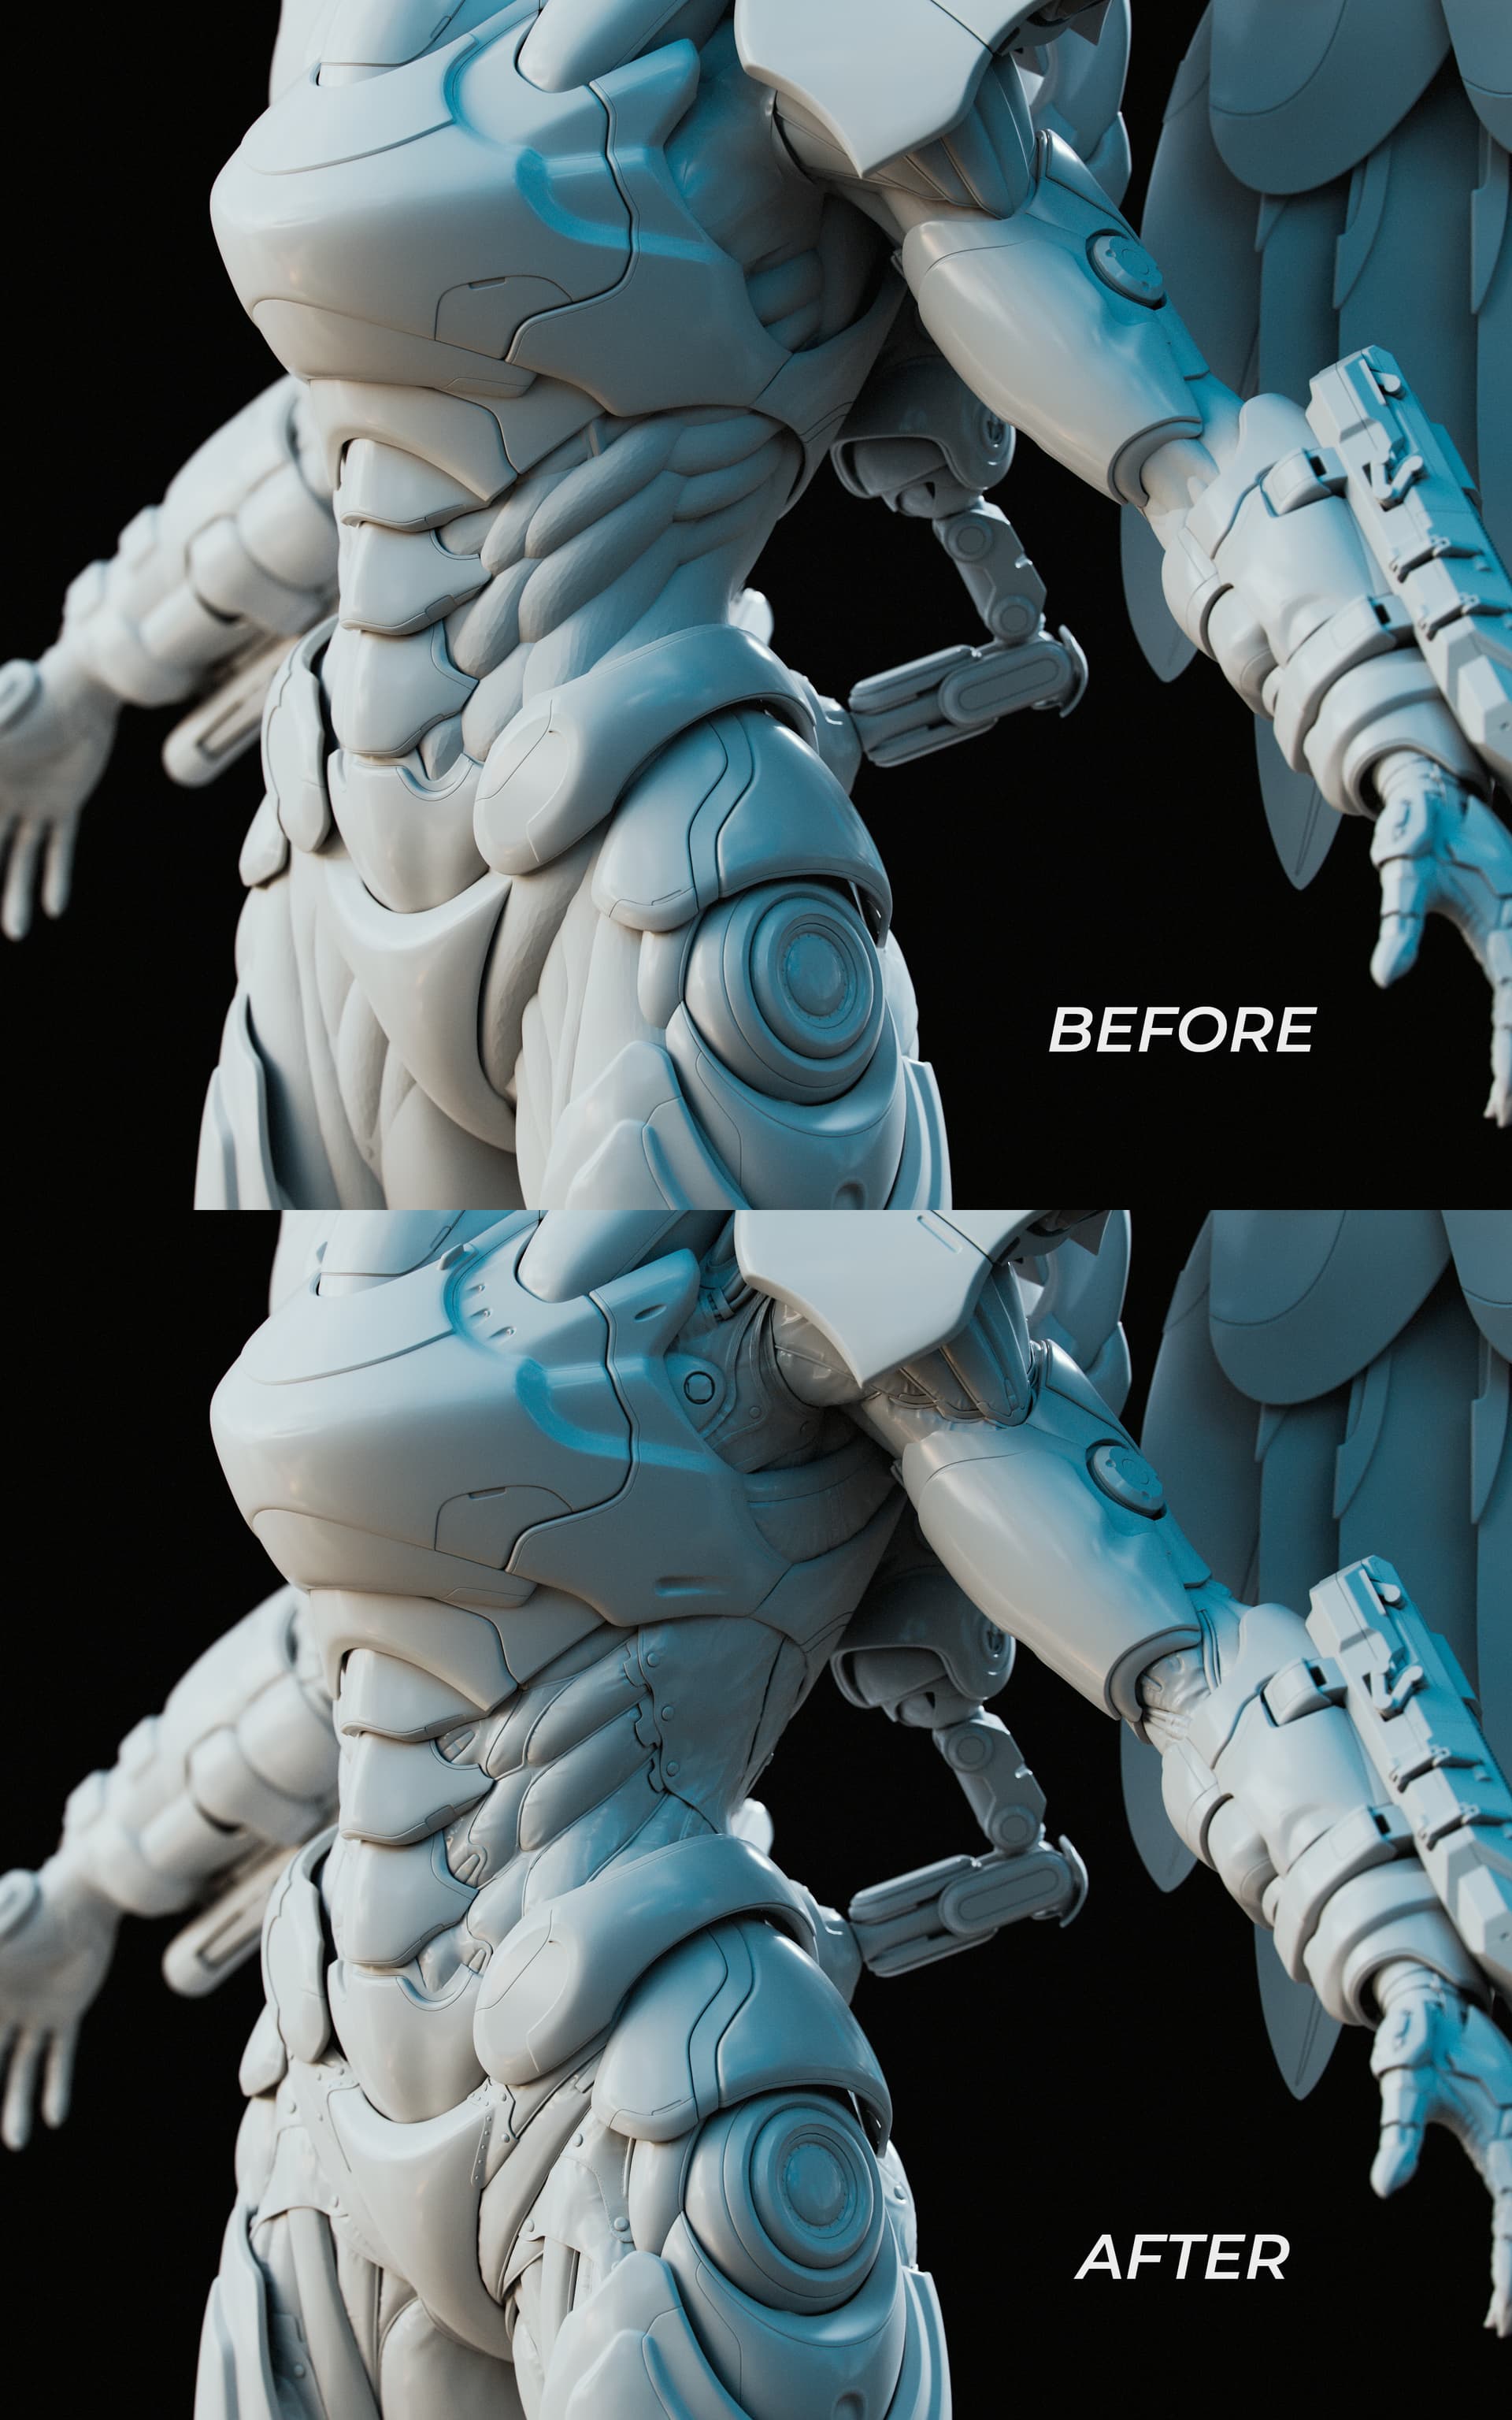
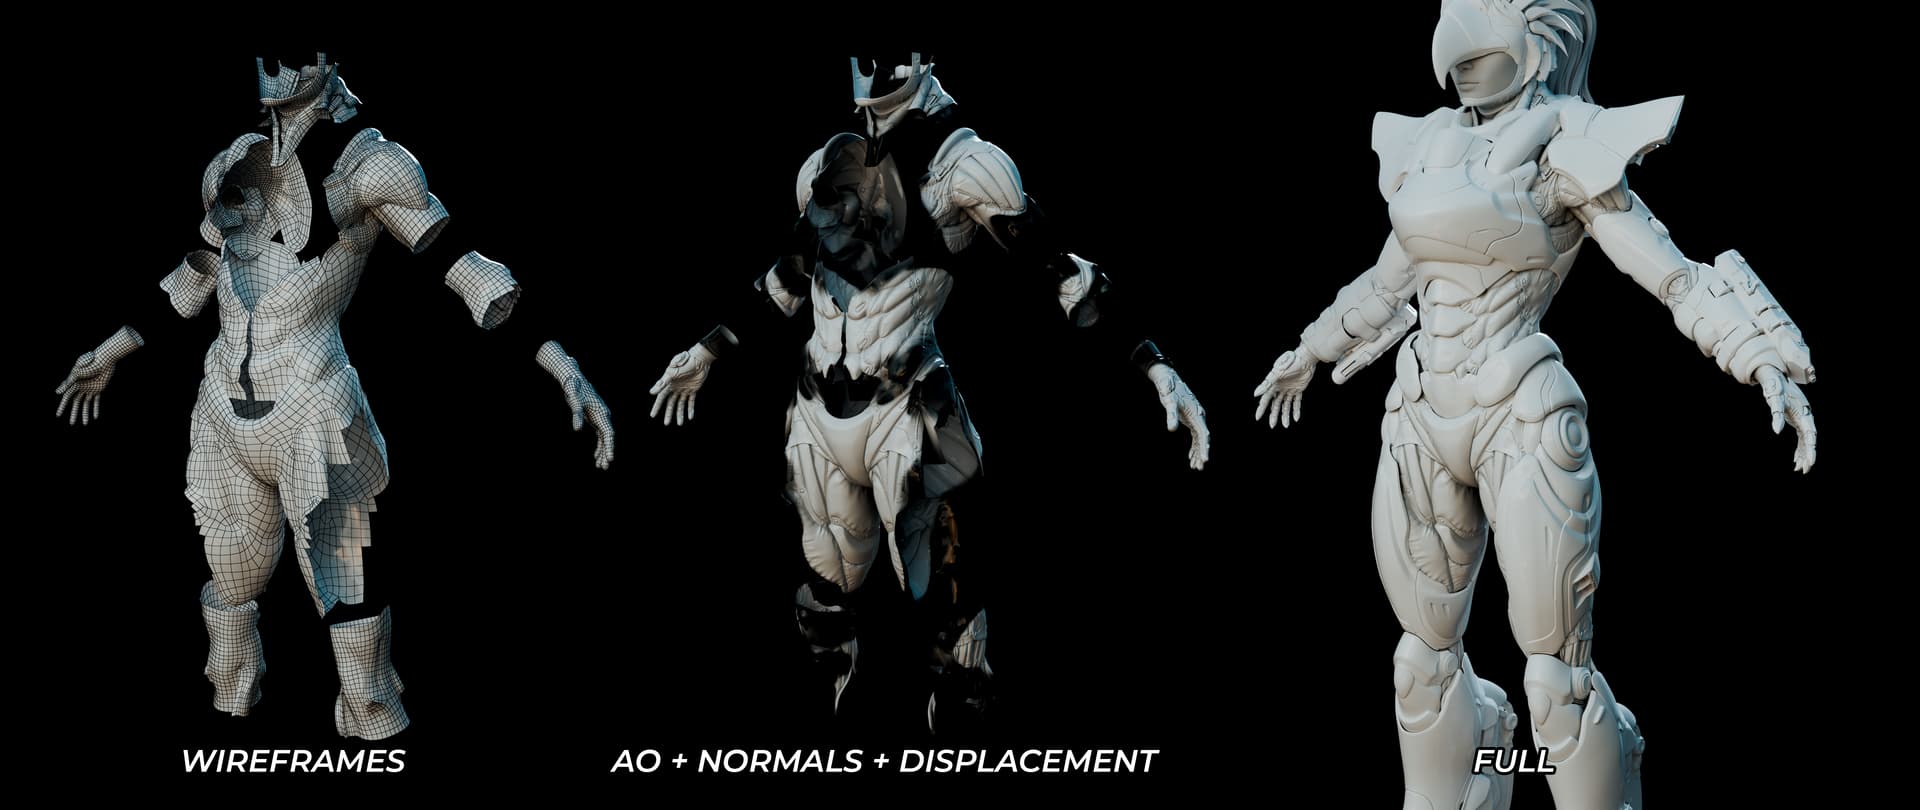
I started by quickly finalizing her body in Character Creator 4. Then I made the initial blockout of her design in Zbrush.
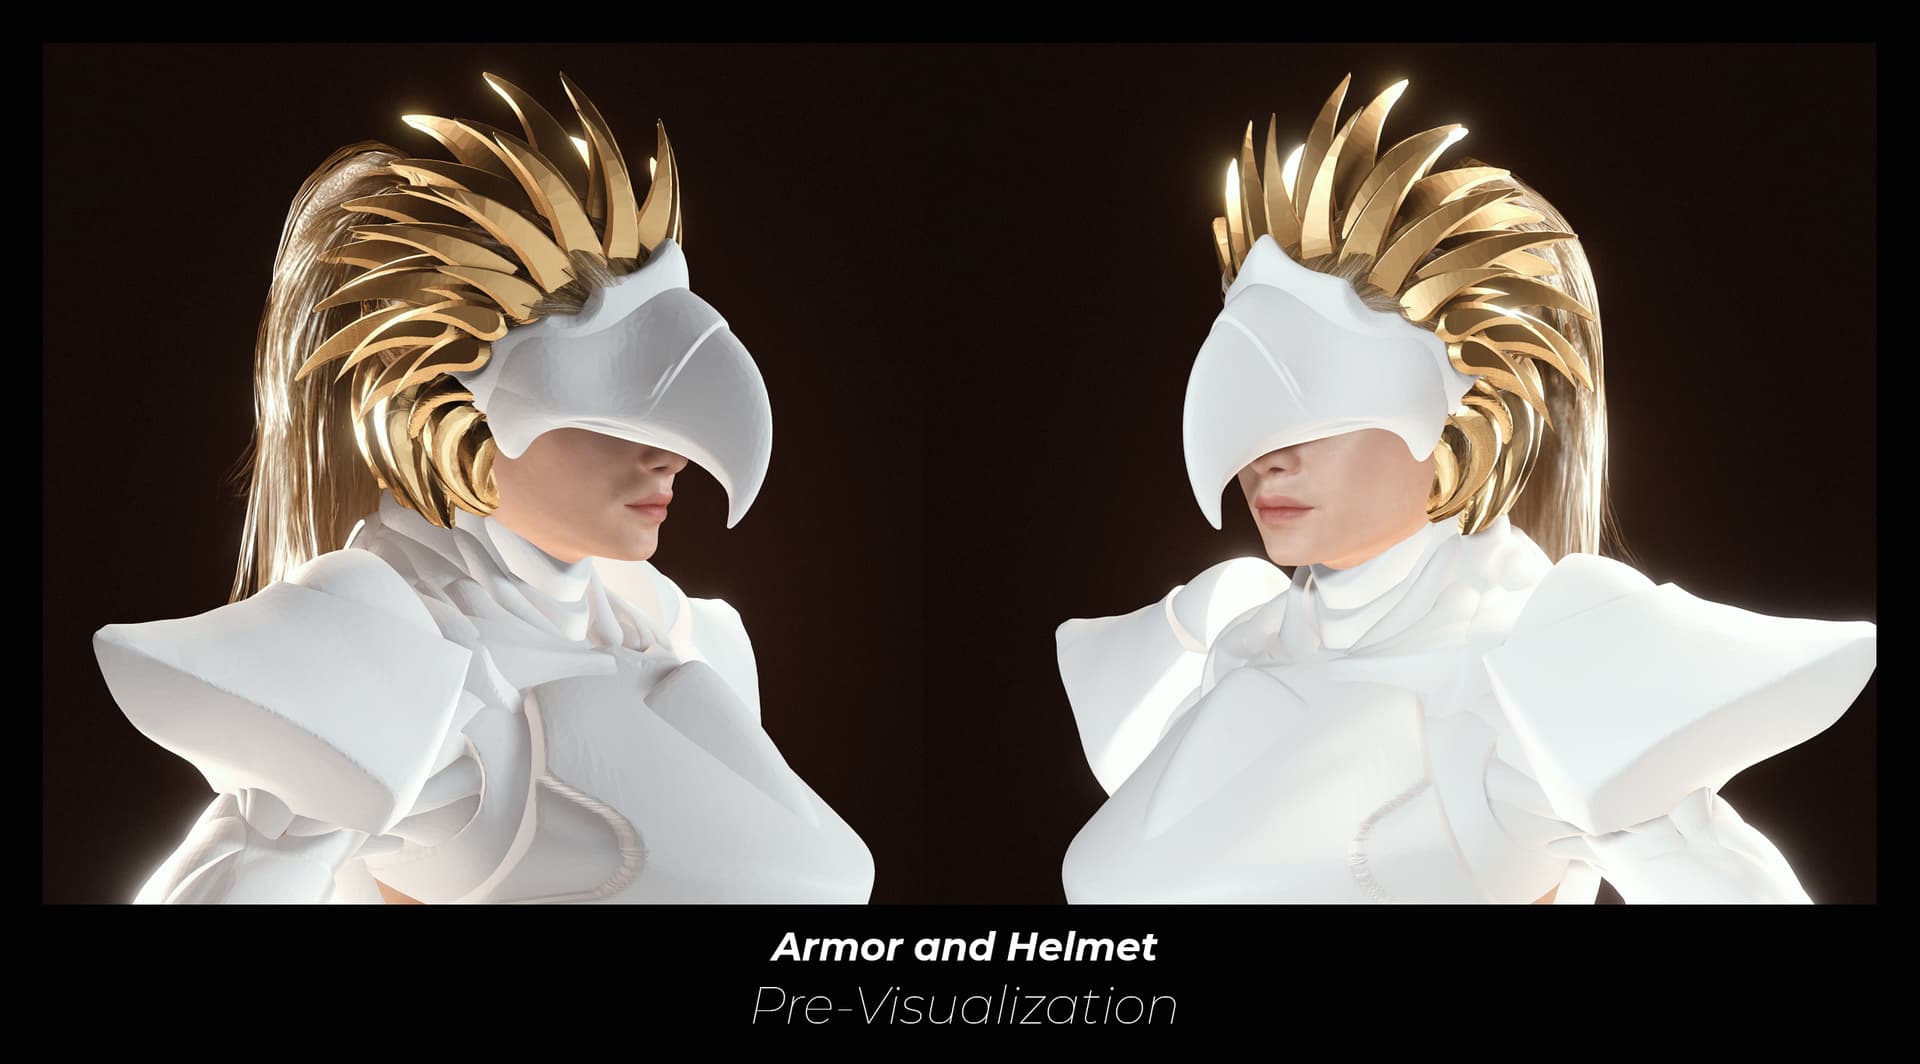
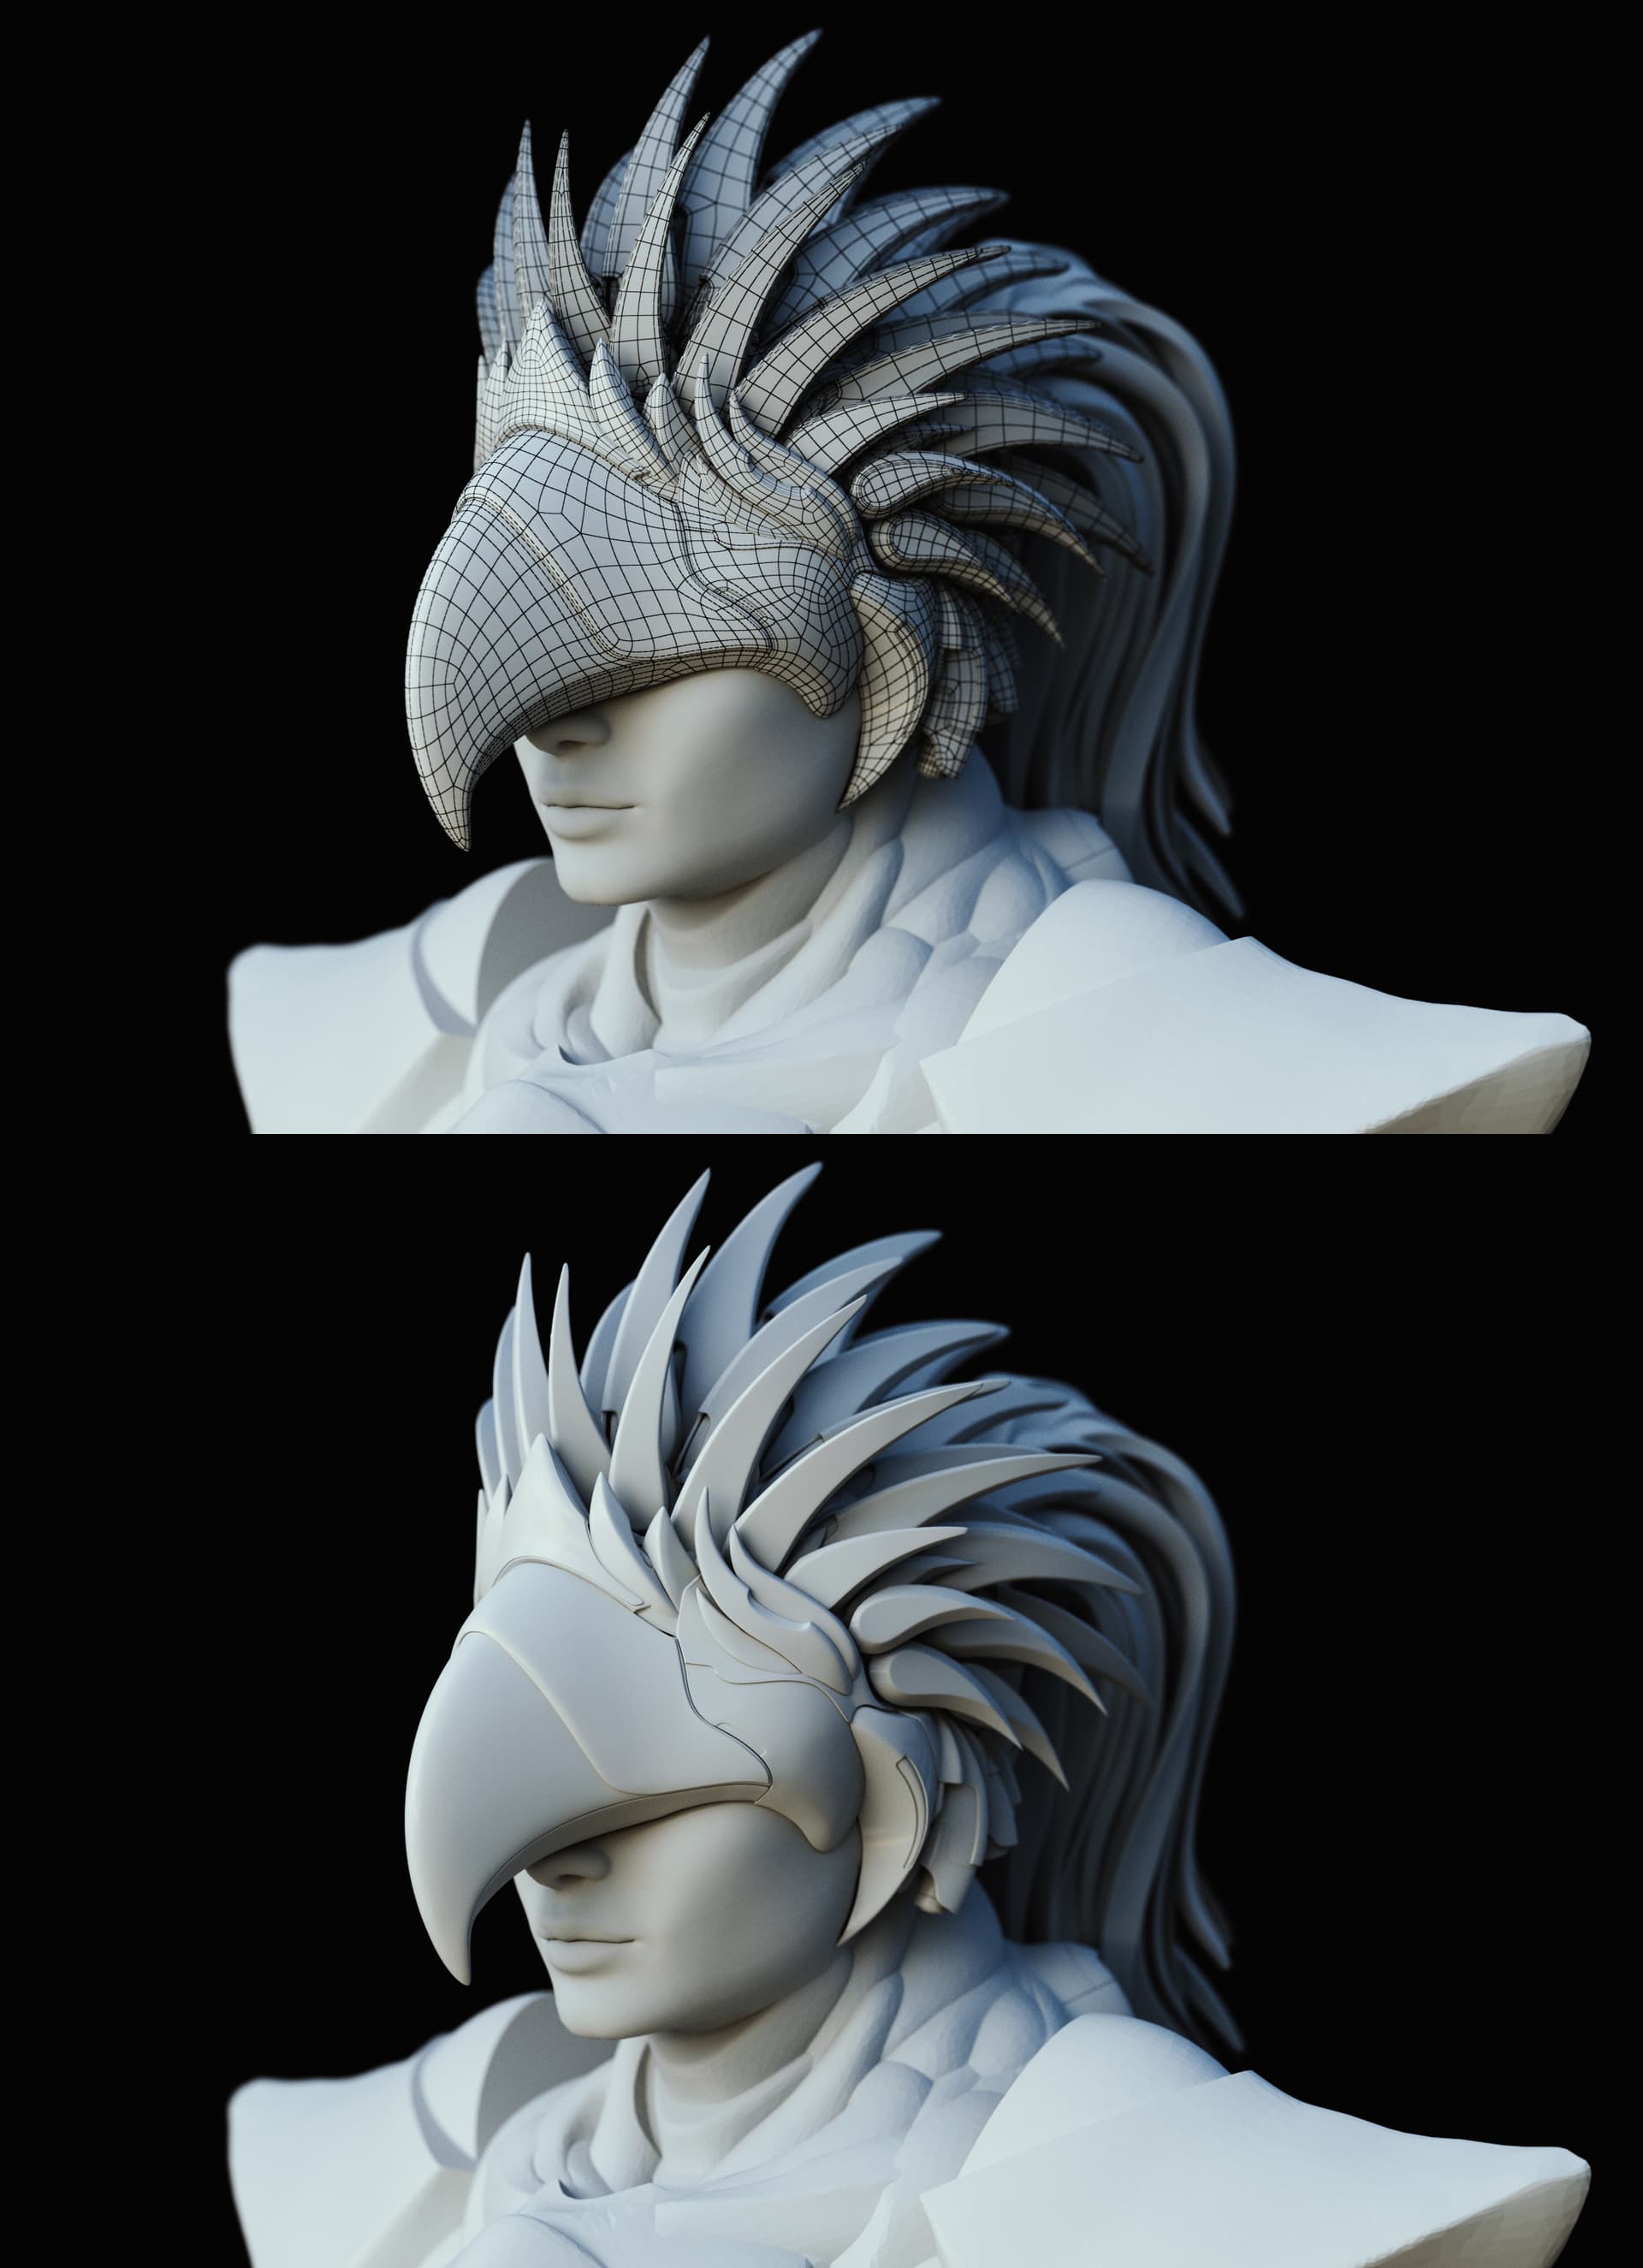
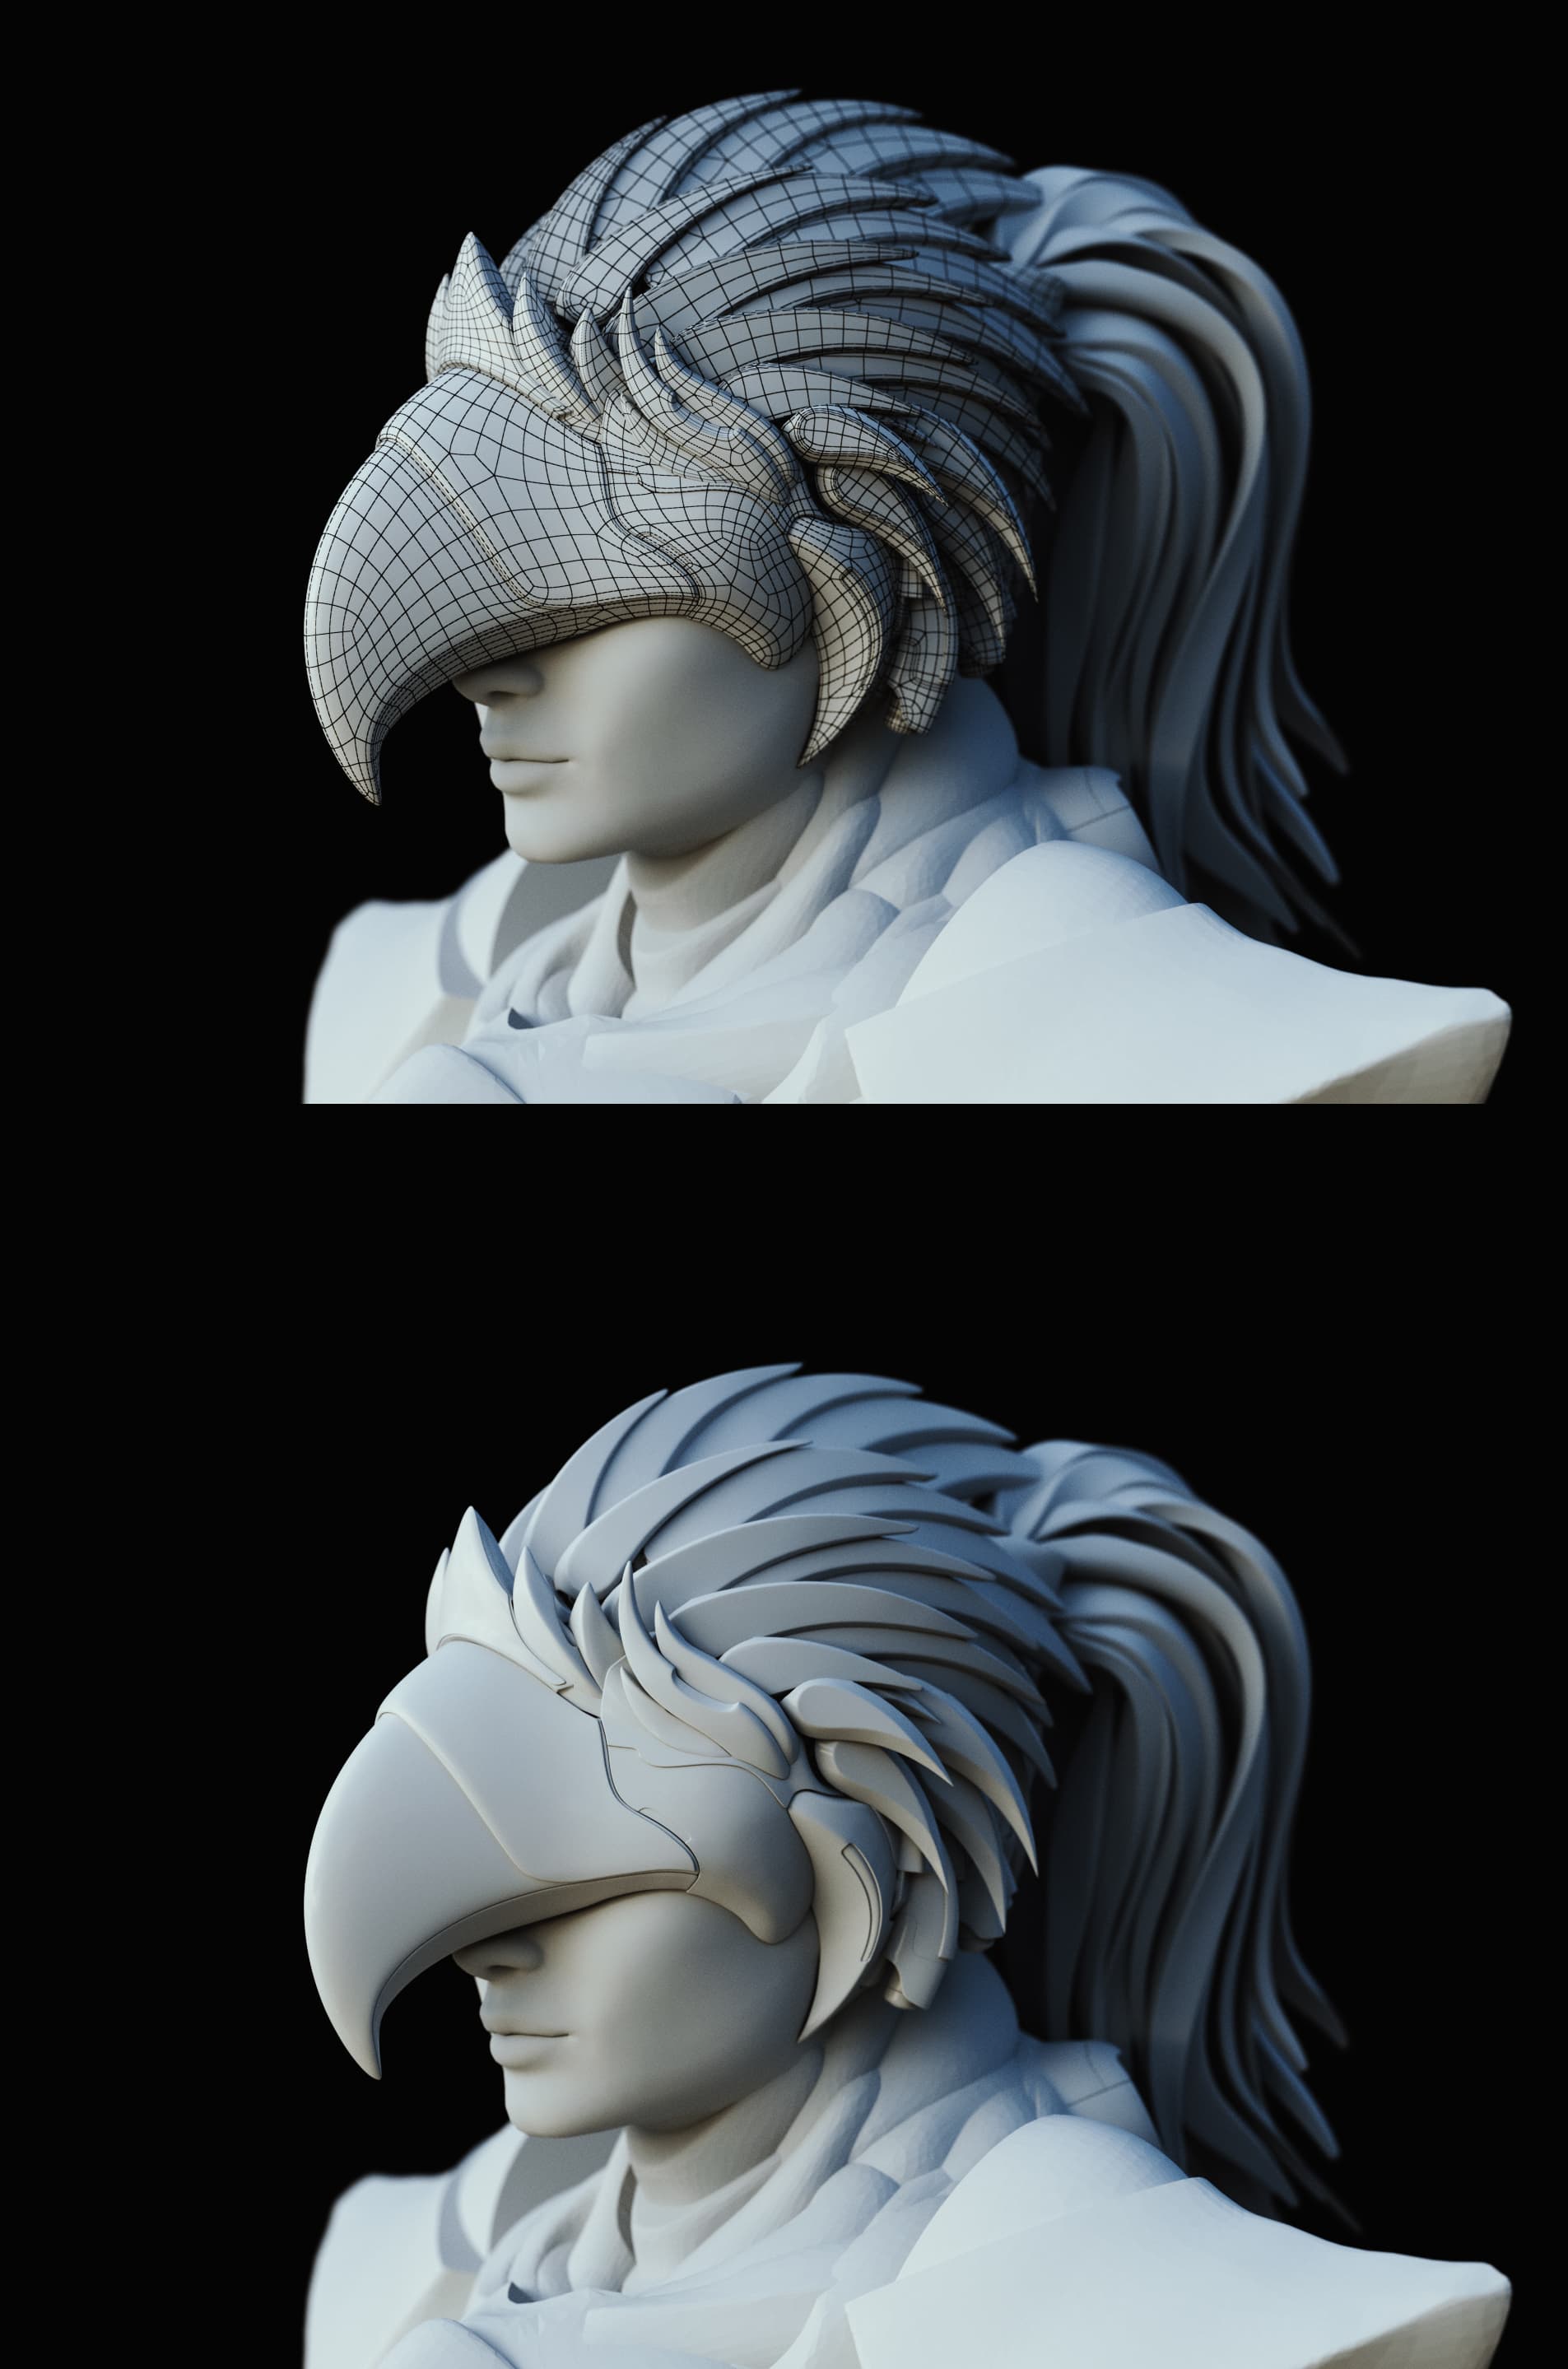
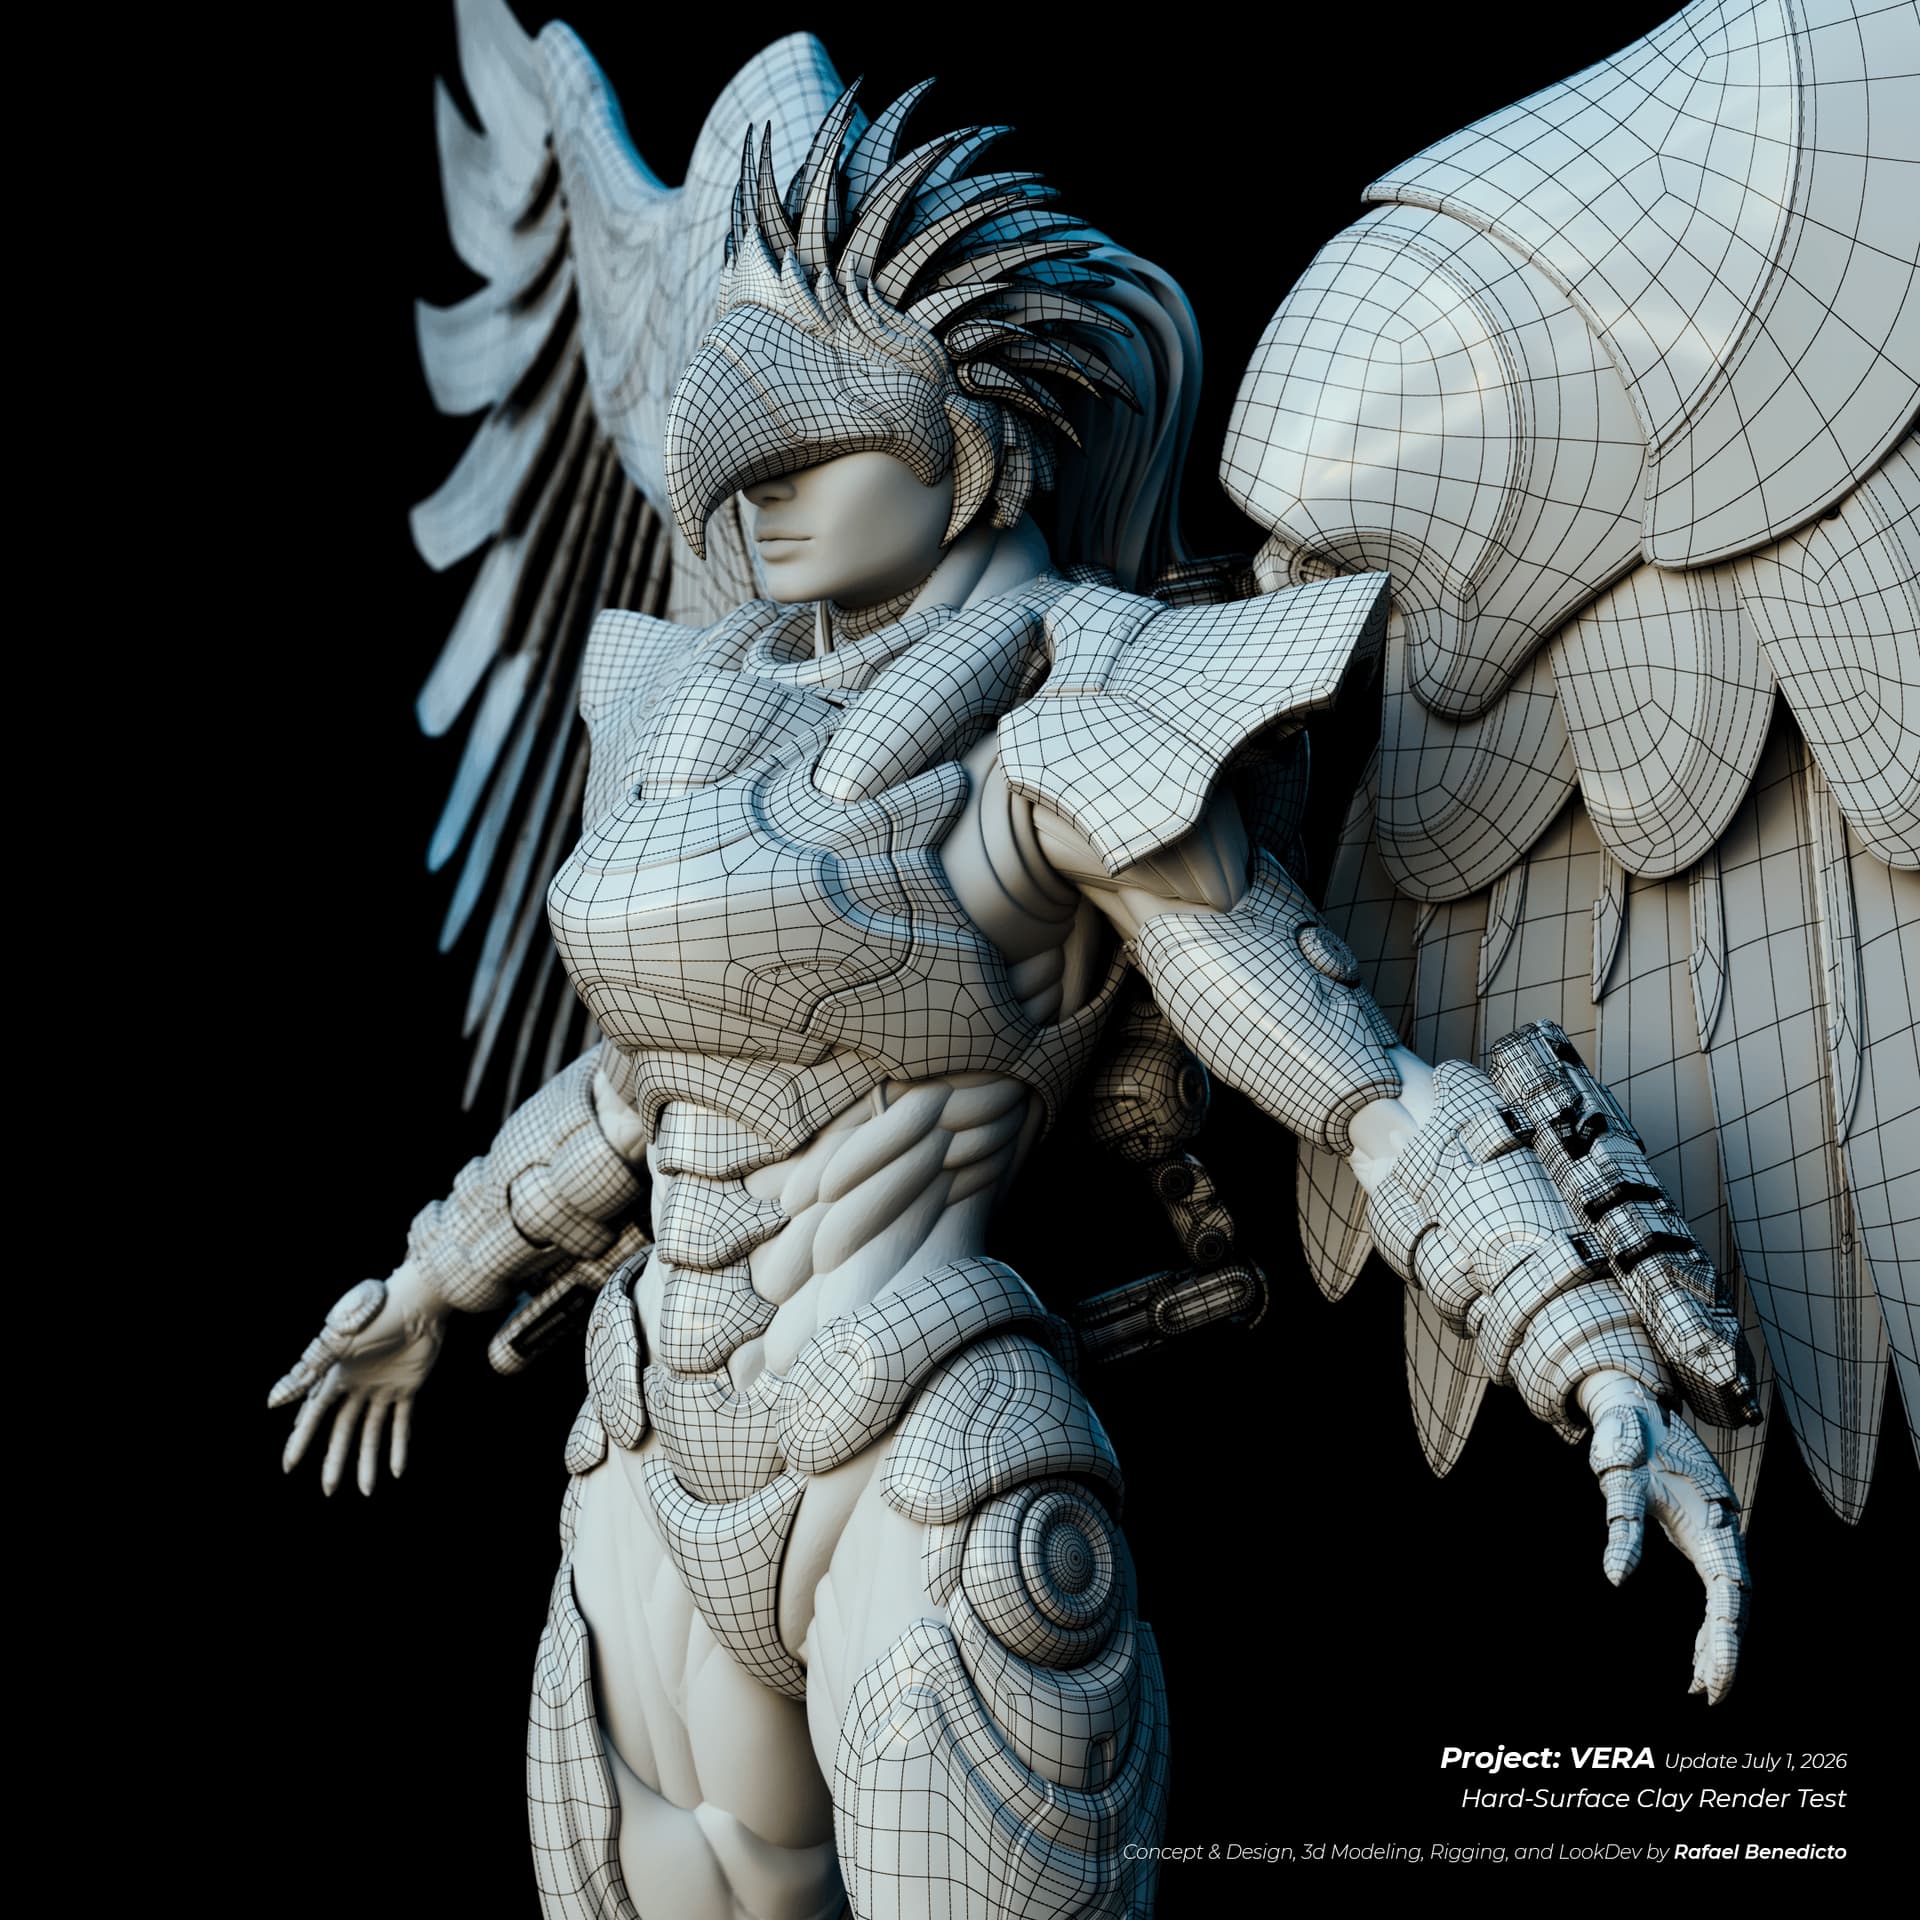
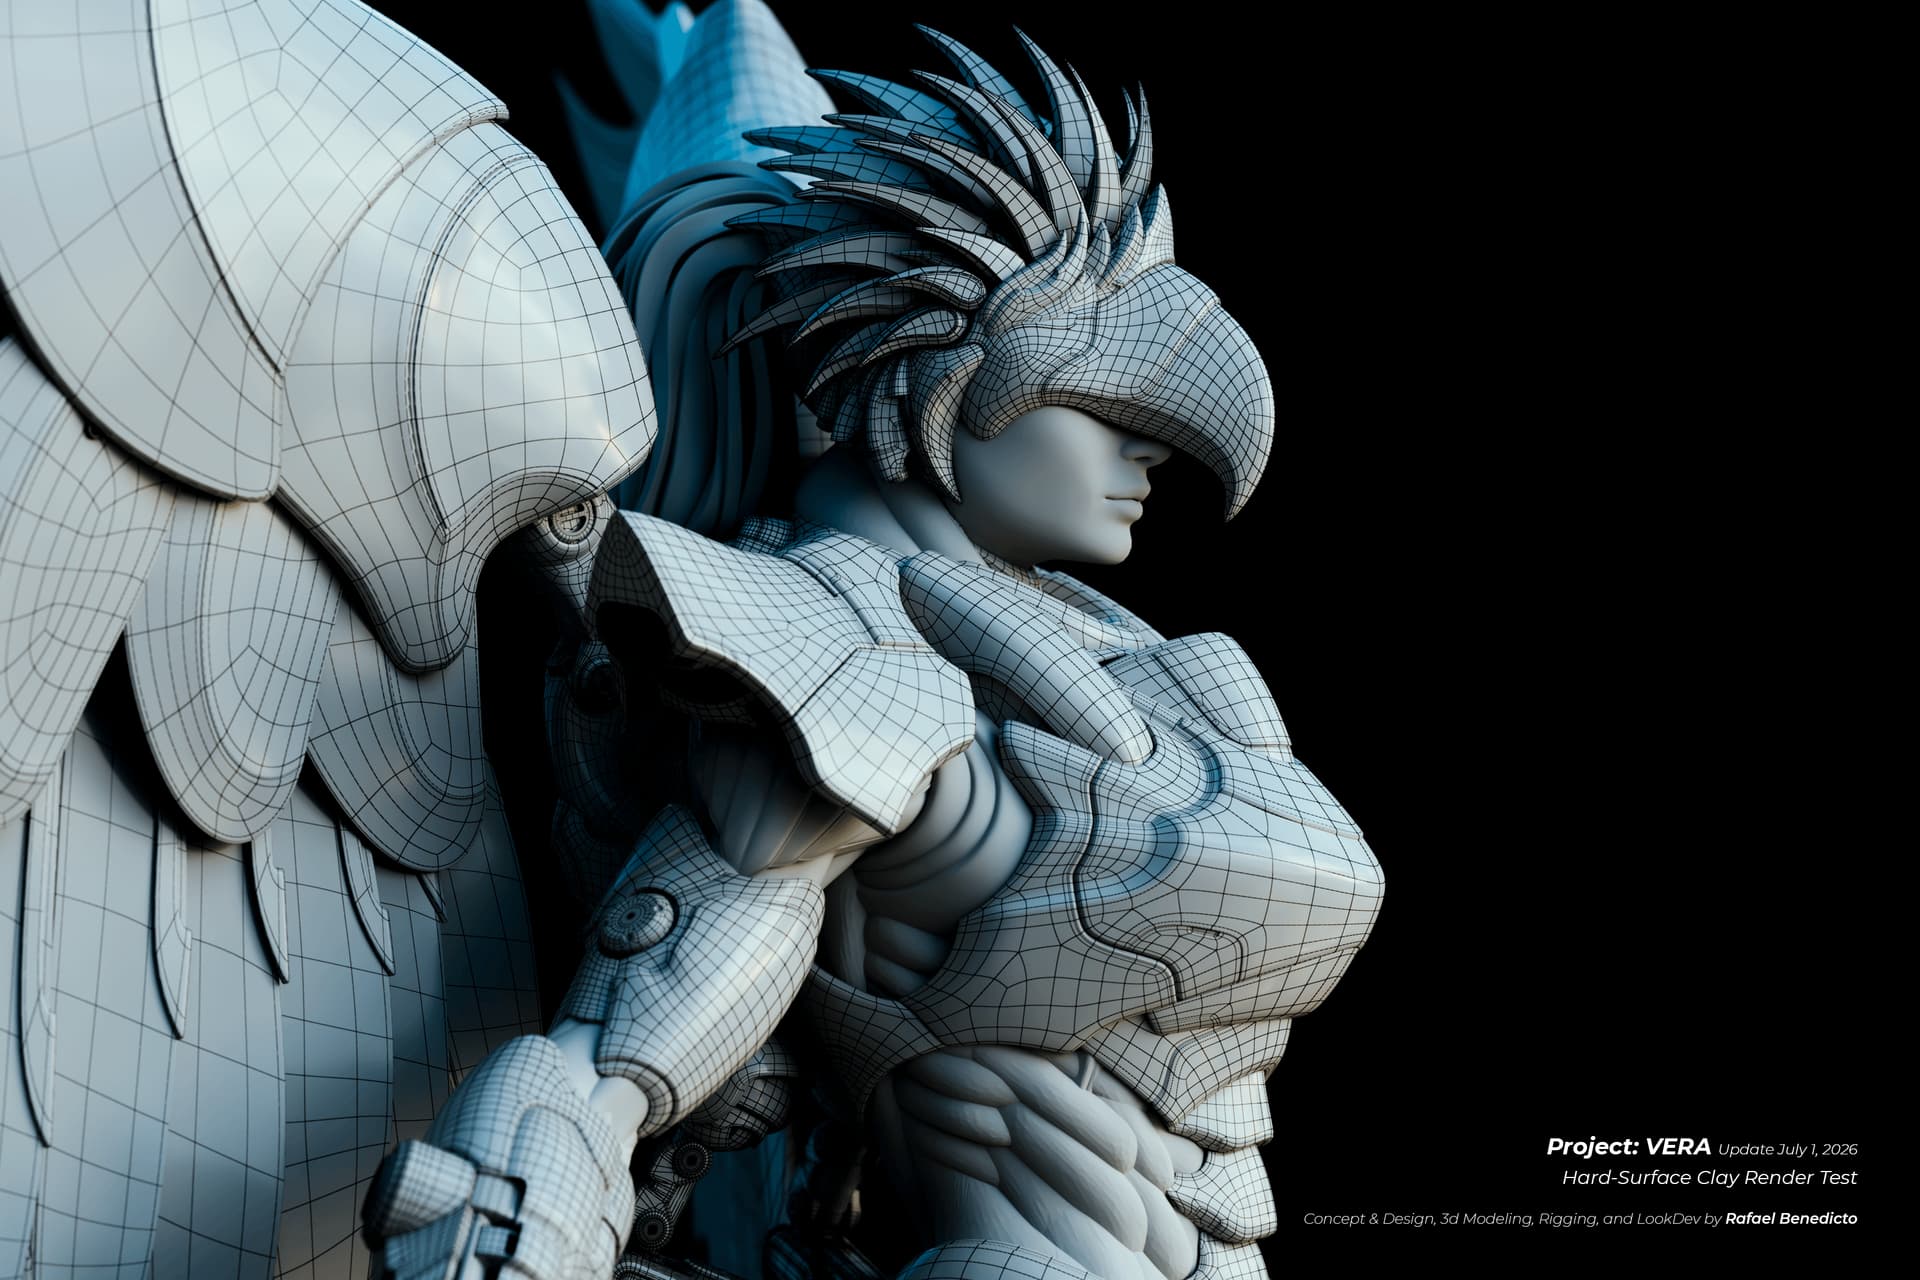
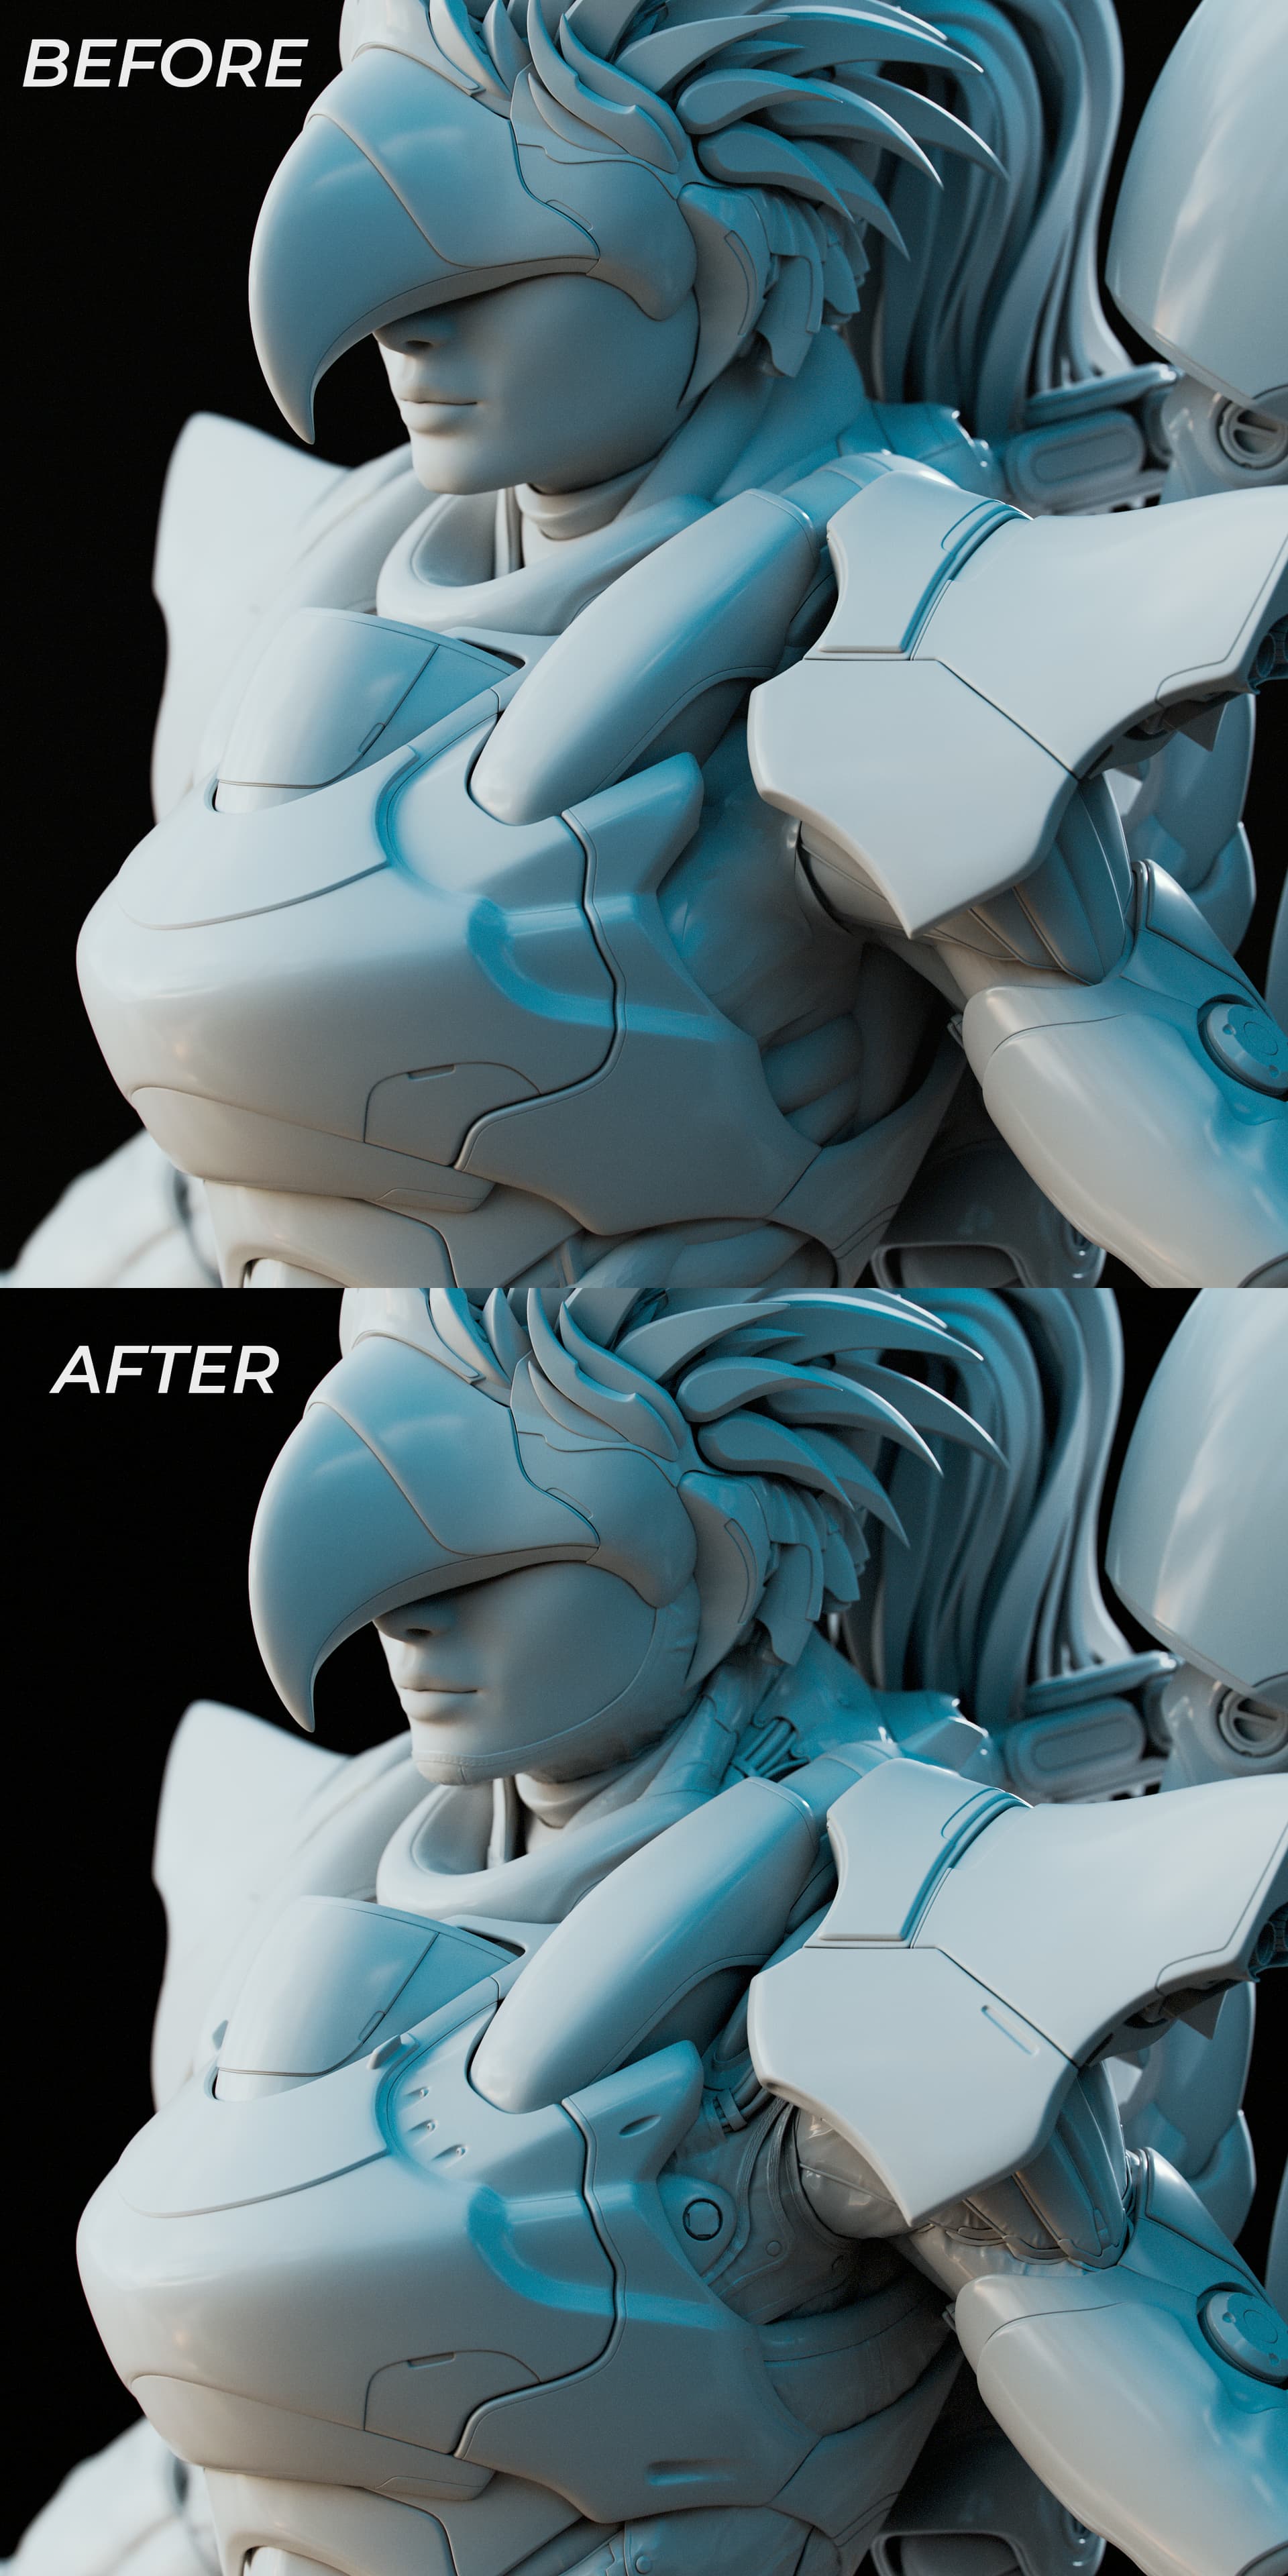
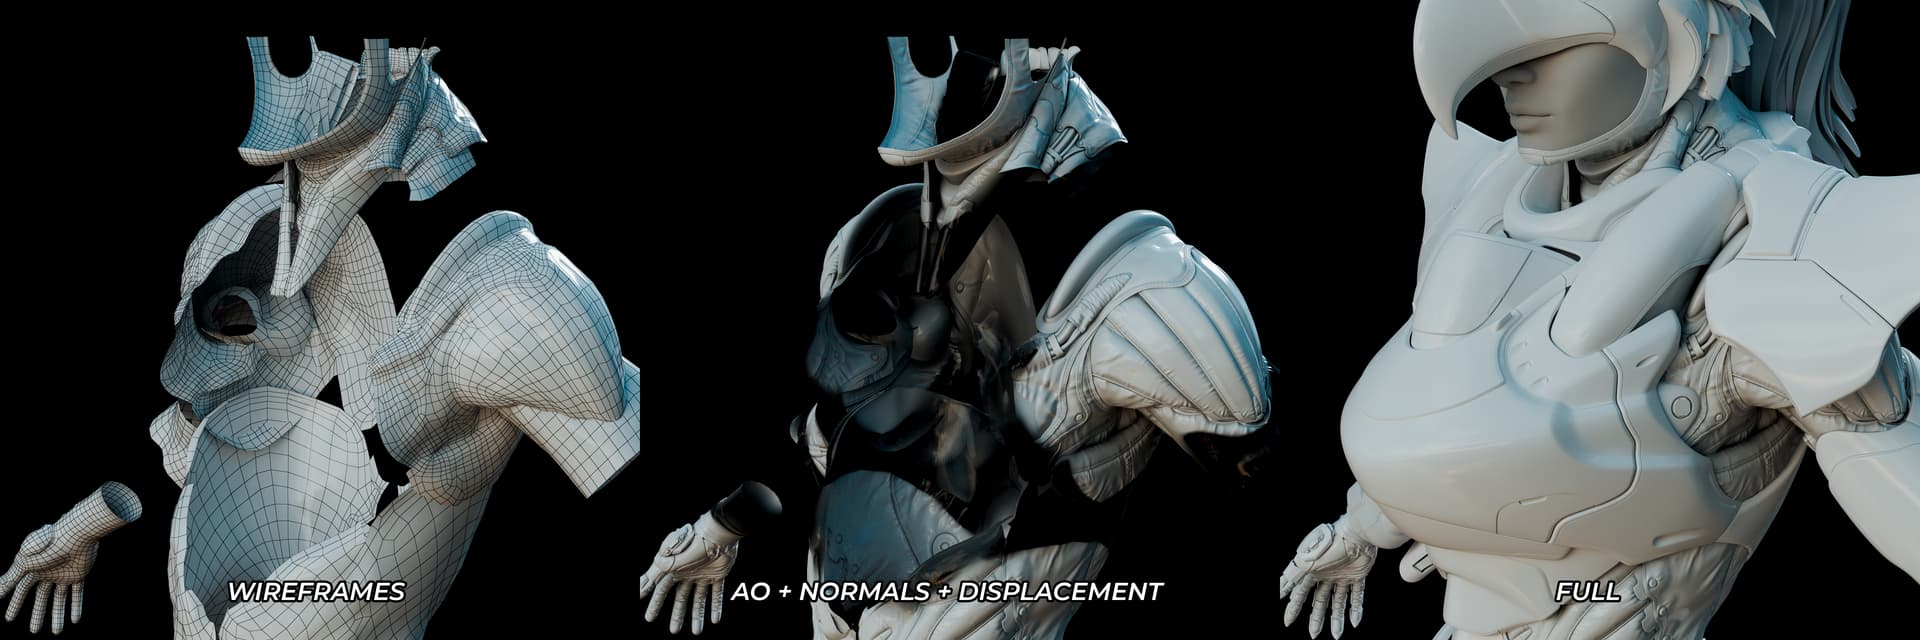
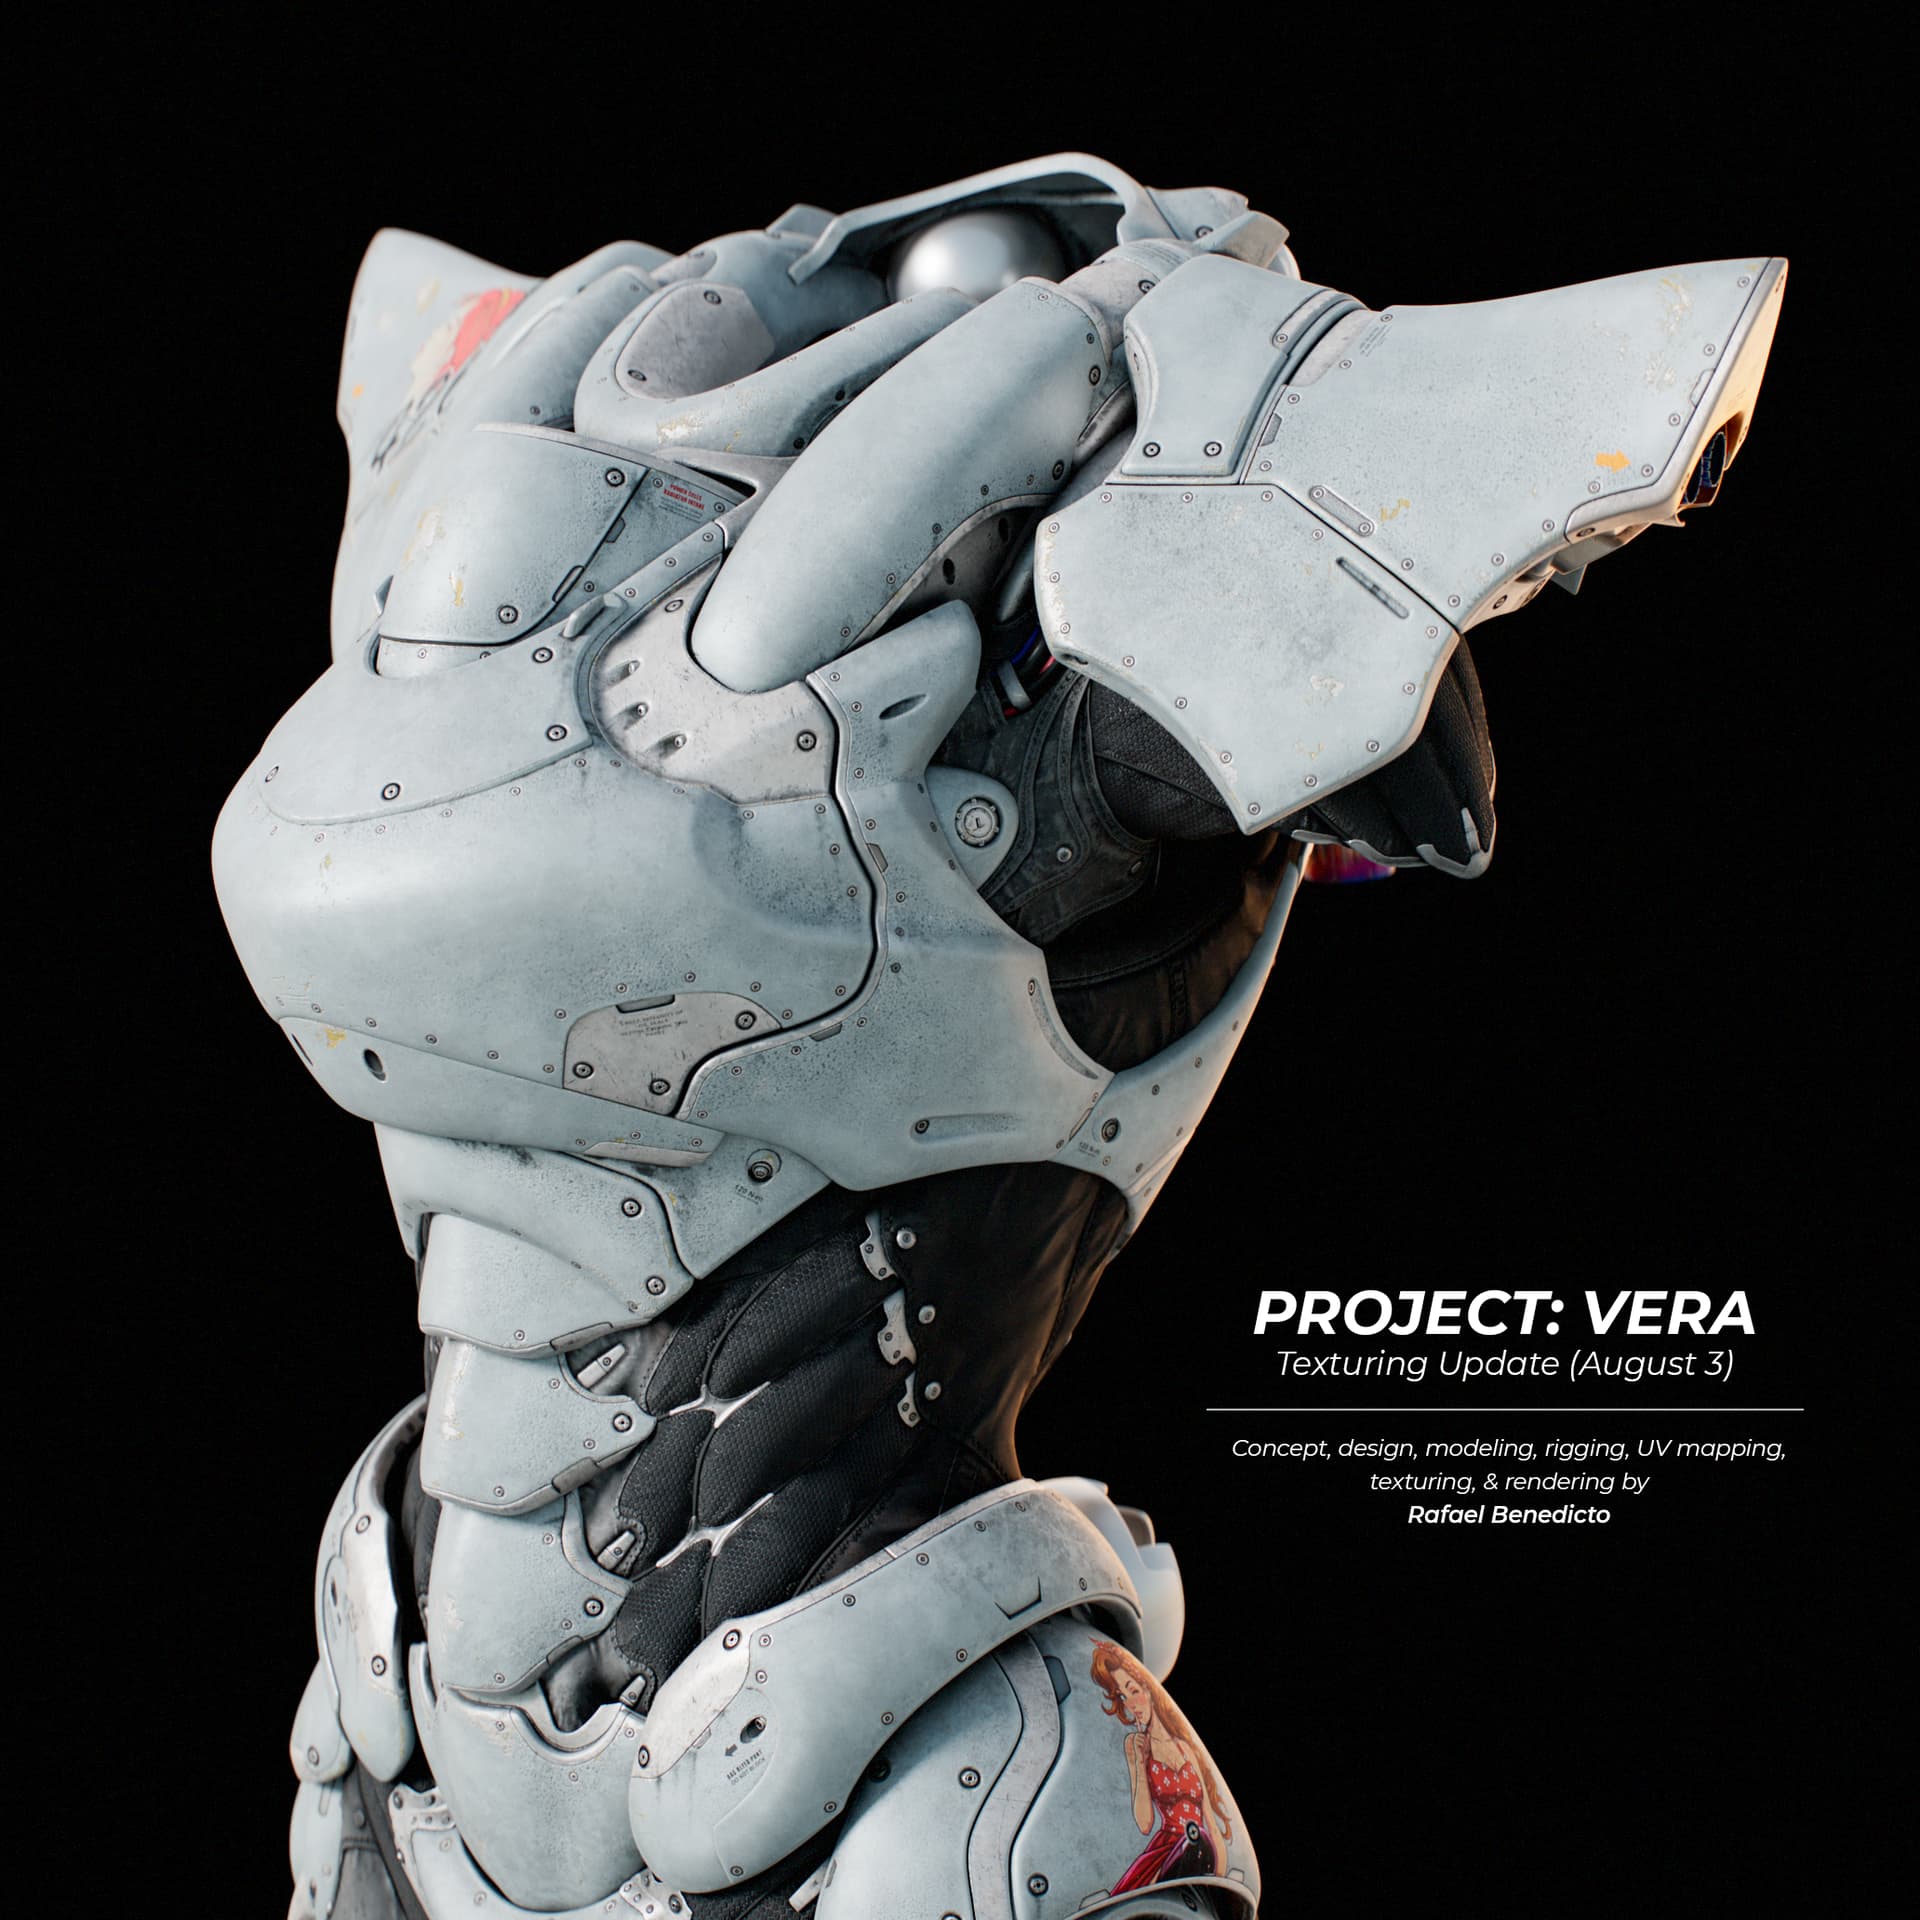
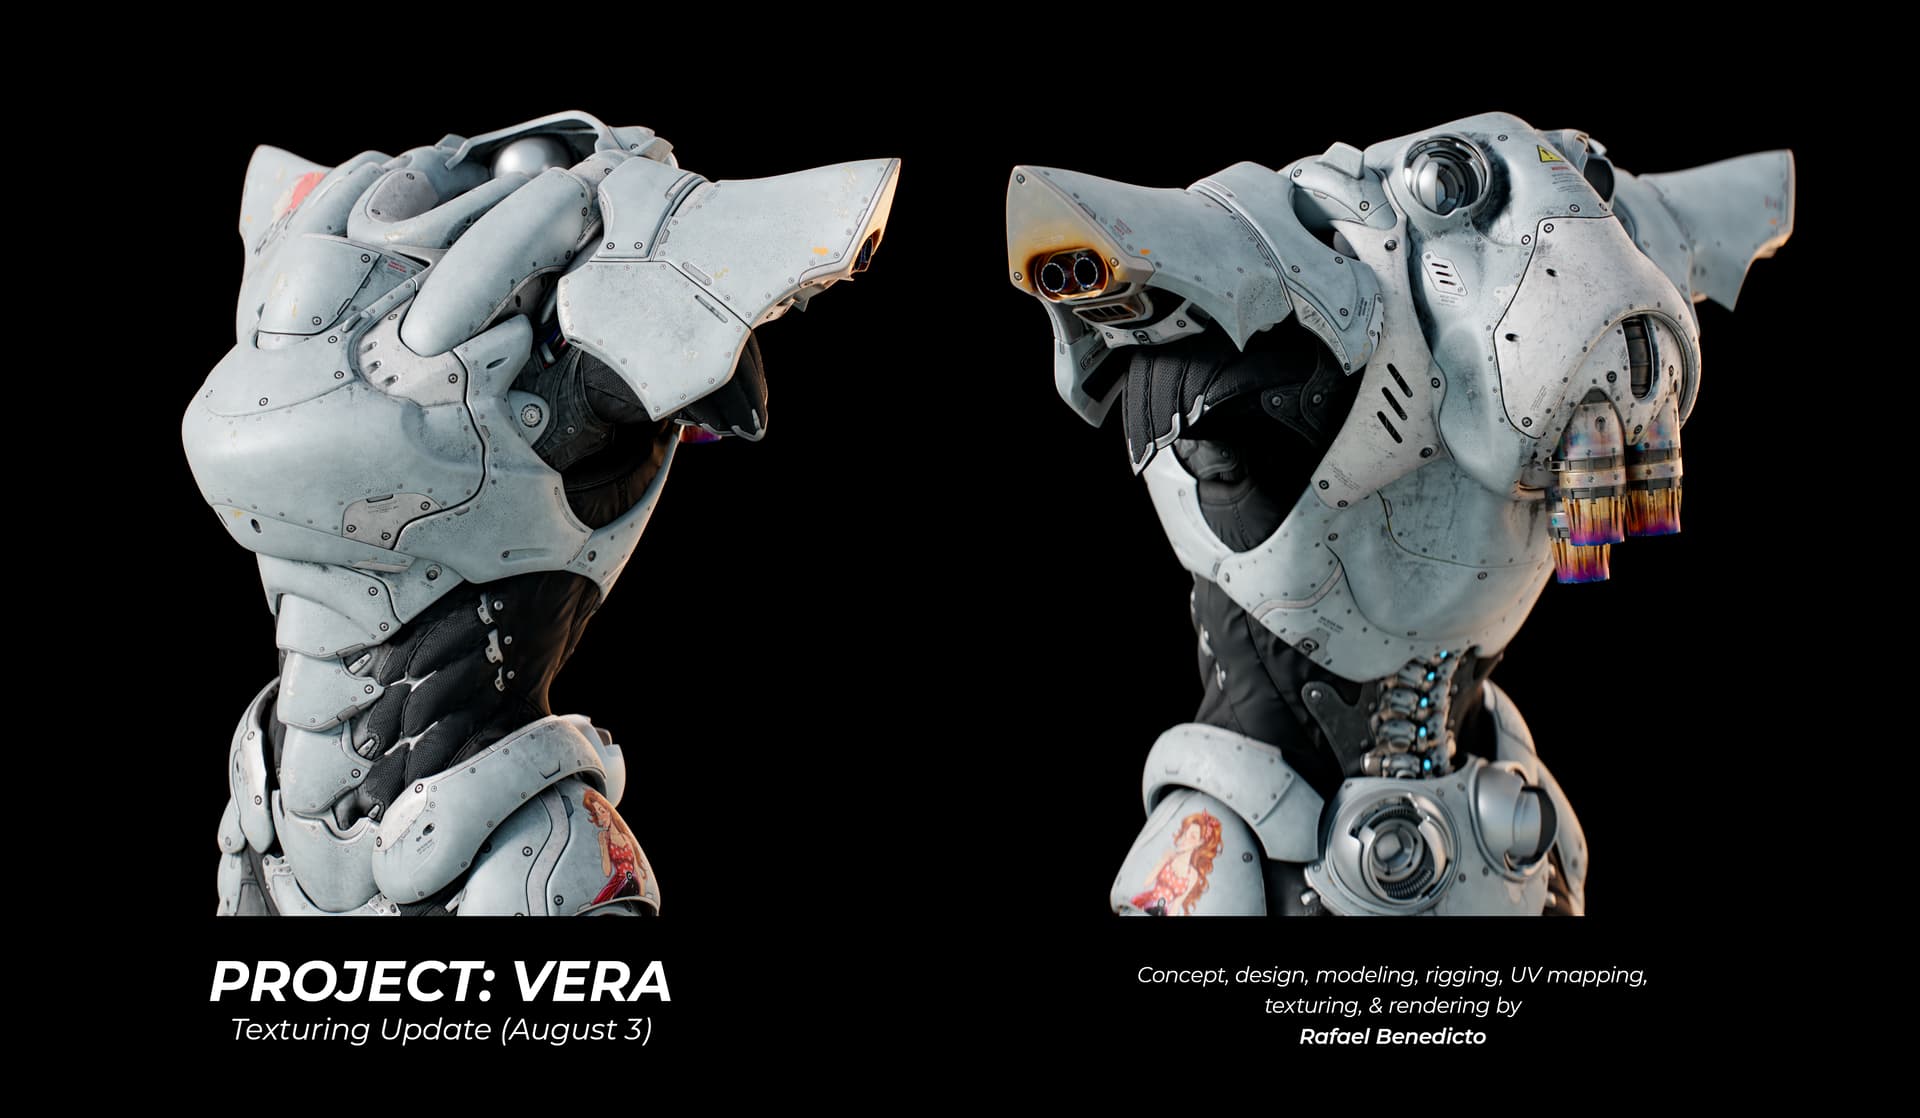
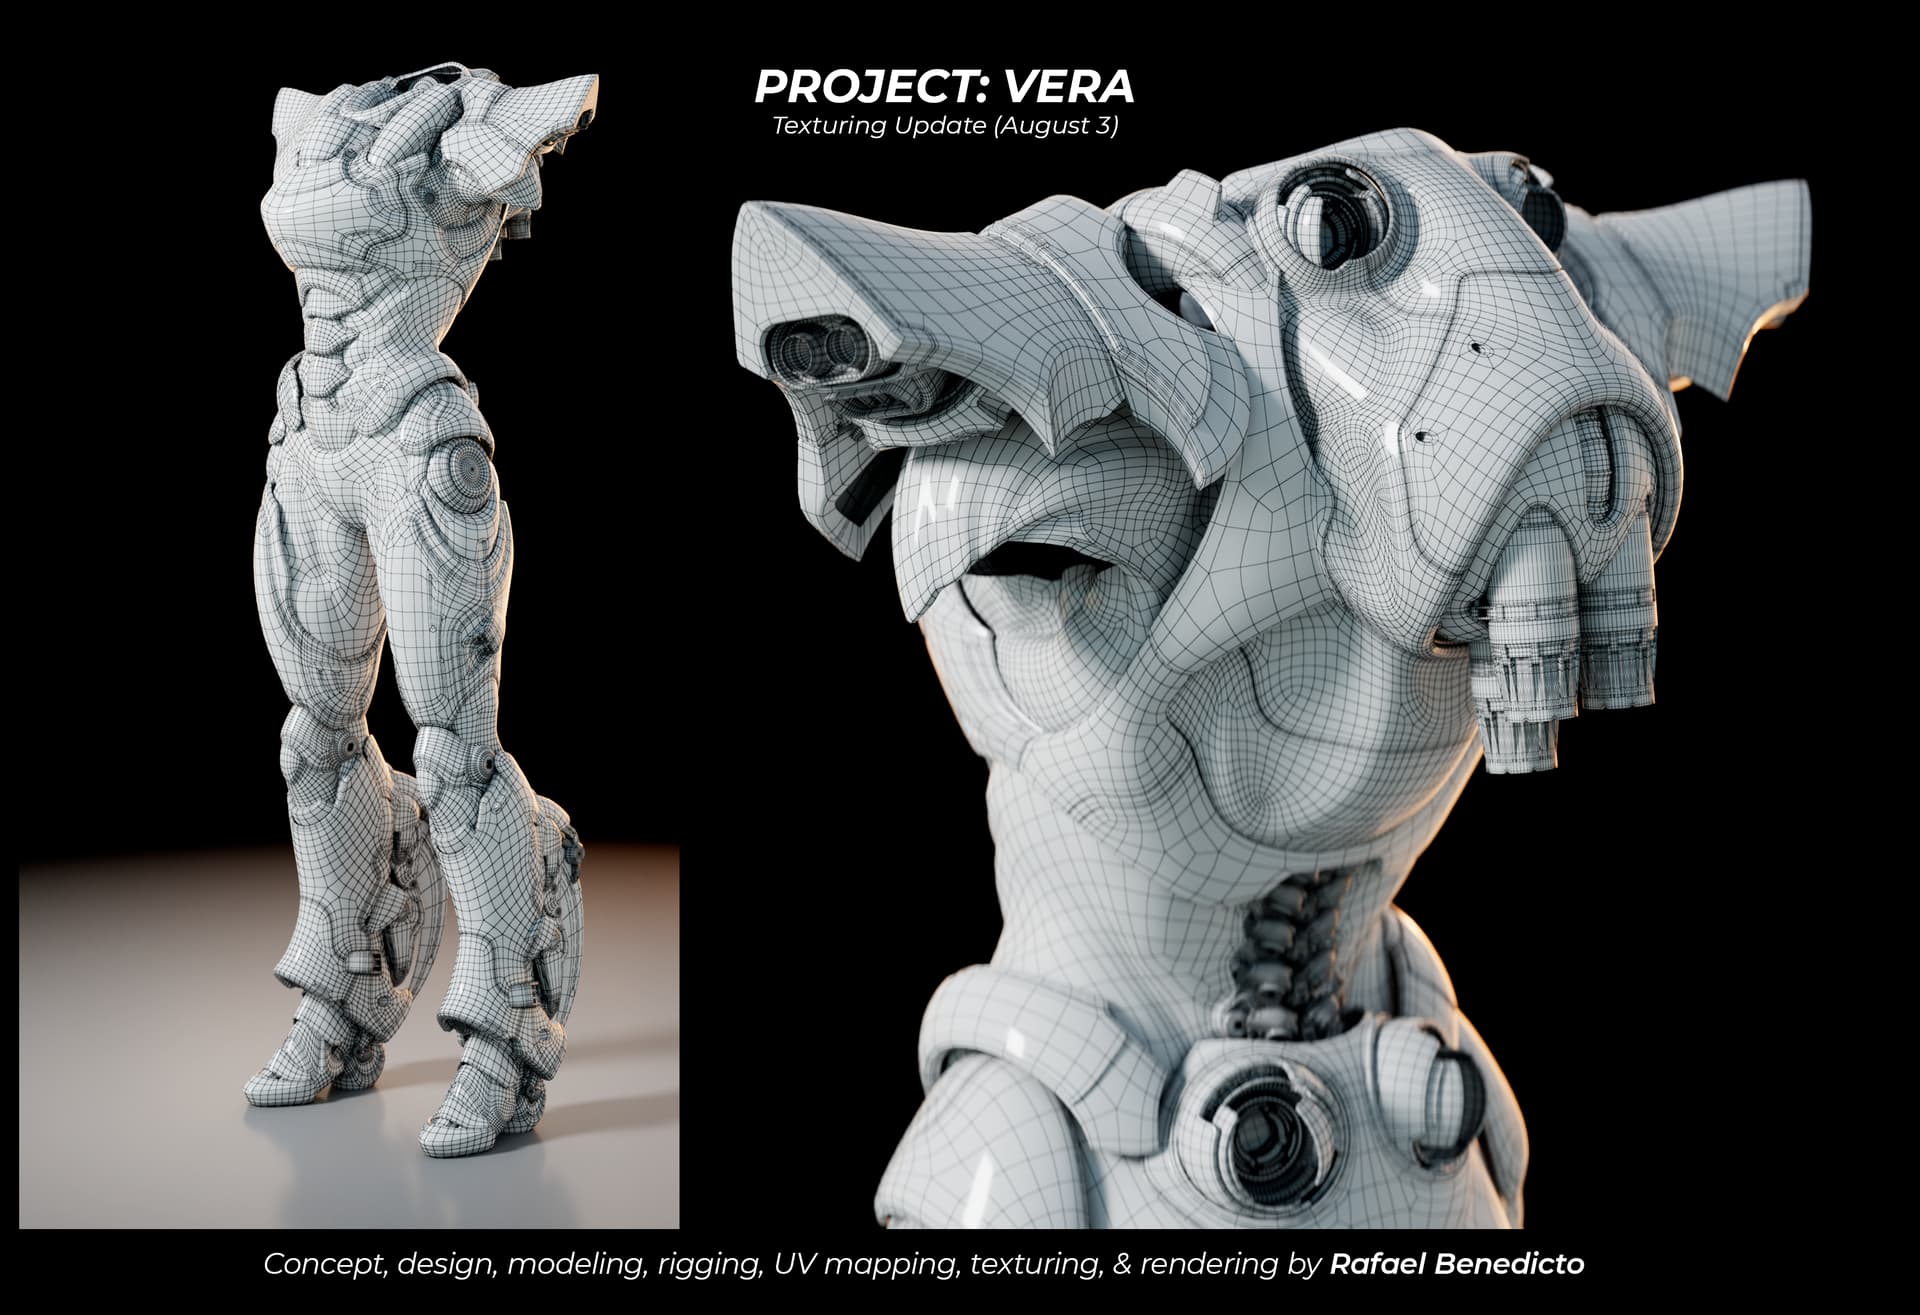
I sculpted the rough shapes of the armor first. I wanted to lock in that sharp, bird-of-prey look before cutting it up into individual metal pieces.
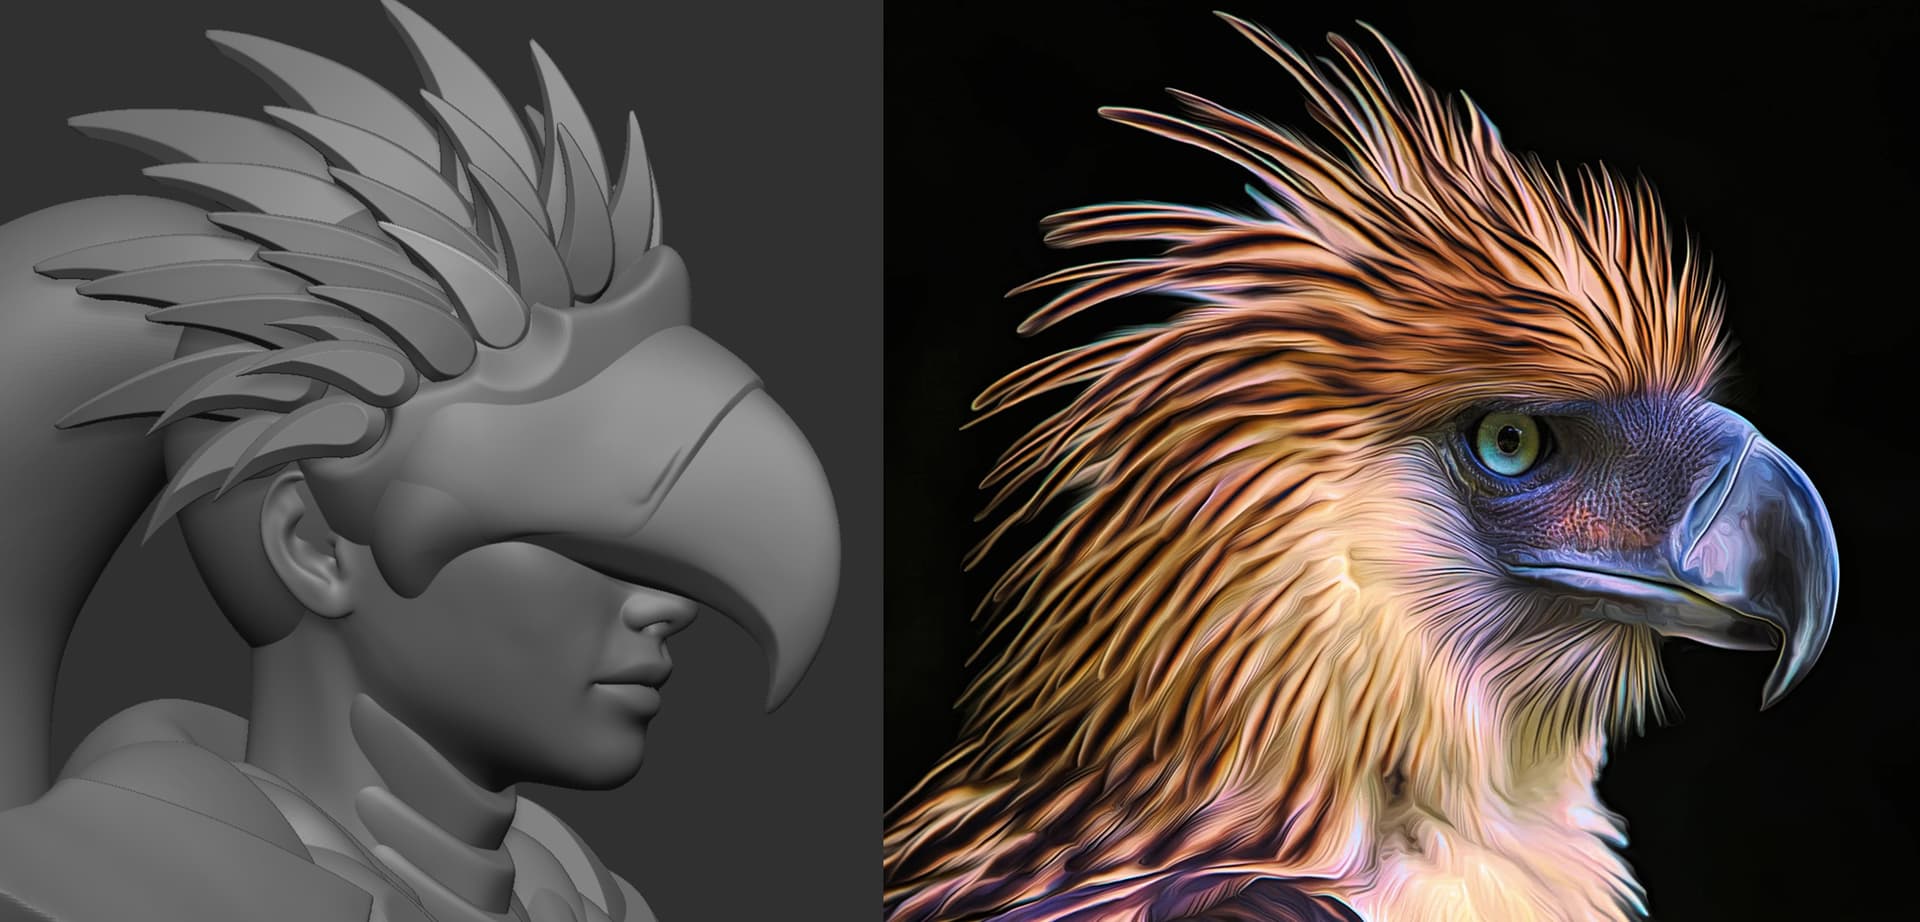
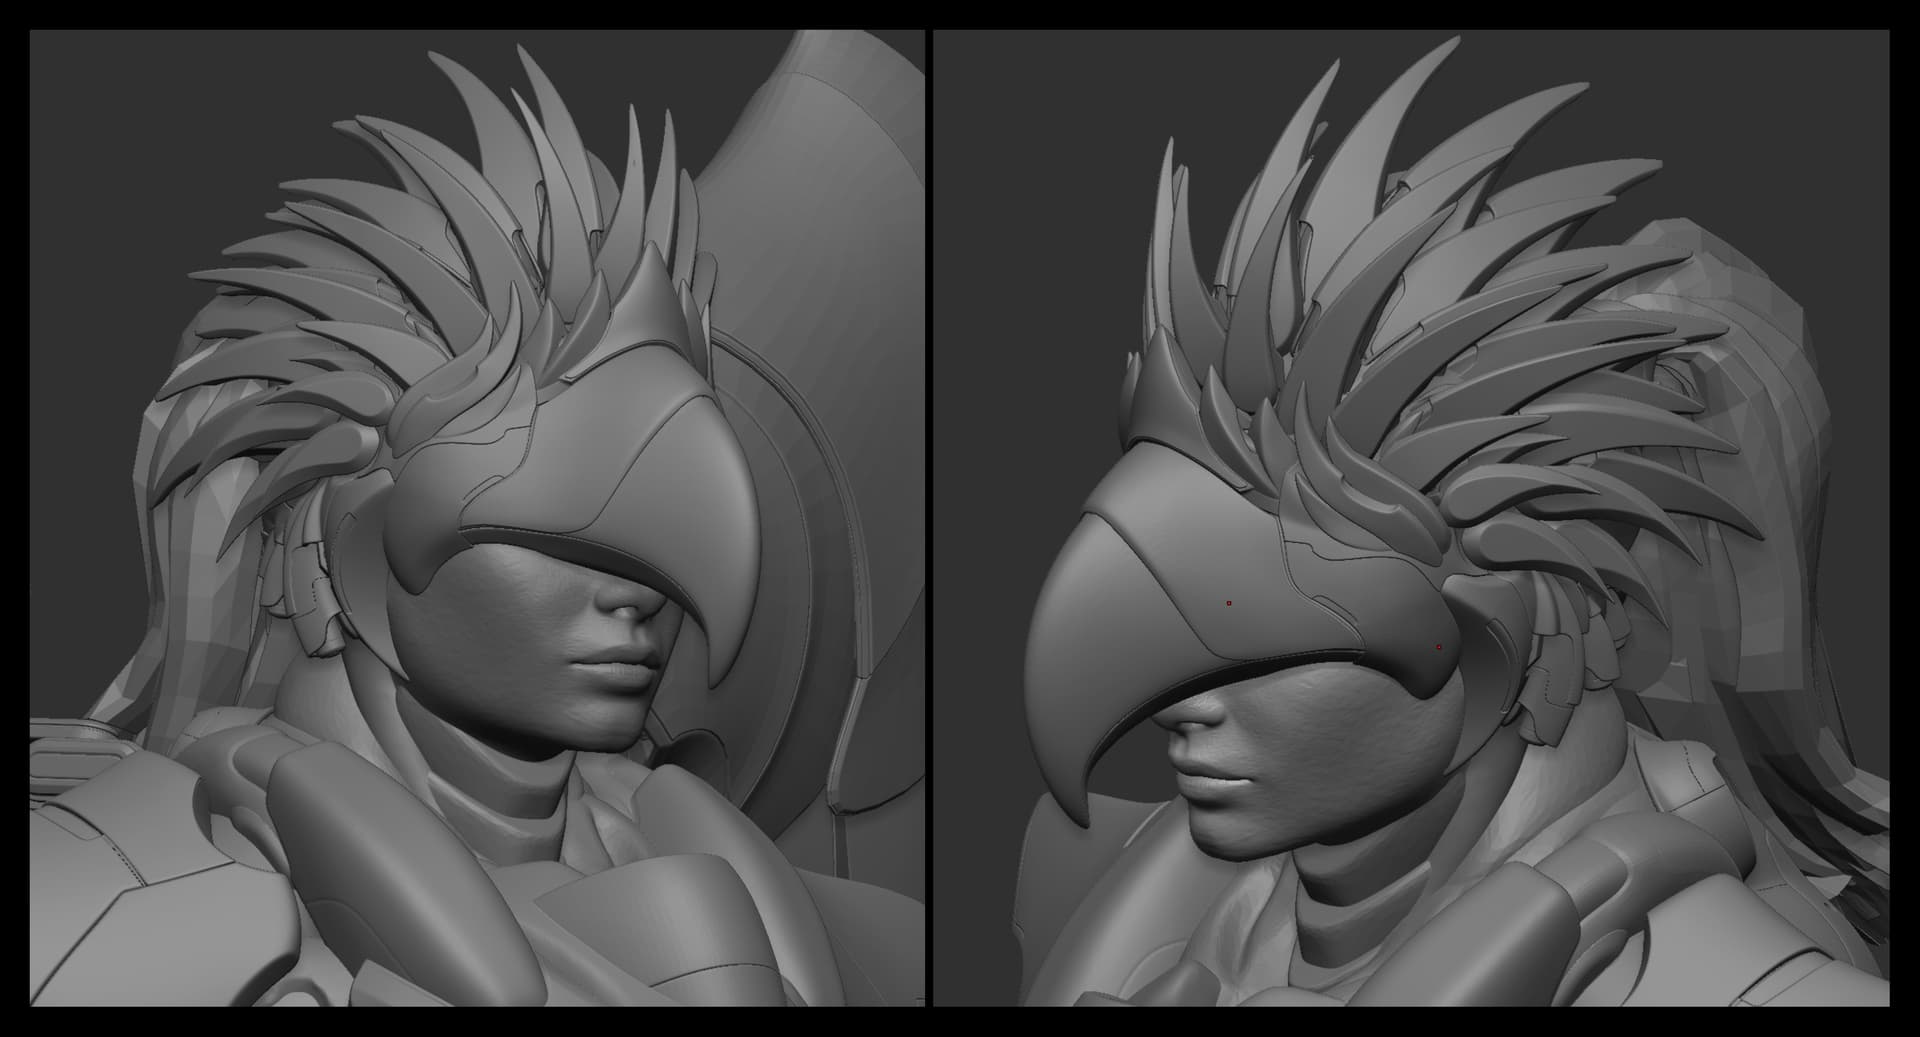
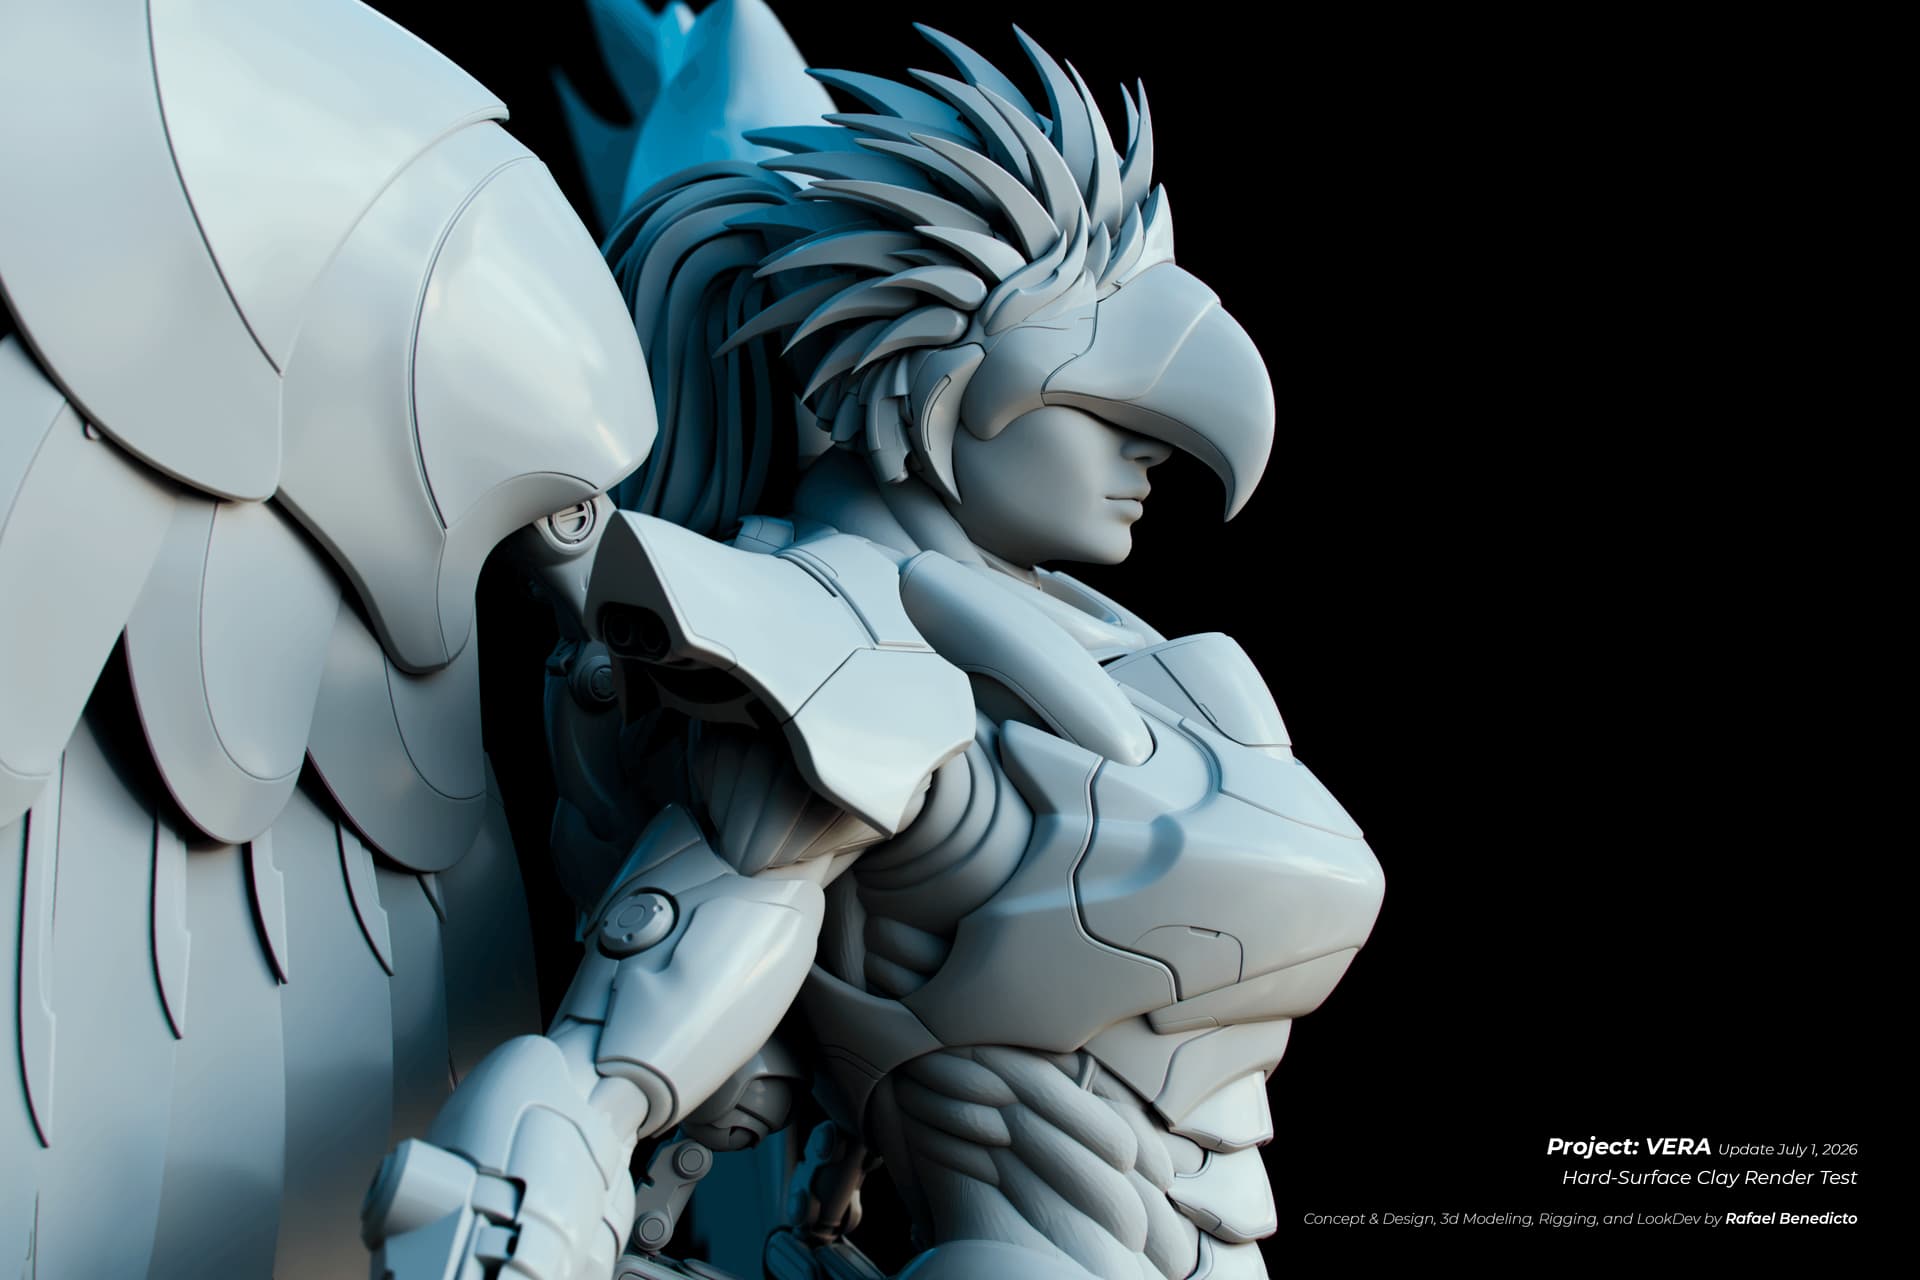
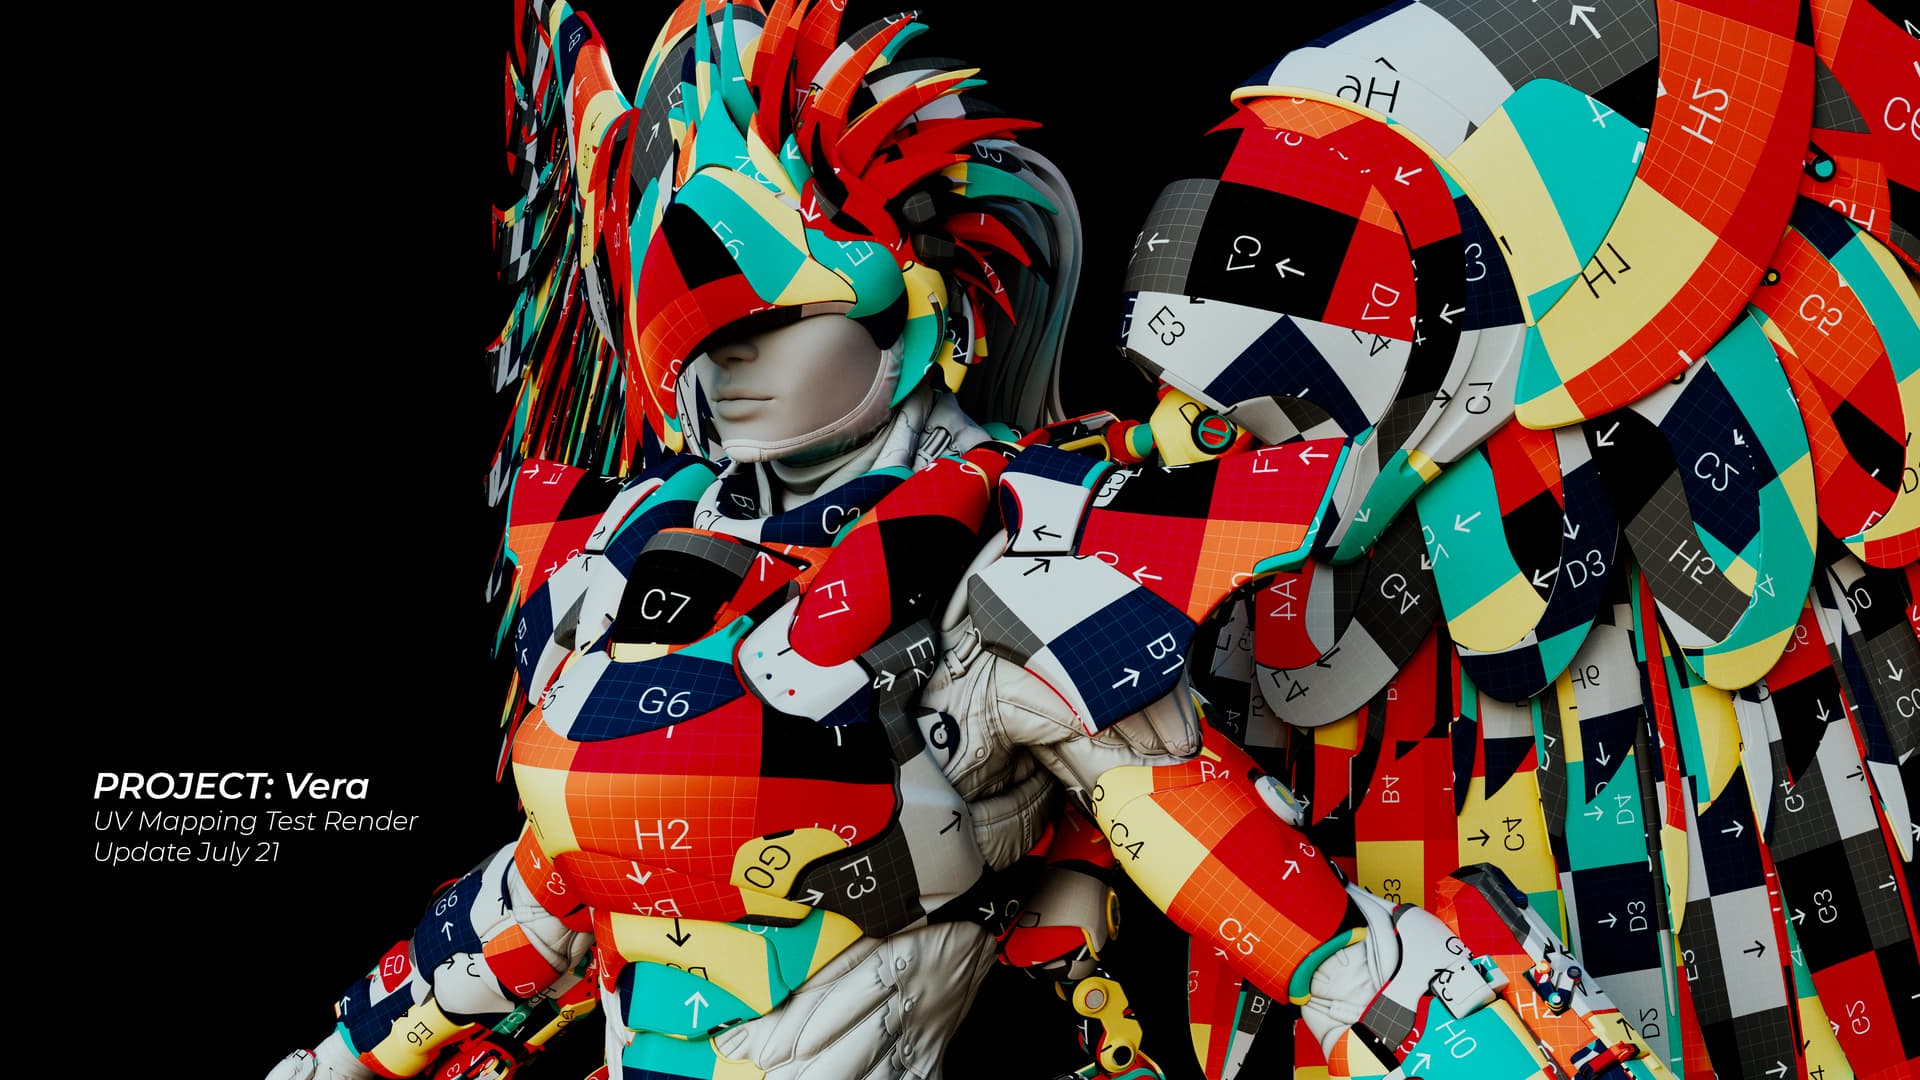
I made sure to closely-follow the profile of the Philippine Eagle’s deep-arched beak, while still allowing myself the freedom to play with the curvature and aesthetics to make the design fit around her human head.
However, after the initial blockout phase, I spent the next couple of months just working on her backend rigging mechanics.
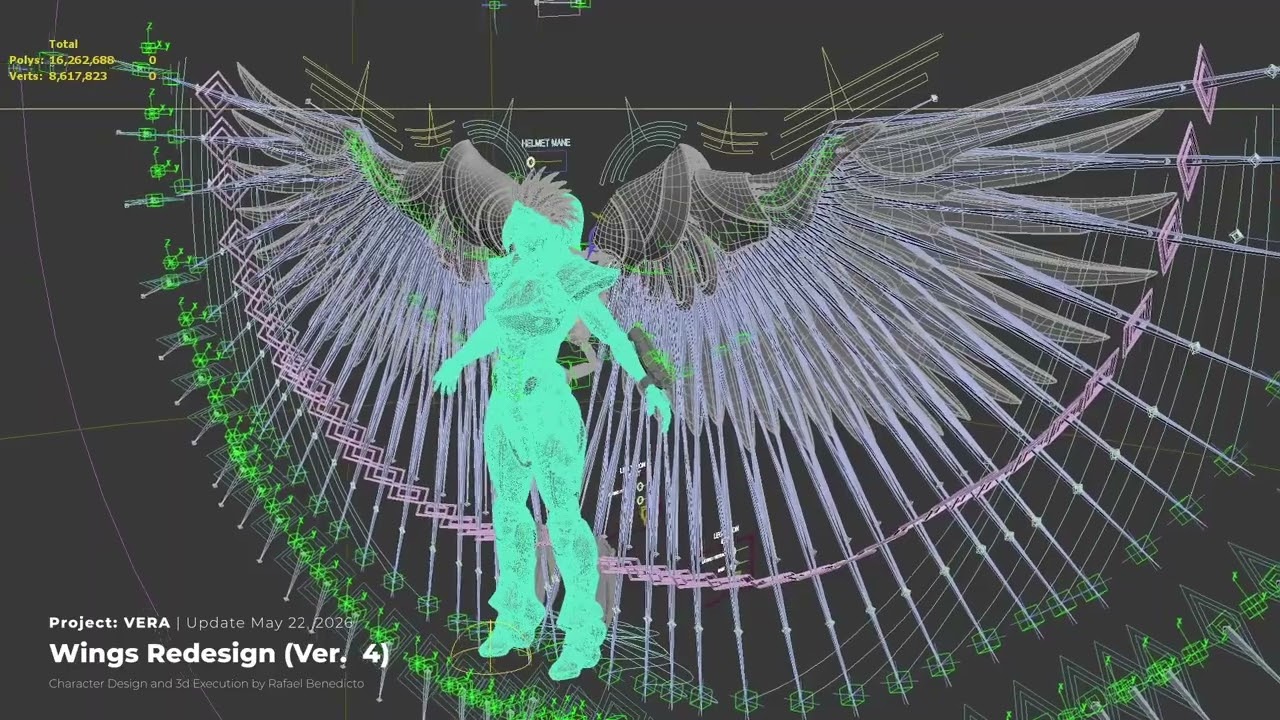
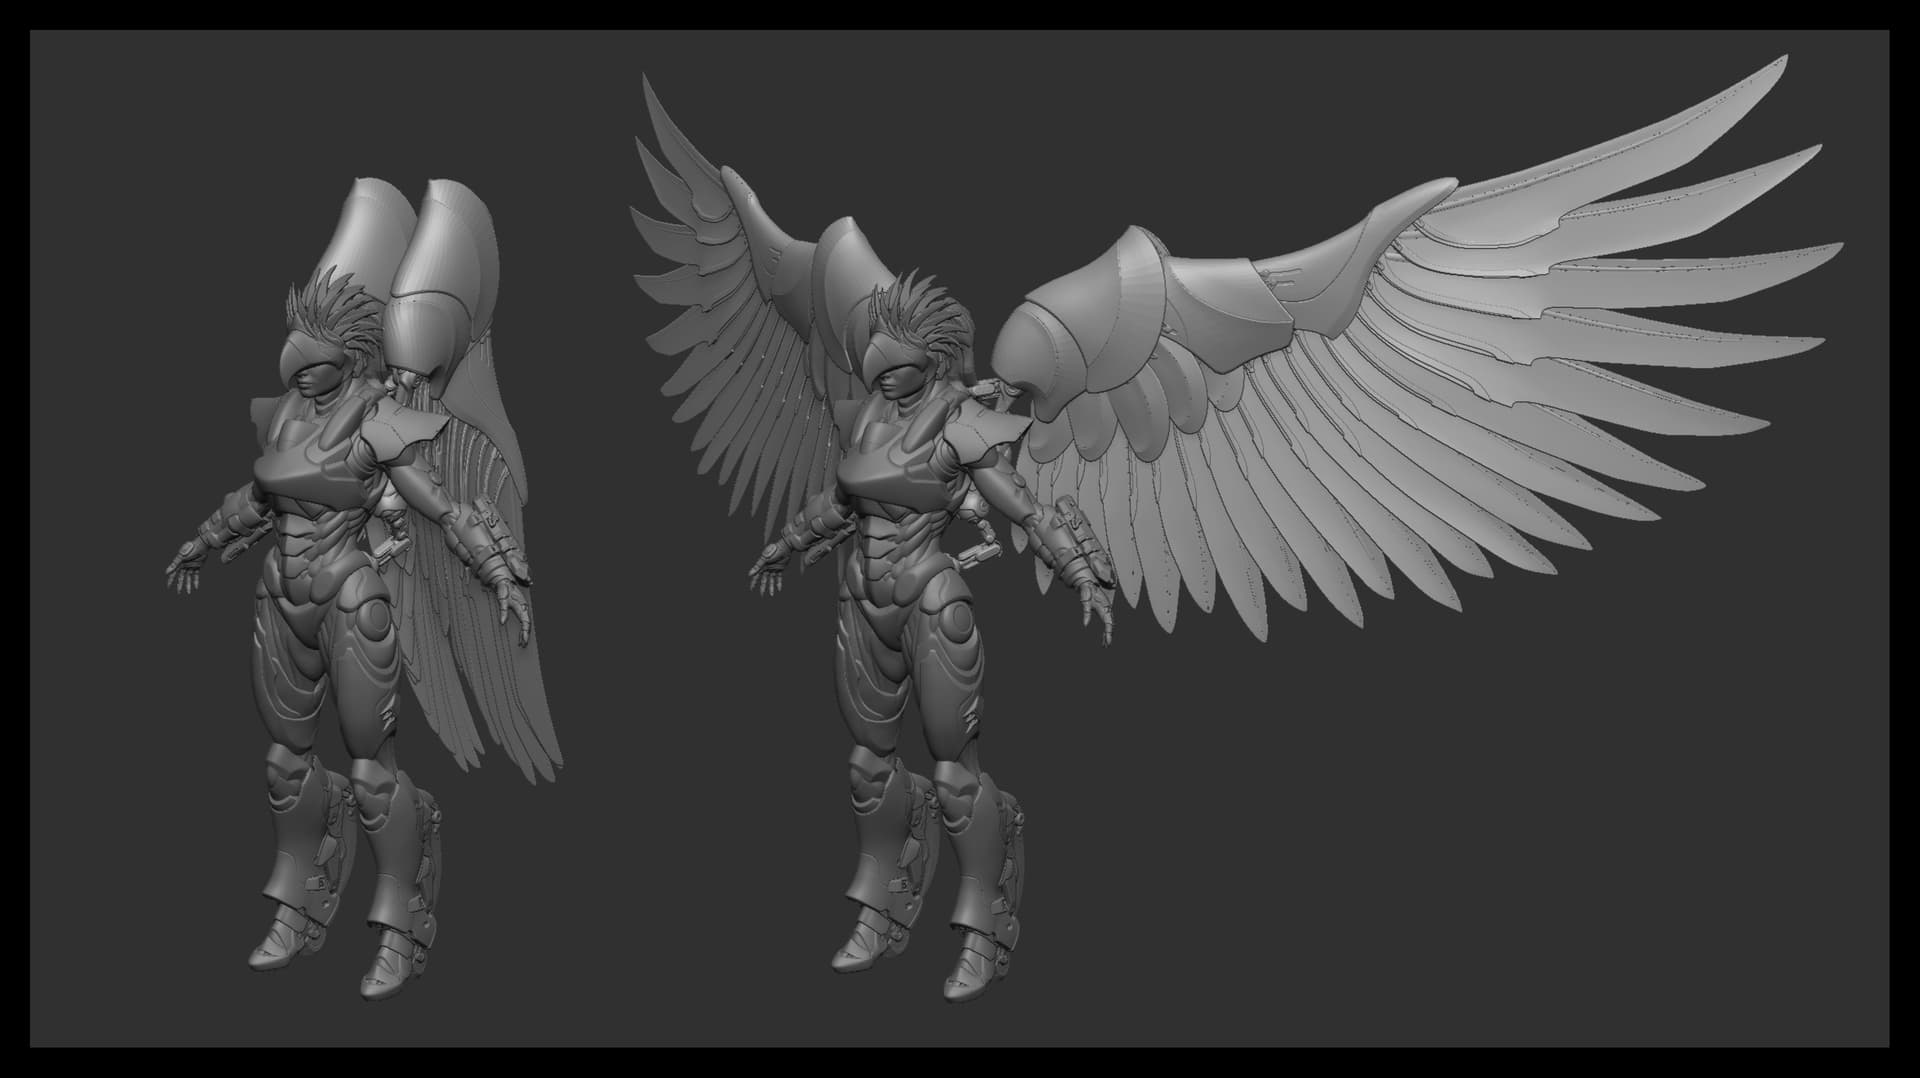
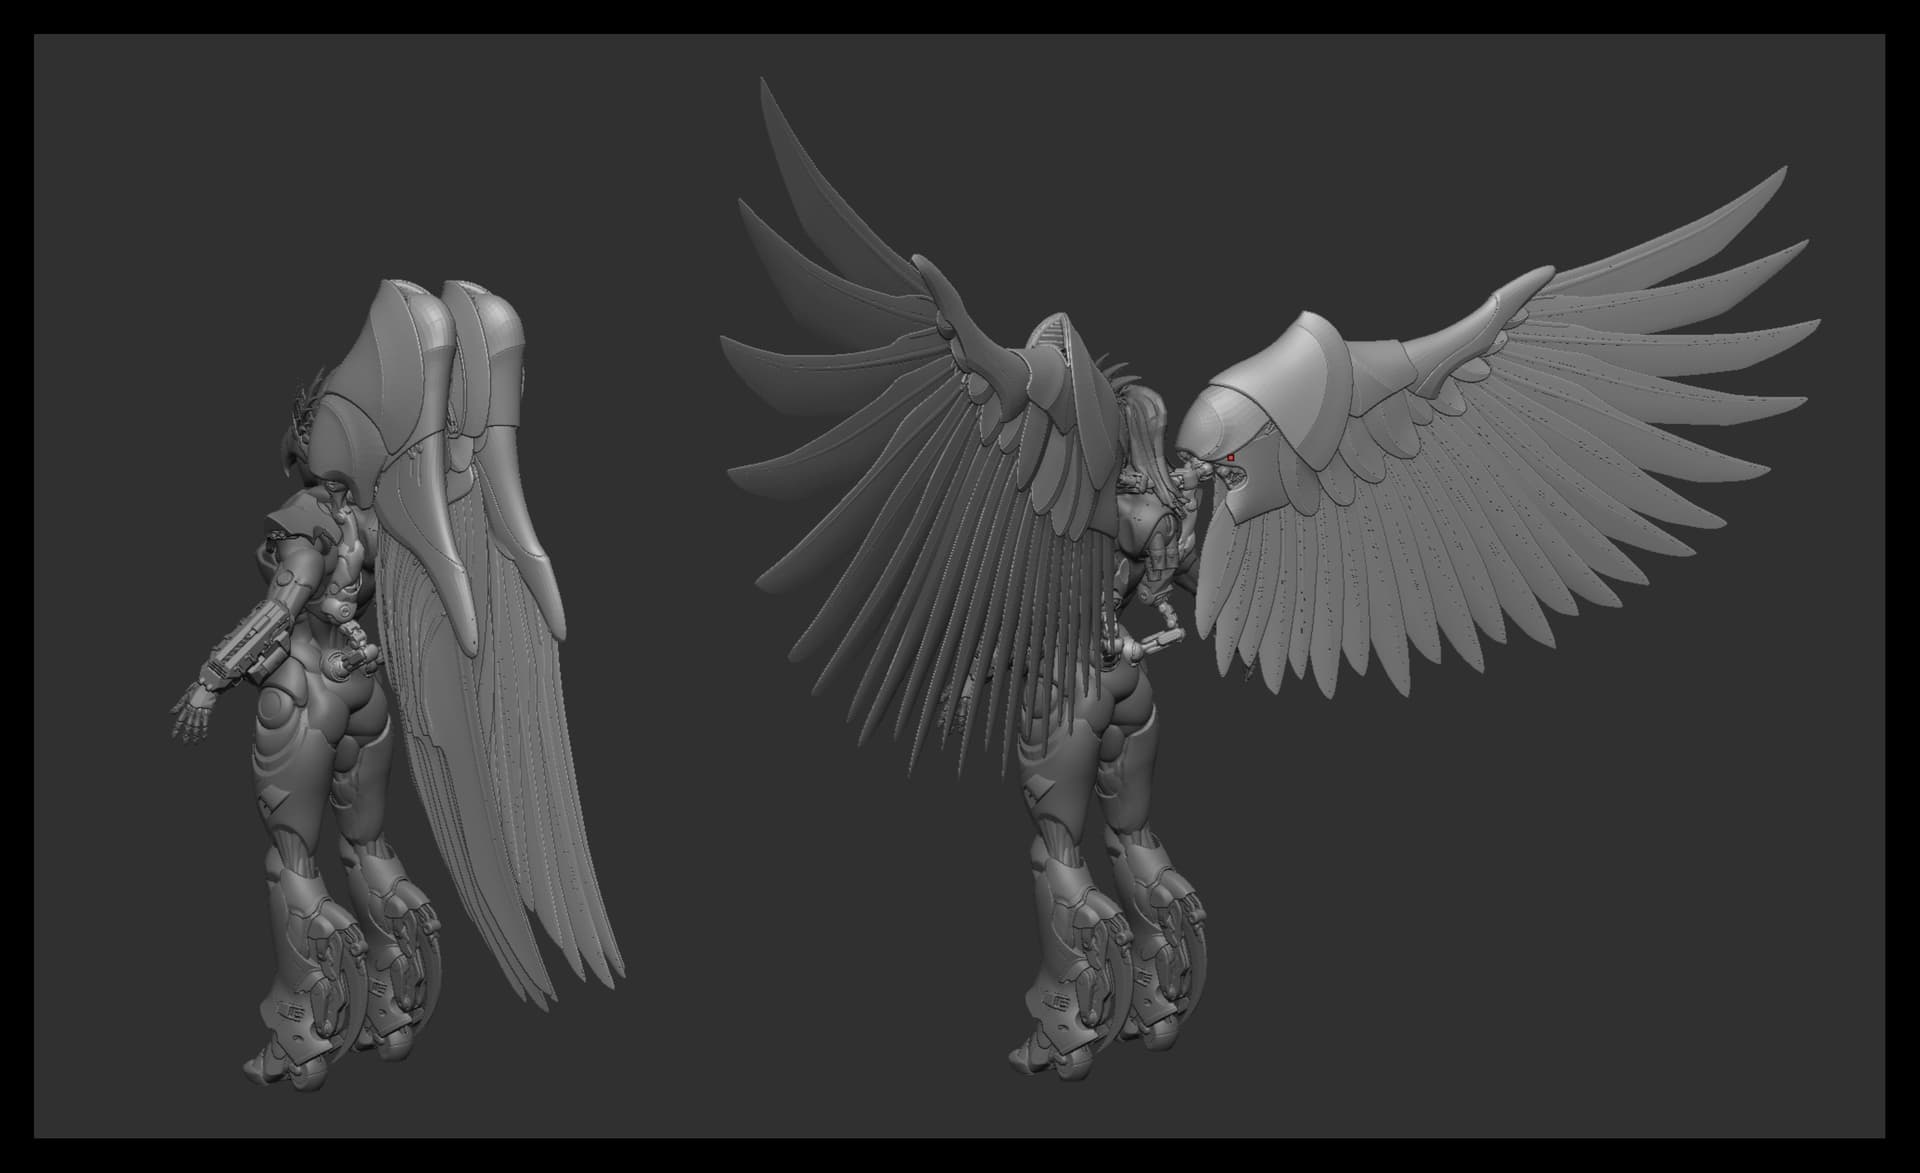
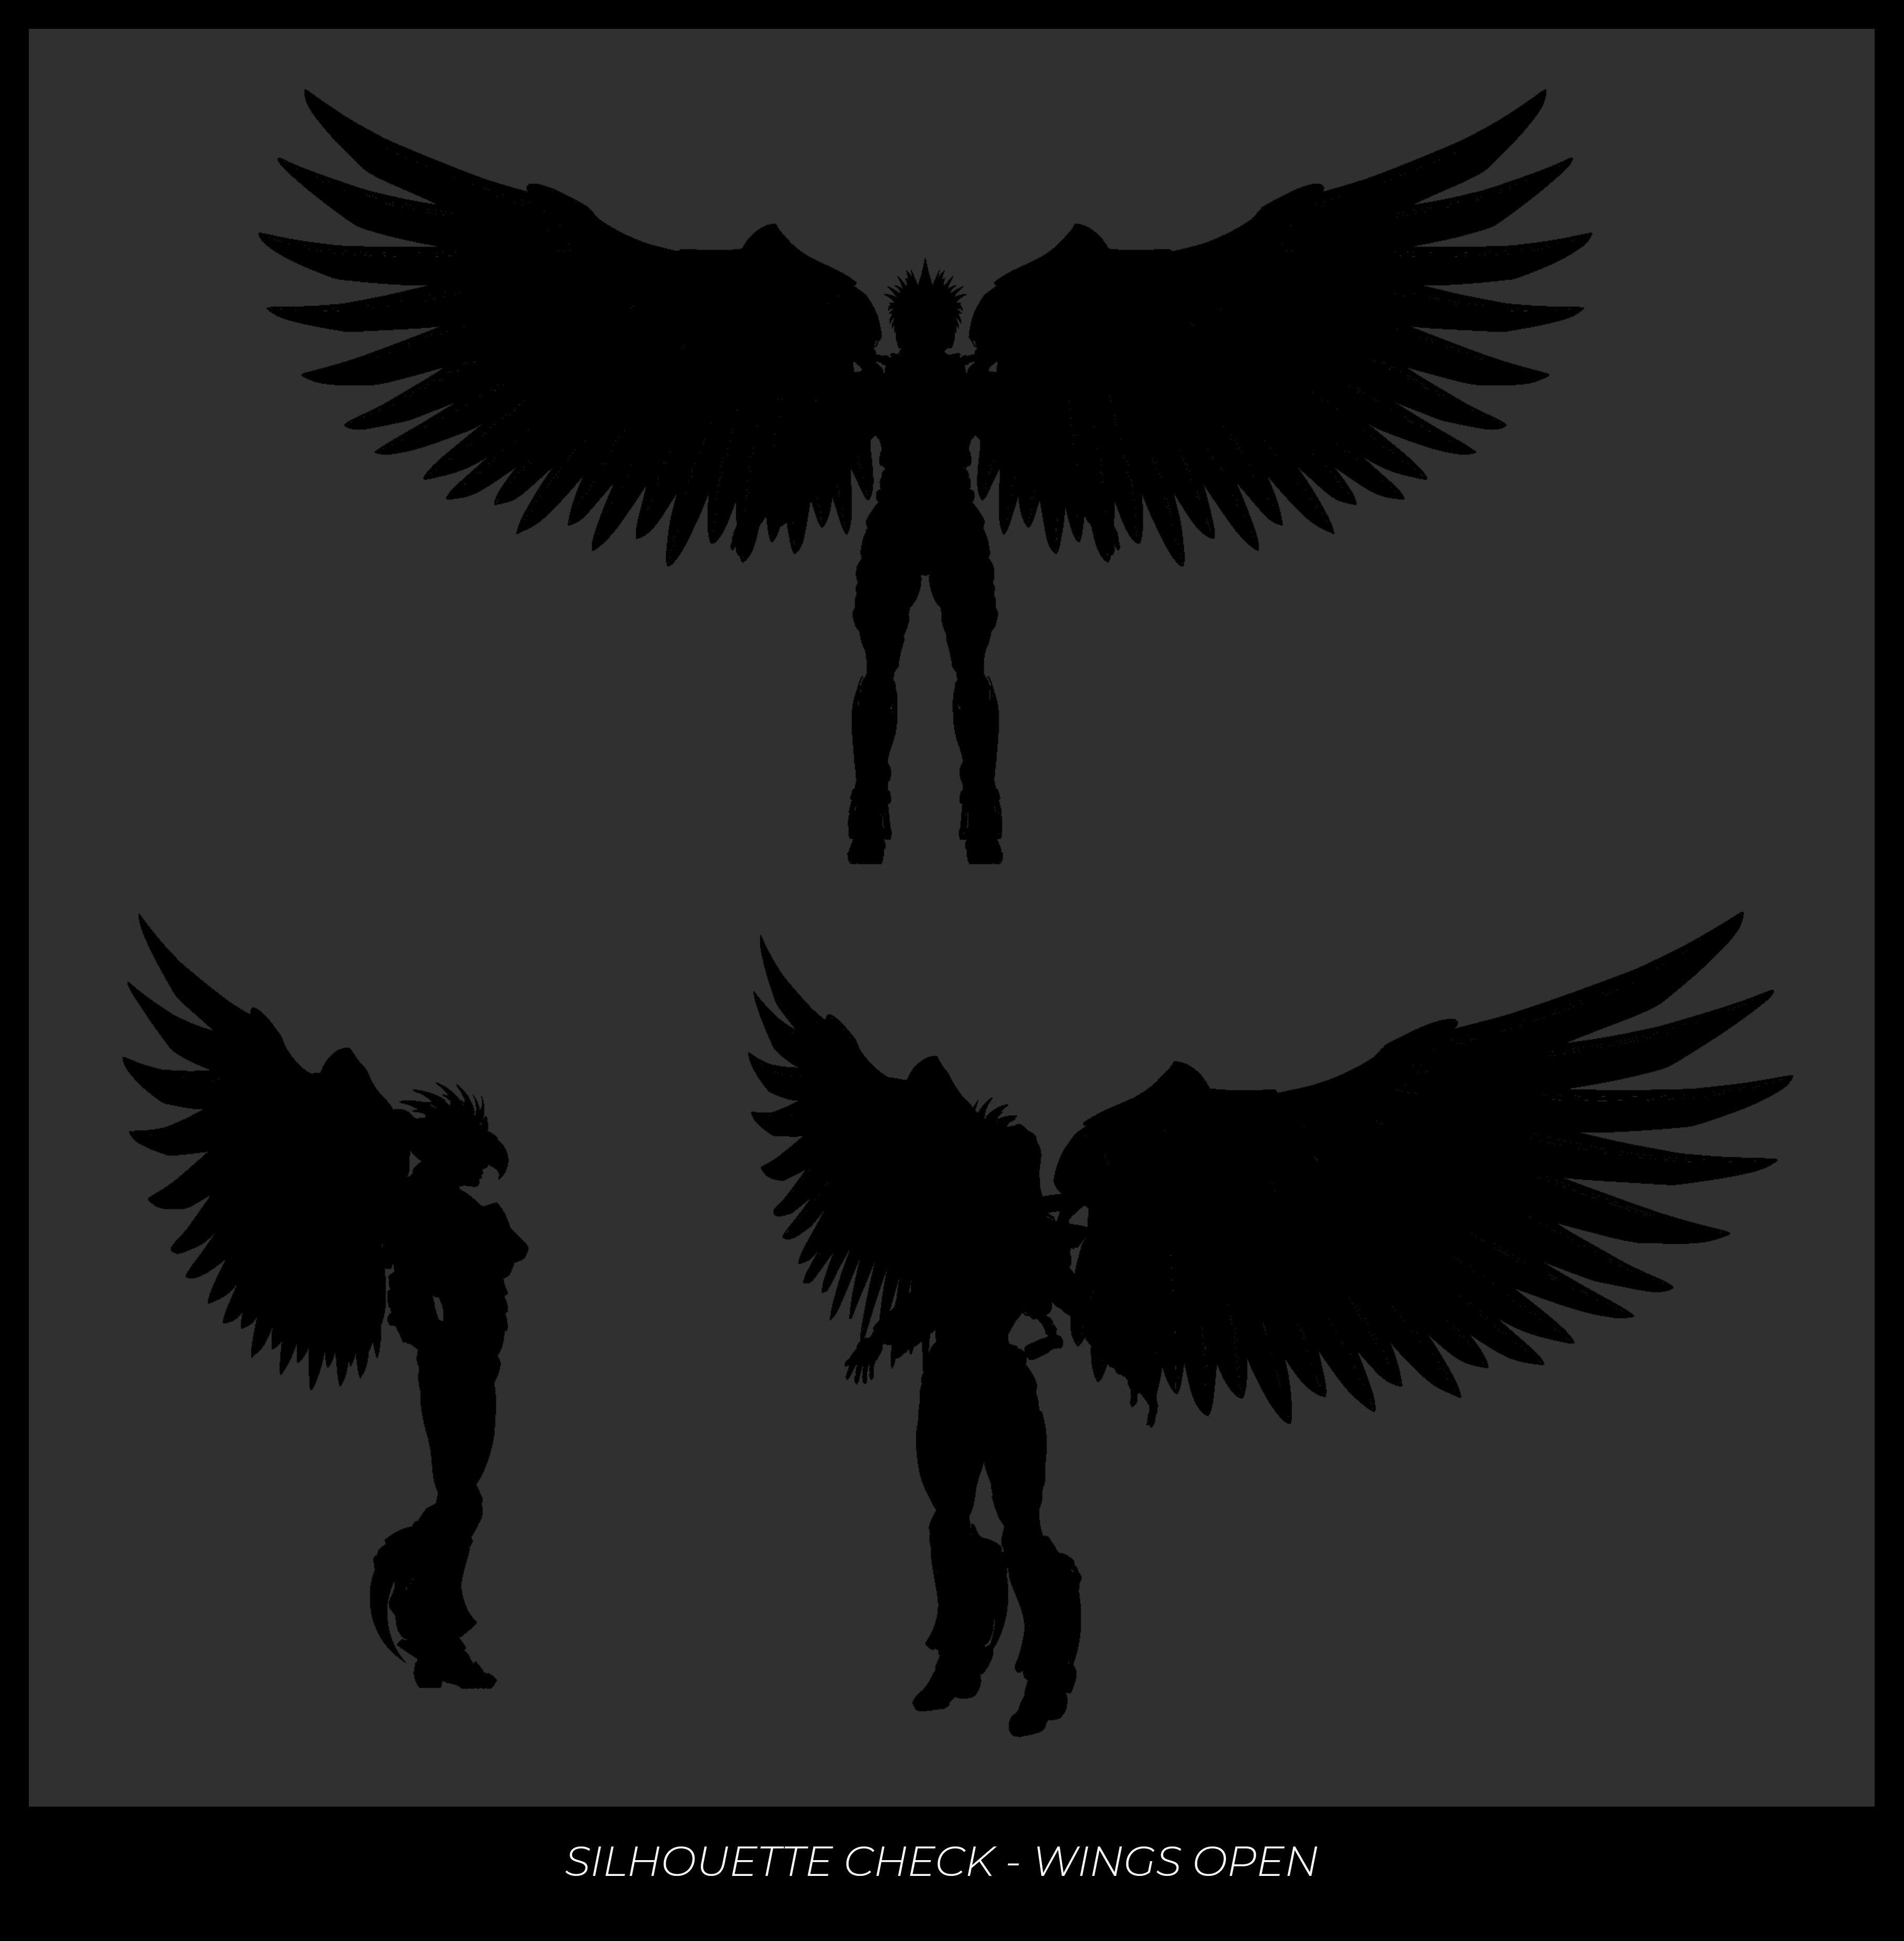
I spent an entire month designing prototypes of her most important feature, the wings.
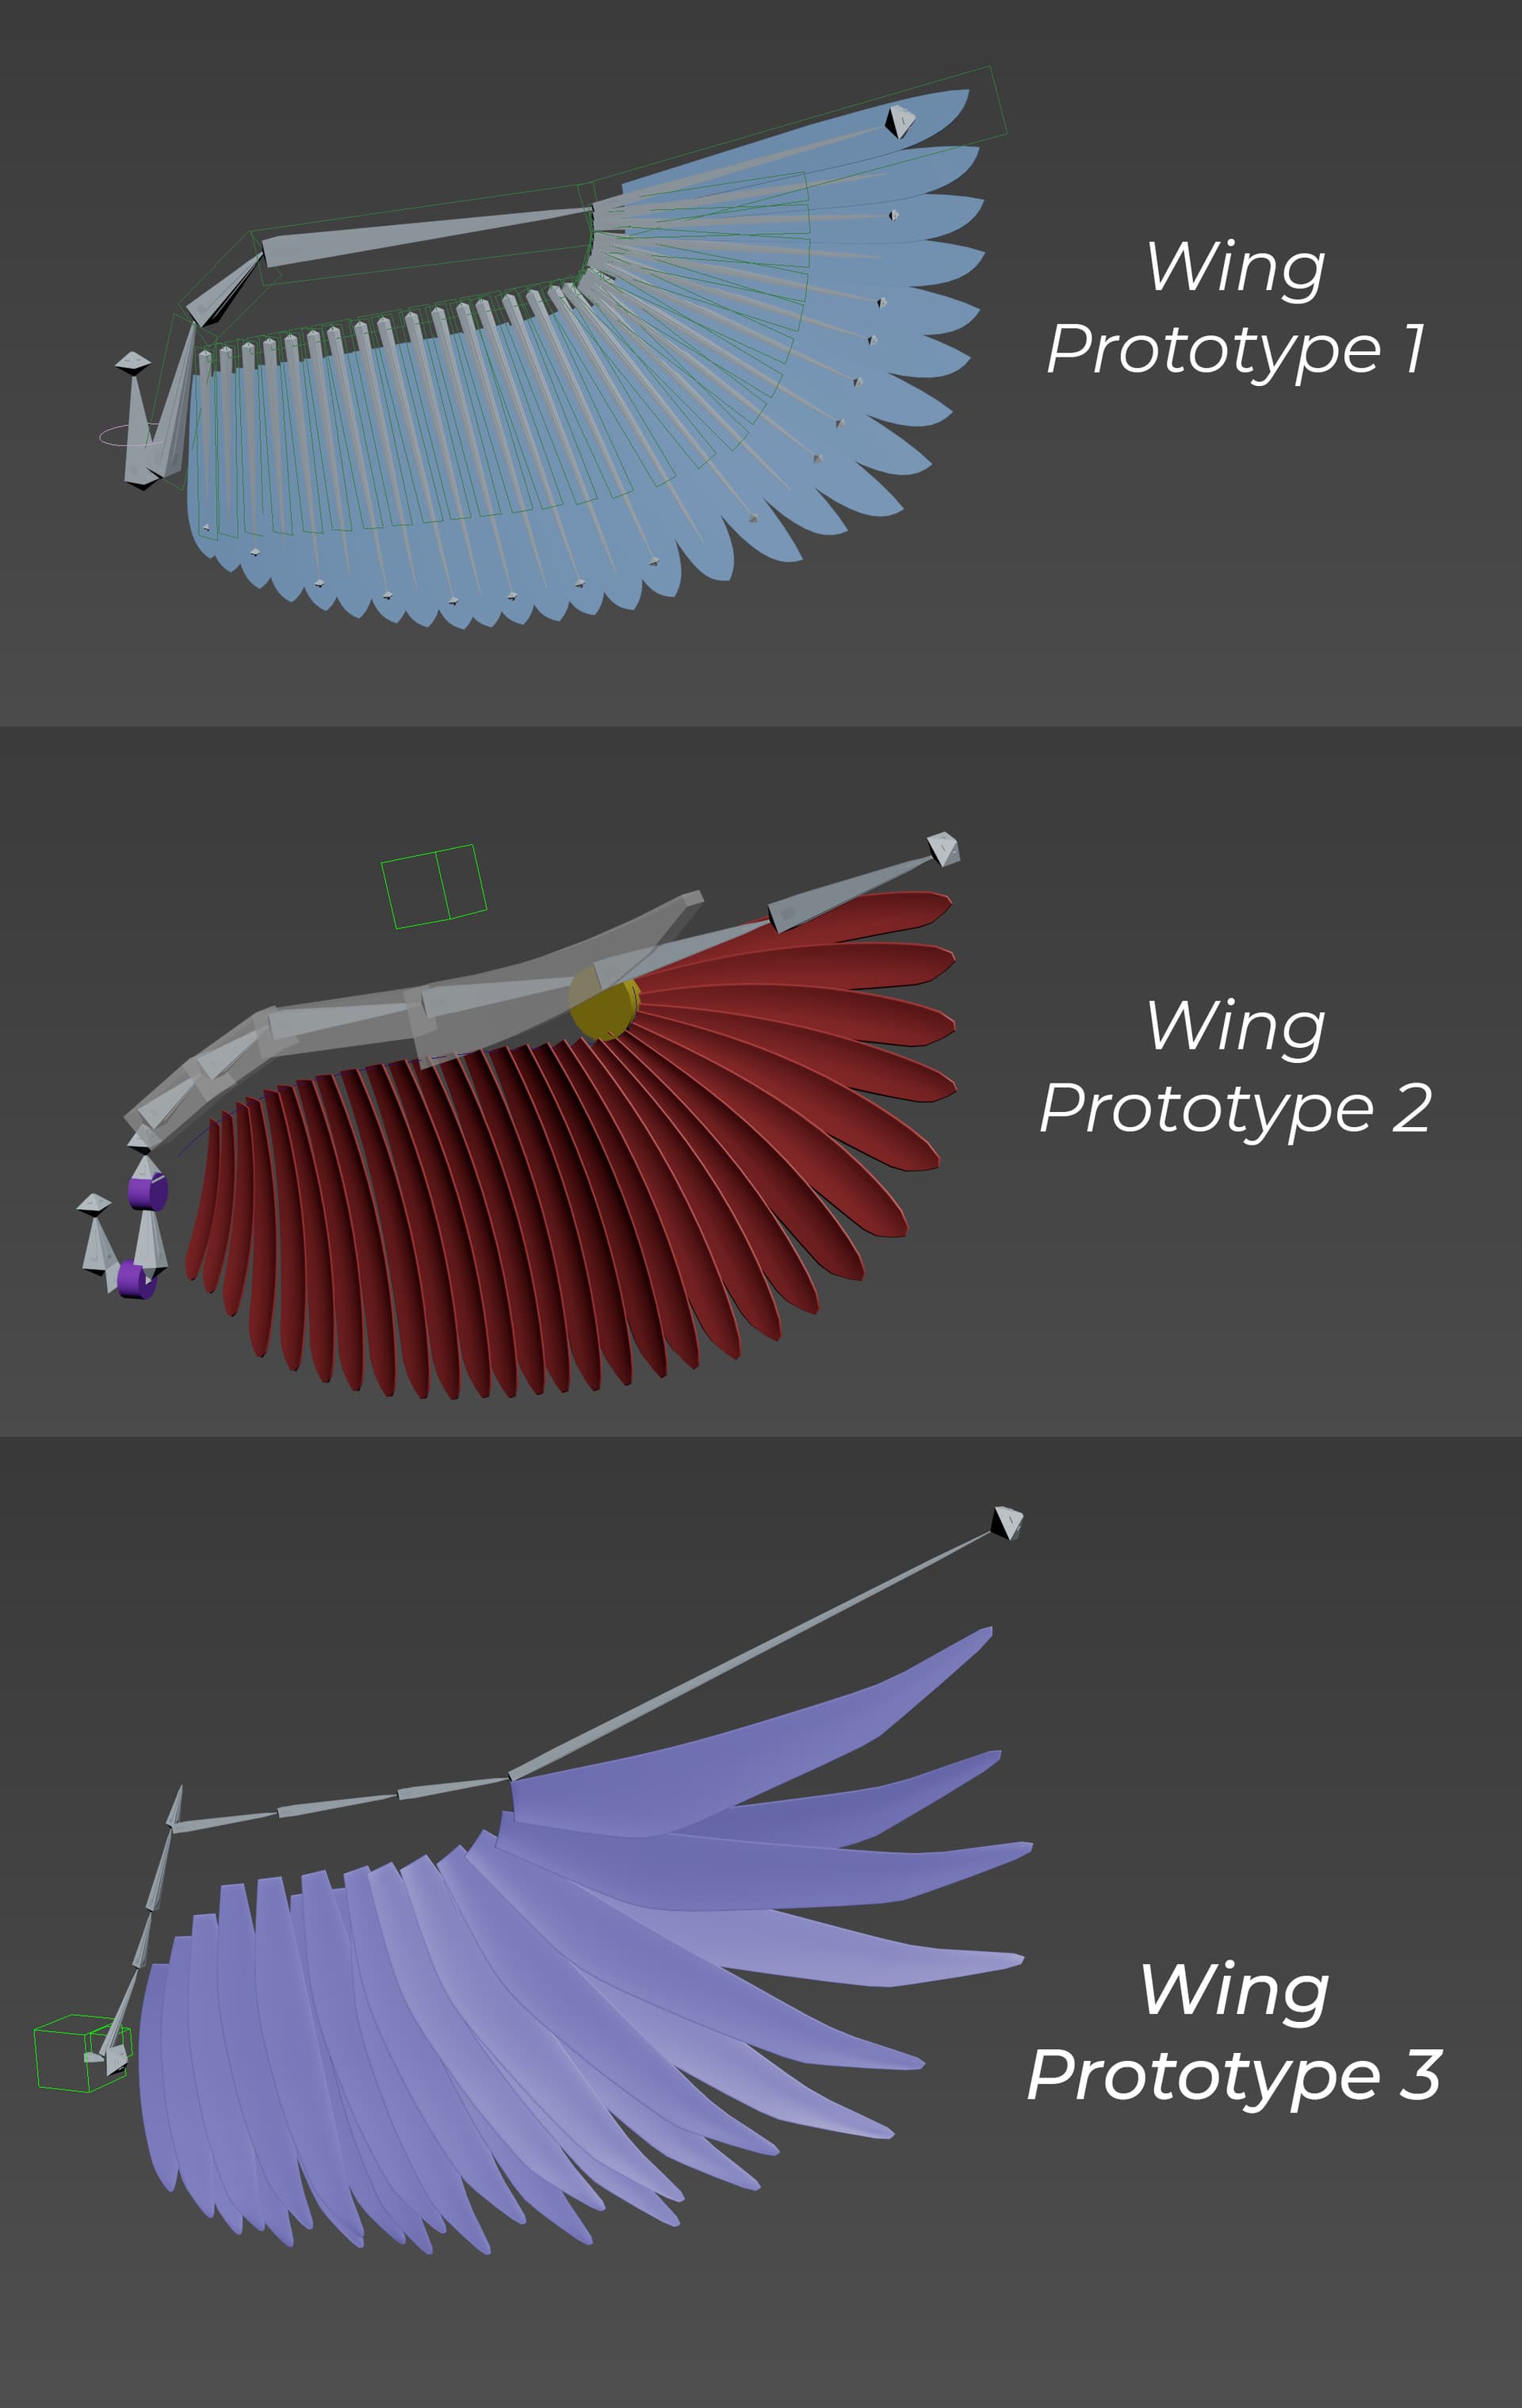
Project: VERA - Wing Prototypes and Initial Rigging Blockout
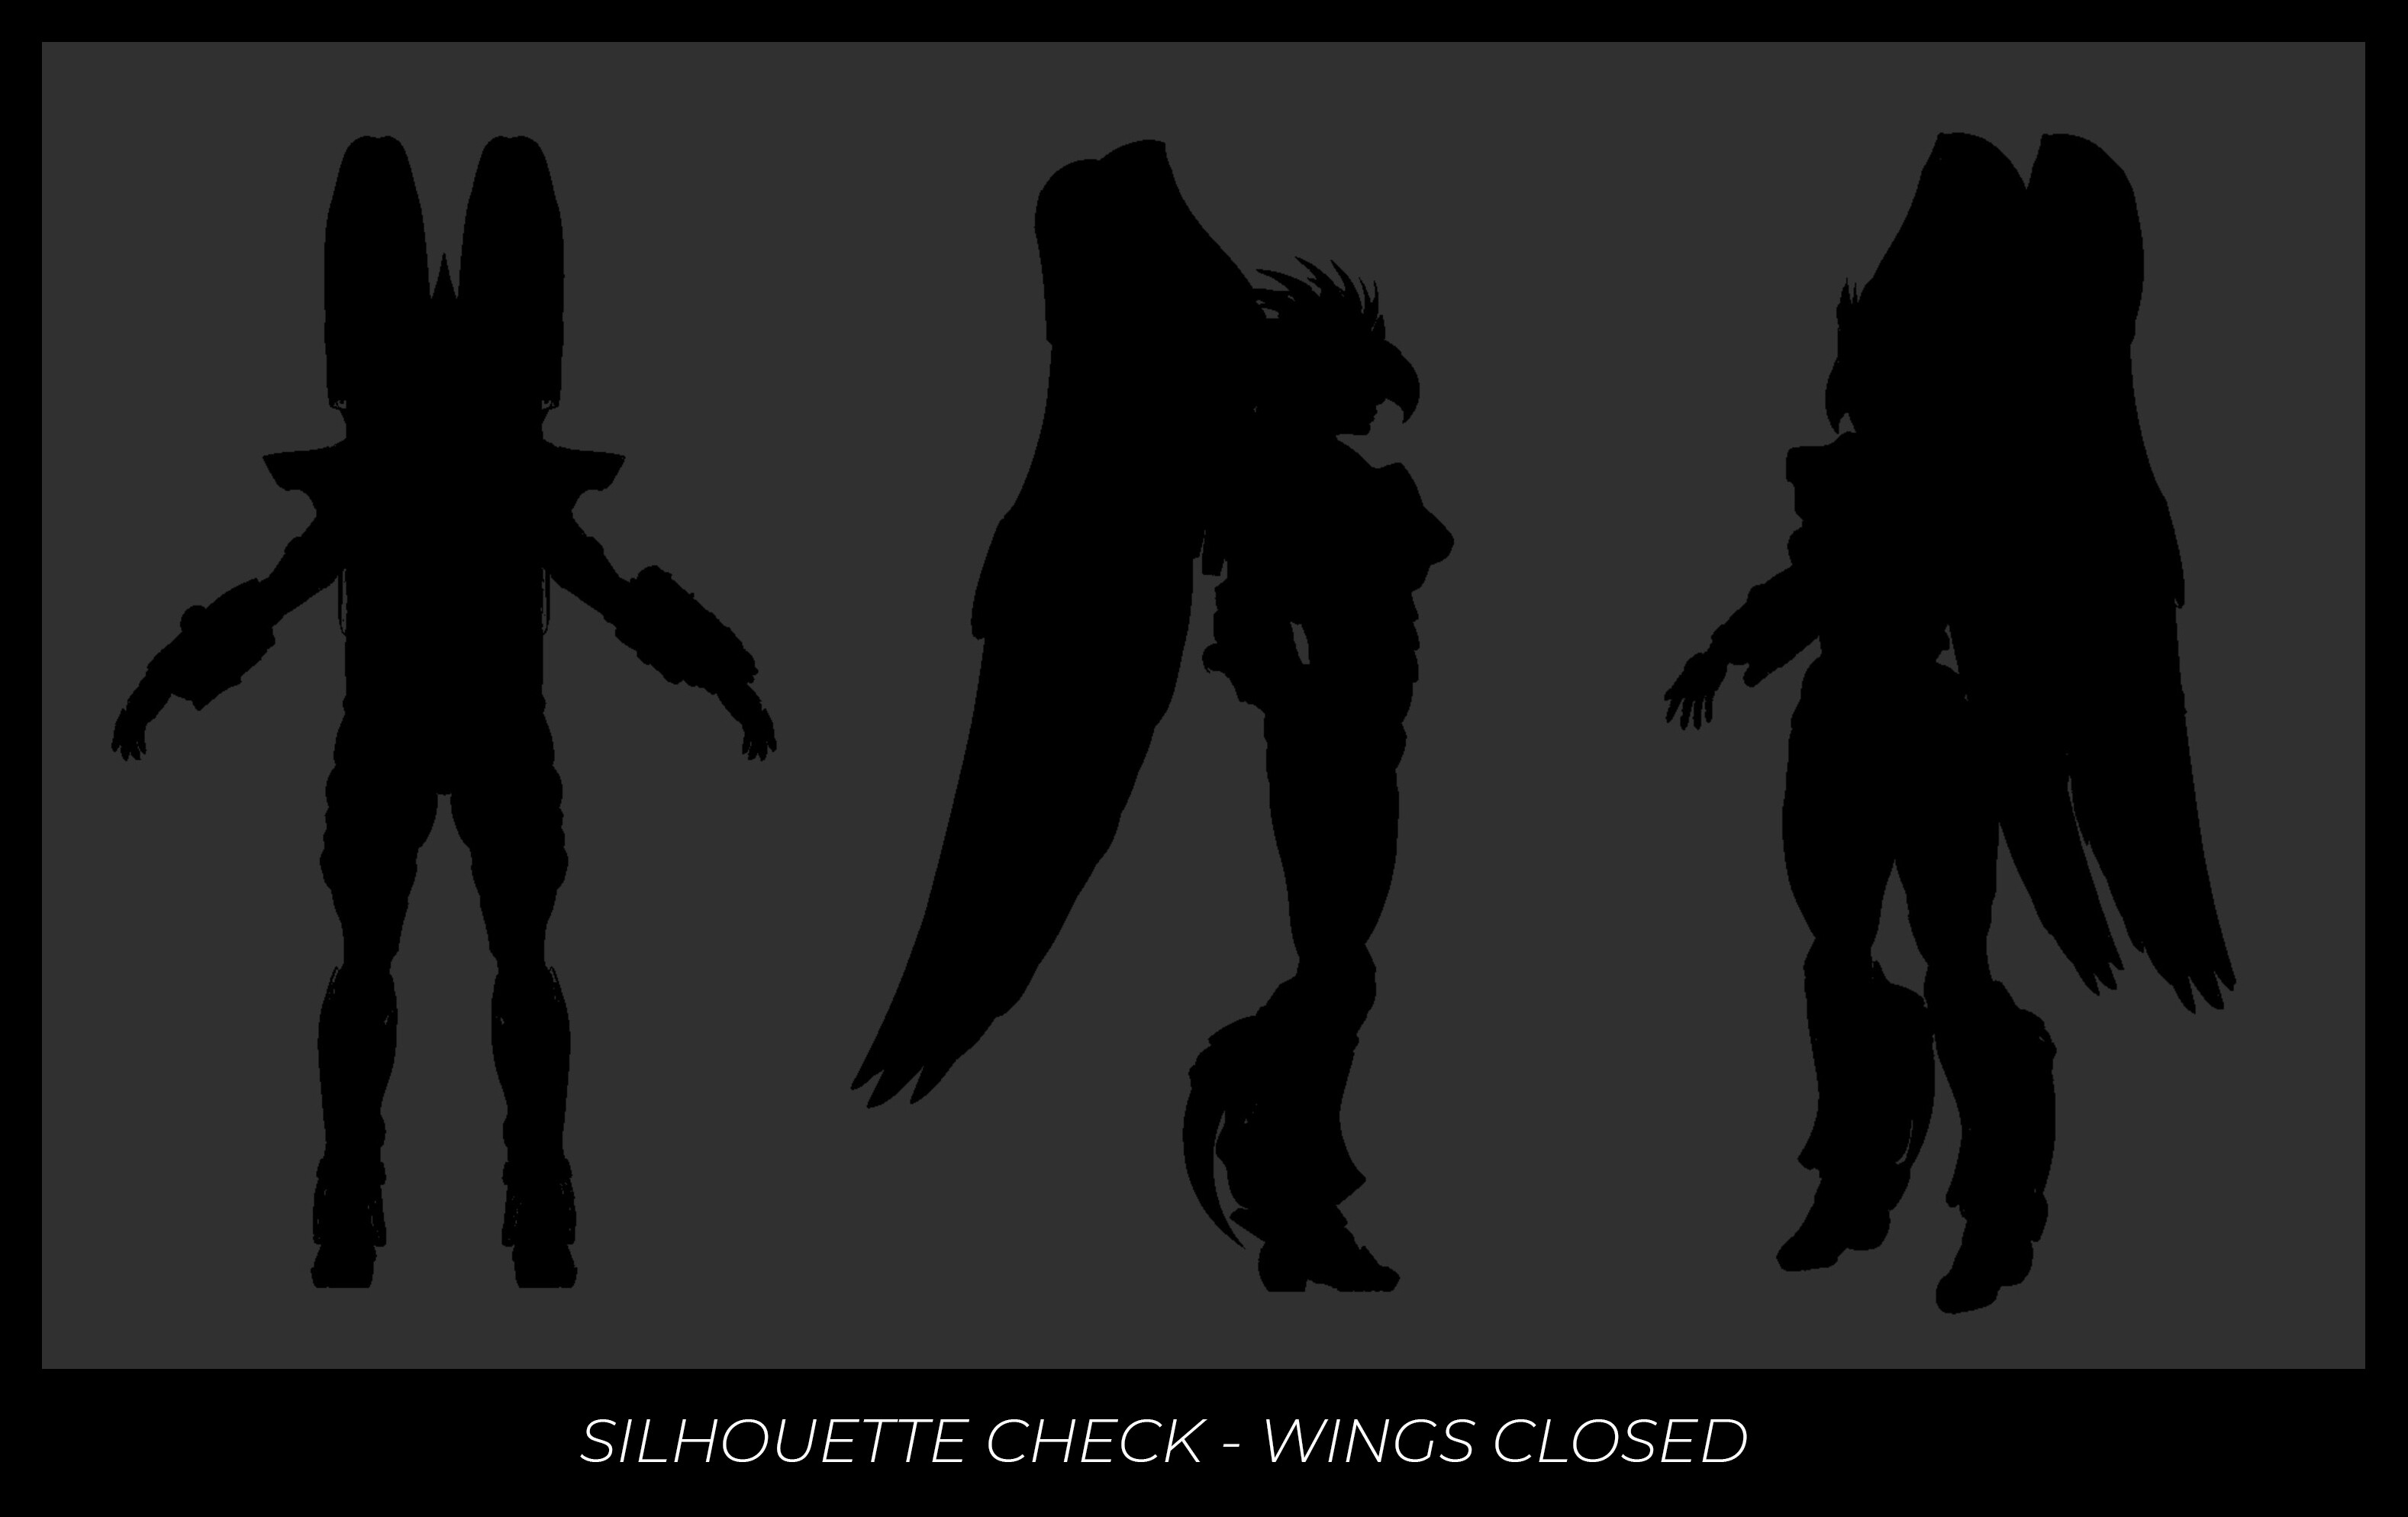
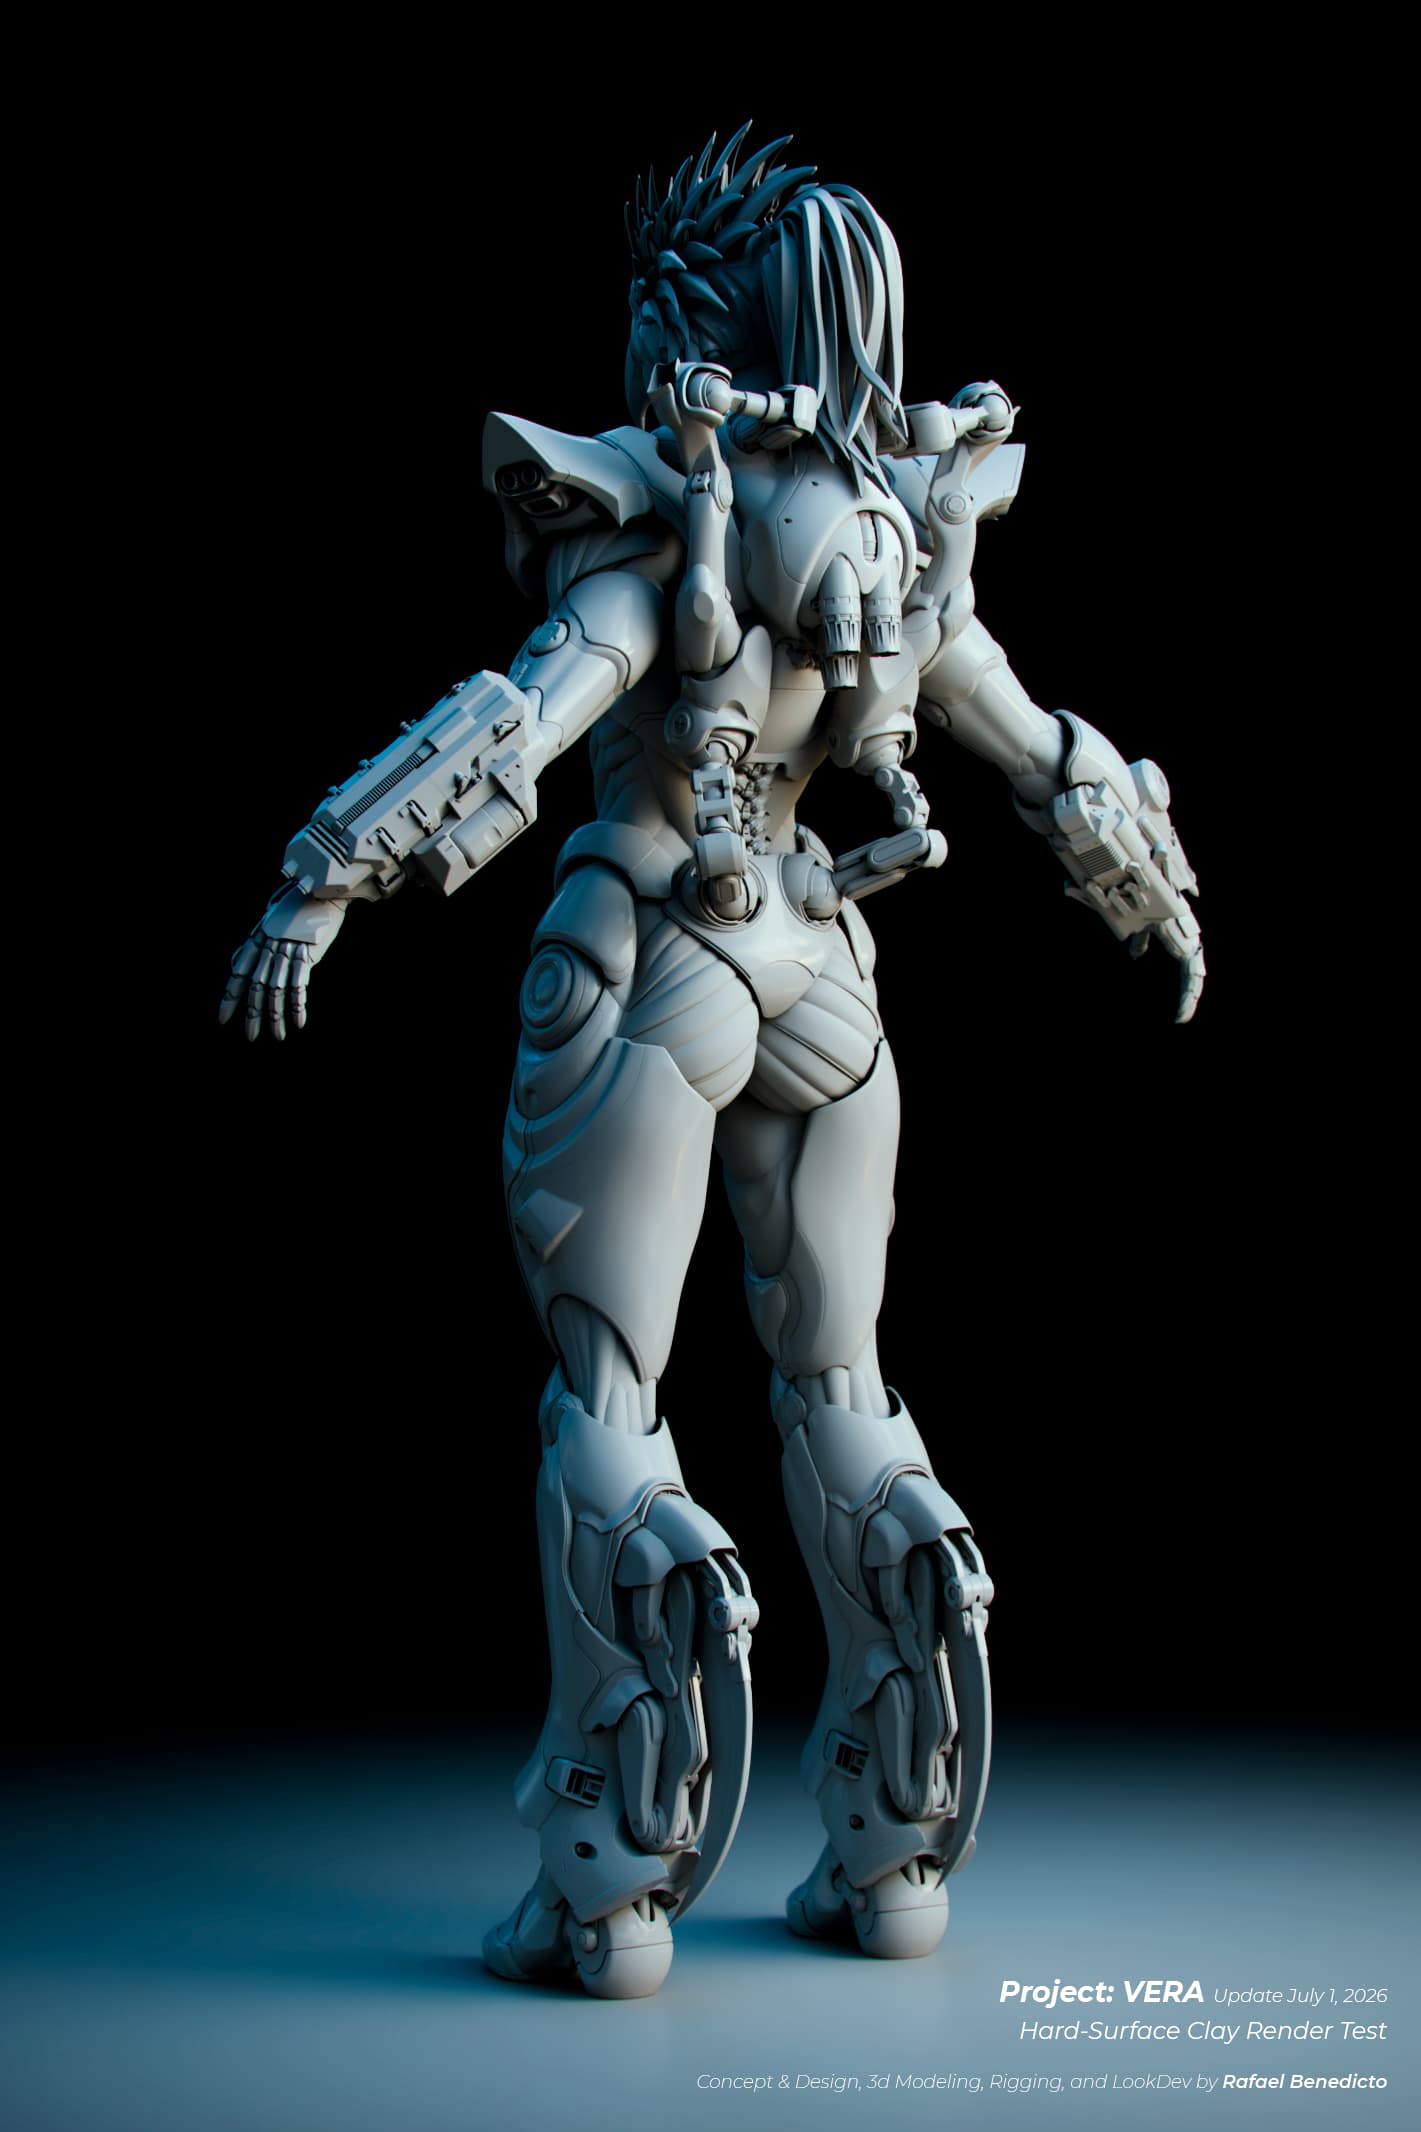
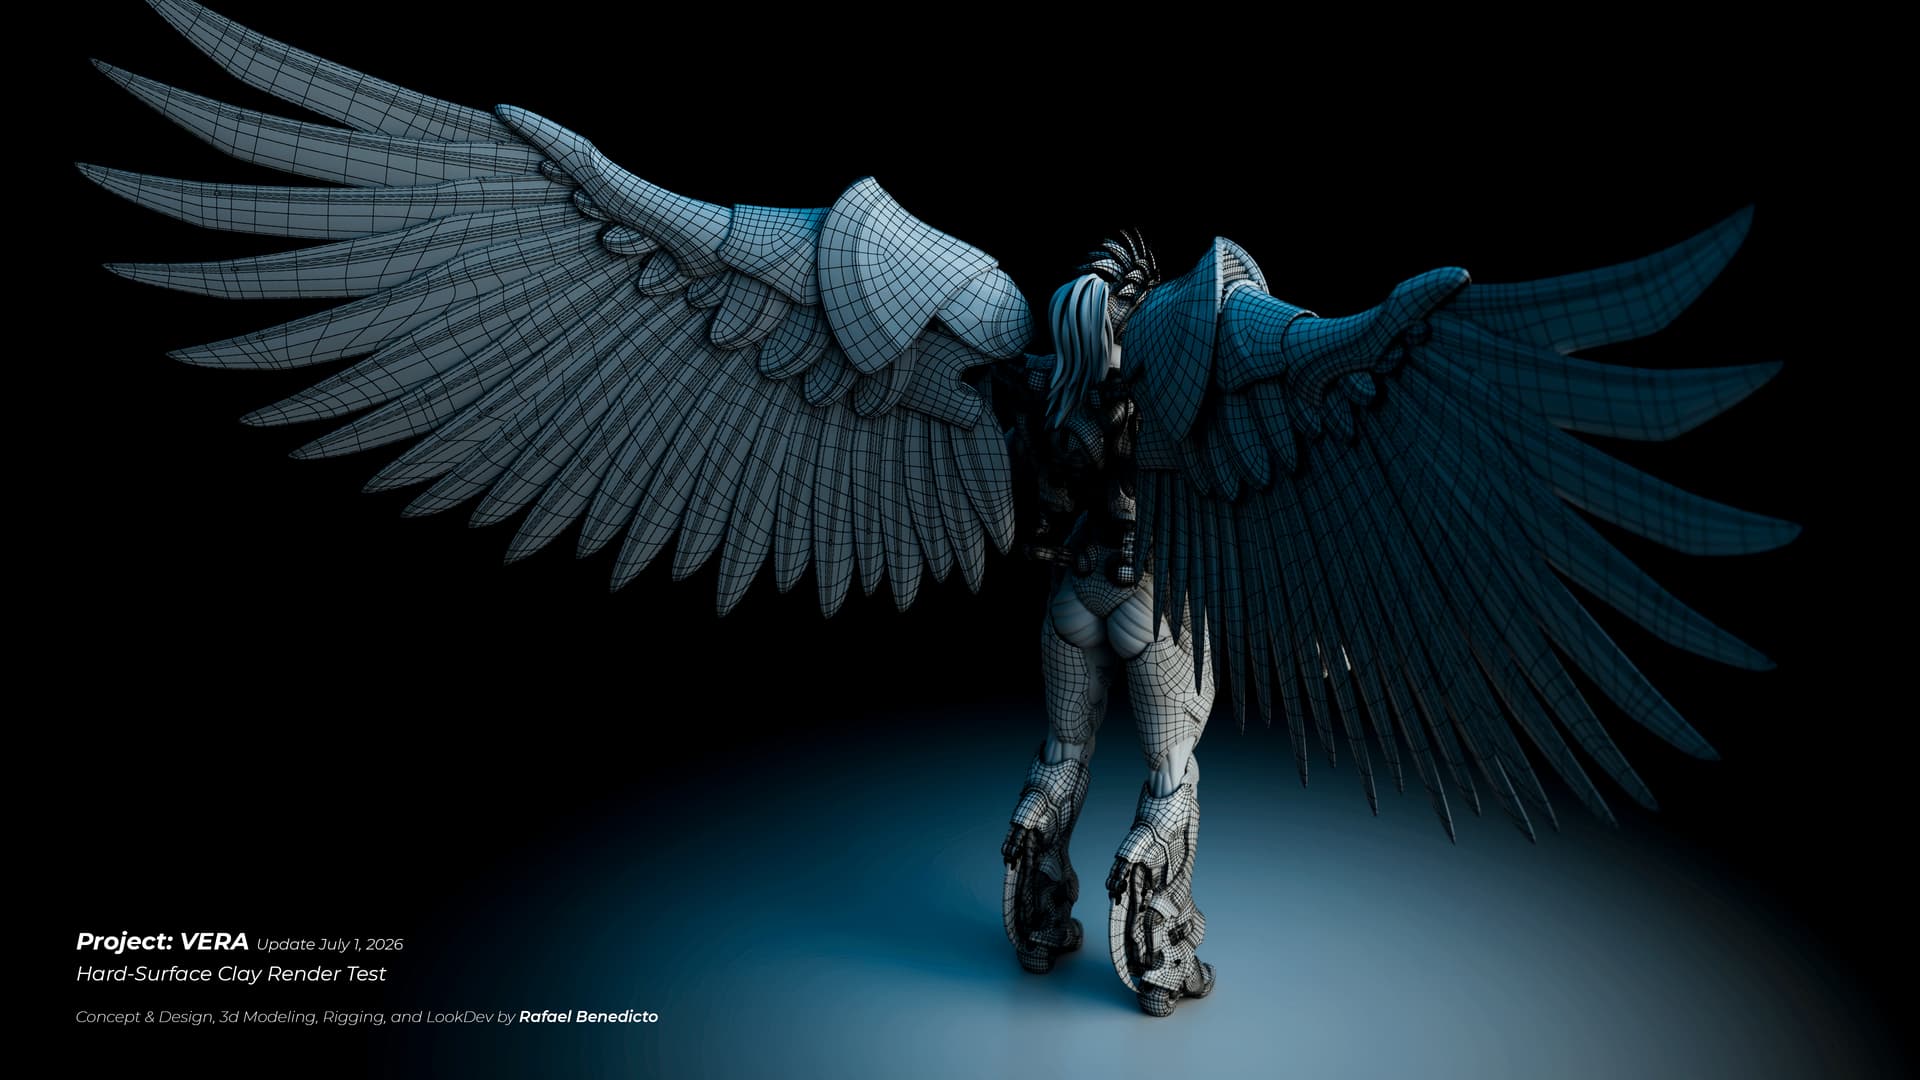
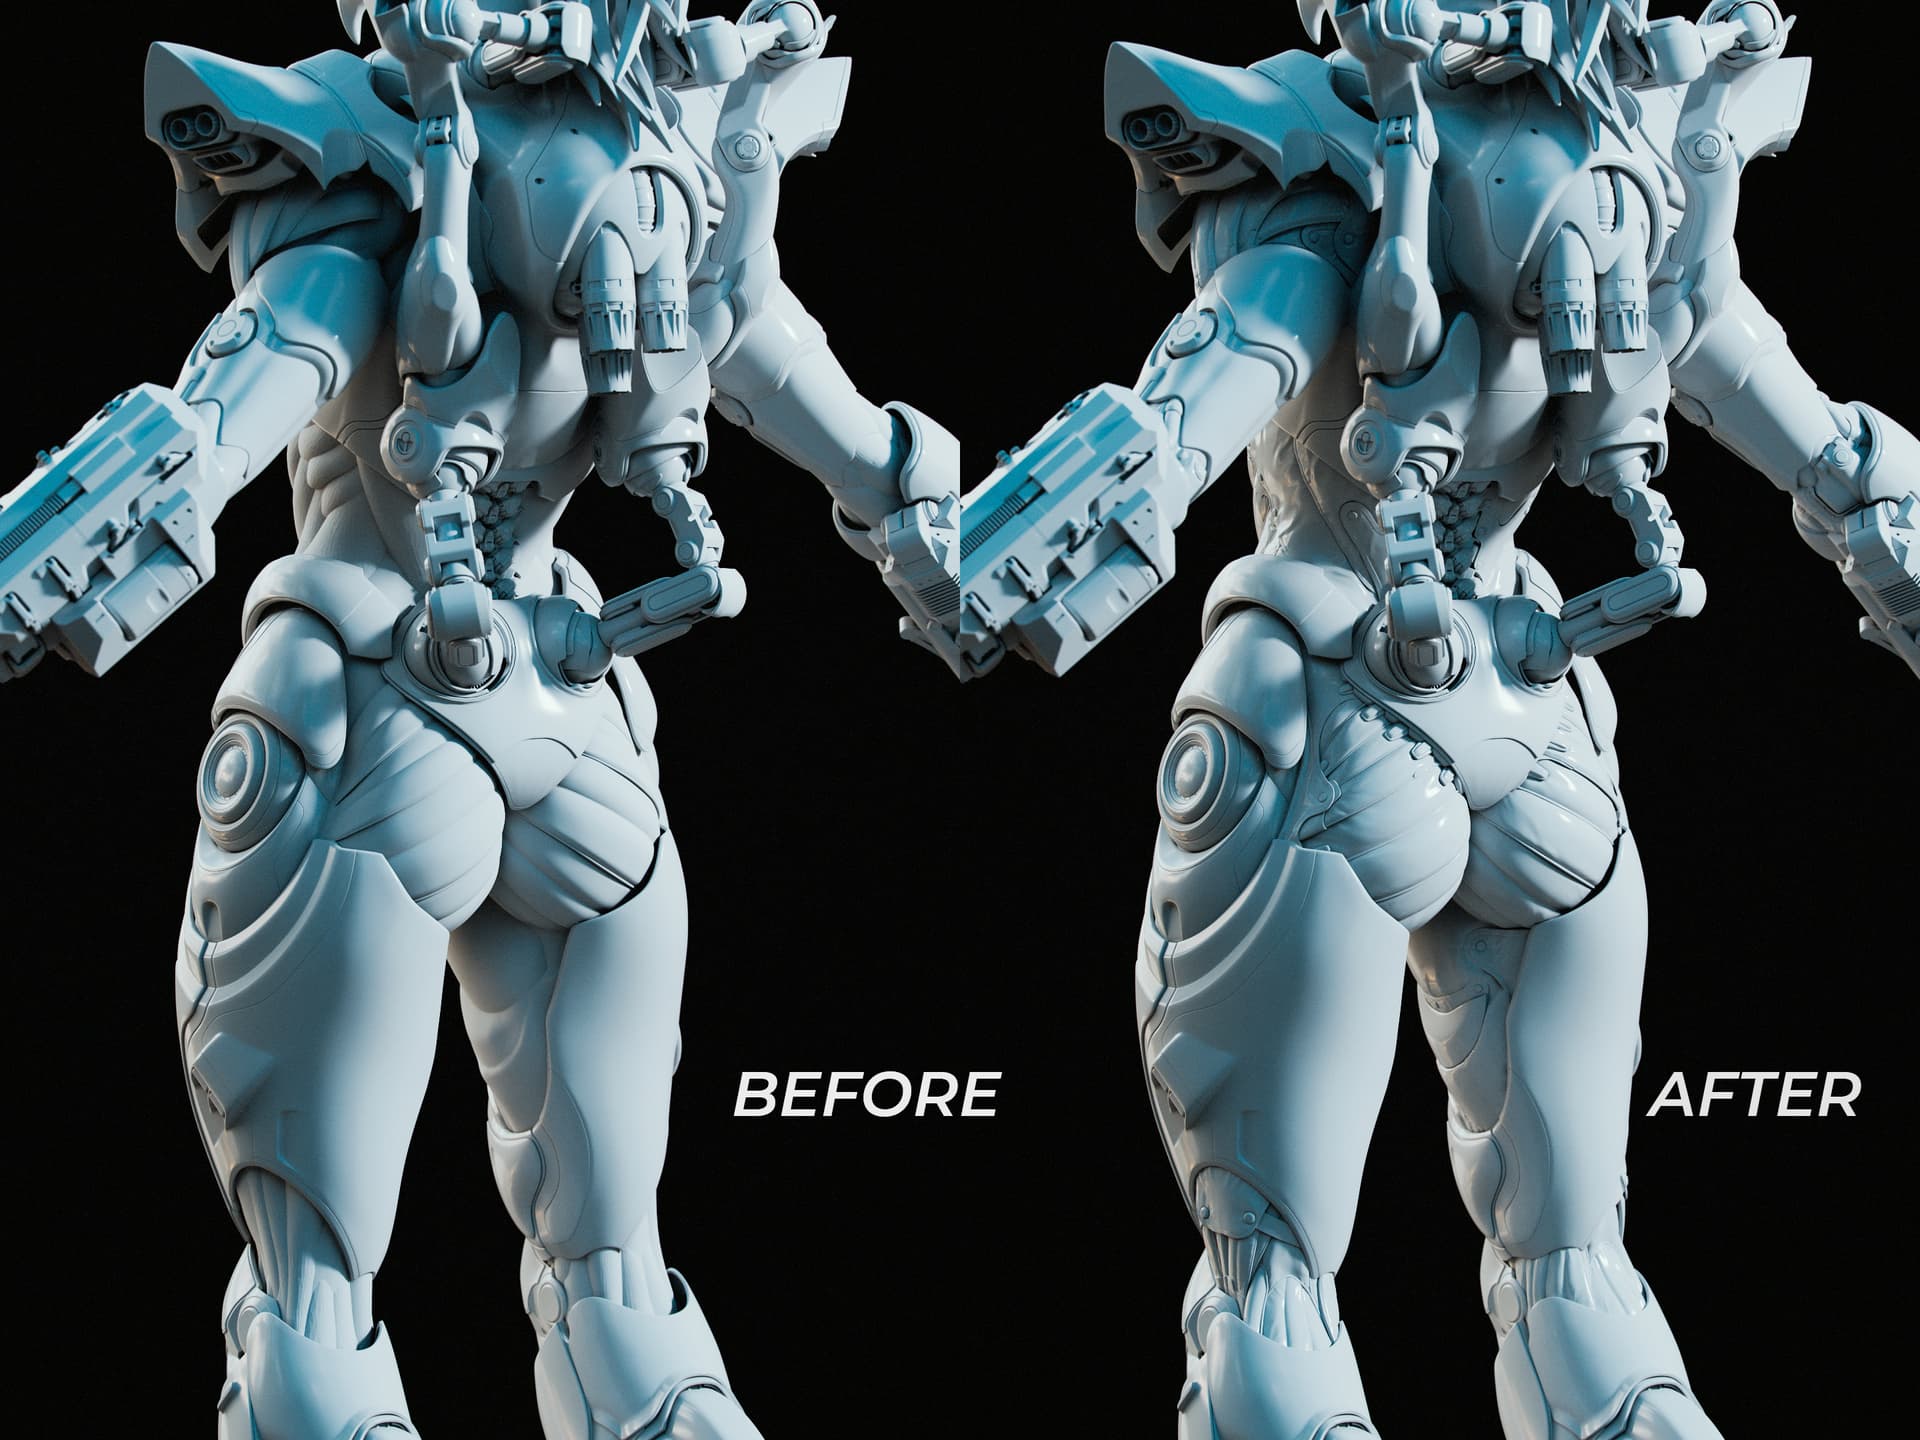
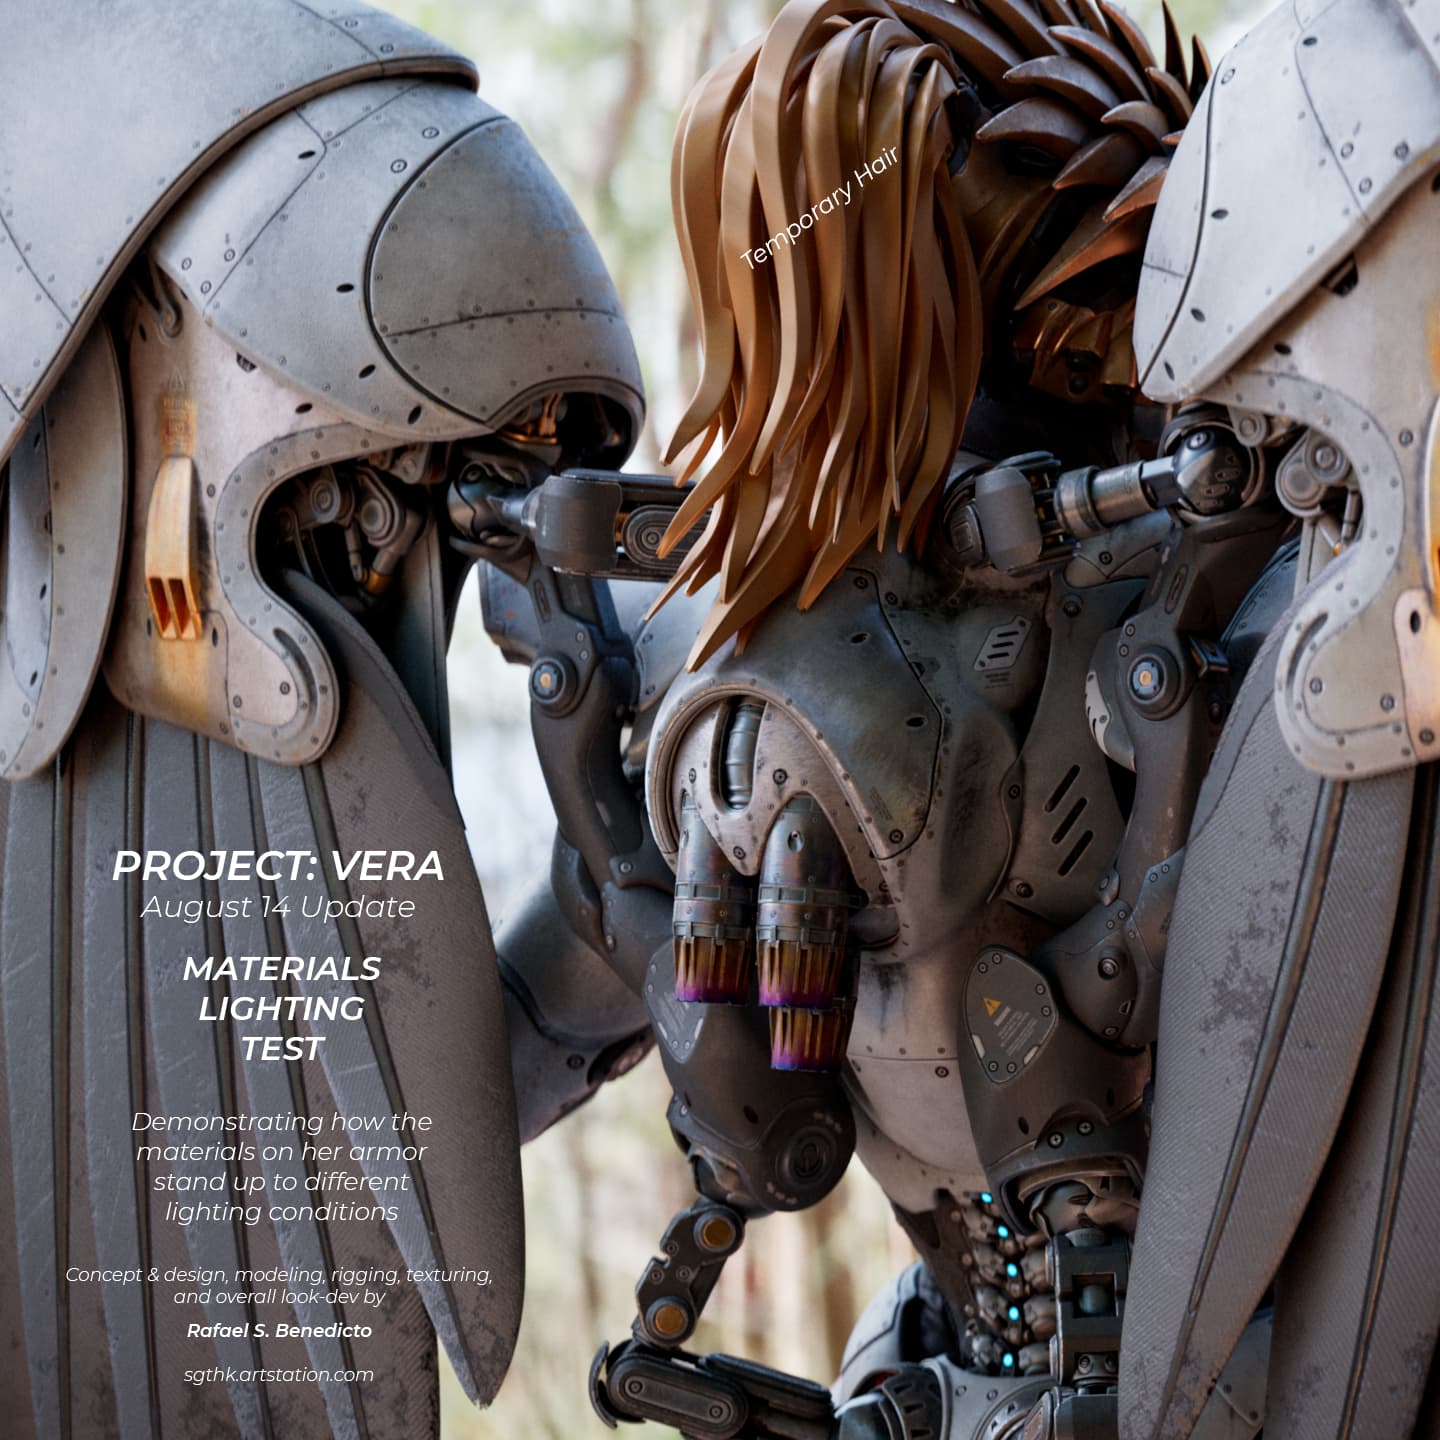
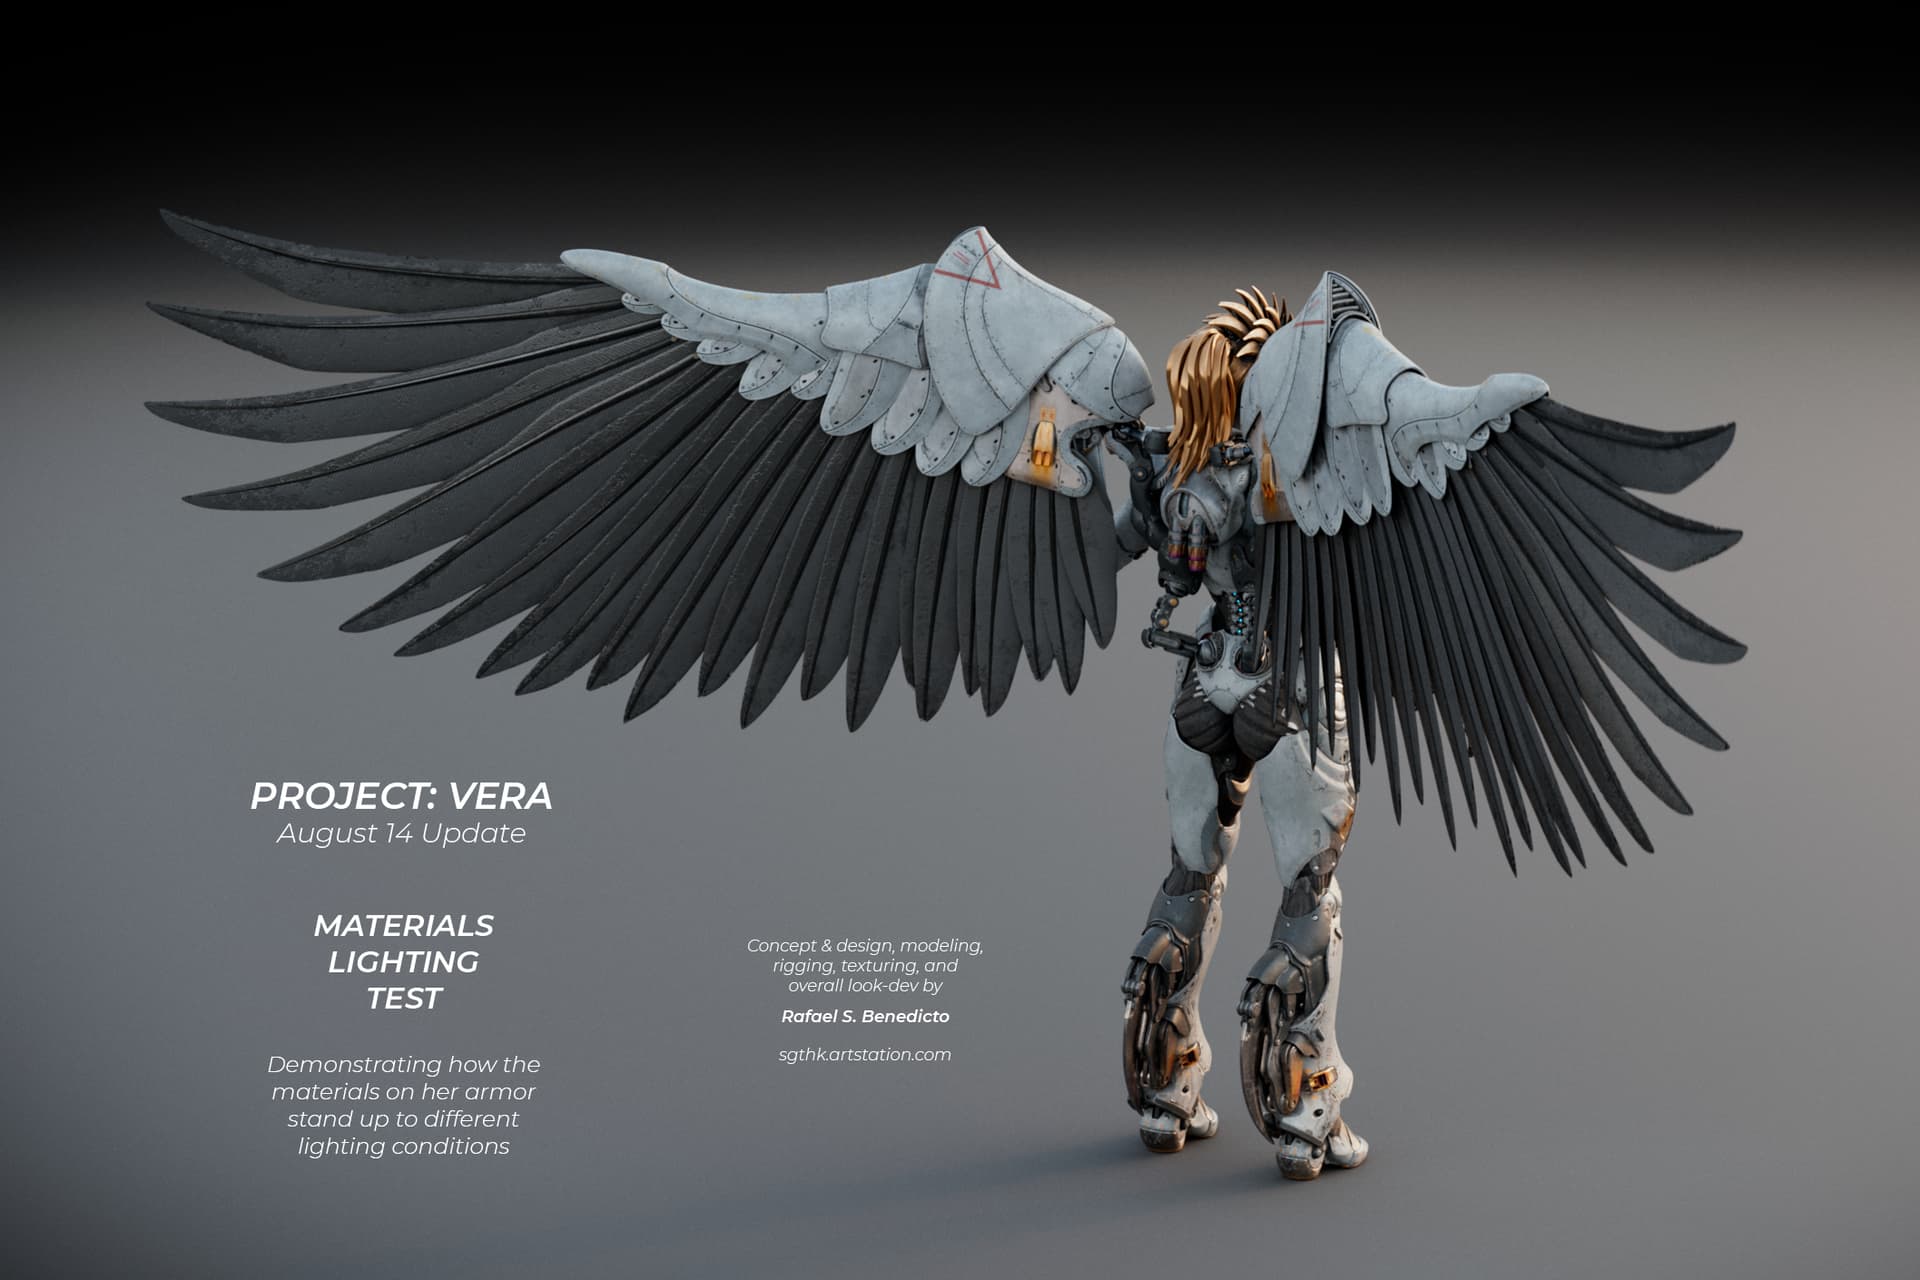
Then the next step was designing how the wings are attached to the body. Giant metal wings usually cause huge problems in 3D characters because they clip right through the character’s shoulders. Instead of directly attaching the base of the wings to her back , I created a design that would have the wings be suspended from the body – similar to how a SteadyCam works. I call it a Kinetic Standoff Chassis.
Project: VERA - Kinematic Standoff Chassis Design
This design creates a suspension system that absorbs the stresses from the wings’ movements. And since the chassis connects to the body on 4 points (2 on her upper back, and 2 on her hips), this distributes stresses across her entire back instead of having them concentrated on one small area.
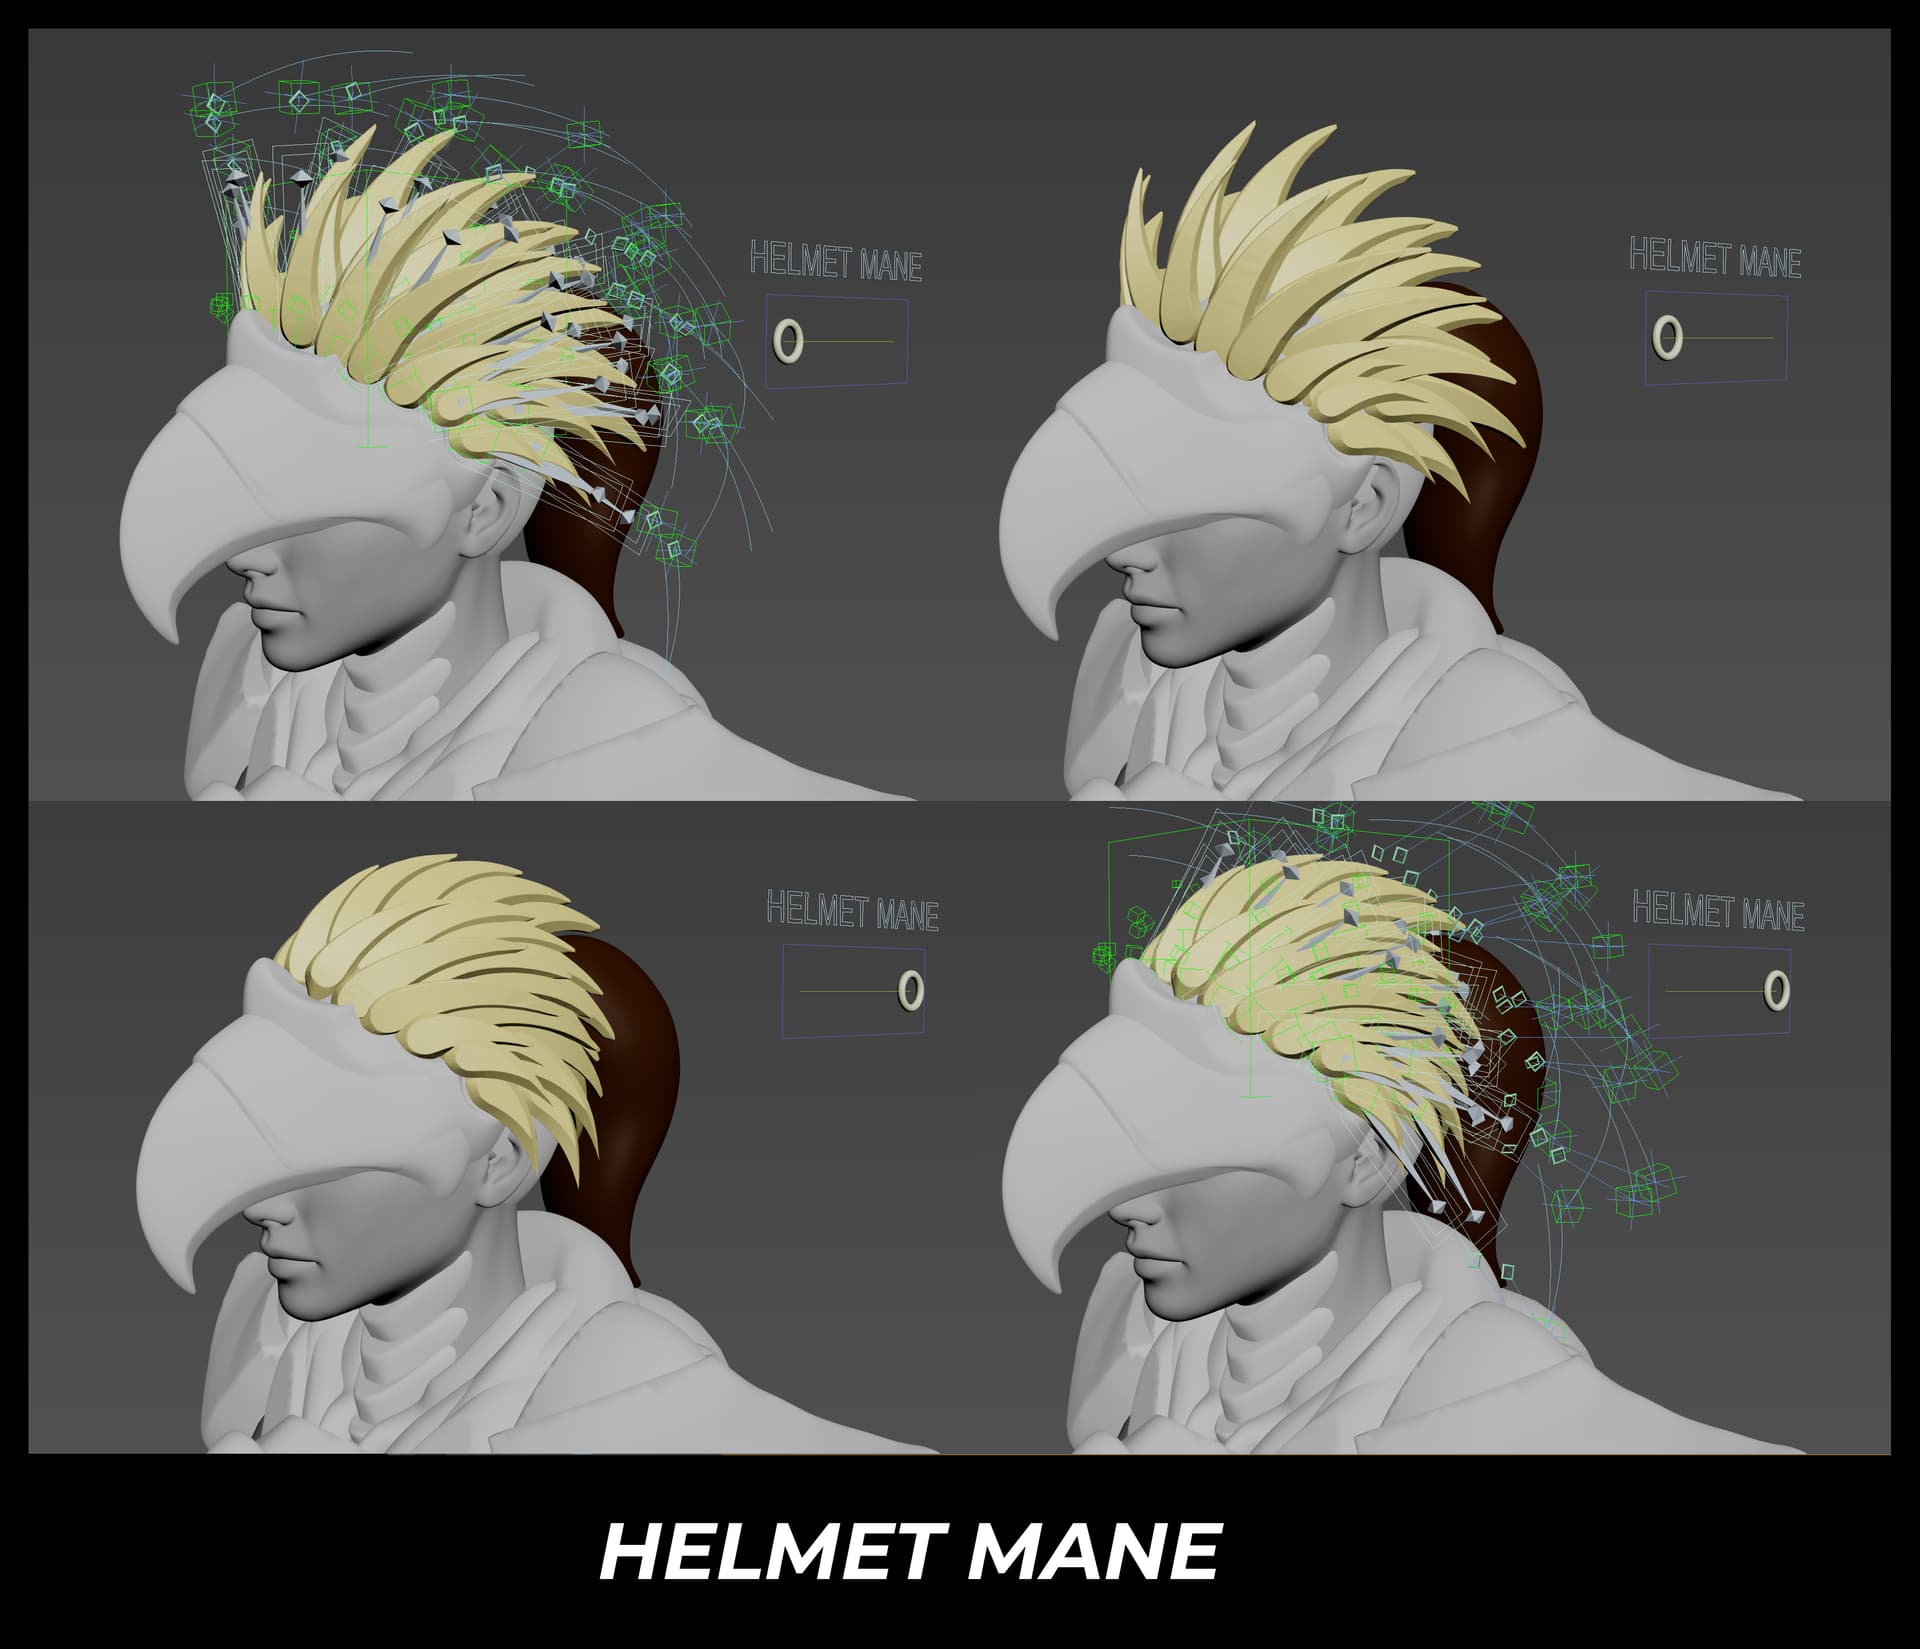
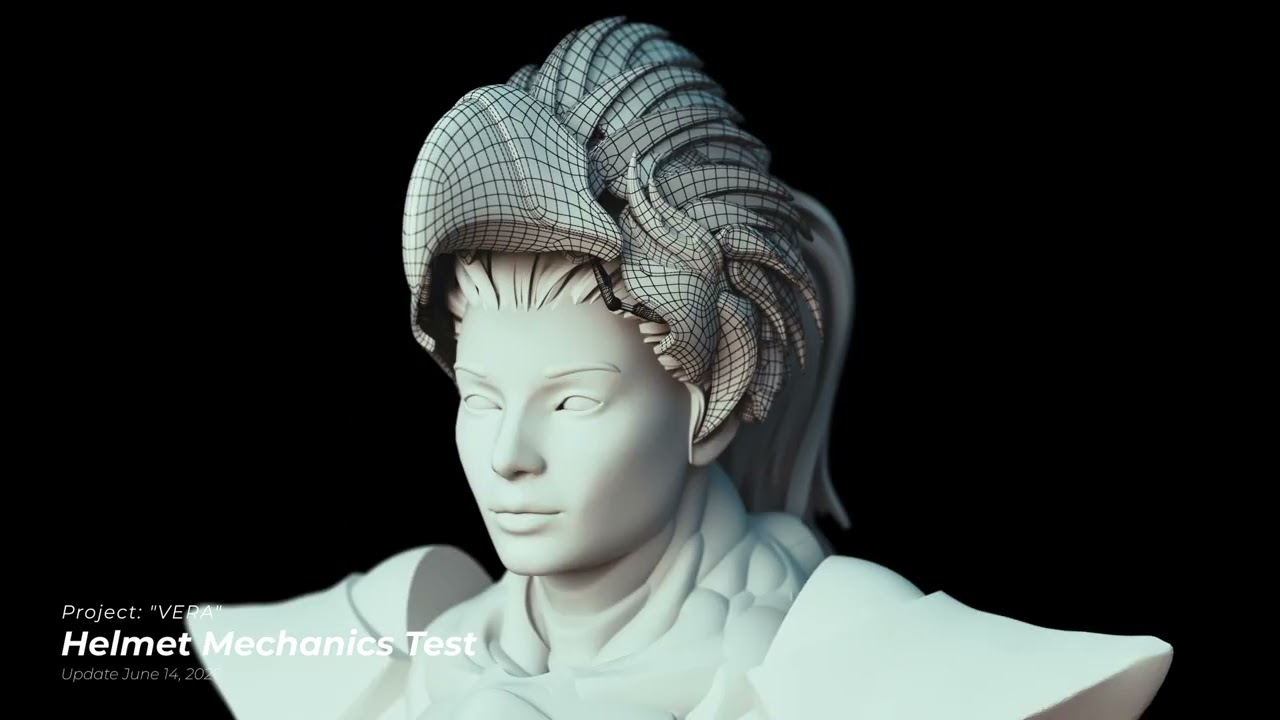
Afterwards I worked out the rigging for the distinct “mane” of feathers seen on the actual Philippine Eagle, only with Vera’s helmet the feathers are actually advanced sensors that can flare out or tuck in.
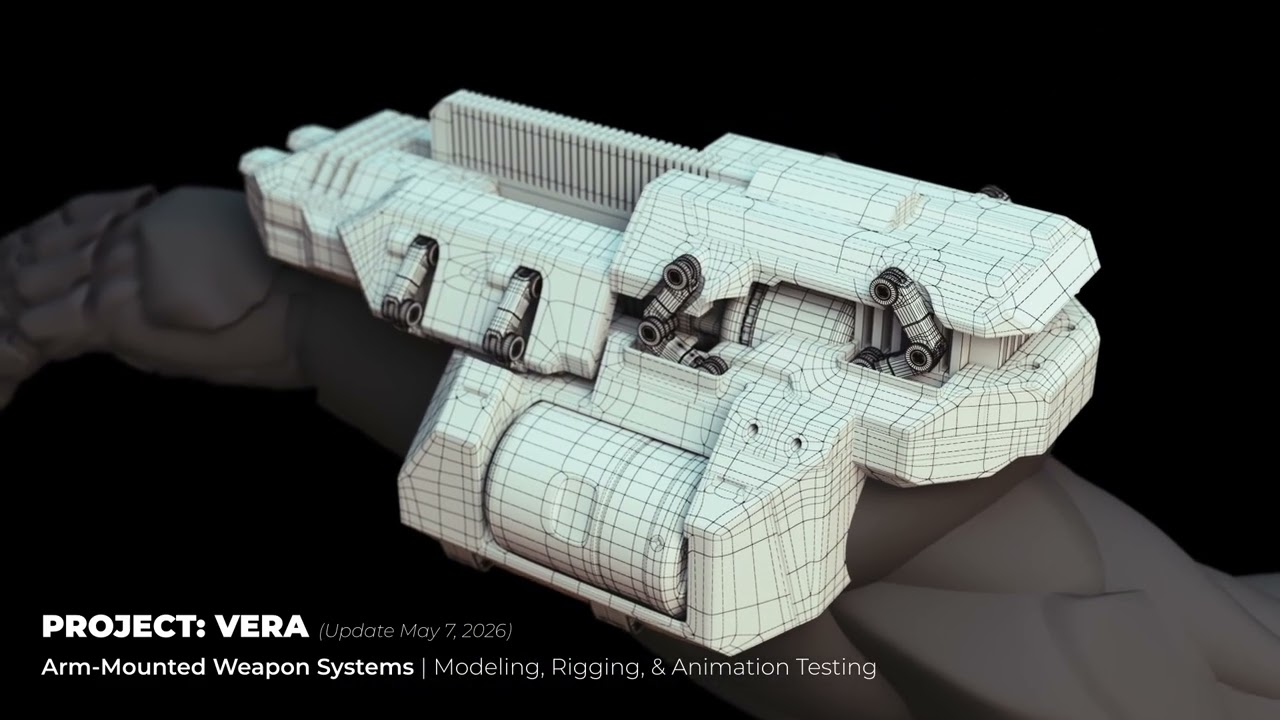
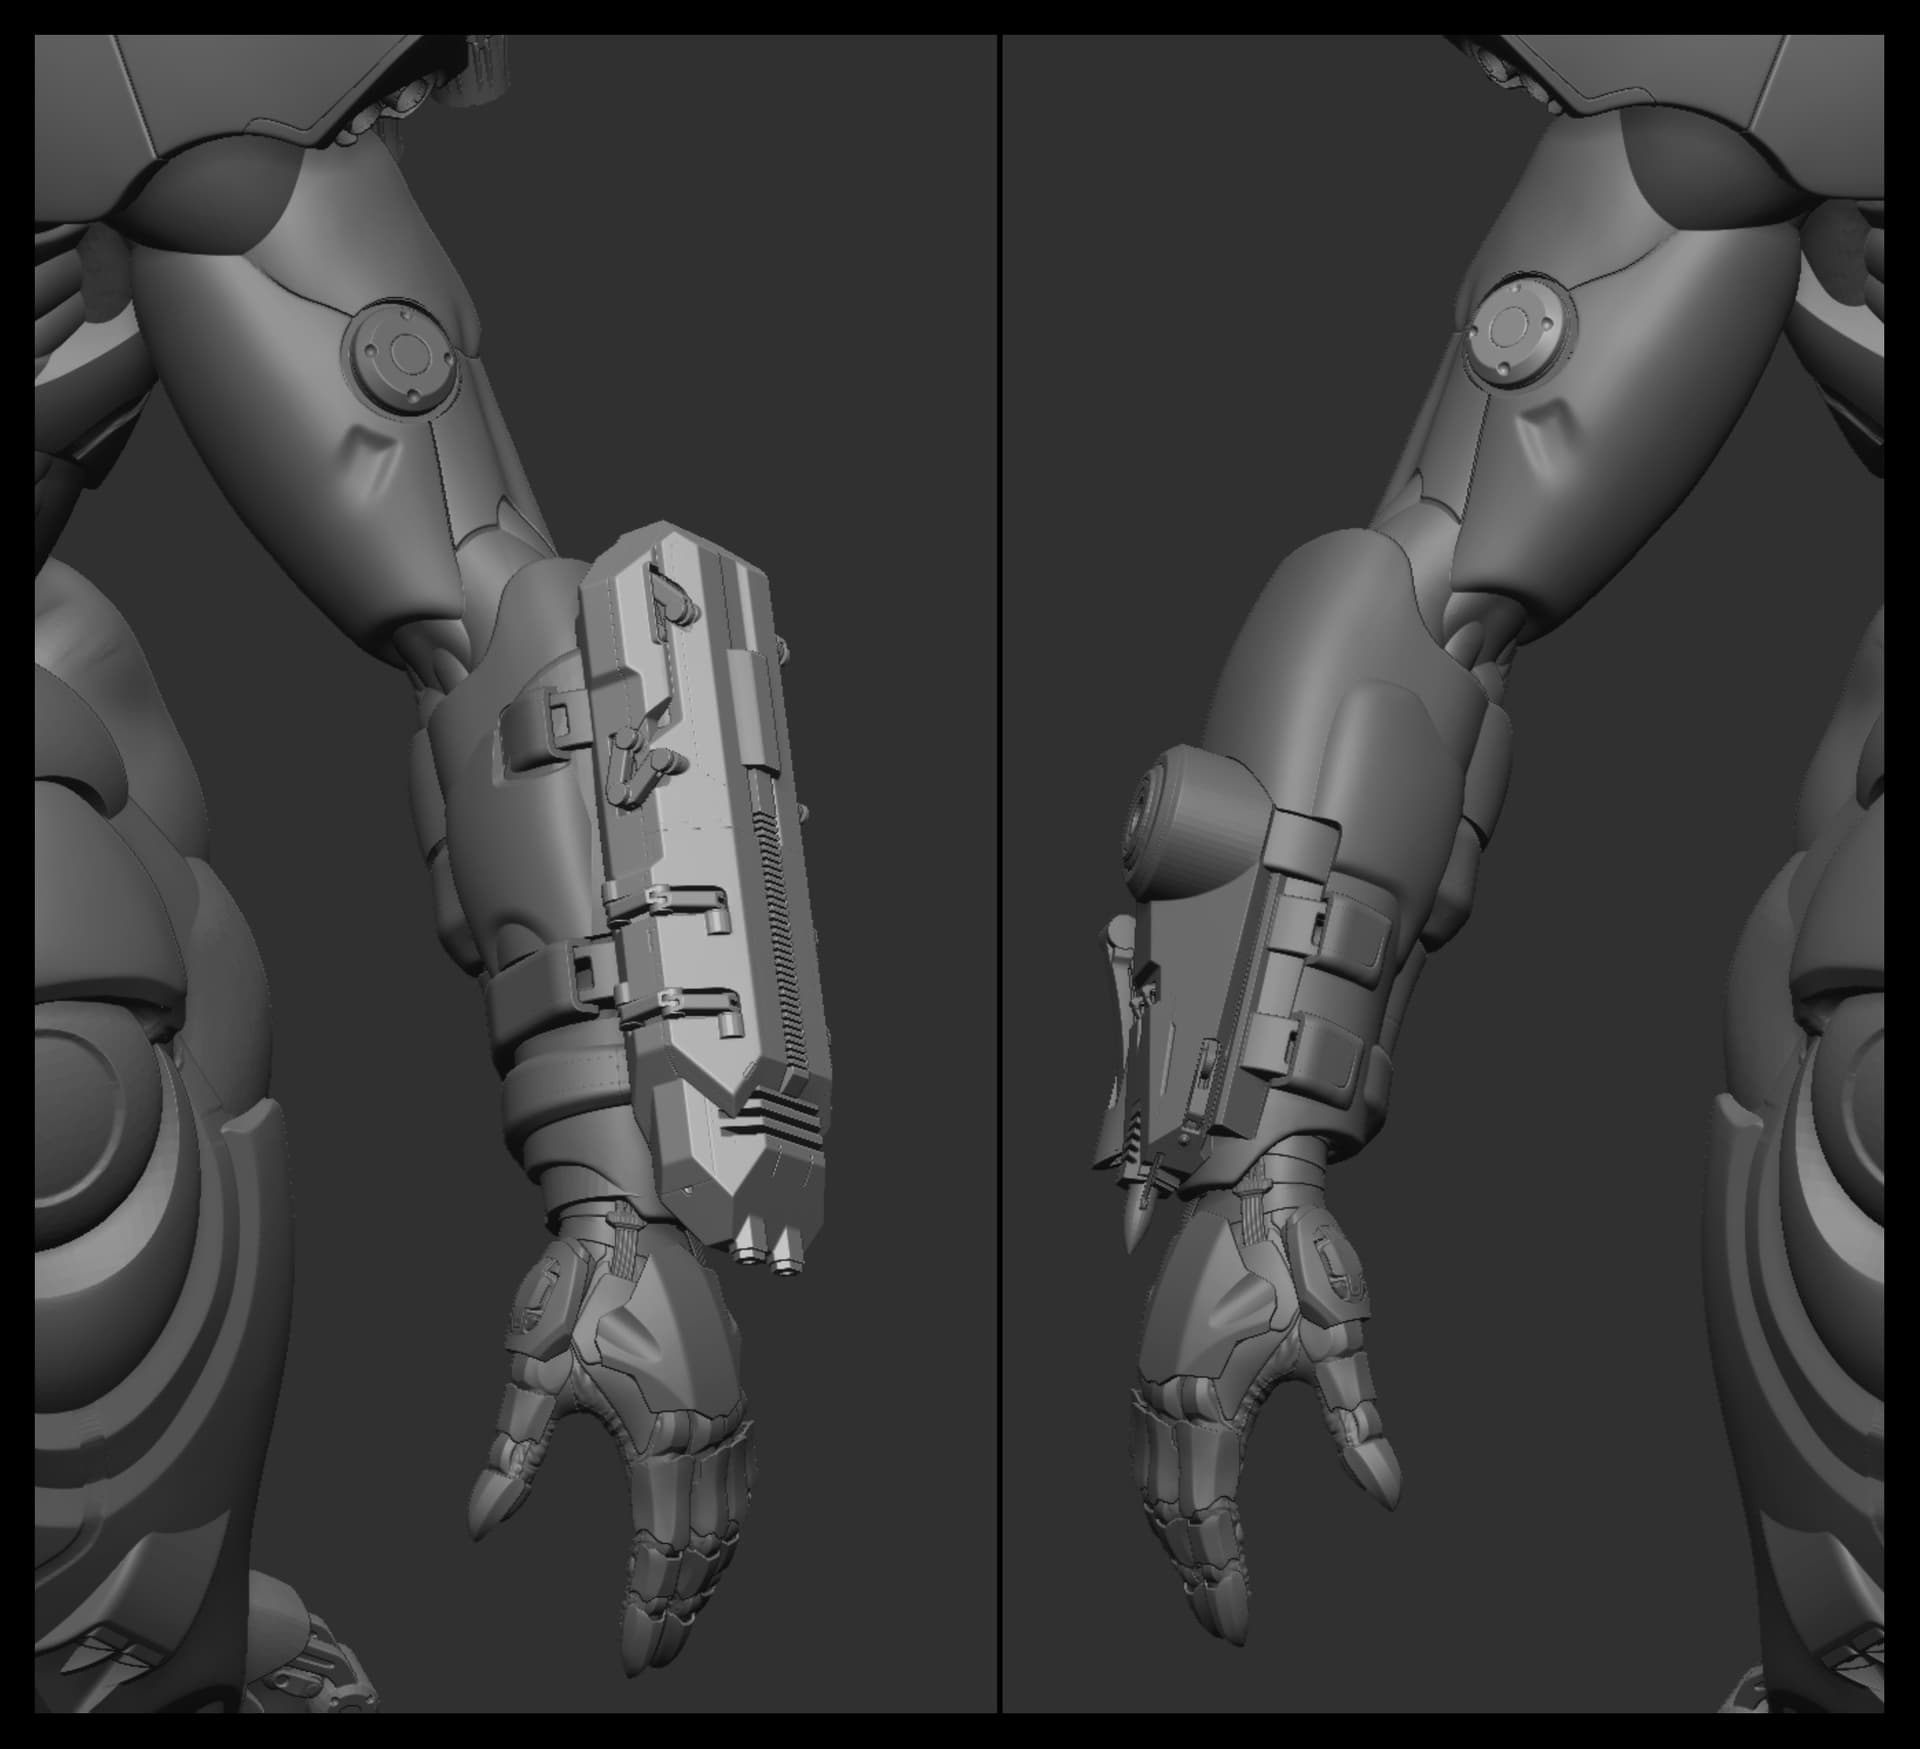
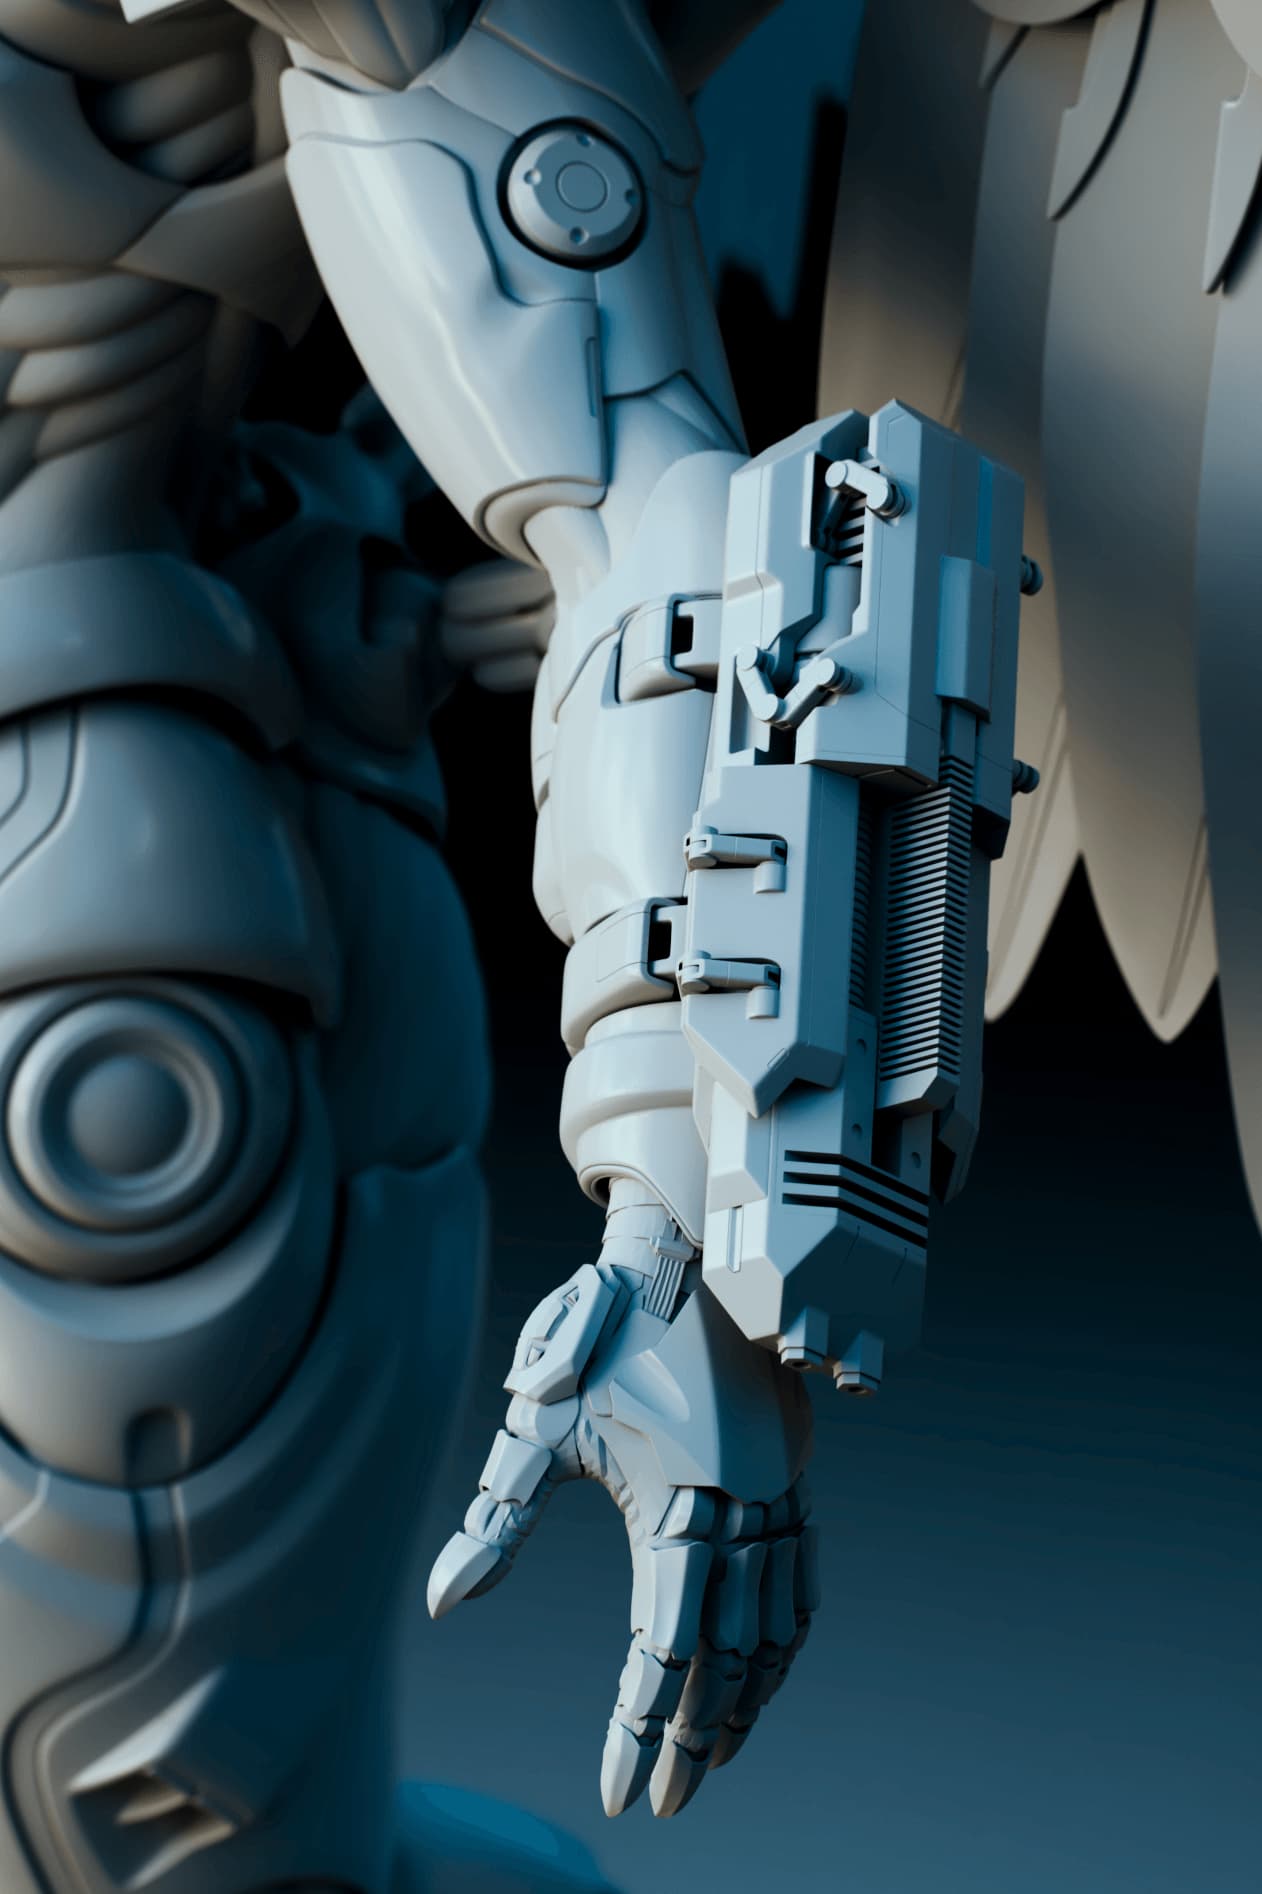
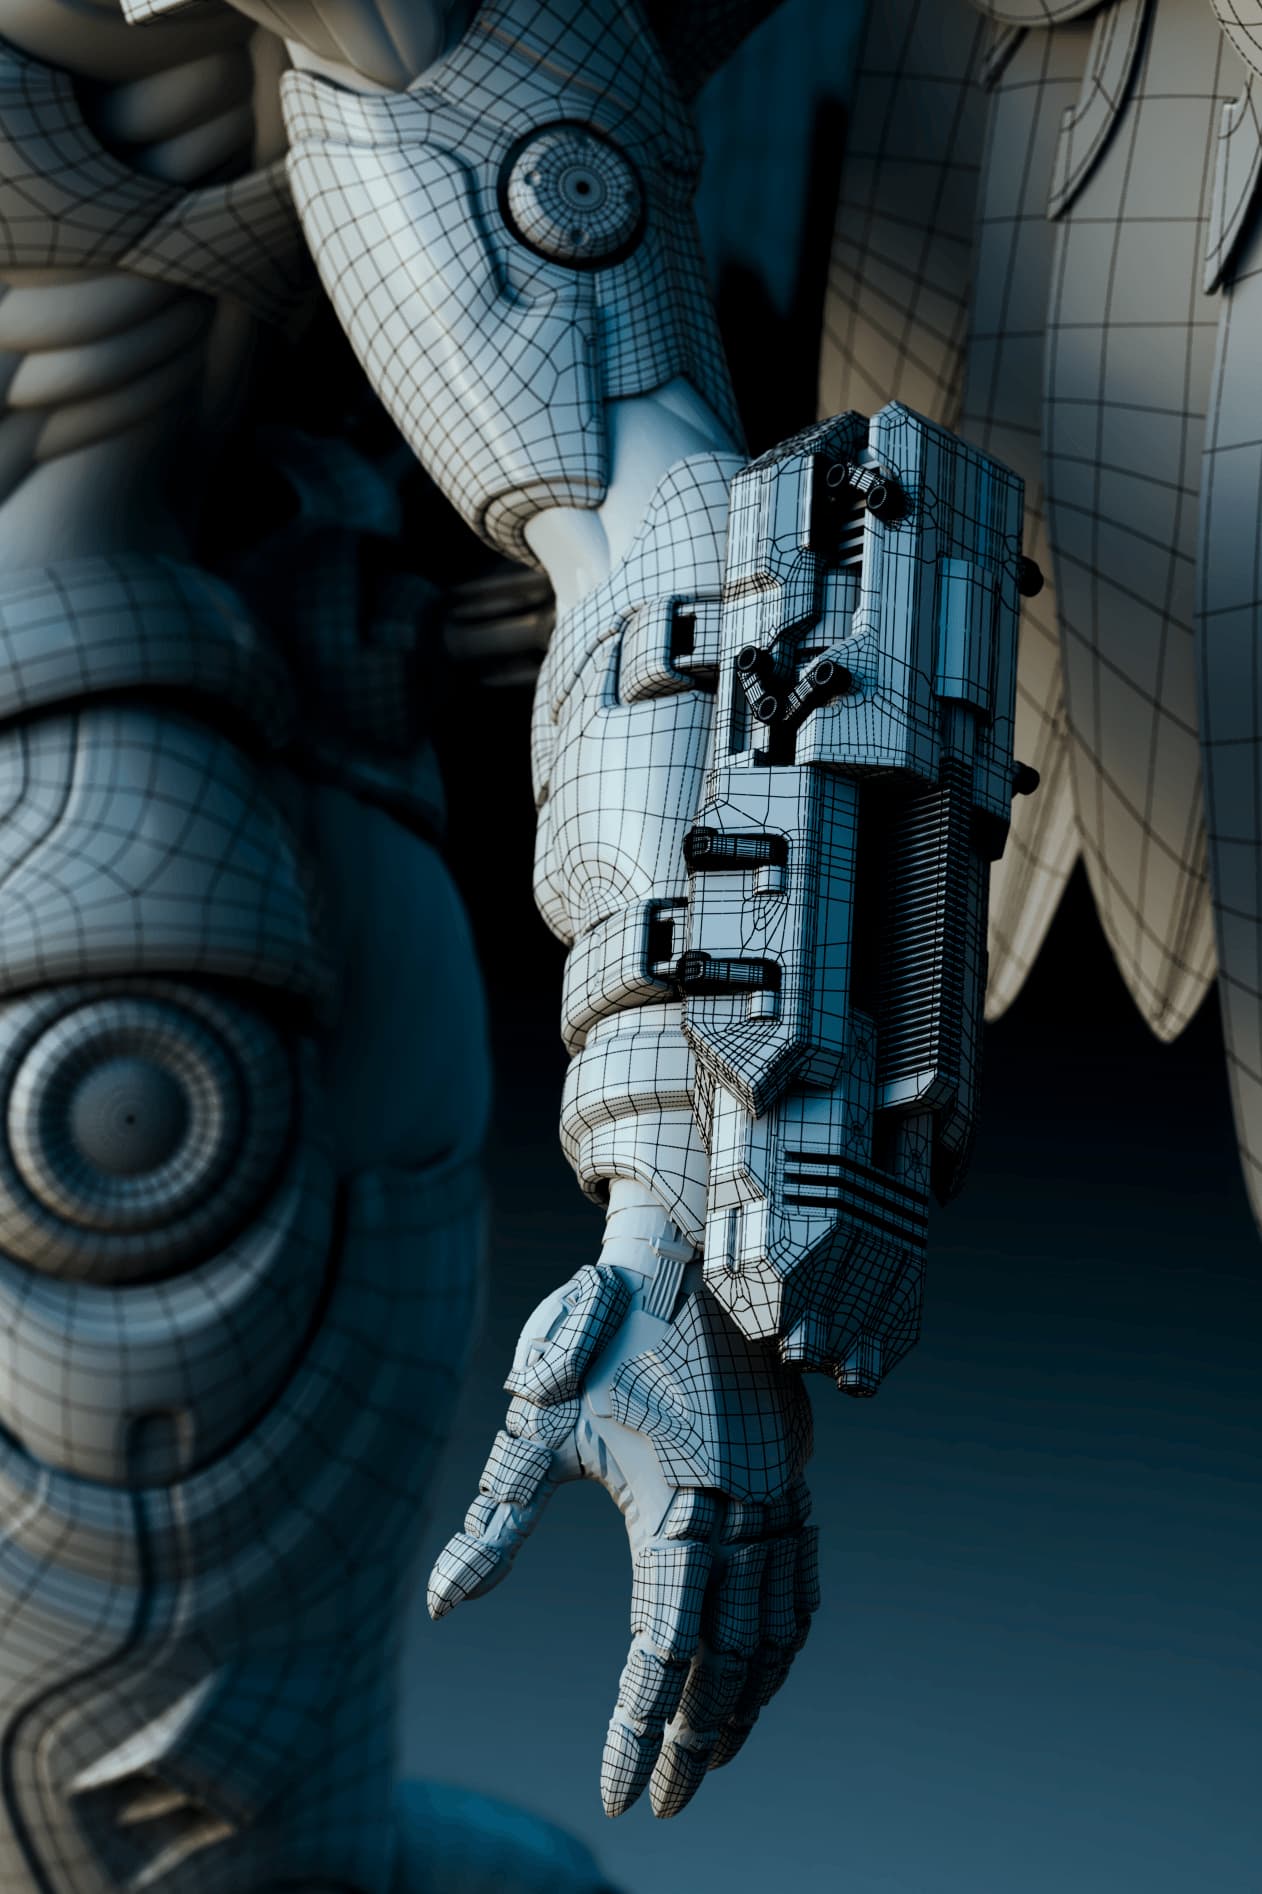
The next thing I did were her arm weapons. On her left arm is a double-barreled machine railgun, and on her right arm is a plasma blaster and a grapple.
Project: VERA - Arm Weapons Modeling, Rigging, & Animation Test
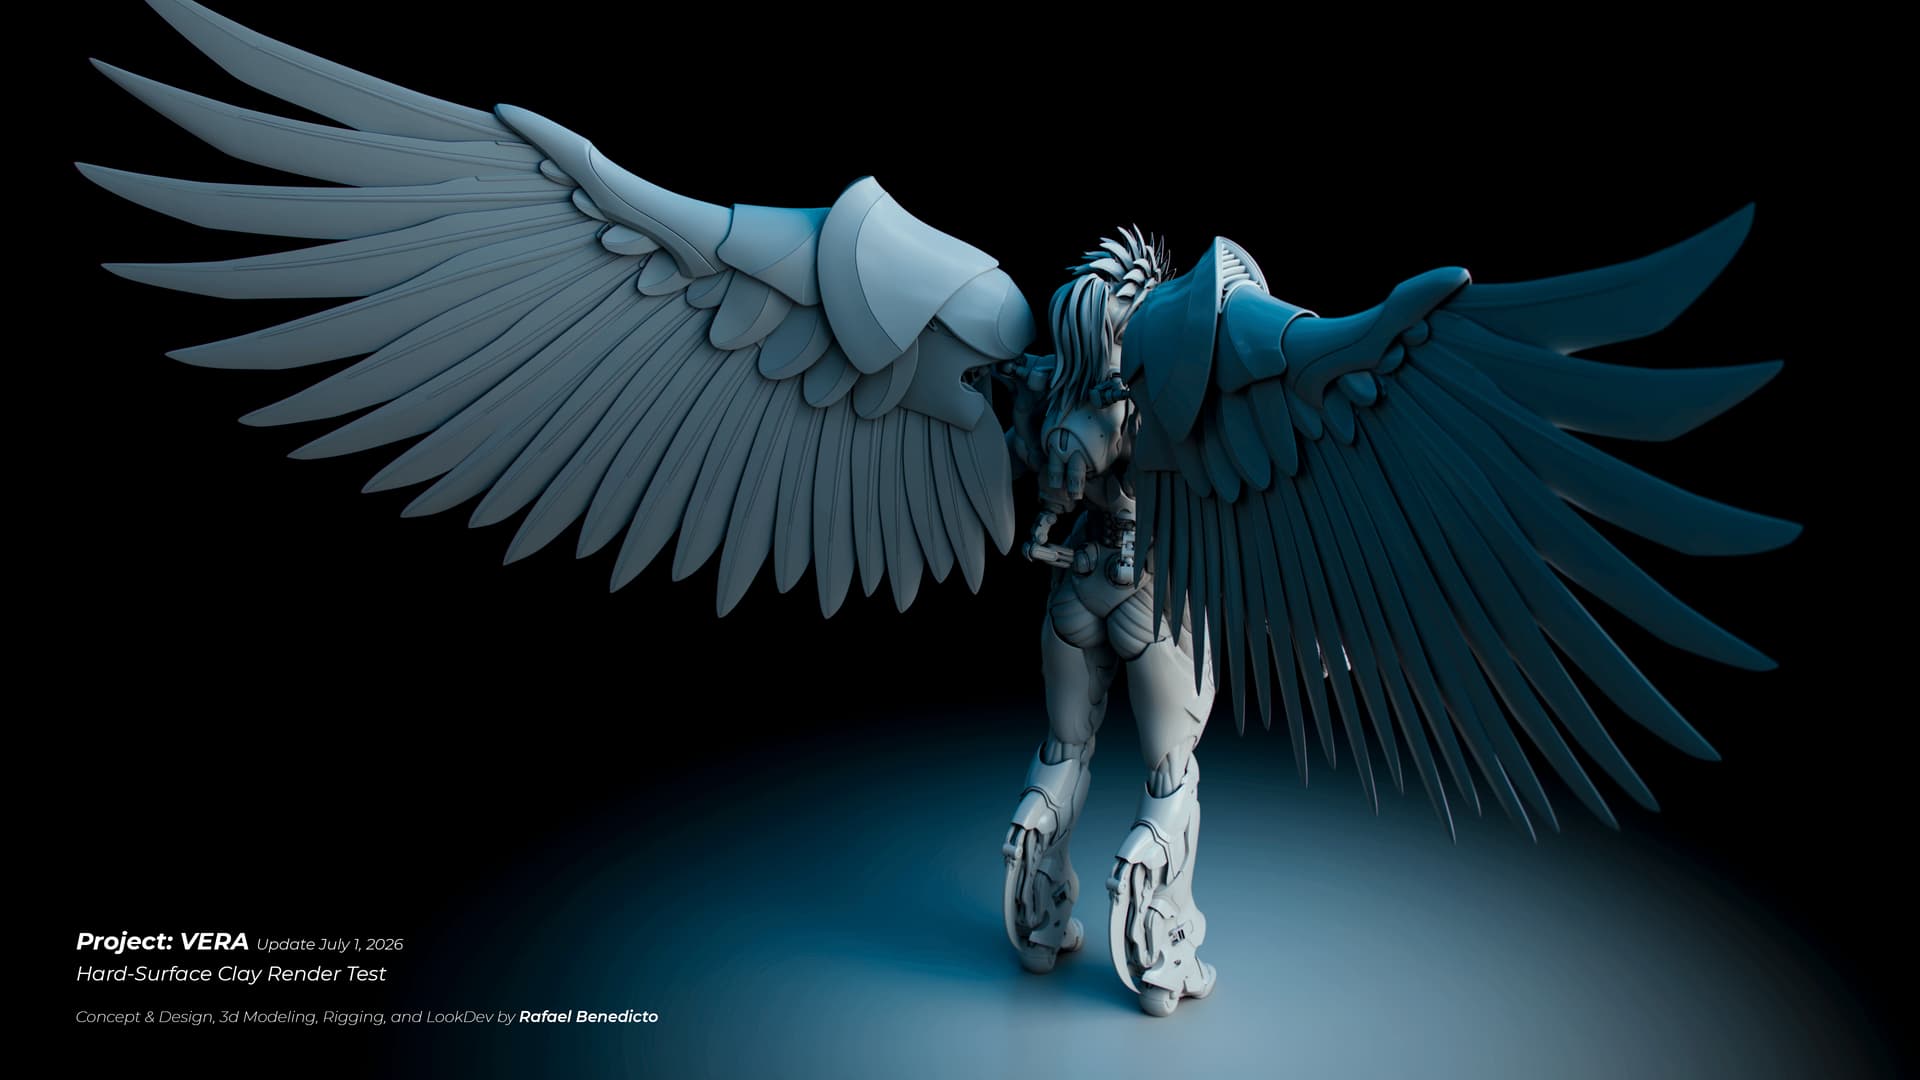
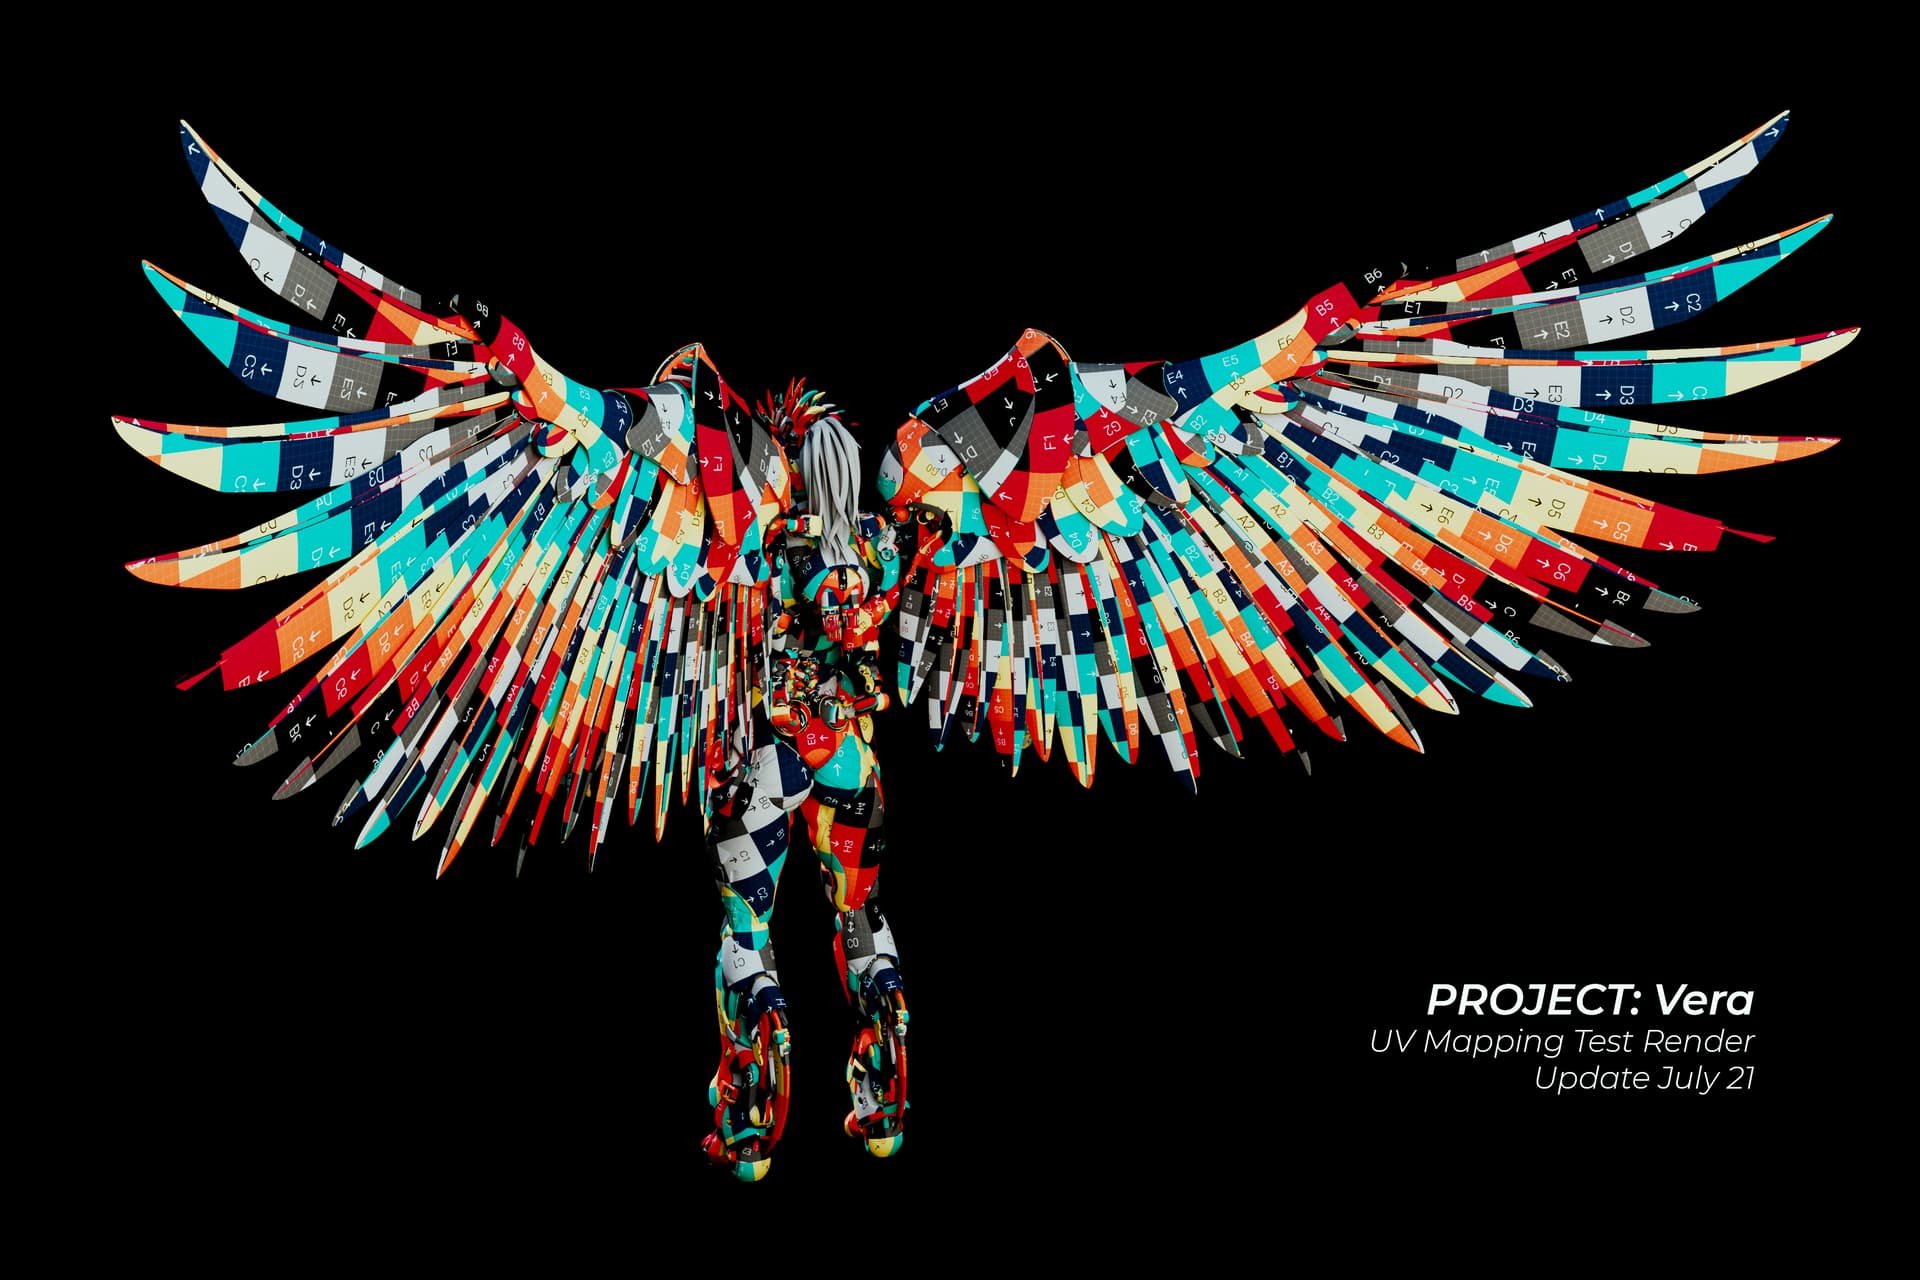
I then redesigned the entire wings again, and settled on a 4th and final design. Both the backend engineering (the rigging) and the frontend aesthetics are now much cleaner and more elegant.
Project: VERA - Wings Final Modeling, Rigging, & Animation Test
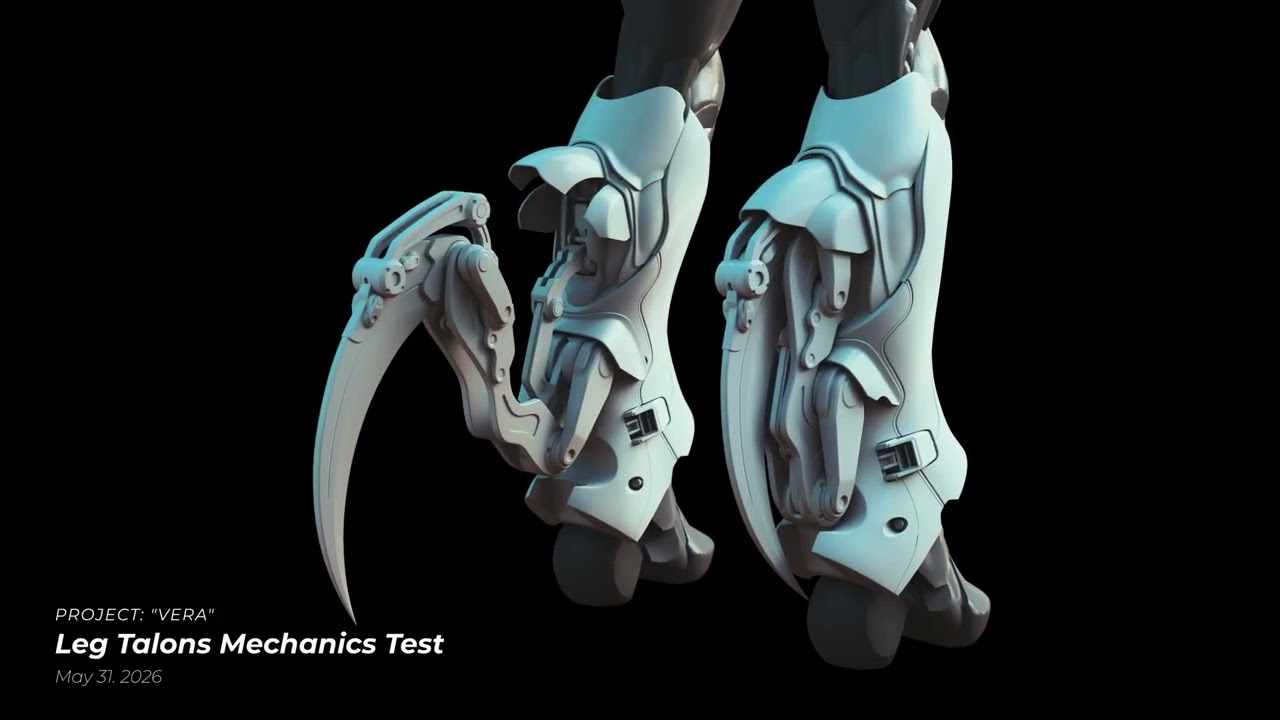
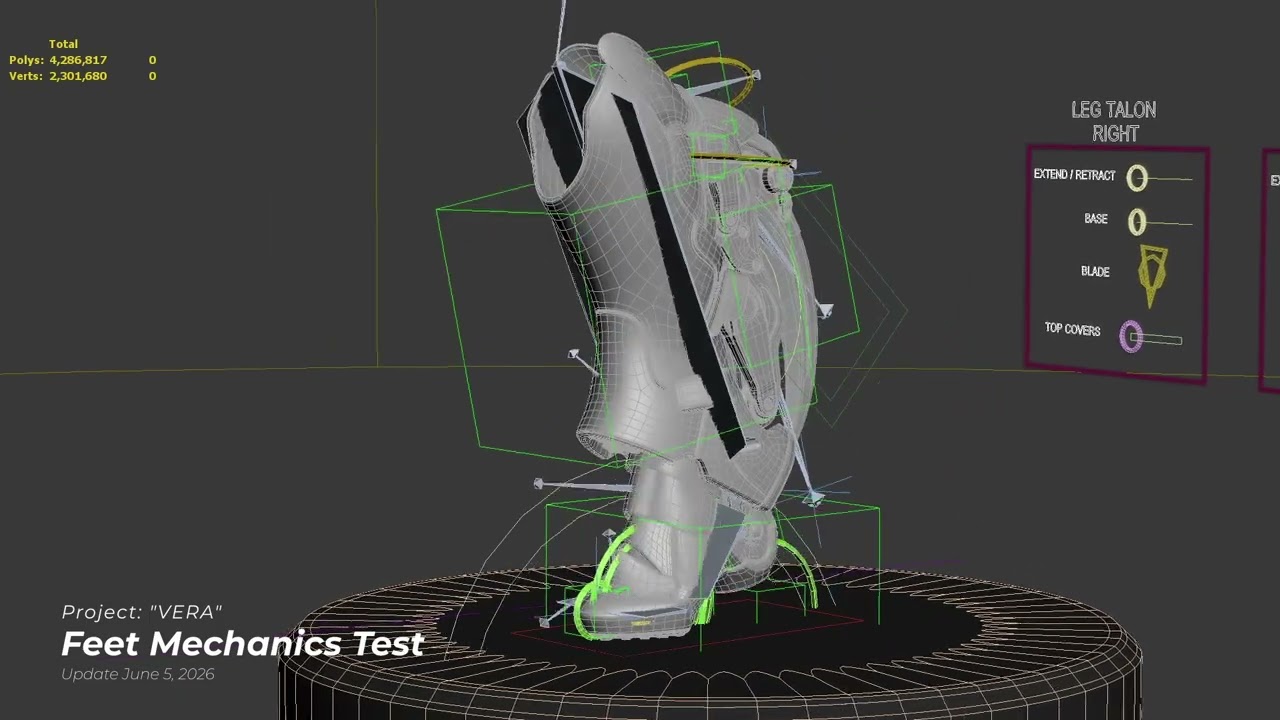
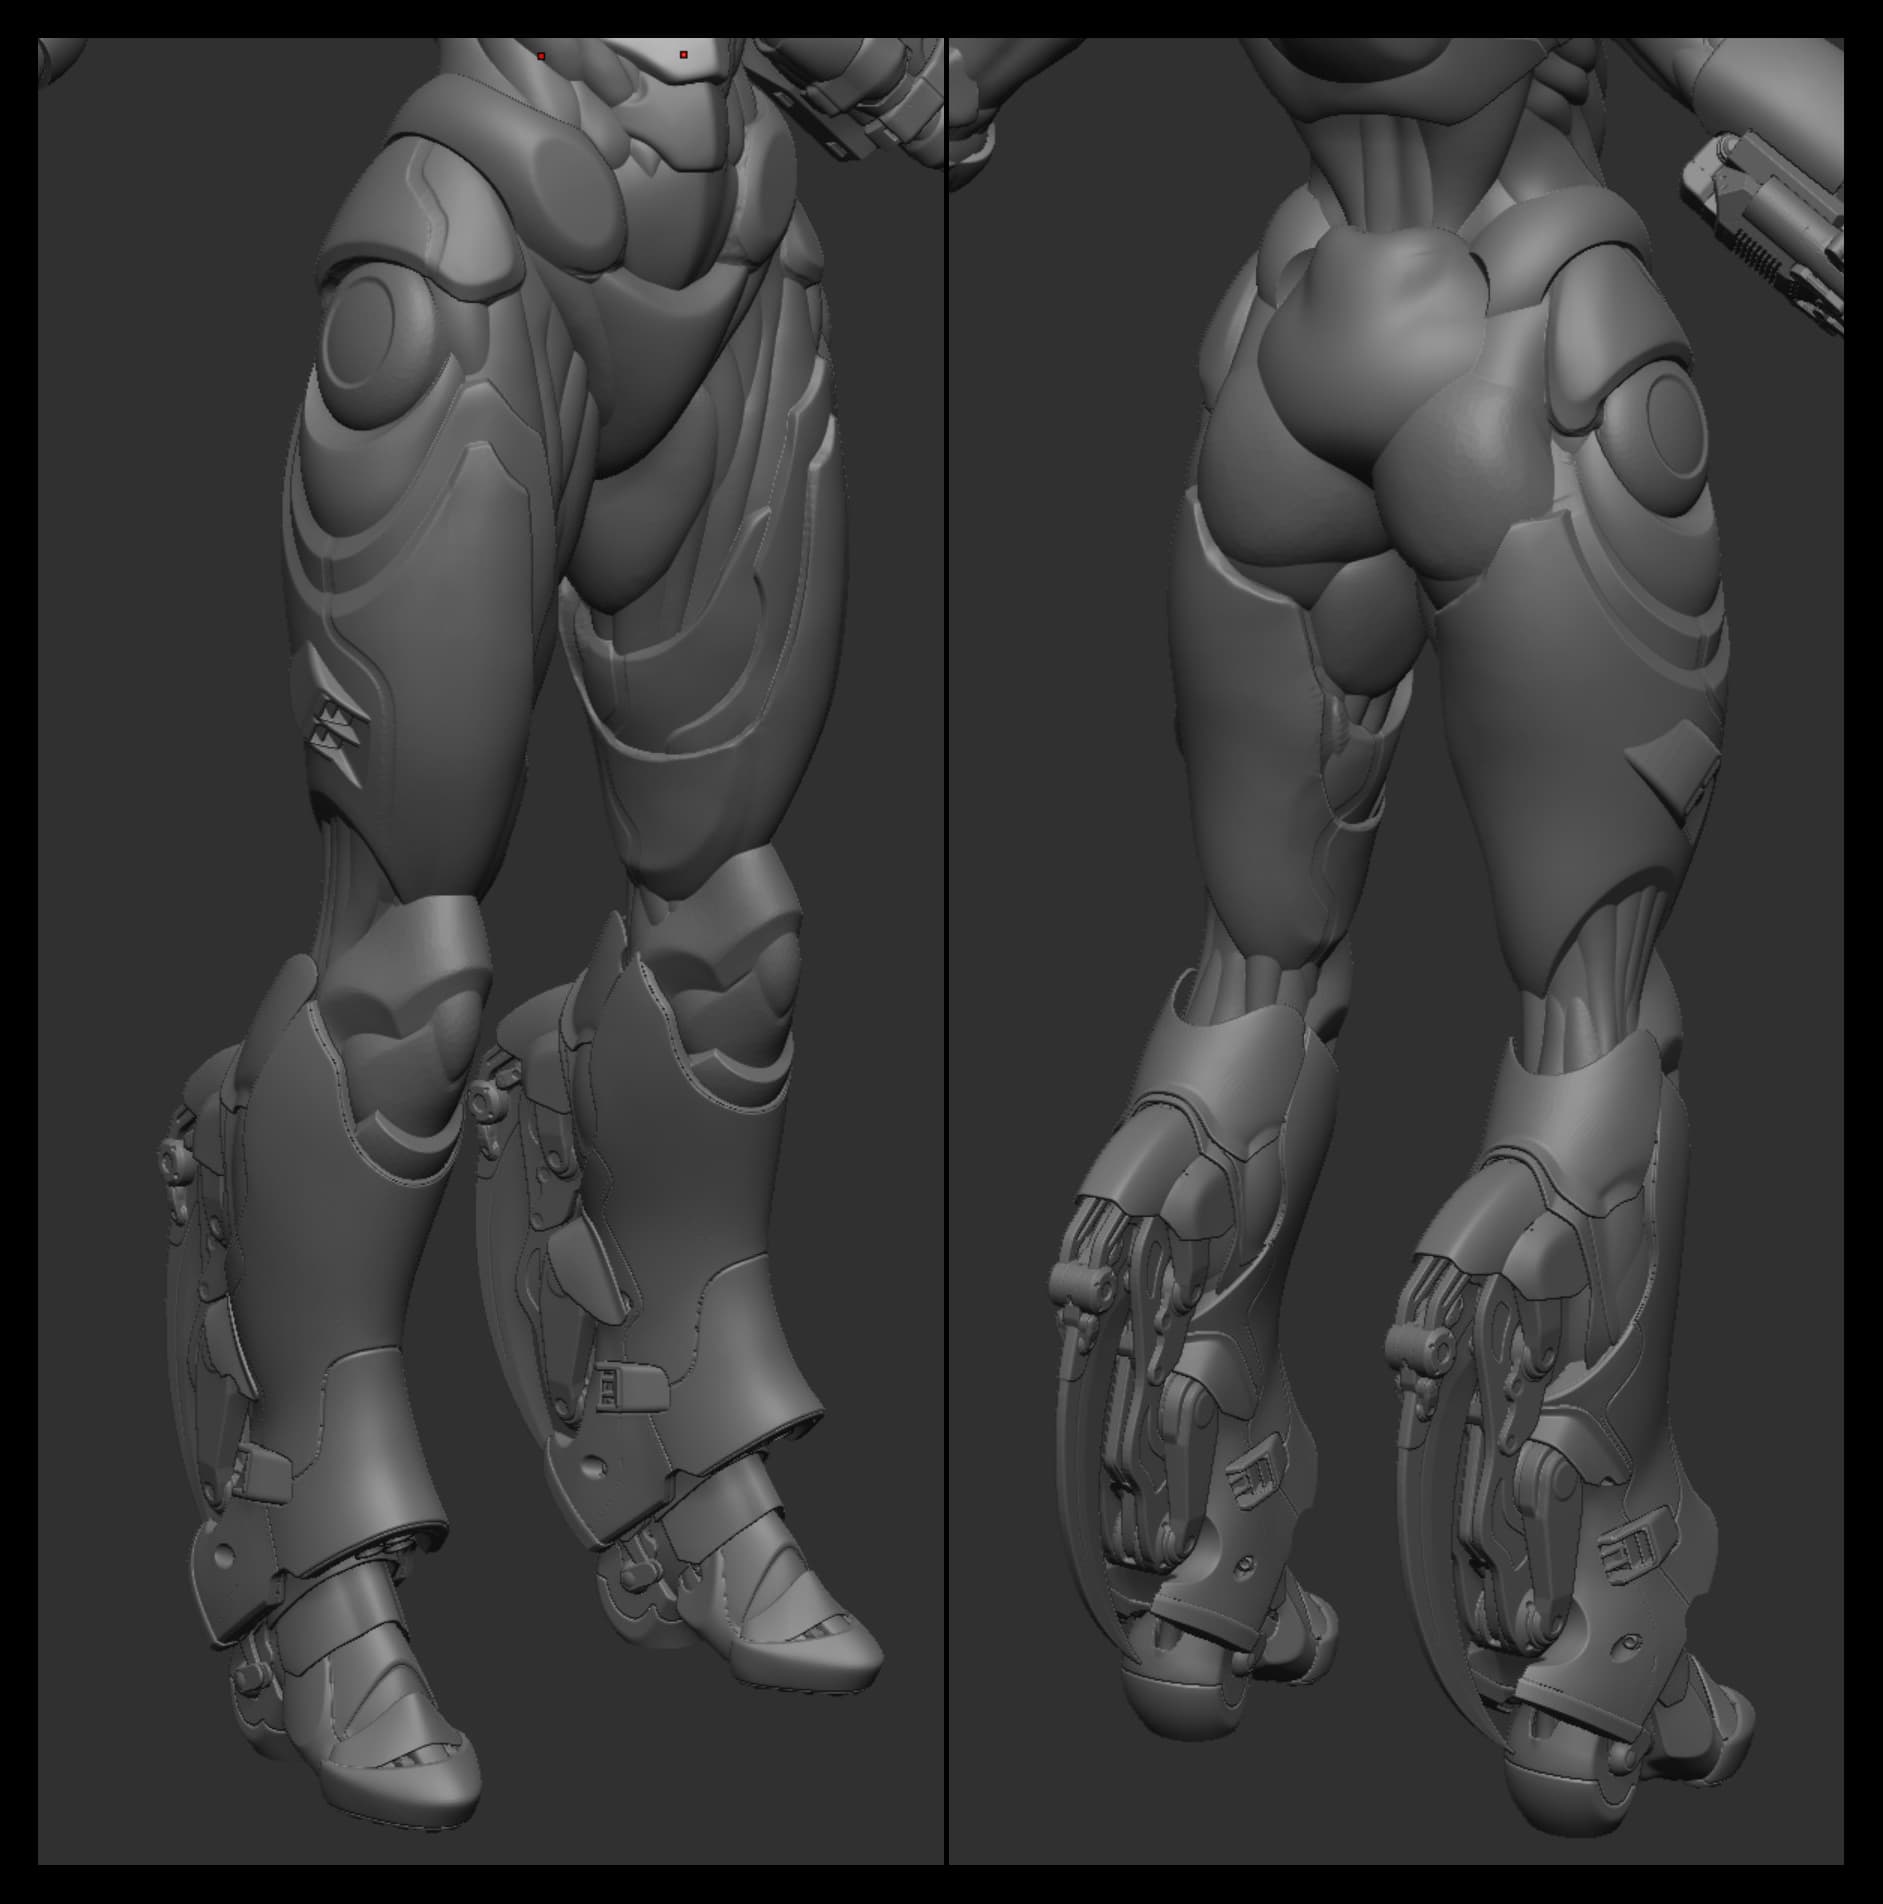
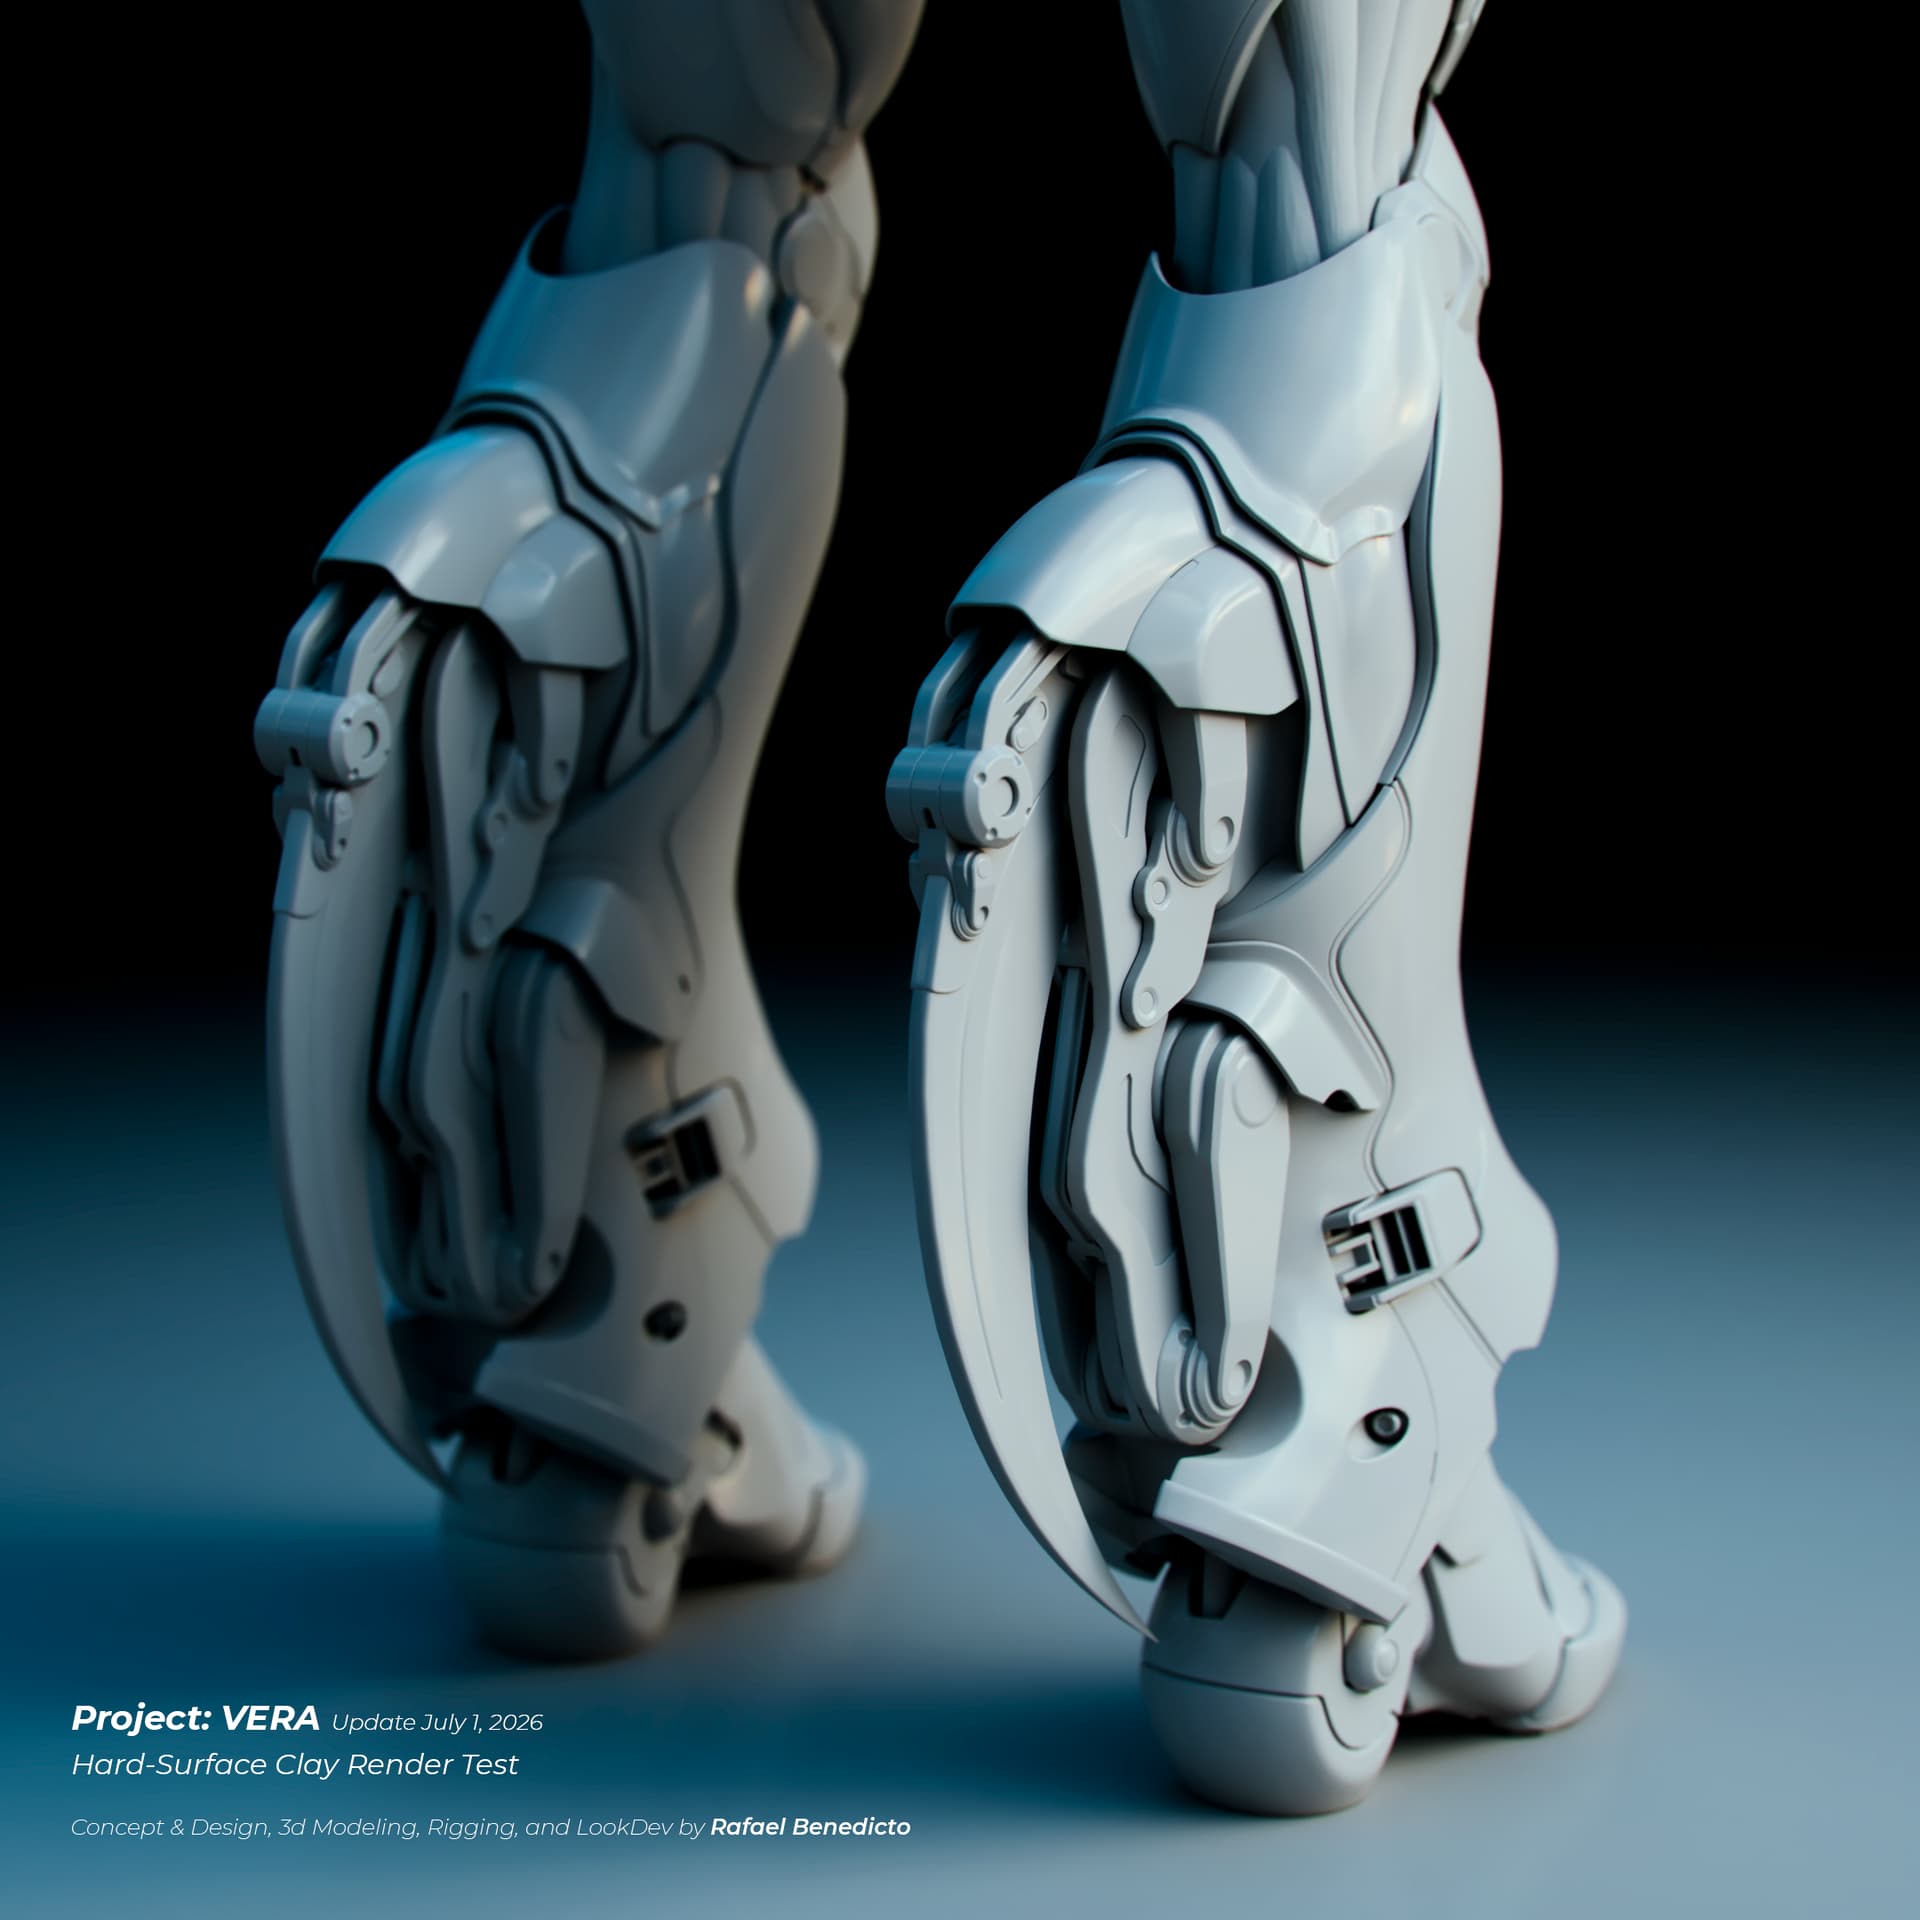
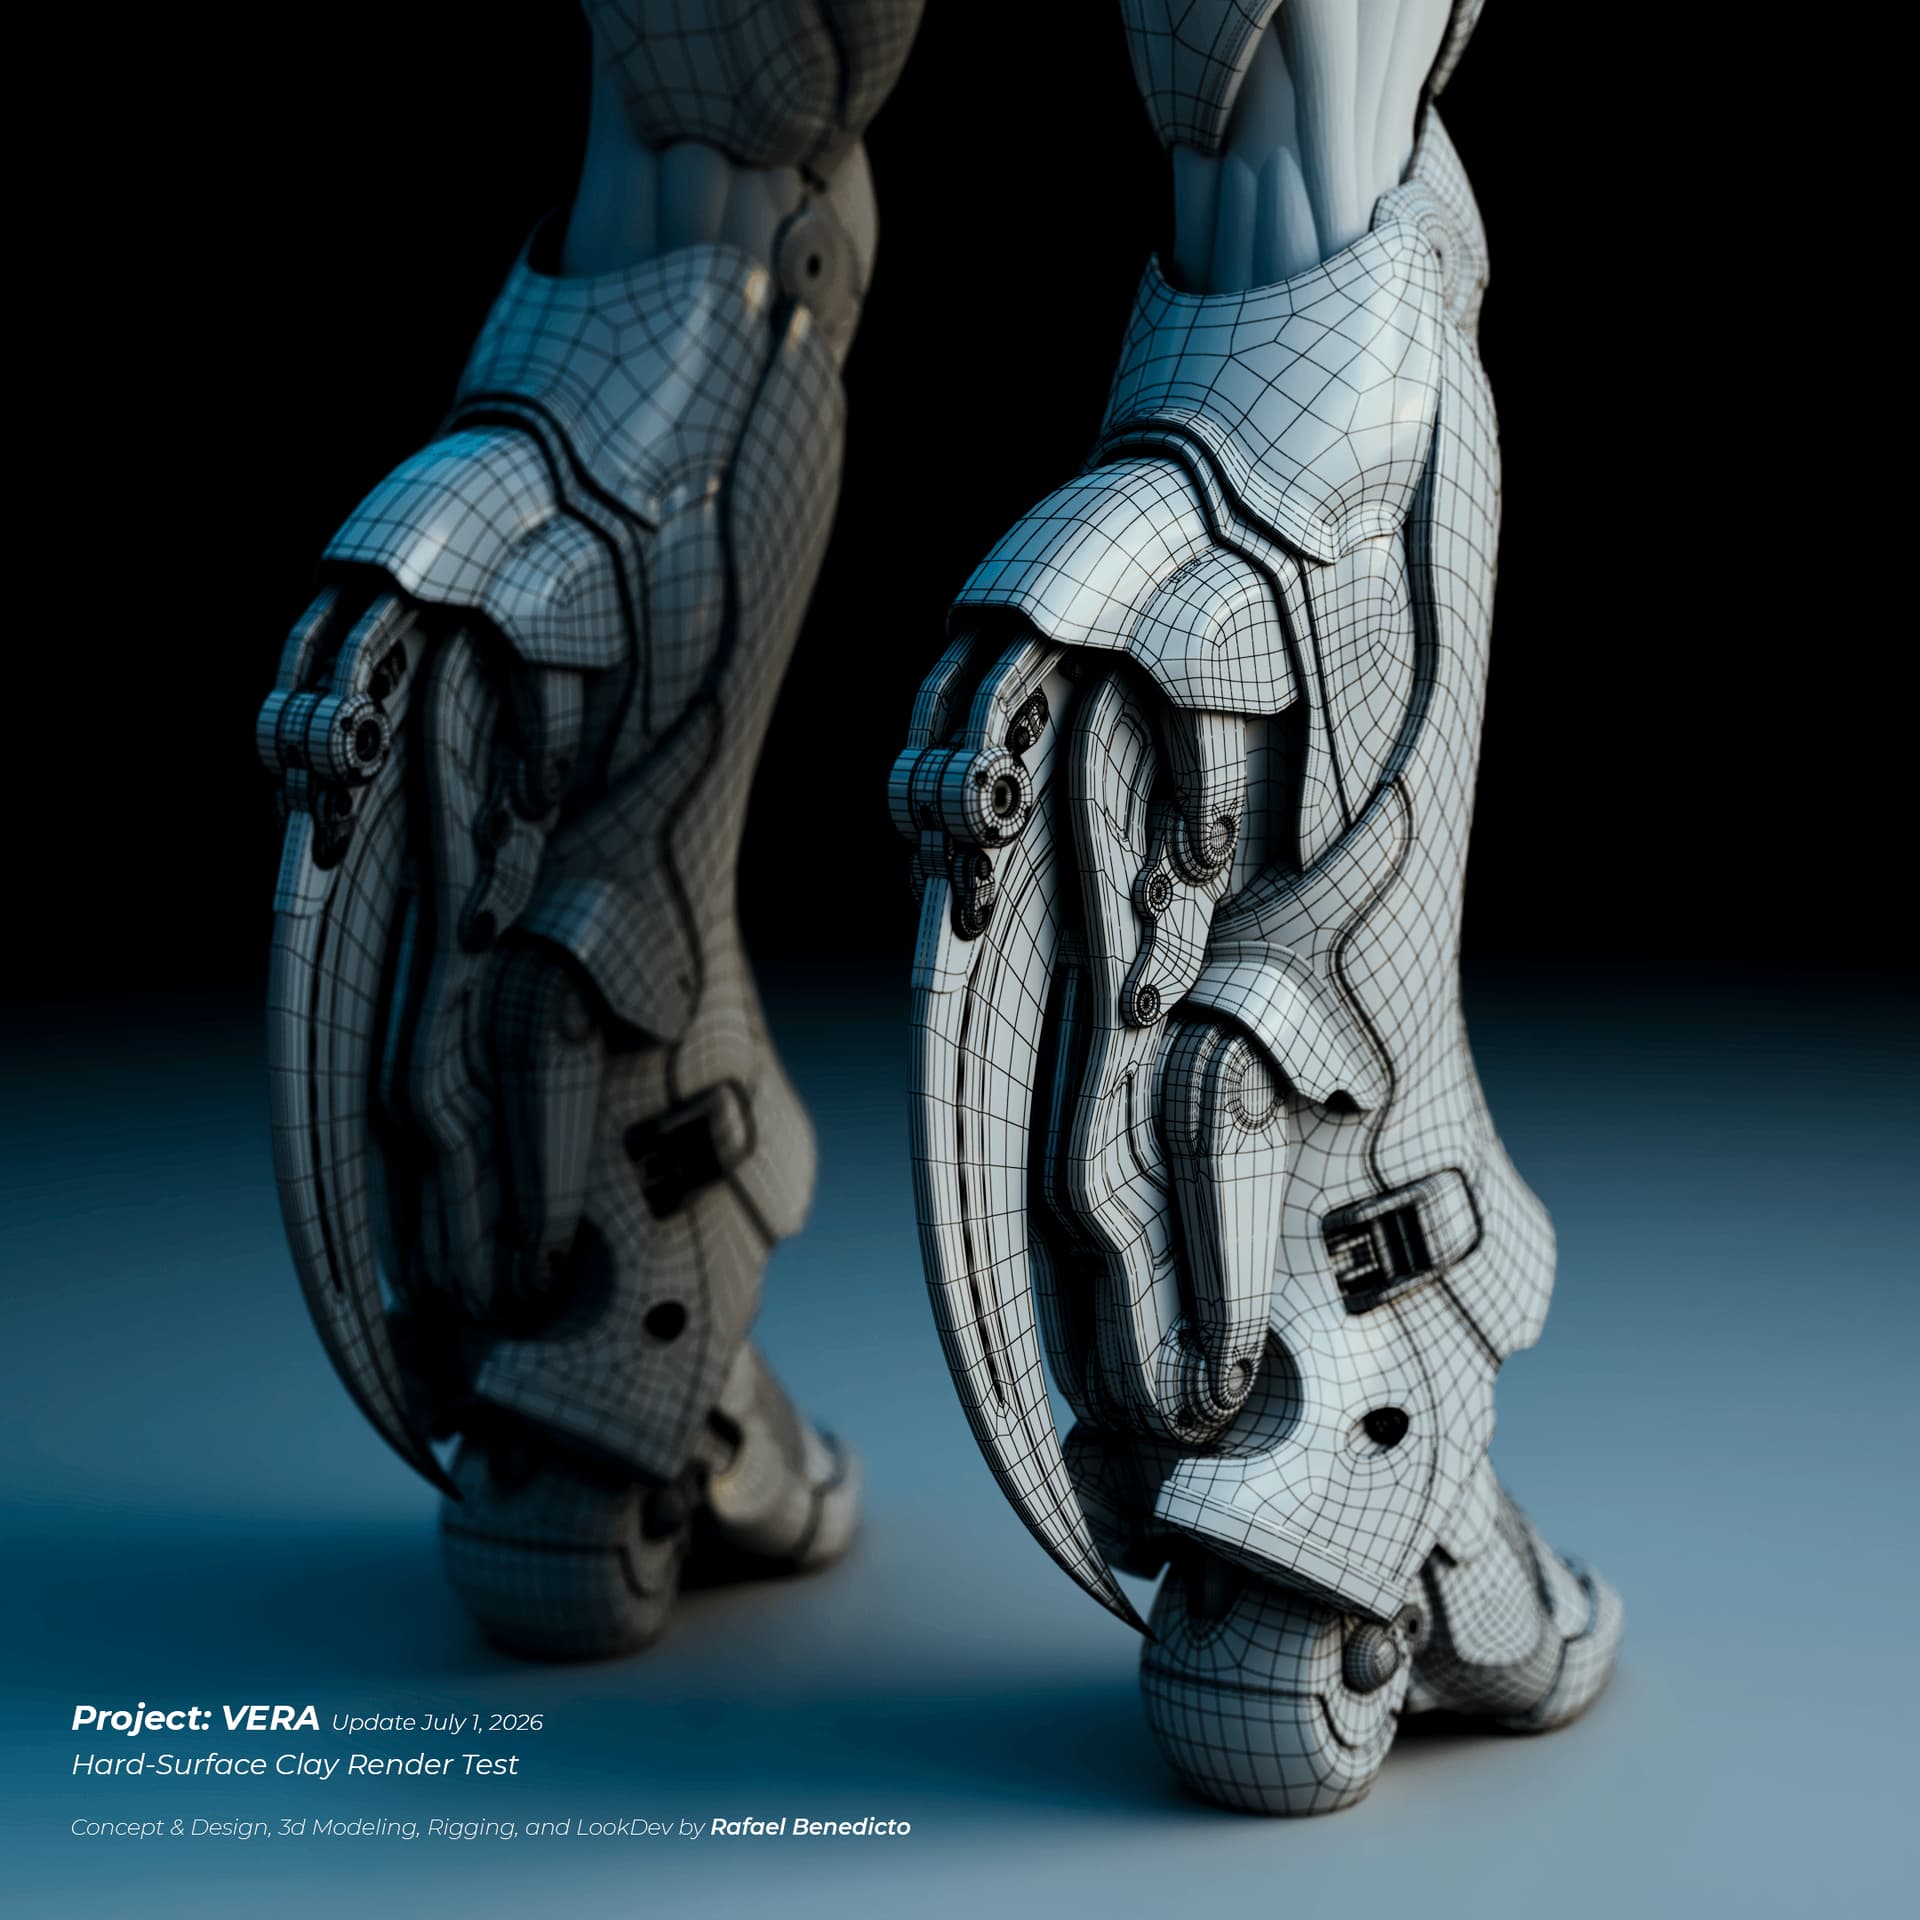
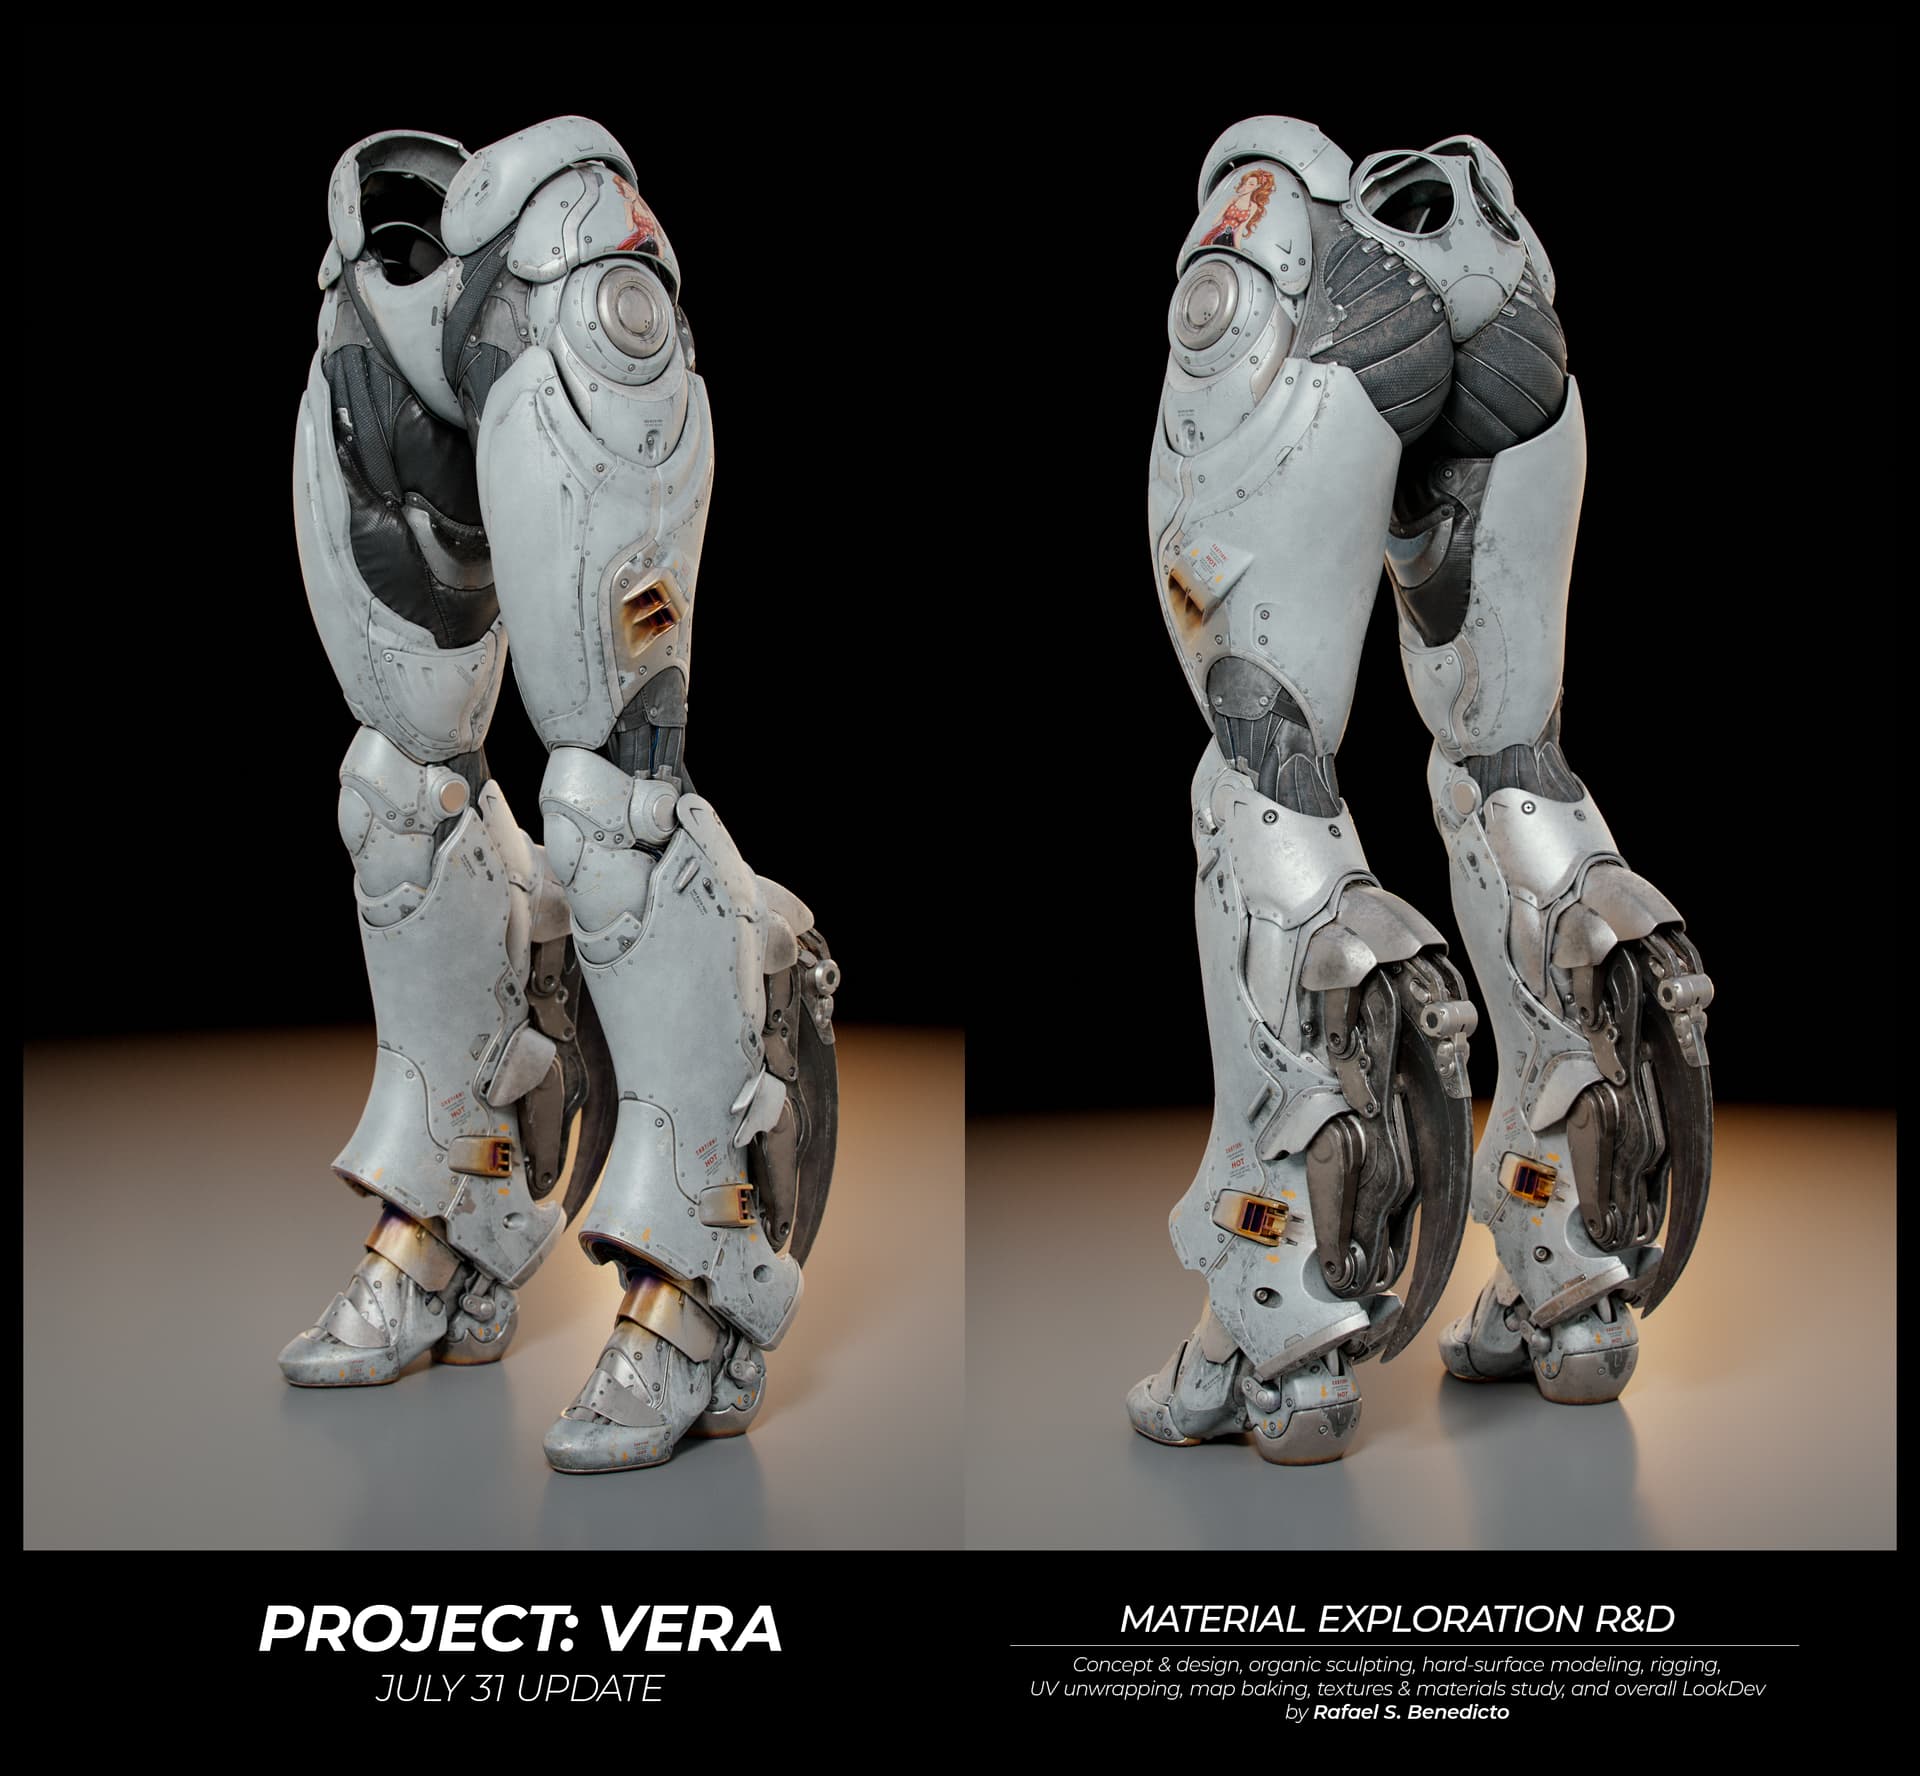
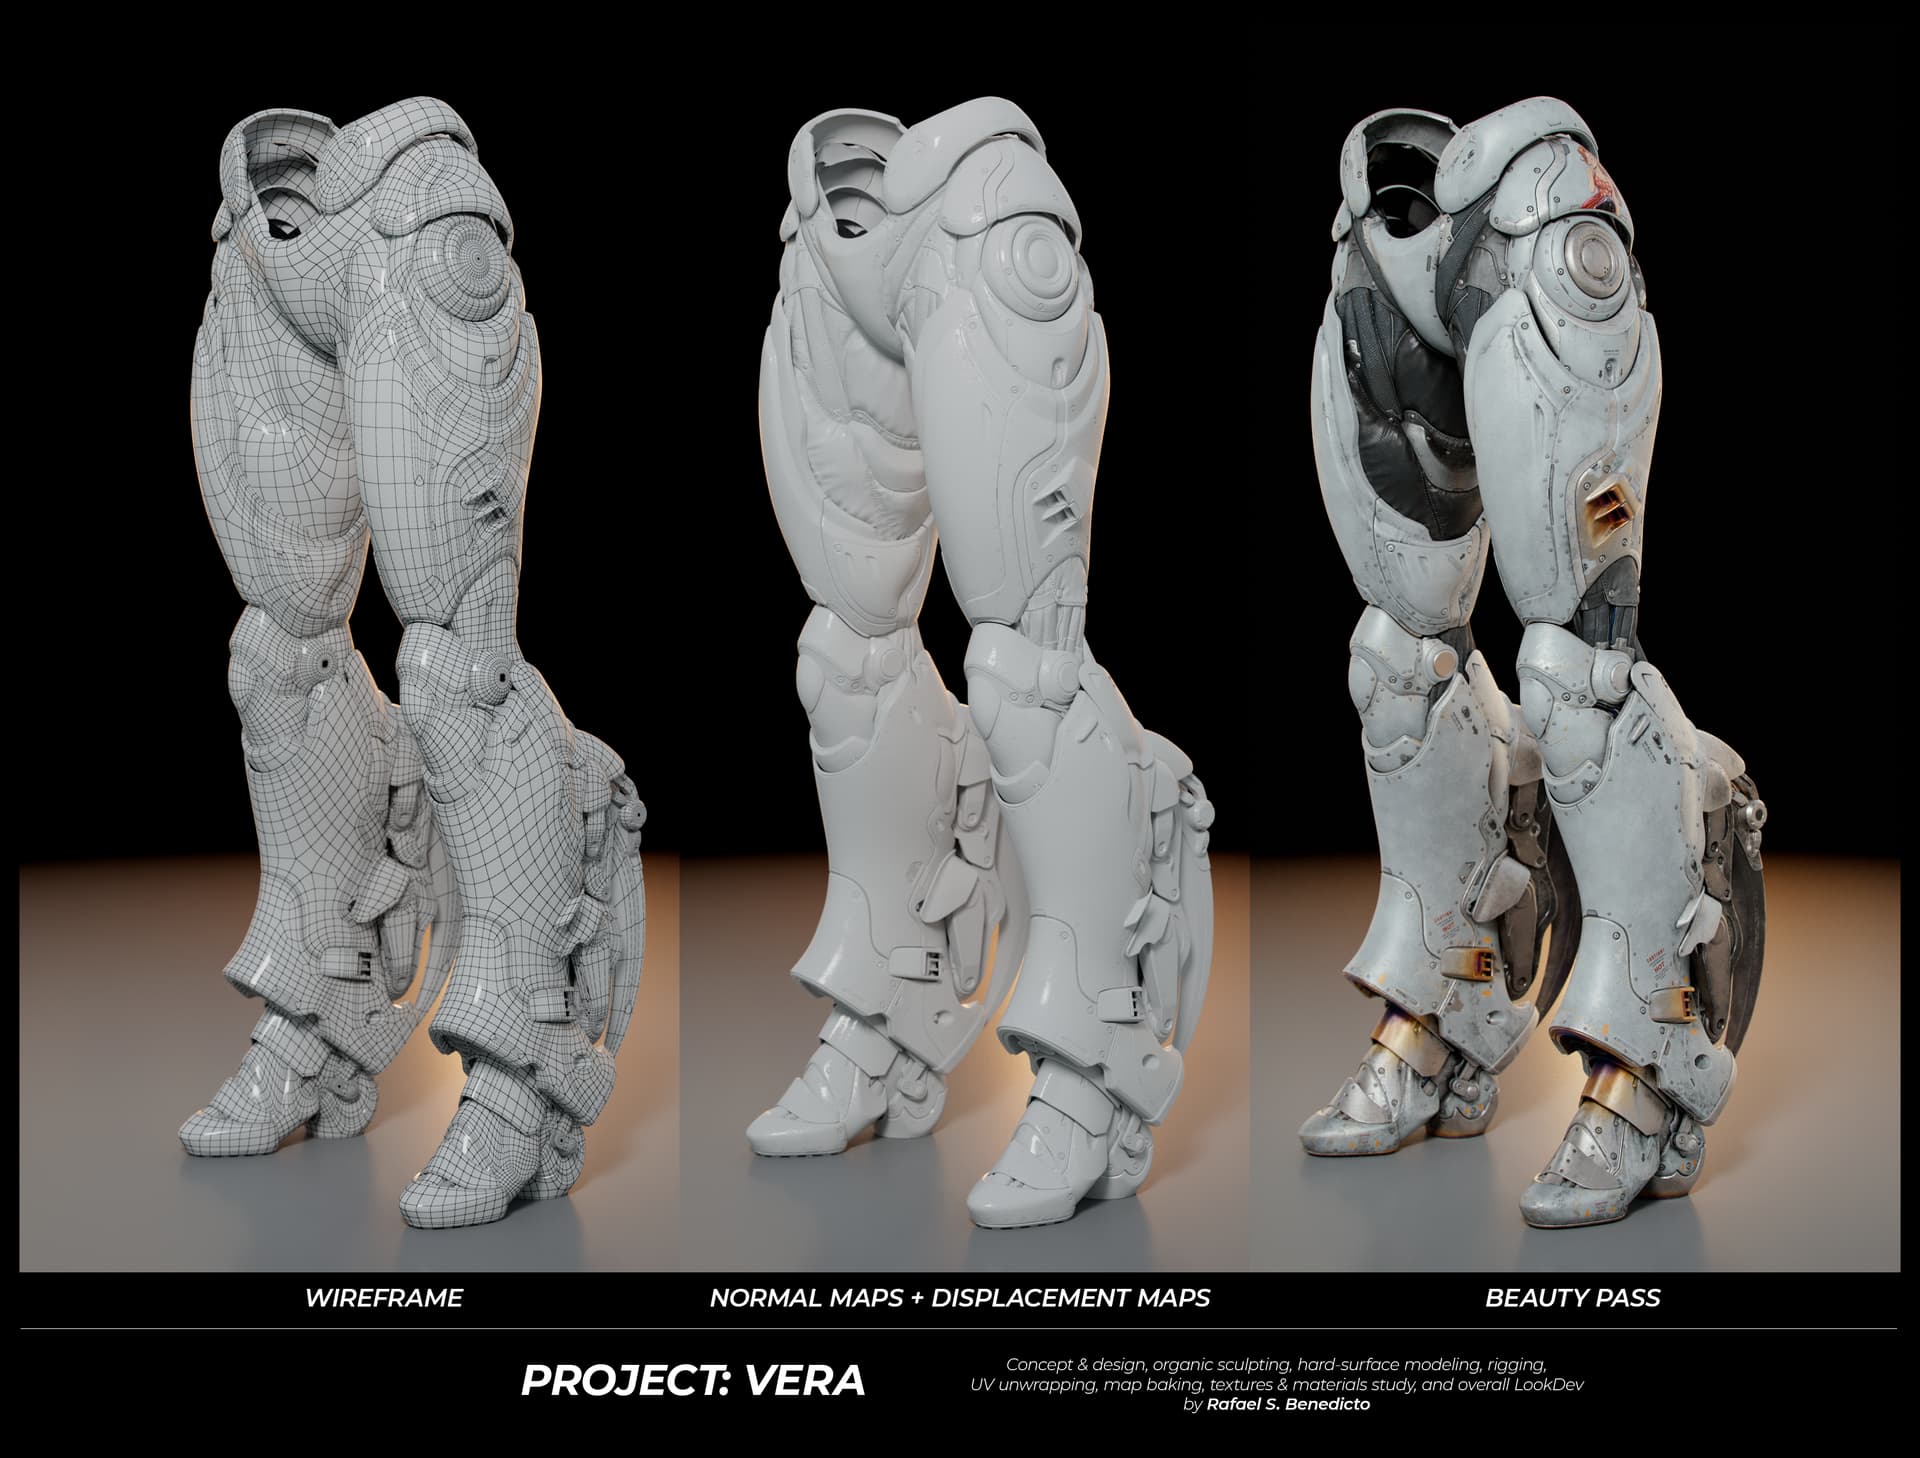
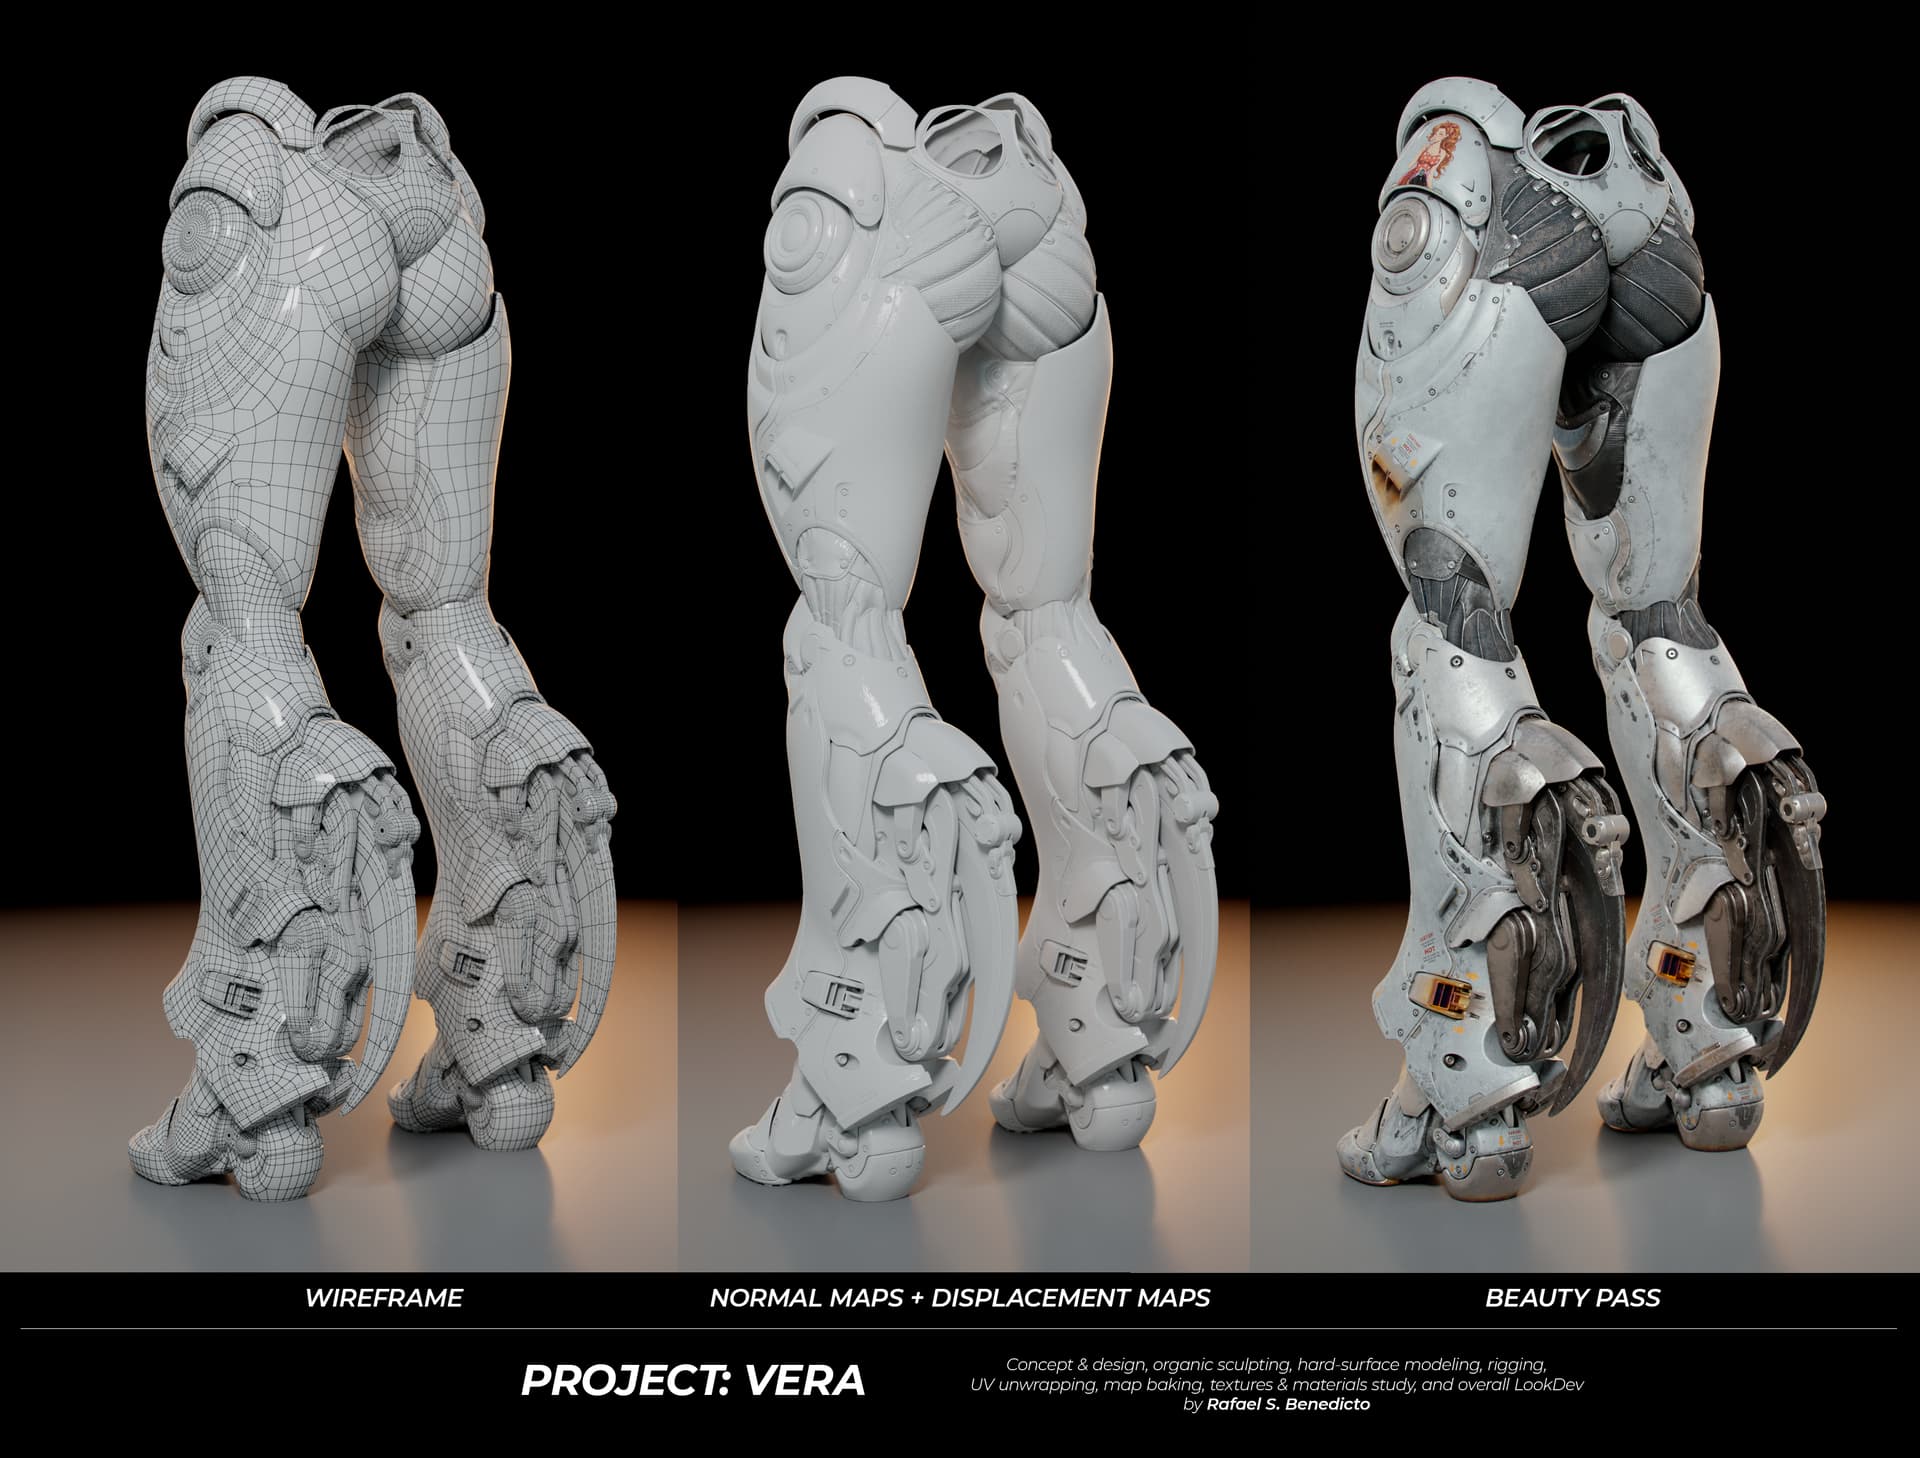
Next was her leg talons. I’ve previously blocked out and rigged their basic shapes a month earlier. Then it was all the matter of refining and replacing the simple shapes with the actual mechanical parts that allow the talons to extend and retract effortlessly.
Project: VERA - Leg Talons Modeling, Rigging, & Animation Test
After the talons, I finished off her feet and did another animation test.
Project: VERA - Feet Mechanics Modeling, Rigging, & Animation Test
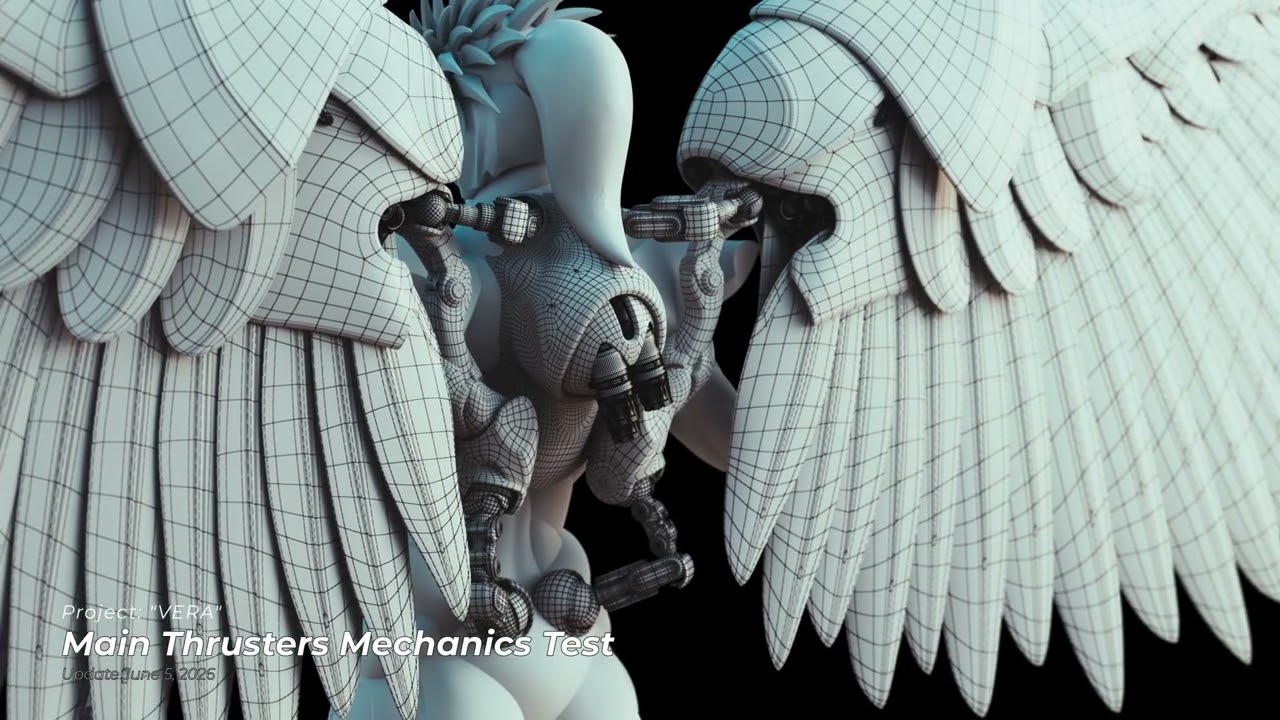
The latest part I’ve finished modeling is the triple-vented thruster system on her back. They’re on a ball-mount, so they can pivot around in the X and Y axes.
Project: VERA - Main Thrusters Modeling, Rigging, & Animation Testing
I’m pleased with the progress so far. The next part I’m gonna do is refining her helmet. I already rigged the metal “feathers” on top. Now it’s just a matter of replacing those blockout shapes with the final meshes.