Can you transfer Blender’s weight painting for clothes?
Let’s say I make a t-shirt in Blender and the automatic weight paint in Blender works better than the automatic weight paint in CC4. Is there a way to transfer Blender’s weight paint?
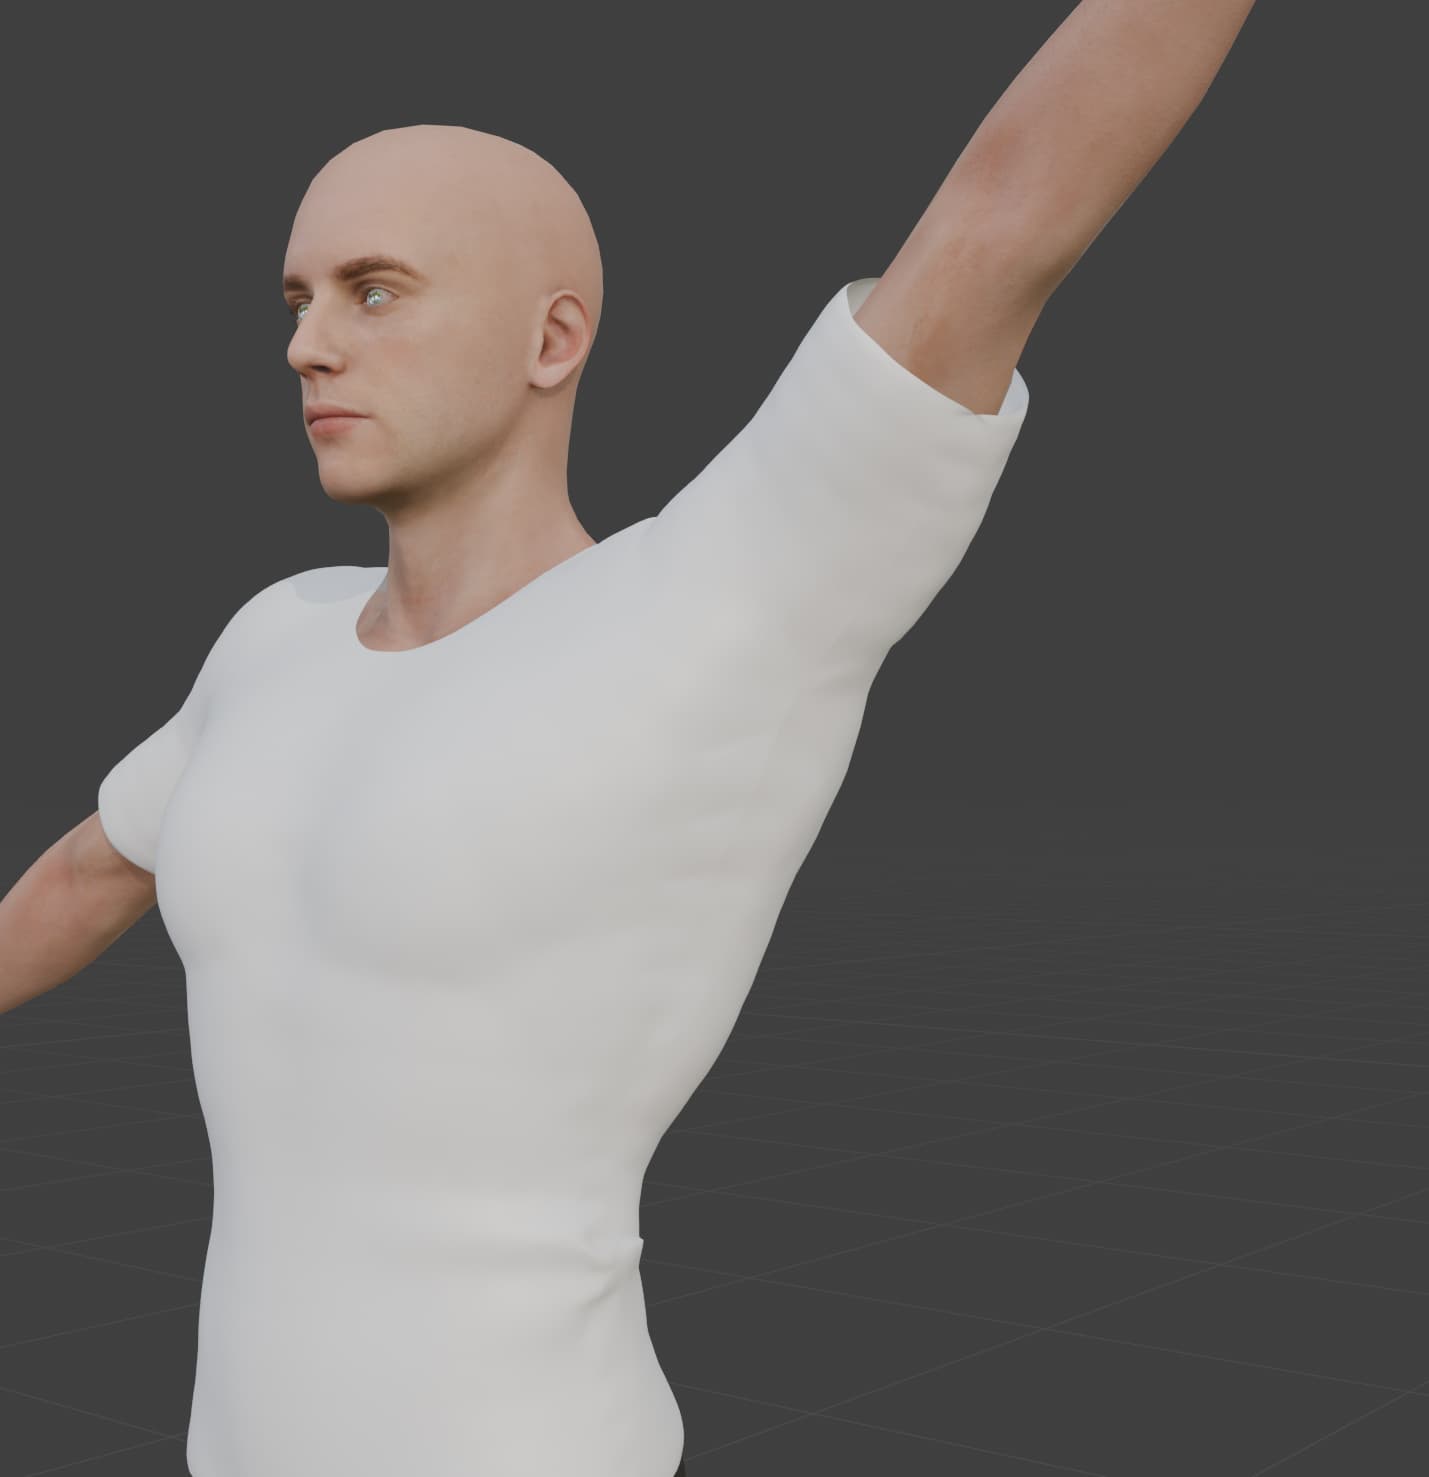
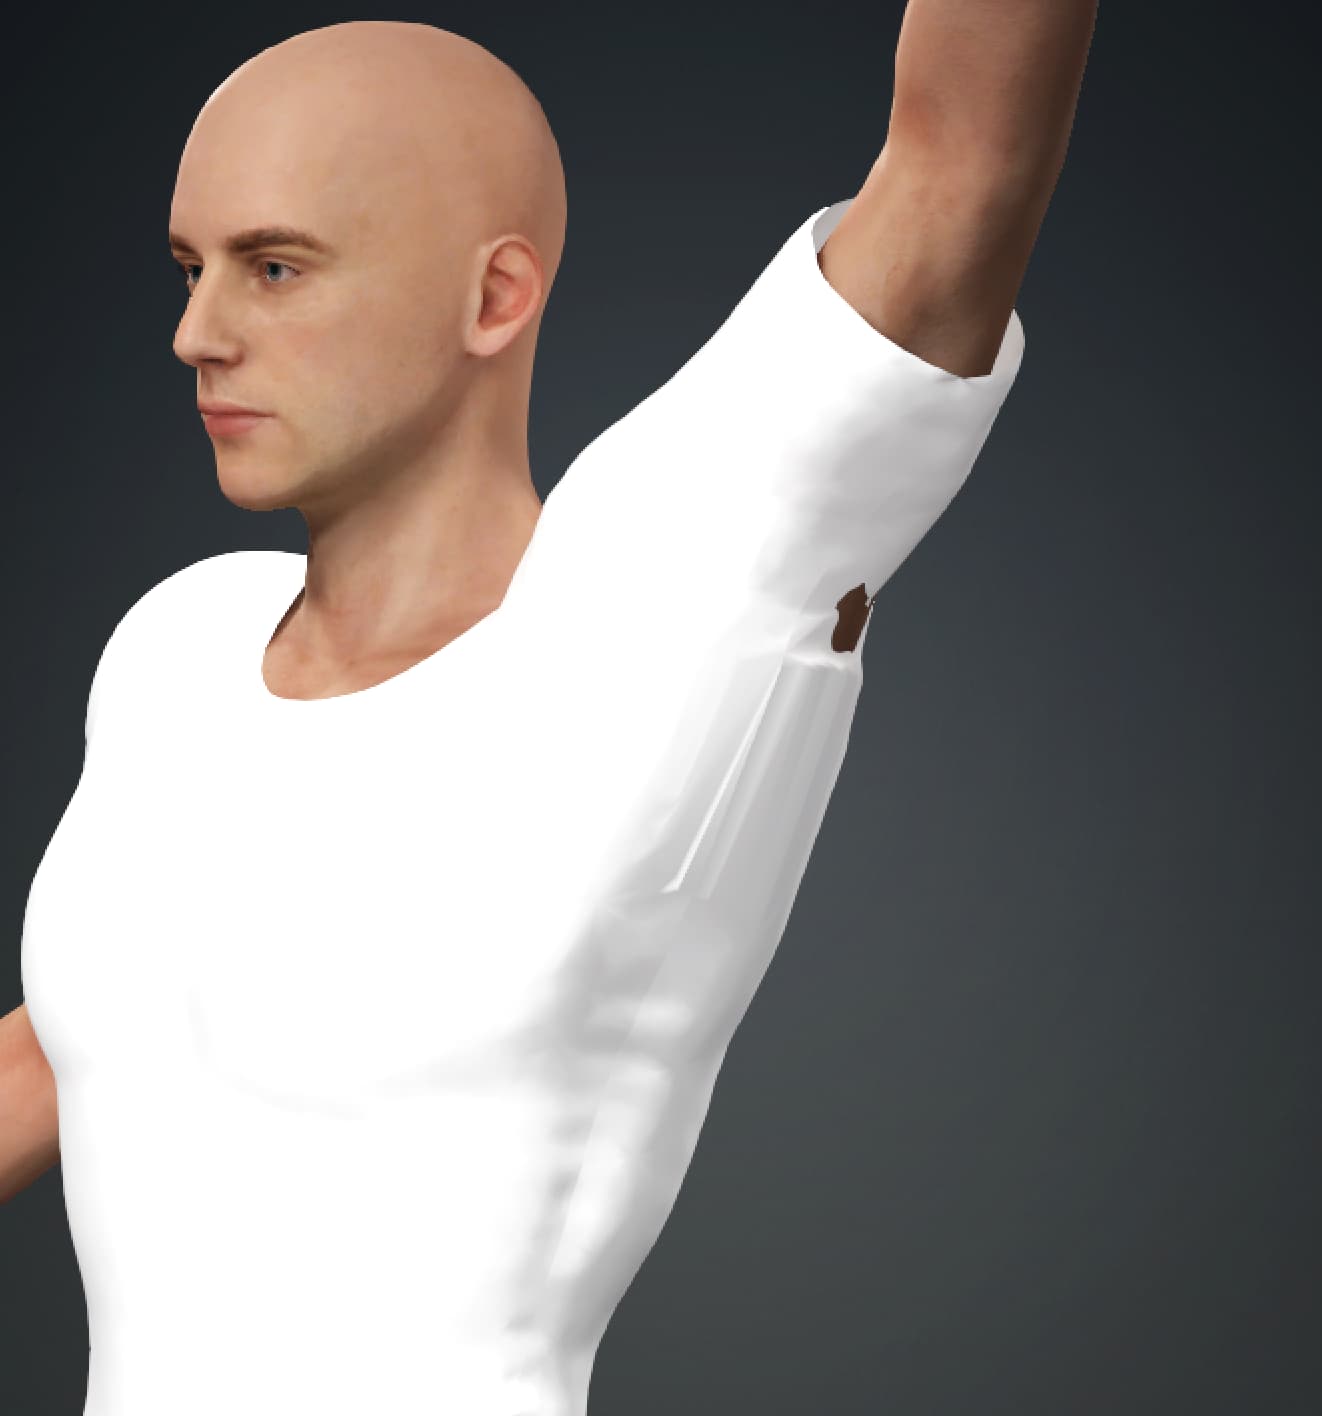
Here’s what I get from the same cloth in Blender vs CC4.
I am not sure If you mean this literally or not, but cloth should be parented to armature, not attached to mesh.
I’ve been making cloth for years in Blender, weight painting and importing back to CC without any issue (long before pipeline was developed). Pipeline facilitate and speedup the routine greatly.
Suppose you’re changing character mesh/armature one way or another, or you leave Blender specific objects like curves, which prevents importing back to CC. Feel free to share Blender project you are having the issue importing back to CC.
I parent the cloth to the armature and select “with automatic weight.” Everything works fine in blender. Then when I click “go CC” in the data link, CC4 gives me an error that says “failed to load the file. FBX key is not valid.”
What exactly is the procedure for sending the character back after adding clothes?
I know you can export the cloth as accessory but then you have to weight paint in CC, which is what I’m trying to get around.
If I click “select” in the Blender data link it selects everything and then if I click “Go CC” it sends everything over but it’s all messed up, like the head mesh loses it’s textures and the character loses it’s FK controls.
You are doing something wrong, but I would not know what (aside form the fact that parenting cloth with Automatic Weights is not the best way, though it does not affect pipeline round-trip).
I’d rather show you a quick working routine and you want to show yours from start to finish so we can identify what’s wrong.
For Standard characters you have to use a bind pose to rig cloth. Kevin is CC3+ character, so the bind pose is an A-bind pose.
Tank shirt is already bound to the rig before you use Ctrl+P to rig it. Before you rig a cloth, It’s object should not be part of the rig, it should not have any bones, modifiers, or vertex groups. Plus it has to have an origin at 0,0,0 (you have to hit Ctrl+A and then All Transforms).
I cannon see how you transfer weights, but you must select body, then a cloth with Shift and only then use Weight Transfer. Because you essentially transferring weights from the body.
Right now it’s the best to start over. But before, select shirt, use “Alt+P>Clear and keep transform”, then export shirt as OBJ from Blender with “Selection Only” option. This would clear all unnecessary attributes for the object (bones, modifies, groups… etc).
Then send Kevin to a new project in A-bind pose, import shirt form OBJ, use Ctrl+A on it to zero out transform and start over as I have shown in the video.
All of those things are necessary to follow through for successful round trips. And you only learn by doing numerous times.
Here’s a new attempt, importing shirt as OBJ, but I still get the invalid FBX key. You were right, I did have vertex groups on the shirt before along with unapplied transforms.