Hello everyone!
I’m starting a new thread here to present my productions. It’s been a long time since I last published anything (so long since I last saw the new forum!!!), in any case I hope you’re all well!
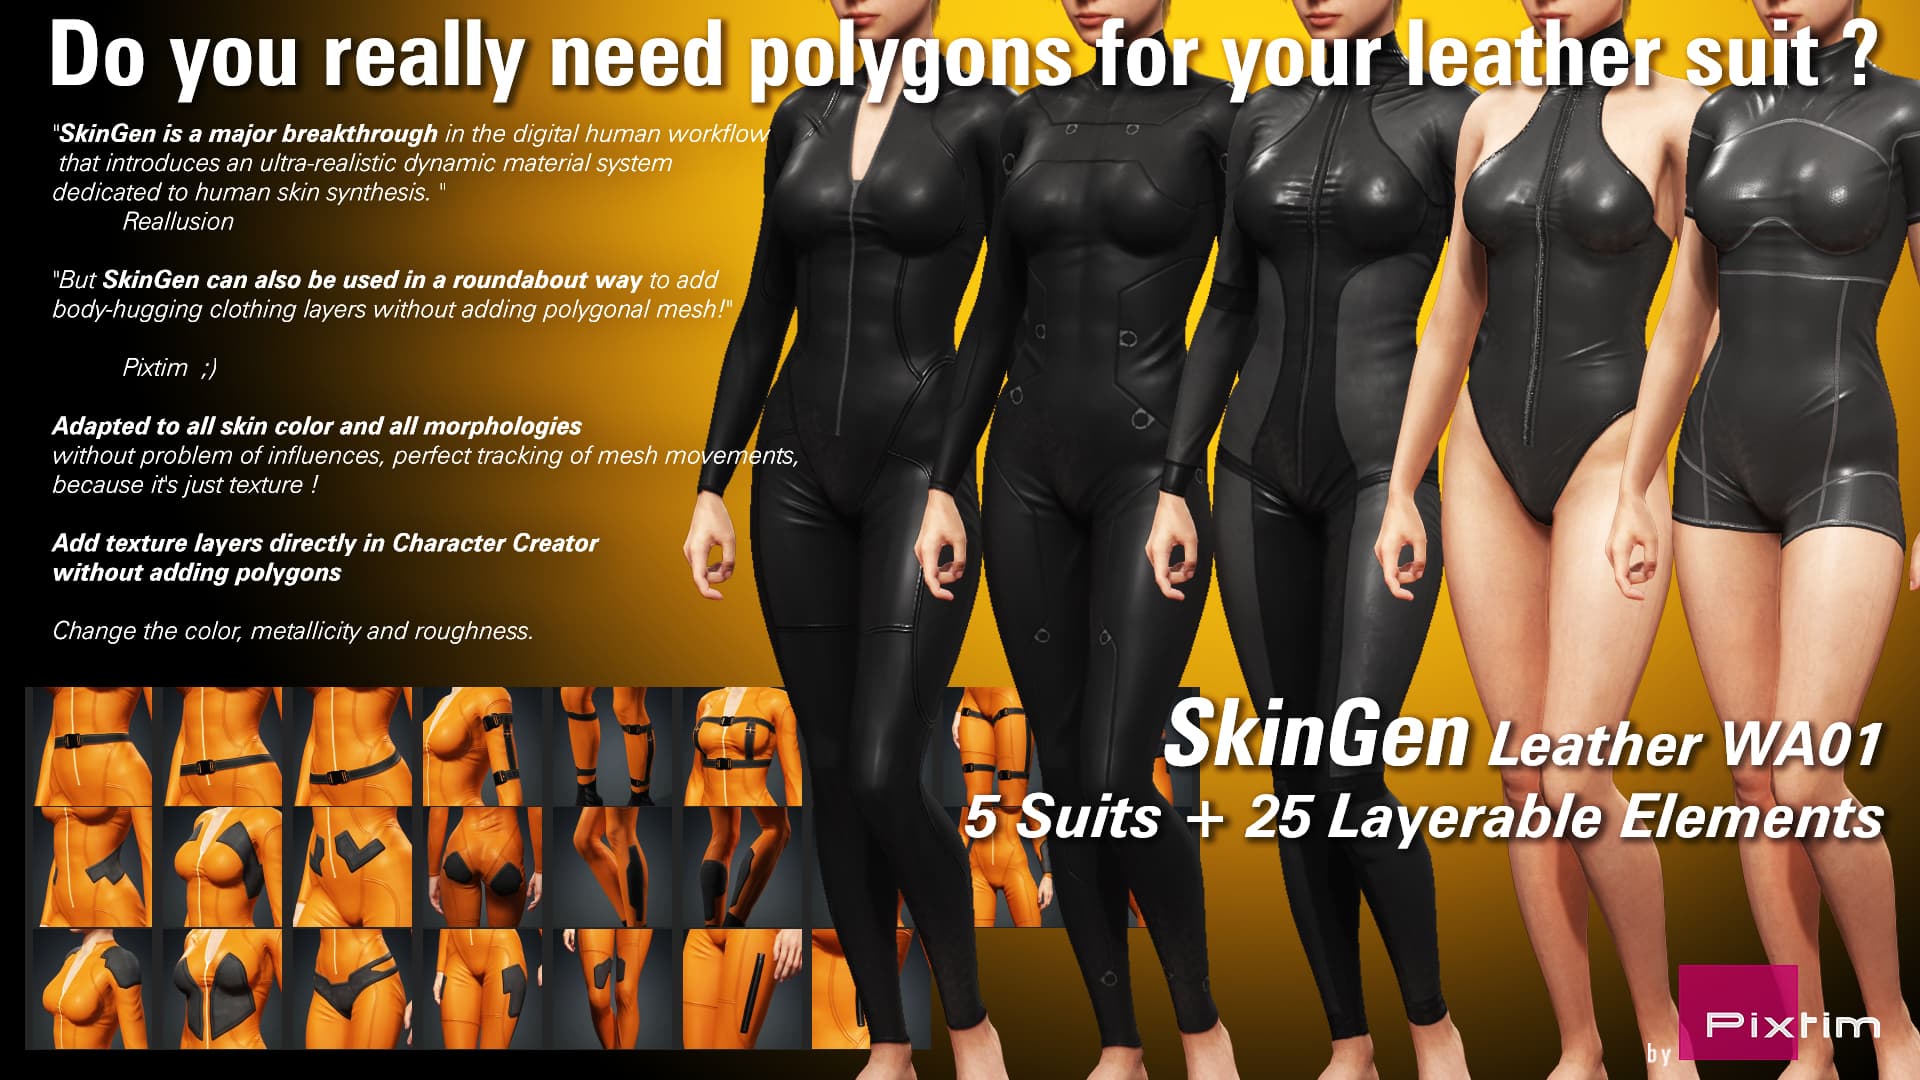
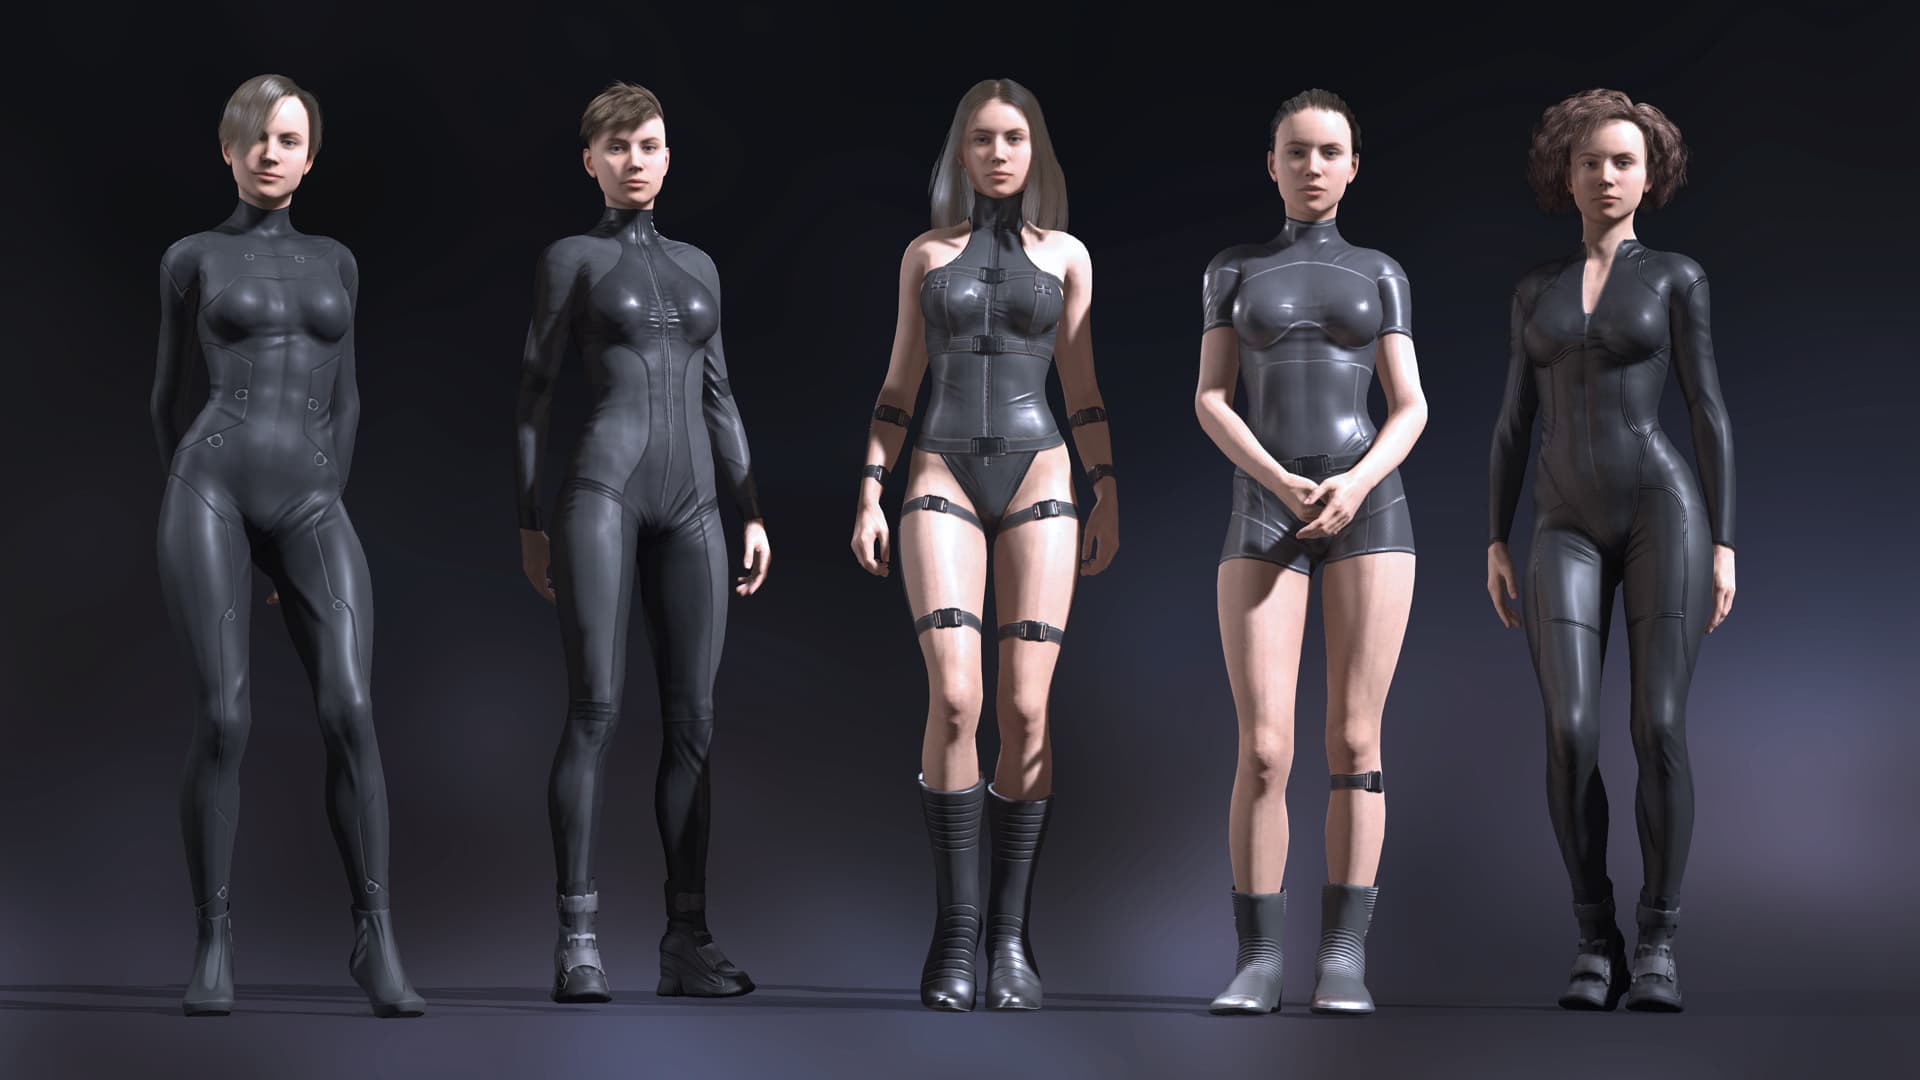
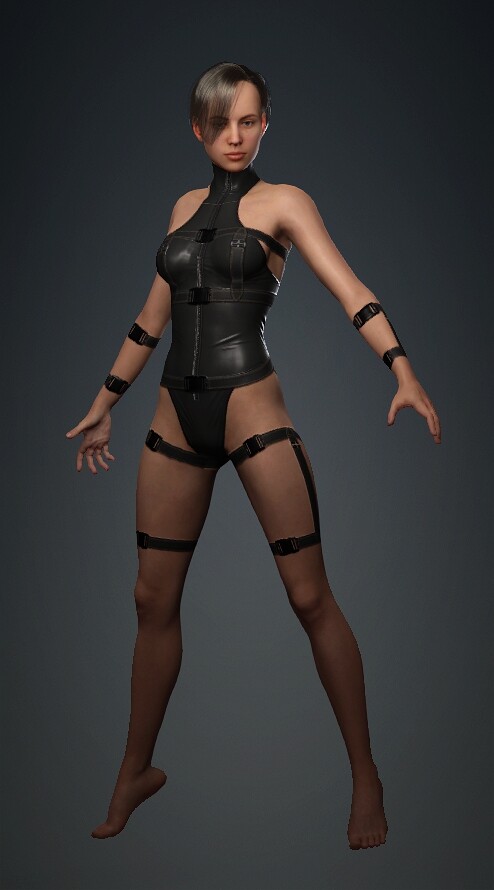
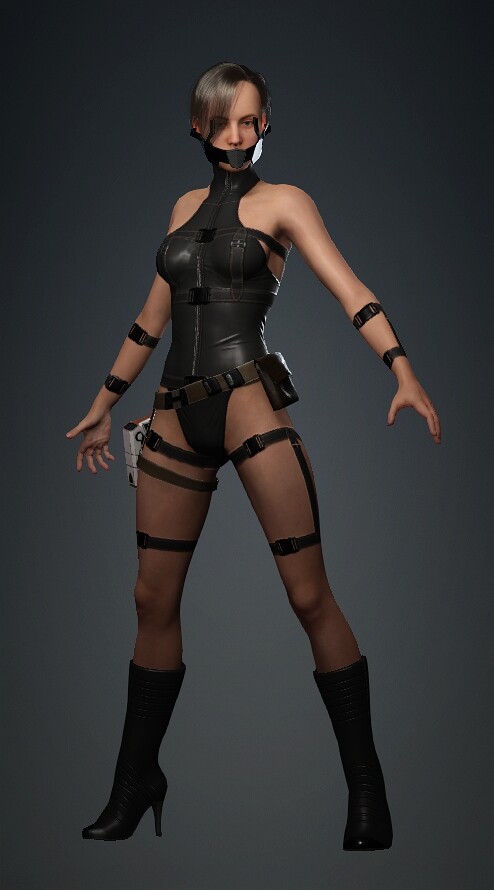
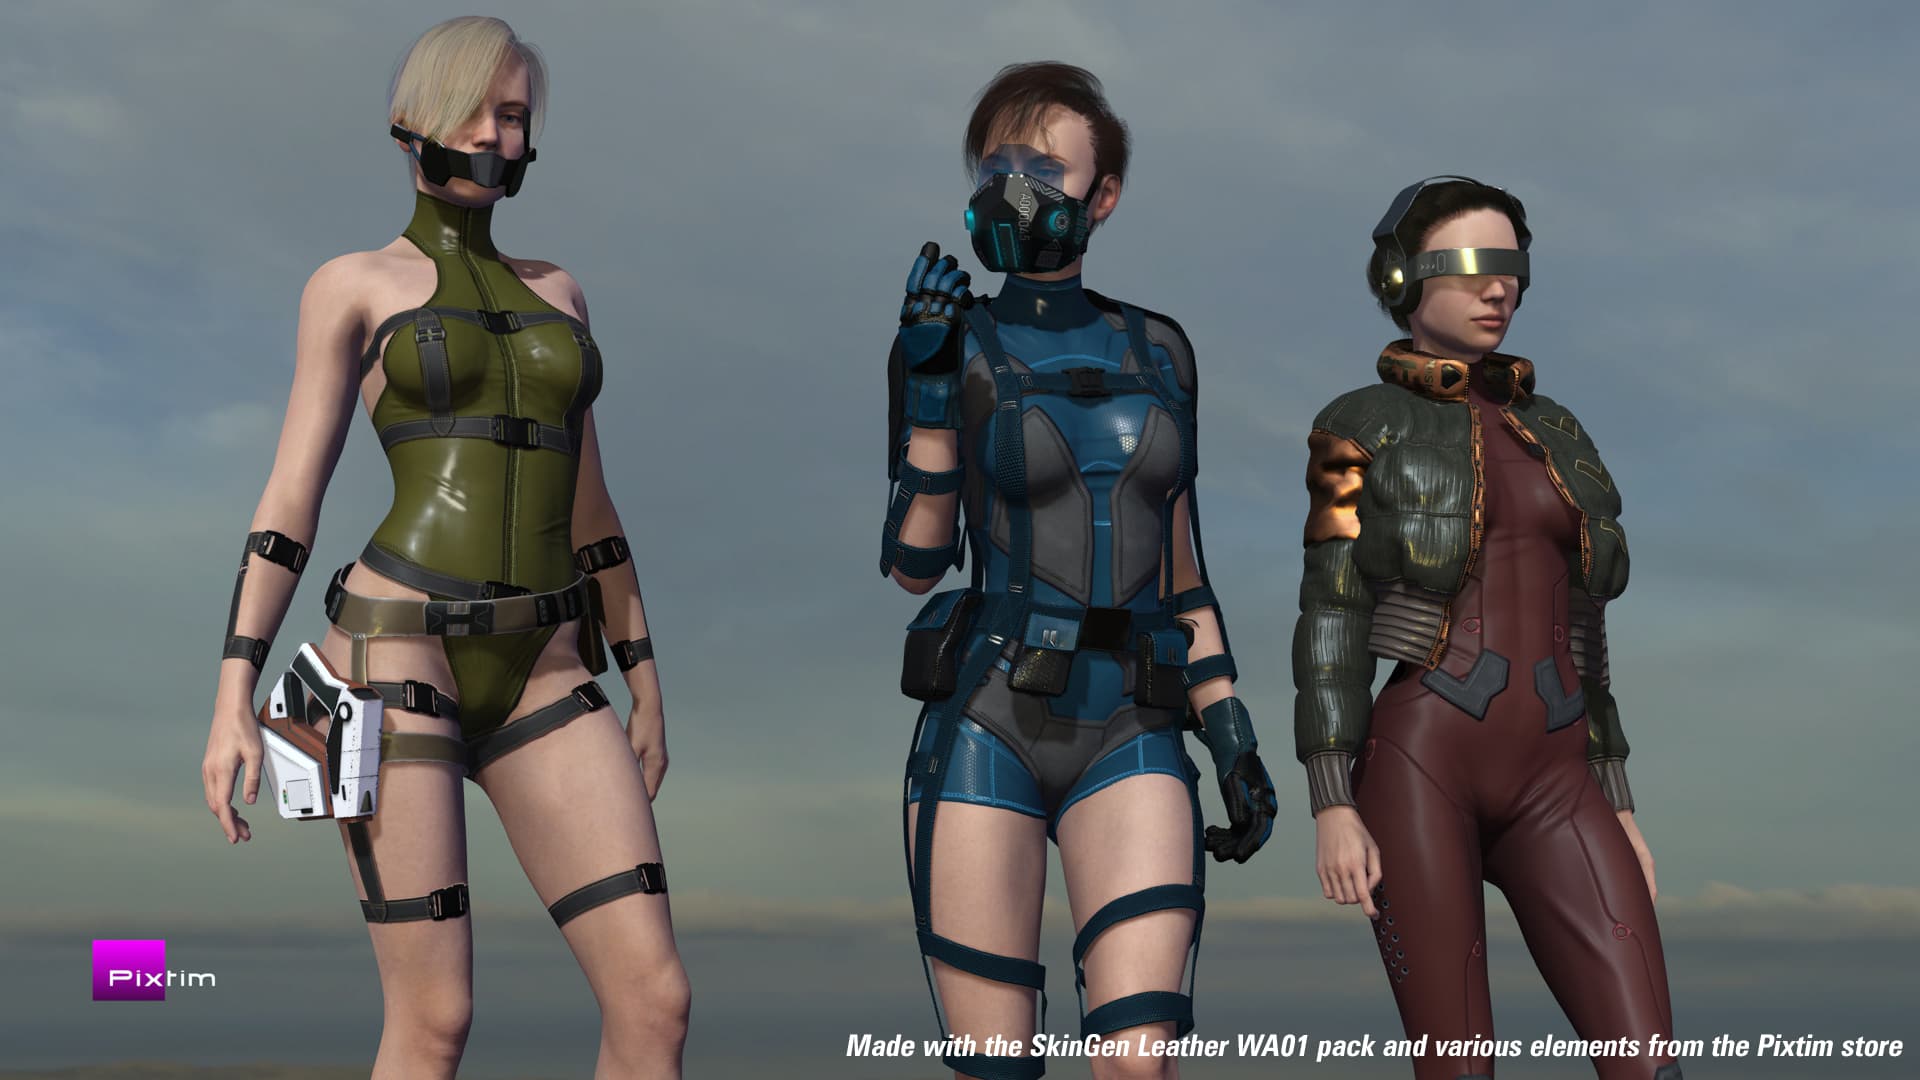
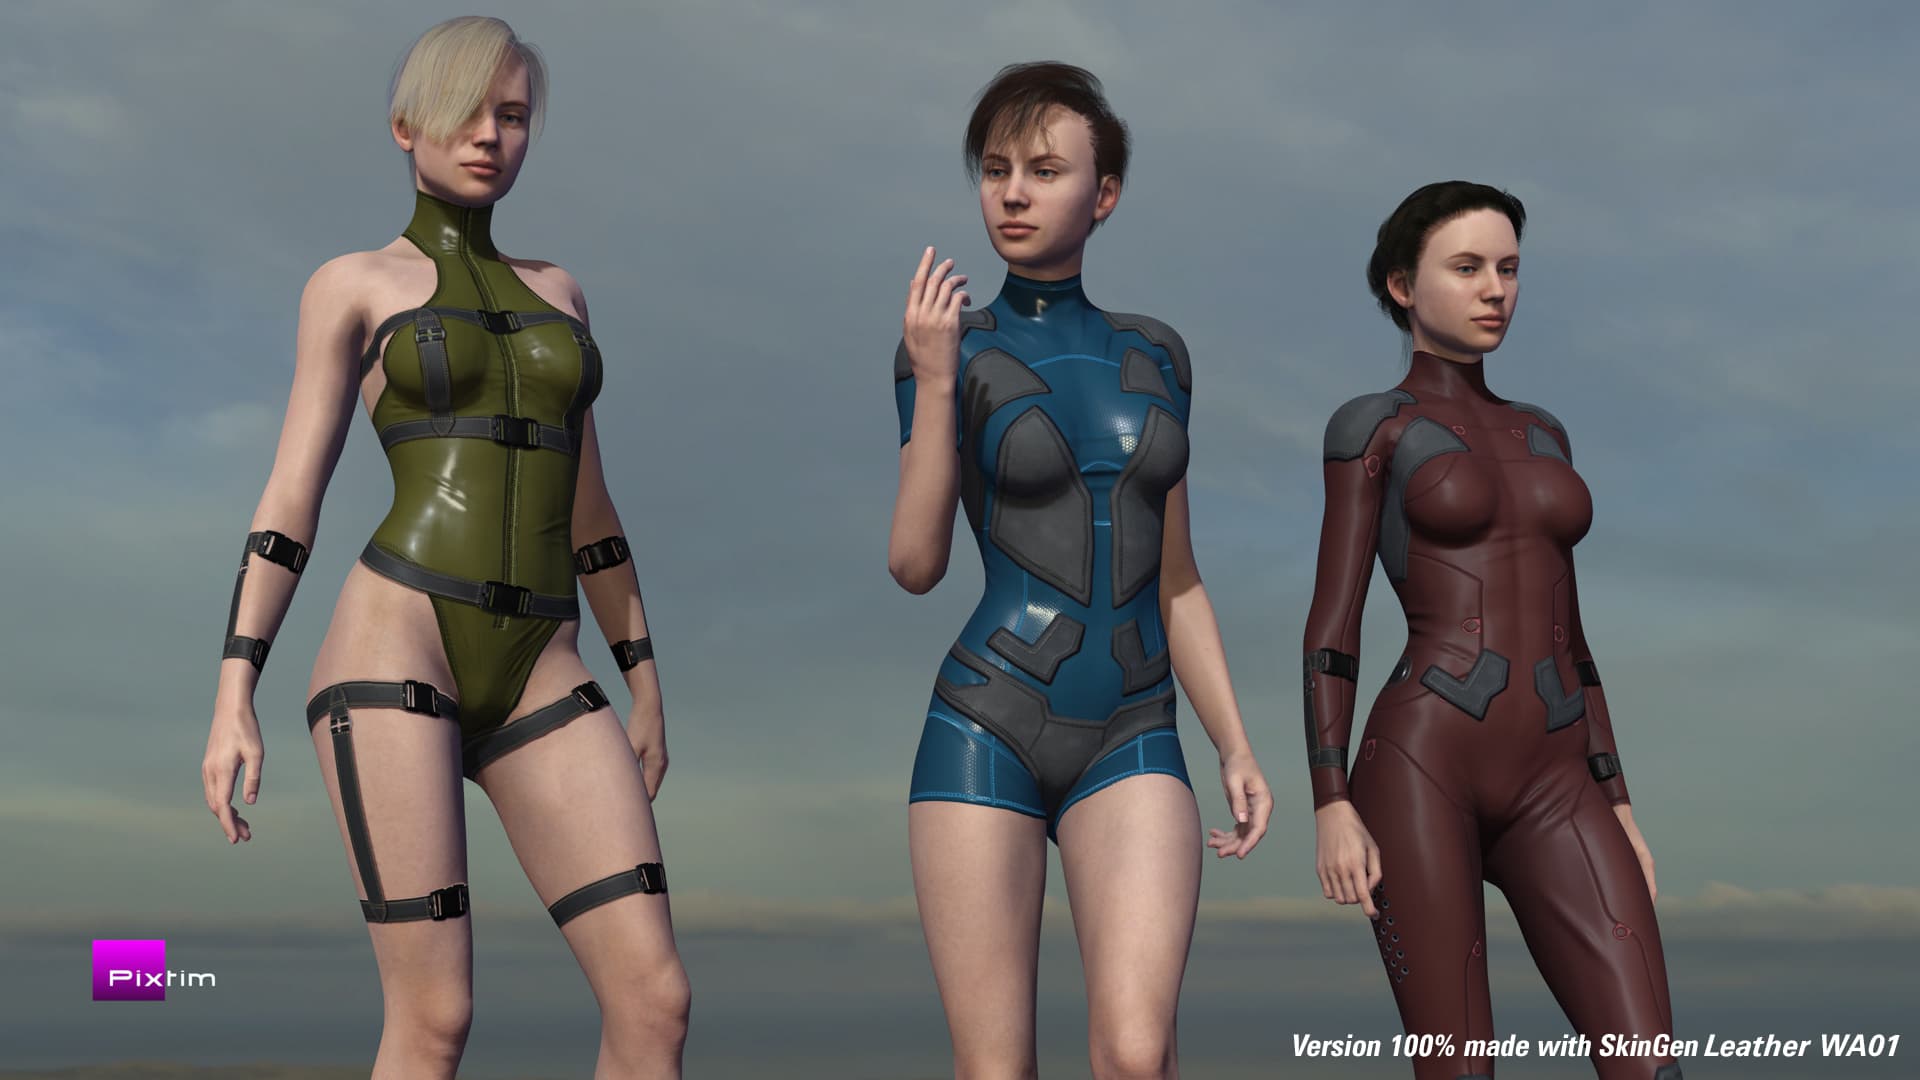
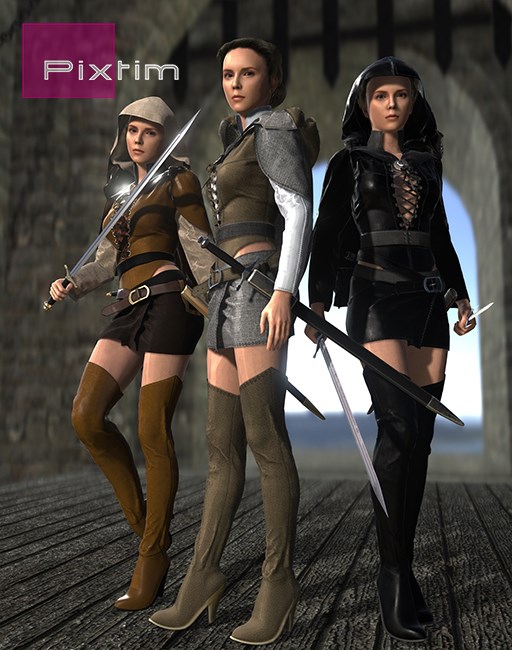
So here is a new pack dedicated to Skingen: SkinGen Leather WA01
There are 5 costume bases and 25 elements that you can add in layers to customize your outfit (sewn leather plates, straps and belts, zippers).
As always you can also change the colors and shine.
I think it’s interesting to create a base without being bothered, it allows you to easily add polygonal clothes on top without having to fight with the different thicknesses of clothes…
I prepared two videos, a promo style and a tutorial
The idea was mainly to create a “sub-layer” of clothing. I made several packages with this principle (it is for example very practical with underwear).
But finally, with high definition textures, we obtain something very satisfying, unless of course we seek to obtain clothing capable of wrinkling in real time with complex physics…
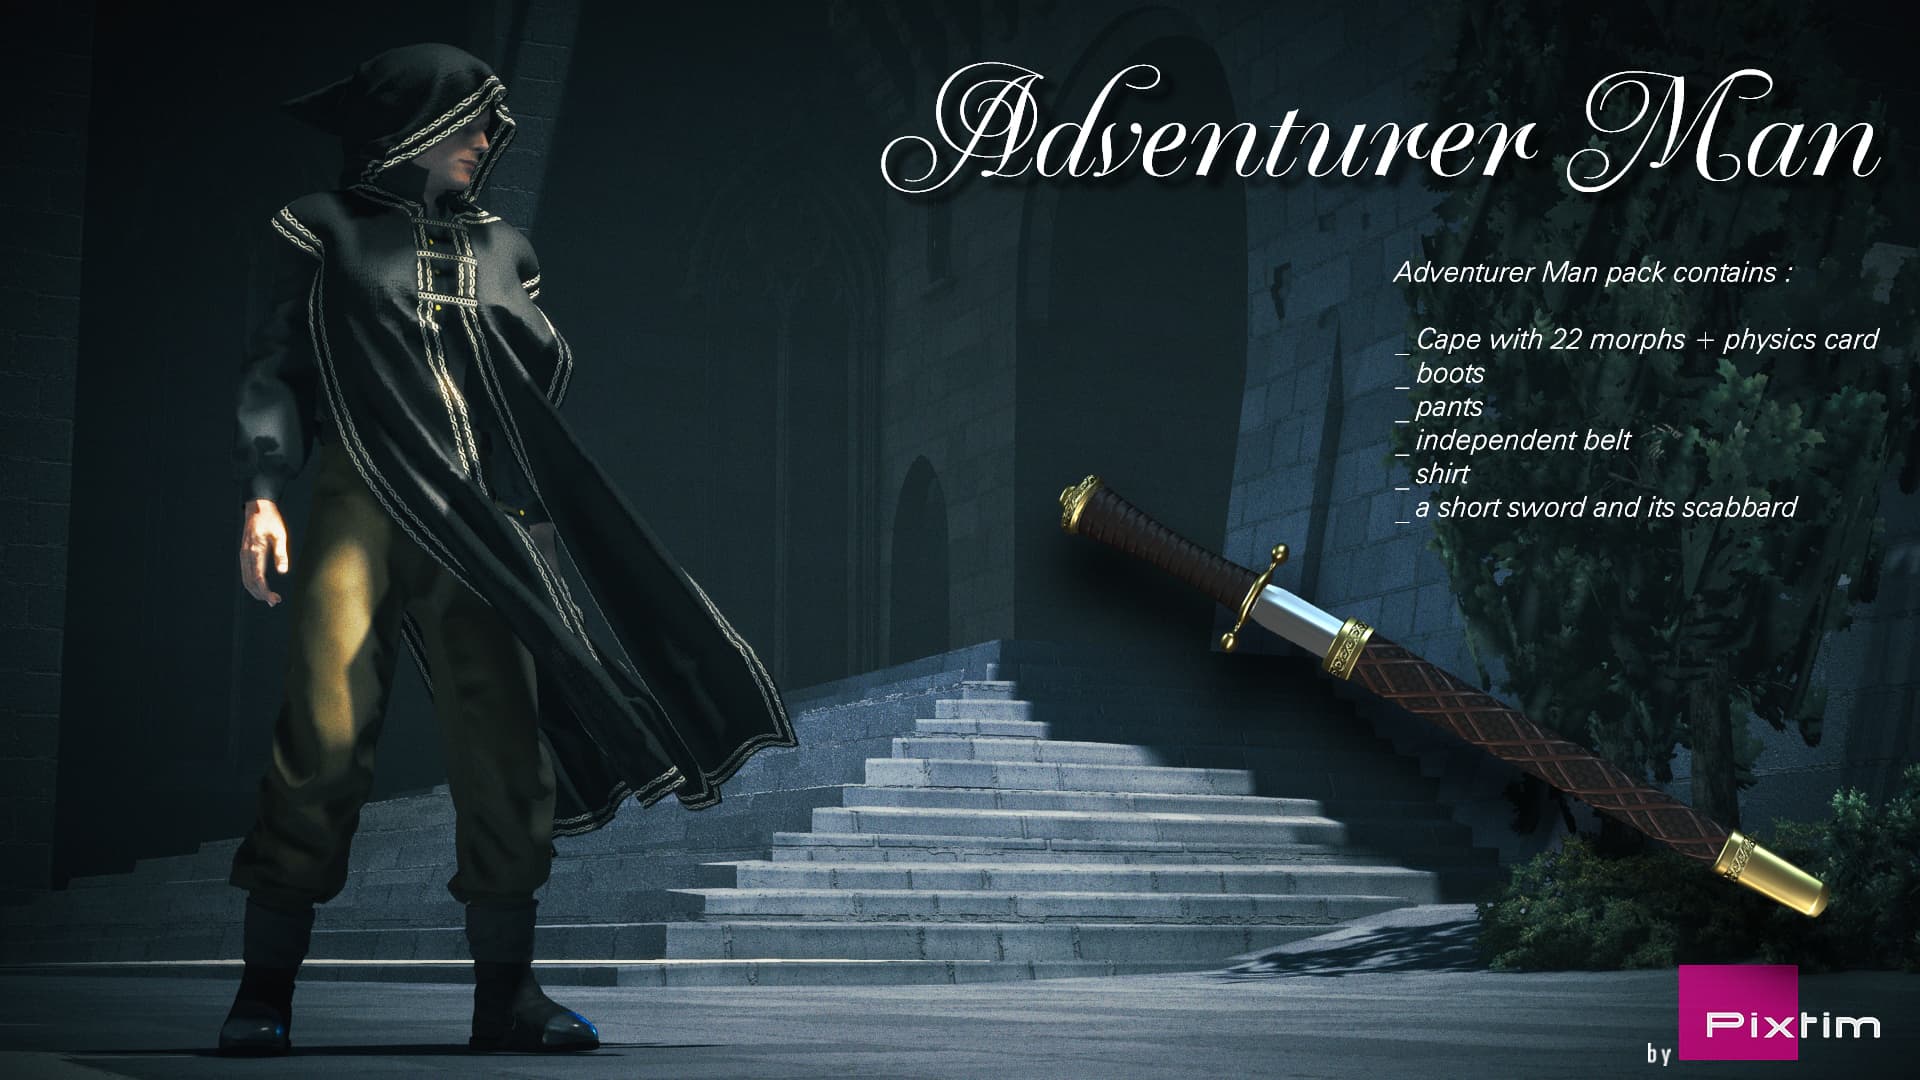
I tried the trial in iClone and noticed that even with an a-pose to start with and some frames for blending into the motion, the cape was problematic right at frame 0 (no matter whether in “By Frame” or “Realtime” mode). I saw that the solver frequency is already high. Maybe the cape morphs can help (I haven’t tried them all).
I was happy to see that the cape can also be made entirely dynamic (completely white weight map), without the mesh breaking apart. That is good news for possibly simulating the cape outside of iClone.
I’m not sure that the position of the sword is optimal for interaction with the cape. Since it is rather short, it might work better attached to, for example, the right thigh (it could then perhaps also be covered by the leg collider shape).
In real life, I think it may also take a little practice to draw the sword quickly without hurting yourself when it is attached in the current position, since you would need to move the right hand behind the back and pull the sword out far enough to clear the body and rotate the wrist when it is brought forward for any fighting moves. It may also be necessary to hold/stabilize the scabbard with the left hand, and/or get the cape out of the way, meaning both hands need to be moved behind the body leaving the front unguarded.
Hello Nirwana and thank you for testing this character with such attention! It’s cool!
To answer you, given the length of the cape, you really have to use it with the dynamics.
Otherwise, the influences will inevitably generate aberrations, especially at the knees. The basic position I used corresponds to that of CC4, but the morphs allow, as you think, to correct the starting position.
Indeed, I was careful not to put pockets so that the whole cape could be dynamic (well… I admit that I had made a model that I had almost finished and on which I had put pockets… um… I started all over again of course! )
In any case, yes, Iclone’s dynamics have not evolved for a long time, and for beautiful results, Blender, Cinema4D, Unreal or other will be more agile…
For the position of the sword, I imagined it more like a long dagger that we would hold like a dagger, hence the position in the back. In fact, in this position, when you draw the blade, it is against your forearm. If we have two attachments to the scabbard, it works easily with one hand… except to put the blade away! There, you have to be careful not to make a hole in your cape!
I made sure that there is no attachment with the belt, so that we can move it and position it elsewhere… as desired.
Exactly. I was talking about changing the starting position, since the cape (with the character in a-pose) sort of explodes away from the character or gets caught inside the leg of the character.
Sure. As I explained before, I stopped doing my cloth simulations in iClone (I mean, if the asset’s creator, in this case you, sets up a garment for iClone soft-cloth physics, I’ll have a look at it in iClone, but primarily to check out the mesh and its topology and whether the mesh is properly welded, not for a “final” render.)
I’ll probably get Adventurer Man when it becomes available in the Content Store (looks like it has already been certified) and then I’ll do the cloth sim in C4D.
OK, but holding it like that would limit the reach of the weapon and range of motions, make the (cross) guard useless to protect against an opponent’s blade, and, since the blade is double-sided, risk injuring your arm, if, while trying to parry an attack, the blade is pressed against the arm. I’d prefer to use it like a regular sword, albeit a short one (i.e. with the blade sticking out between the thumb and first finger; BTW I’d hold a dagger the same way; holding it upside down feels awkward to me (and more of an assassin’s move), but that is, of course, also a matter of preference).
Hello everyone,
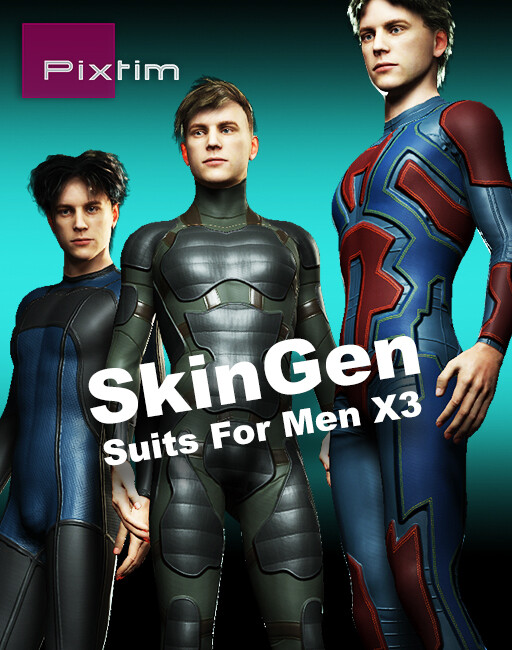
It seems I’m really starting to specialize in creative twists on SkinGen – I have so many ideas!
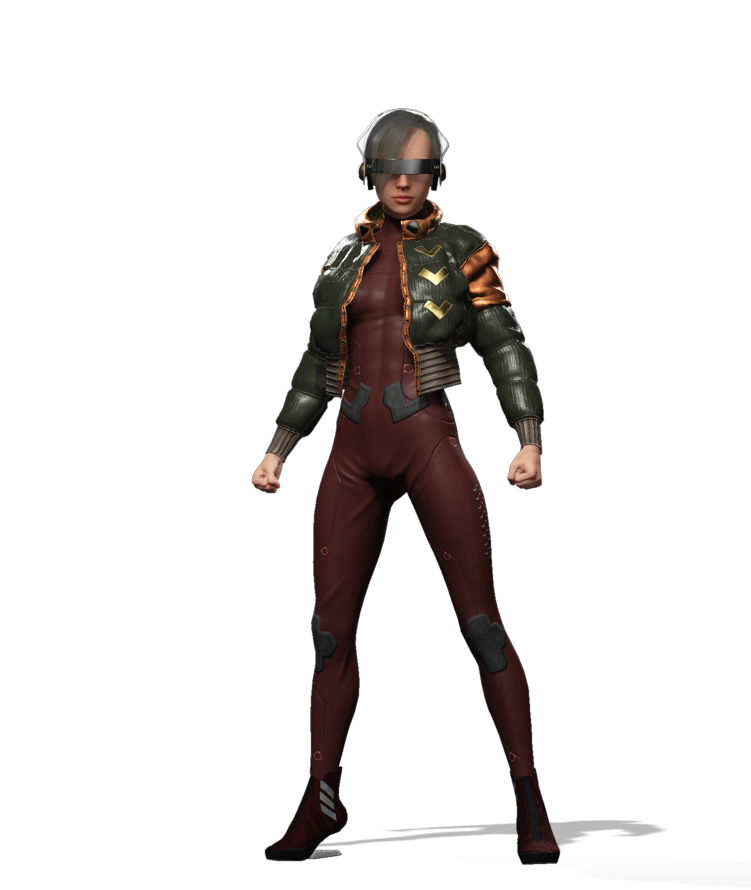
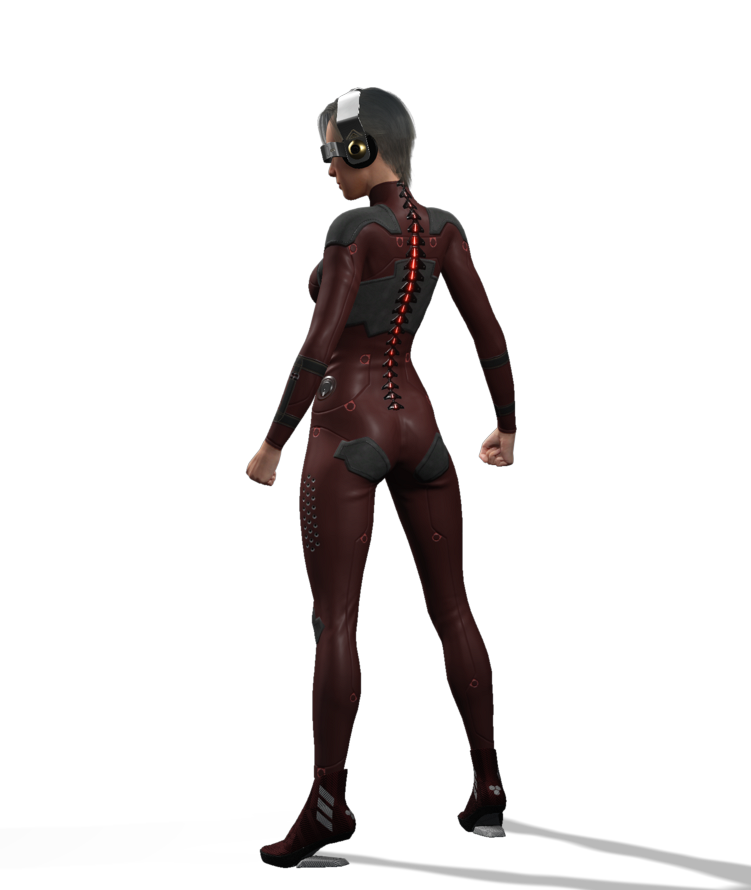
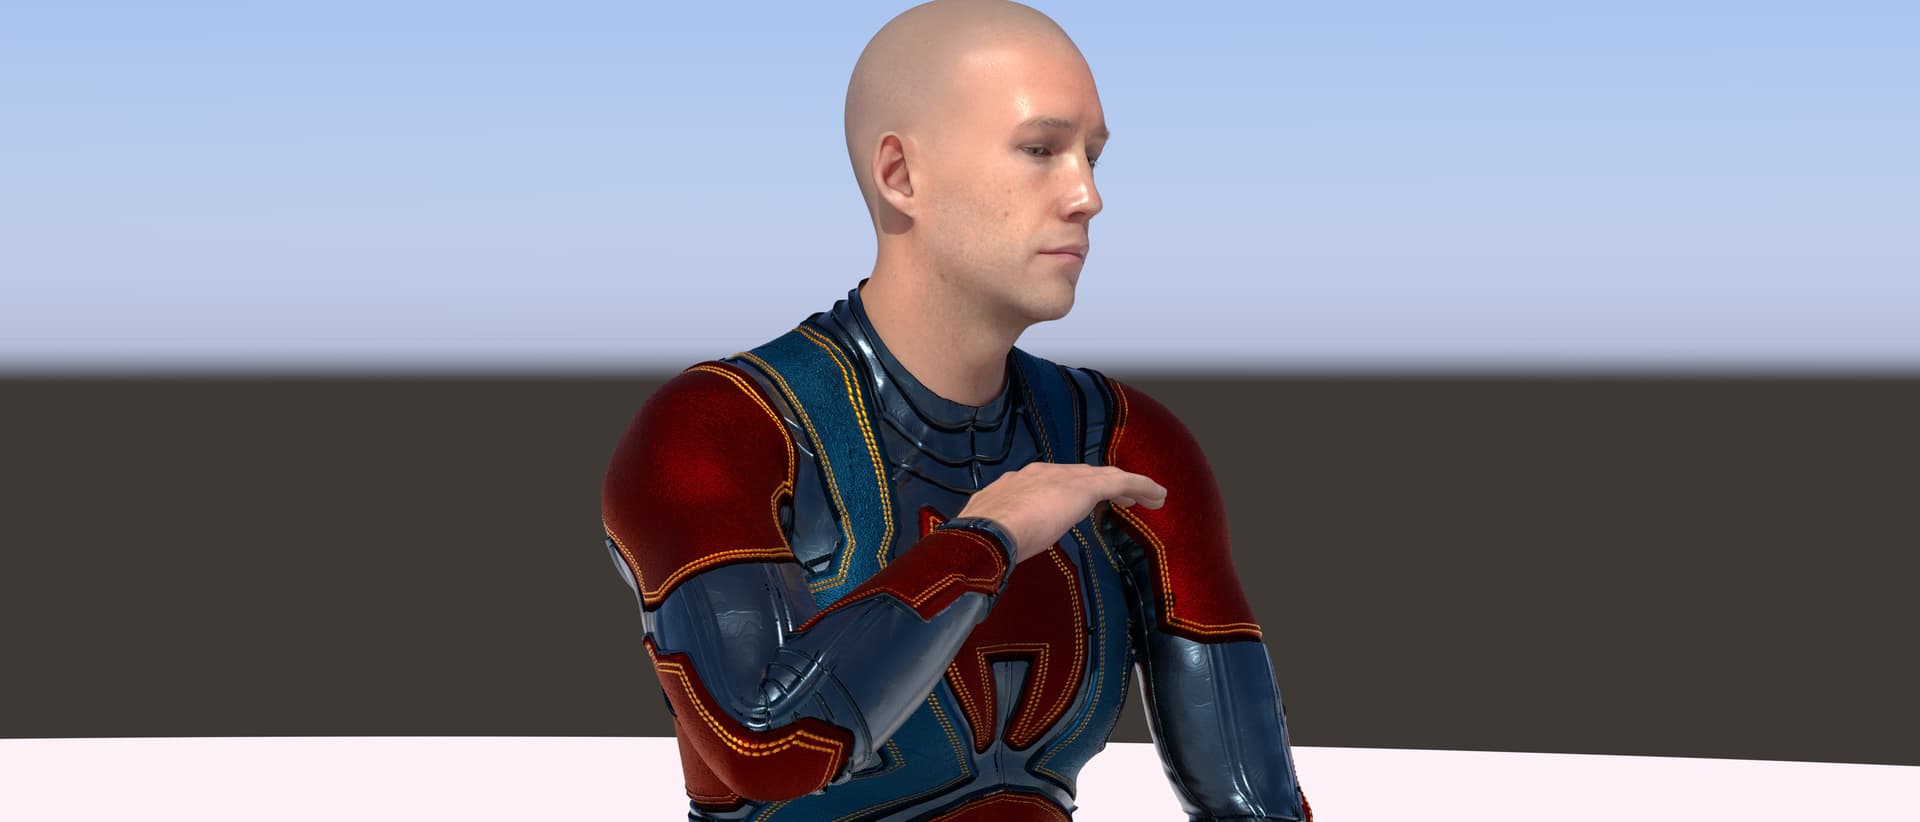
Here’s a new pack featuring 3 futuristic men’s suits… Well, futuristic – but not necessarily! They could just as easily serve as the base for diving suits or something else entirely.
Hope you like it!
Ogier for Pixtim
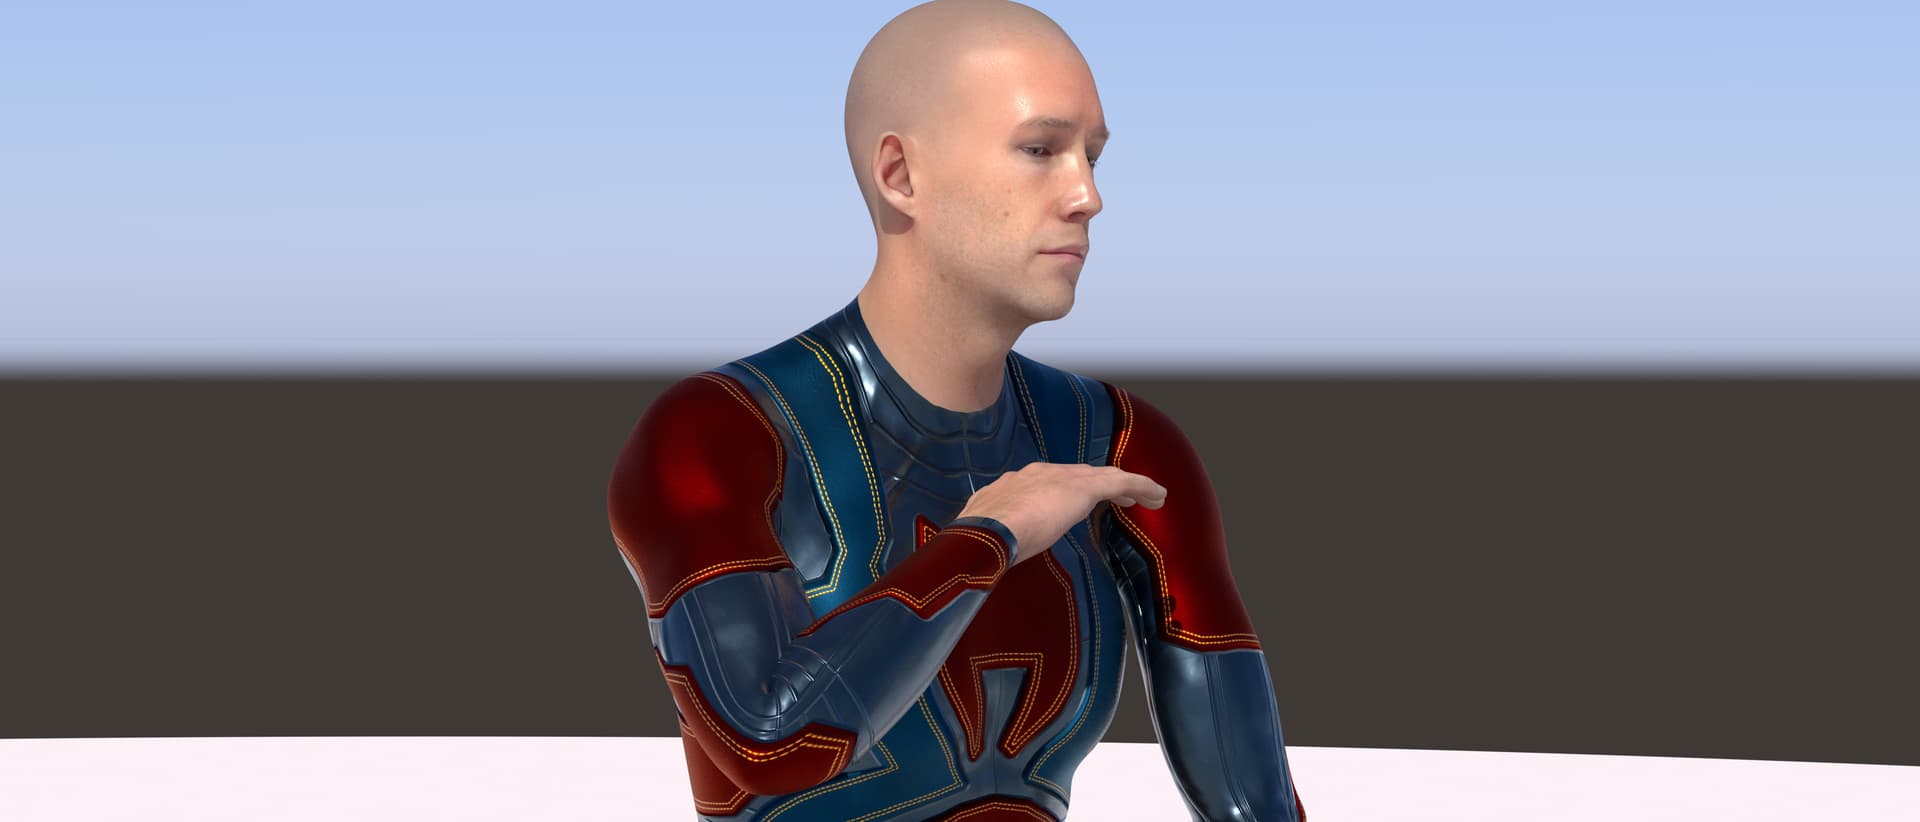
It may be a good idea to add displacement maps for those who like actual displacement (not the “fake” via the normal map) to give the suits a more “3D” look. (I realize that goes somewhat against the idea of using SkinGen to avoid additional geometry, however, I like additional geo just fine—if it helps the look/realism—and the use of displacement would be optional.)
Hello Nirwana!
Yes, absolutely! I actually tried that — but the downside is that we’re working with UDIM UV maps.
In my tests, this caused artifacts at the seams where different texture tiles meet… I should probably run a few more tests, but I don’t think it’s possible to get a clean result.
As for all these SkinGen elements, I don’t really see them as standalone outfits. To me, they’re more like a base layer, meant to be combined with actual 3D elements added on top for real relief and detail.
I wouldn’t be using displacement in iClone. Since I only have the trial version of this pack, I can’t test it in my 3D app of choice (Cinema 4D). Otherwise, I would have tried it with the normal maps used for displacement. I have had problems with texture seams in the past (in C4D) on content exported from iClone (but not necessarily UDIM-related), but I can usually get it fixed.
With regard to them not being standalone outfits, I think that for use as a superhero outfit or as a diving suit, not too many actual 3D elements will be added (except, for example, for utility belts, SCUBA tanks, a cape, etc.).
Again, I appreciate your exploring alternative uses for SkinGen, however, personally I usually prefer actual meshes even for skin-hugging clothing because that way, I can get actual creasing and wrinkling depending on the character’s motion vs. the “baked-in” creasing (via normal map?) seen in some areas of the suits.
That being said, there are uses for the SkinGen method (for non-close-up shots) when actual (time-consuming) cloth simulation would be overkill on a tight outfit.
I clearly remember your work, and it’s certain that for what you do, the SkinGen approach isn’t ideal. Clothing folds are indeed necessarily static with this method…
But think about crowd animations, for example, or characters in low-res mobile games. In those cases, the SkinGen approach can be quite effective.
Regarding my view of these as base layers, I envision adding jackets, belts—elements that can be complex to manage with multiple polygonal layers.
So, while it’s not suitable for every use case, I believe that in many scenarios, generating folds and drapes in real-time isn’t a priority.
Outside of my productions for the Reallusion marketplace, I create video mapping shows. This summer, I did a rather unique one with many characters, projected onto real cliffs… and honestly, even though the projection was massive (60 meters high by 200 wide!), with the natural rock texture, real-time animated folds on the characters’ clothing wouldn’t have been noticeable at all!
True, managing multiple layers of polygonal objects can be a major pain in the neck. Which is one of the reasons I usually have only a single character in my scenes. If I did “crowds”, I would simulate each character separately and combine them into the scenes using “pre-baked” Alembic files. Should theoretically be possible, but I have not actually tried this for real.
Looks impressive all the same.
(Of course, there are no real-time animated folds in my stuff… The simulations usually take hours for a few seconds of animation, but that is alright for what I do—no deadlines to meet as a hobbyist.)
Yes, for this project, the budget wasn’t very high, but I really wanted to do it, so I created the entire 12-minute animation by myself… I can tell you, it’s a massive amount of work! And I didn’t make it easy on myself when writing the script, lol!
In any case, being able to render animations almost in real-time is a huge advantage for completing this kind of project with consistent quality and meeting the broadcast deadline.
Generally speaking, for video production—regardless of its purpose—it’s essential to consider what’s necessary and visible.
Ideally, it’s best to have multiple technical versions of the same character: from ultra-high-definition, fully polygonal models to very lightweight versions suitable for pre-animations and distant shots.
Yes, that might be useful. However, for a one-man outfit, it seems to me that the time required for creating (and maintaining/updating) several versions of a character needs to be offset by any time savings down the road (e.g. during rendering). Otherwise, this makes no sense to me.
For example, I can run a simulation on one machine and still work on another (so I don’t have to waste time waiting for the simulation to finish).
With displacement, the suit has some thickness (particularly apparent at the collar and the sleeves of the arms and legs); without displacement, the suit looks like it is made from very thin foil. However, this shows only up in fairly close-up renders.
BTW: the images were originally in 4K, but the forum software reduces them to 2K.
Hey, hello Nirwana!
Sorry, I didn’t see your messages (here and in the product comments)! I was in a busy period.
Did you add the map to CC or Iclone or Cinema4D?
(I feel like I recognize the C4D rendering! I worked with it for 18 years!!!)