Yes. I assume you haven’t installed in yet, correct? Here is a step-by-step installation. Not sure if you want to do this, but might be worth a try. Make sure you have enough SSD storage left (200 GB). There seems to be some problems with Out-Of-Memory-Errors in newer version of Wan2GP since January. Not sure if this was already solved.
The easiest way to install it is to go to https://pinokio.co/ and download the Pionkio app.
Put the exe into a to folder of your choice. I highly recommend a directory without any spaces in the name, because this can break some apps or scripts from working correctly. For example, C:\Pinokio\ is fine.
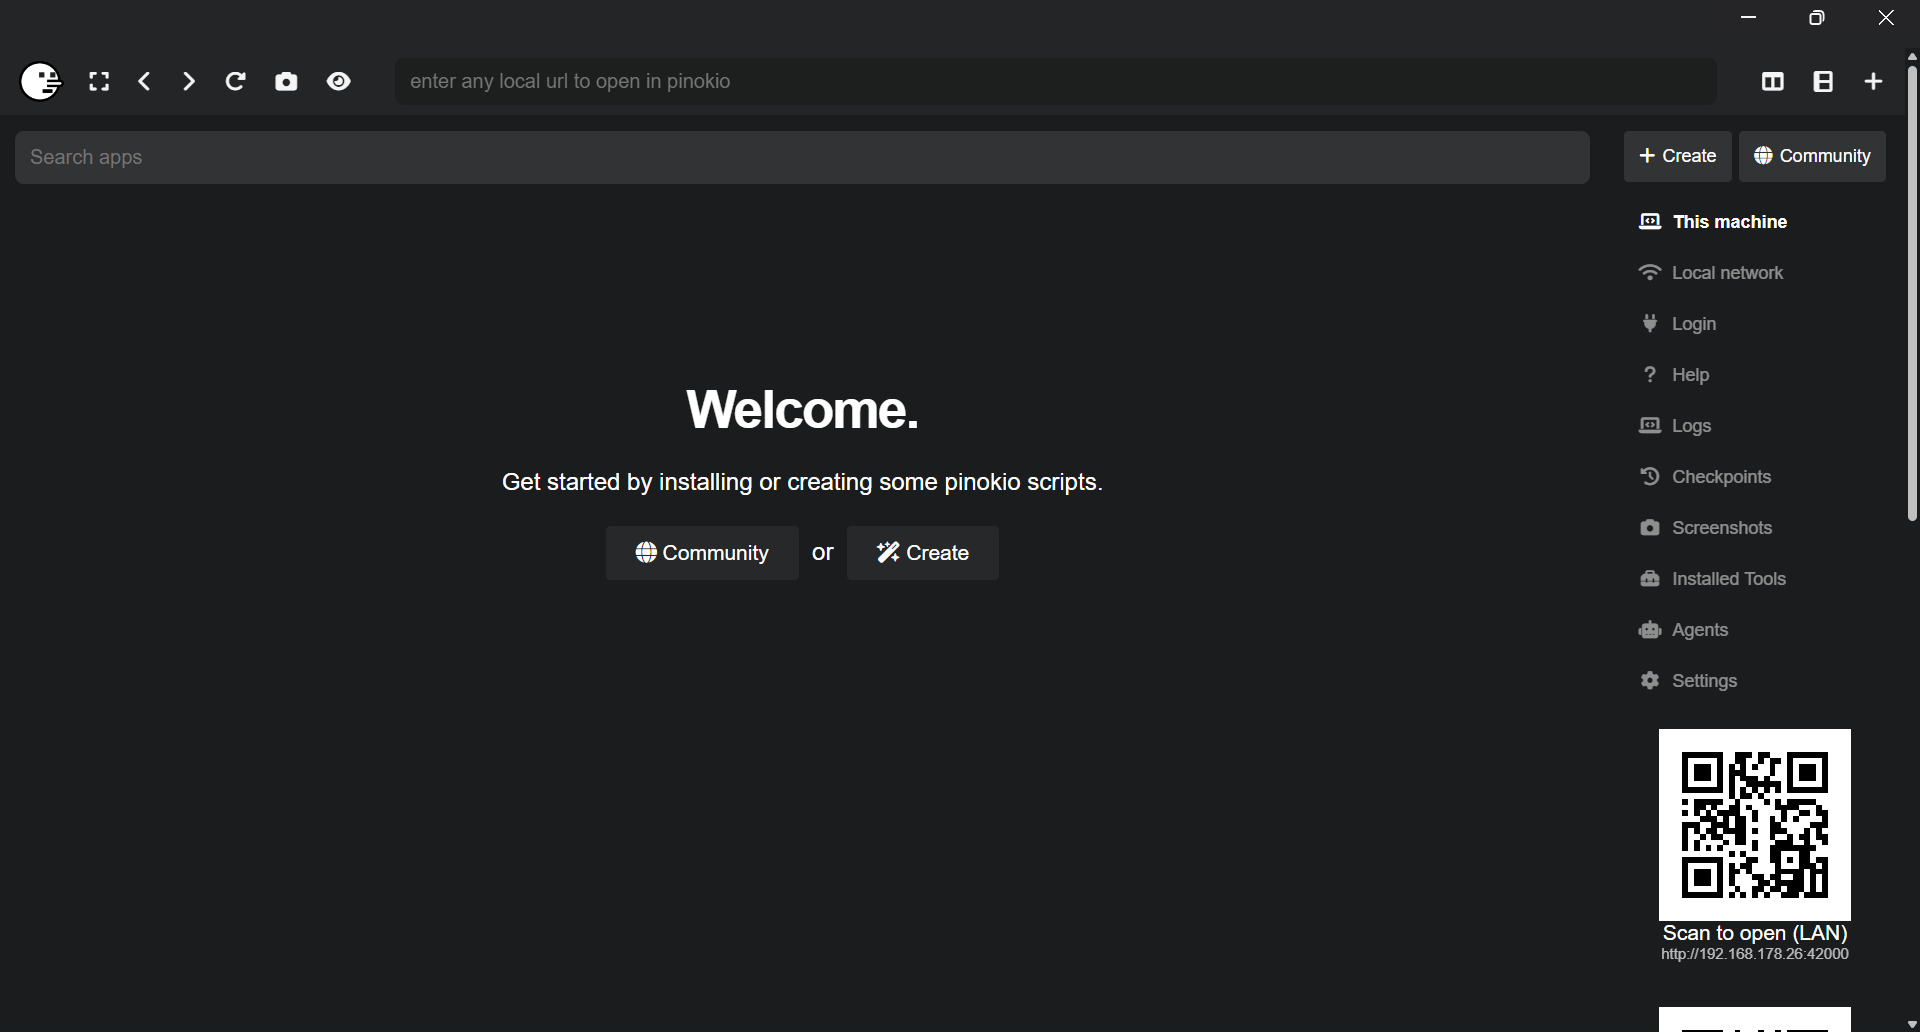
Next, start Pinokio.exe. This will take a minute as files will be extracted into the folder. After a while the Welcome Screen should come up.
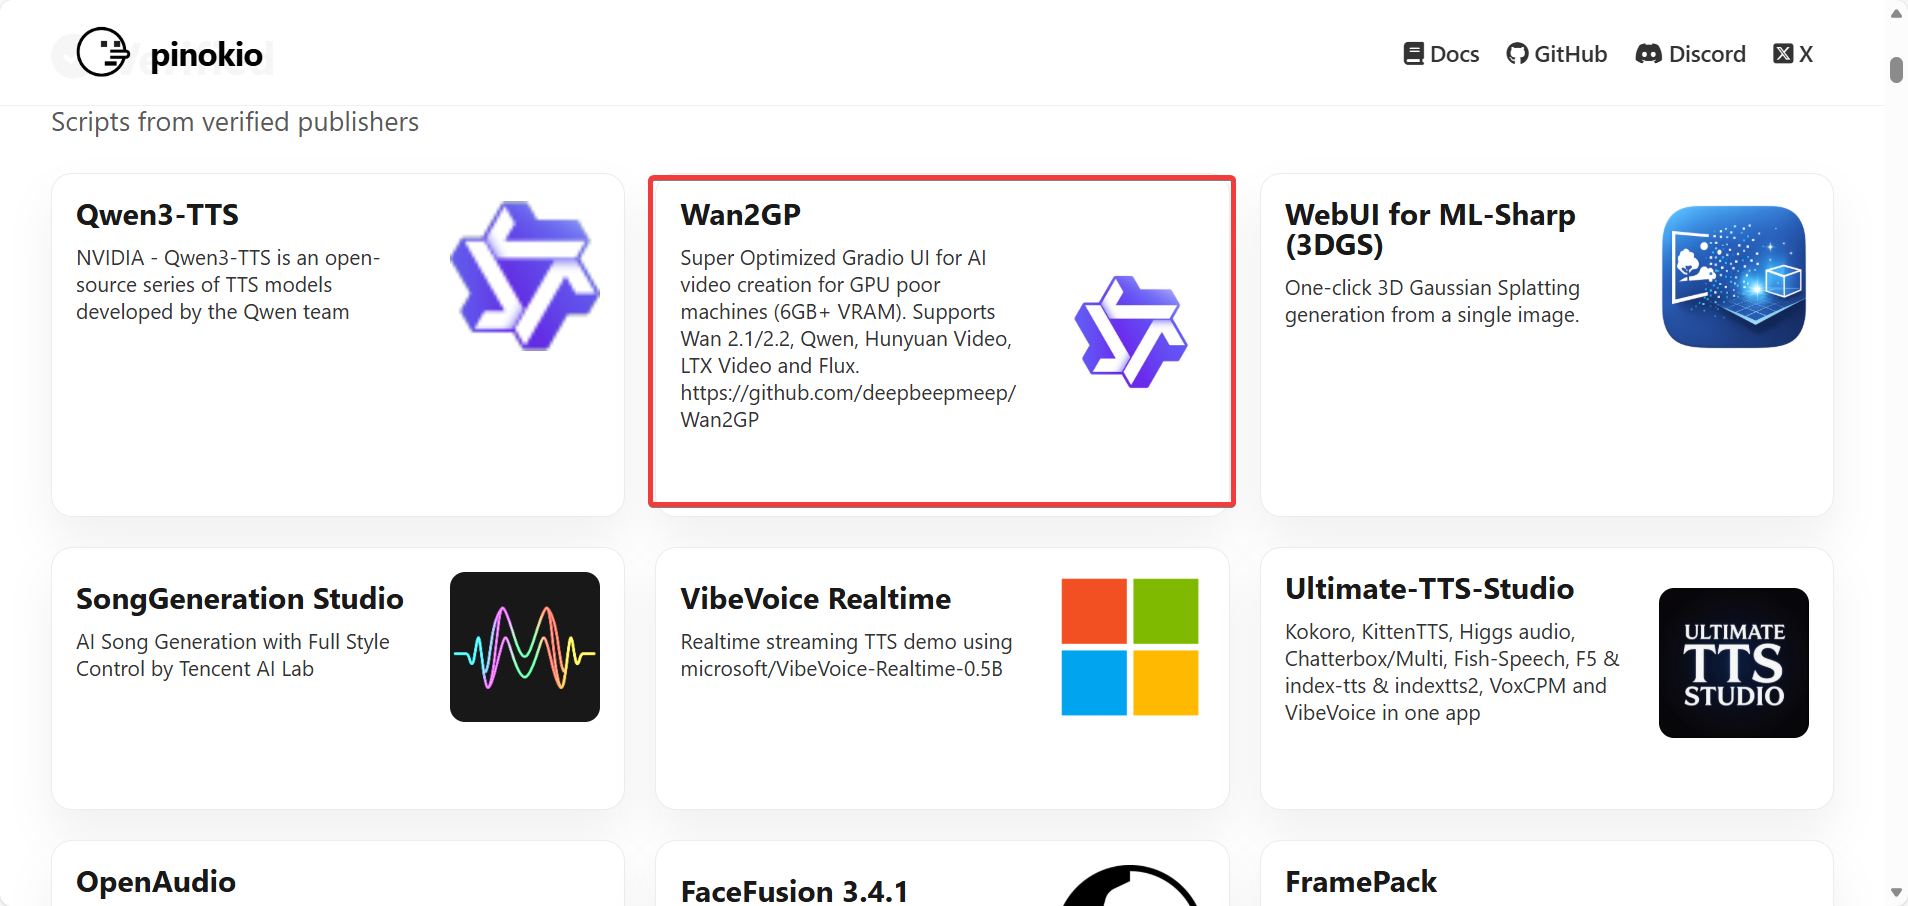
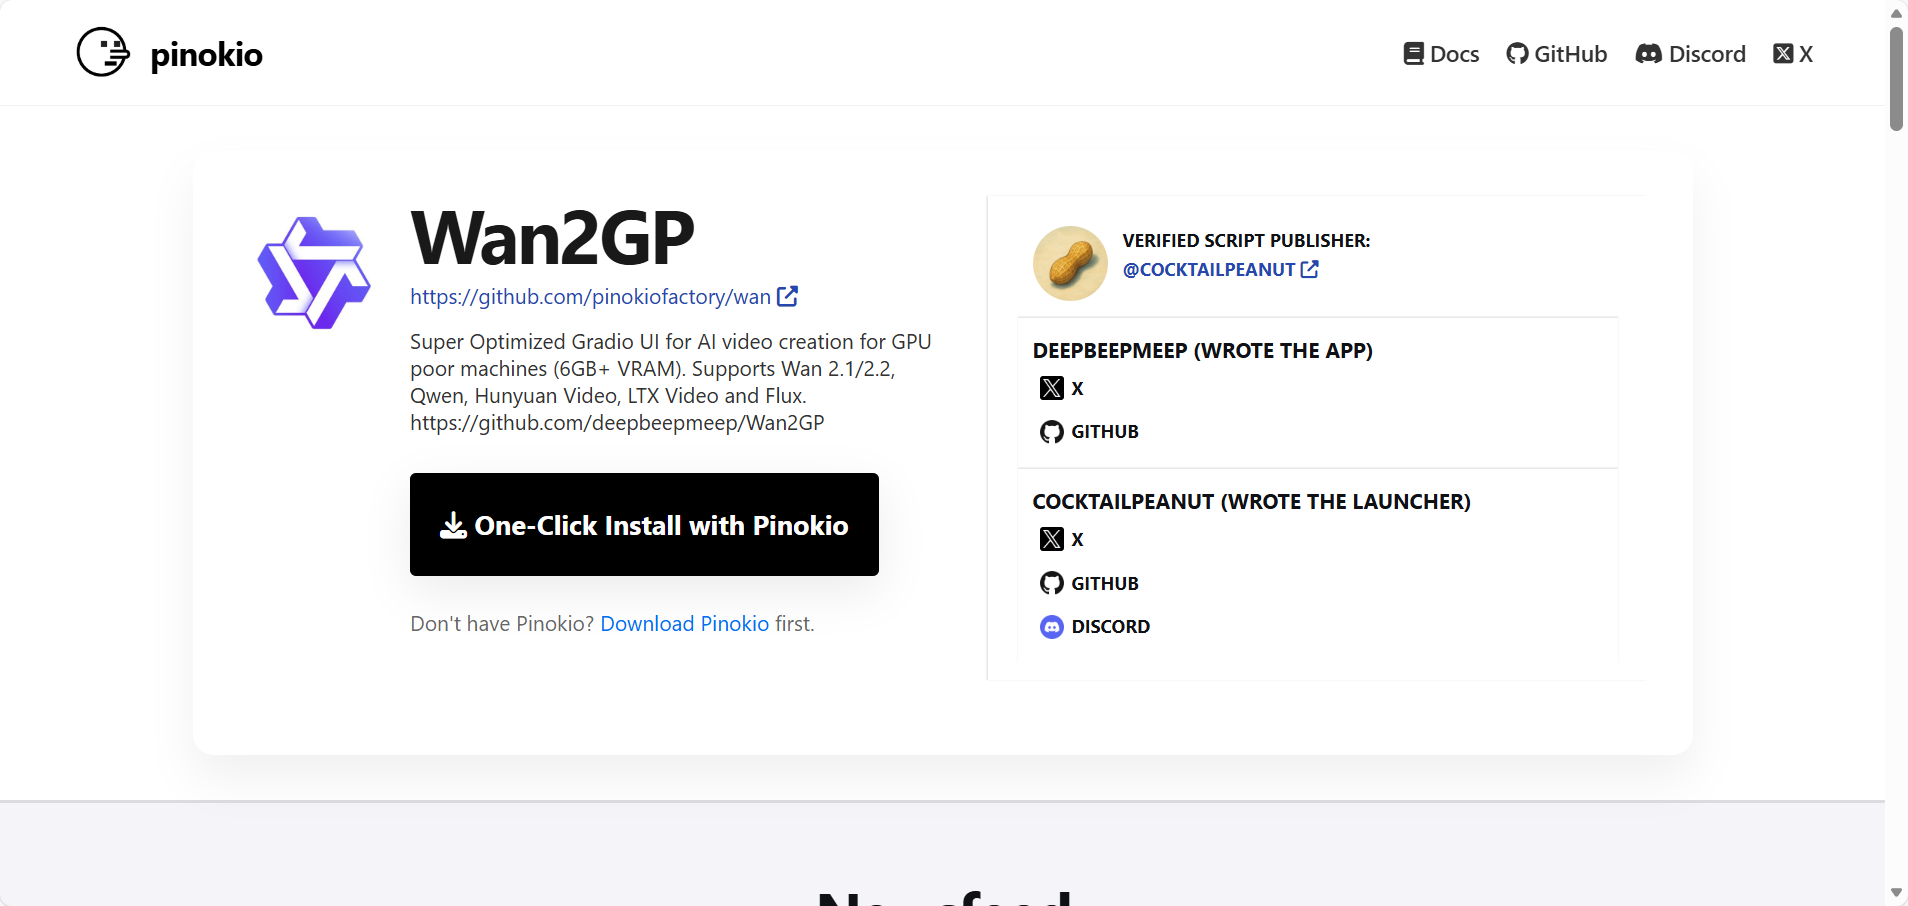
Next, while Pinokio is running, go to https://pinokio.co/ click on “Wan2GP” and one the next page on “One-Click Install with Pinokio”.
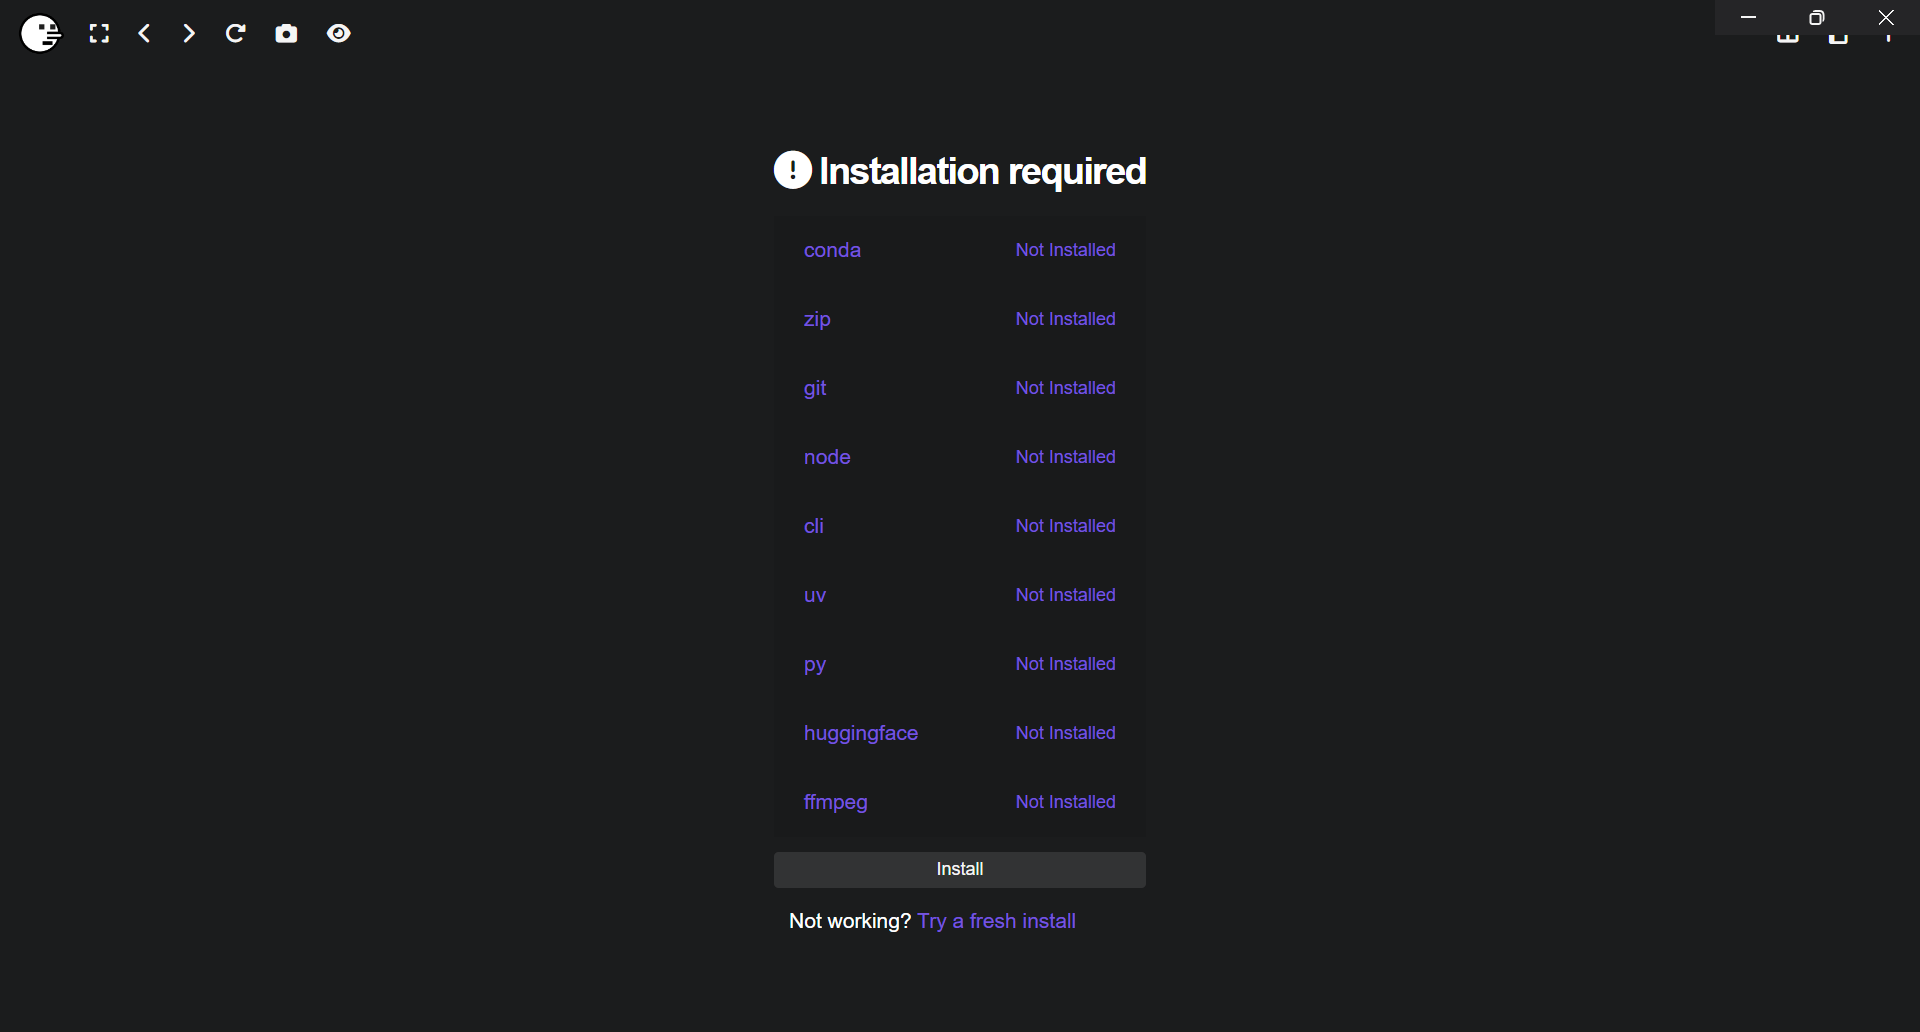
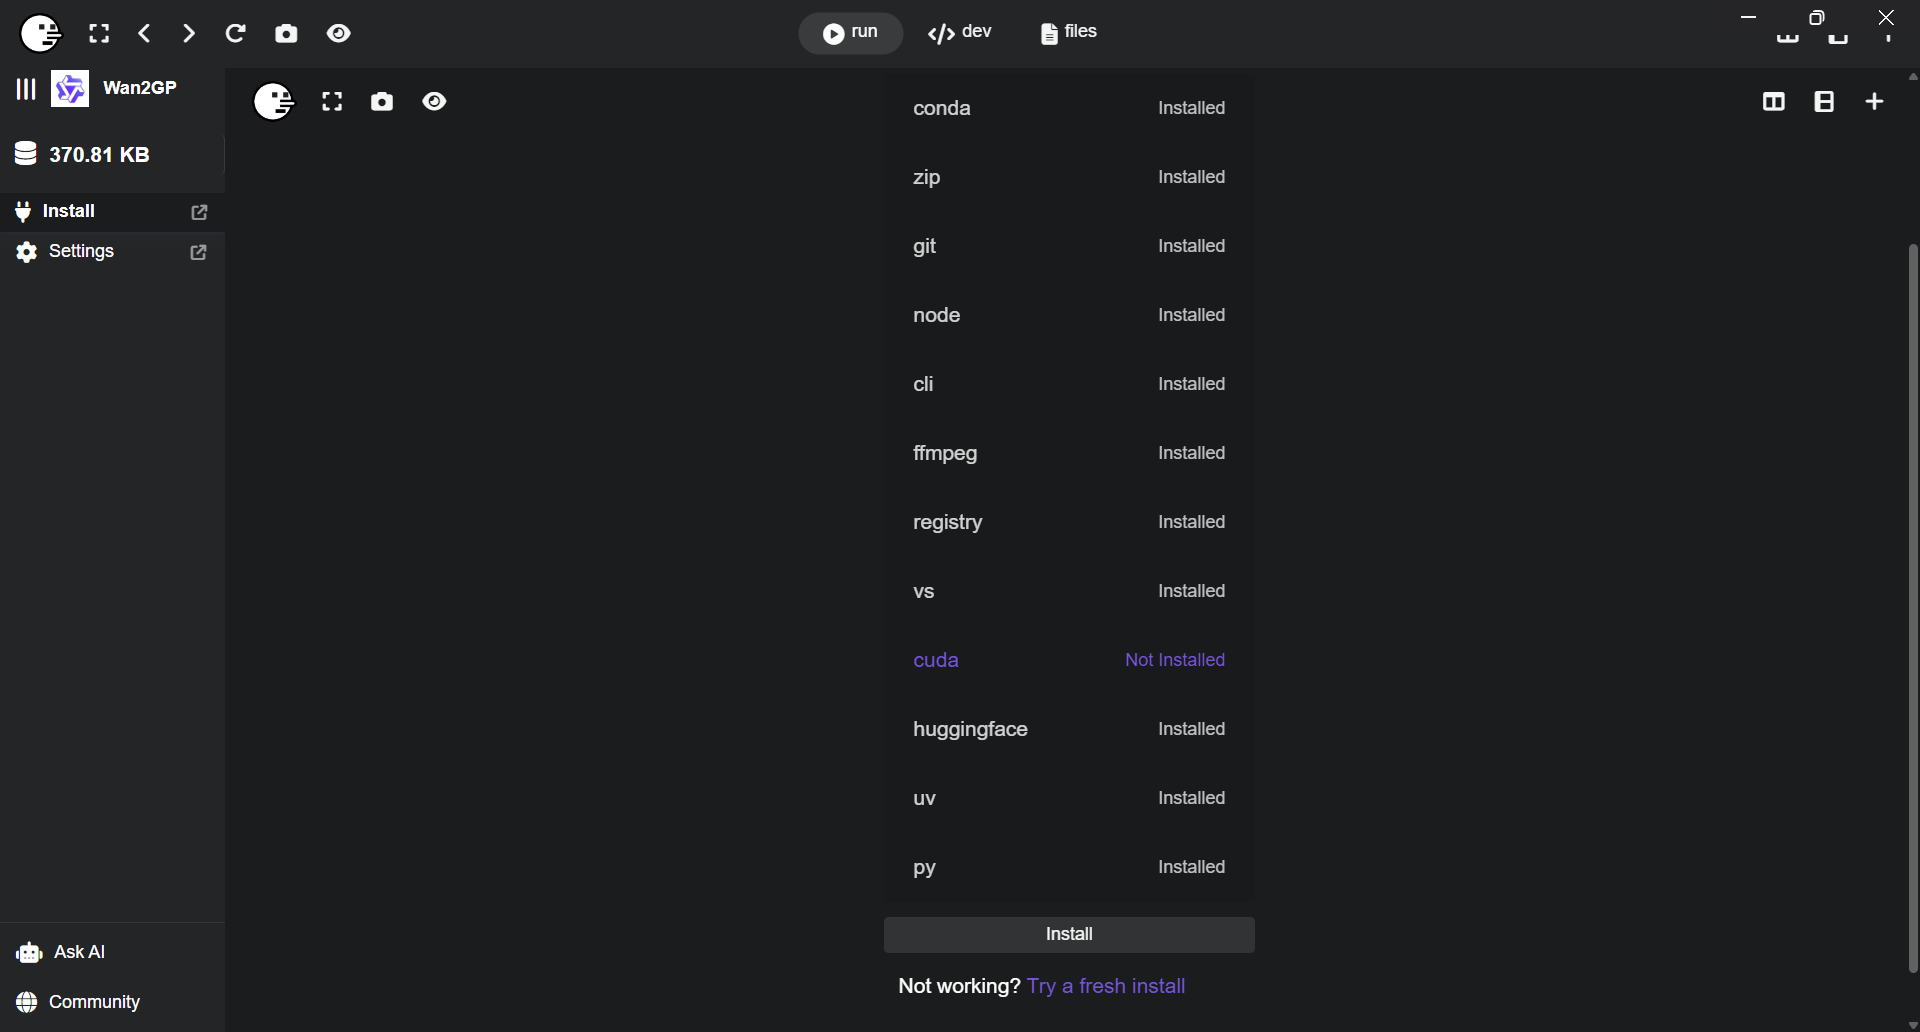
Allow the browser to open Pinokio. You’ll then see a list of required software you need to install.
Click on the Install button. This will now take a pretty long time to download and install all requirements.
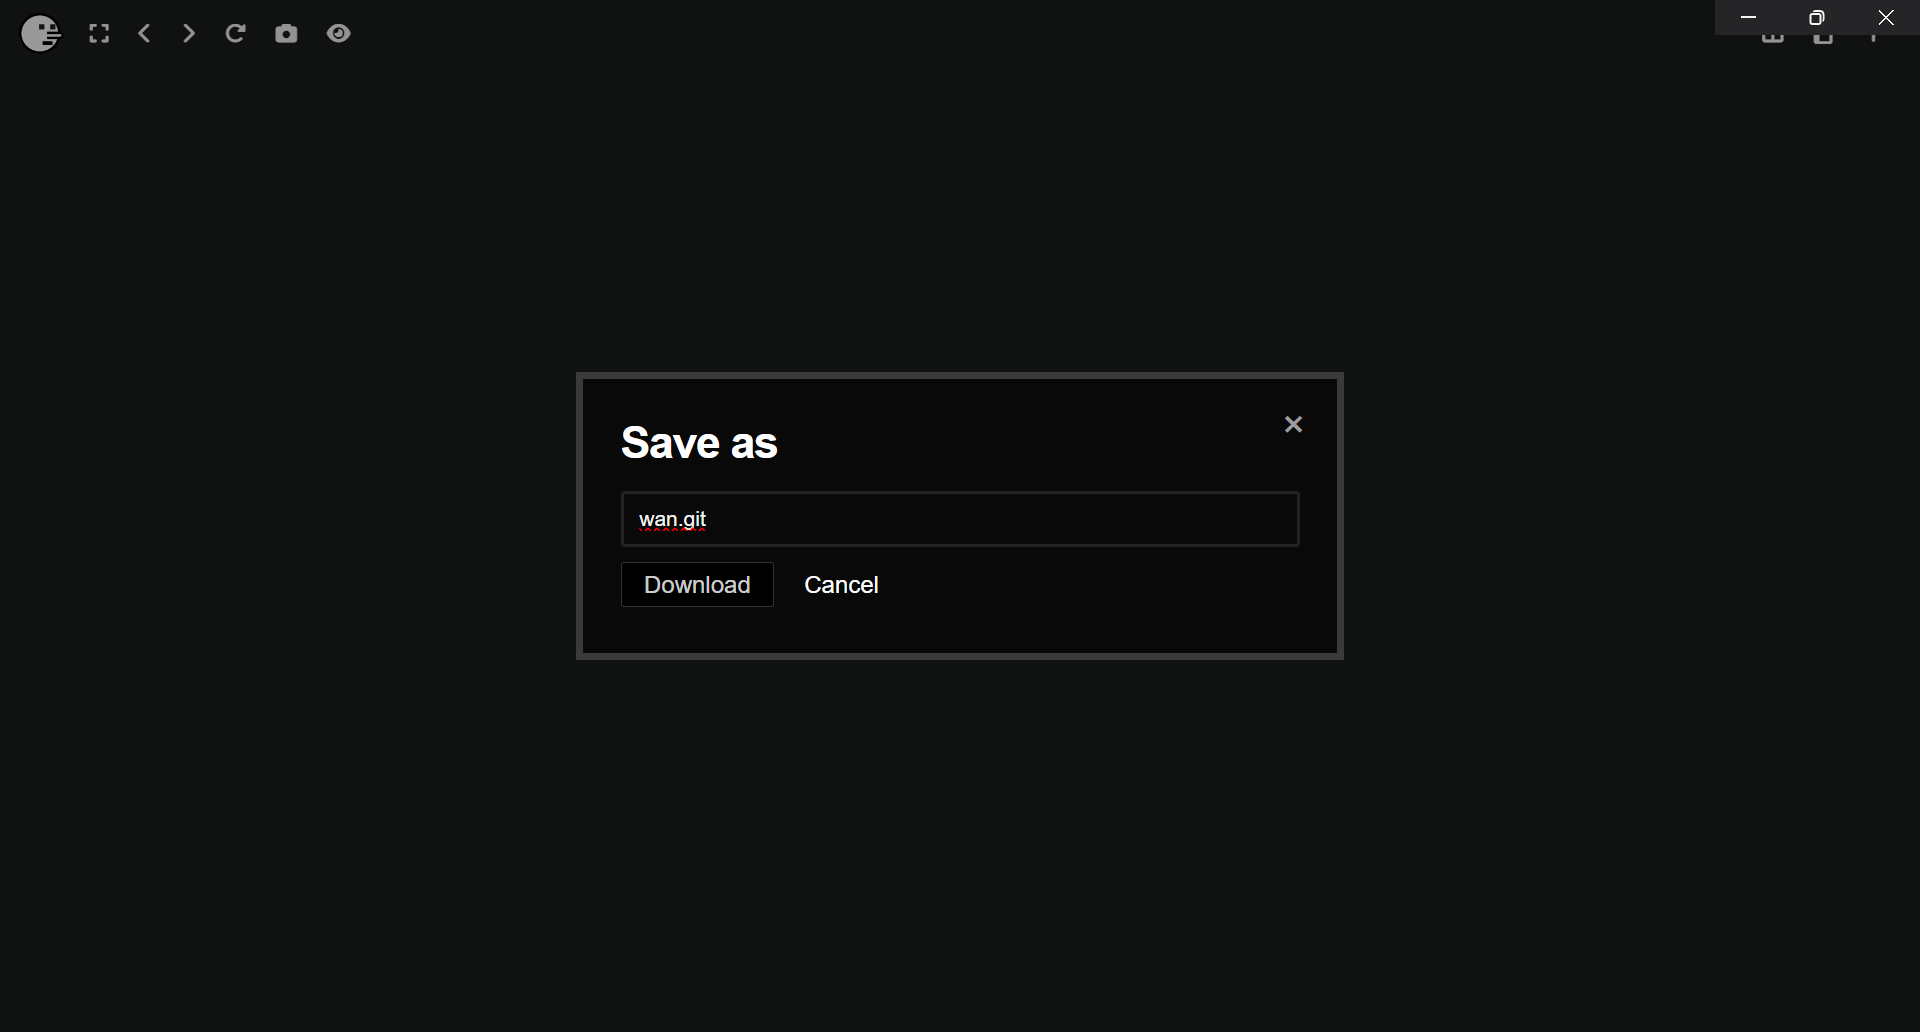
After a while a pop-up will ask you how you want to name the Wan2GP installation. You can leave it as wan.git and click on Download.
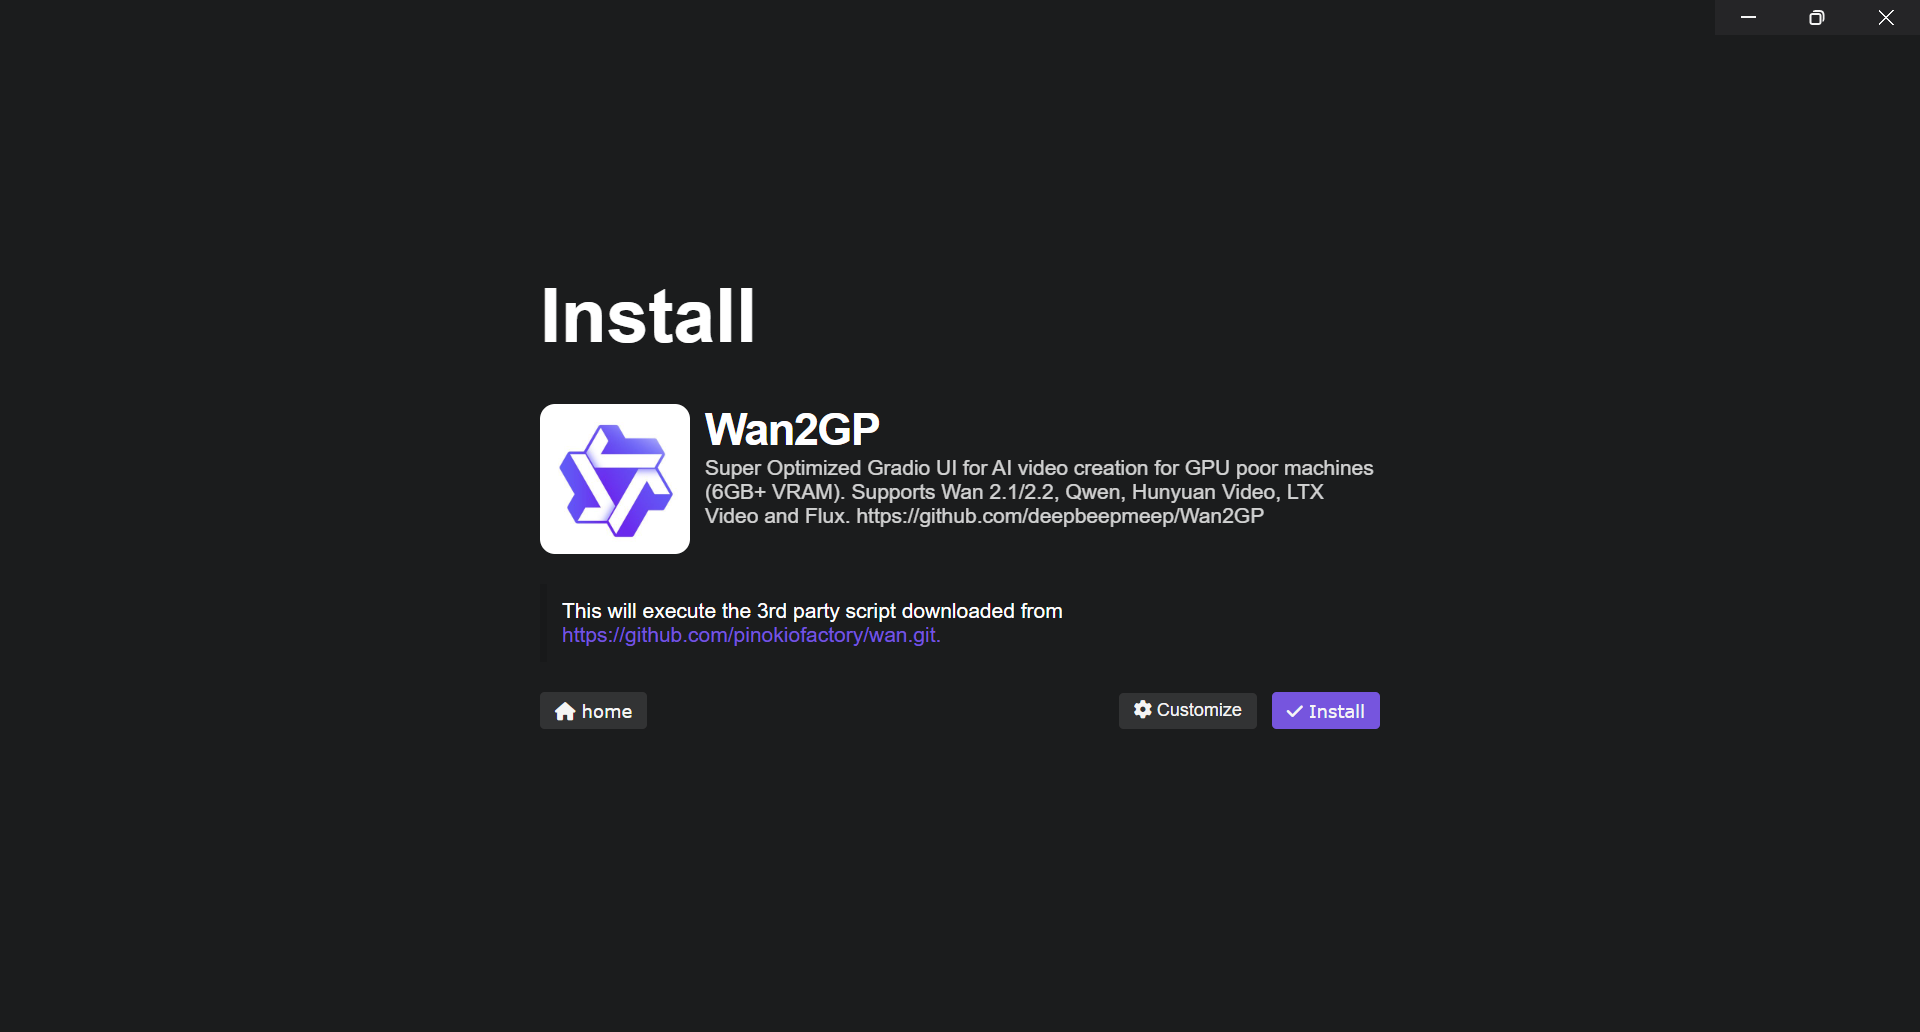
On the Install screen click on Customize.
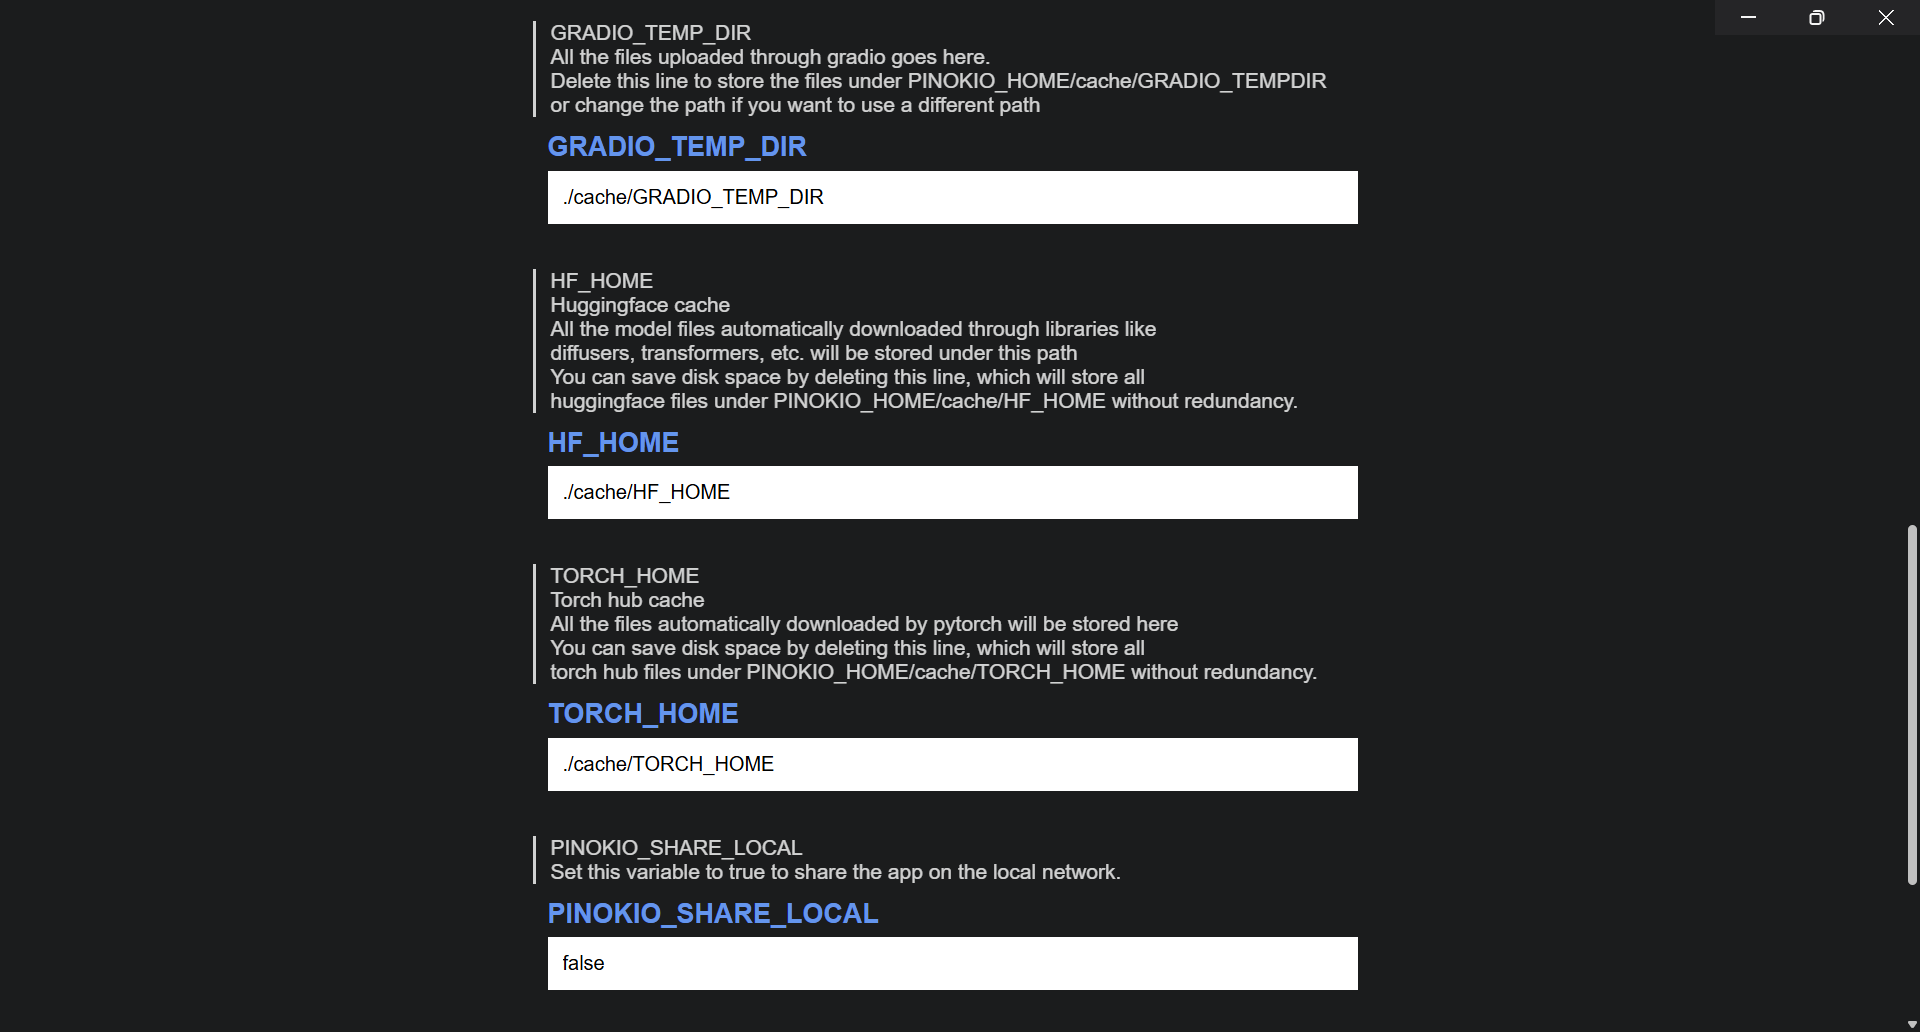
On the Customize screen there are three temporary paths for downloads from Gradio (browser user interface), Huggingface (online storage space for AI models) and Torch (deep learning library). Pinkio defaults them to ./cache/ inside the /api/wan.git project folder. If you want to save space and share files with other projects you can delete these lines. This will move the cache folder to the main Pinokio folder. If you want to try out other projects which use the same files and don’t have a lot of SSD storage, this is recommended. Just the base installation of Pinokio and Wan2GP will take up about 35 GBs, without any video models downloaded, which come on top.
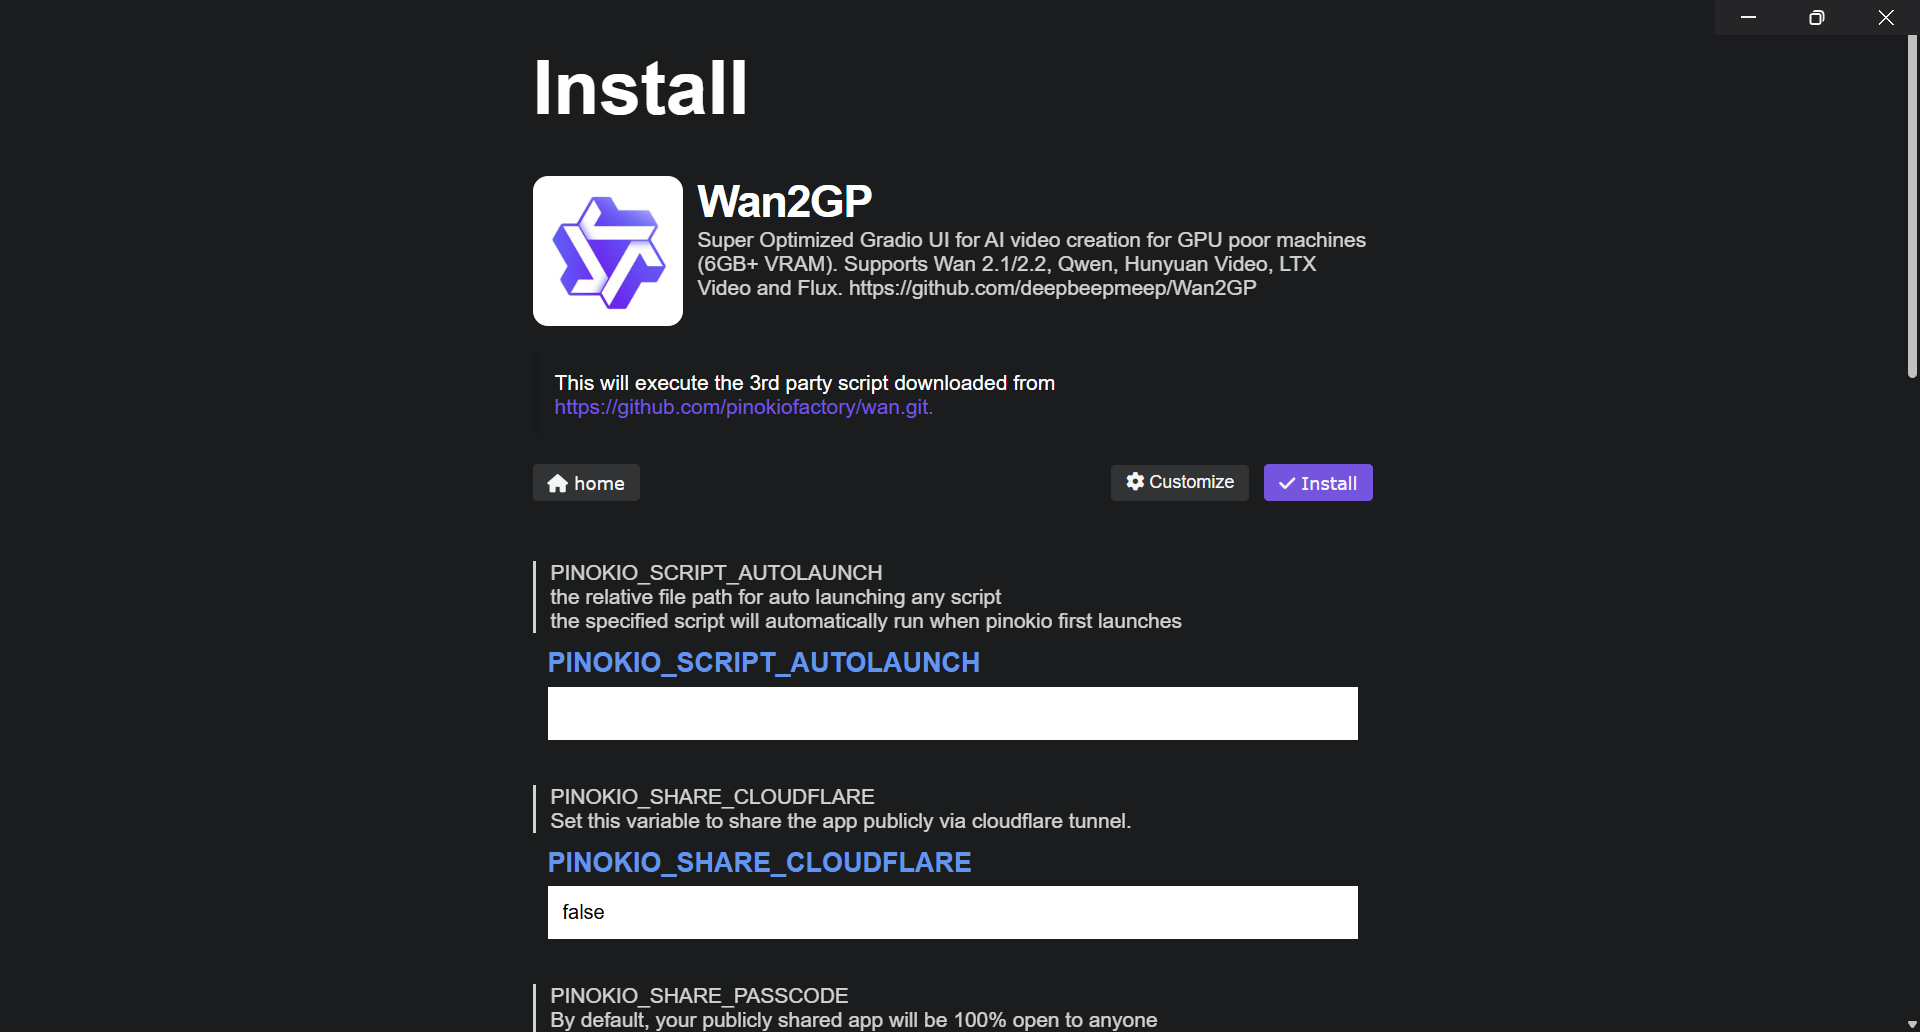
Next, click on the Install button at the top.
Next, the project window for Wan2GP inside Pinokio will open. If still some requirements are missing, for example CUDA, click on Install. Again, these might be multiple GBs of data and can take a while.
After the requirements are installed you see the message, that Pinokio was disconnected. You should see a start button at the top of the console while Install is highlighted in the menu on the left side. This means you can start the install of Wan2GP. Click on the Start button to start the installation of Wan2GP. Again, this will take a while.
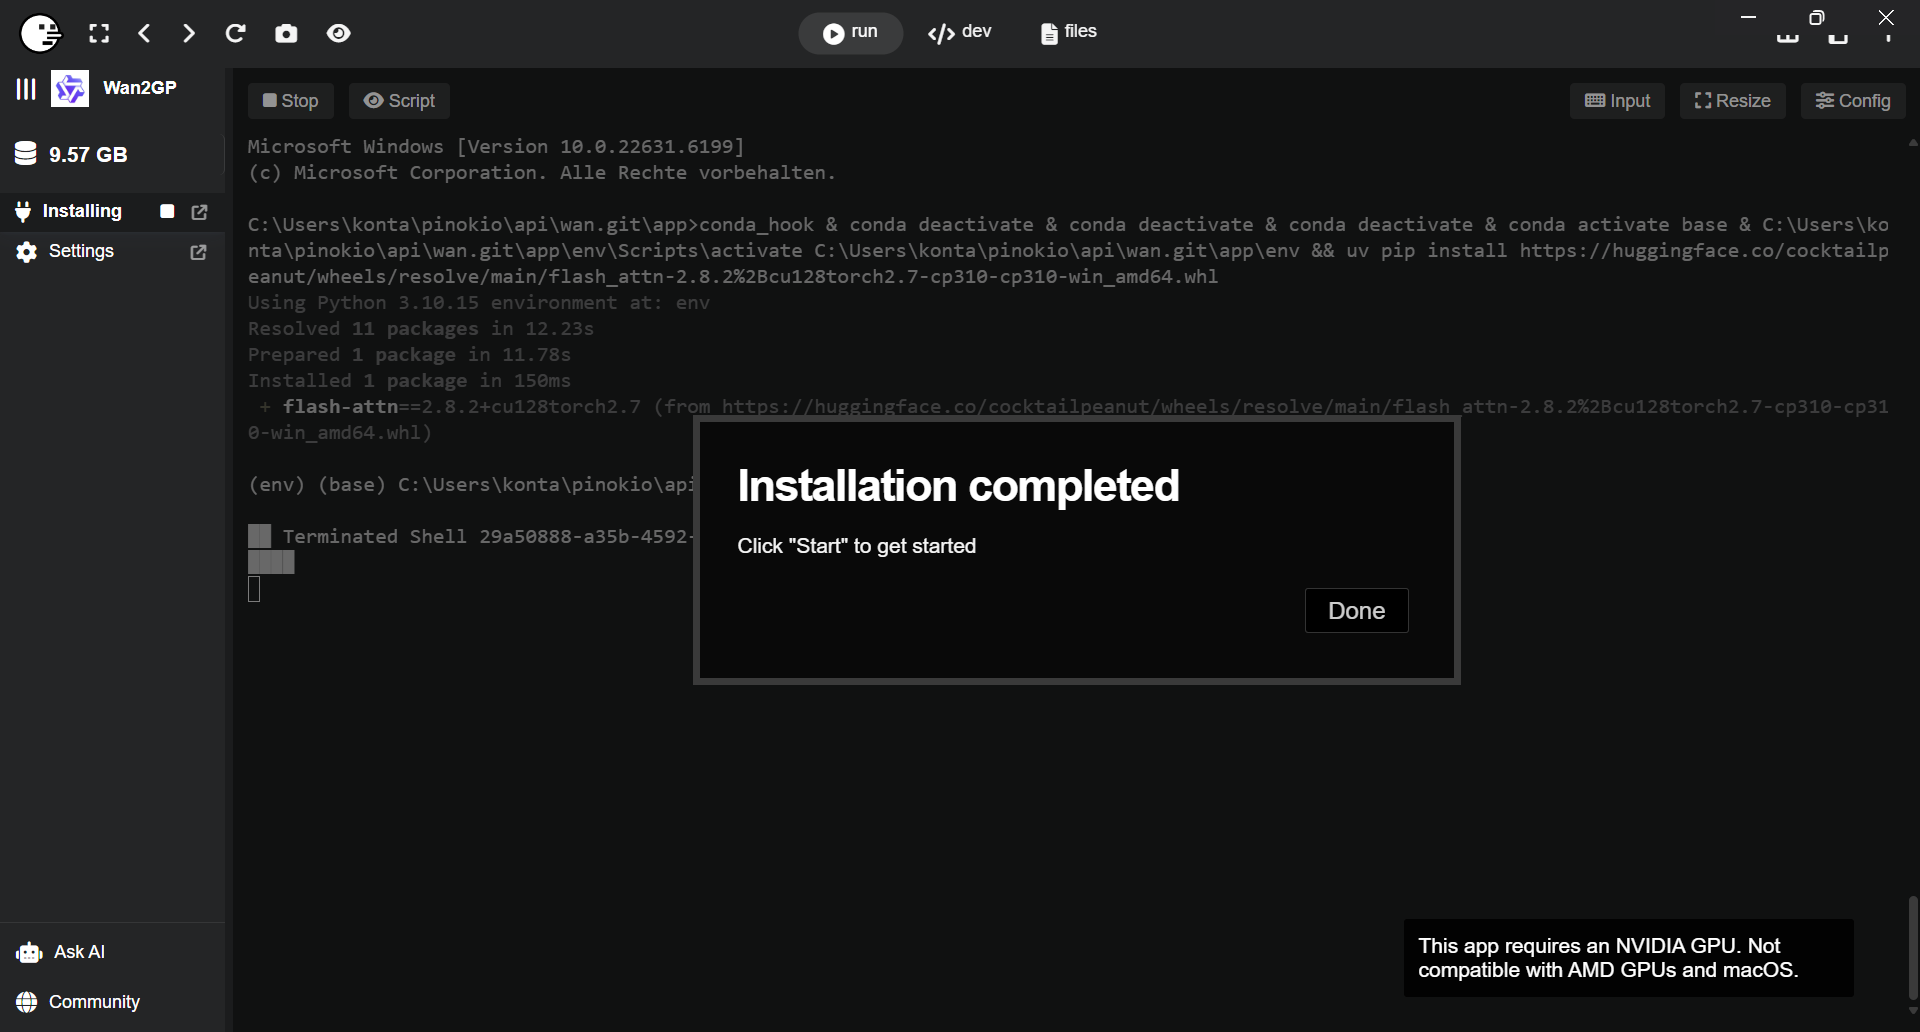
After the installation has finished you see this screen. Click on Done.
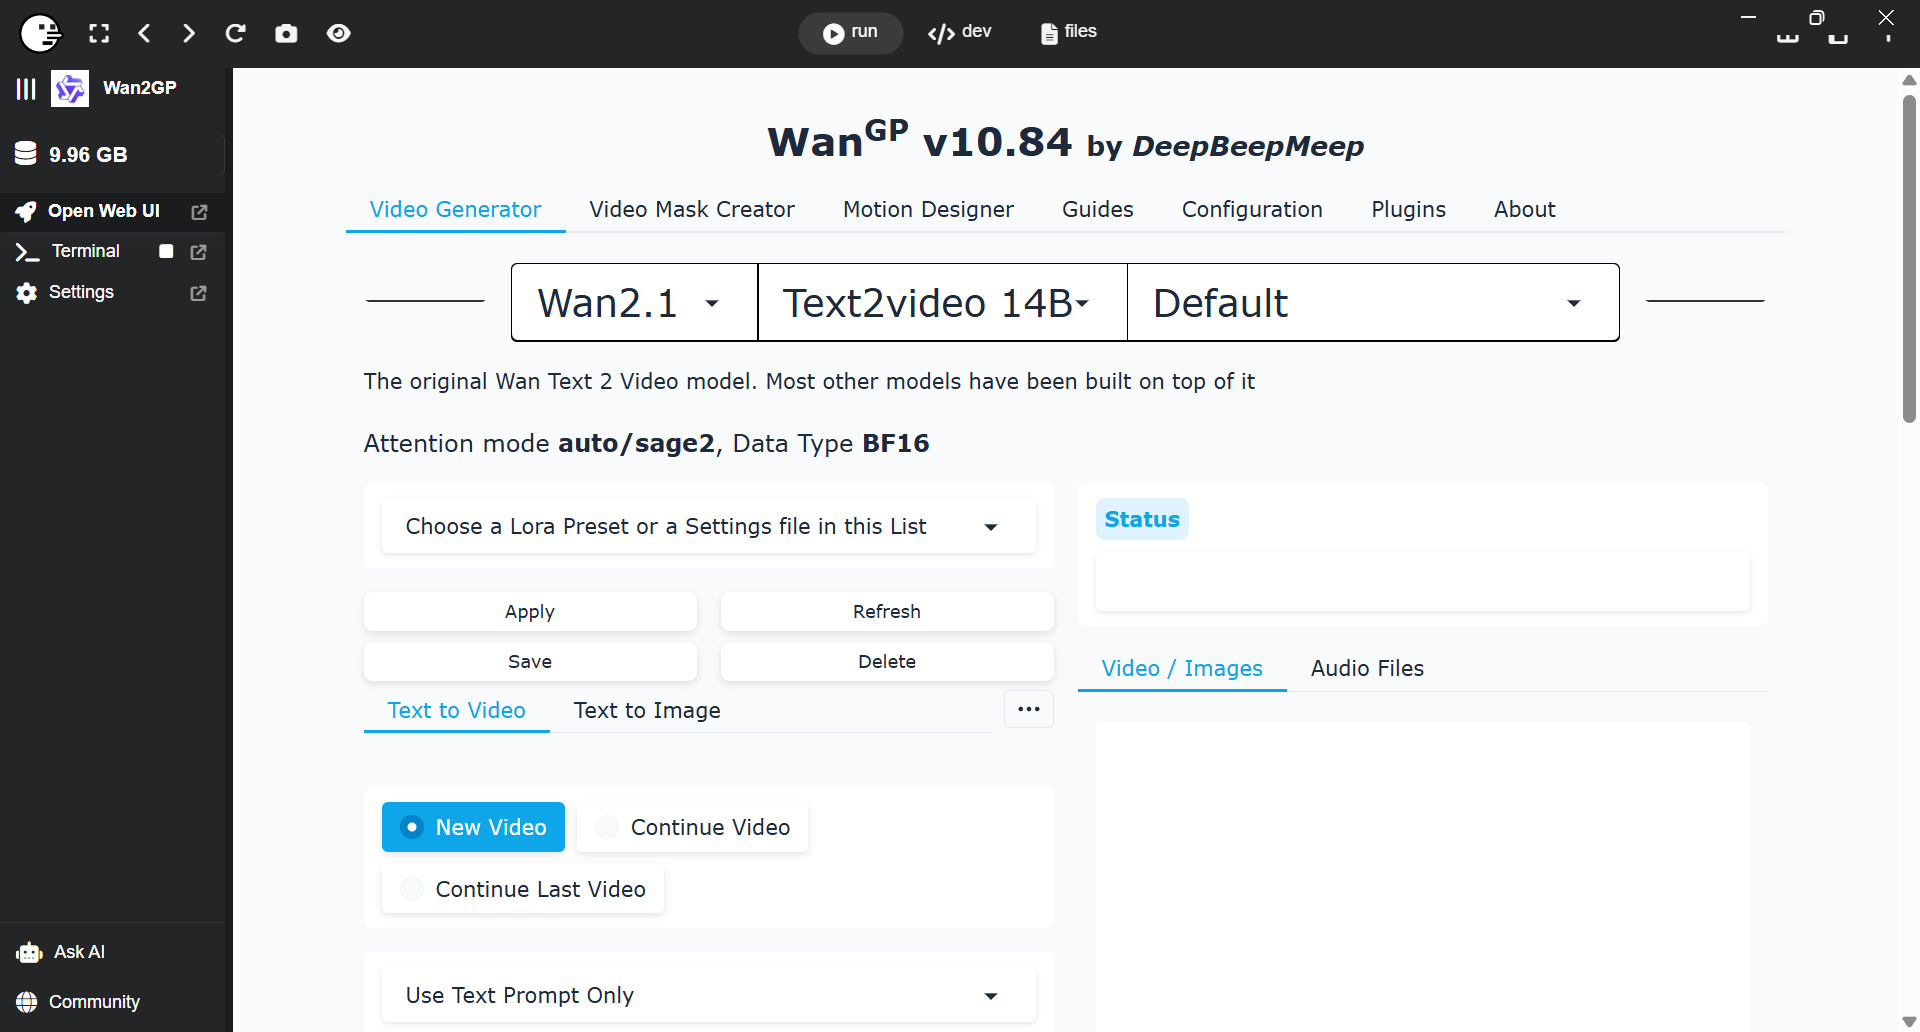
Click on Start in the left menu, to run Wan2GP. The start-up will take some time, it might need to download more stuff. After that, you’ll see the Wan2GP browser interface inside Pinkio.
You can switch to a web browser by clicking on the small icon right next to Open Web UI and only watch the terminal in Pinokio to see what happens in the background or to see error messages.
Inside Wan2GP you can change the RAM/VRAM profiles under the configurations. This is very important, depending on your computers hardware specifications. But like I mentioned above, some users reported issue with OOM-errors if they don’t use profile 1 in the configuration, which defeats the purpose of Wan2GP since the other profiles allow for much lower RAM and VRAM requirements.
On the main site you can now select an LTX-2 model and simply try it out with the example prompt. The model will be downloaded if you run the first generation. This will again download dozens of GBs of model files.
The good thing about Pinokio is, that everything is contained inside its folder. If you want to delete Wan2GP, simply delete the wan.git folder inside the api subdirectory. If you want to delete Pinokio, simply delete the Pinokio folder.