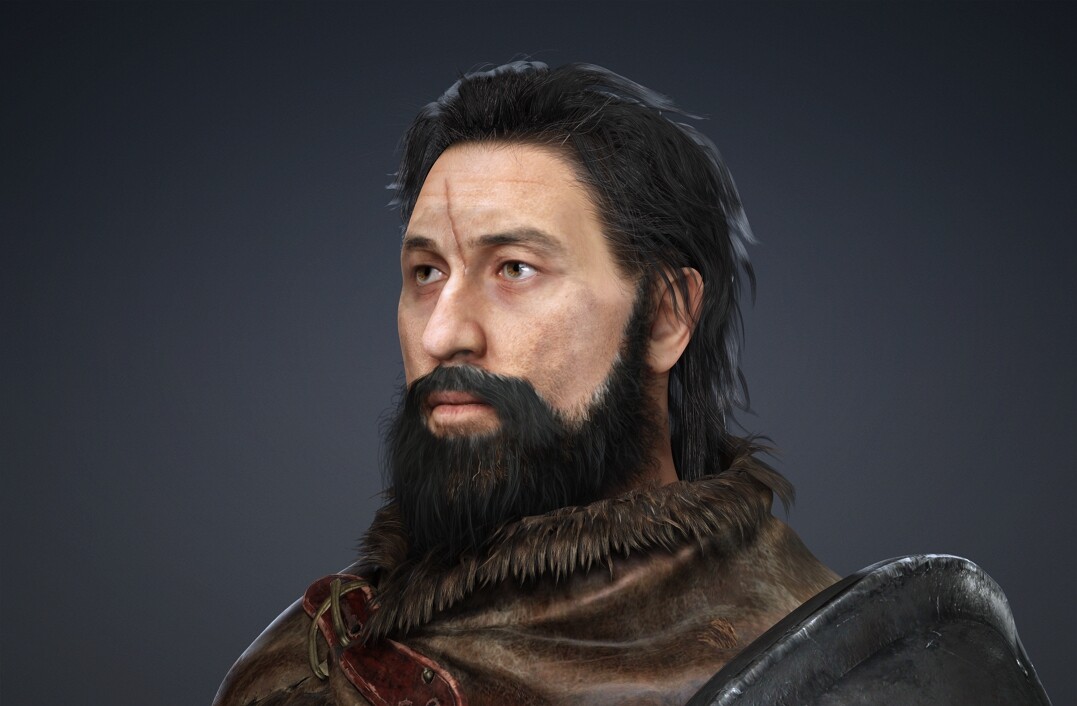
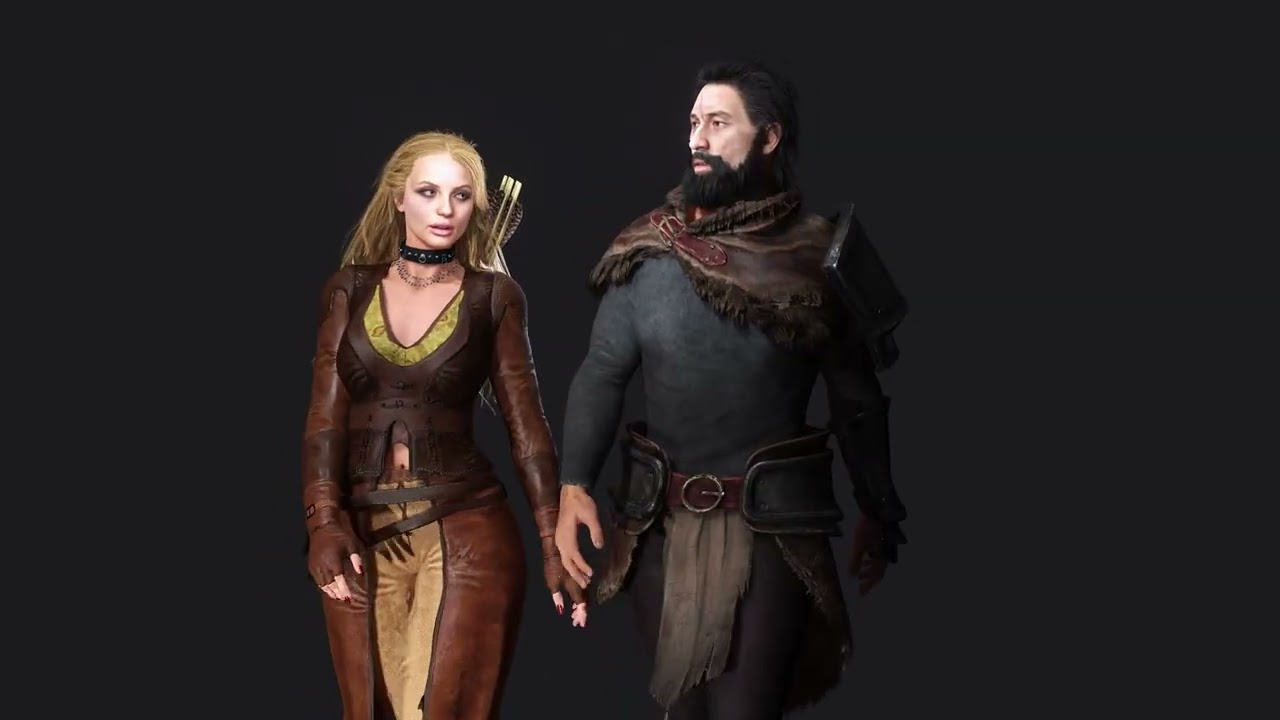
Want to keep generating after your free AI Image Generations run out? Here’s your chance to earn extra Bonus Points — just by sharing your work!
How It Works
Post your Headshot 3 creation in this thread and receive 500 Bonus Points ($5 value). Bonus Points can be used toward AI Image Generation credits after your free credits are used up.
It’s that simple — one submission, one reward.
What to Share
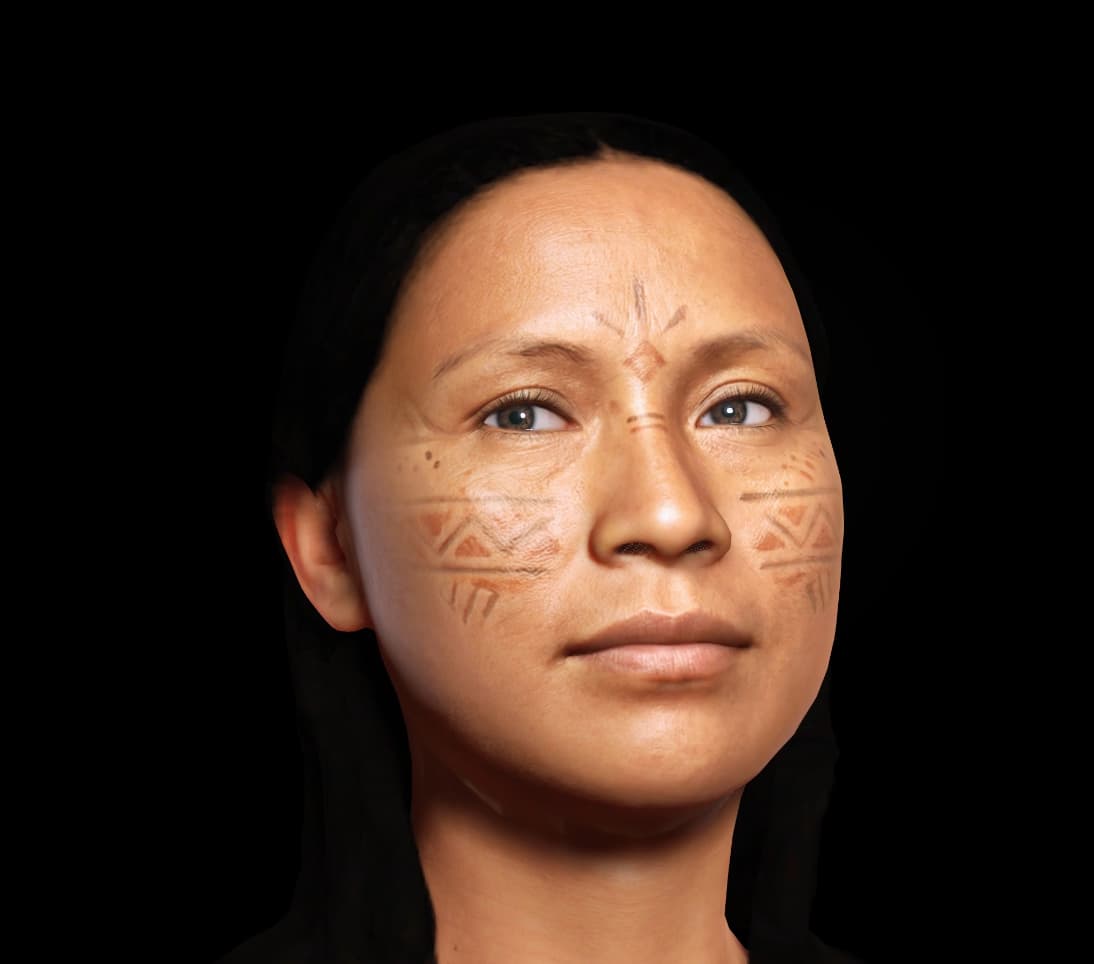
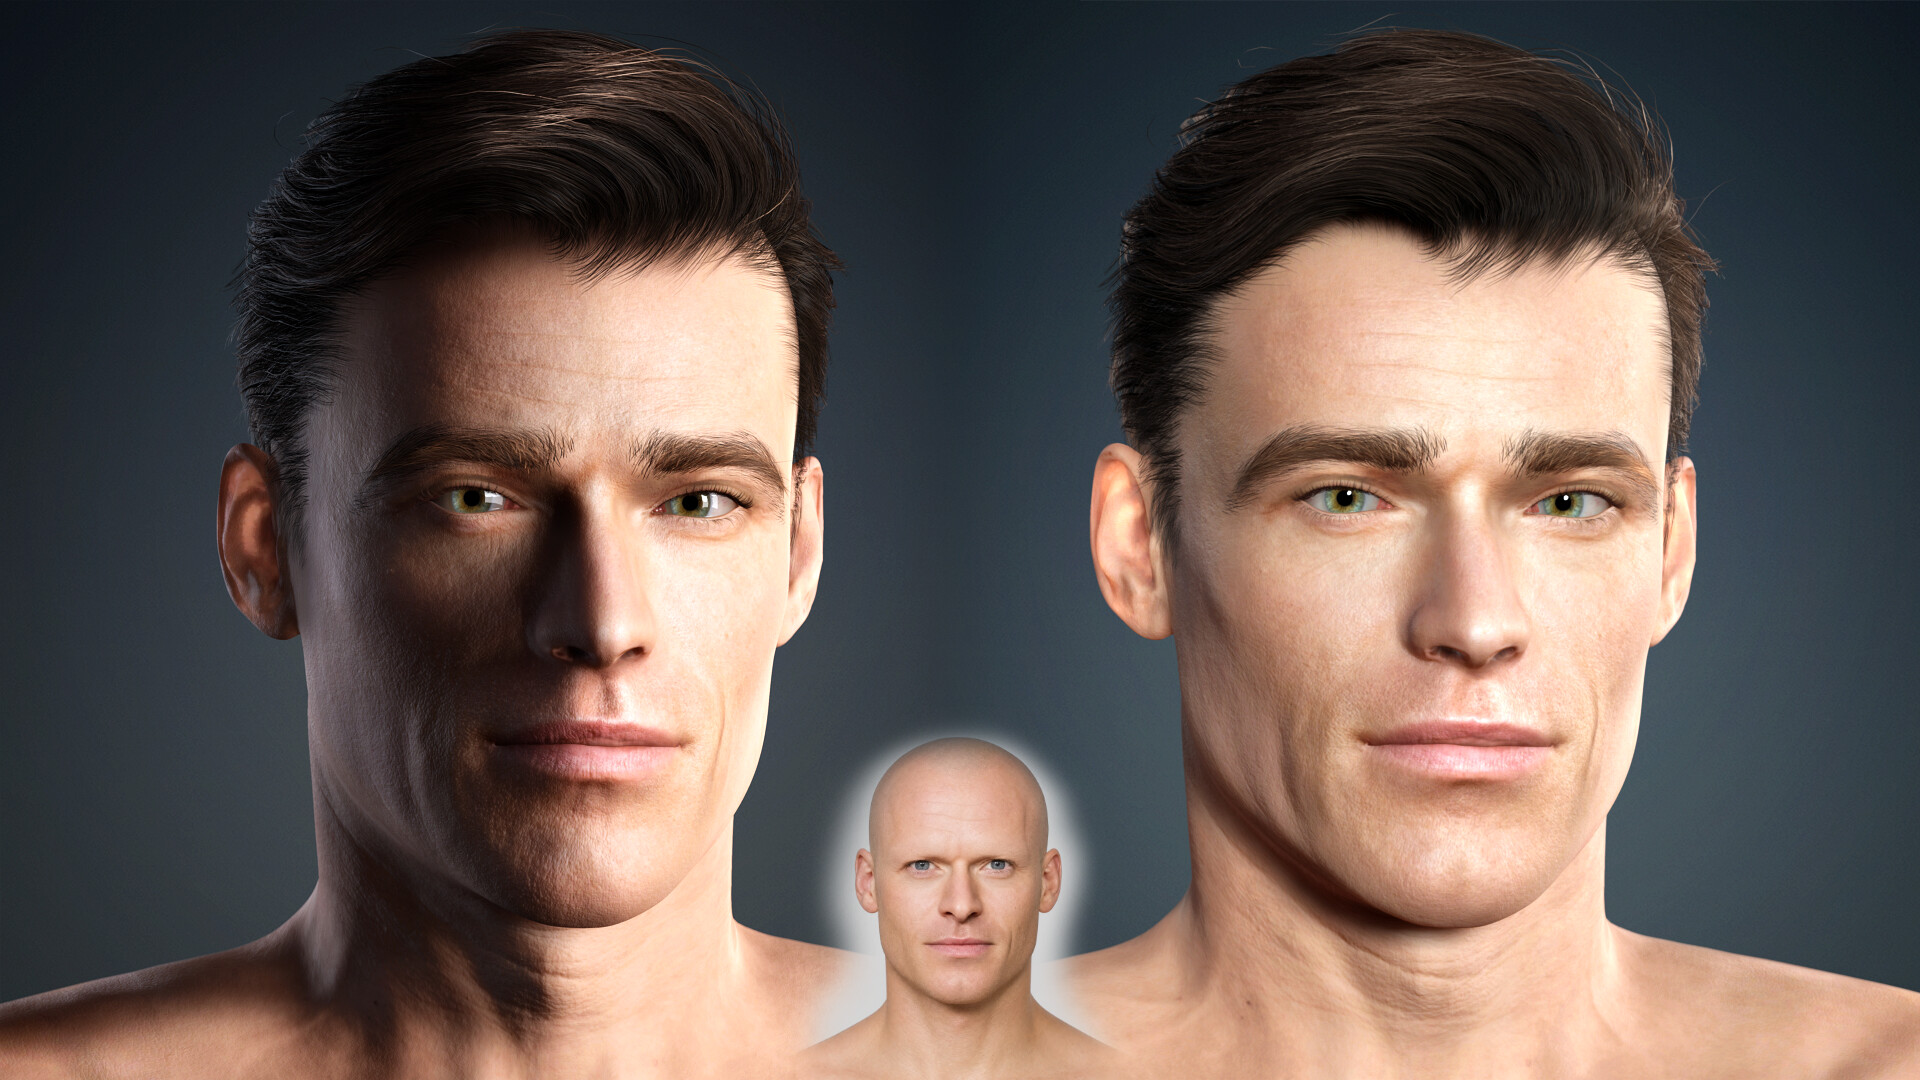
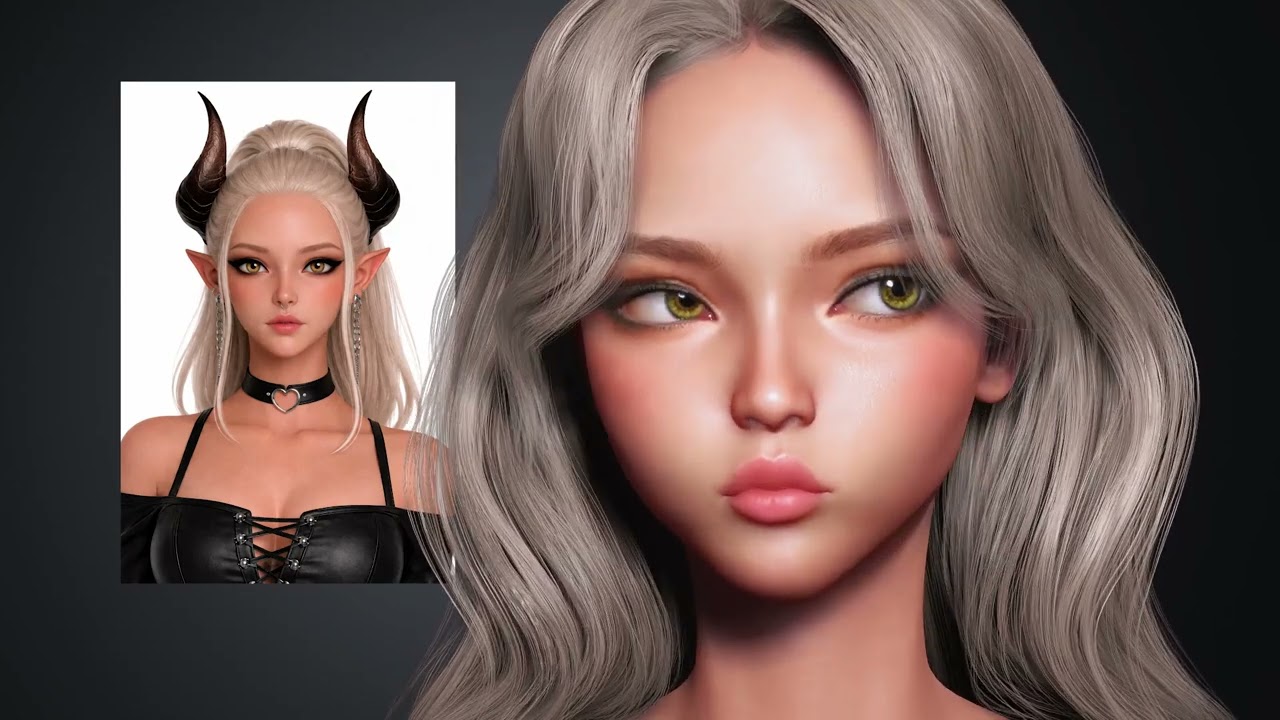
No matter image or video, any character created with Headshot 3 qualifies! Here are some examples for inspiration:
Realistic character
Stylized realistic character
Feel free to include a brief description of your workflow or settings used — the community would love to hear about your process!
Details
Submission deadline: May 31, 2026
Points credited to your account by: June 15, 2026
Bonus Points expiration: October 31, 2026
One submission per user.
Don’t Have Headshot 3 Yet?
The Early Bird Offer is still available — but only until May 31, 2026. Now is the best time to jump in and join the fun!
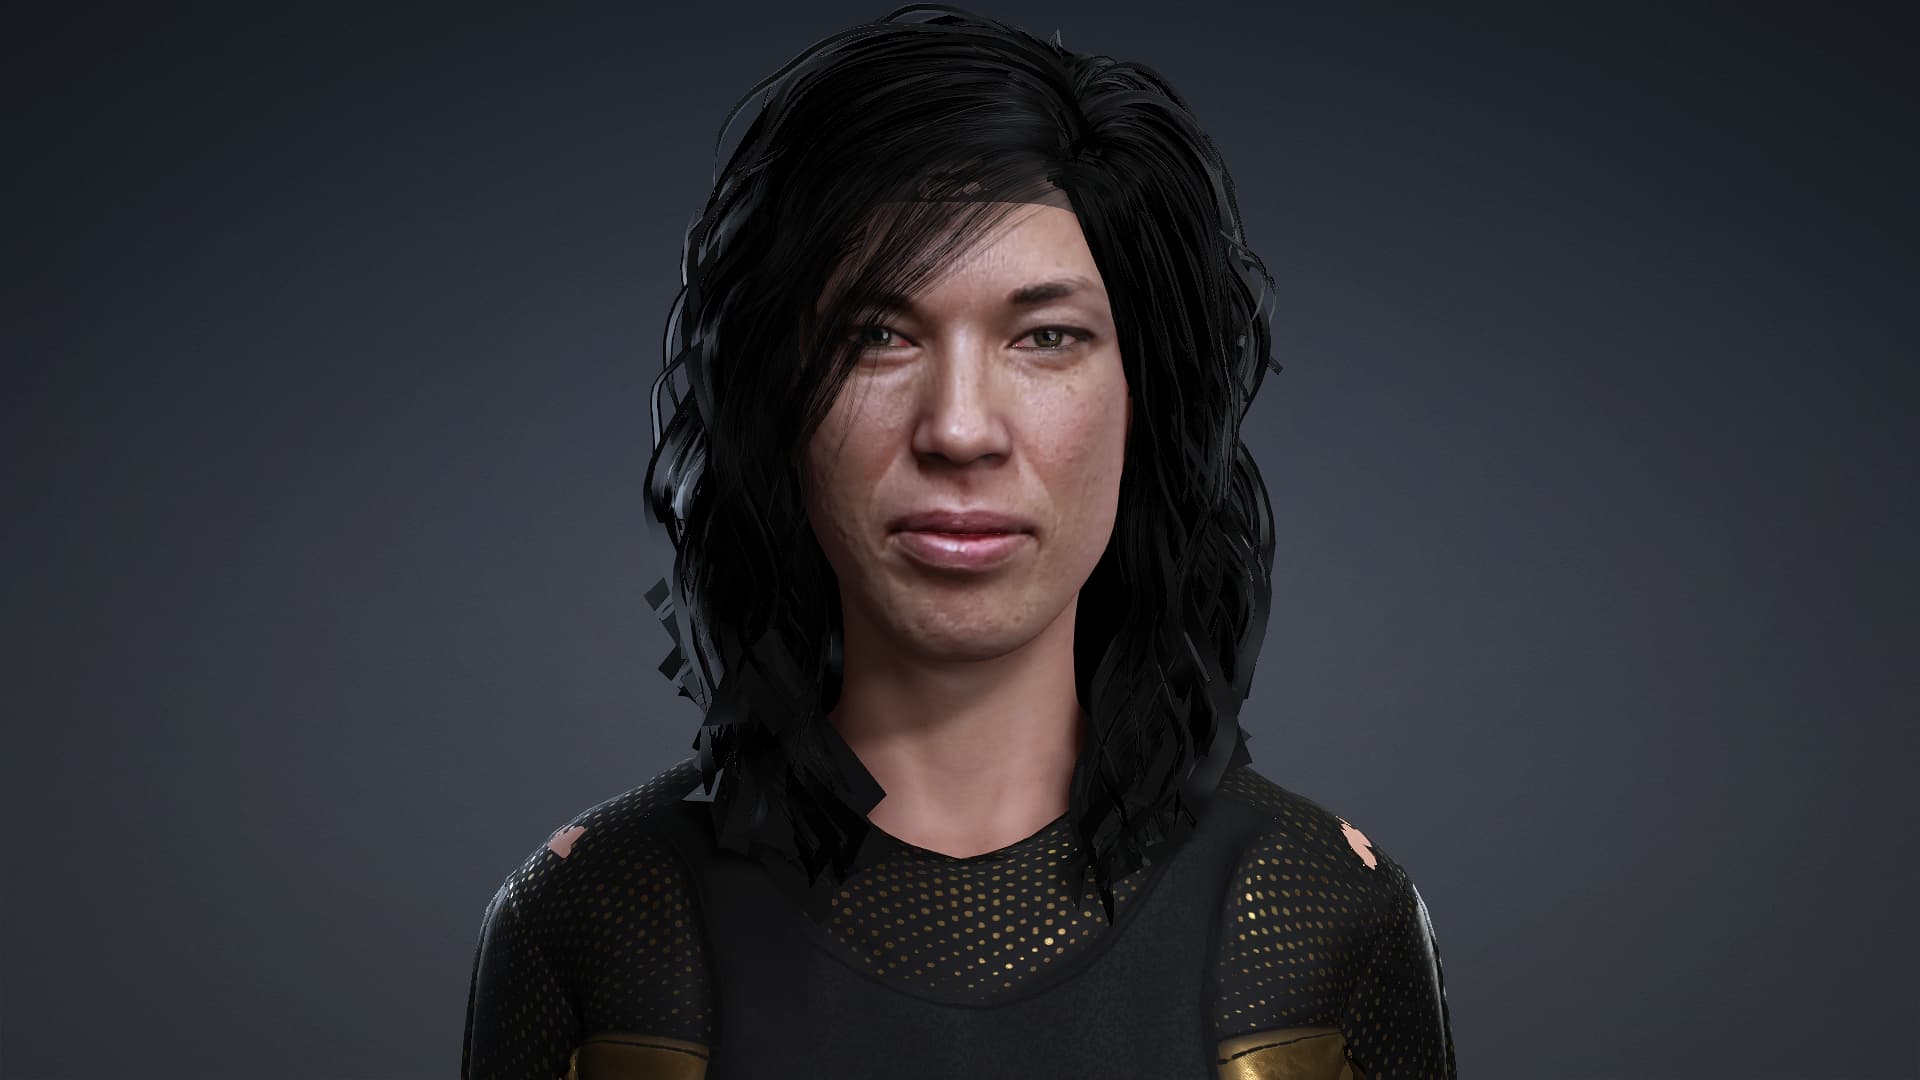
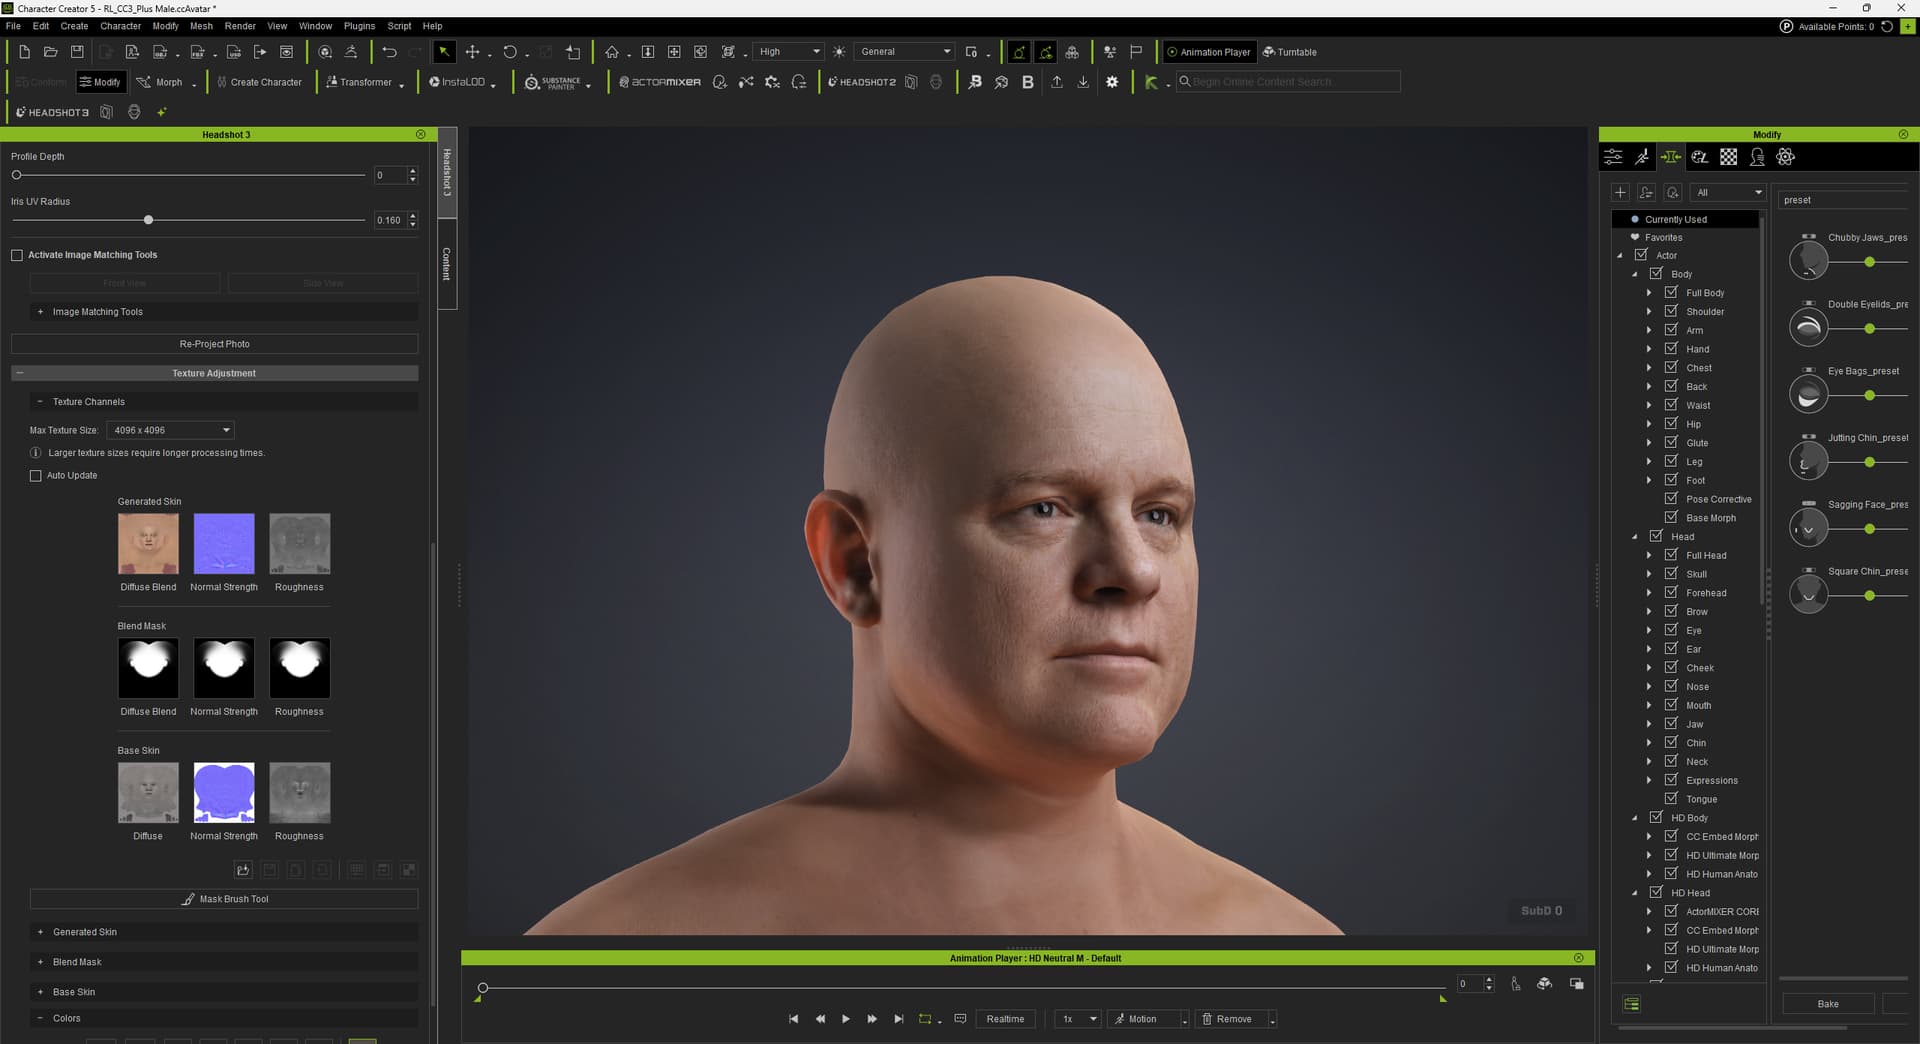
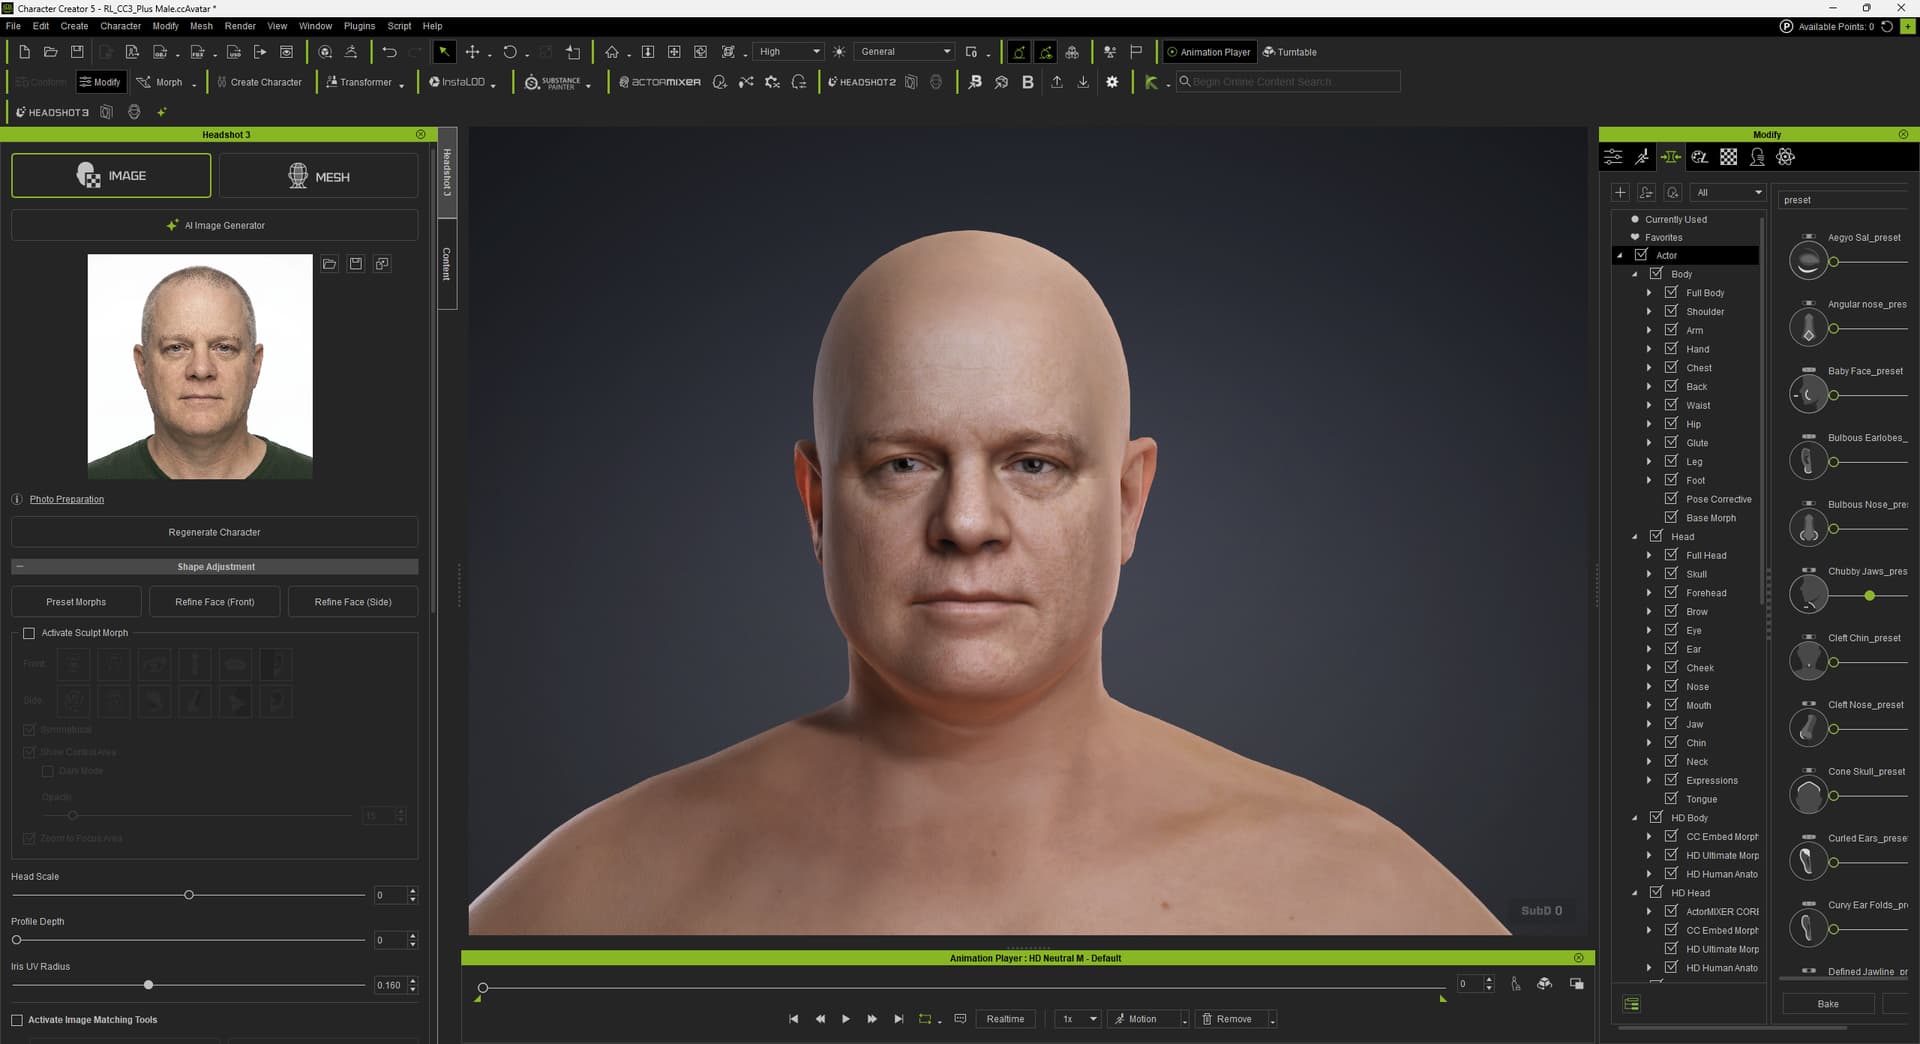
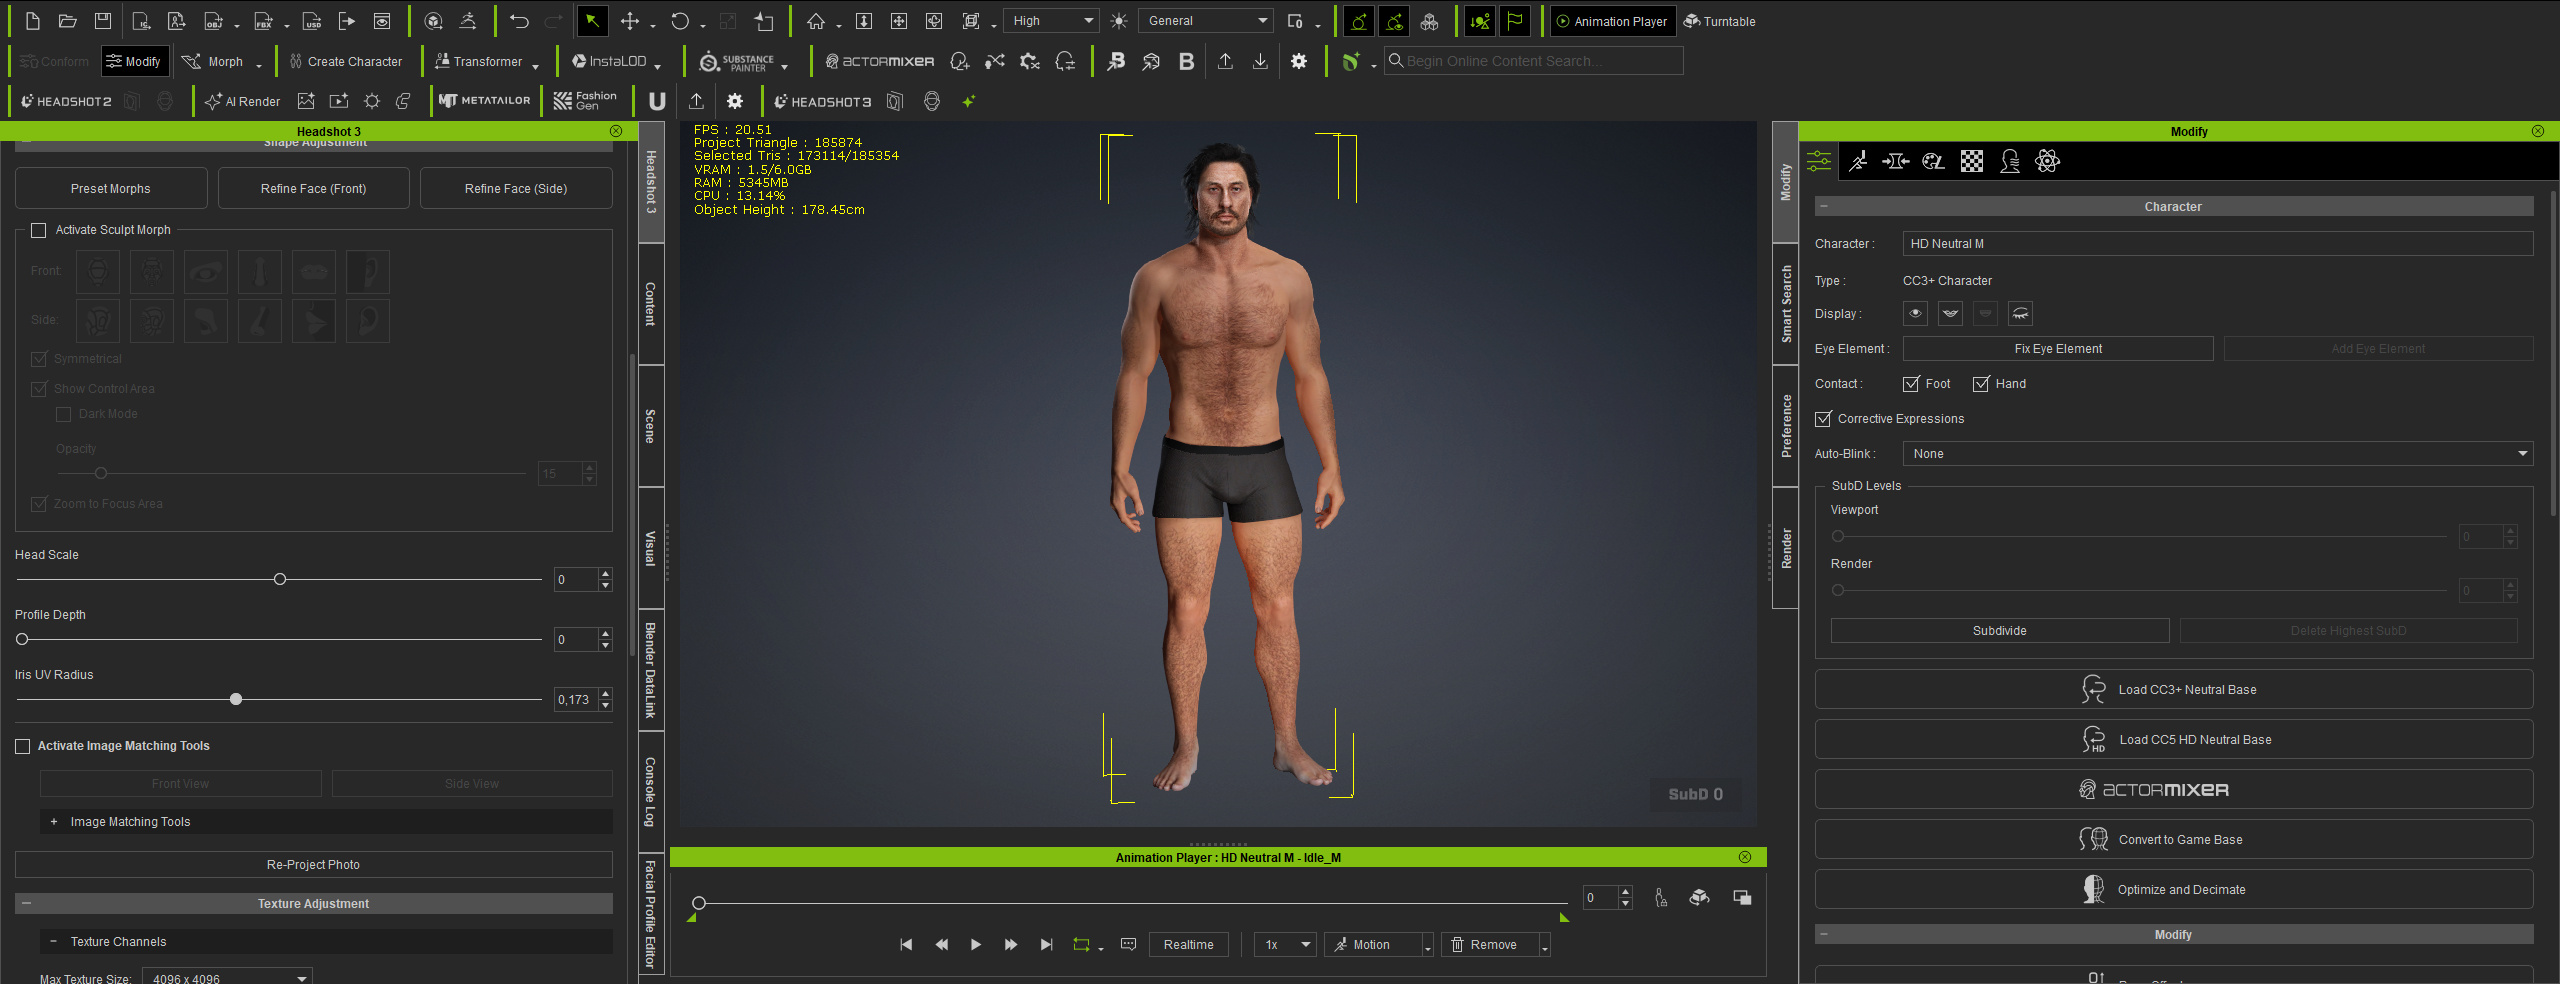
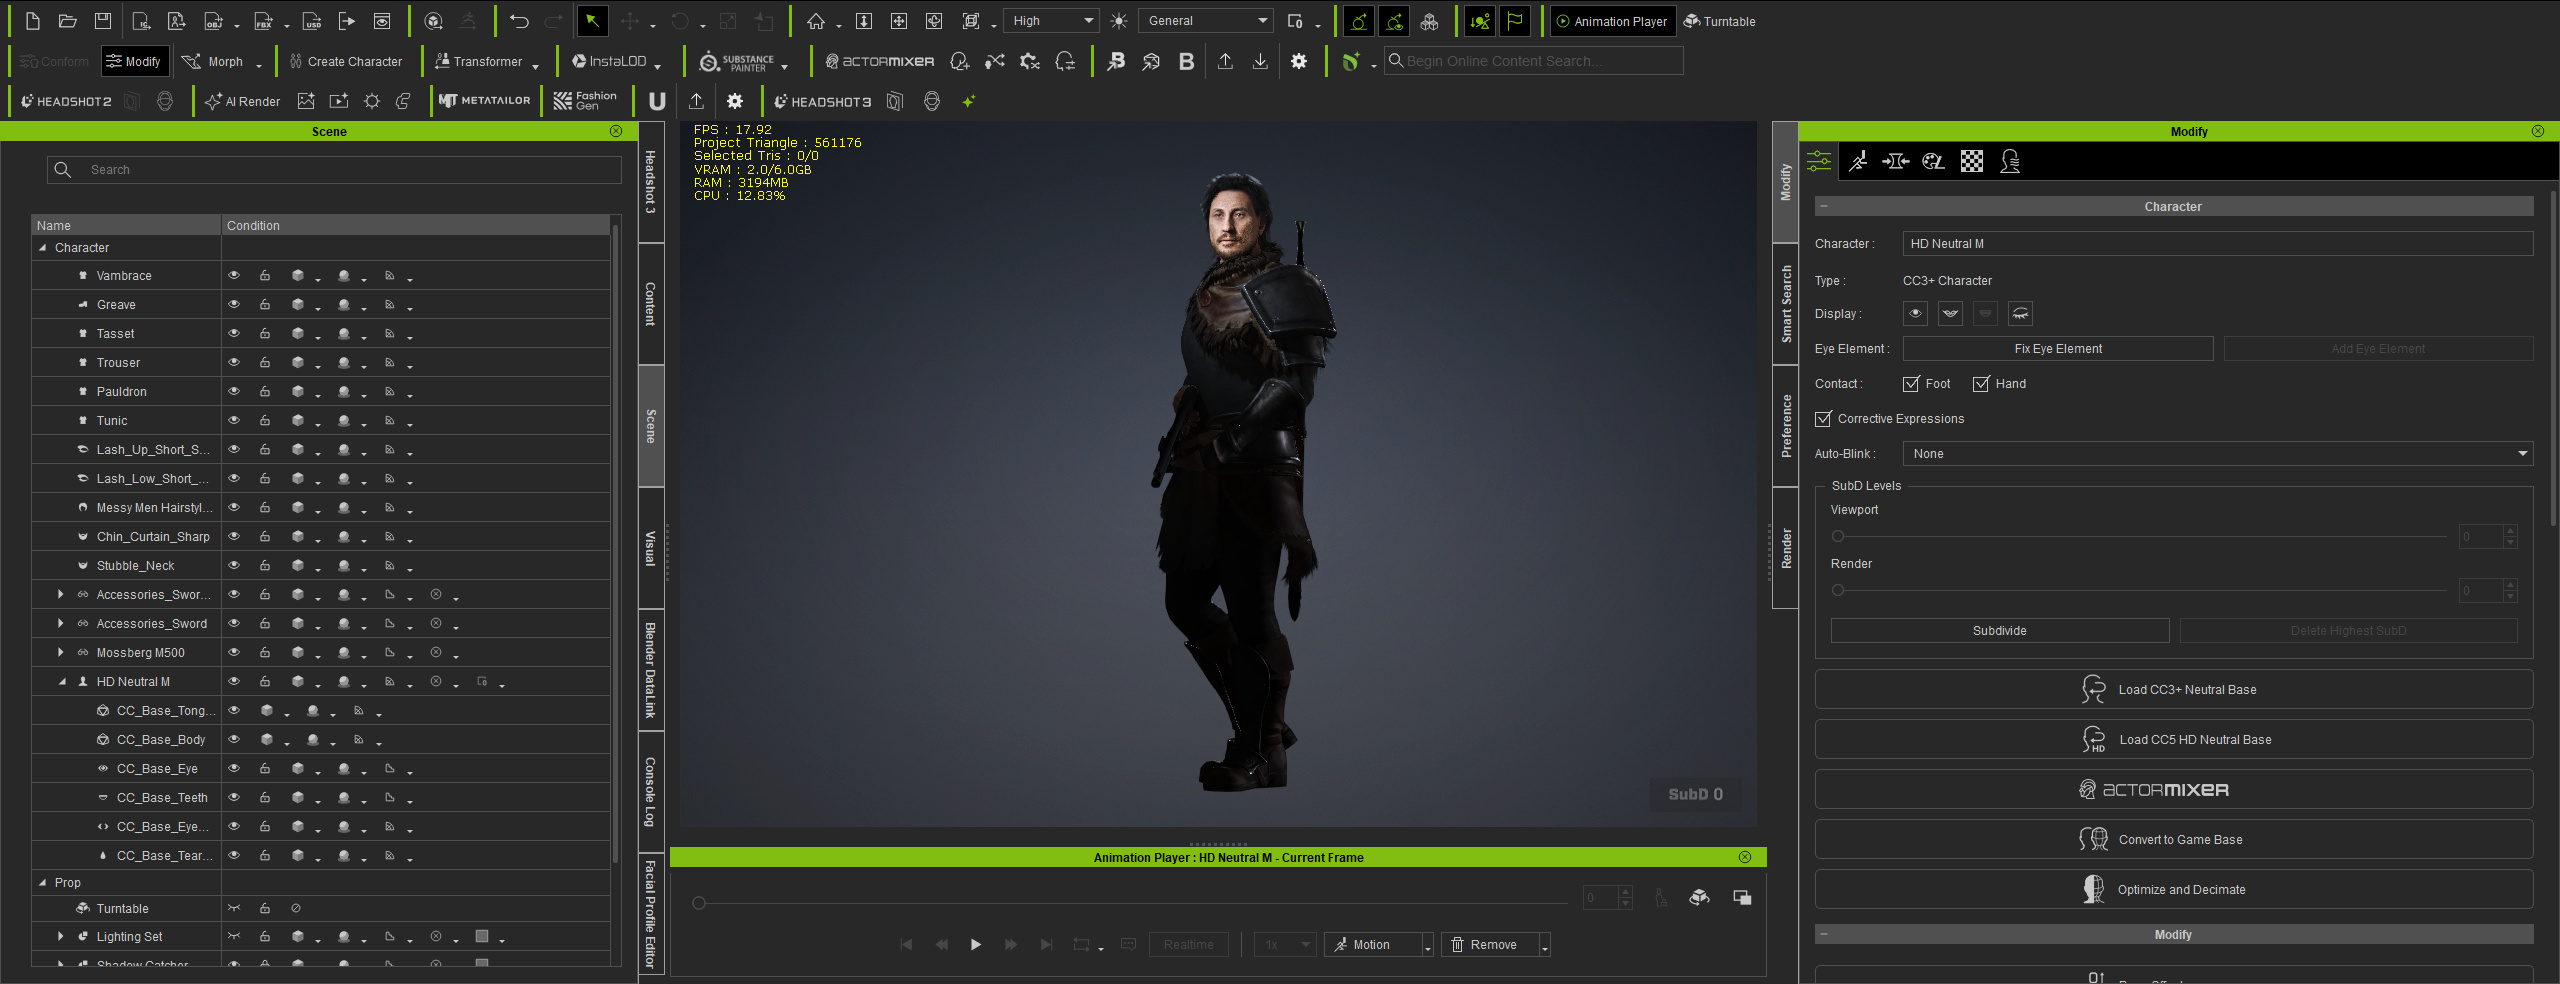
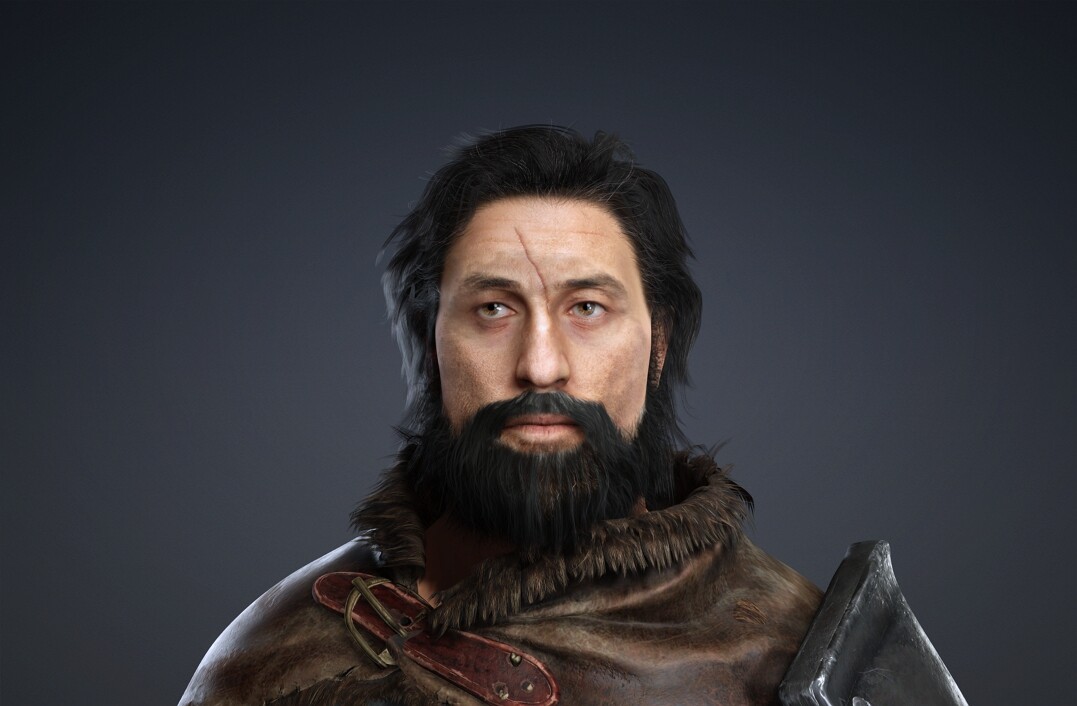
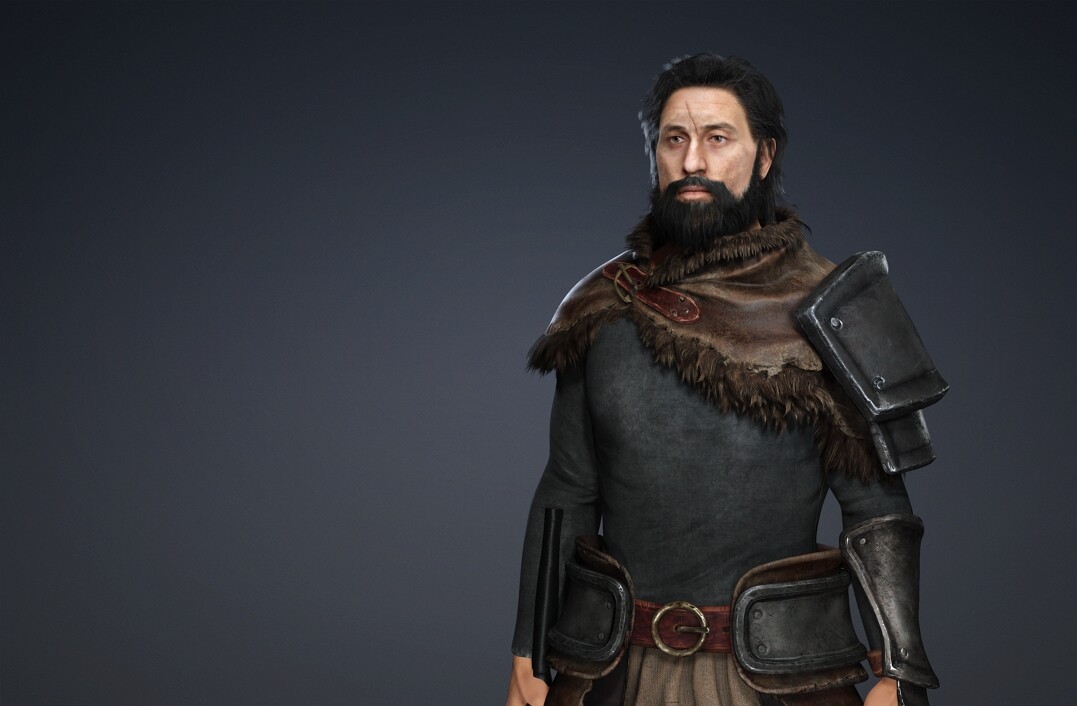
Created in HS3 Trial - just purchased HS3 but I need to close CC5 down before I can install it and as I can’t save him in the trial version, there’s not much chance that I’m going to be able to replicate him.
If anyone has any ideas how not to lose him I would be eternally grateful.
Did you take screenshots/renders of him from multiple angles before closing the project?
I’d try to capture as much as possible before he disappears:
front, side, 3/4, and full-body screenshots
the original source image you used
screenshots of any Headshot 3 options/settings you selected
screenshots of any morph sliders or adjustments
material/texture settings if you changed anything
It may not let you save the actual character in the trial version, but at least you’d have enough reference to get close to recreating him after installing the full version.
@mstaylor Thanks for the tips - it didn’t occur to me to take screenshots of the morph sliders.
By some lucky twist of fate CC5 crashed on me before closing down. I installed HS3 - restarted CC5 and it asked if I wanted to restore my last session and there he was with HS3 fully installed. That’s all my good luck used up for the year!
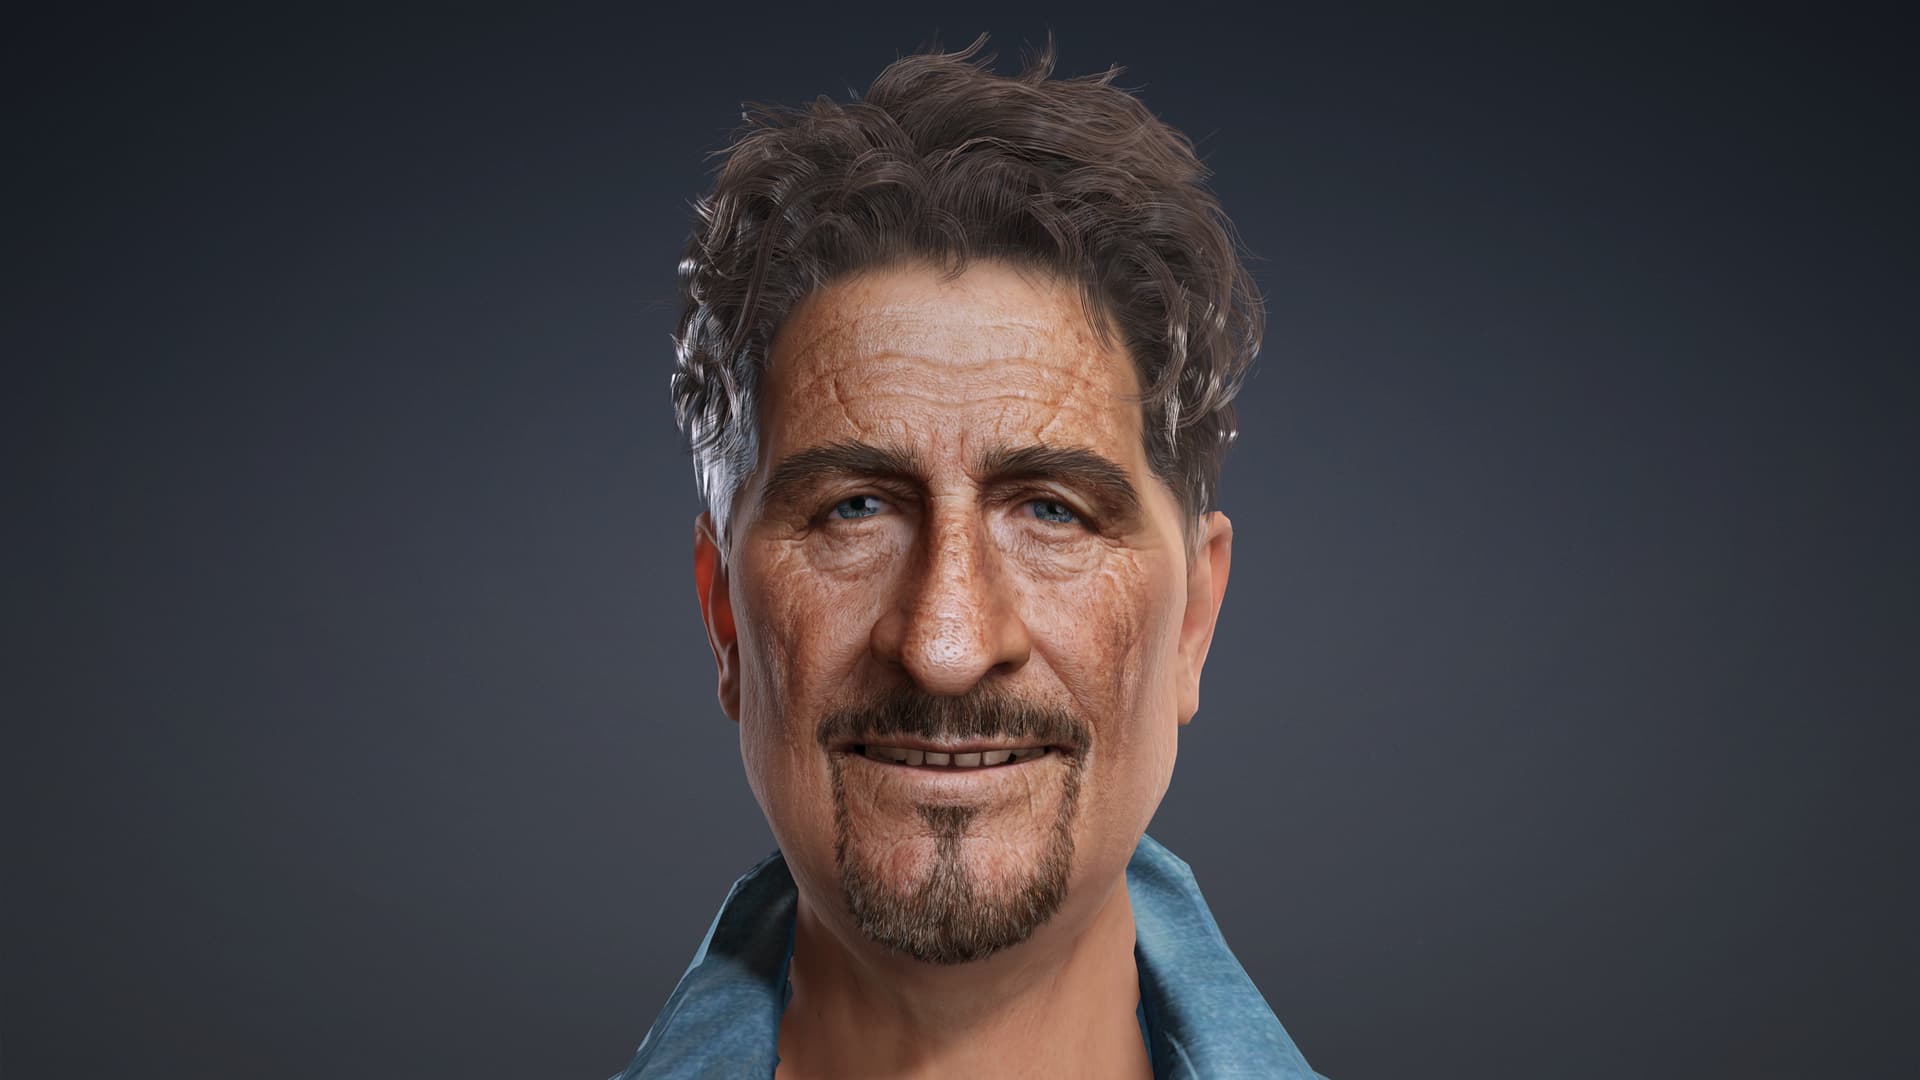
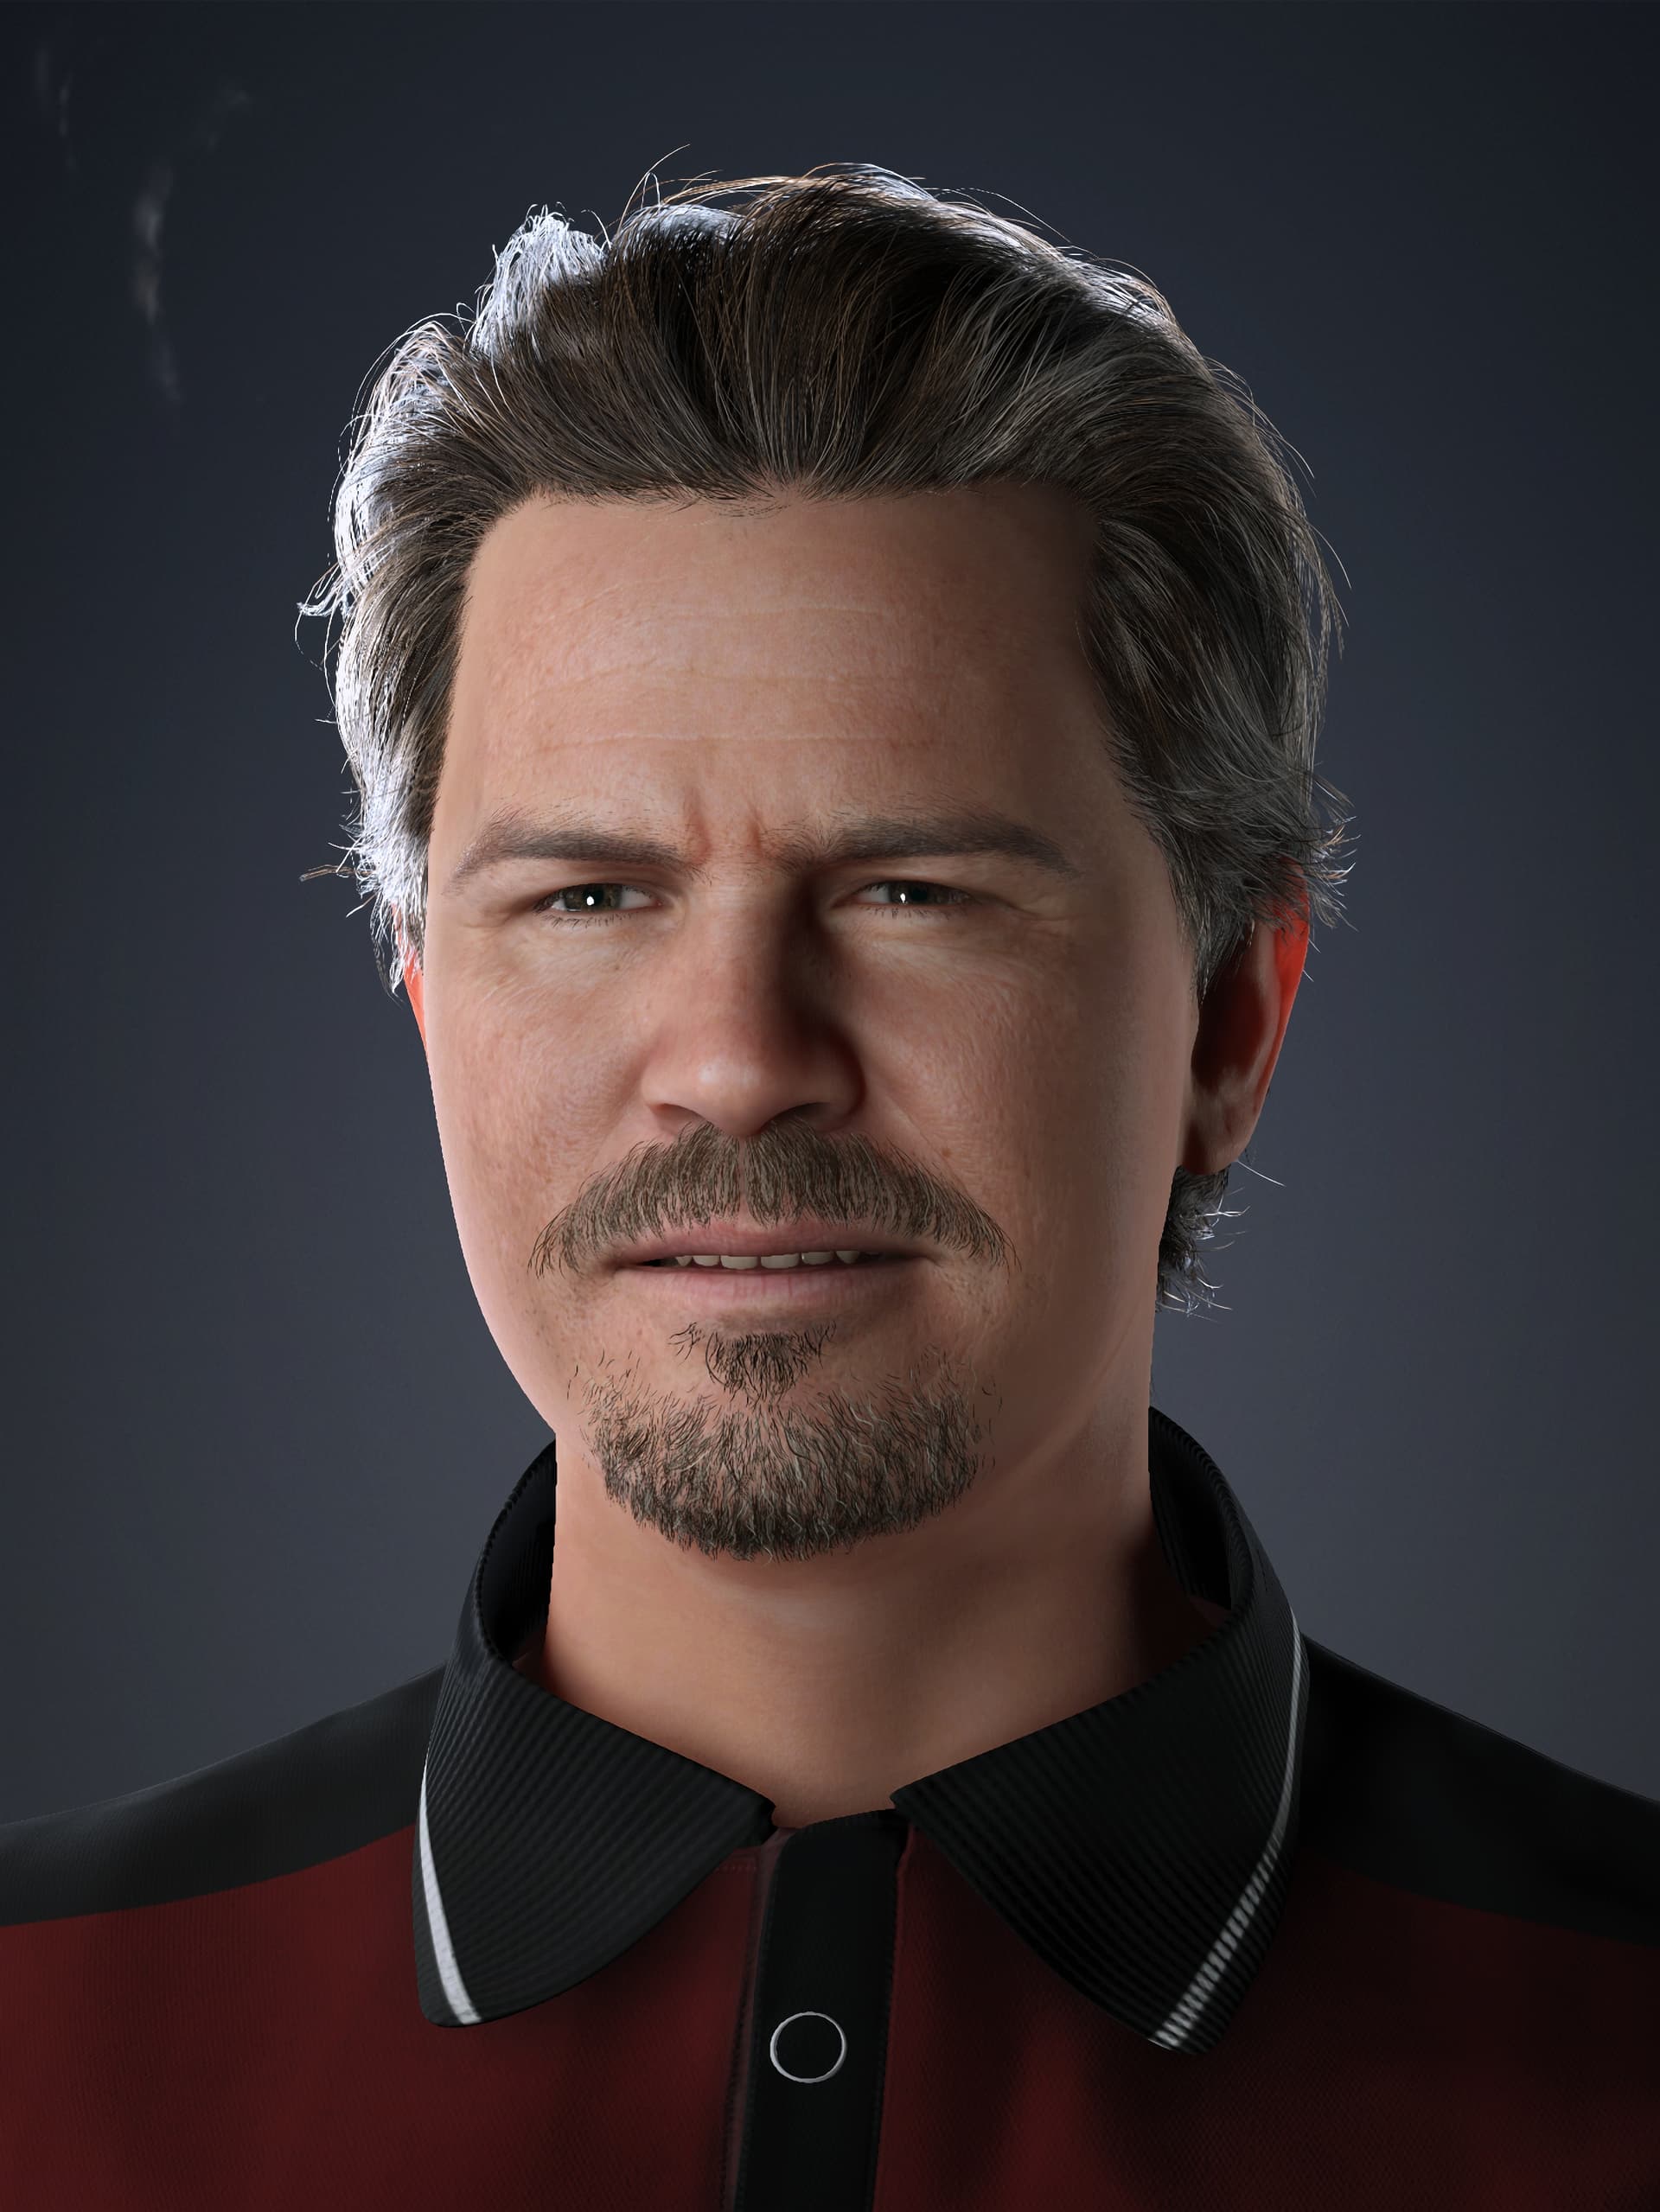
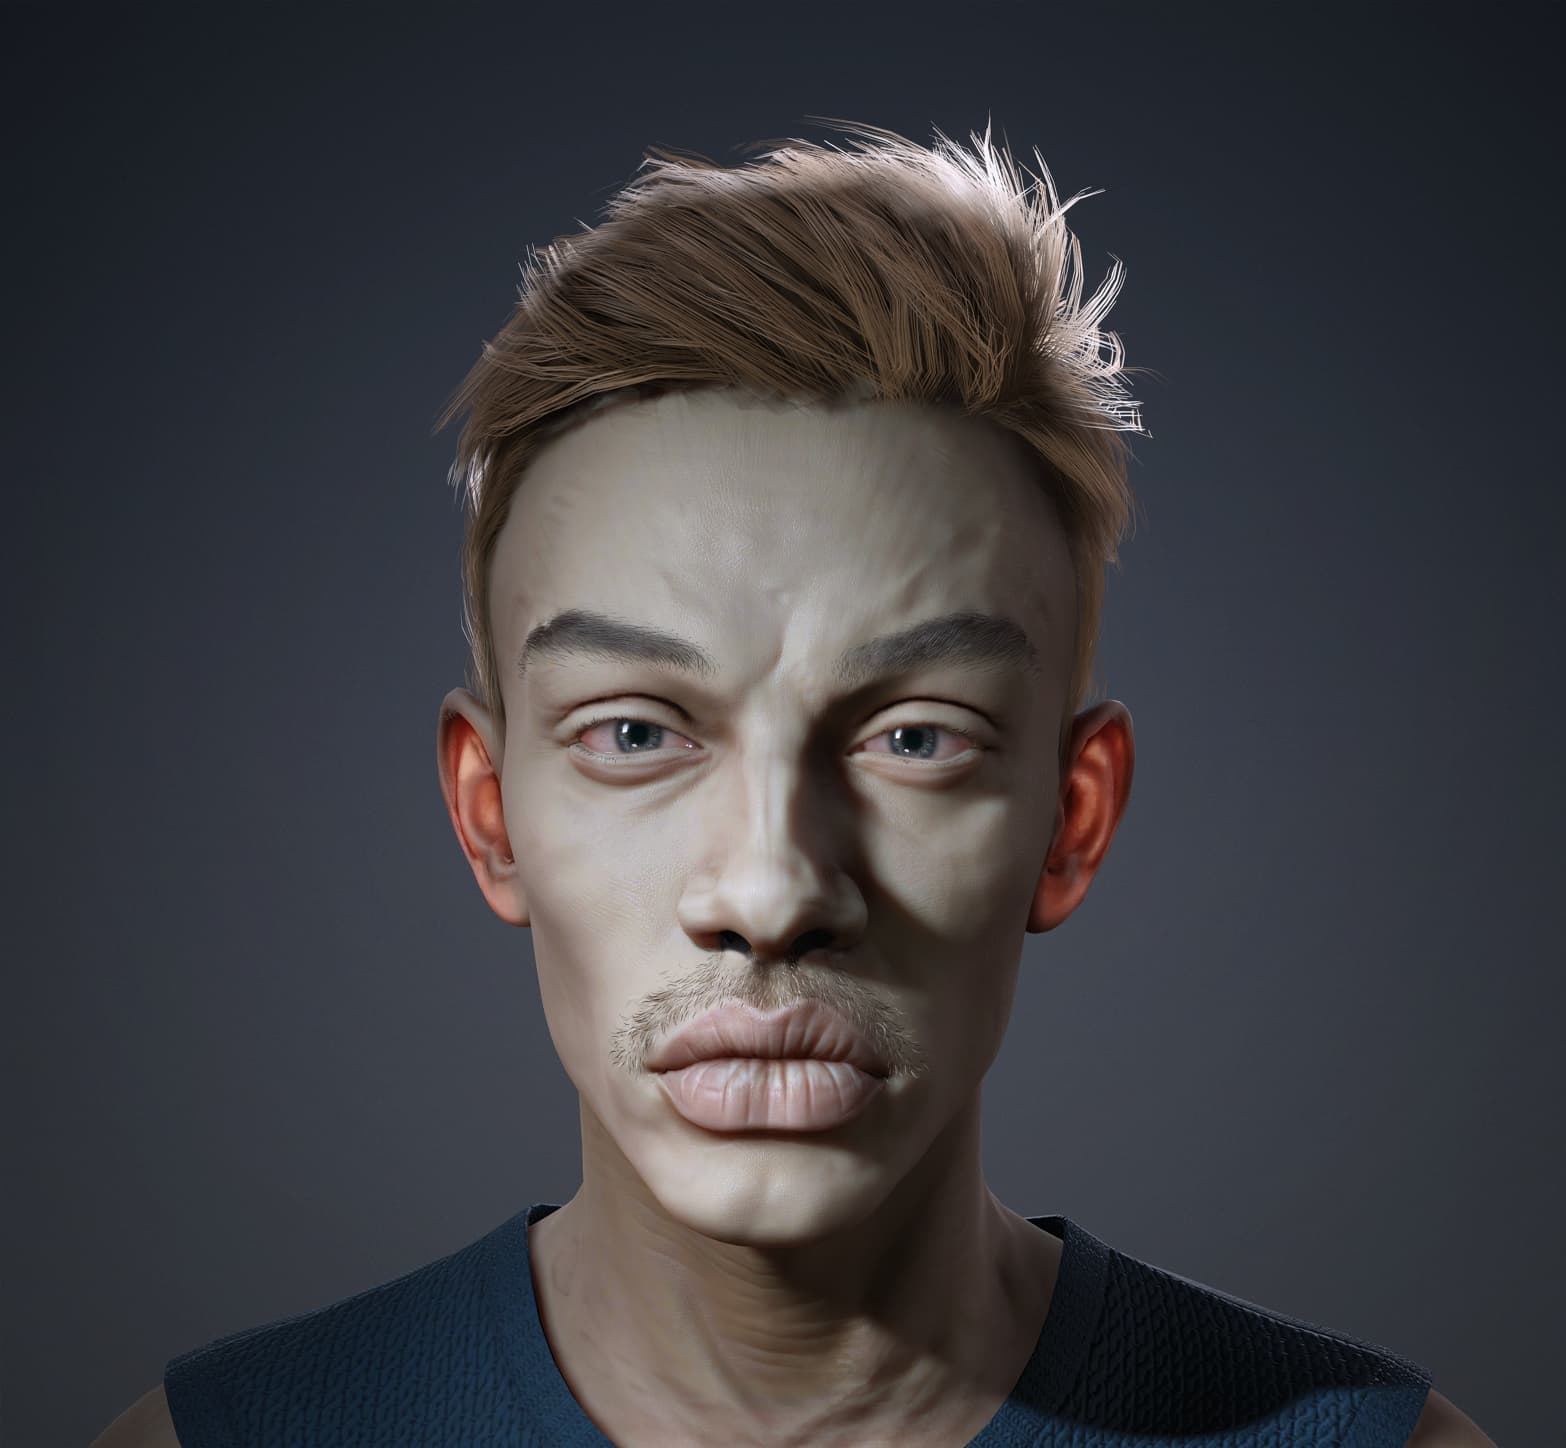
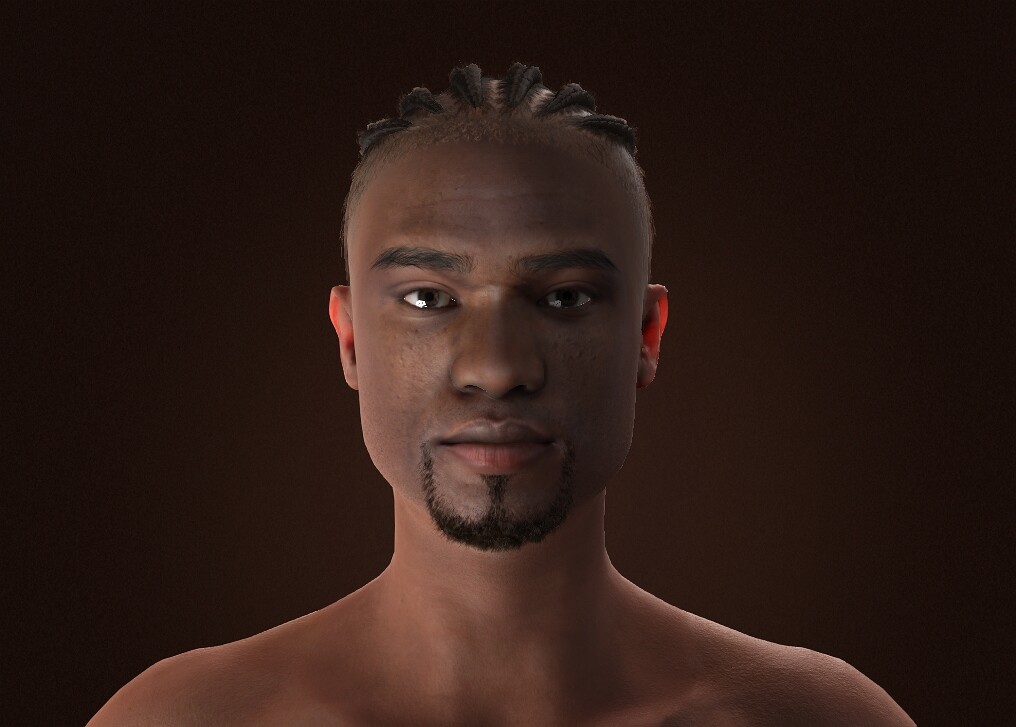
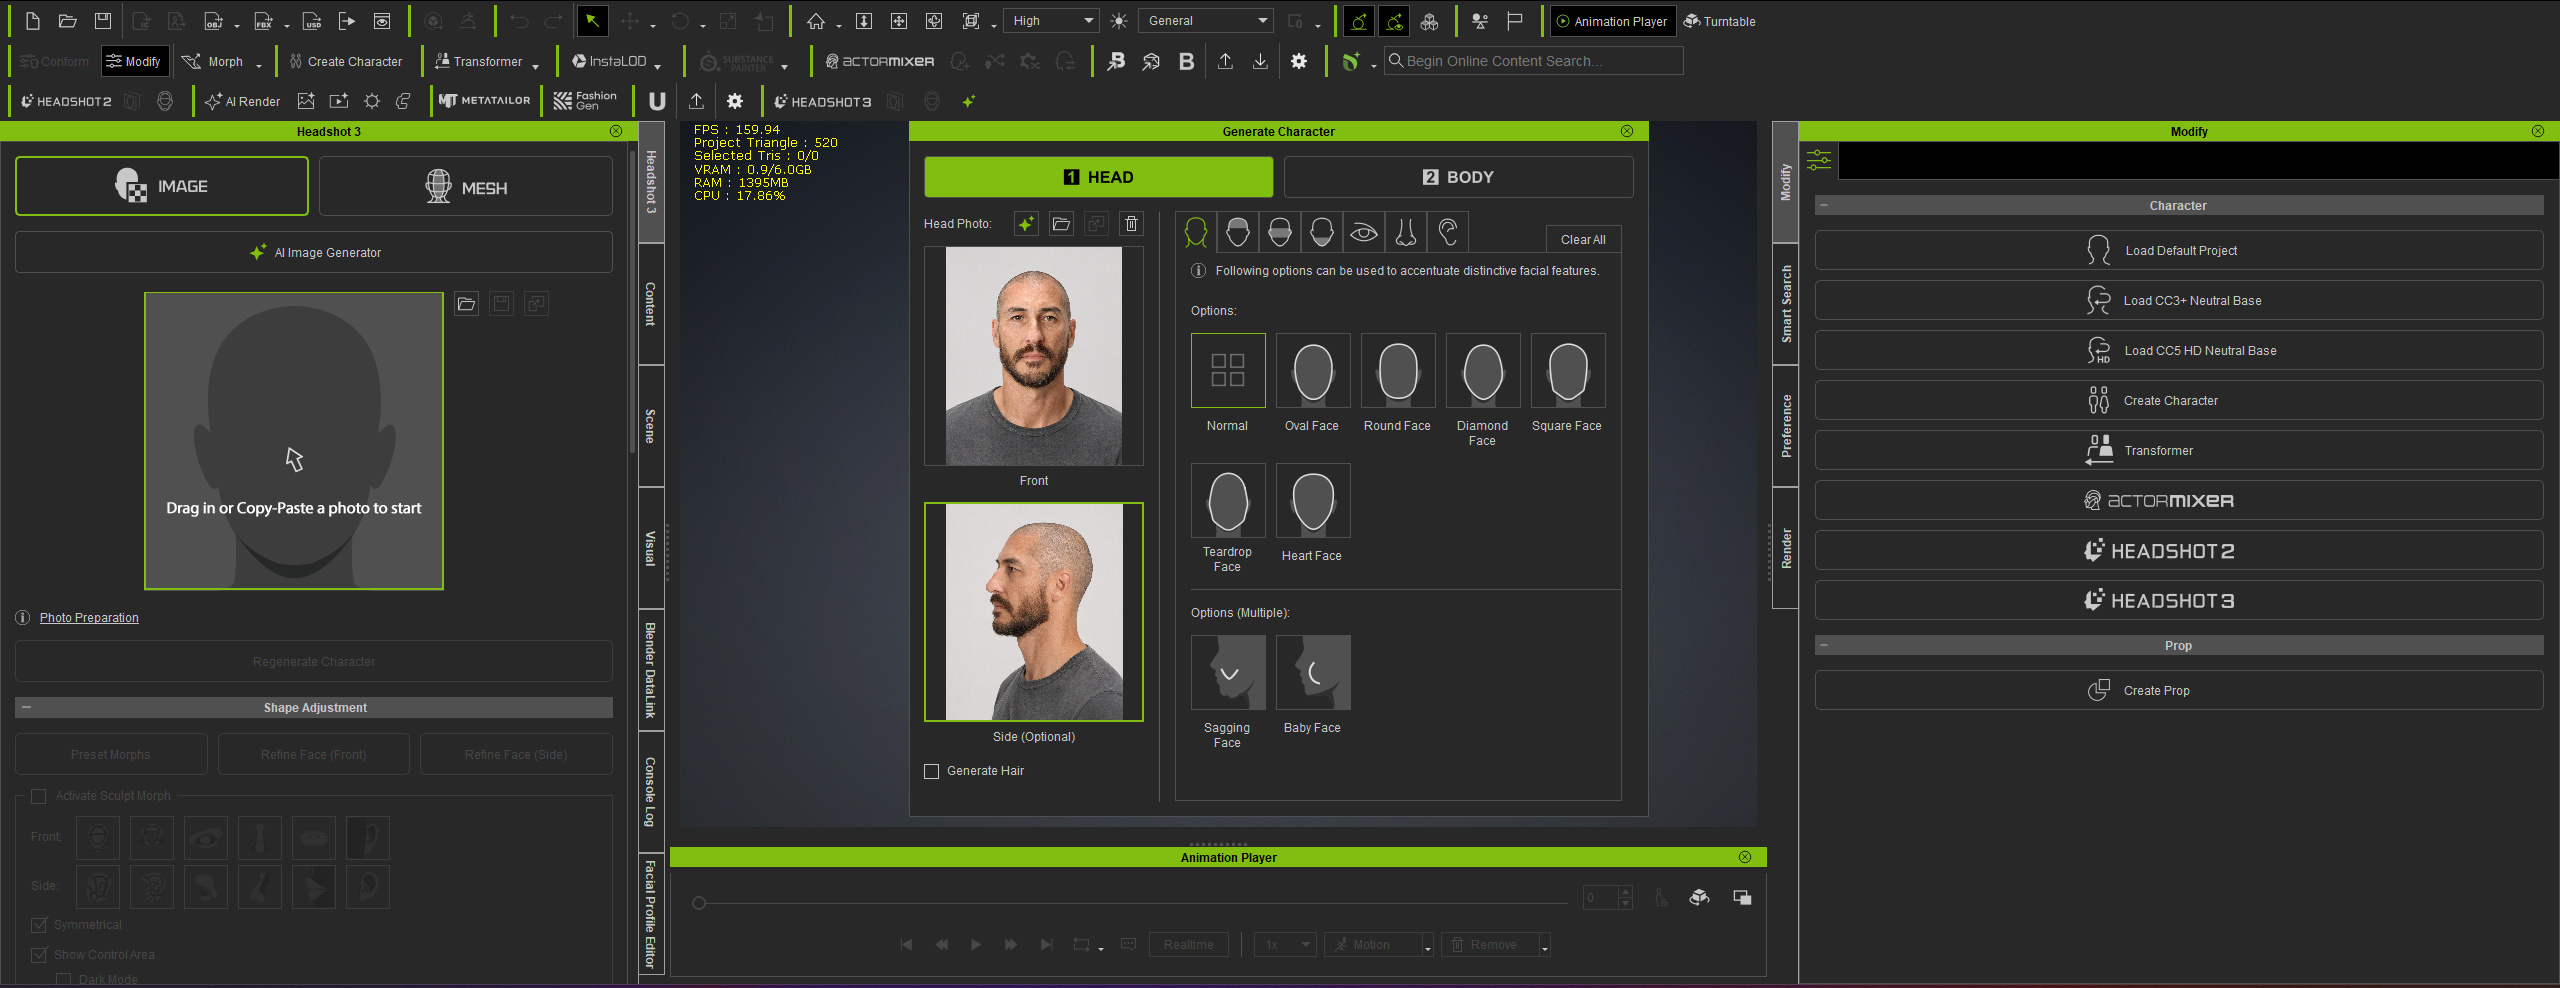
4th or 5th test of HS3. It crashed 3 or 4 times when trying to refine the mesh using the curves function. So, this is the raw output without any additional tweaks using the edit functions within HS3. Did a rather nice job. I added the hair, moustache and goatee from assets I have on hand in my content directory. Polo shirt is also something I purchased from the Marketplace or Content Store.
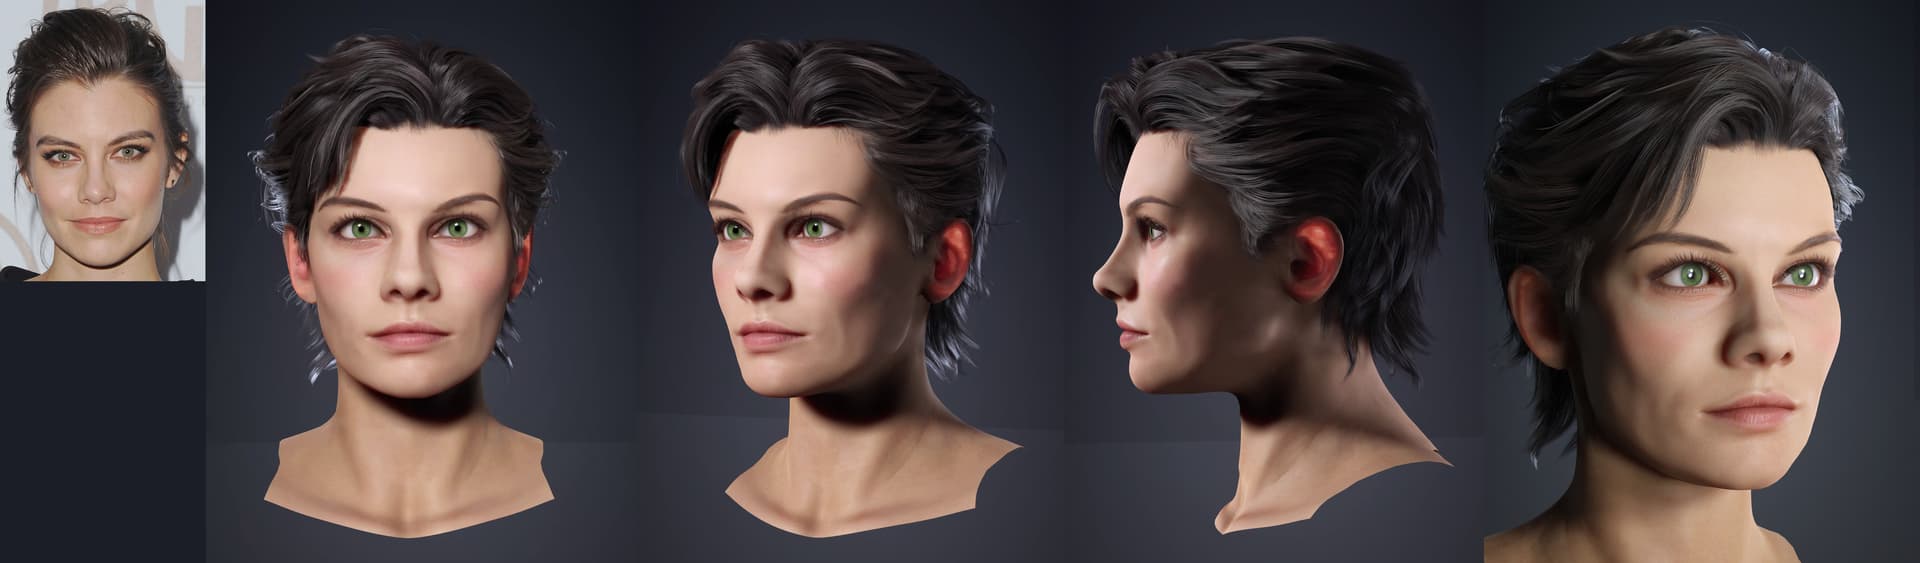
Here is mine, Lauren Cohan digital double created with Keentools in Blender and Headshot 3 Mesh to Face. Textures were enhanced in Substance Painter. Hair comes from the Hair Builder 3 pack.
HS3 replaced my 2 workflows i used for HS2. I used to either do photoscans or use KeenTool to make the basic head and then use Zbrush to fine tune. but now all i nee dis HS3 and occasional Zbrush Loop. to make base meshes for metahumans
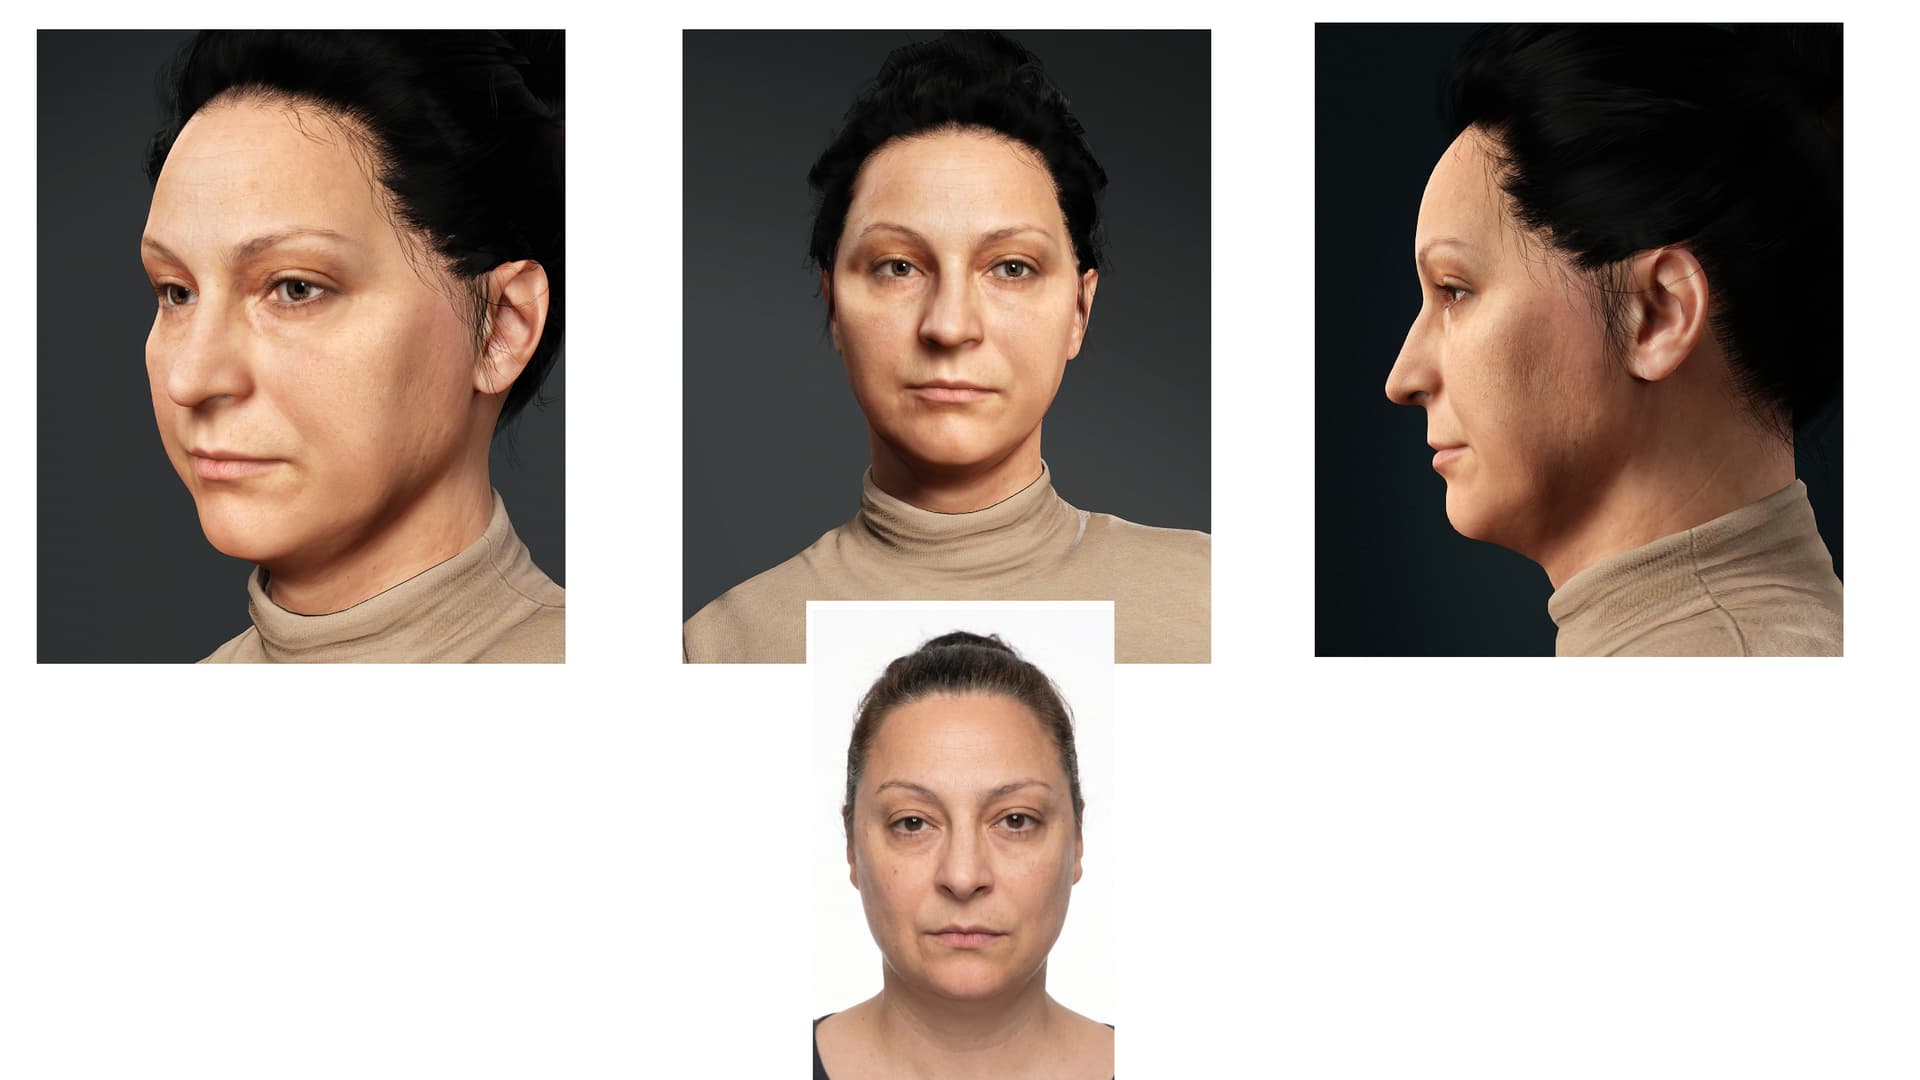
Here is my very first test with Headshot 3 using a front-facing photo enhanced with AI. I’m overall quite satisfied with the result.
However, I’m still encountering quite a few issues with the line system, as well as with facial animation, which remains fairly complex to master at this stage.
That said, the tool looks very promising, and I’m looking forward to seeing the upcoming updates.
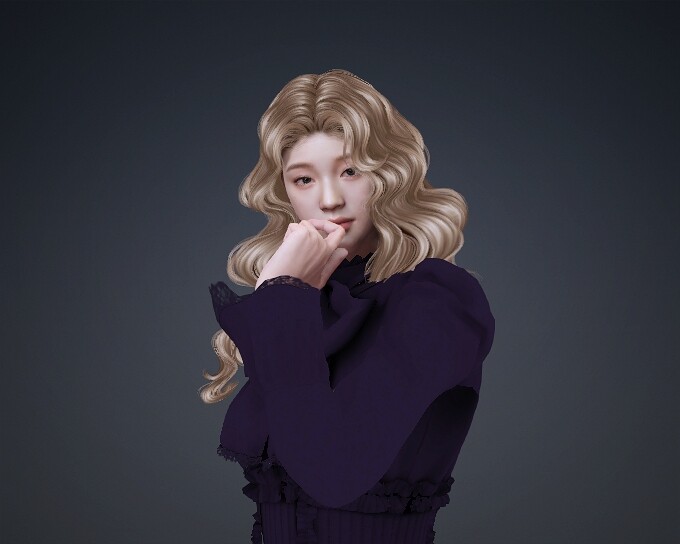
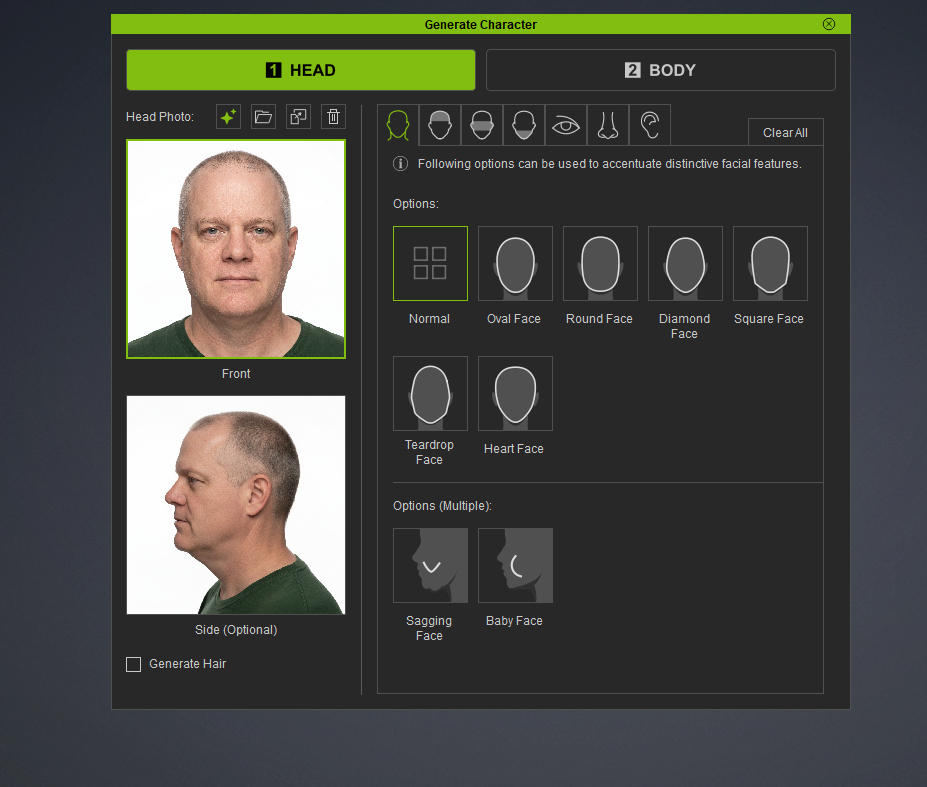
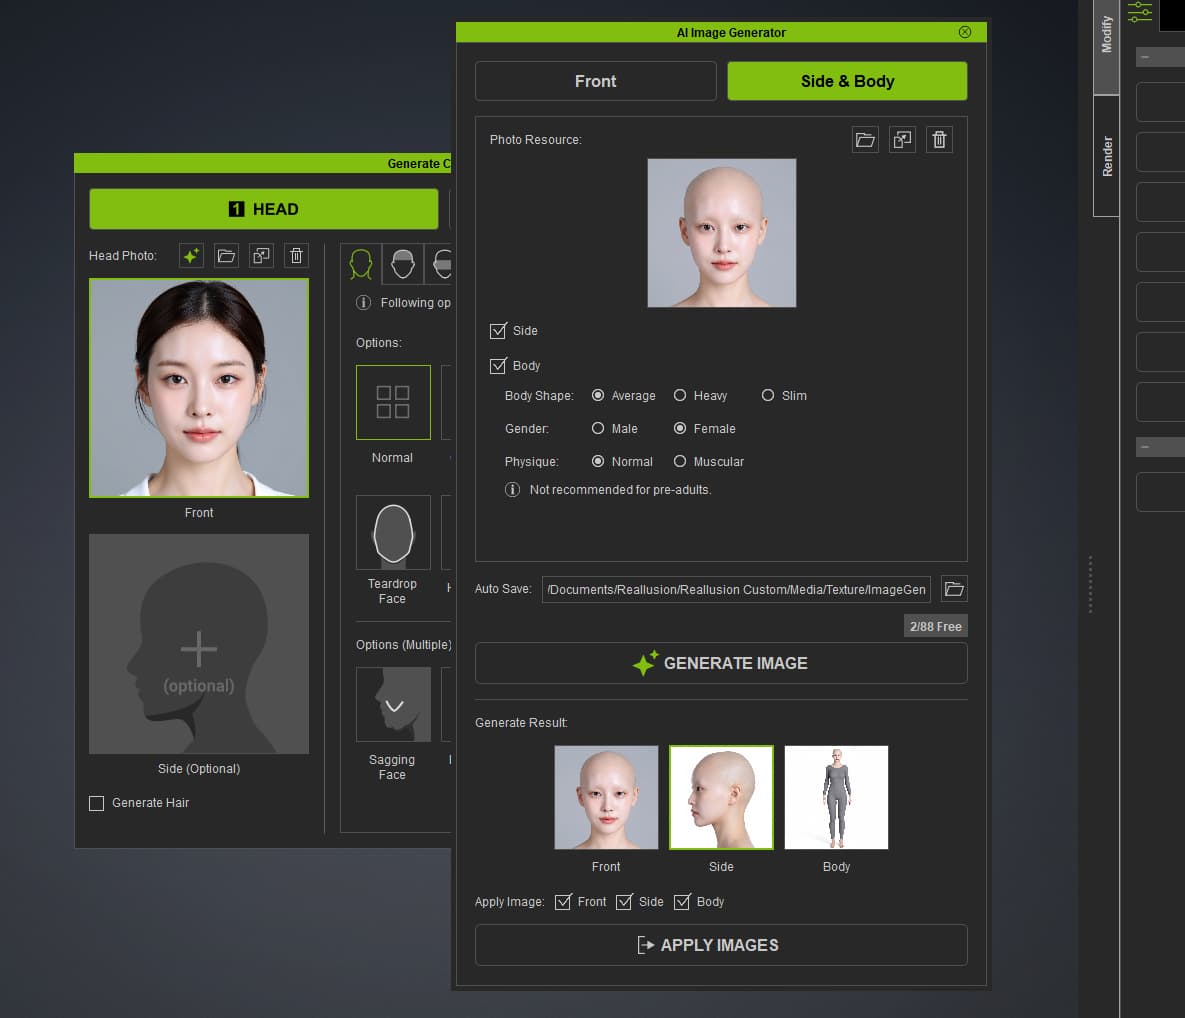
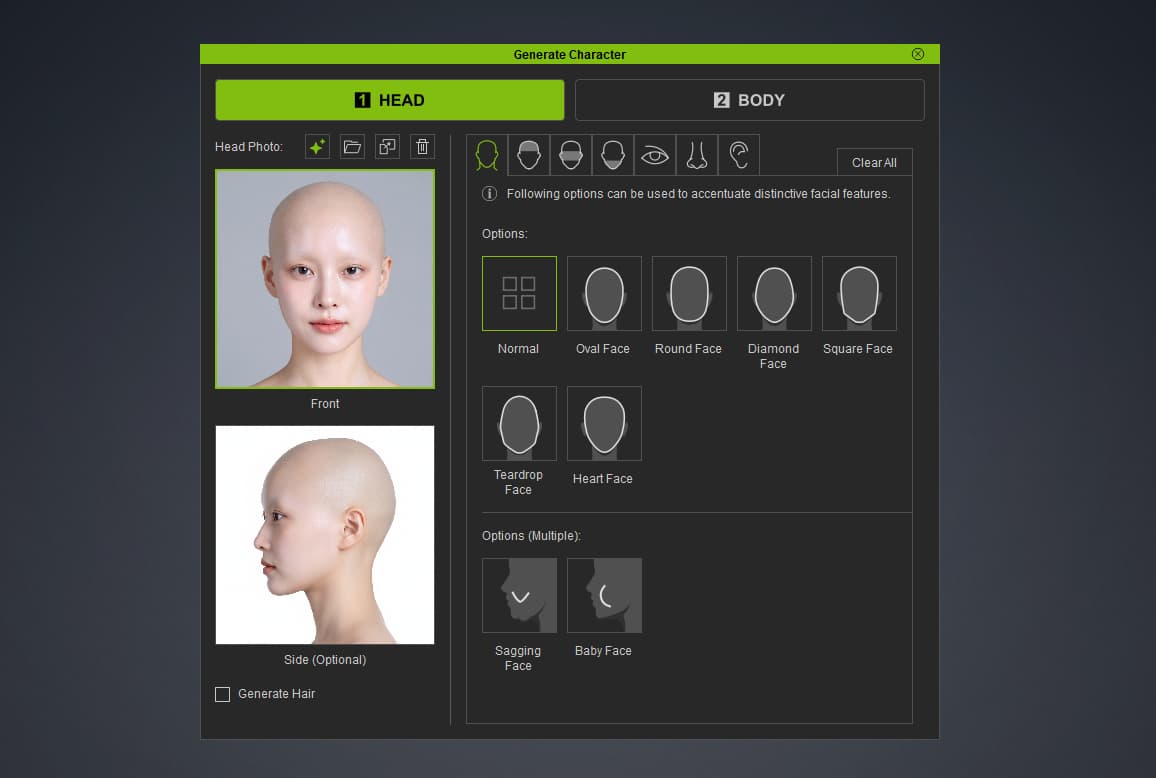
The original picture I generated on ComfyUI with Flux2. I imported to Headshot3. Then I generated the side and the body with the AI tool. Removed the hair, eyelashes and eyebrows. Enhanced the lighting.
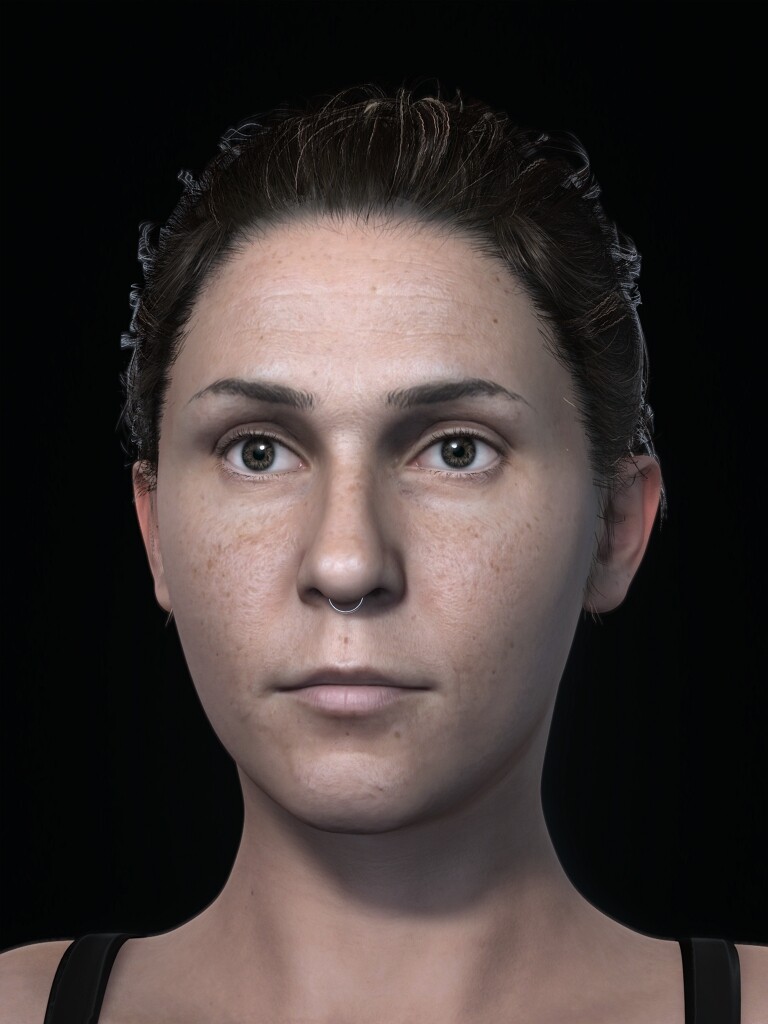
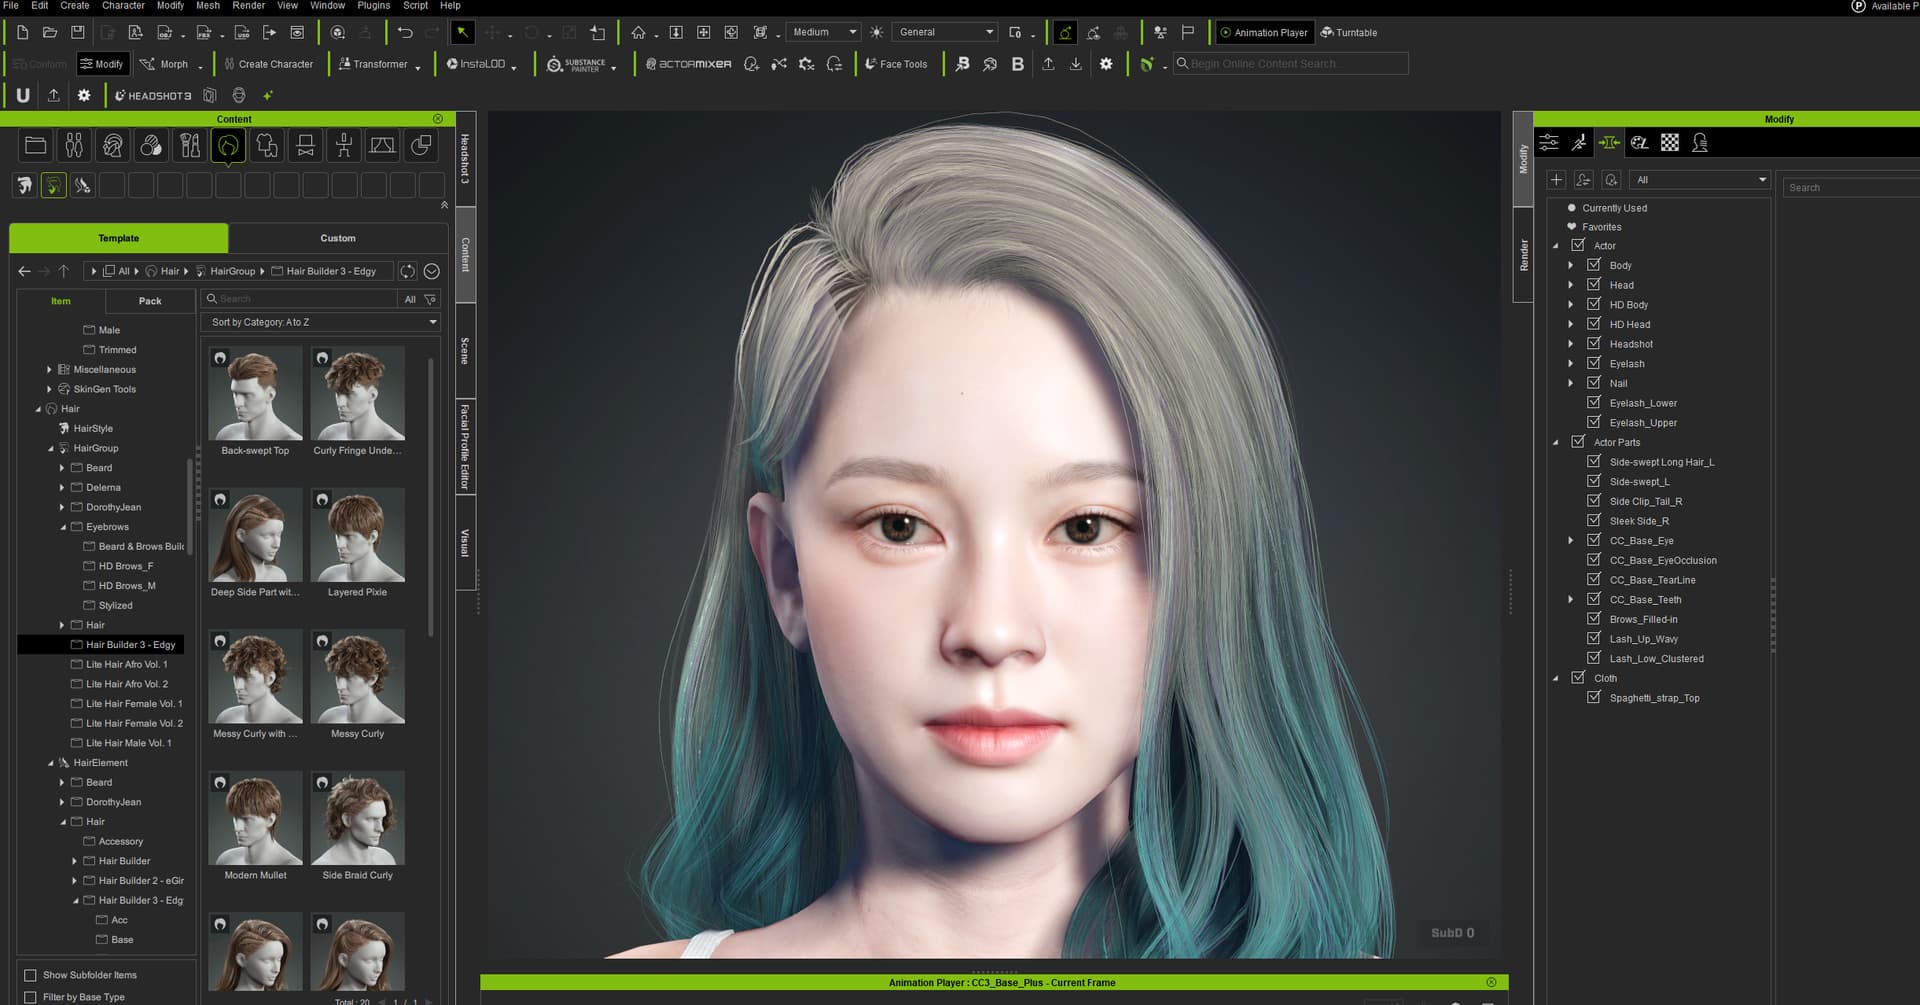
Used the skingen premium, makeup and hair, all inside CC5 without any external tools.
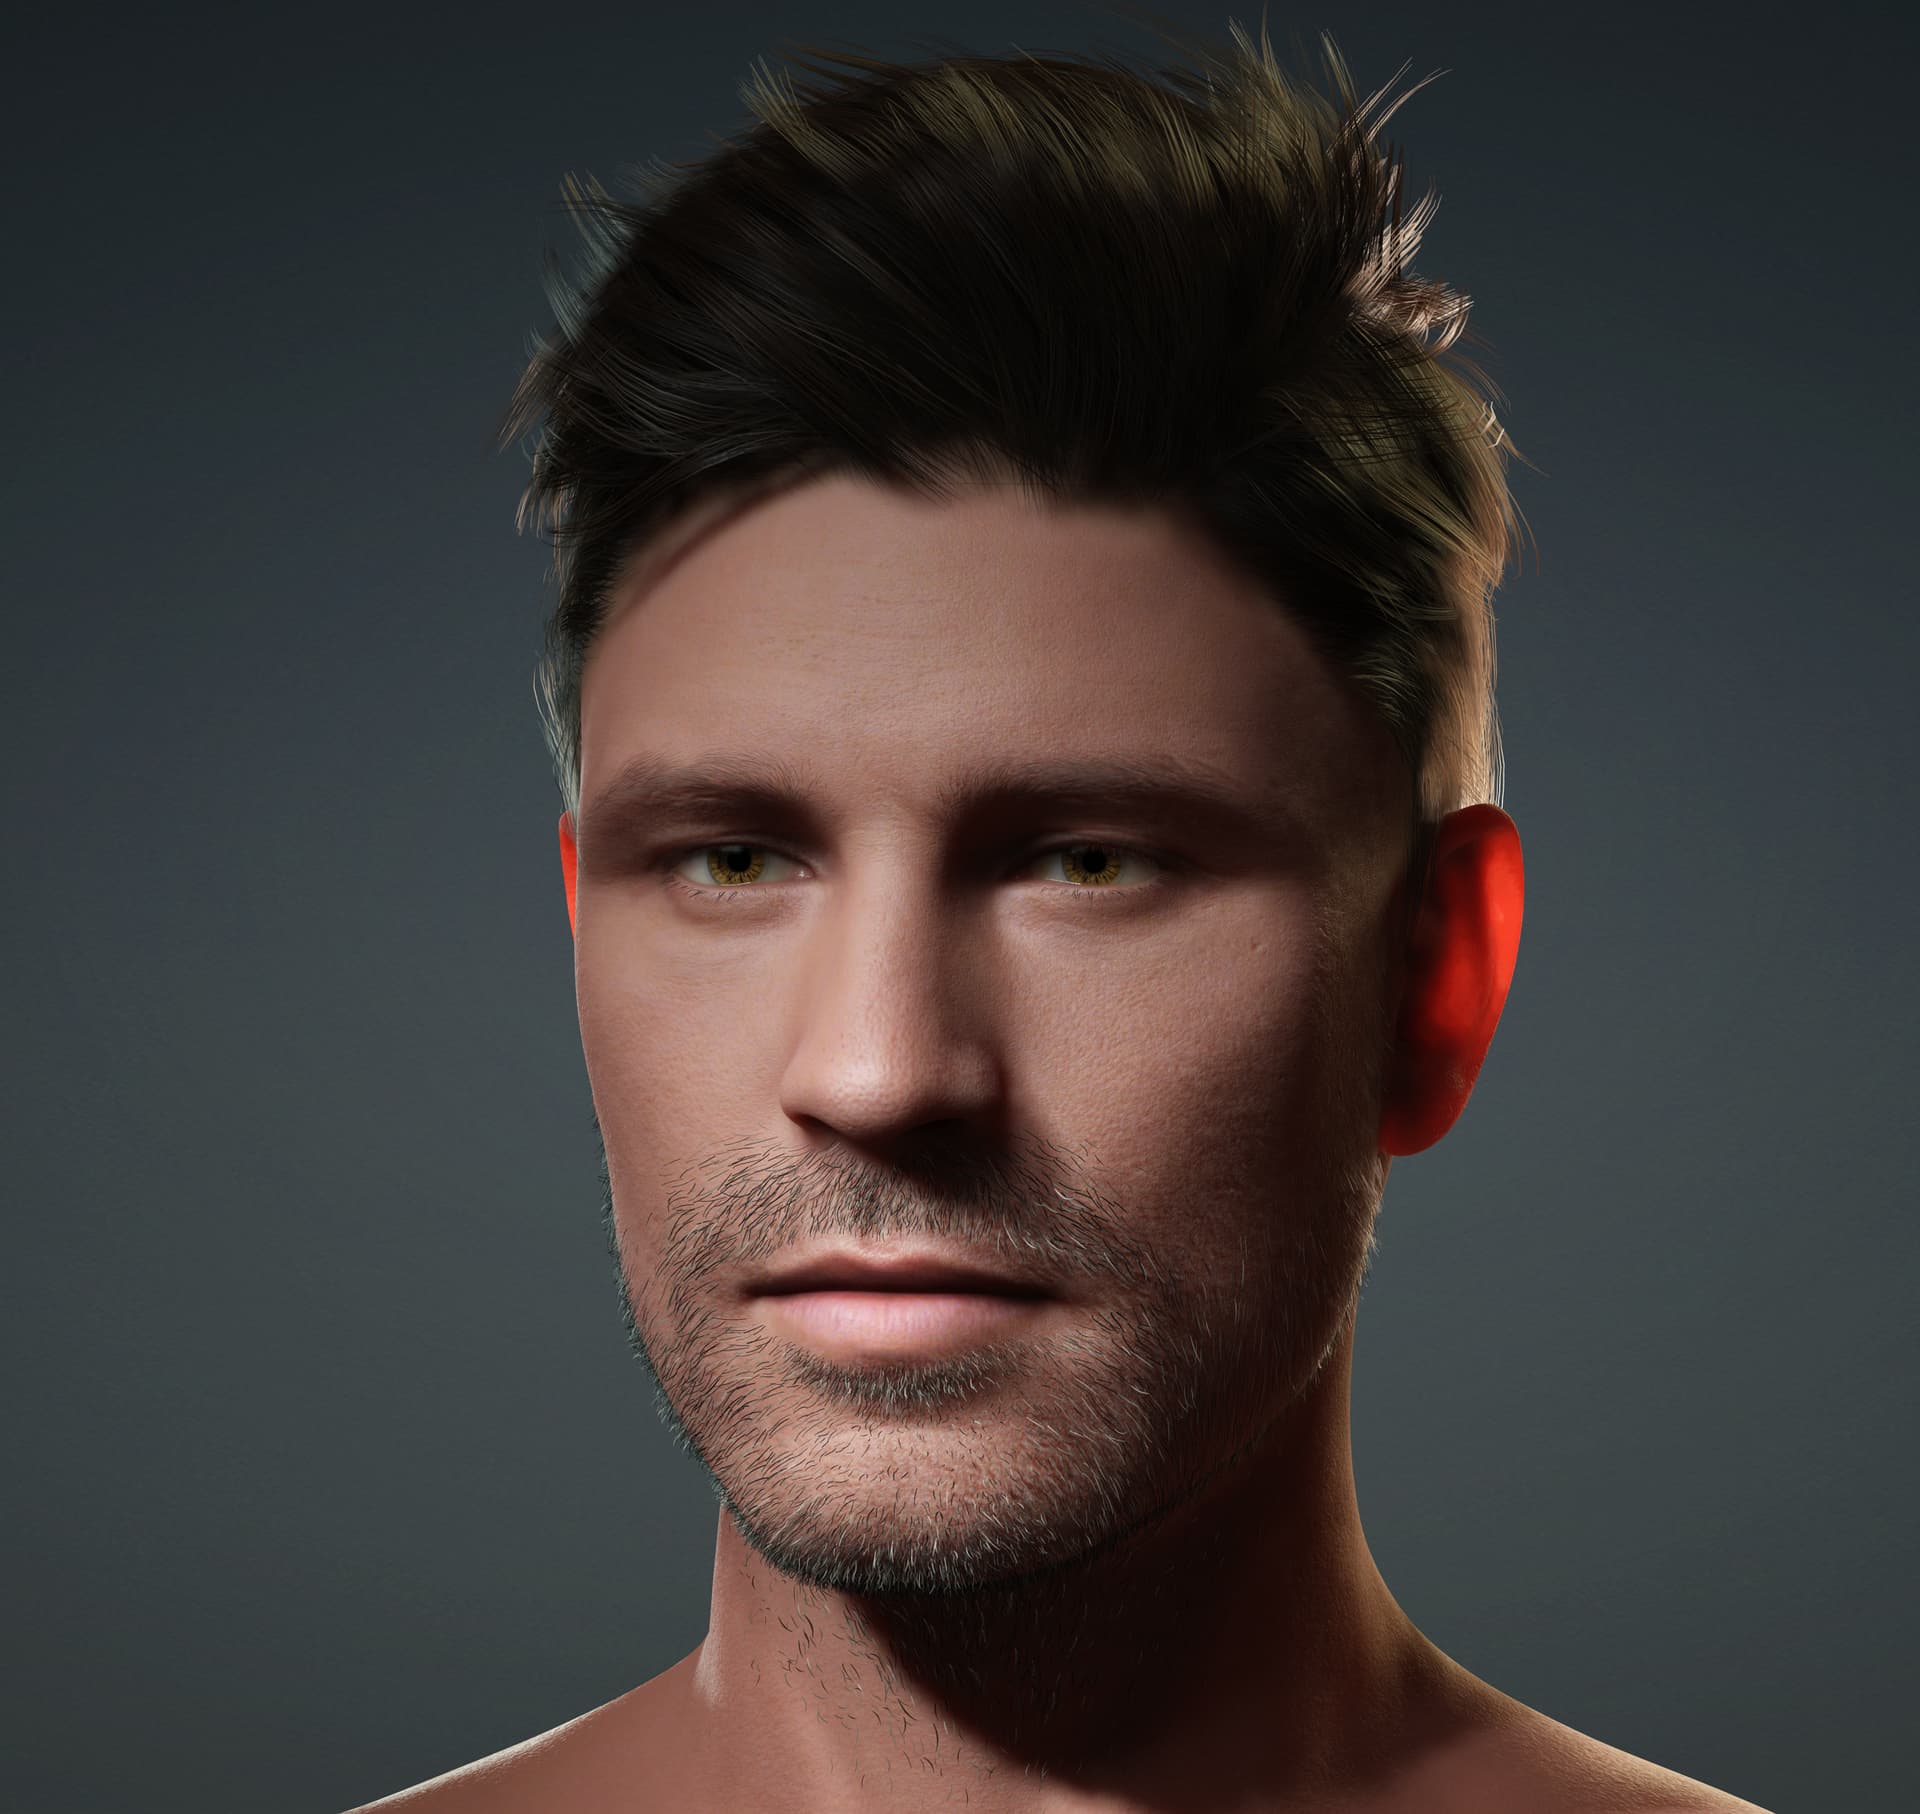
After getting the result, I used SkinGen Premium to enhance the skin. I applied a beard and clothing from the Marketplace. I exported the characters to iClone to create the animation, then used Face Puppet to animate the eyes and head.
 How It Works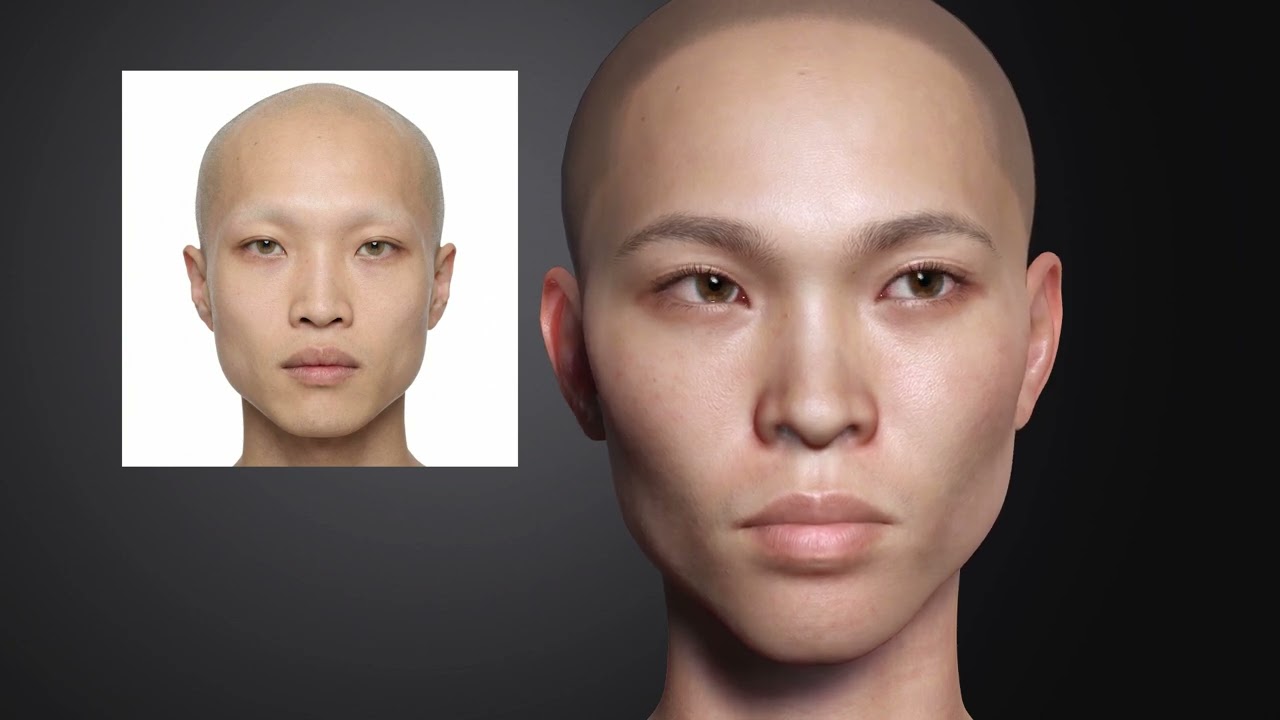
 Details
 Don’t Have Headshot 3 Yet?