Hey everyone! I’m setting up this thread to document my process for the 2026 Reallusion 3D Character Contest and to serve as a baseline template for WIP entries.
This is just a demo entry to use as a rough guide. I’ll use Susanoo-no-Mikoto, the legendary Shinto god of sea and storms. I’m aiming for a highly stylized, powerful, anime/comic-inspired aesthetic.
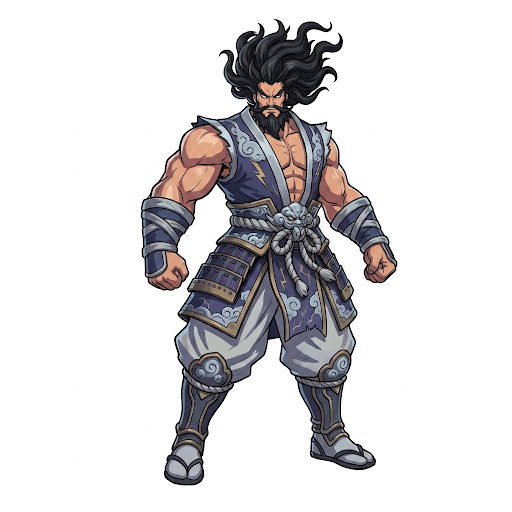
Here is the breakdown of how I tackled the initial base mesh block-out and sculpting phases.
Phase 1: Base Proportion Setup in Character Creator 5
Before jump-sculpting highly stylized anatomy, it’s vital to get the skeletal structure right to keep the topology clean and ready for rigging/animation.
- The Starting Point: Began with the native CC3_Base_Plus mesh inside Character Creator 5.
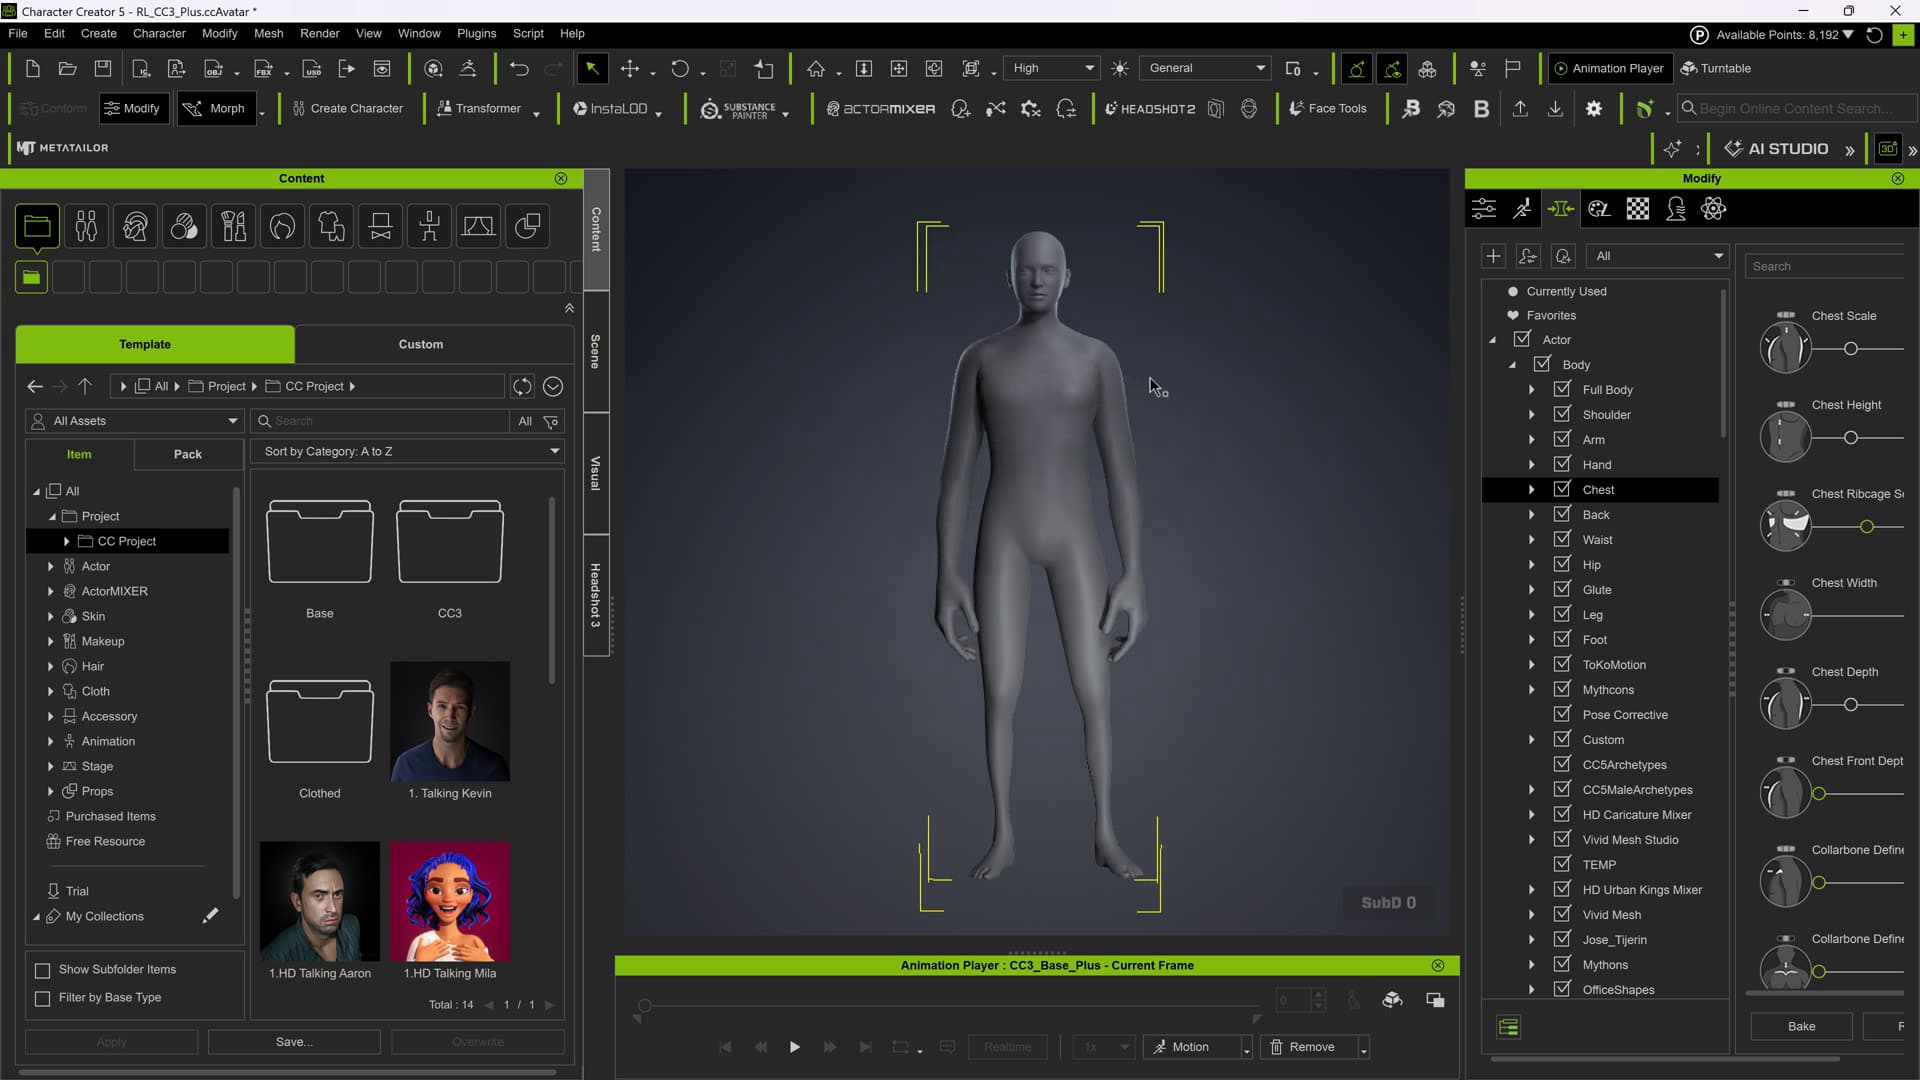
Proportion Sliders: Used the Modify > Proportion panel to establish an exaggerated, heroic silhouette. Increased the shoulder width, broadened the chest, and lengthened the limbs to give him a powerful, god-like stature.
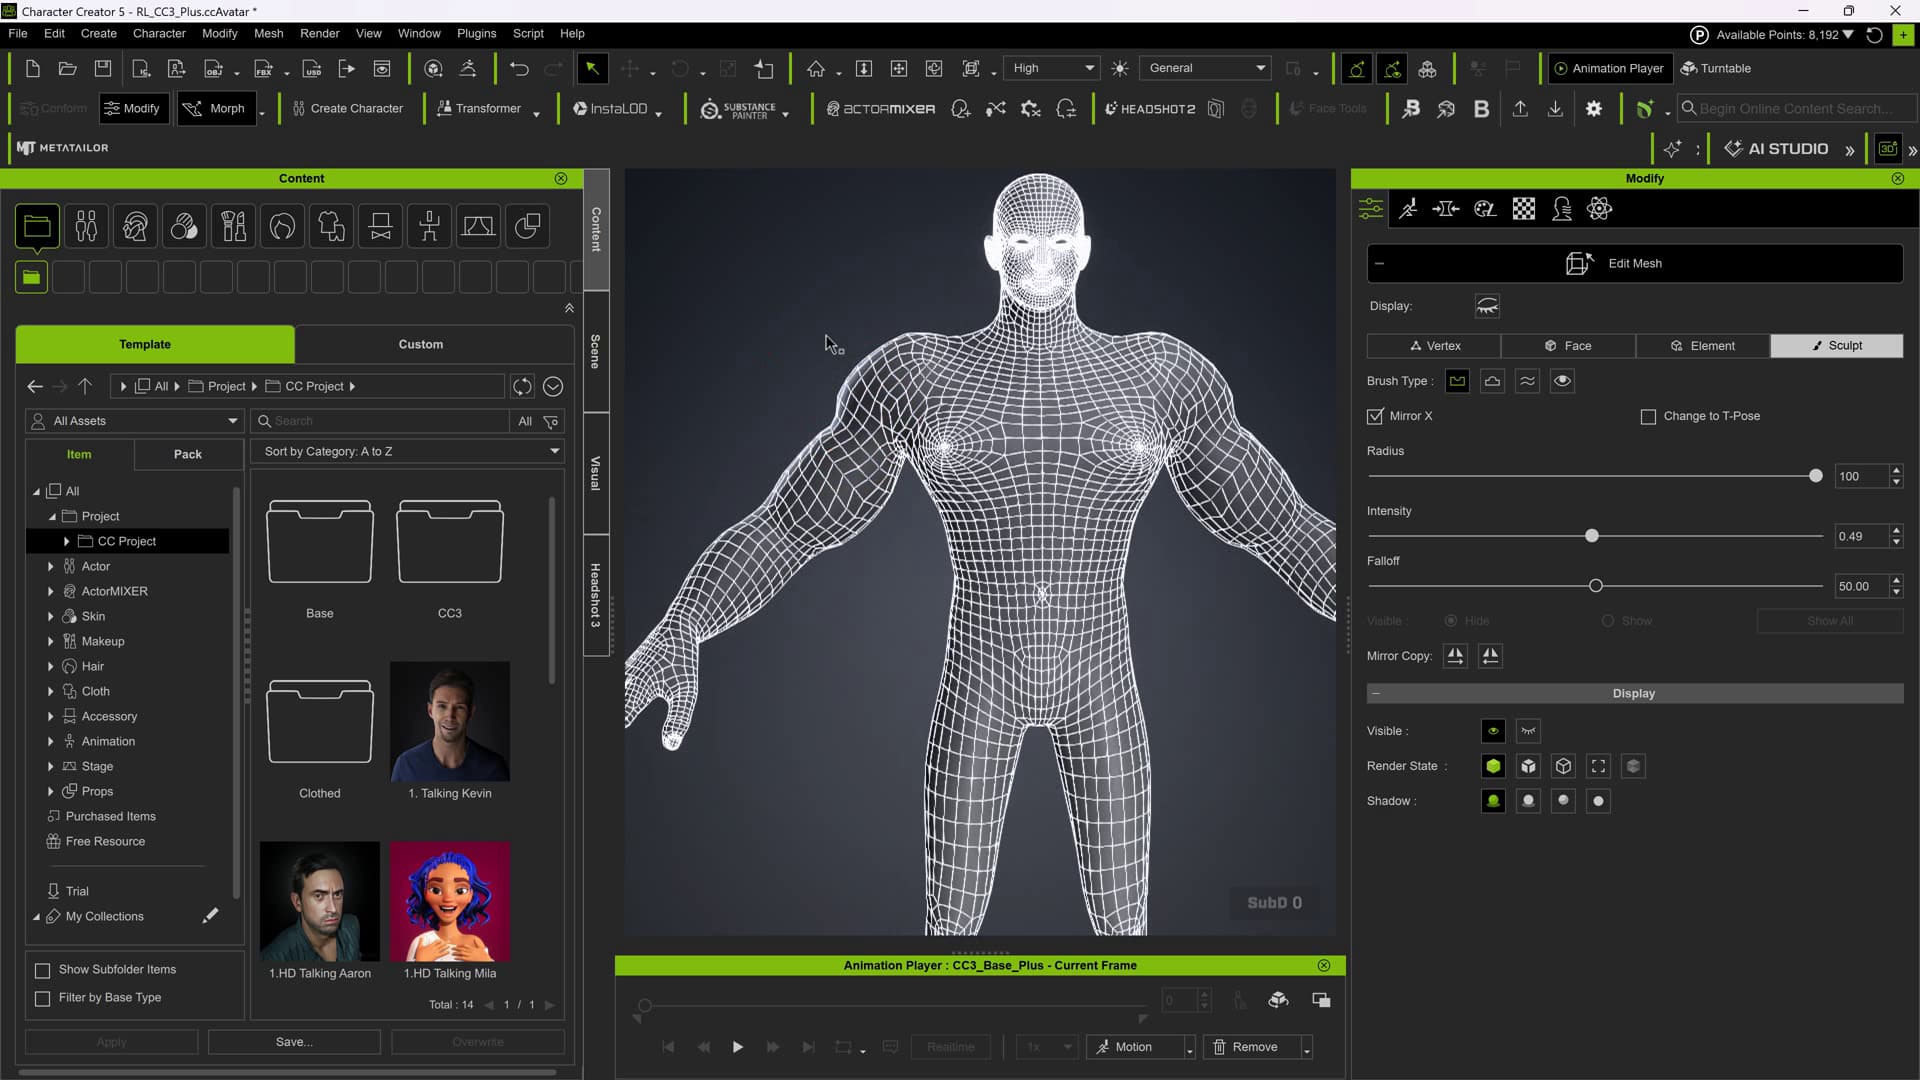
- Bone Alignment: Kept an eye on the internal armature setup to ensure the joints properly align with the new, stylized silhouette before exporting to Blender.
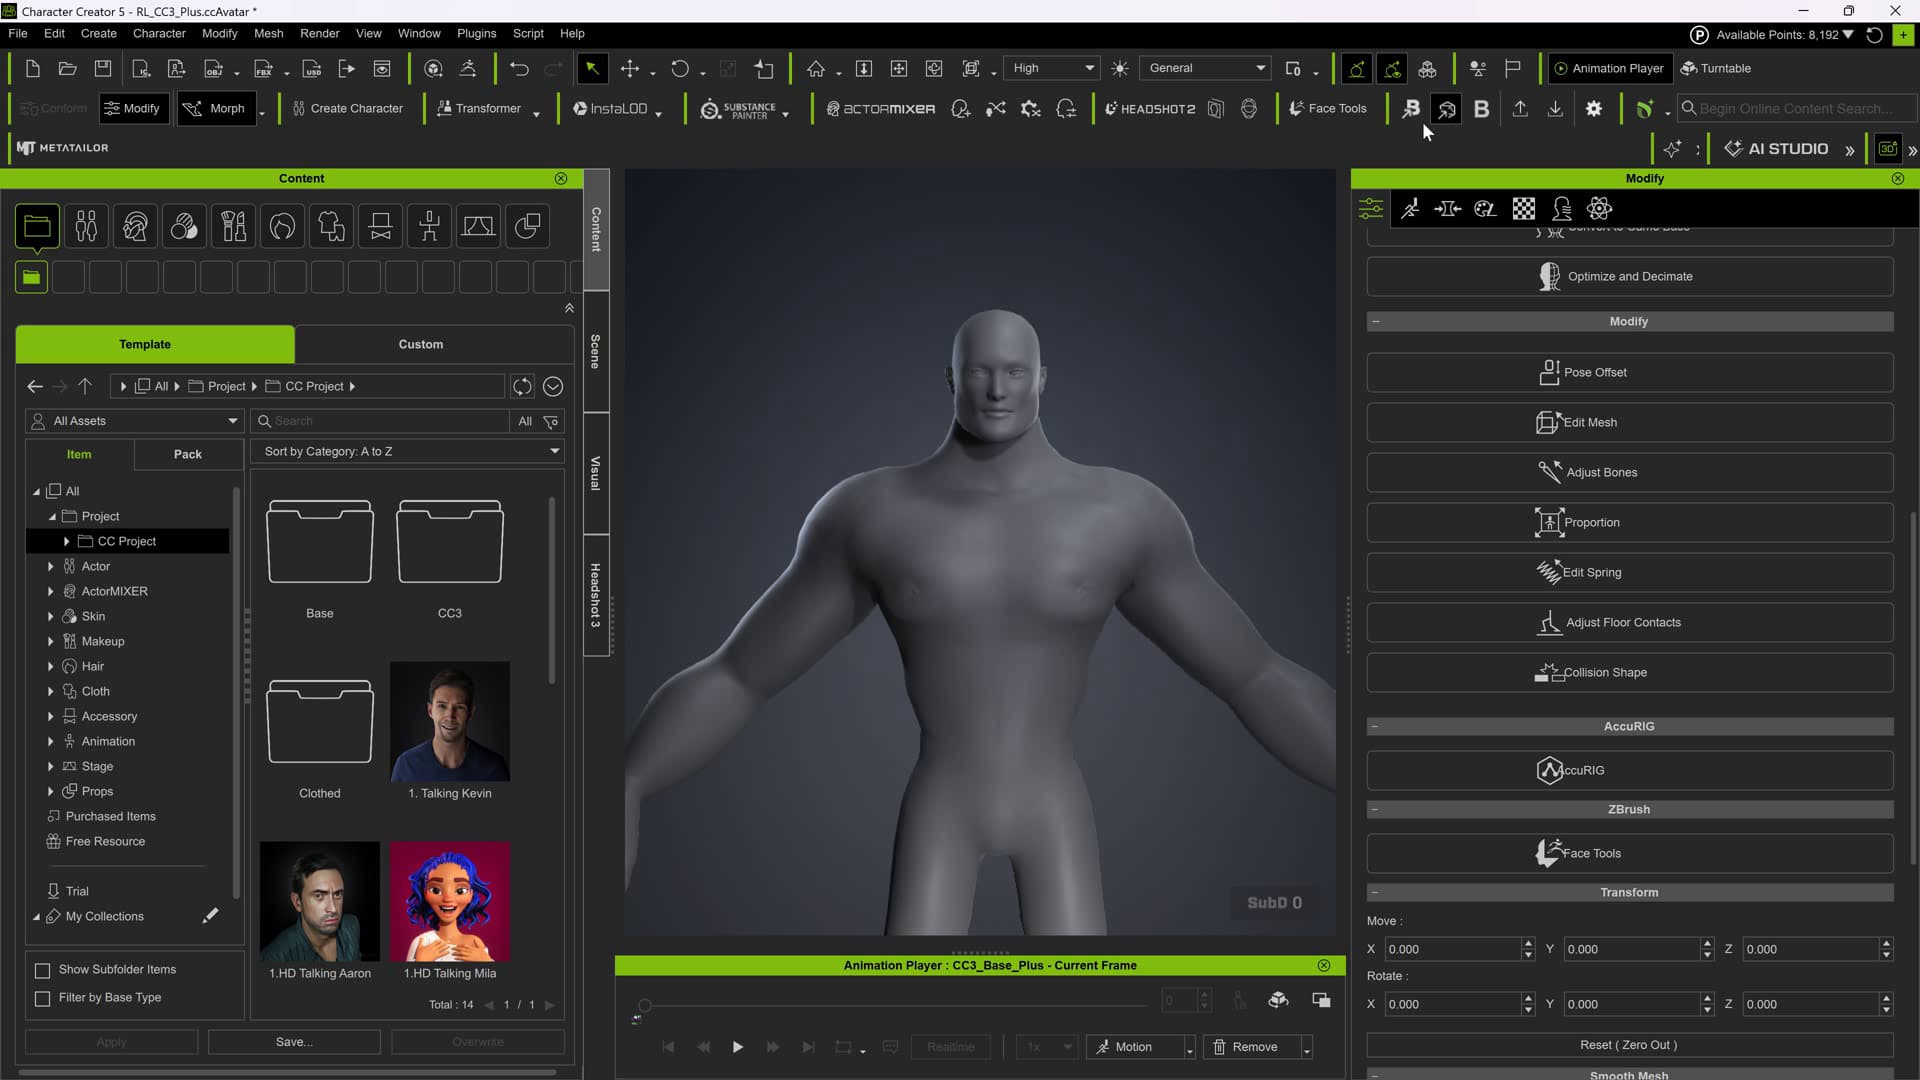
Phase 2: Establishing Stylized Anatomy (Blender 5.0 Morph Editing)
Once the base layout was finalized, I took the character into Blender 5.0 using the CC pipeline for specialized morph sculpting.
- Anatomy Definition: Used Blender’s Sculpt Mode (primarily the Crease Sharp, Draw, and Grab brushes) to carve out heavy, stylized muscle groups. Focused on aggressive, chiseled chest definition, blocky abs, and massive deltoids fitting for a storm deity.
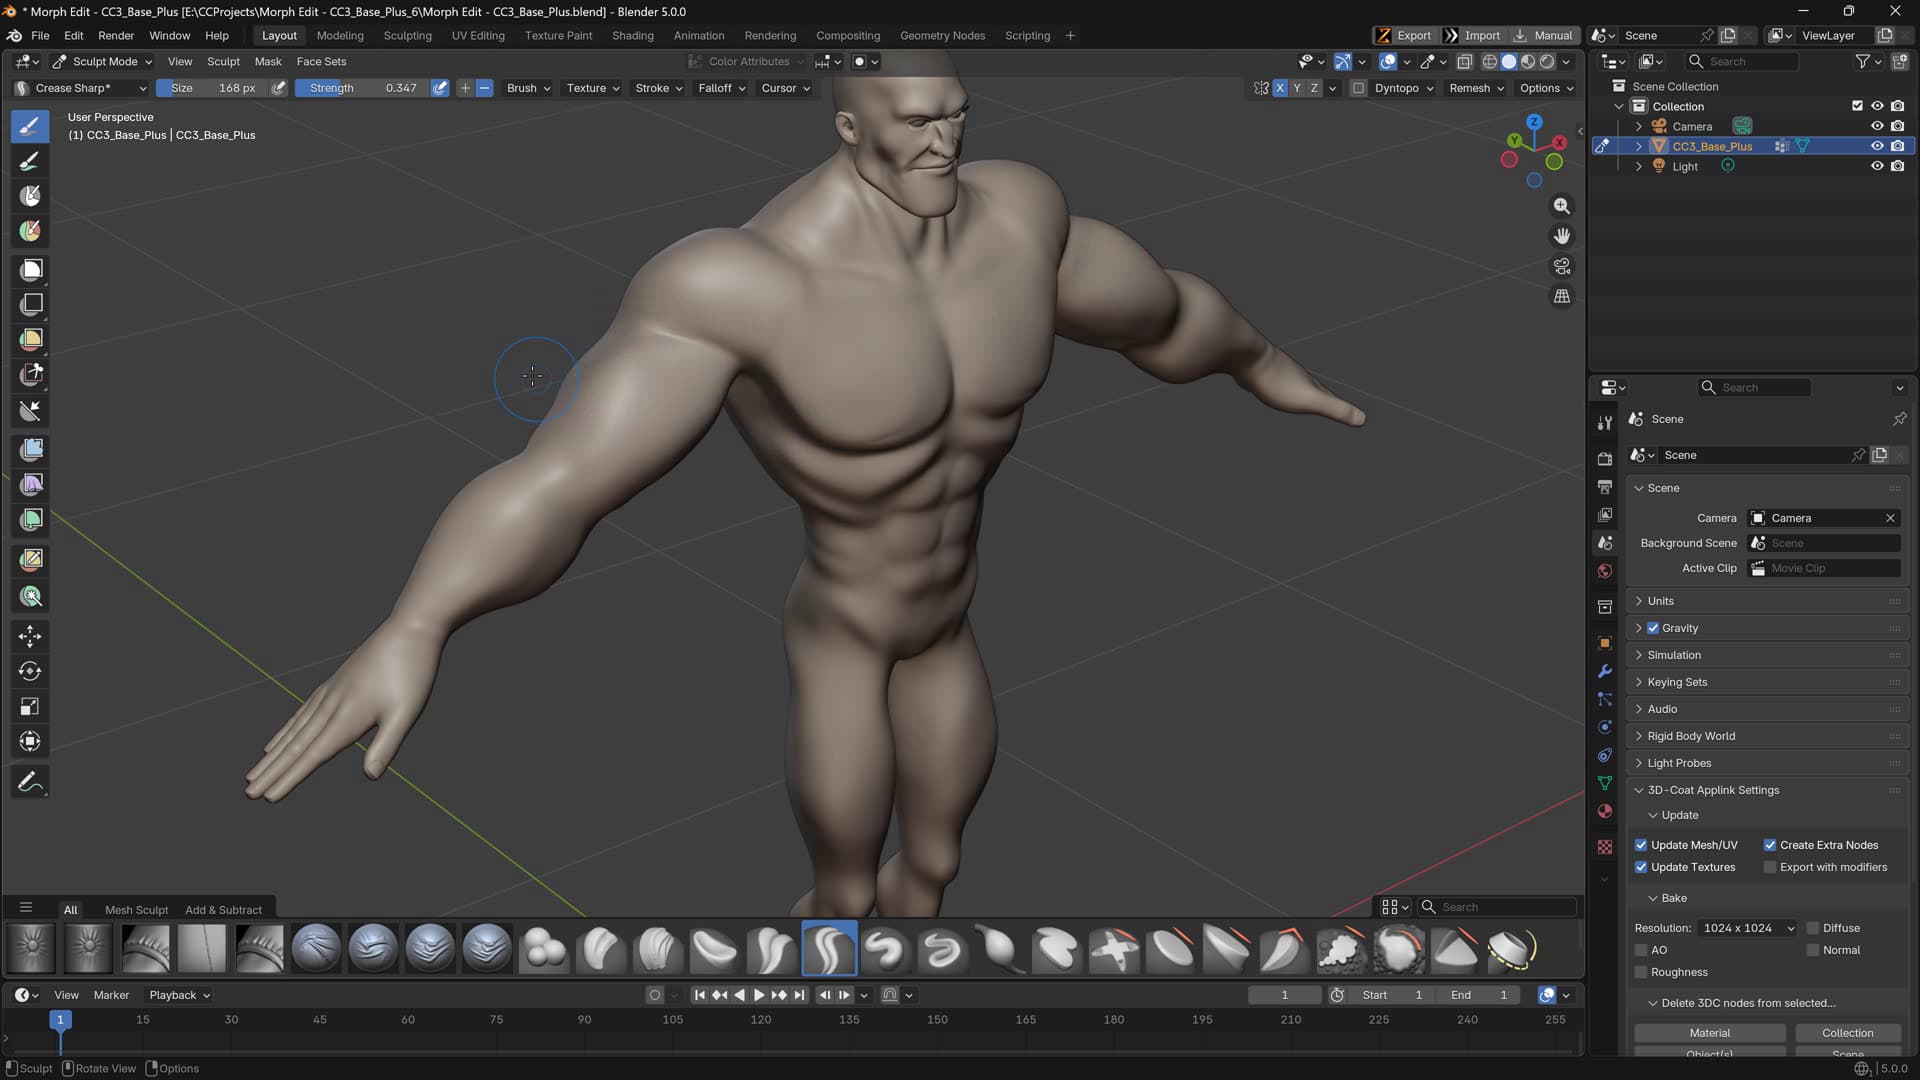
- Maintaining Go-Back Capability: Ensured the mesh was edited as a relative morph target, keeping vertex counts unchanged so it can seamlessly update back into the CC5 pipeline.
Phase 3: Stylized Hair & Facial Hair Block-out
A massive part of Susanoo’s visual identity is his wild, tempestuous hair and beard.
- Hair Sculpting: Blocked out the primary hair volume as separate geometry meshes over the head.
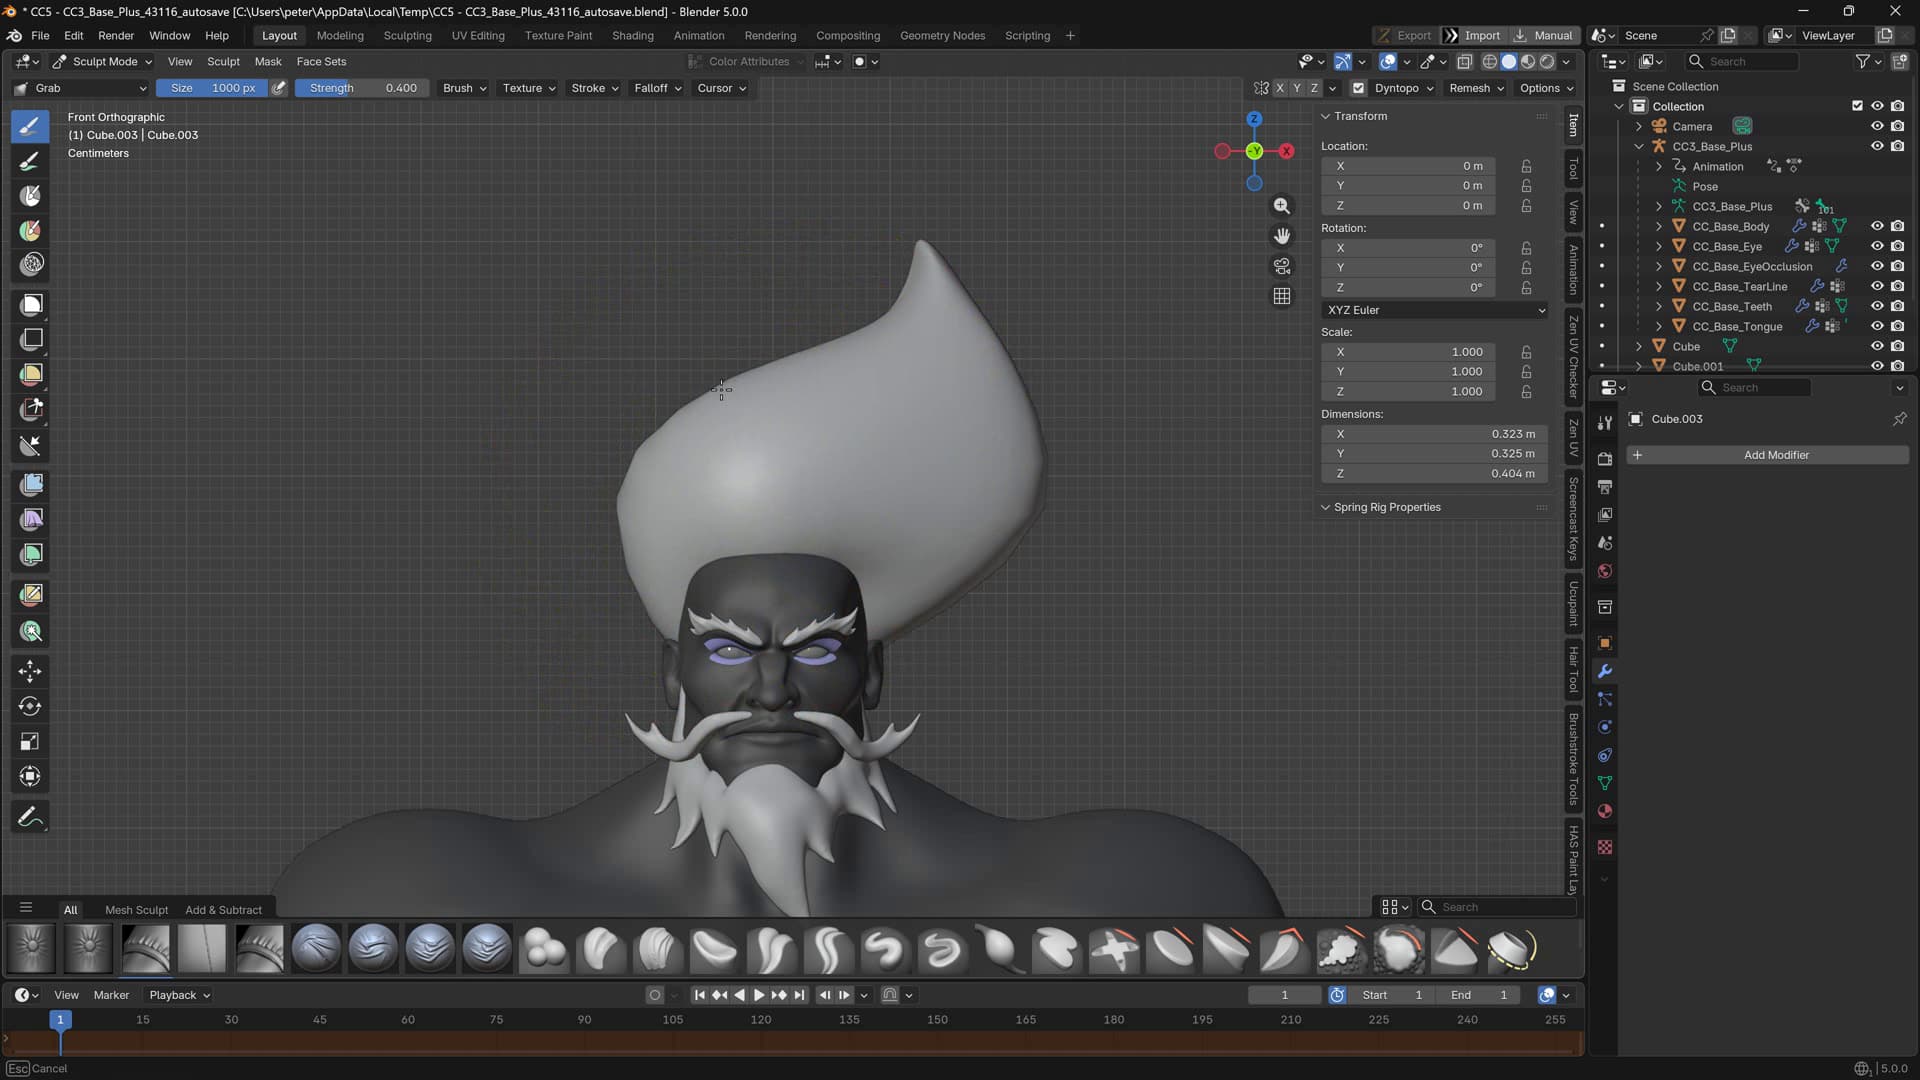
Beard & Mustache: Sculpted iconic, swooping stylized mustaches and a sharp, angular beard structure directly on top of the facial base.
Retopology Preparation: Kept these meshes as high-poly block-outs initially, utilizing tools like Quad Remasher to prep clean, optimized topology loop structures for the final clothing and hair assets.
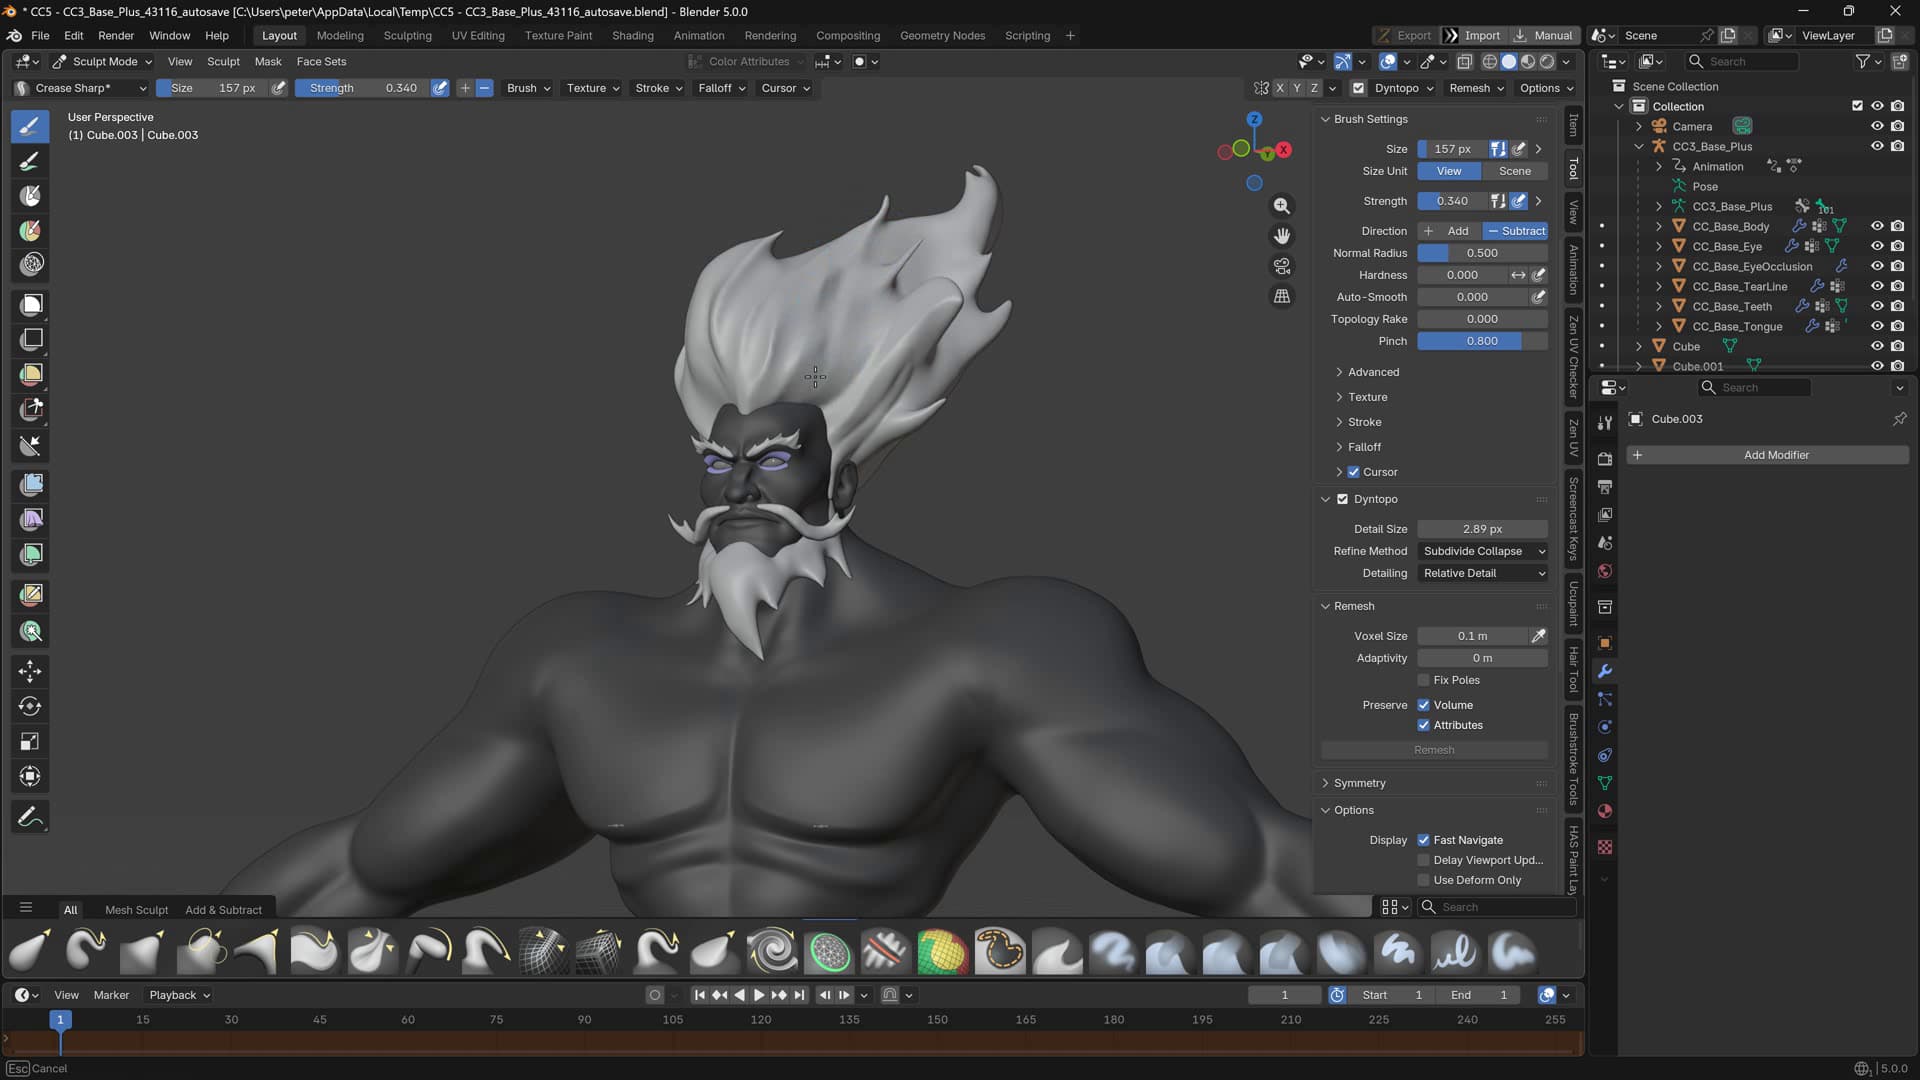
Phase 4: Combining Assets & First Look
Bringing everything together in Blender to evaluate the silhouette.
- Attire Block-out: Sketched out basic traditional elements—a stylized wrap-around gi, a massive circular rope belt (shimenawa style), and heavy bracers.
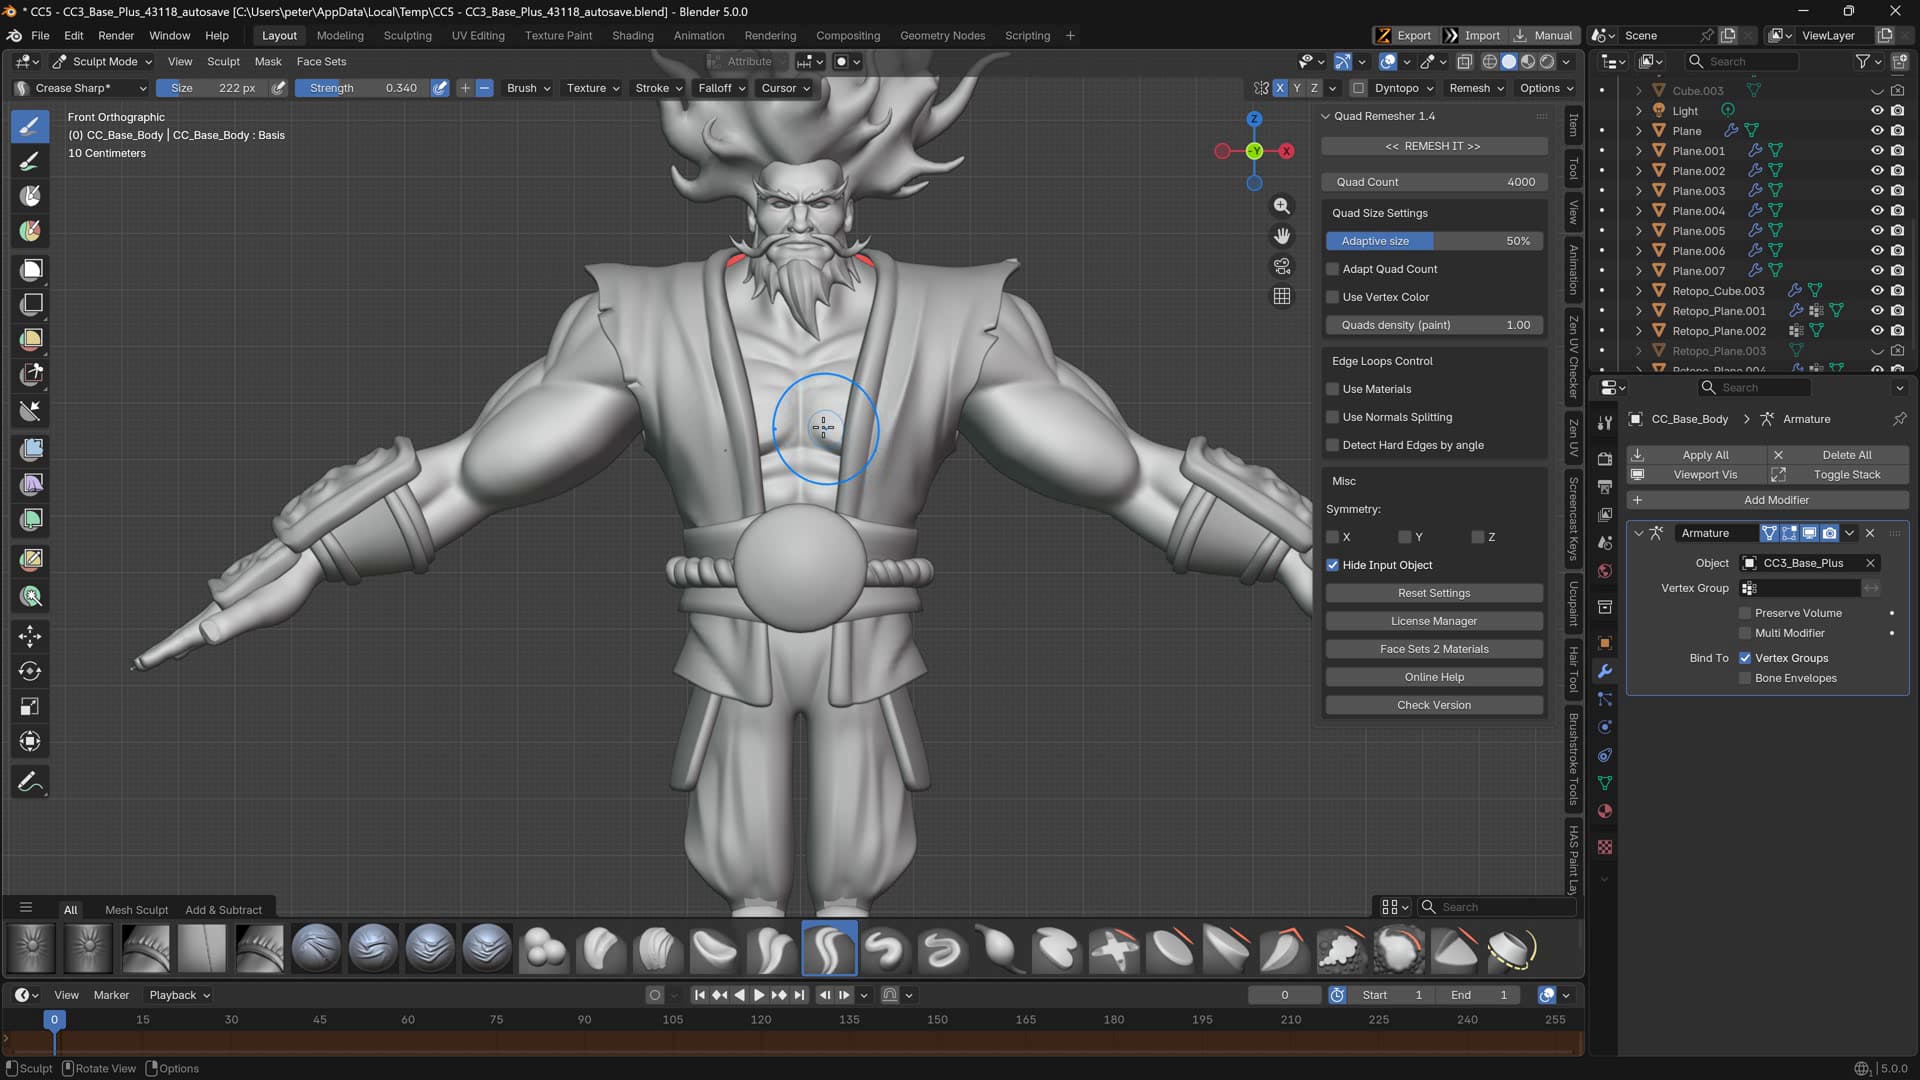
- Current Status: The silhouette is locking in nicely. The blocky, chiseled anatomy pairs incredibly well with the sweeping, dynamic flow of the stylized hair assets.
Next Steps:
- Refine clothing topology and add fine-detail wrinkles.
- Finalize UV layout and bake out ambient occlusion/normals.
- Detailing and Texturing in 3D-Coat / Blender
- Bring back into CC5 for final facial expressions and clothing setup.
Note: This is just how I’d set up a WIP. As long as you adhere to the guidelines you’ll be fine. Good luck to everyone entering the contest this year!