Hello everone!
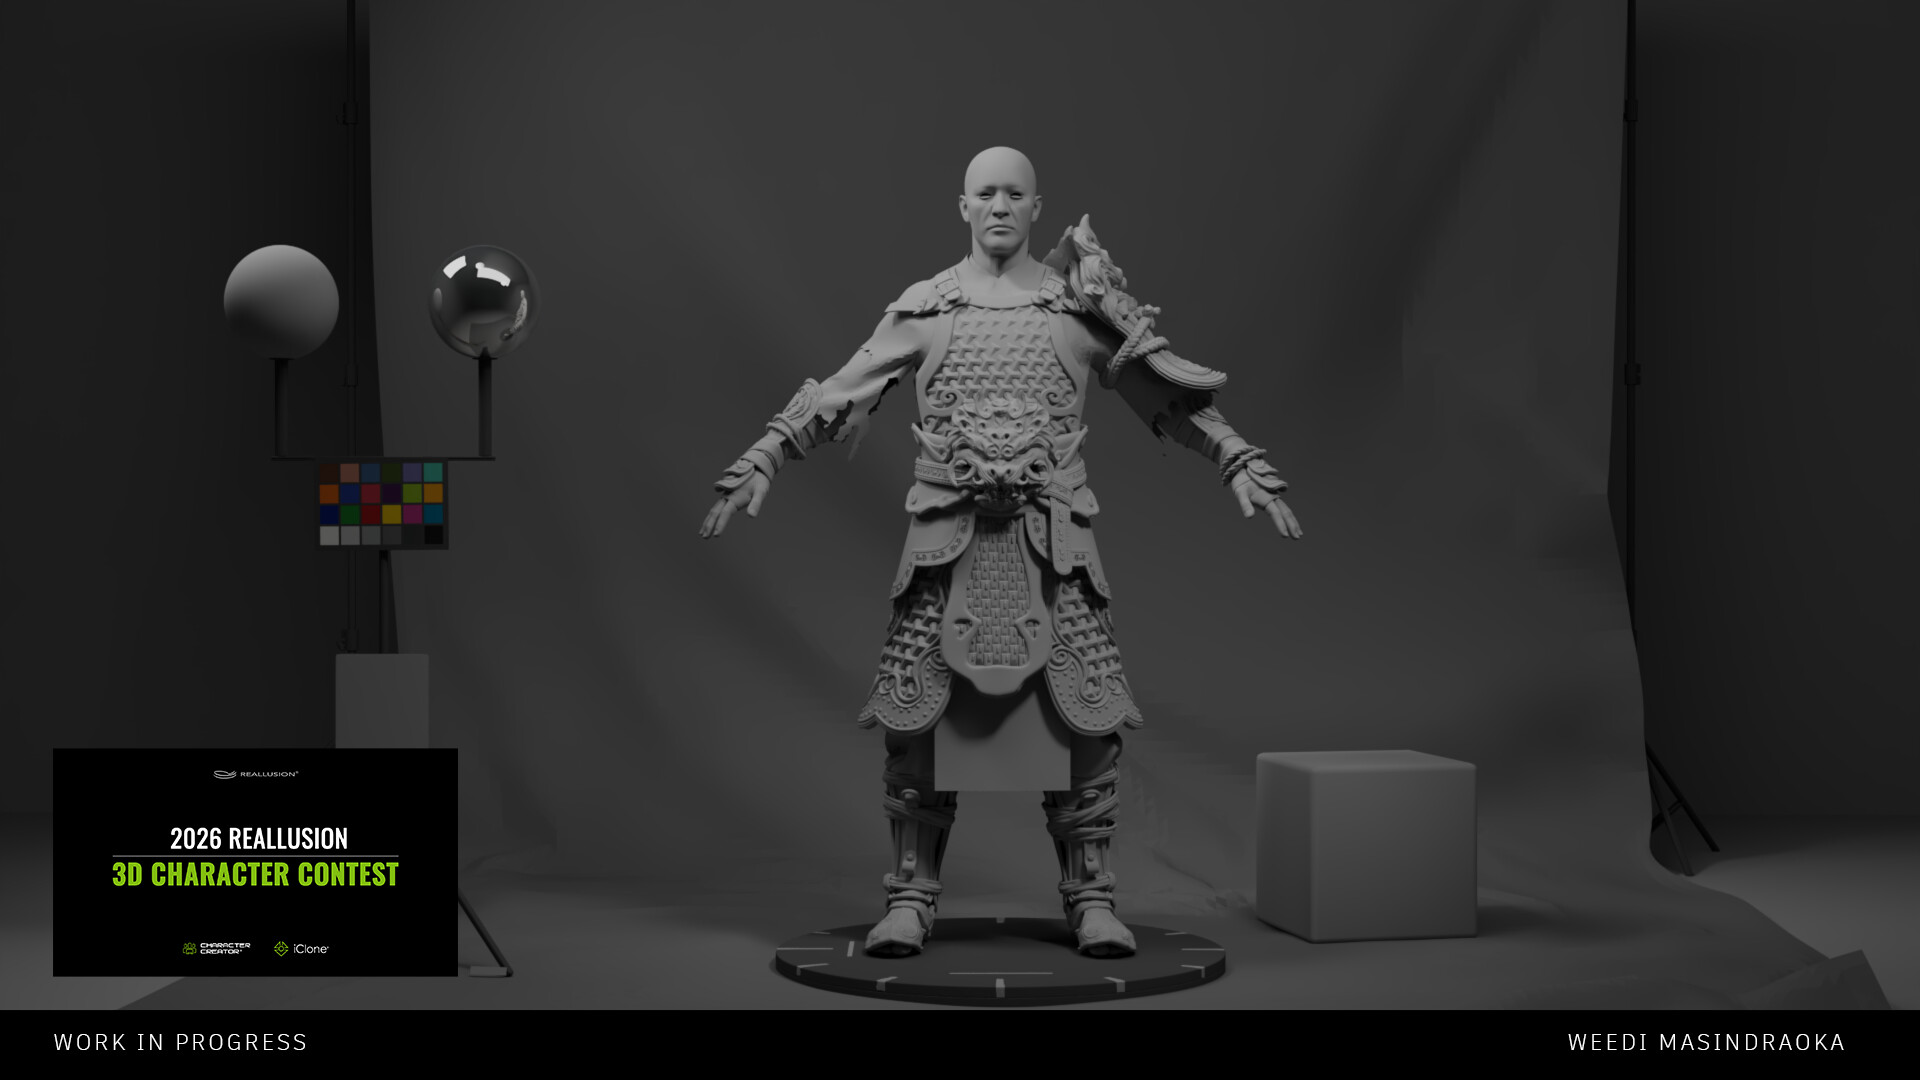
Here is a concept where I want to create for this contest.
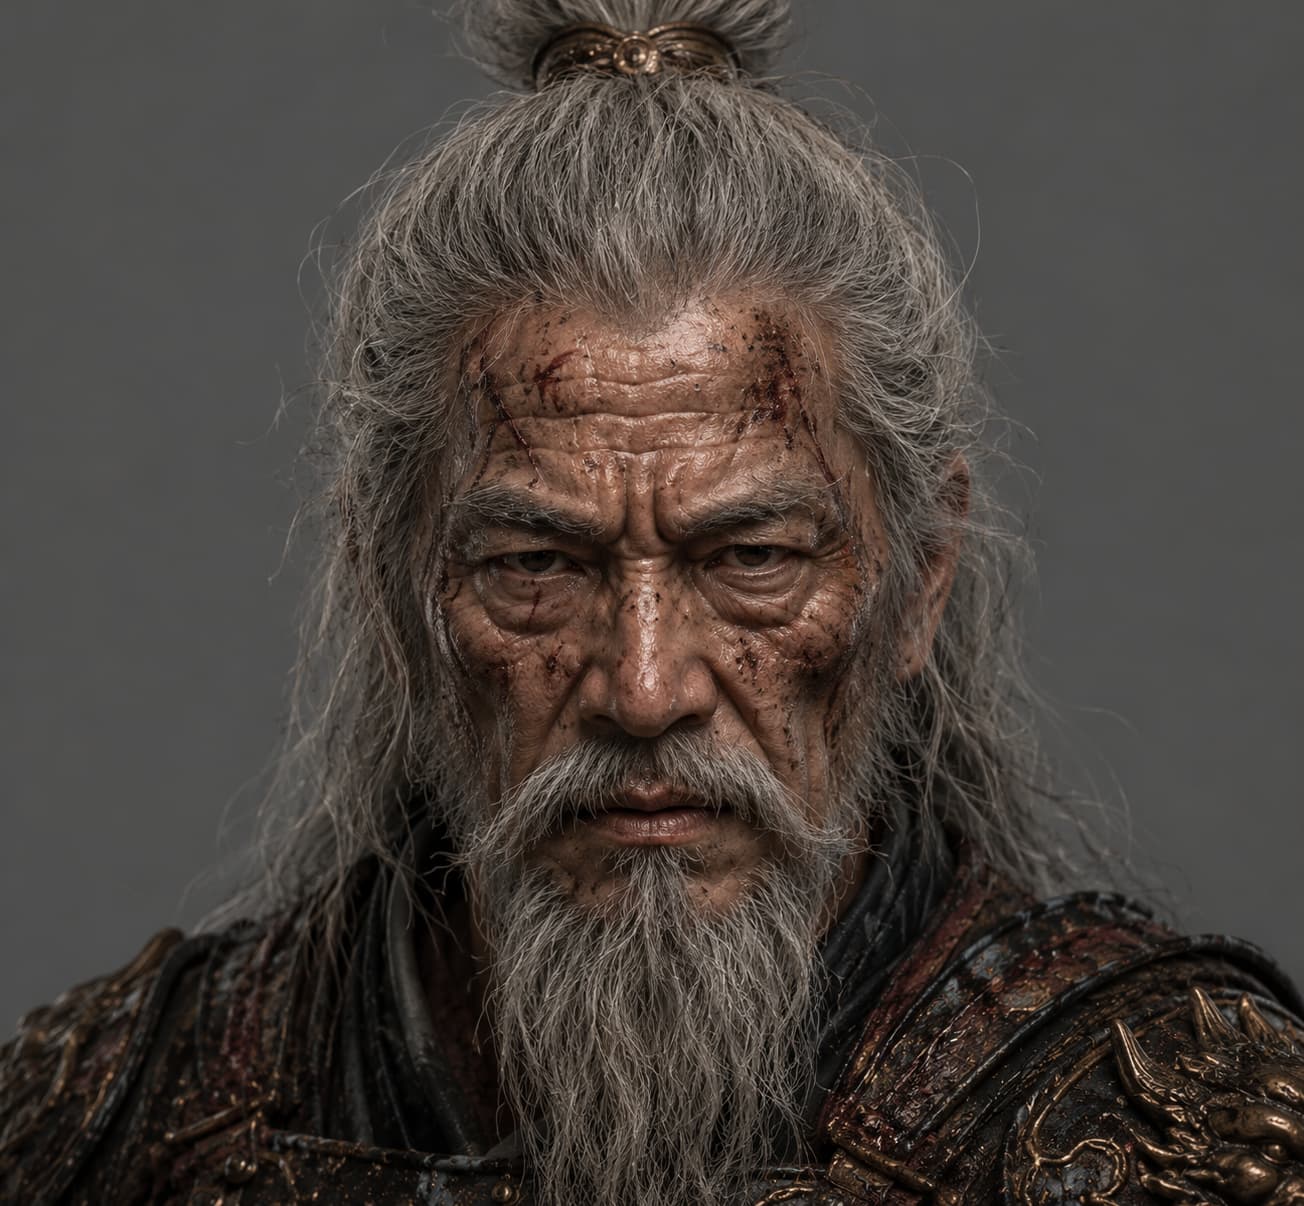
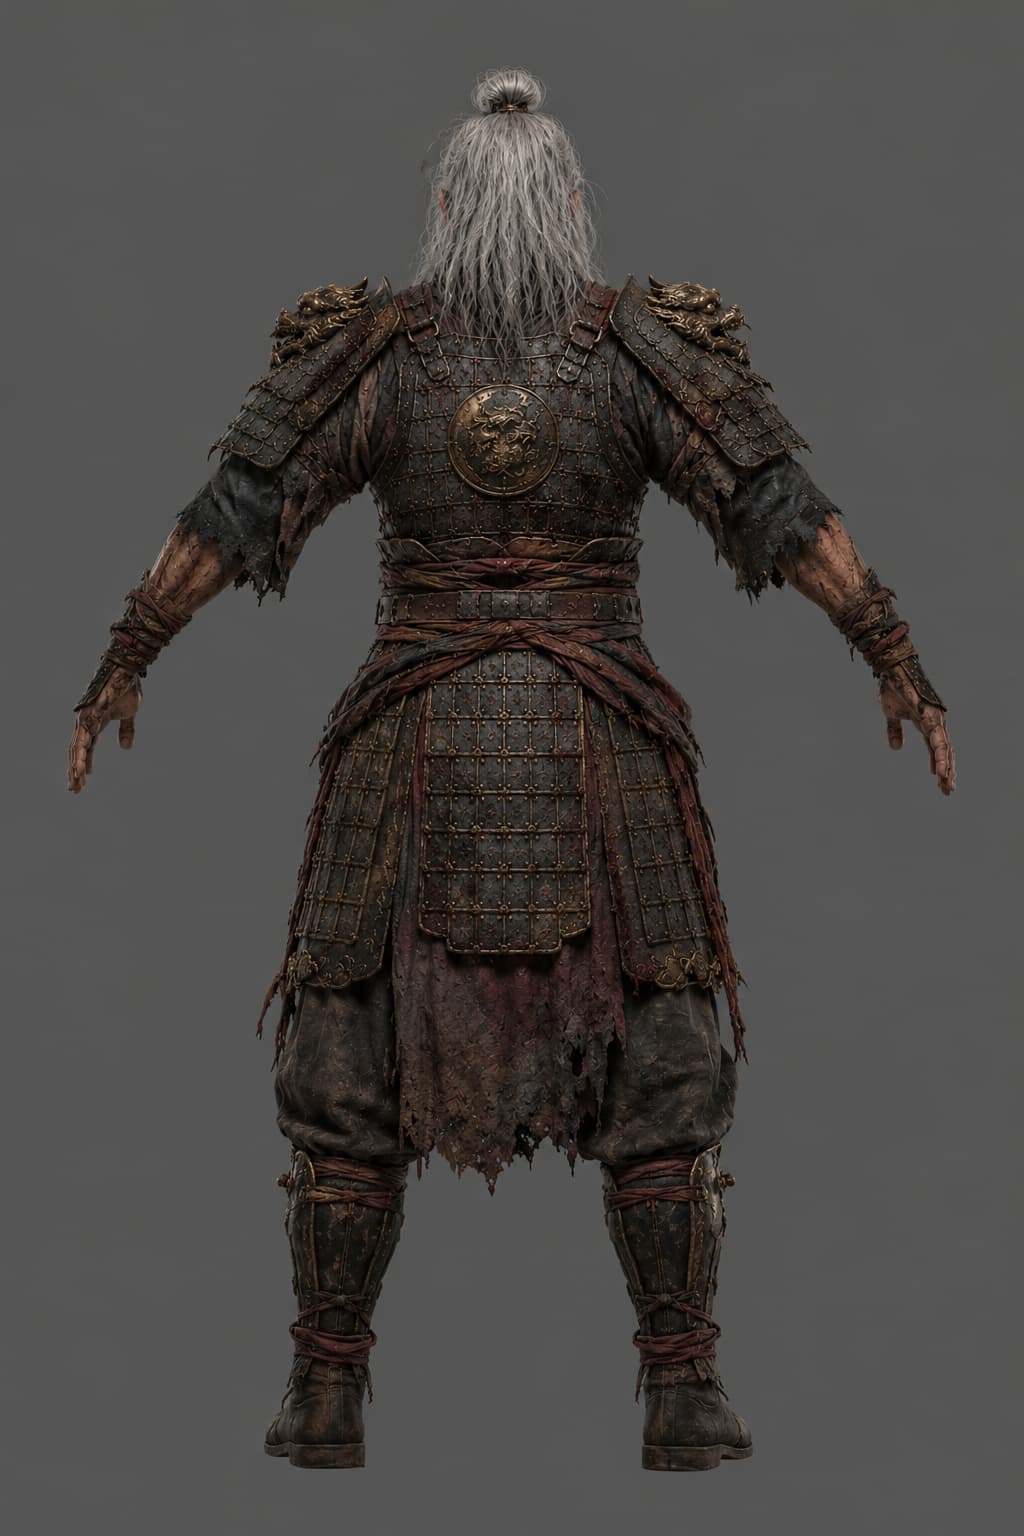
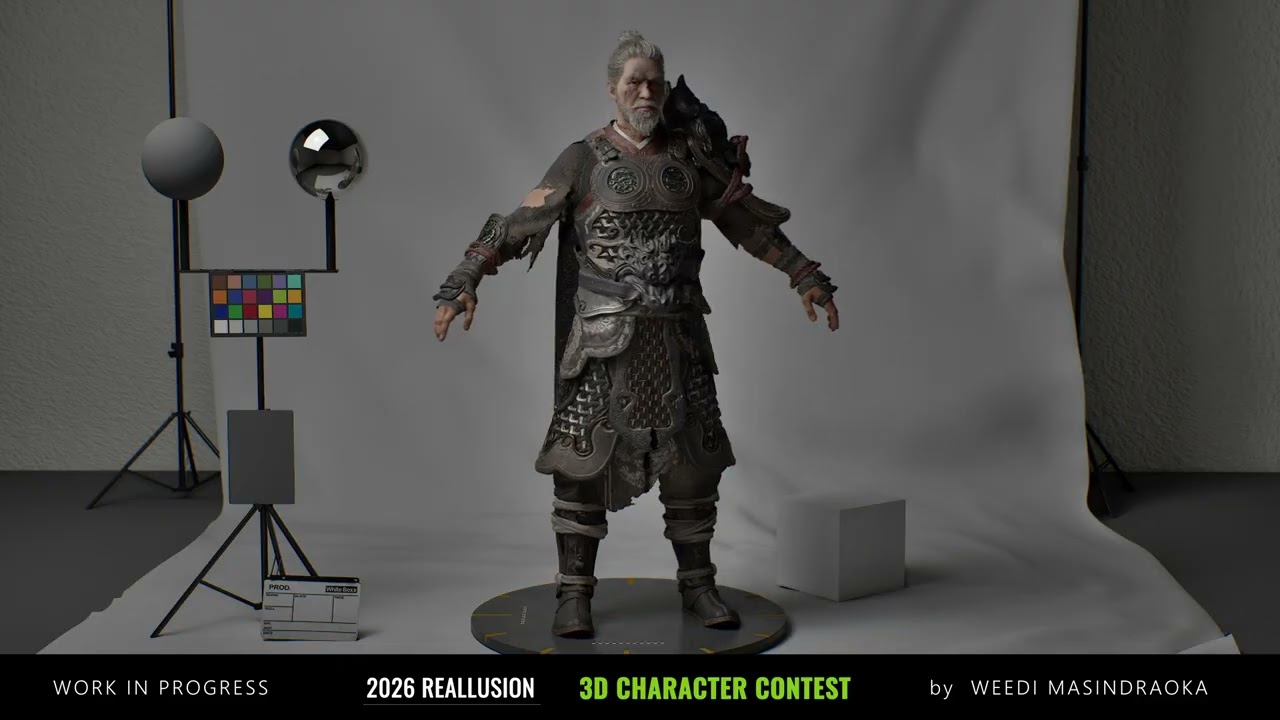
It will be a n Old ancient chinese warrior. I’ll try to create it as hyperreal character.
For the armor I’ll recreate it procedurally.
The face will be firstly create in headshot 3, and after I’ll correct it in CC5 and Zbrush.
For the hair, I’m not sure yet. May be I’ll create it for realtime by haircard method or fully create as HairGroom in Maya.
(Sorry for the bad english, I’m more French. :D)
I hope it will fit the contest requirement.
Thanks.
4 Likes
Hello everbody,
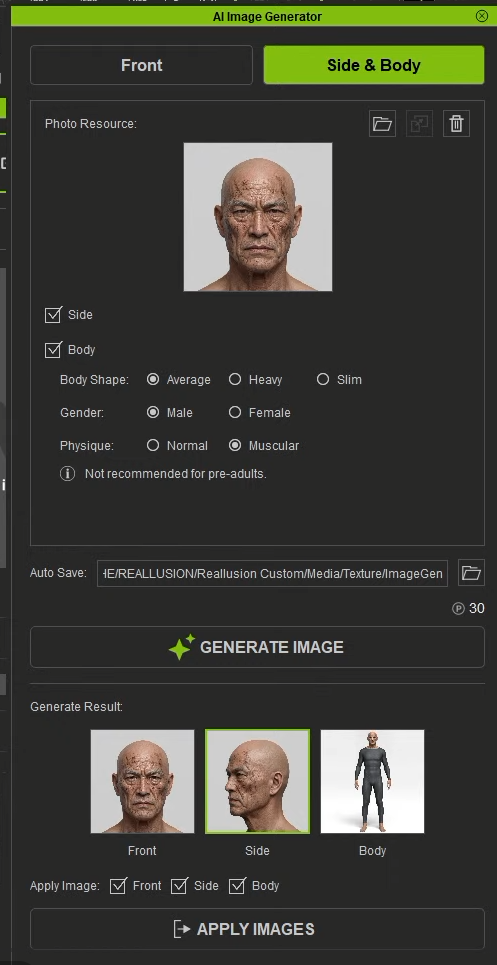
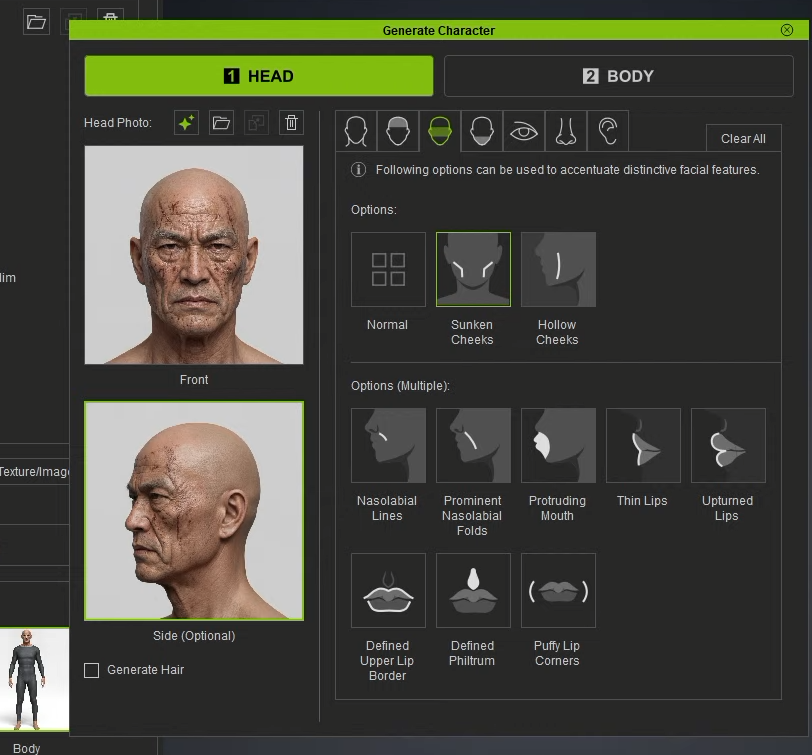
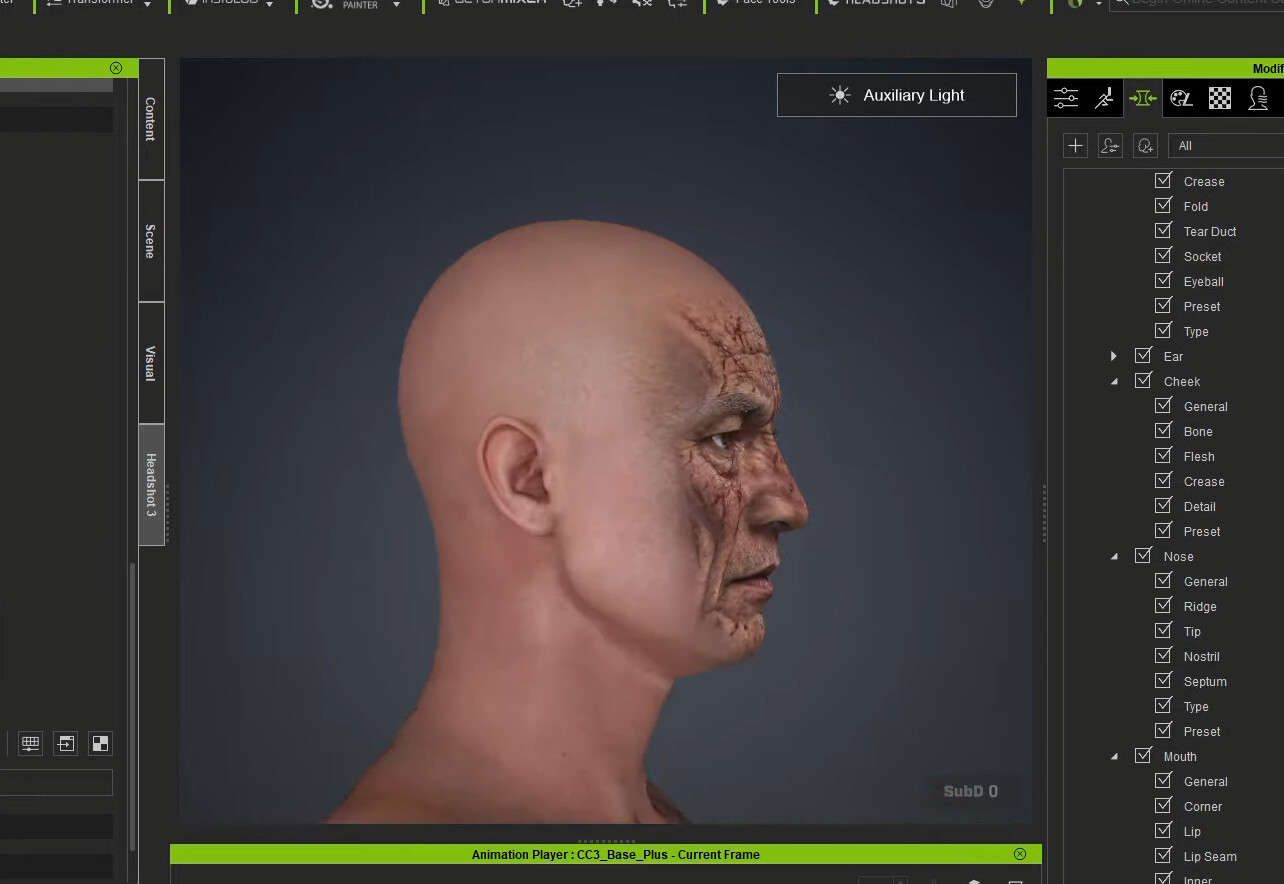
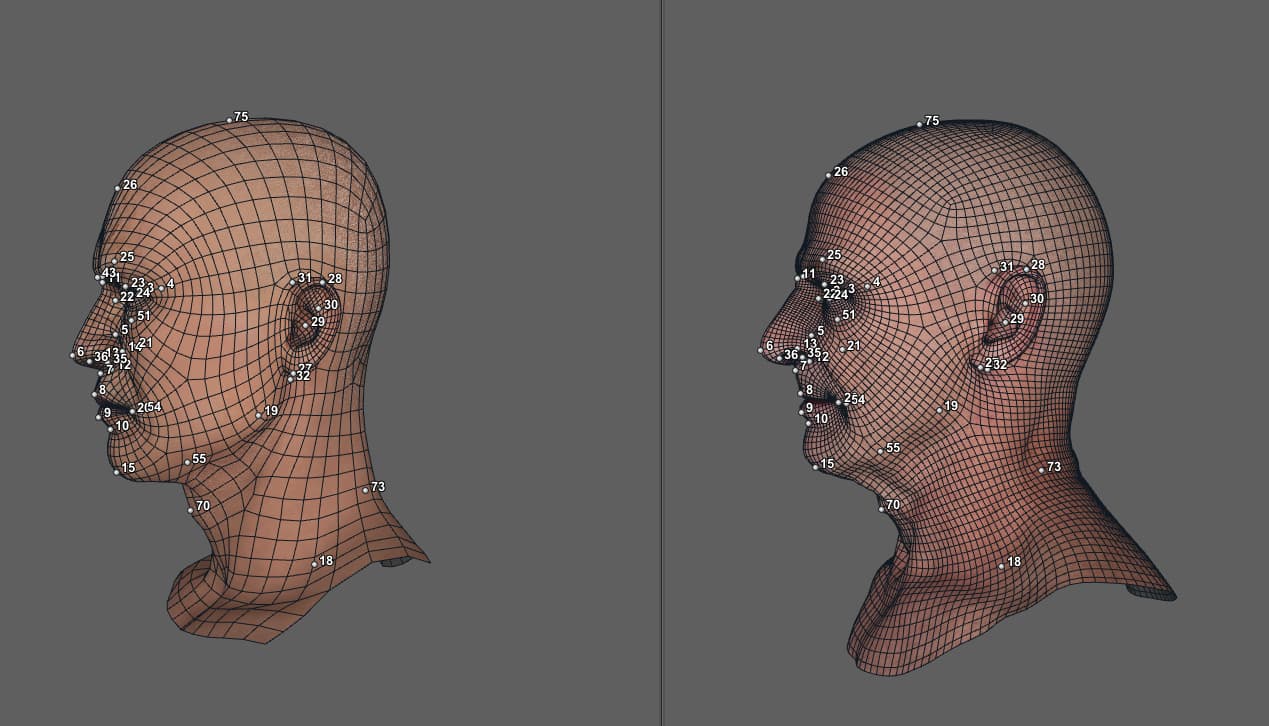
Today I begin the base mesh of the head by using, Headshoot 3.
I’m not a high face sculptor artist so I’ve generate all side and front images without hair and beard with the AI Image generator.
And after I add ajustment with refine face parametter.
Here is the result actually
I’ll use it as base head before passing in Zbrush.
1 Like
Hello every body,
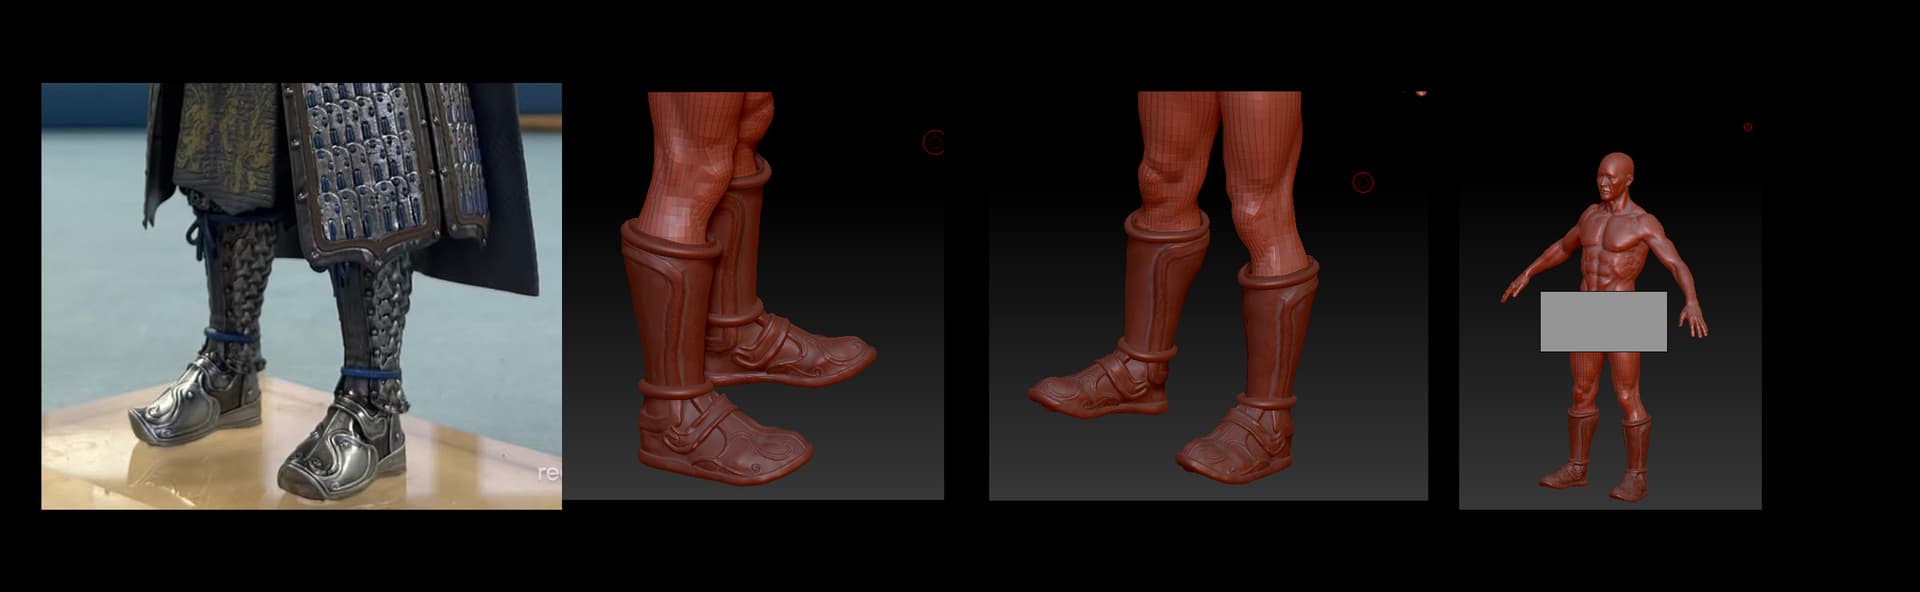
Today I began the scuplt of the shoes, Iv’e take a reference on internet and try to recreate the pattern. I’m not a high sculptor so Once I have a draft I’ll modelize it in Maya to have a nice topology.
1 Like
Hello everybody,
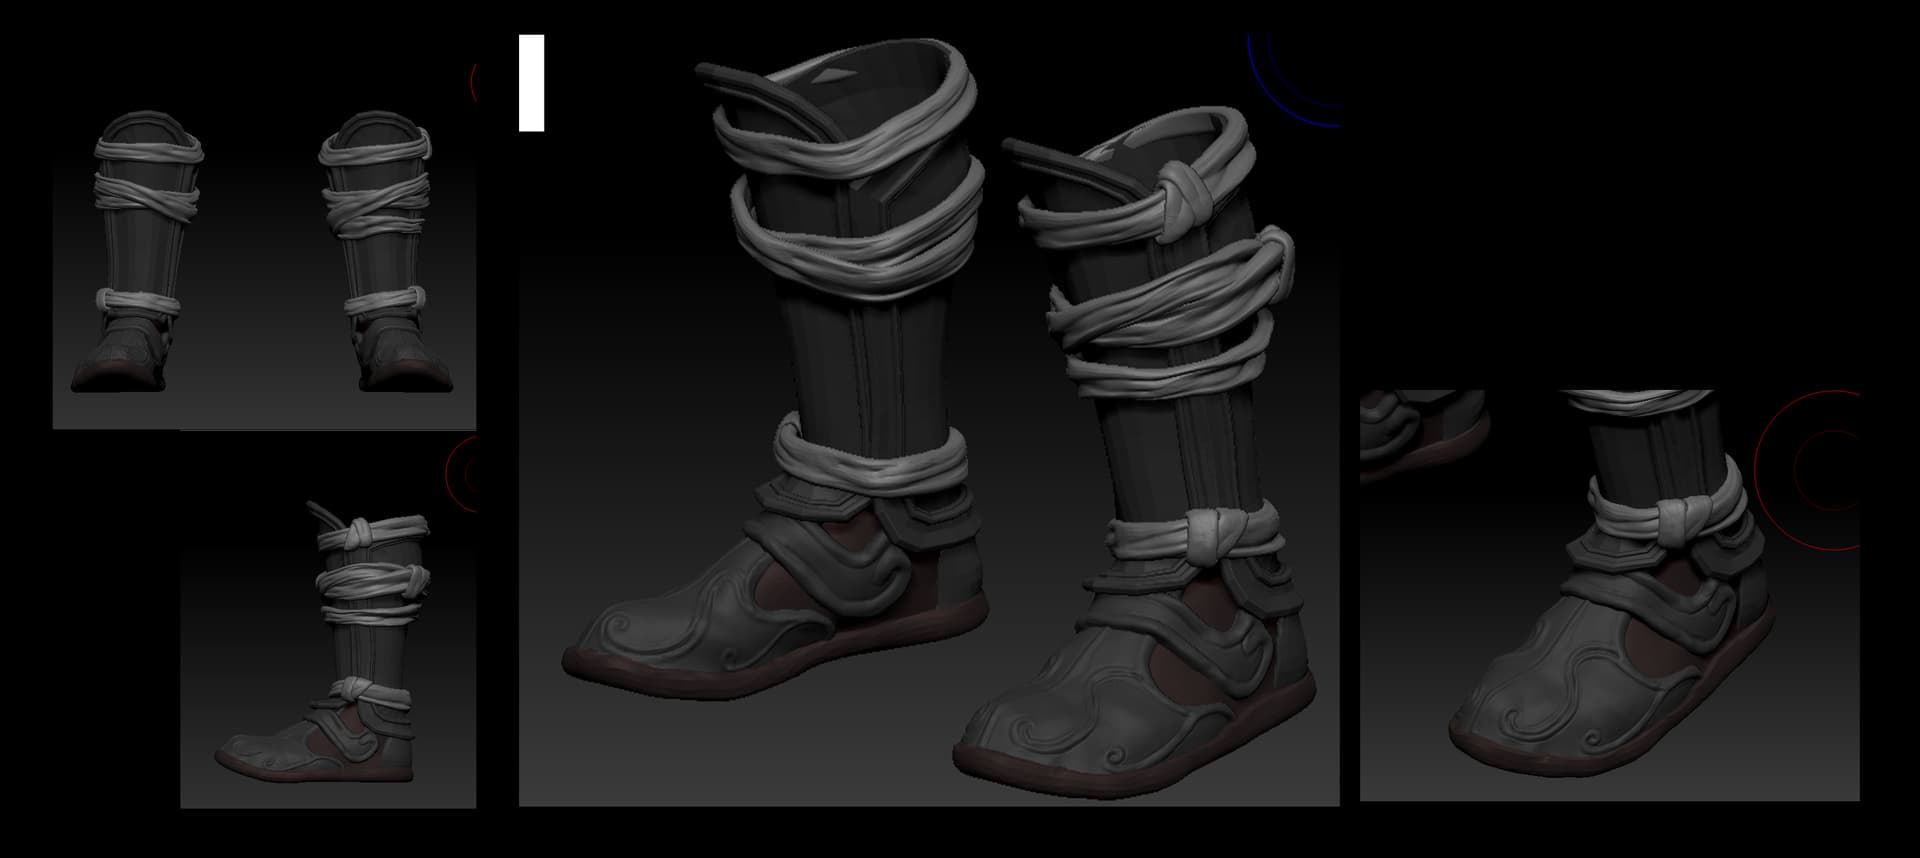
Today I finished blocking, the shoes, I tryed to add the maximum detail before the retopo step.
I’ll certainly began the pant and the armor after.
Thanks!
3 Likes
Hello everyone,
I haven’t worked on the project for a few days.
Today, I’m finally finding some time to dedicate to it.
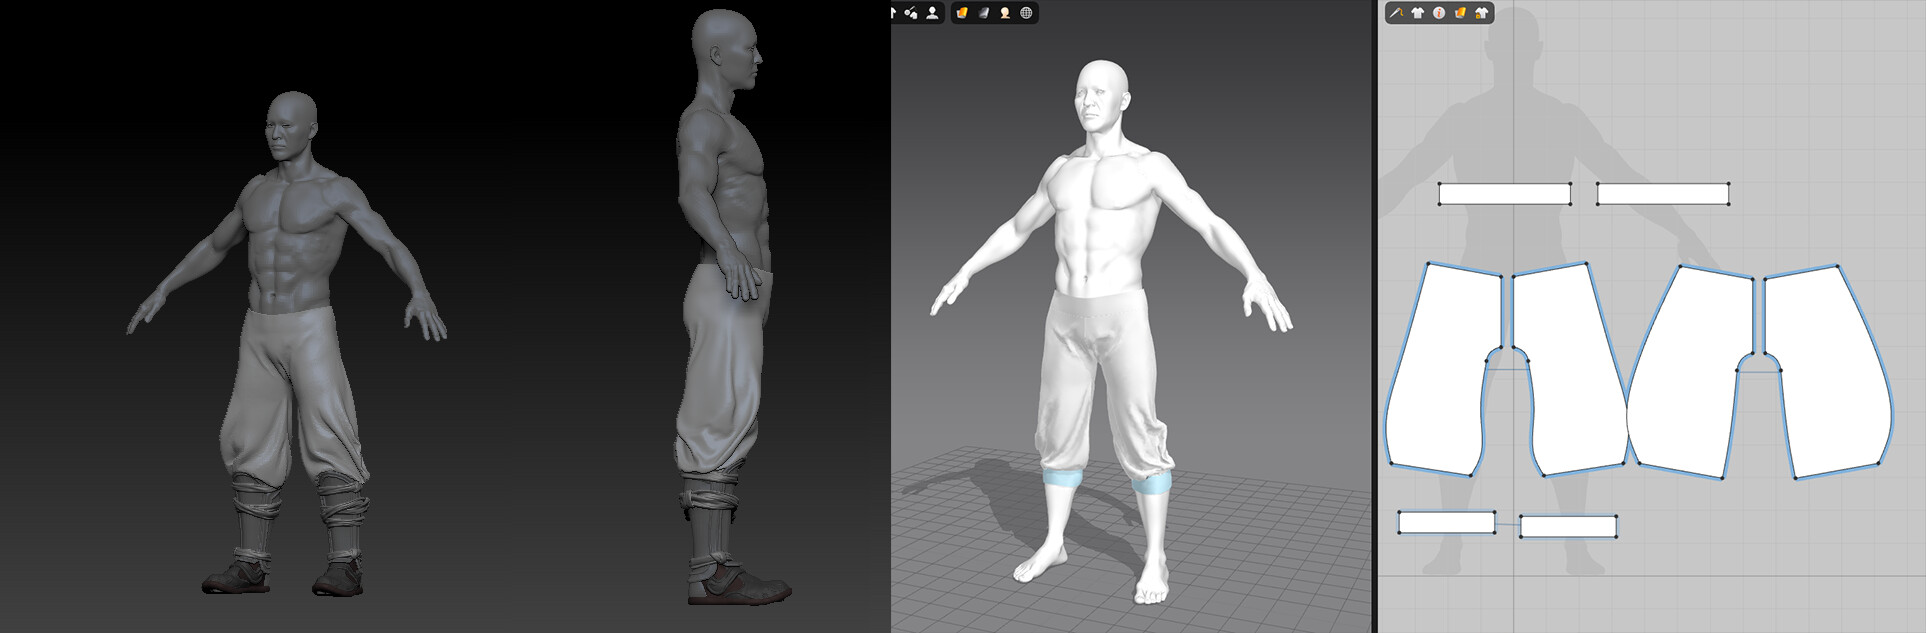
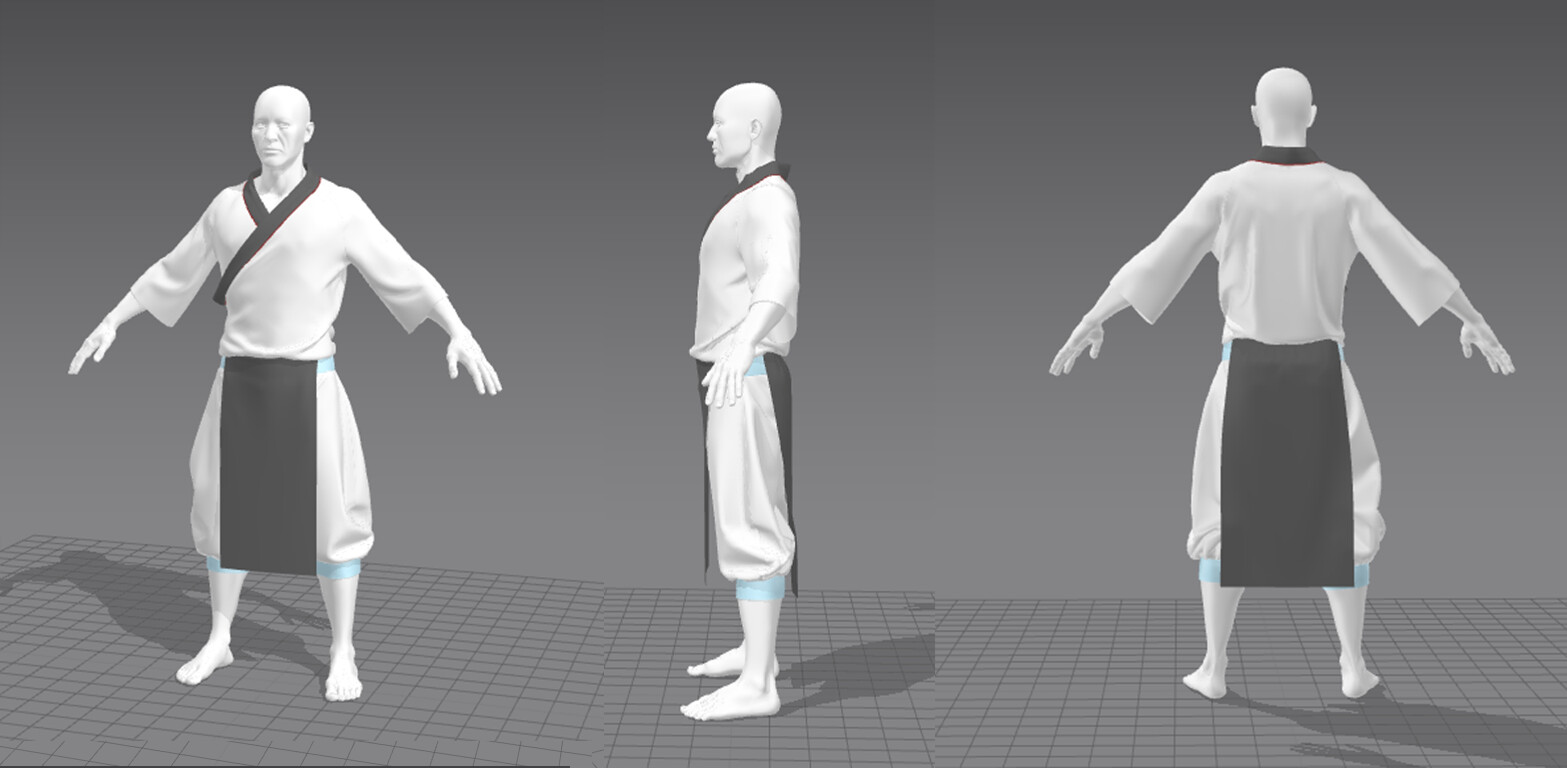
I started working on the trousers in Marvelous Designer today, and then imported them into ZBrush to sculpt some details.
I’m planning to livestream my creation process, but I’m not sure if there are any specific rules regarding that.
I plan to complete at least 50% of the project this weekend.
1 Like
Hello everyone!
Today I finished the blocking of interior suits in Marvelous Designer then after I’ll import it into ZBrush to add details. It will certainly be hidden behind the shield, but it’s better to have it there, it adds more realism.
2 Likes
Hello everyone!
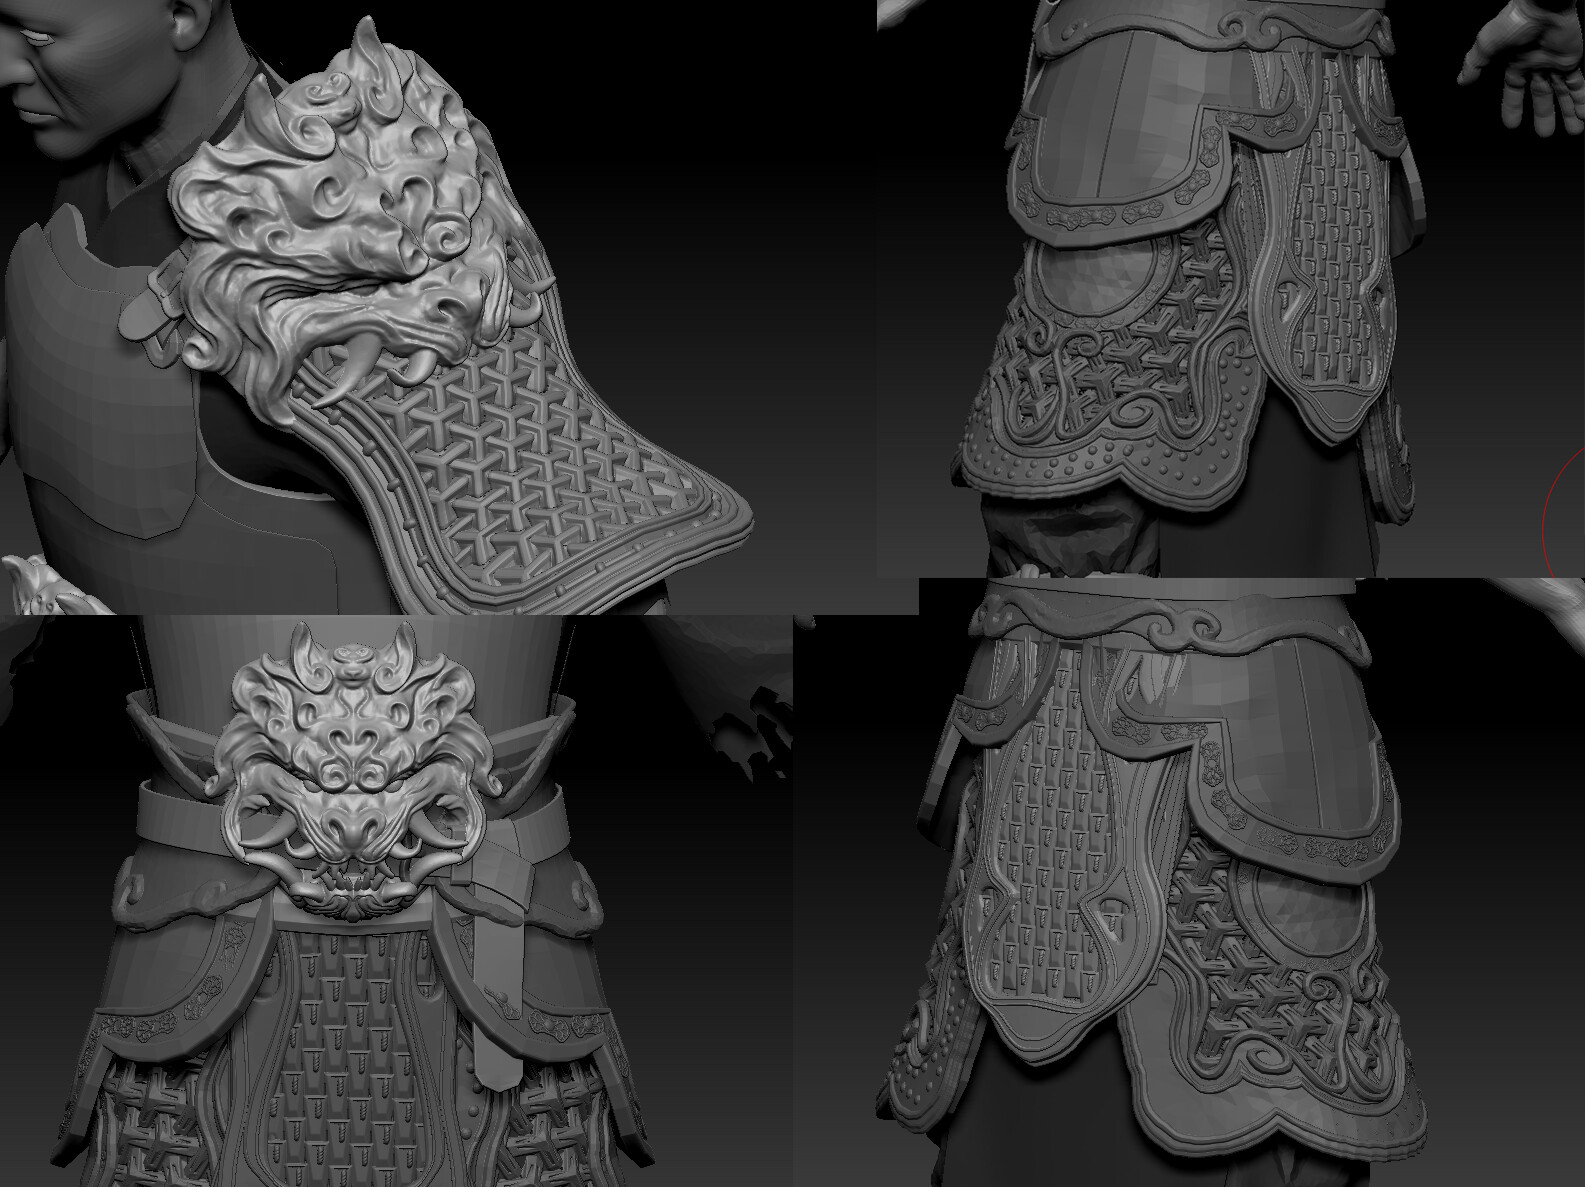
Today I finish the blocking of shield in Maya and Zbrush. The main hard step for me is to add detail, be cause It have more picture and symbols.
Hello everyone!
I’ve play the game “The black Myth wukong” early, It inspire me so much so I add rome new part to my model.
Before adding detail I did a little sketch of what it will be. I added the destroyed shield to remove the symetry of the model.
After this I can finally begin the detail in each part of the shield.
Hope you like it!
6 Likes
Hello everyone!
It’s been a while since I posted any progress updates, due to work.
Today, I’m sharing the progress made on this project.
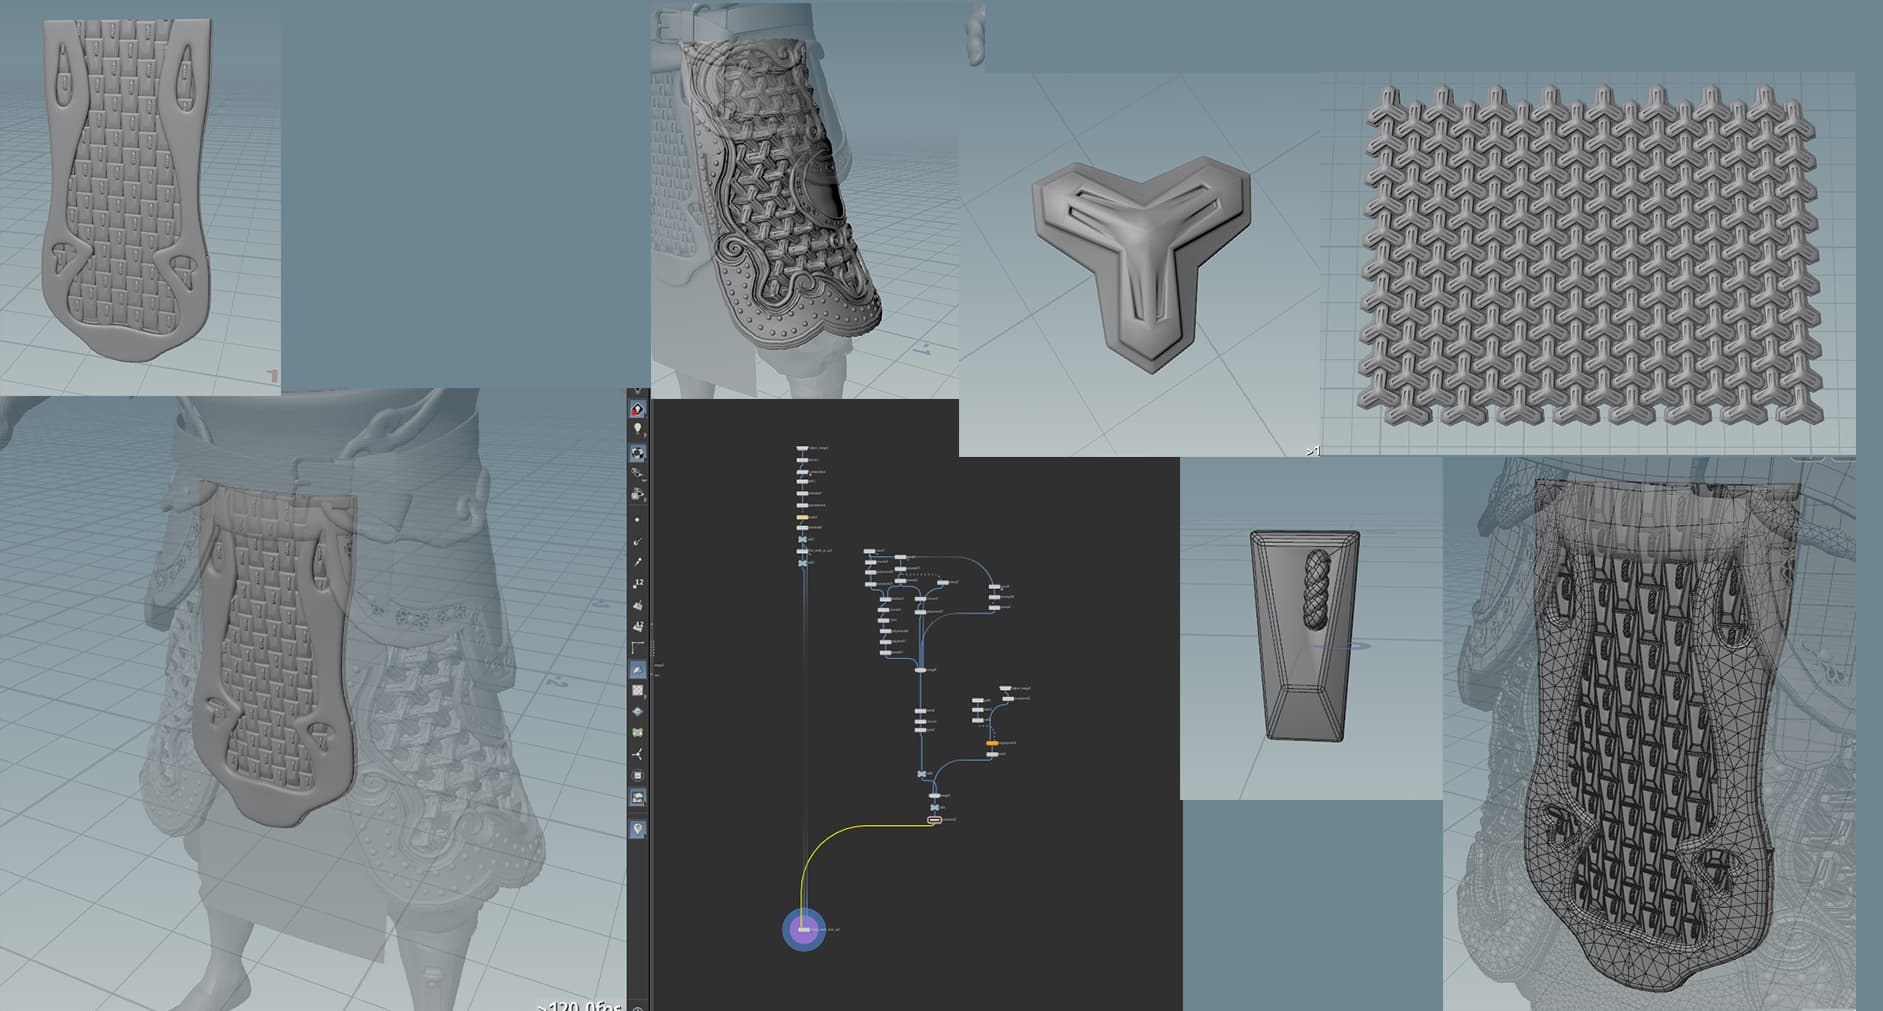
Since I’m not very skilled at hard-surface modeling, I created the patterns on the shield using Houdini.
Hopefully, the shield will be finished this week so I can focus on the character’s lookdev.
See you soon!
2 Likes
Hello everyone!
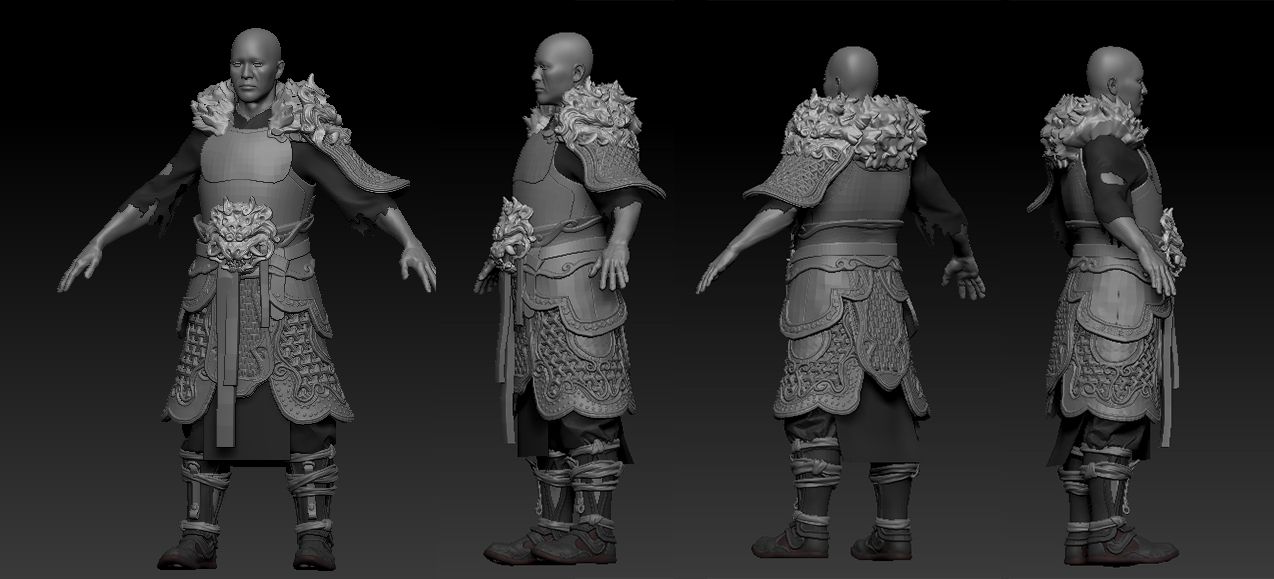
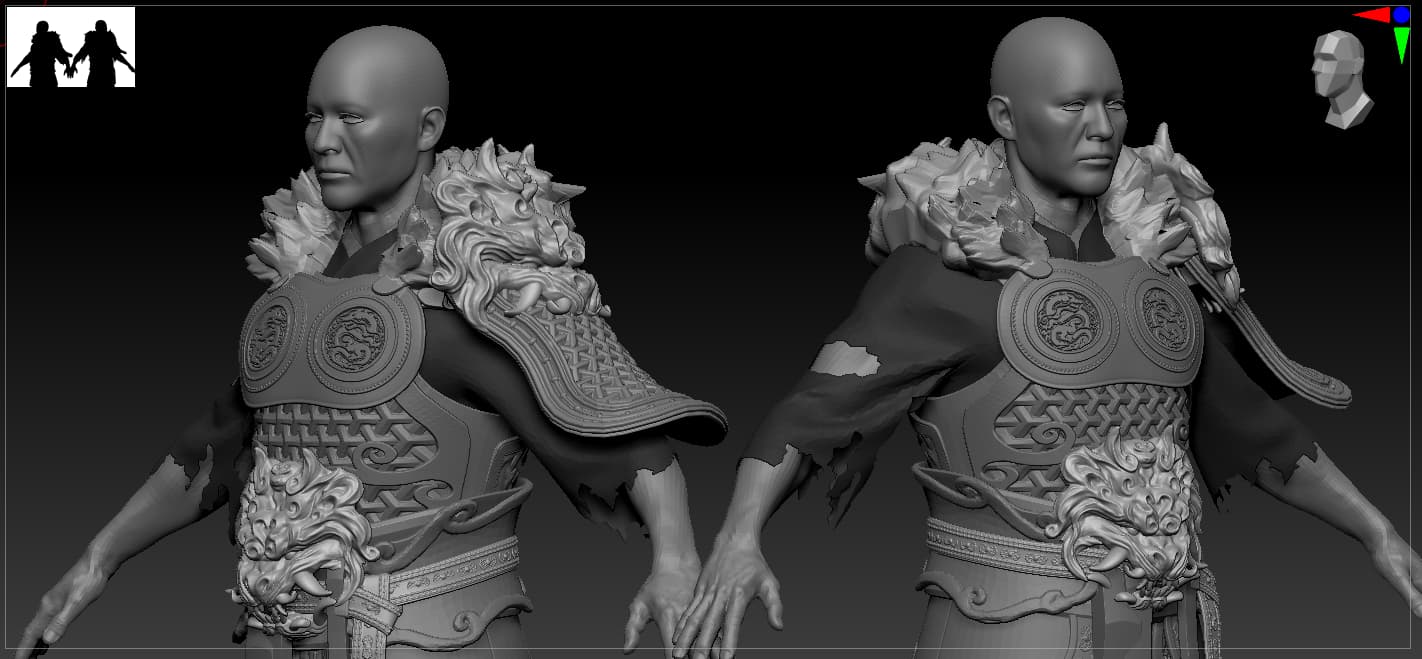
Today I finished all difficult part, I’ll add some teared clothes and the sculpt part will be finish.
The next step will be the retopo of all high poly shied, and we can pass into polypainting.
1 Like
Hello everyone,
Sorry for the huge gap between updates; I had a lot of work lately.
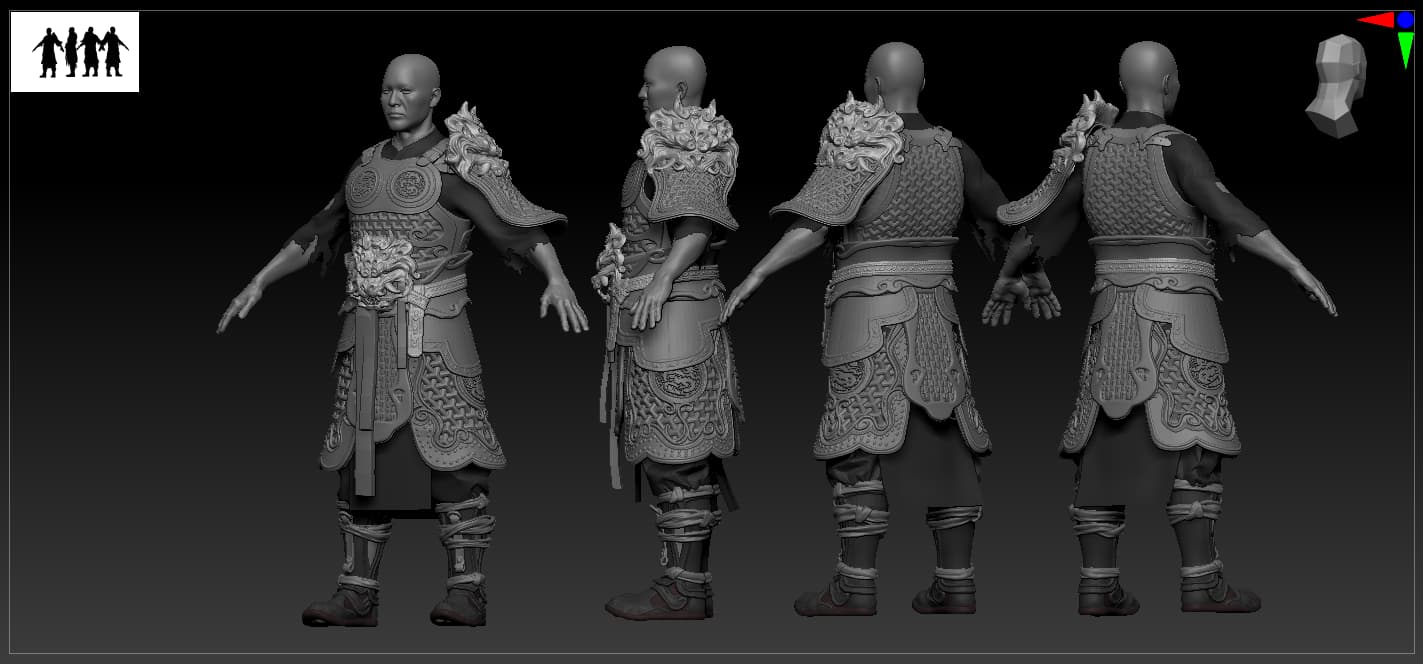
Today, I’m showing you my latest progress in ZBrush. I finished the glove and also added the rope that holds the armor onto the left arm.
I’m going to start the retopology and handle all the UVs as well.
Hope you like it.
2 Likes
Hello everyone,
Today I present you the progess of the day.
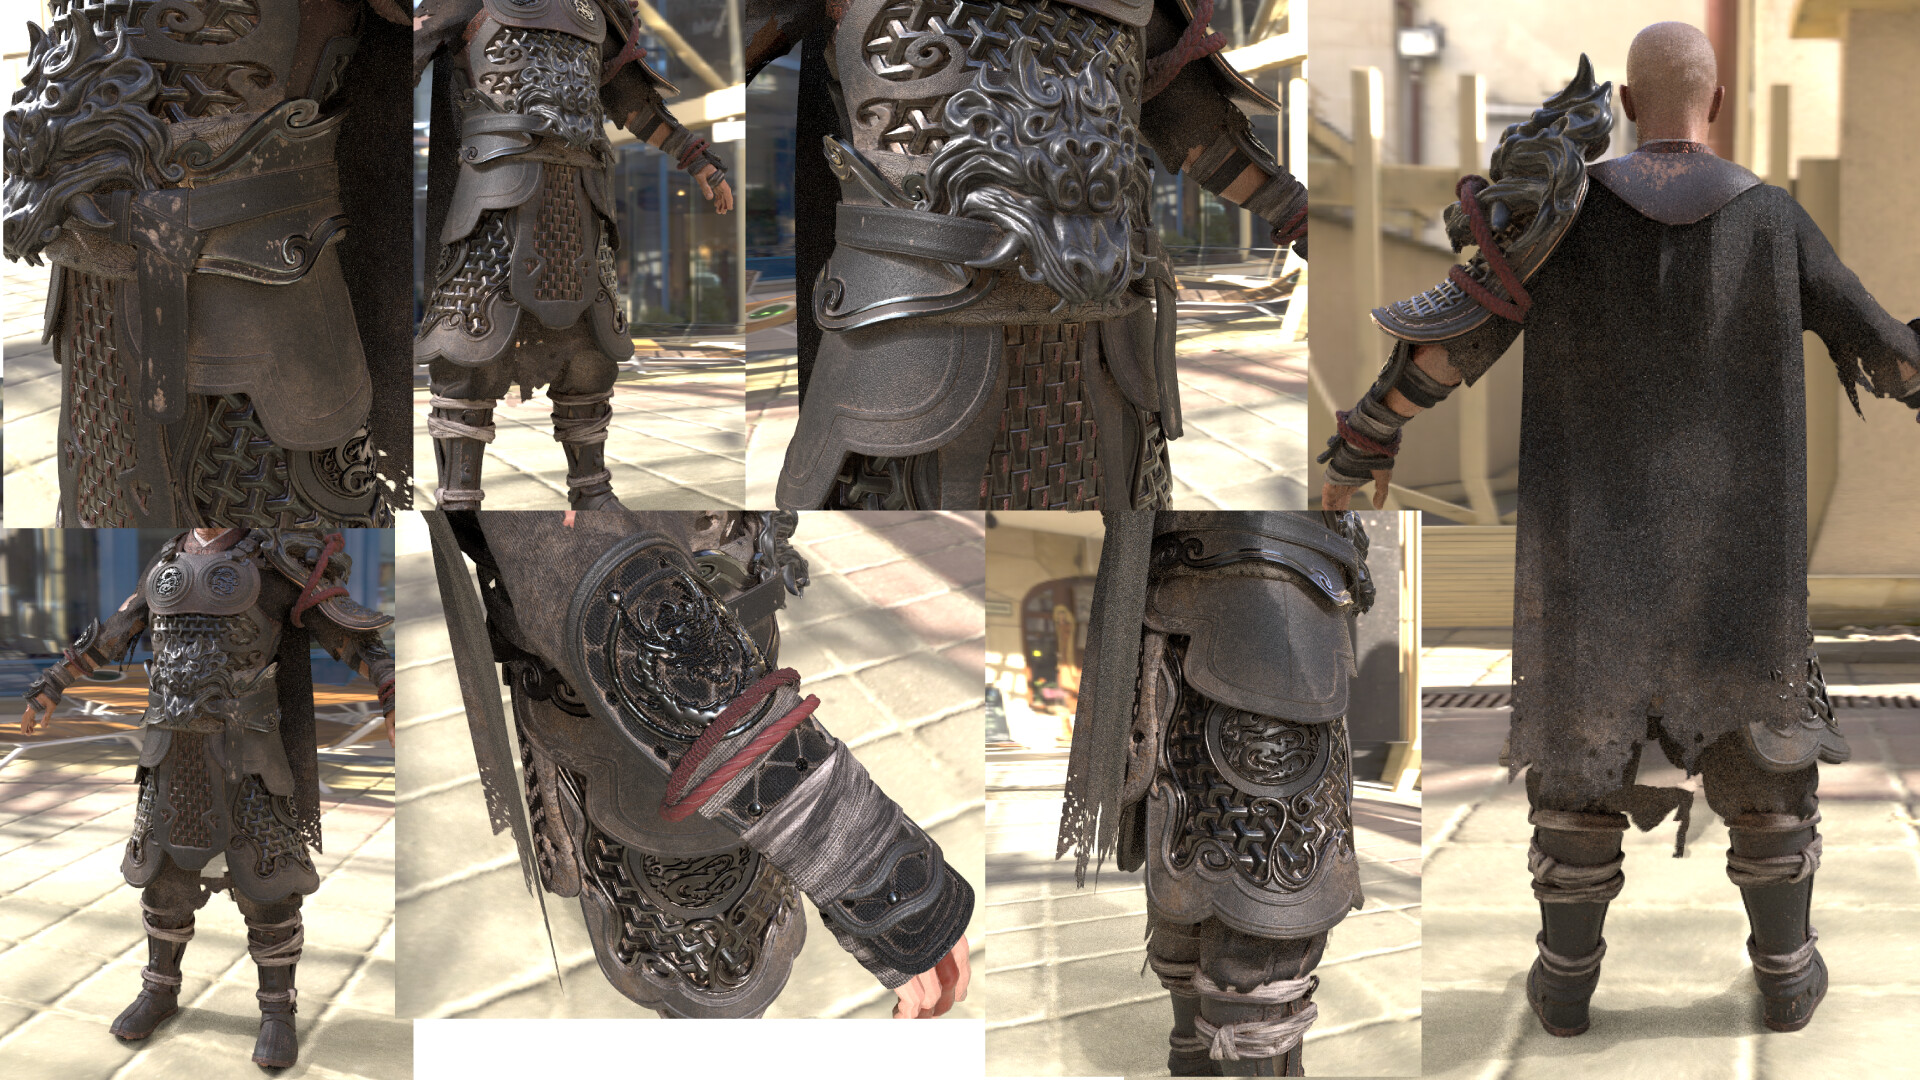
I can do a realtime version of this project but I want to give the best result I can, so the final result will be a precalcuated version, I begin import each part of the model to the render. Here is the test results. since it’s still in the testing phase, I’m not devoting too much time to it… Here is the result , I hope having time to begin the hair and beard, think that from this step we will see a result near of the final result that I wanted to have.
Thank for all who give a like, Hope you like the project.
1 Like
Hello everyone,
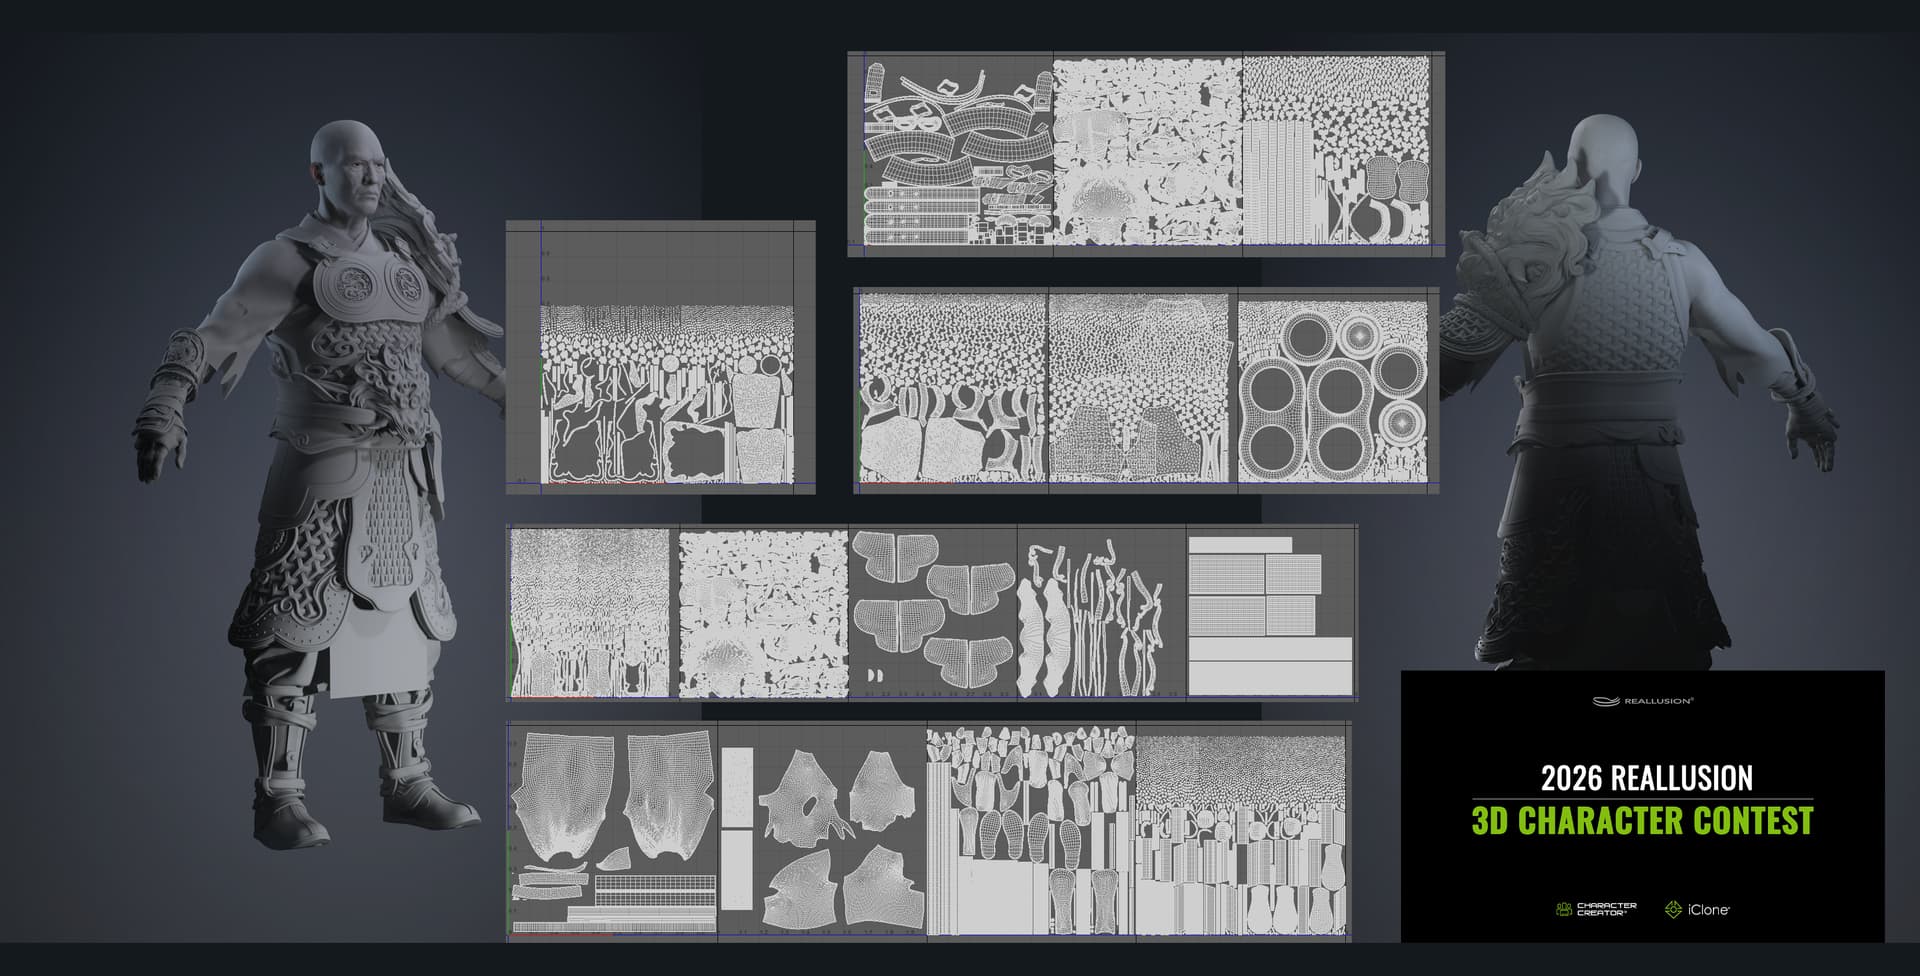
Since the character consists of so many parts, creating the UVs took longer than expected, so I use for really small part automatically. In other hand, I did my best to ensure cleaner UVs for the most big part. It was a real hassle, but we’ve finally finished this stage.
I can now start creating all textures of the costume in Substance Painter, and we’re getting closer and closer to the end of the project.
Hello everyone,
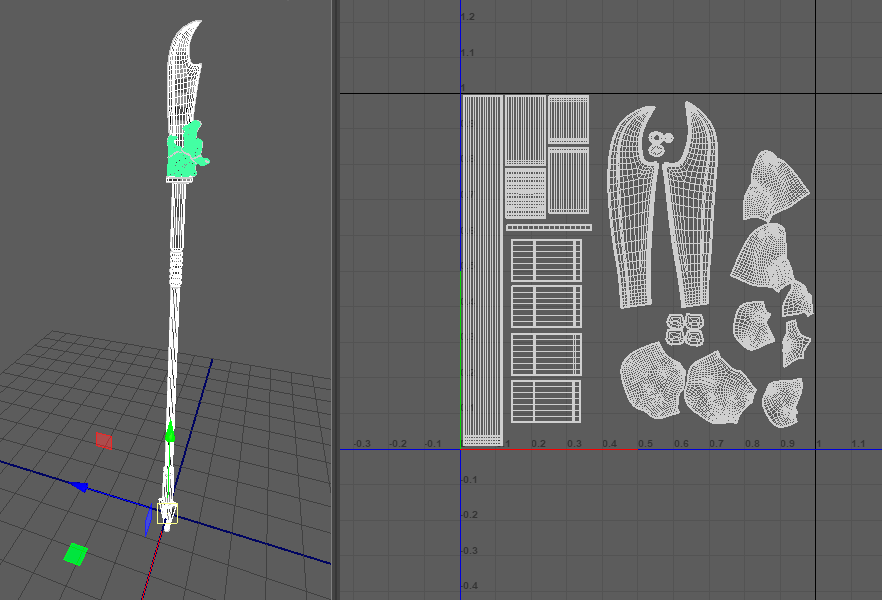
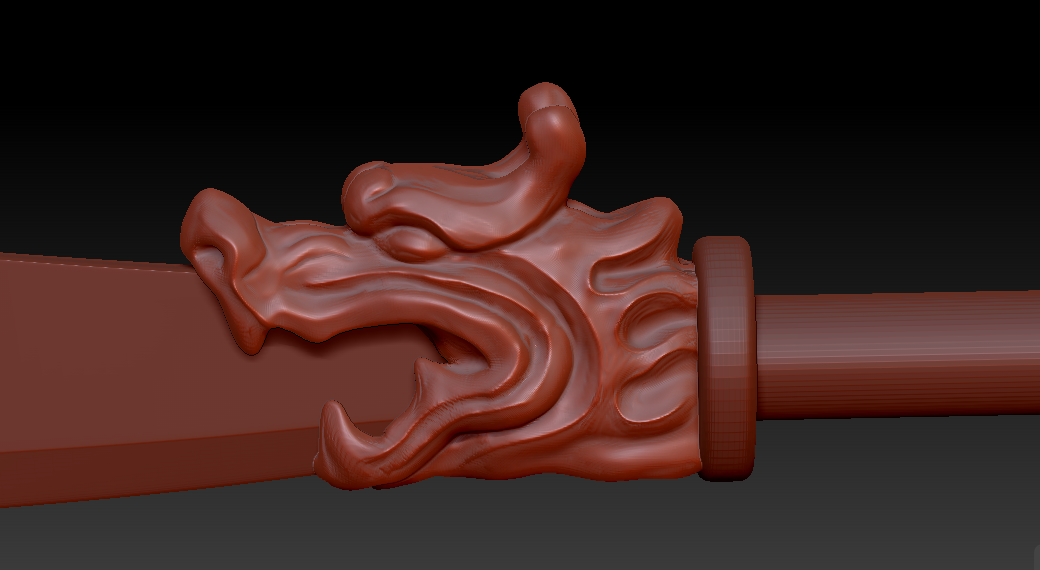
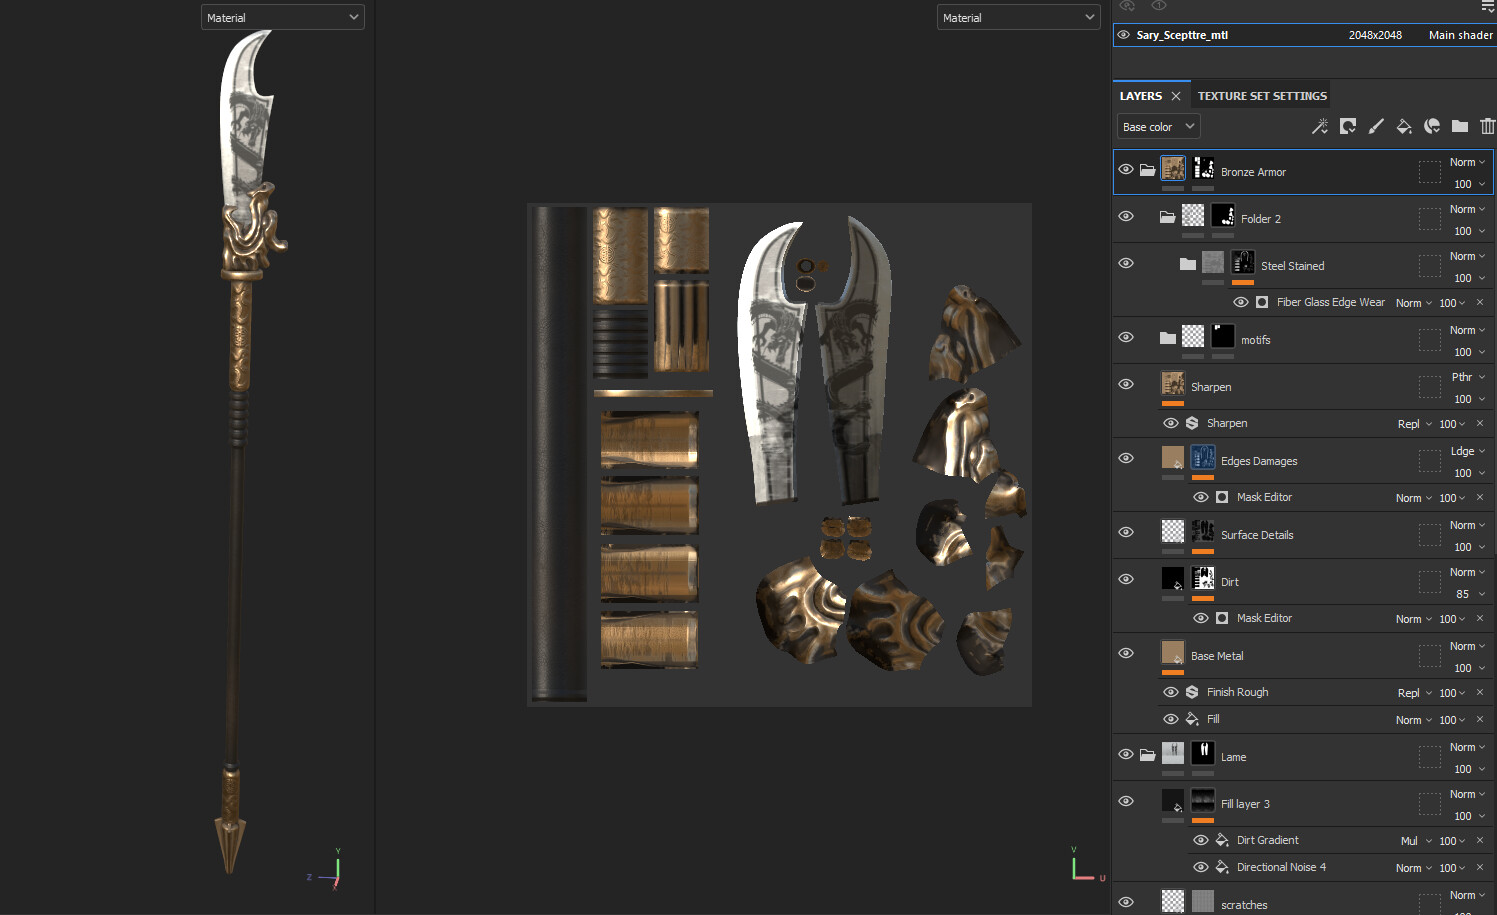
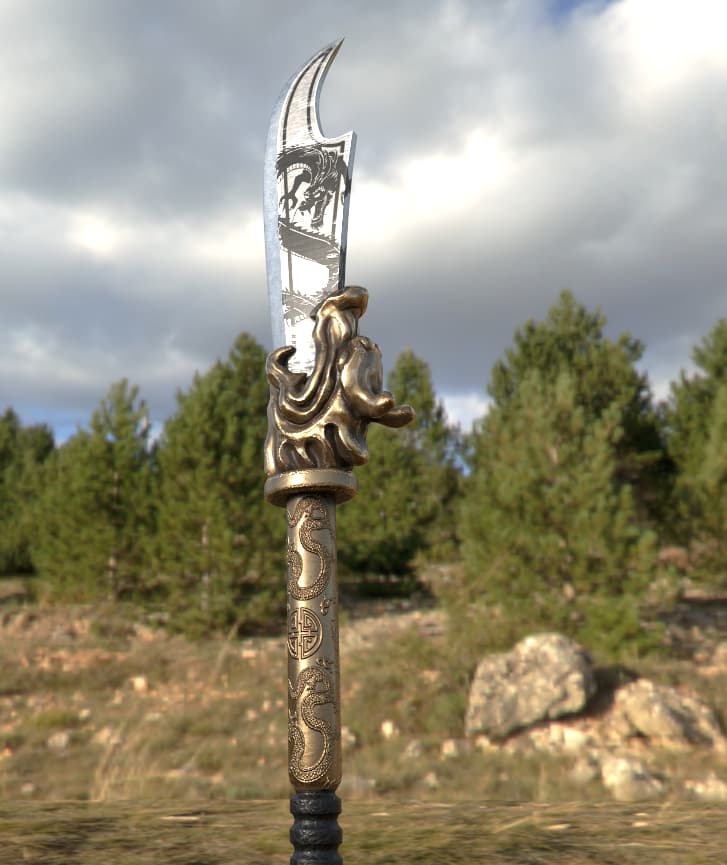
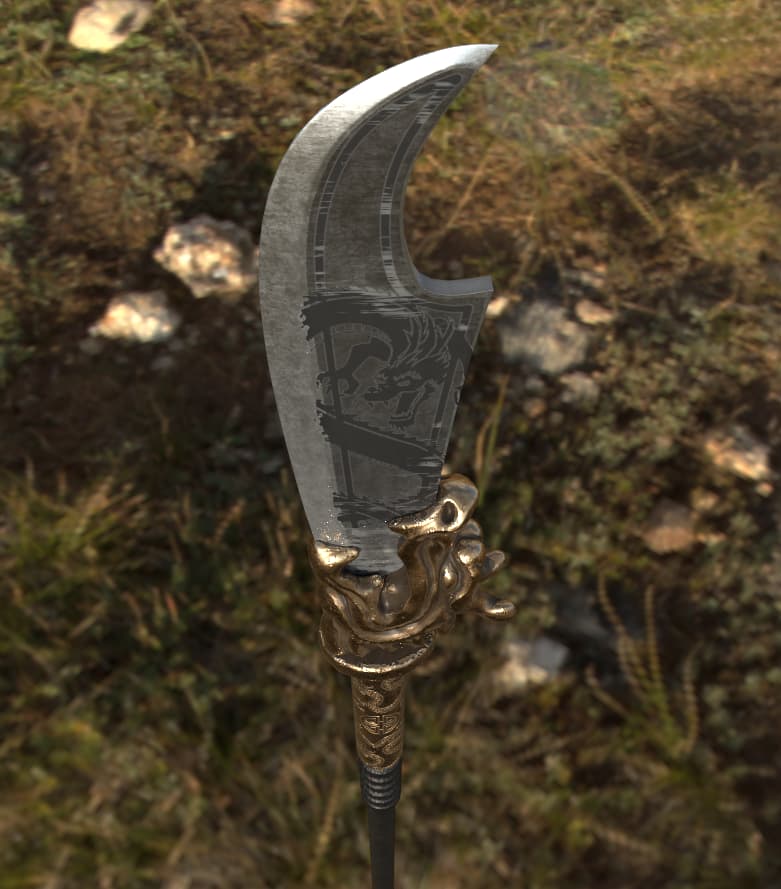
Today I finished creating a Guan Dao, as it enhances our character’s aura more than a standard saber does. It’s a simple model, but I added a dragon head just before the blade.
Naturally, the dragon head was sculpted in ZBrush, and I assembled everything in Substance Painter to apply the patterns.
Hello everyone!
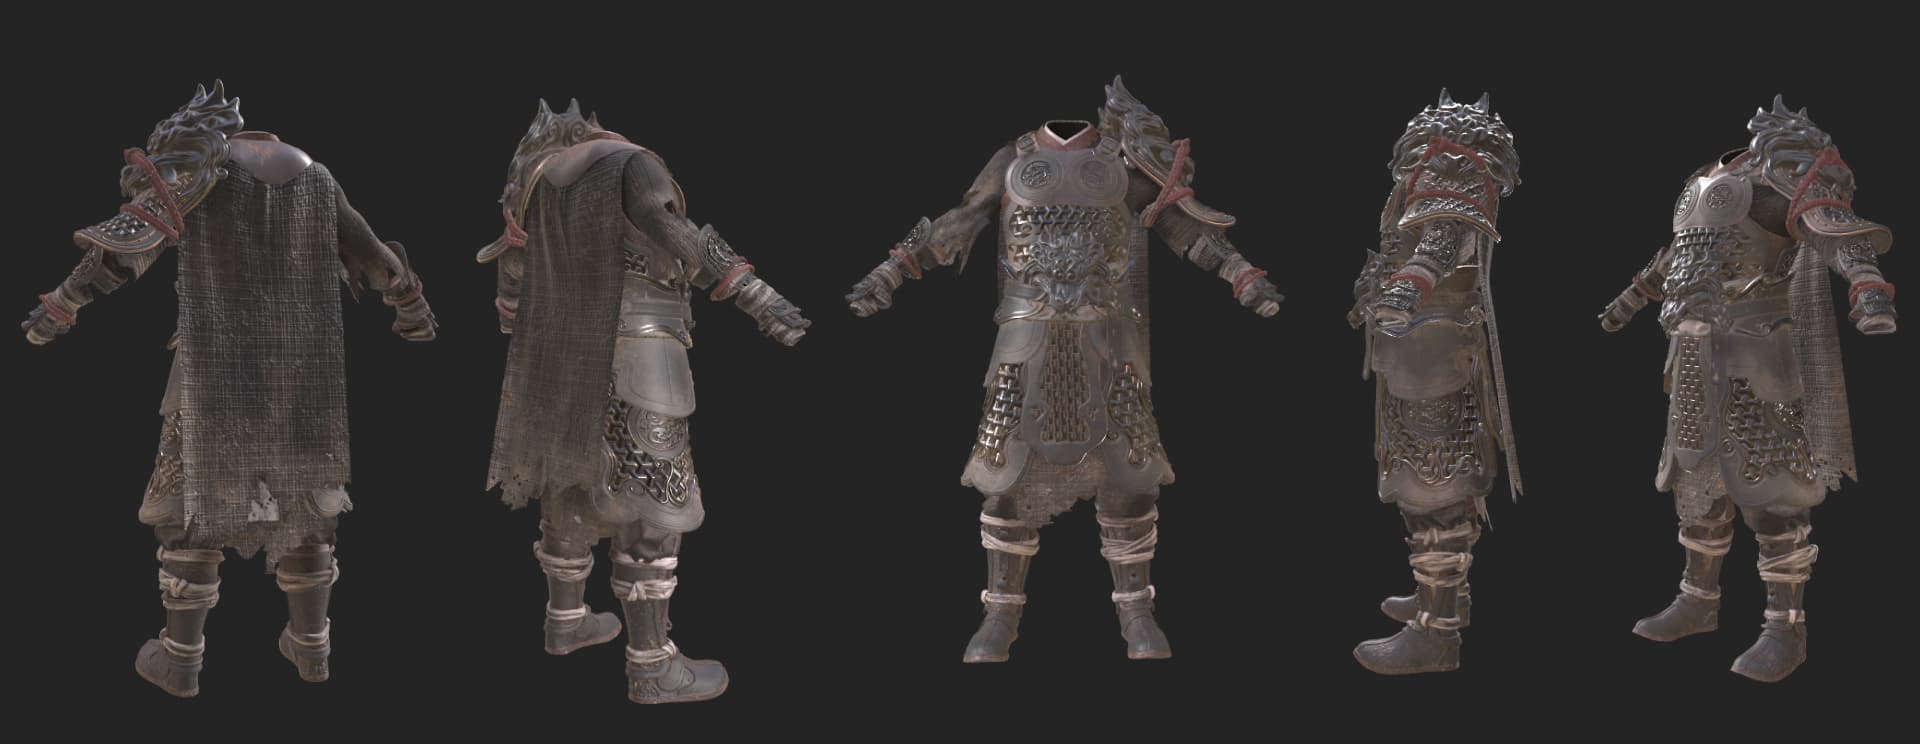
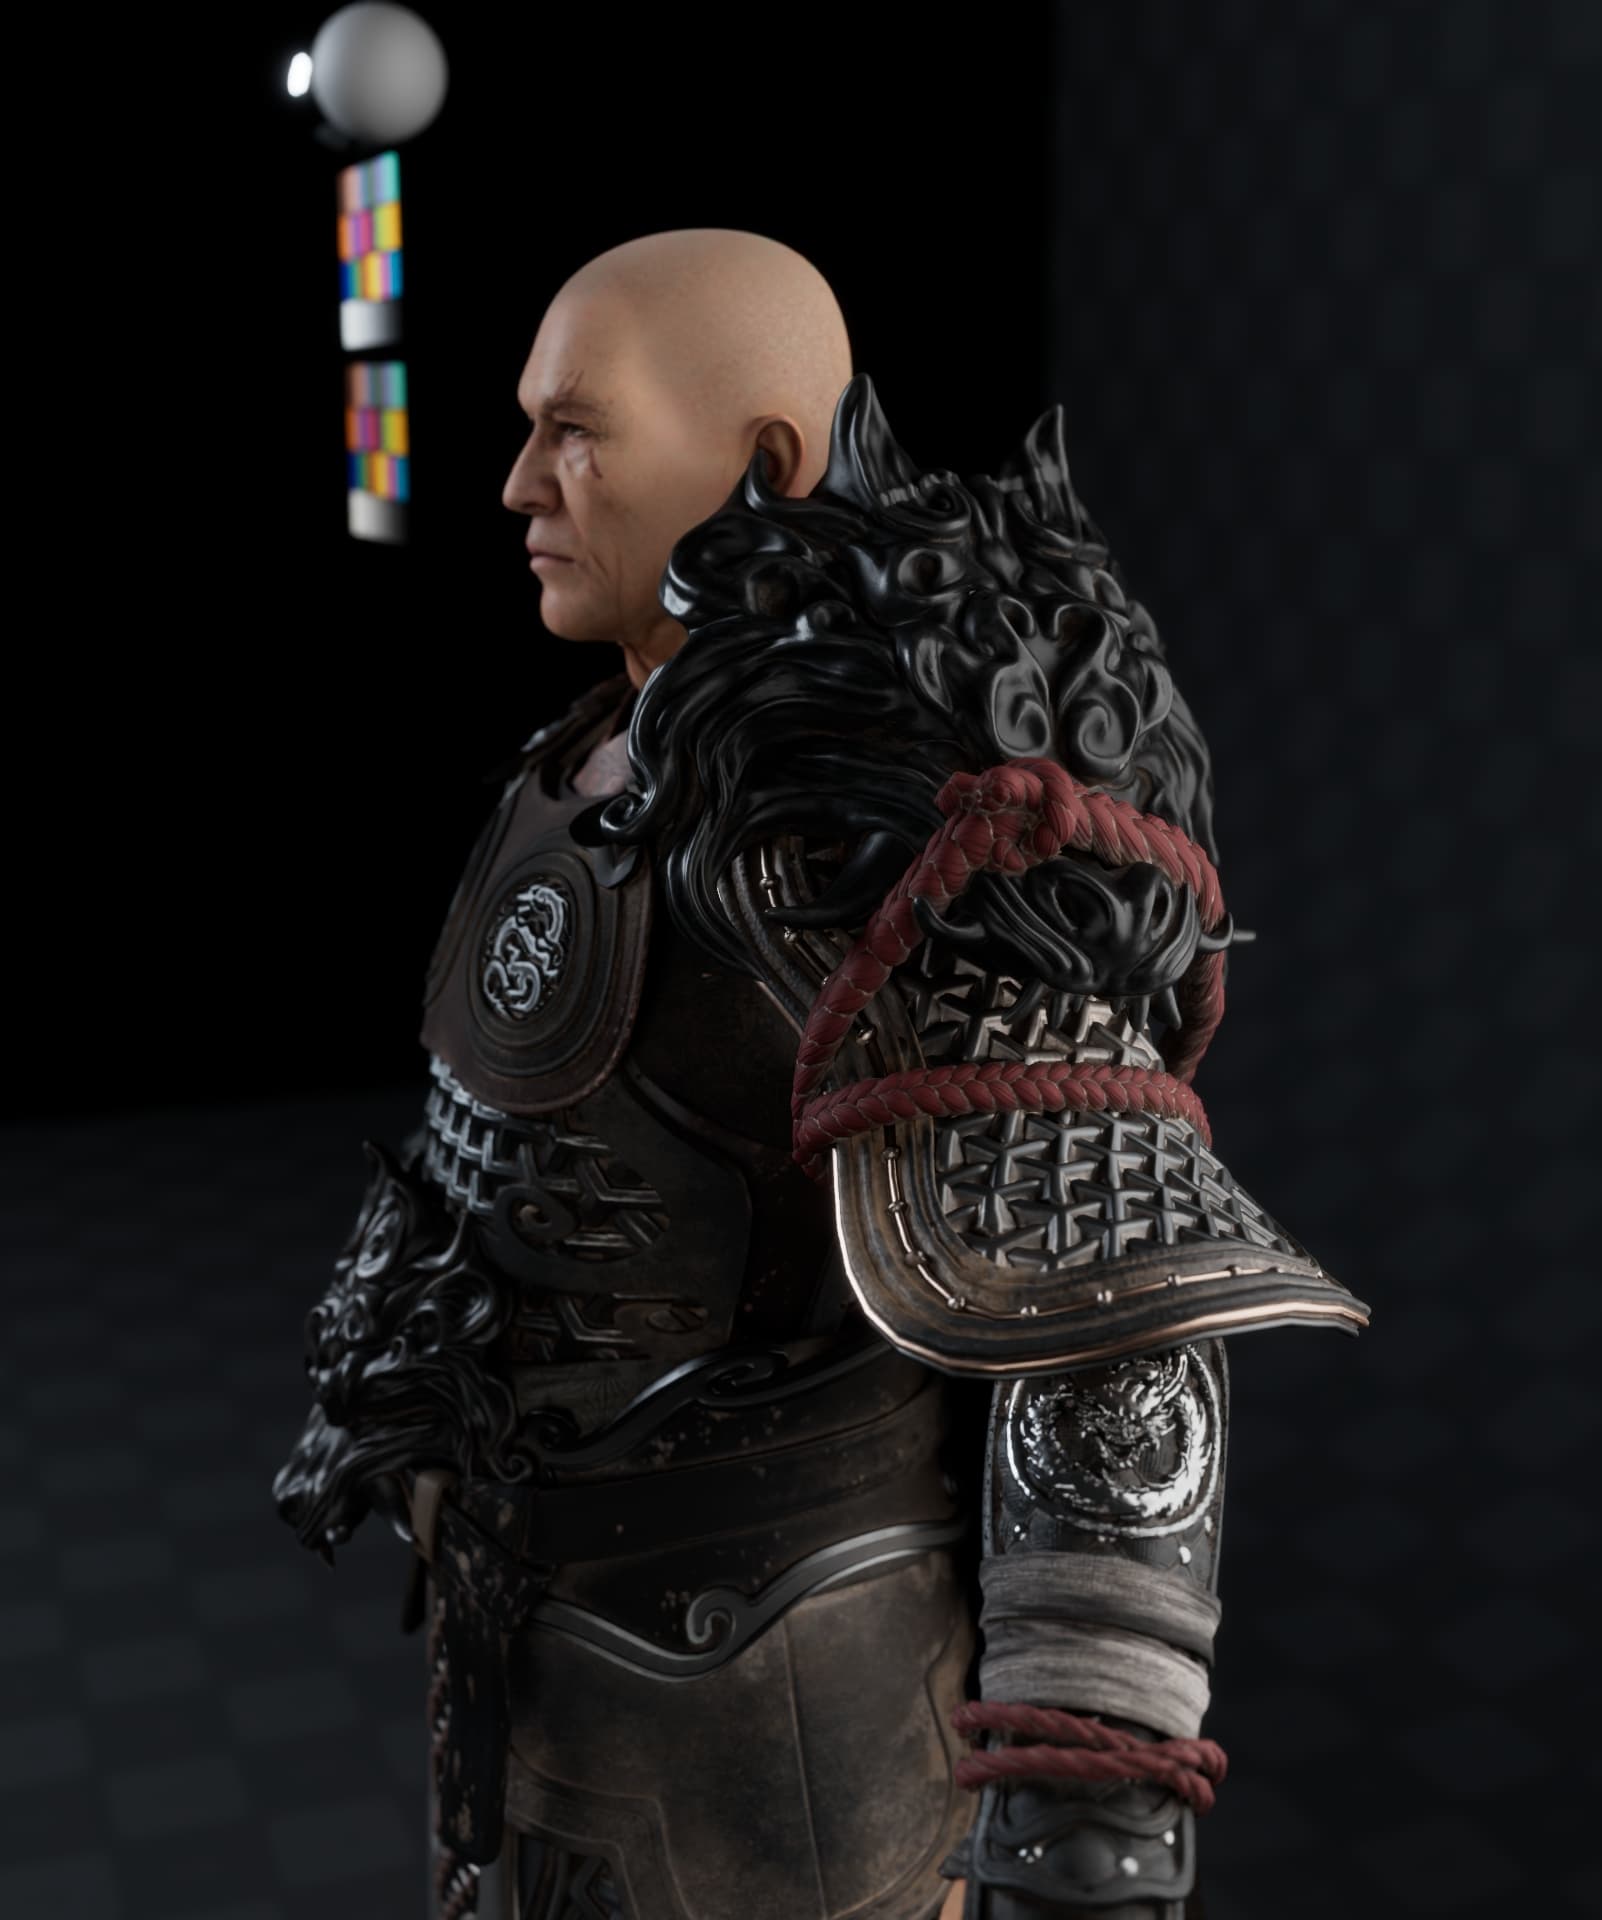
Today, I started blocking out the armor in Substance Painter. I chose a dark color scheme to make the character’s portrait stand out, rather than focusing on the armor.
All that’s left is to add details to the face and finalize the project by showing a few posed shots of the character.
1 Like
Today,
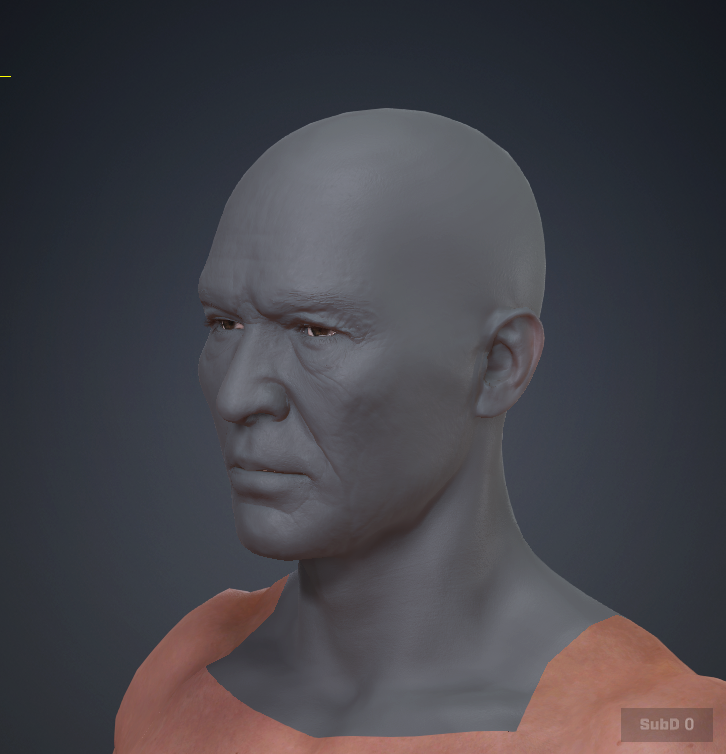
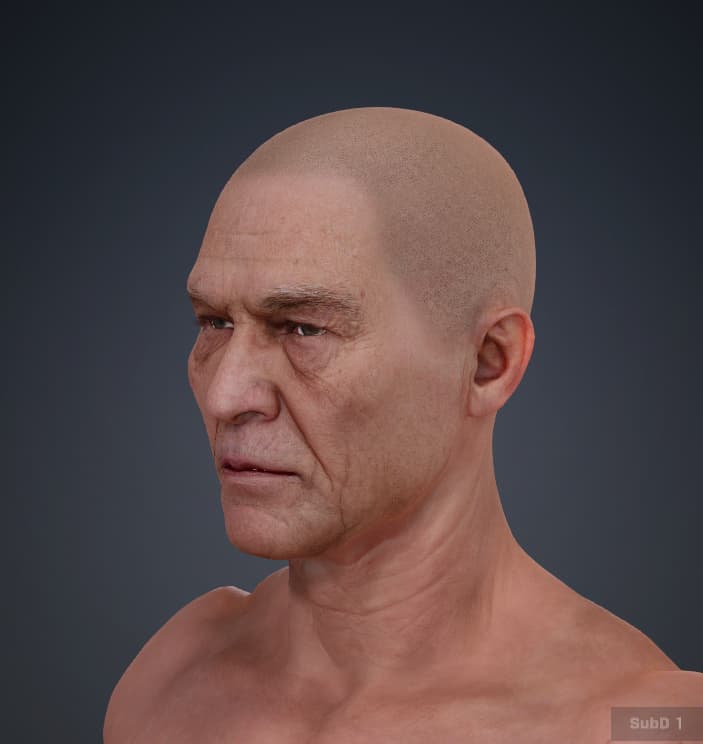
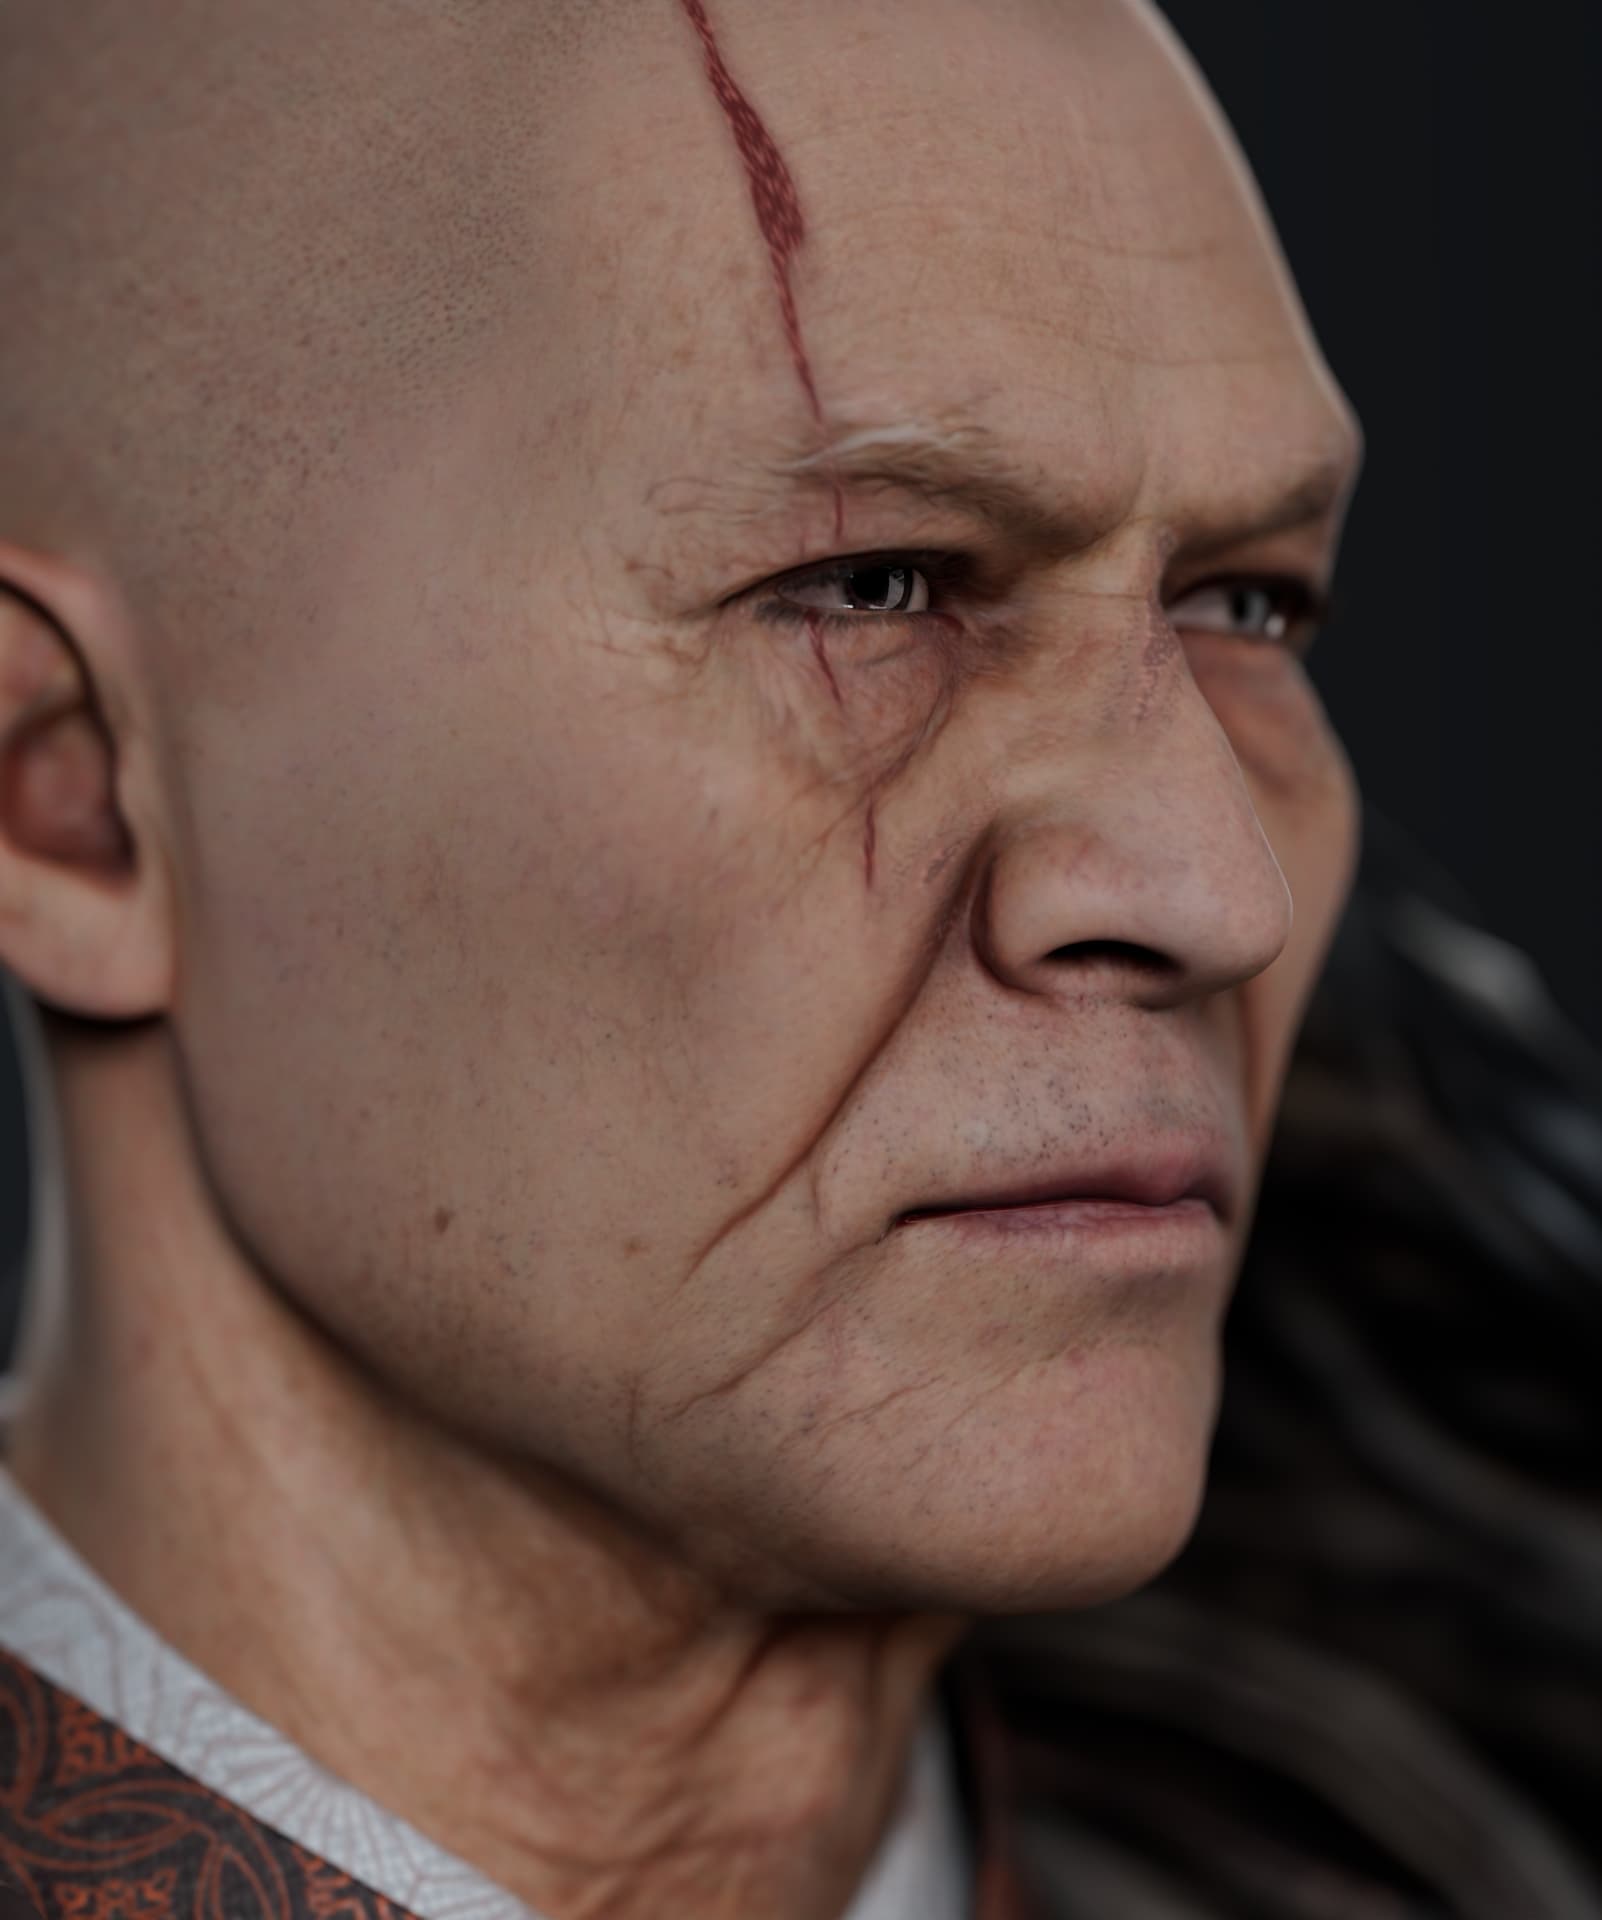
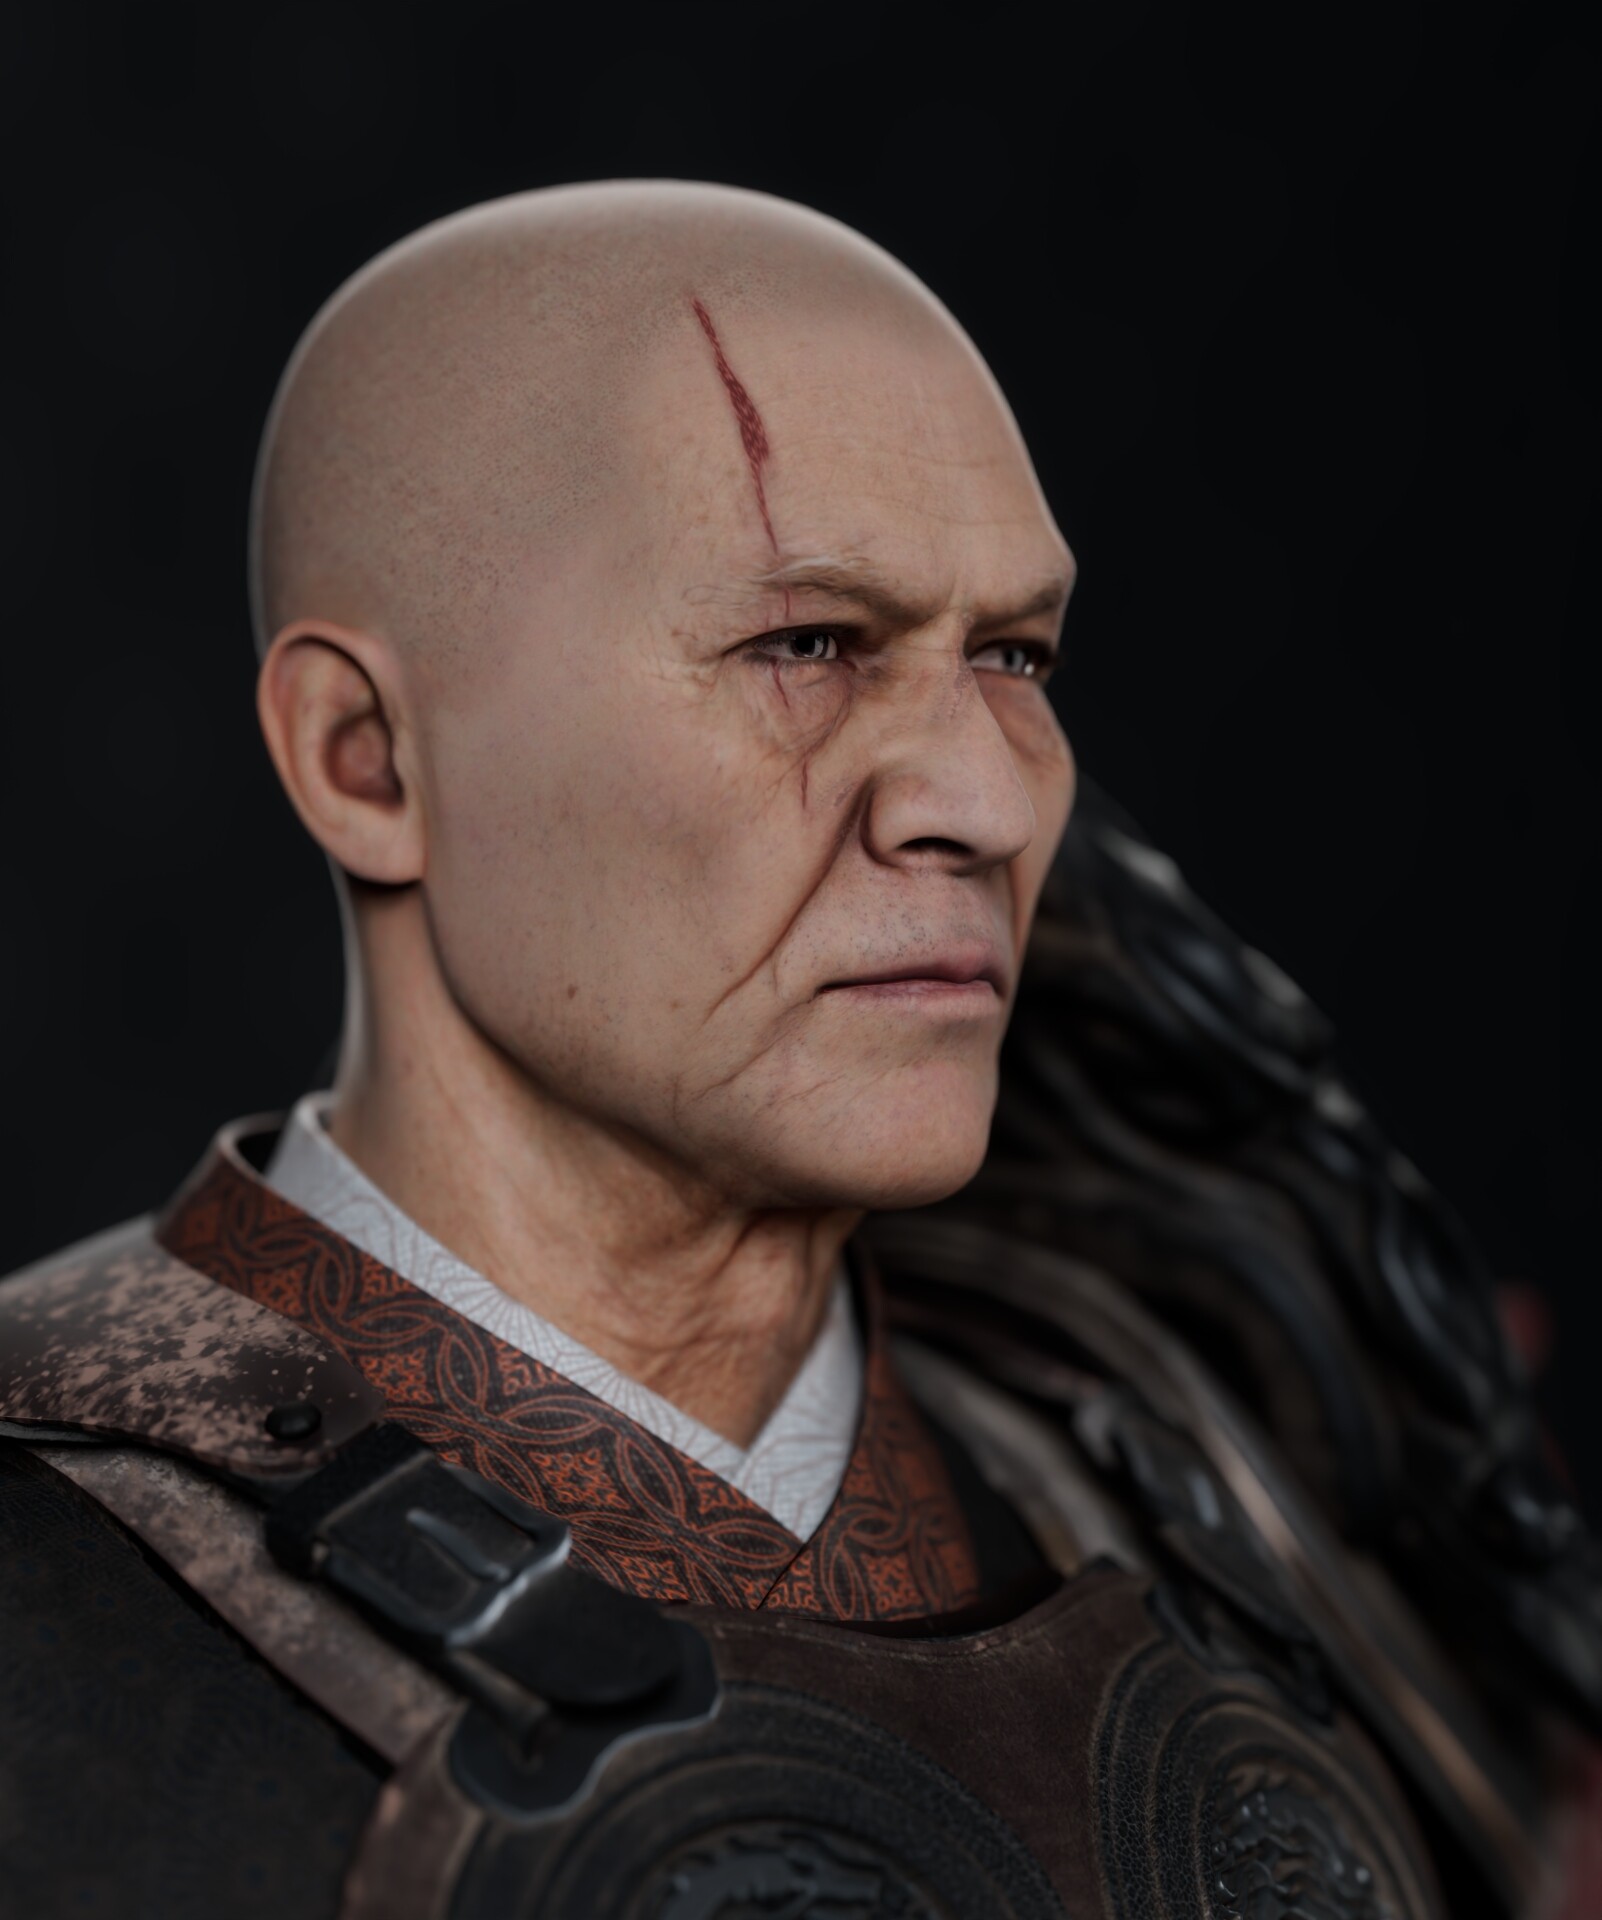
I started reworking the texturing. To do this, I projected a texture onto the character’s face, generating new 8K maps for normals, roughness, displacement, and diffuse.
From there, I’ll add even more detail in ZBrush to maximize the character’s realism.
Here are some visualizations of the character; I’d still like to make a few adjustments to the textures because I feel something is still missing. After that, I can move on to the hair and fur step.
here is the artstation link for this last update https://weedi.artstation.com/projects/8vwX2Q
1 Like
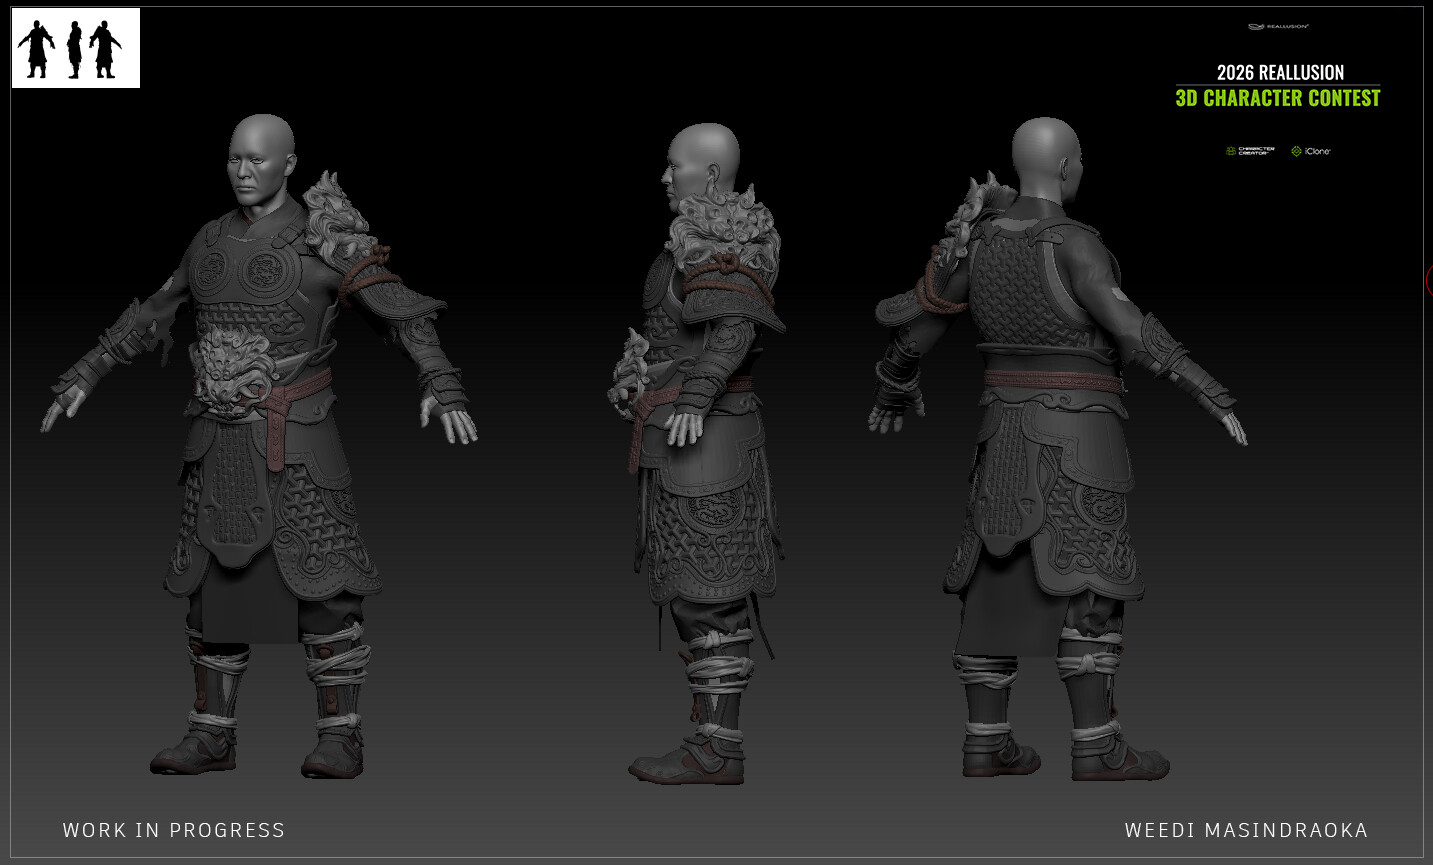
Hello everone,
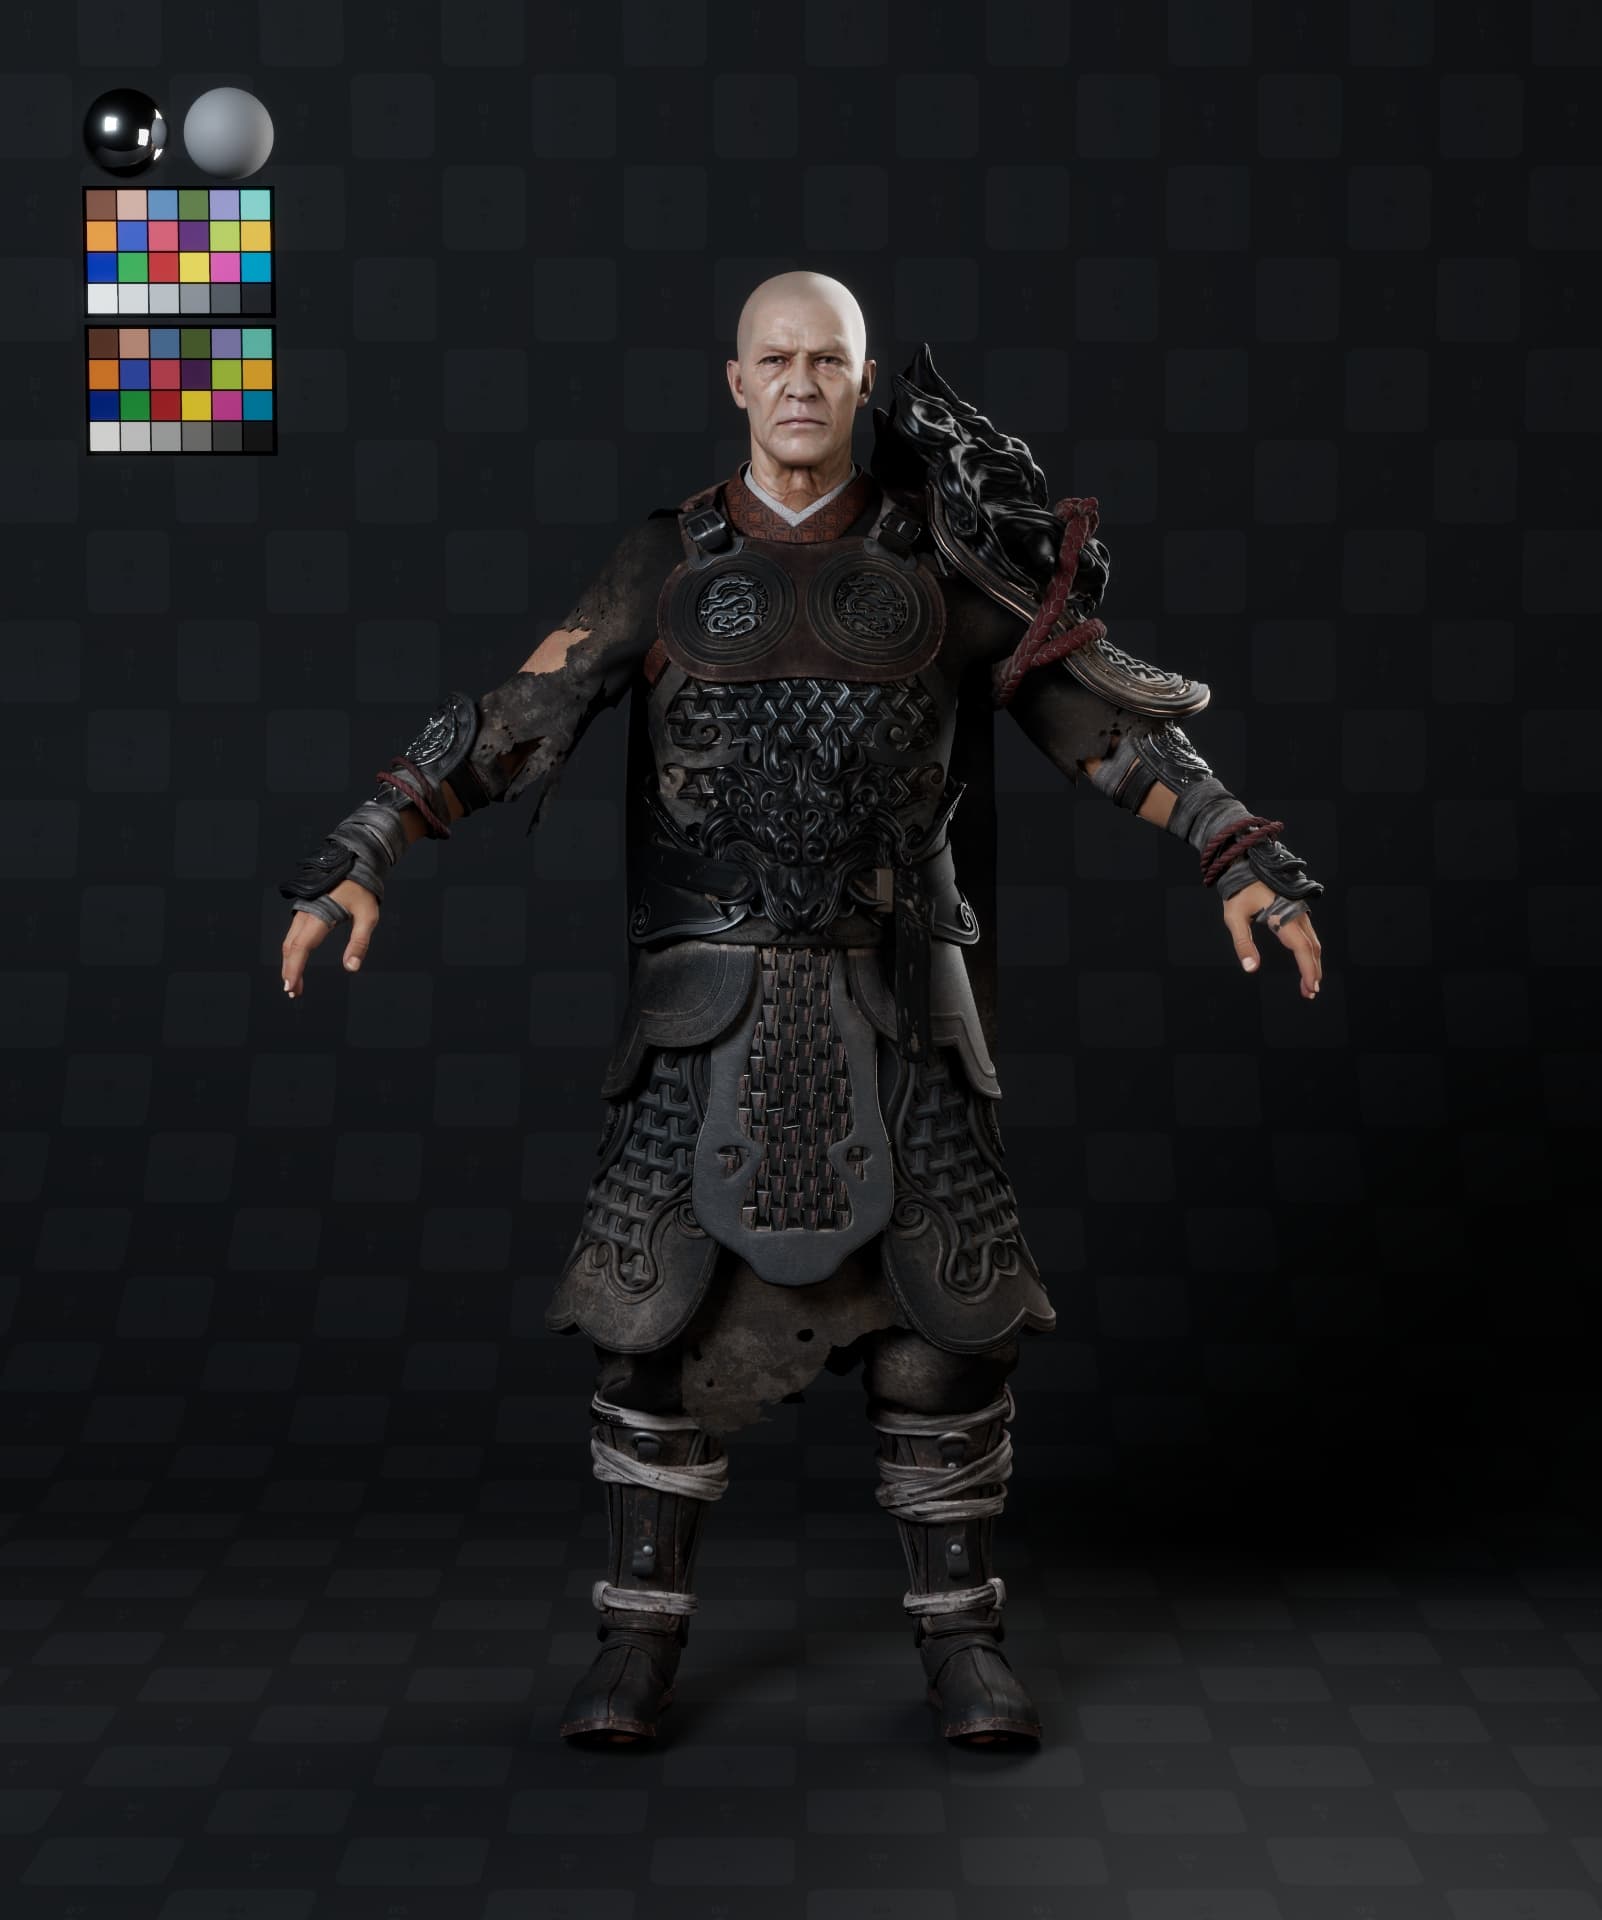
Today I share with you my first turnaround of my character, hope you like it!
1 Like