Third time’s the charm! I participated in the 2020 Character Creator event and was an honorable mention https://www.artstation.com/artwork/WKrav2, and the 2024 Character Creator Contest where I was awarded best Zbrush Sculpt https://www.artstation.com/artwork/1N8Nw3. This time I am hoping to podium! Good luck to everyone participating!
1 Like
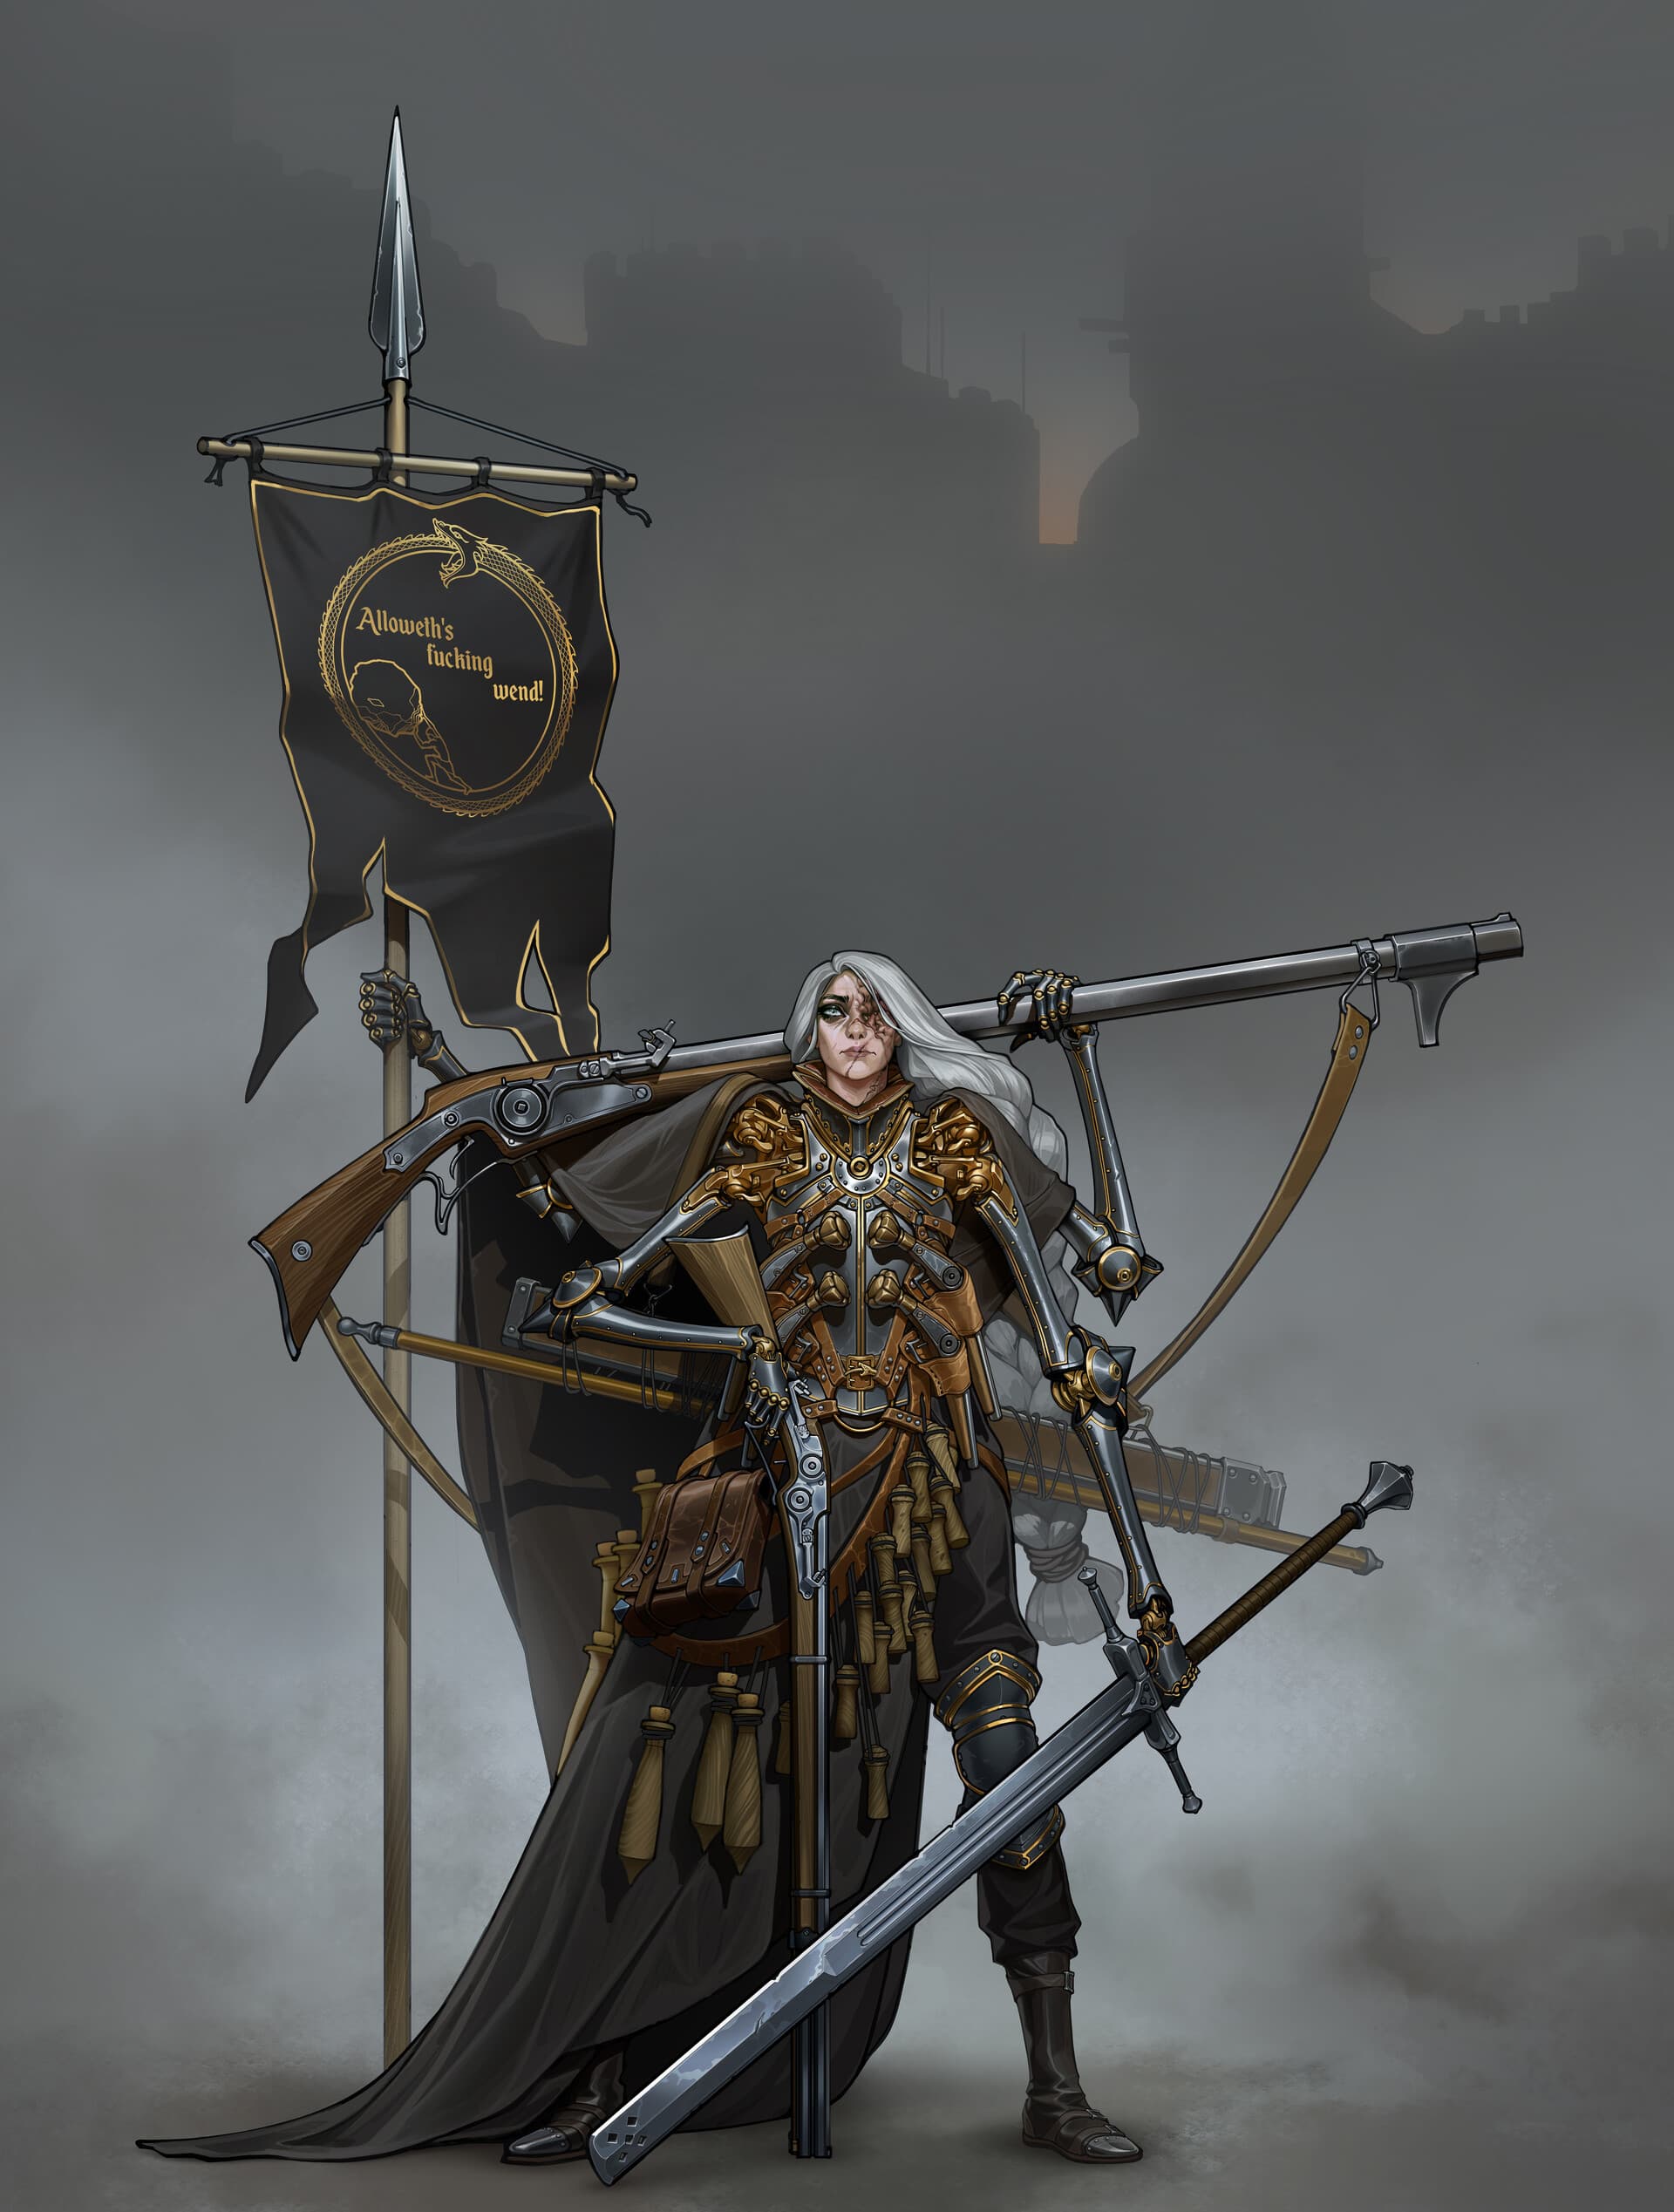
I will be creating this awesome character by Ivan Yakushev. This is a piece I wanted to create for my portfolio, so this was perfect timing. She has a lot of detail, and I think it will be a really cool project to show how I use CC.
All of her accessories are a bit intimidating so I like to start off by blocking everything out in Photoshop to clarify what I need to work on.
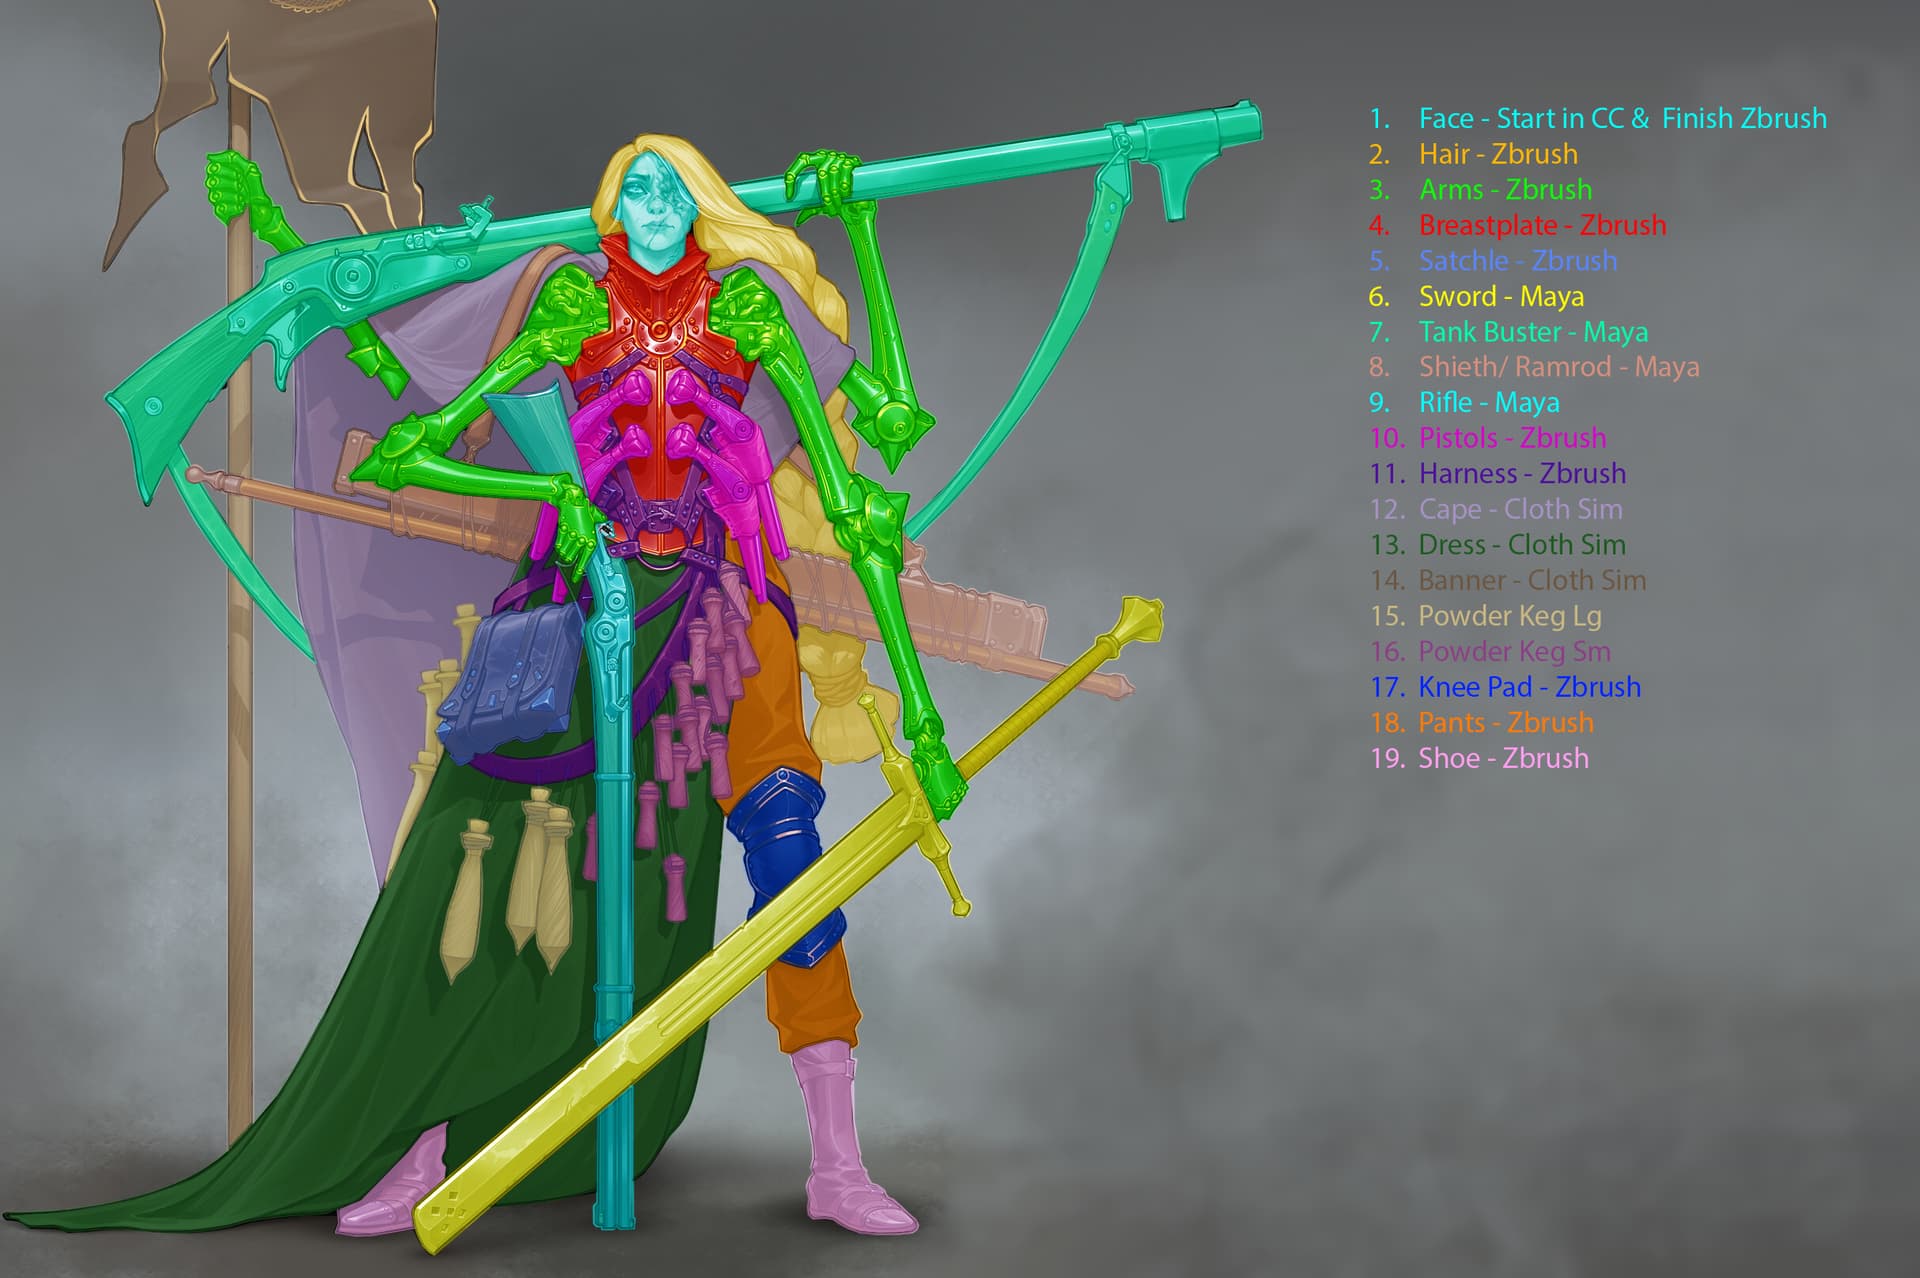
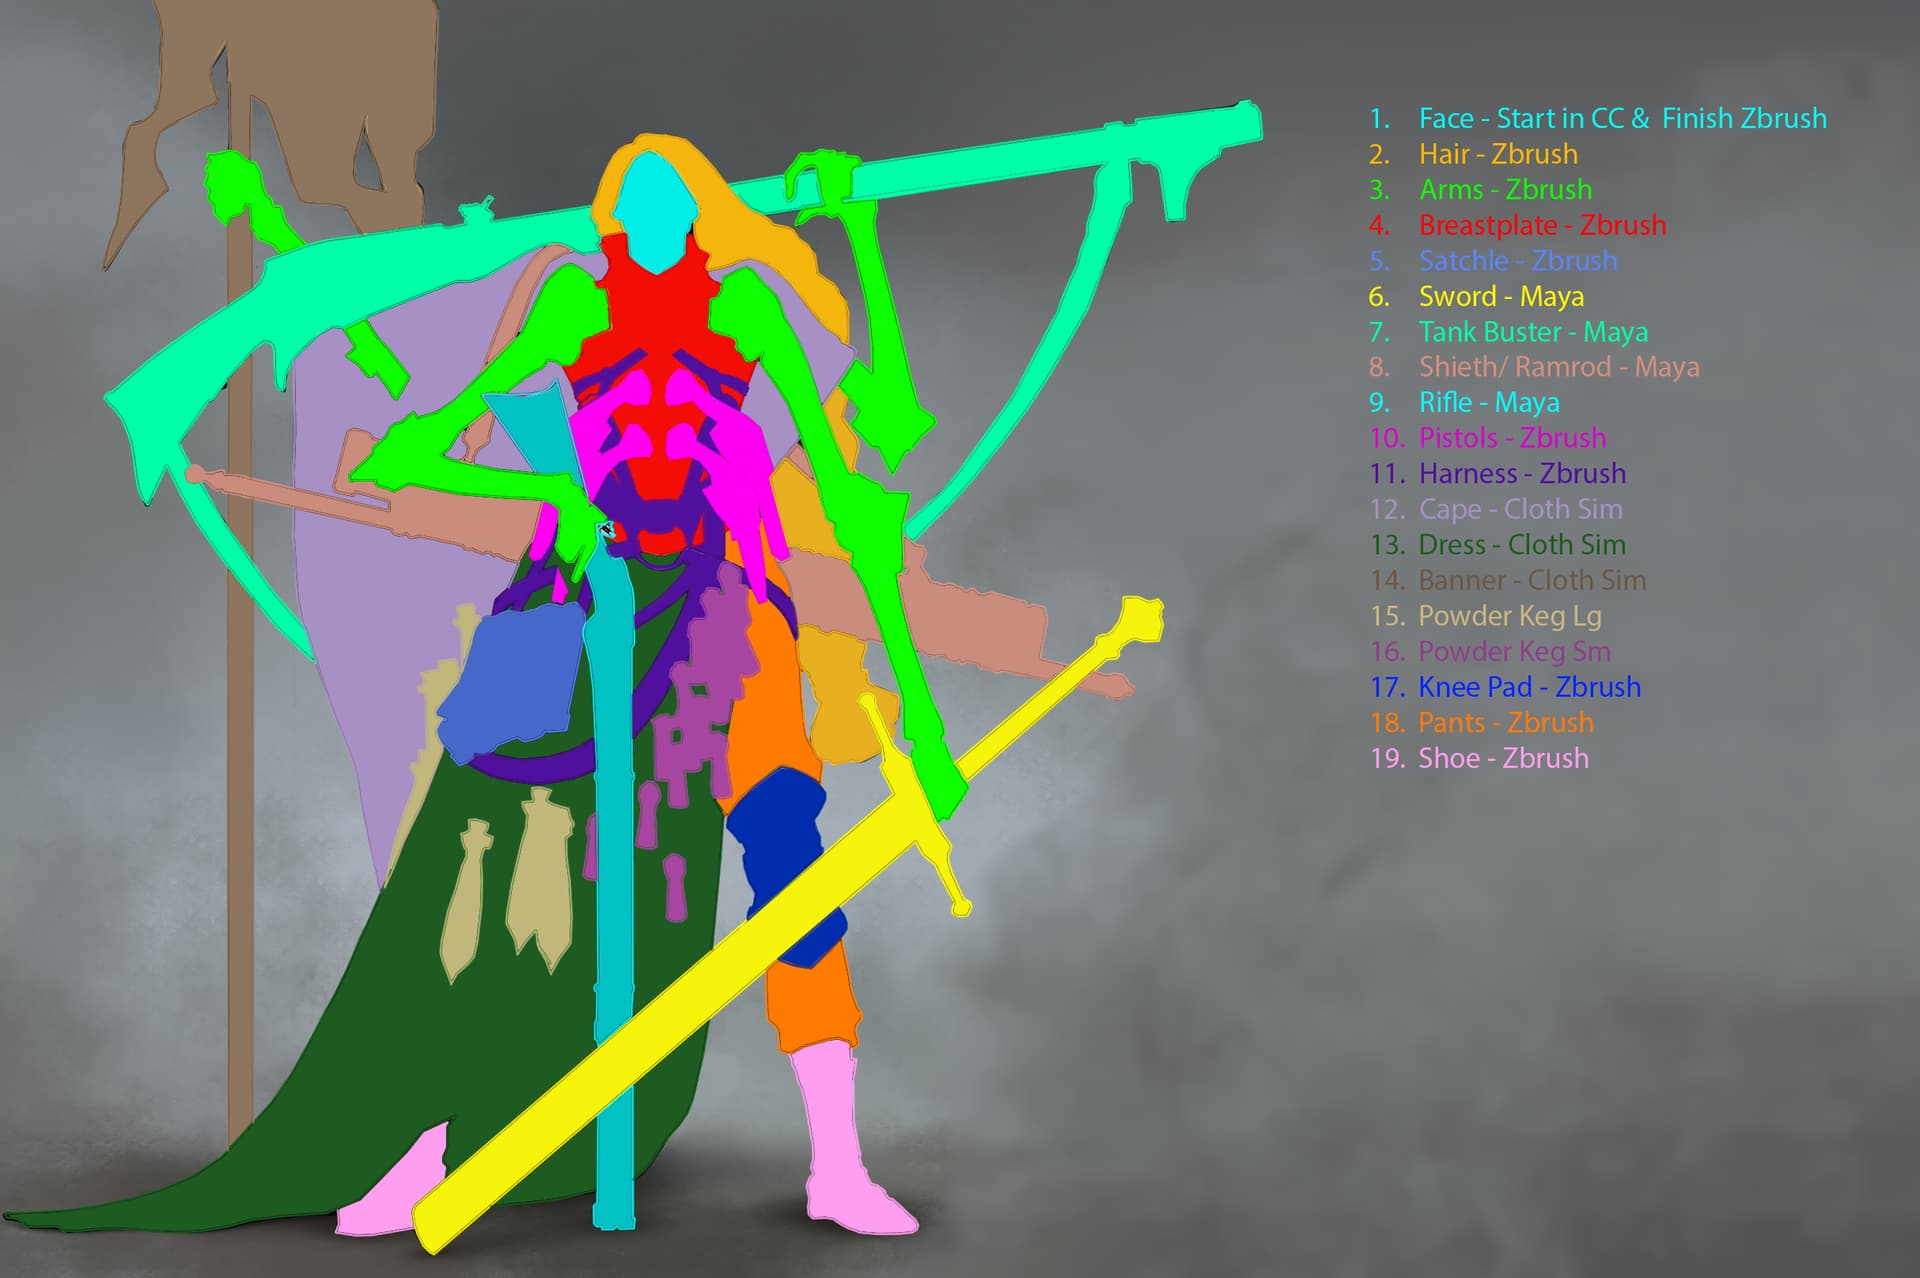
I jumped into CC to create some truly cursed anatomy!
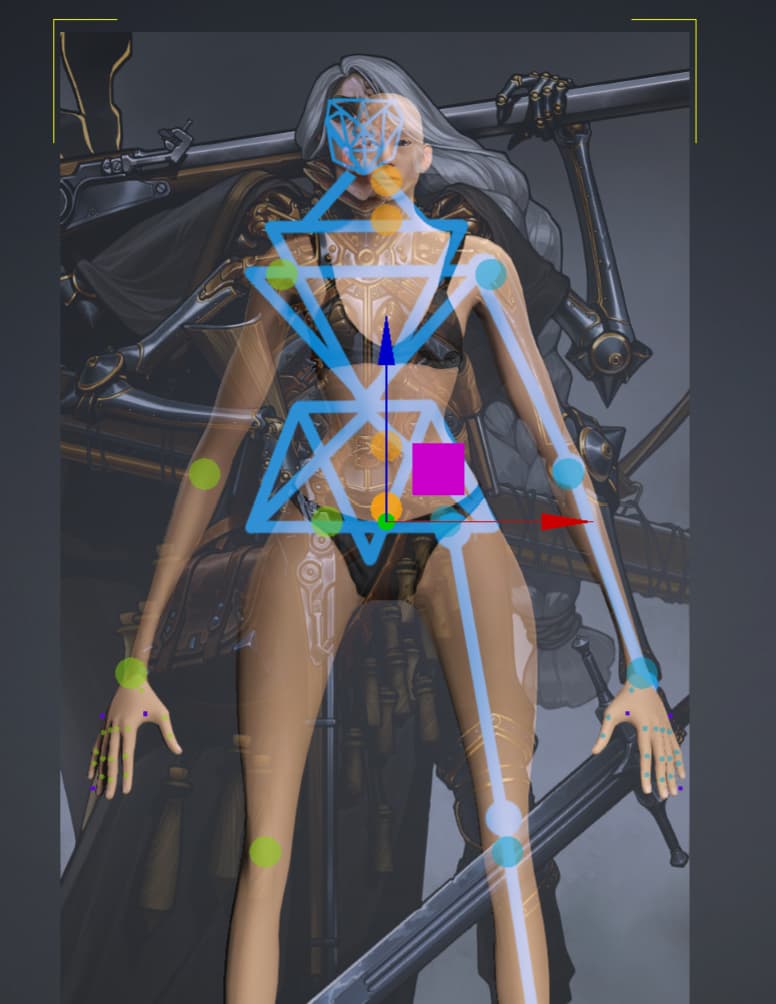
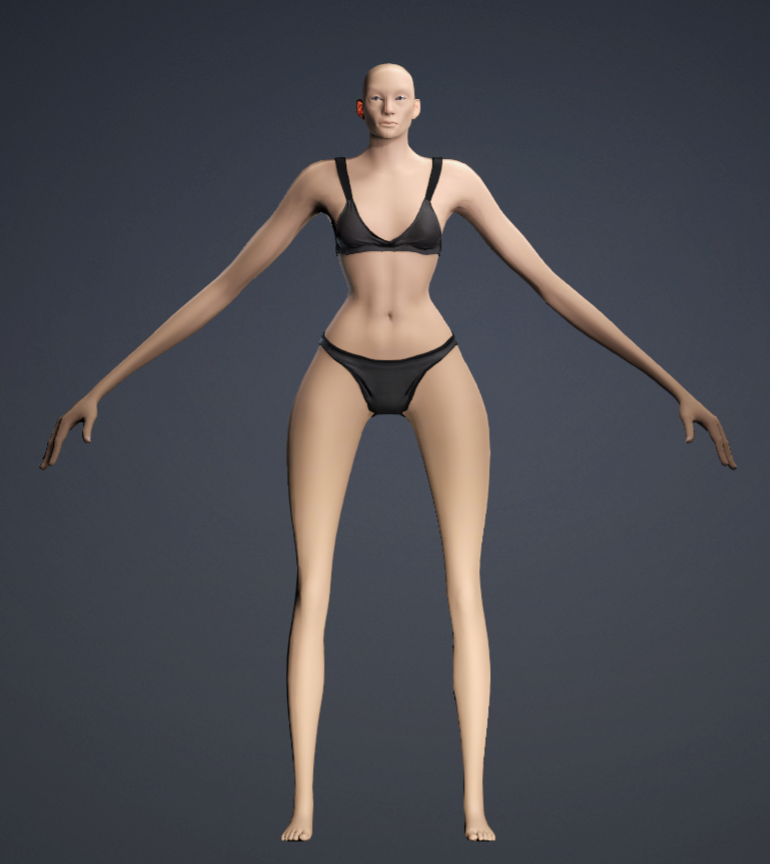
I like starting in CC because it’s CC base rig is fantastic, and I am not interested in creating my own rig for this monster ( I have some pretty cool Ideas for how to get the second set of arms rigged).
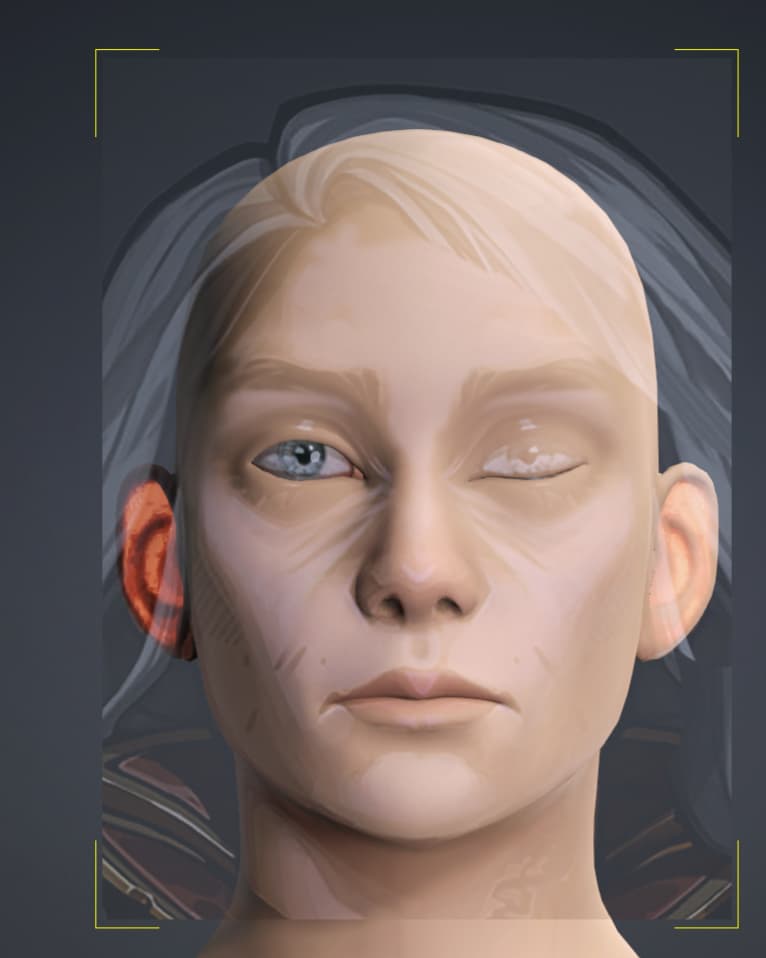
I then started sculpting her head in Zbrush
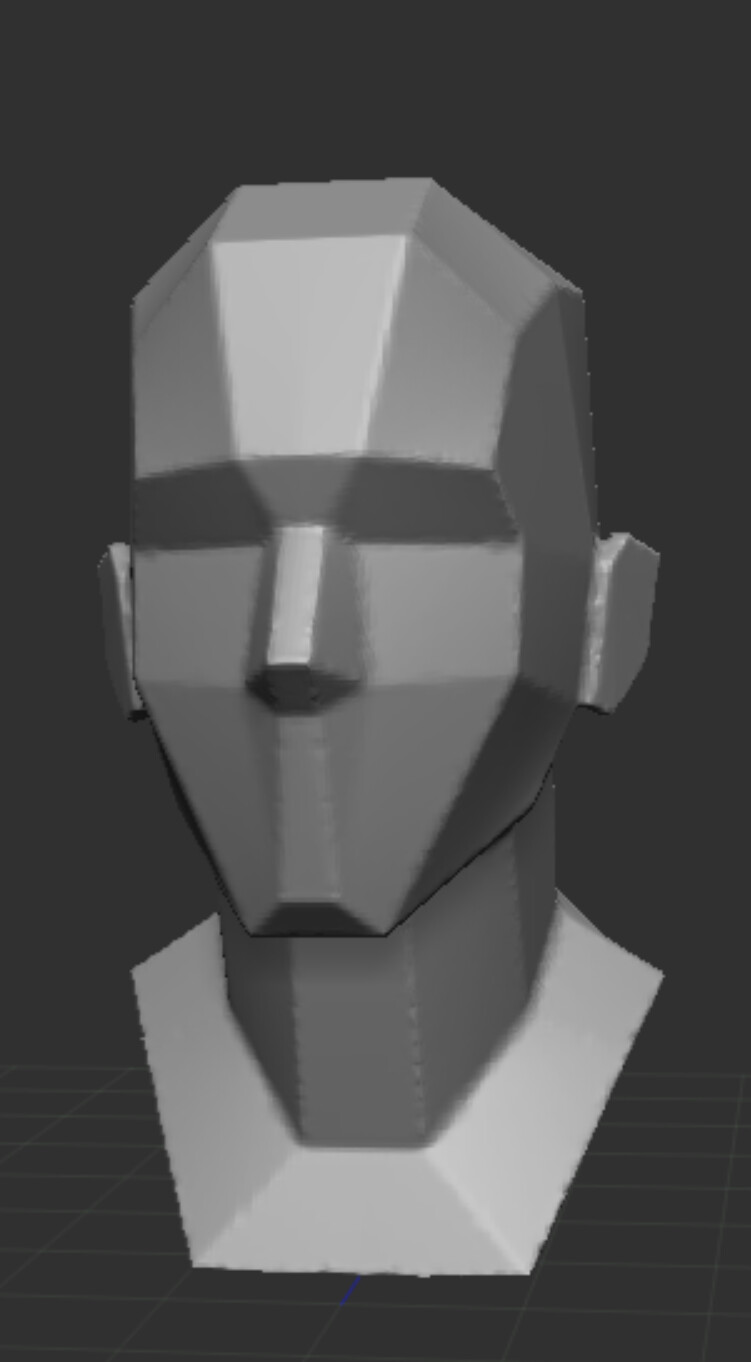
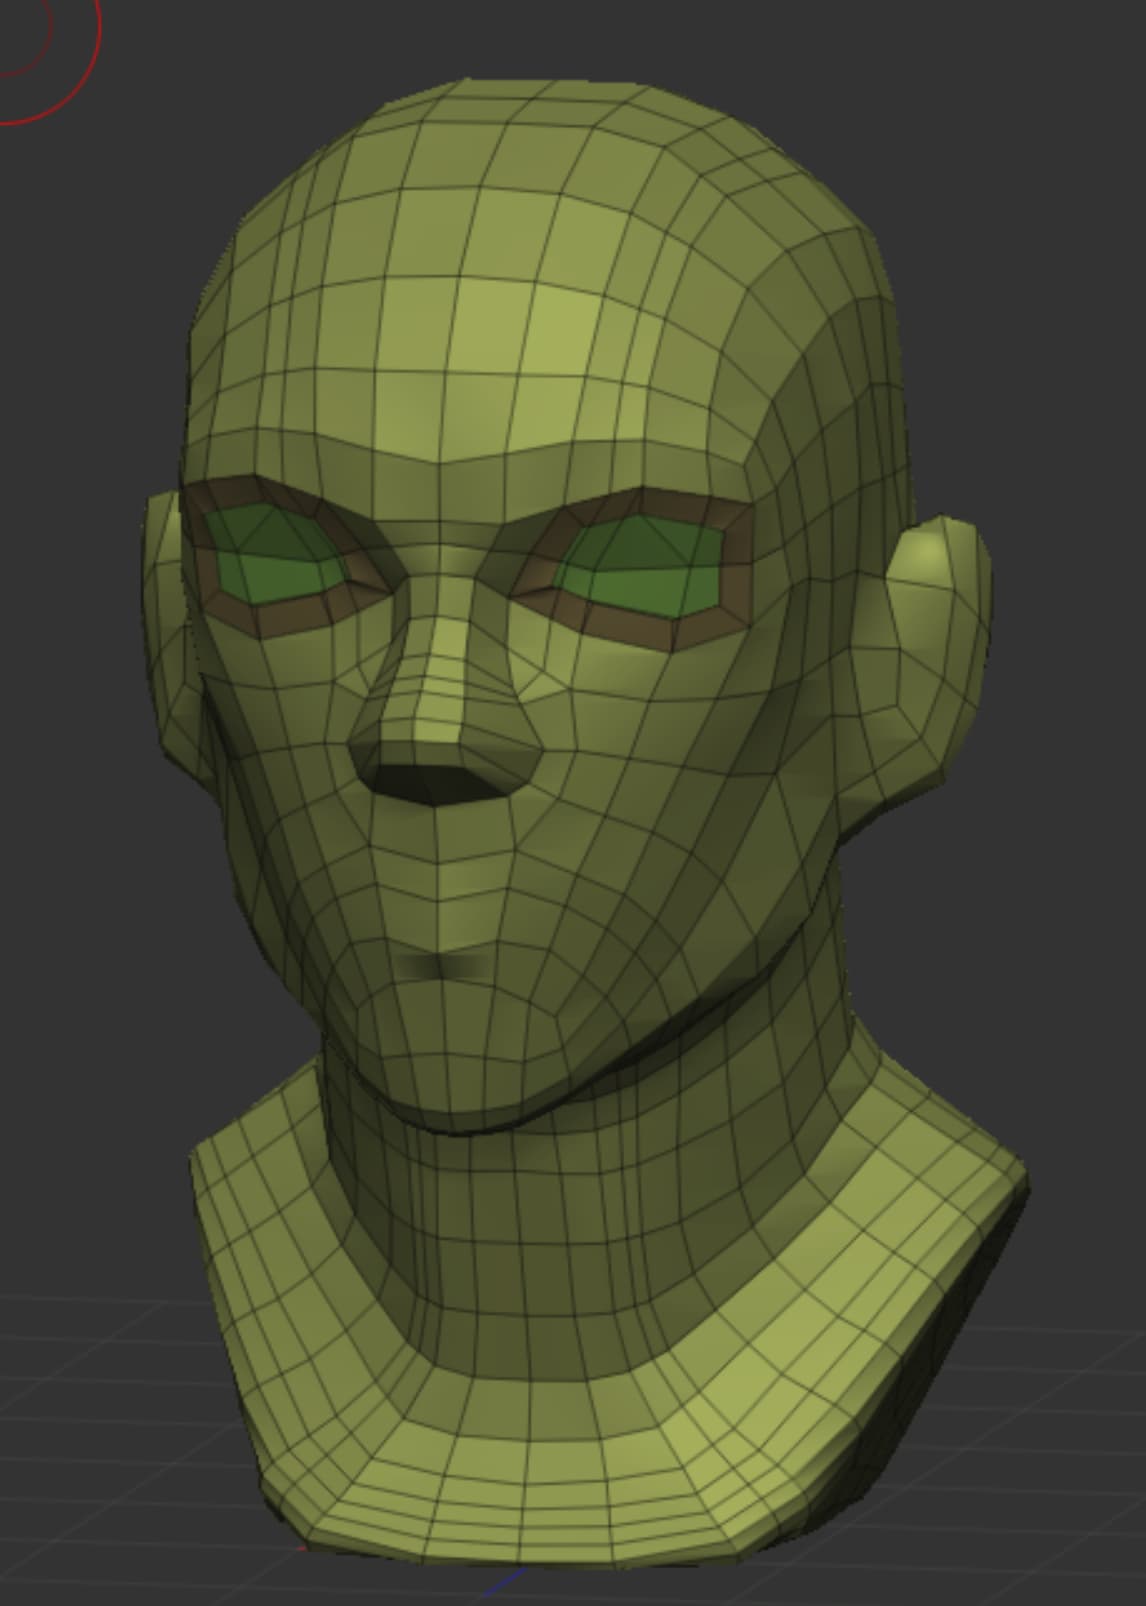

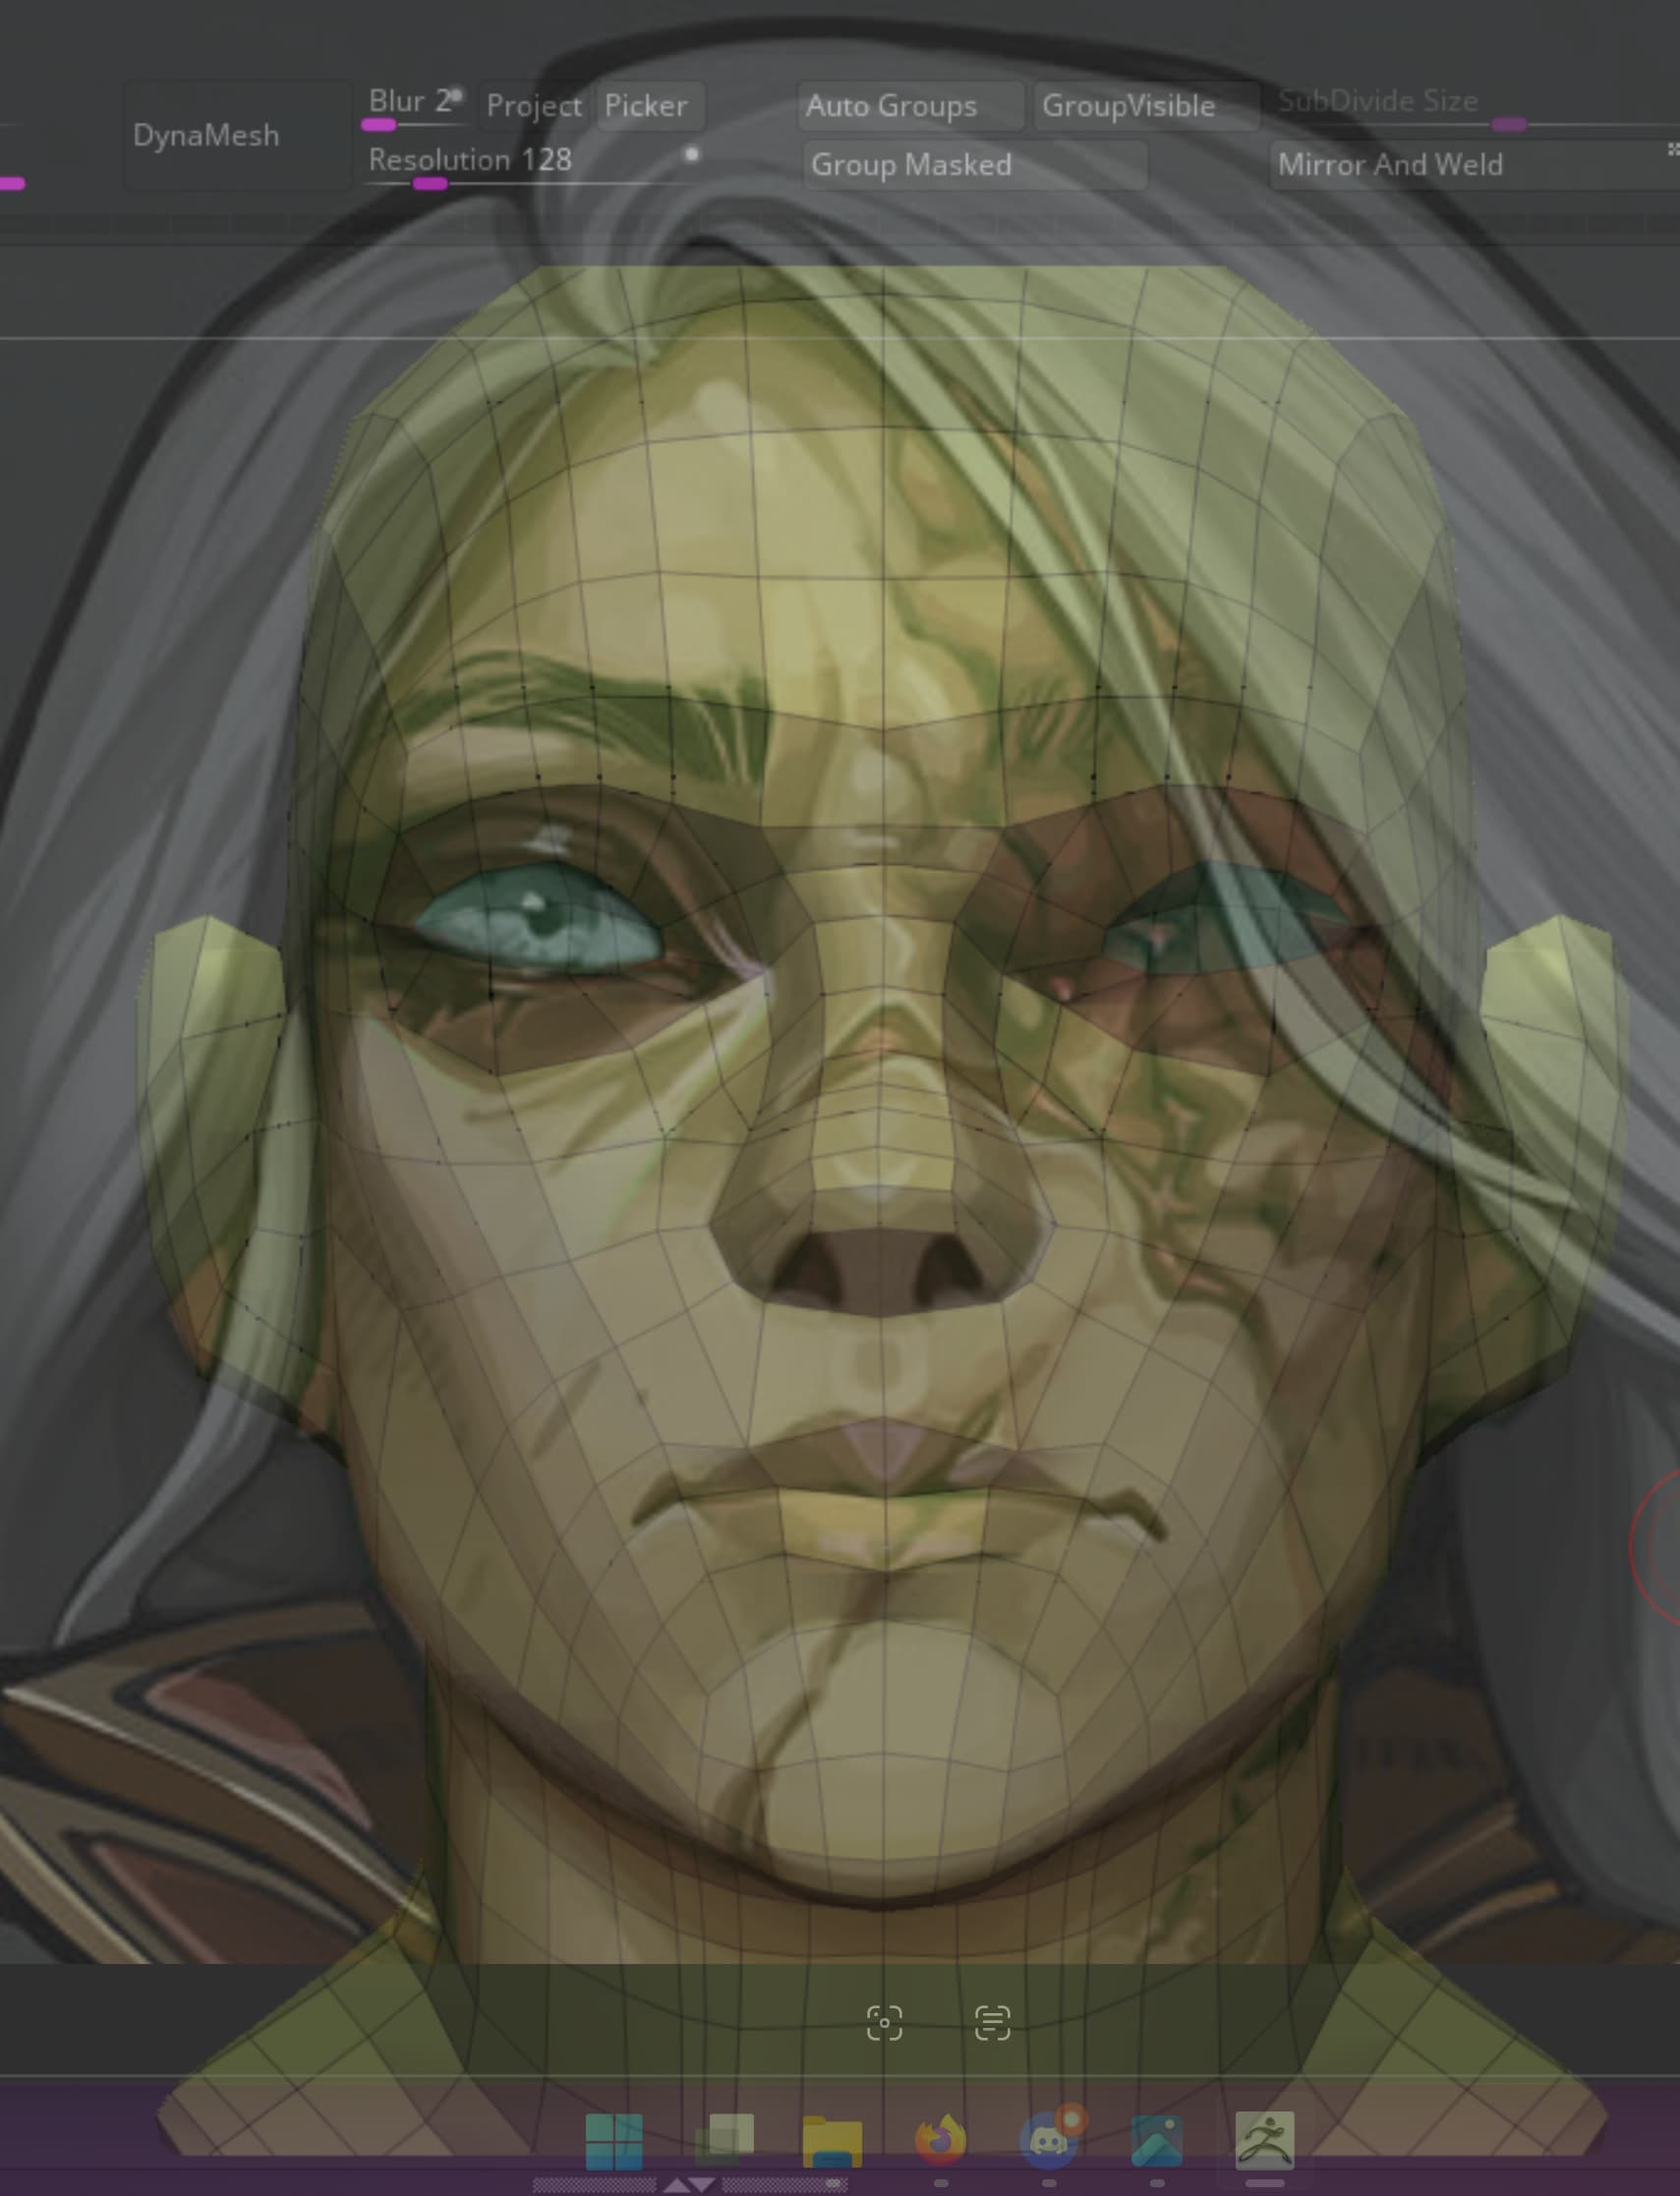
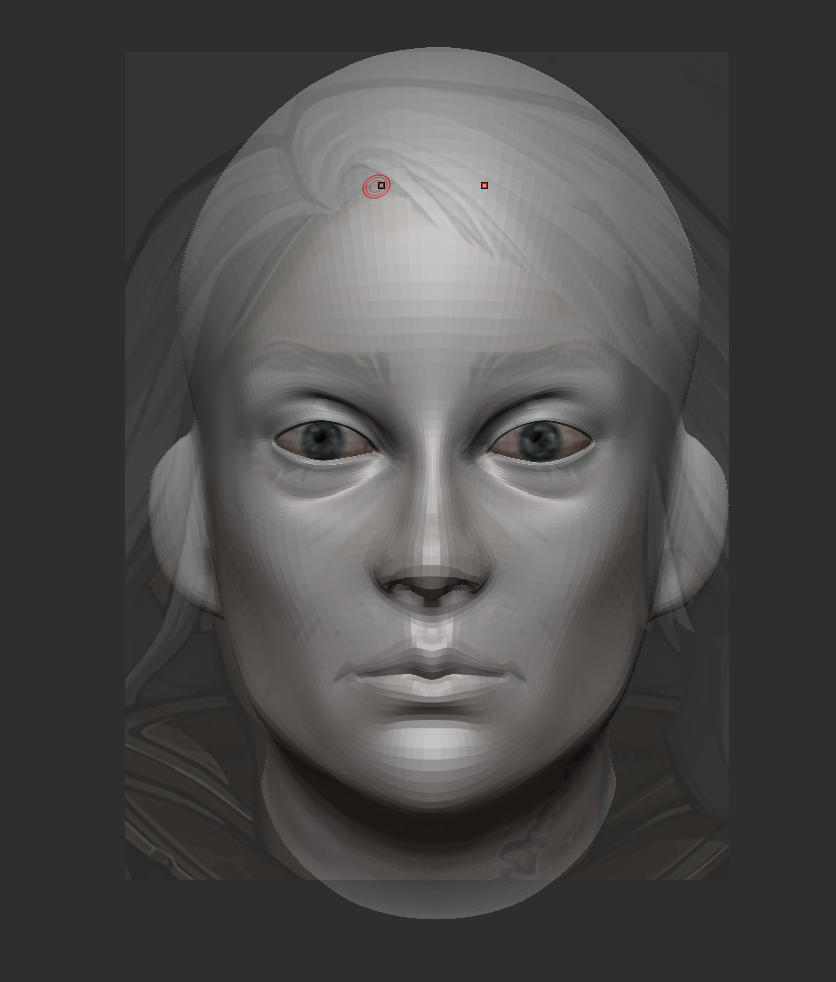
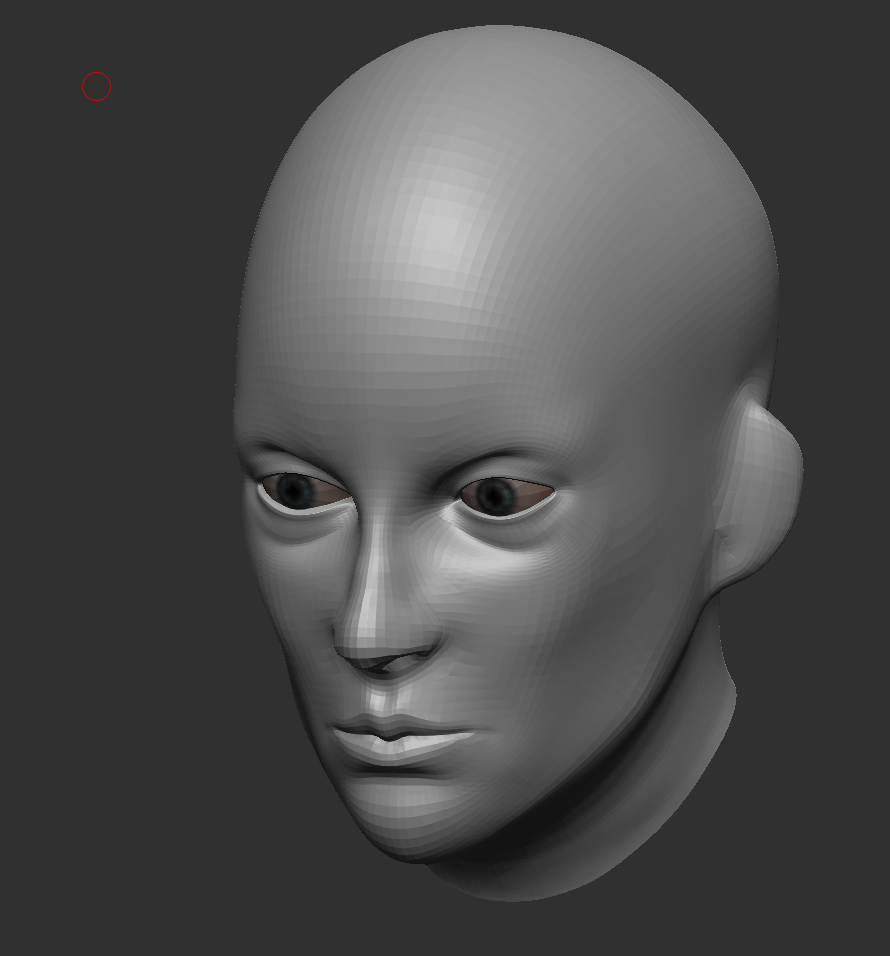
I start with the standard Zbrush female planar face base mesh. I like using the Zbrush see-through feature so I can set up my reference behind and match the landmark features. After I got my anatomy in place, I send the sculpt to CC to use Headshot to wrap the correct CC topology around my sculpt.
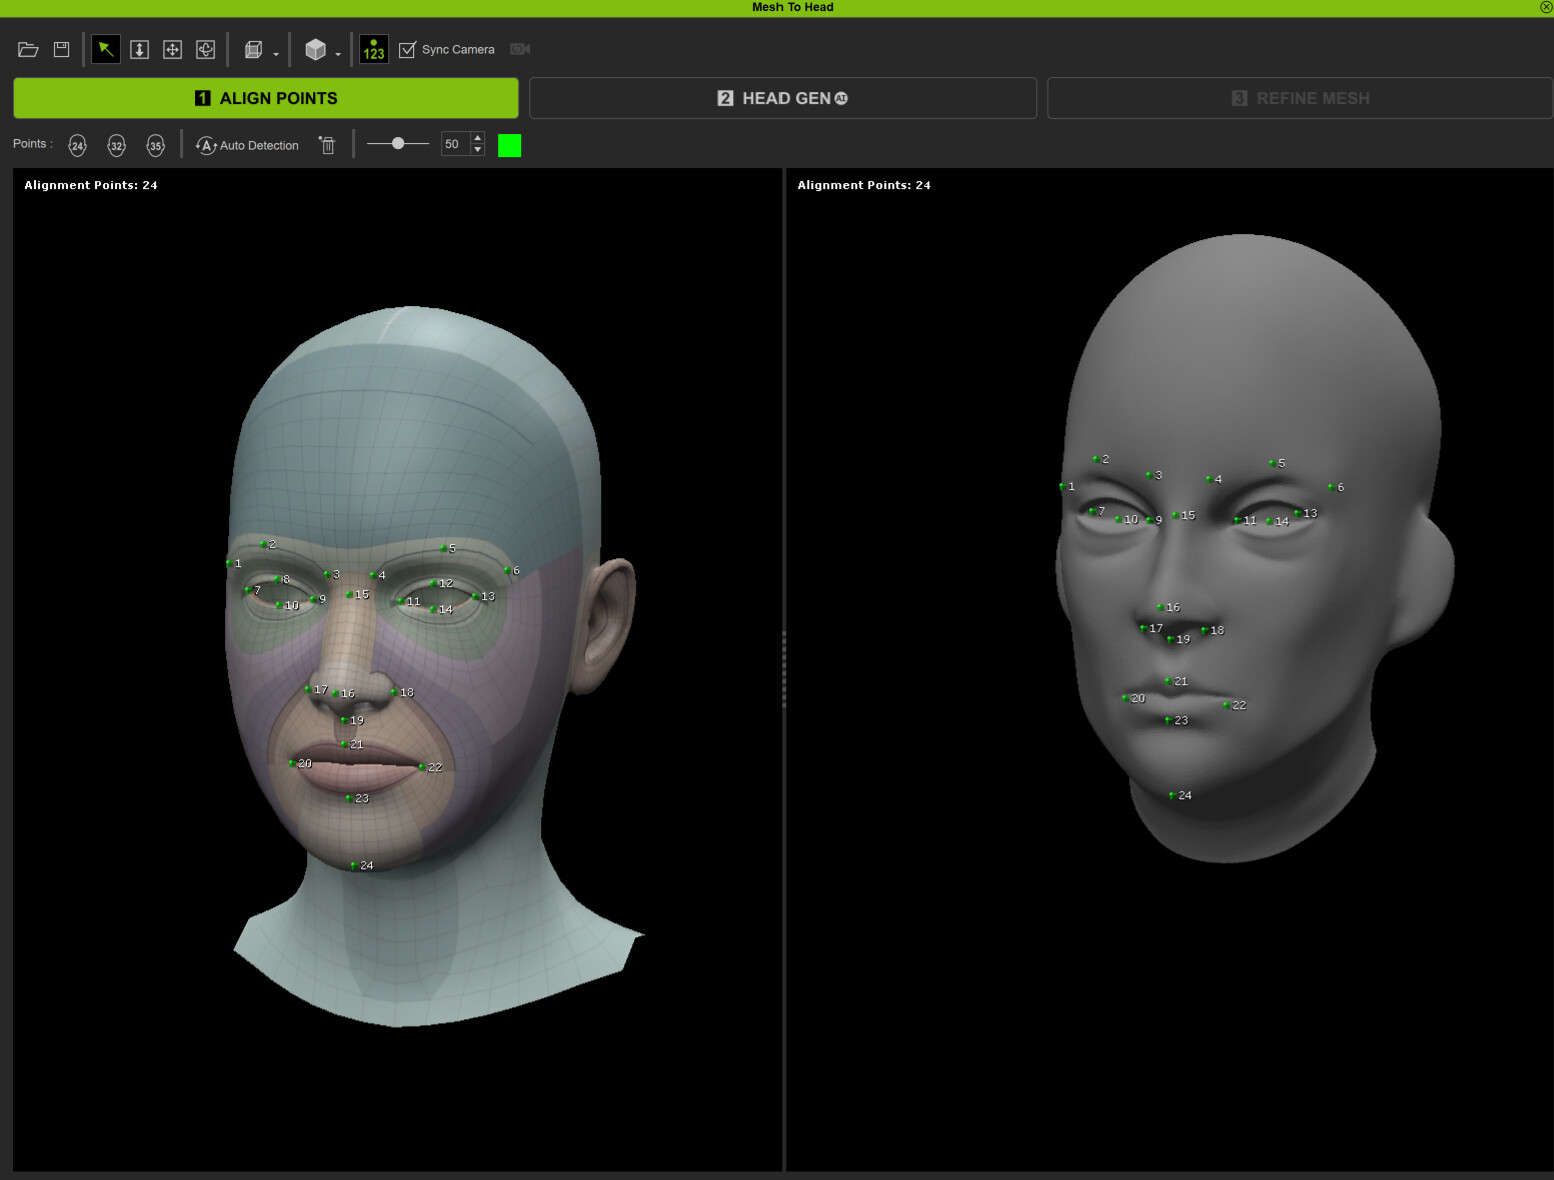
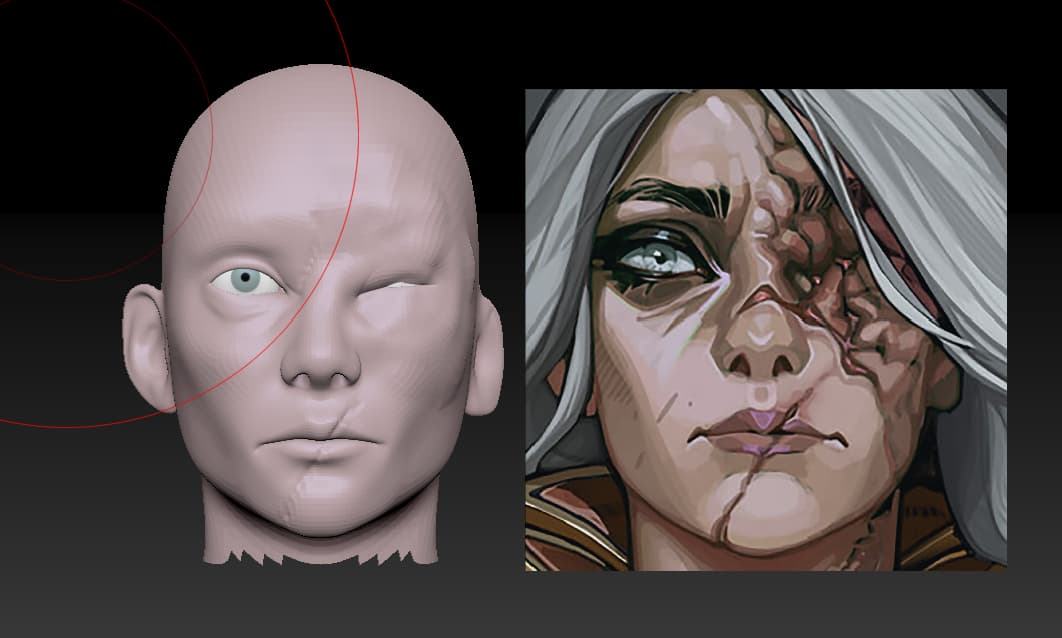
This gives me clean topology to work with and I use CC GoZ + to throw it back to Zbrush. I constantly throw the character back and forth between Zbrush and CC. I am much more comfortable with sculpting; however, being able to tweak the eyes and mouth with sliders is incredibly useful.
3 Likes
I then start on the block-out.
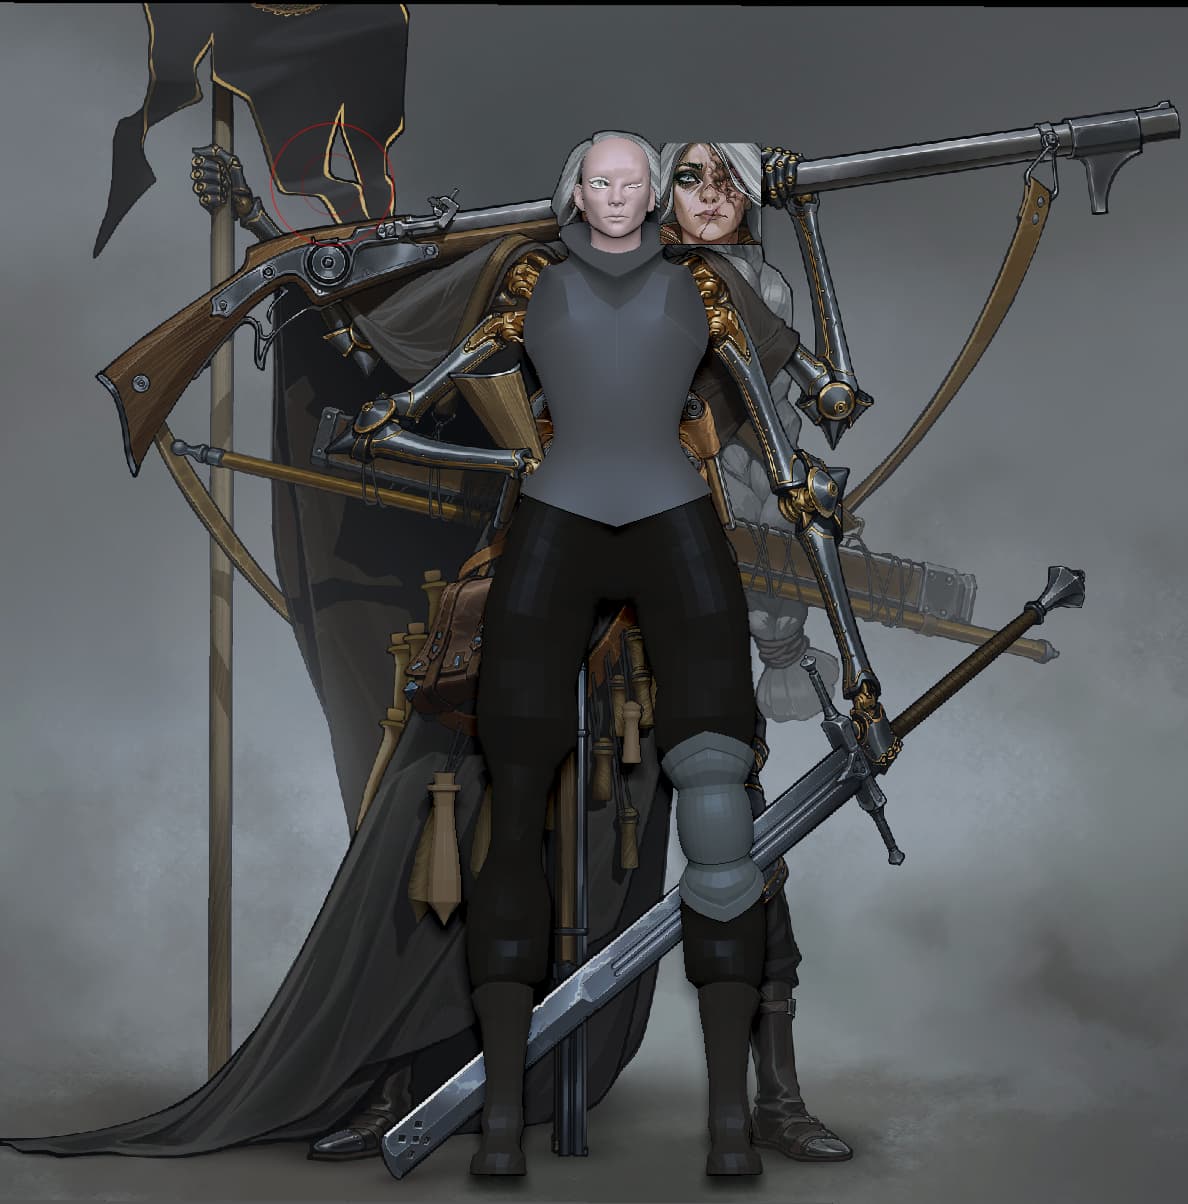
I try not to spend more than 30 min on any one part; however, the arms took a while…
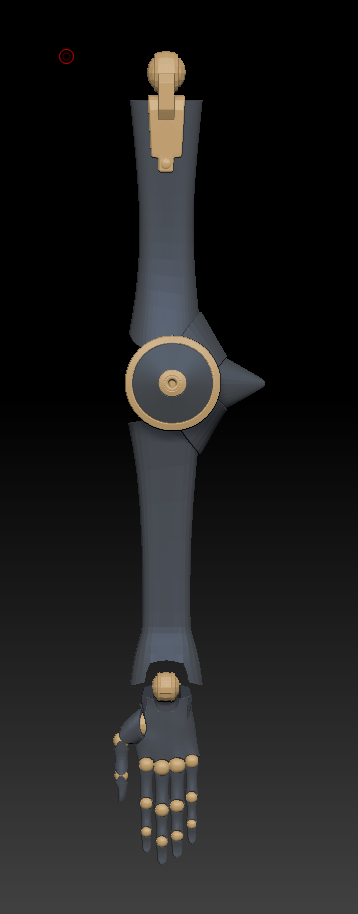
I’m not 100% happy with it, but it is good enough to move on. The next step will be to work on the weapons. With them all being simple hard surface, they will be easier to knock out in Maya.
1 Like
Worked in Maya a bit today. For Hard surface props, especially symmetrical ones, I like to model traditionally in Maya.
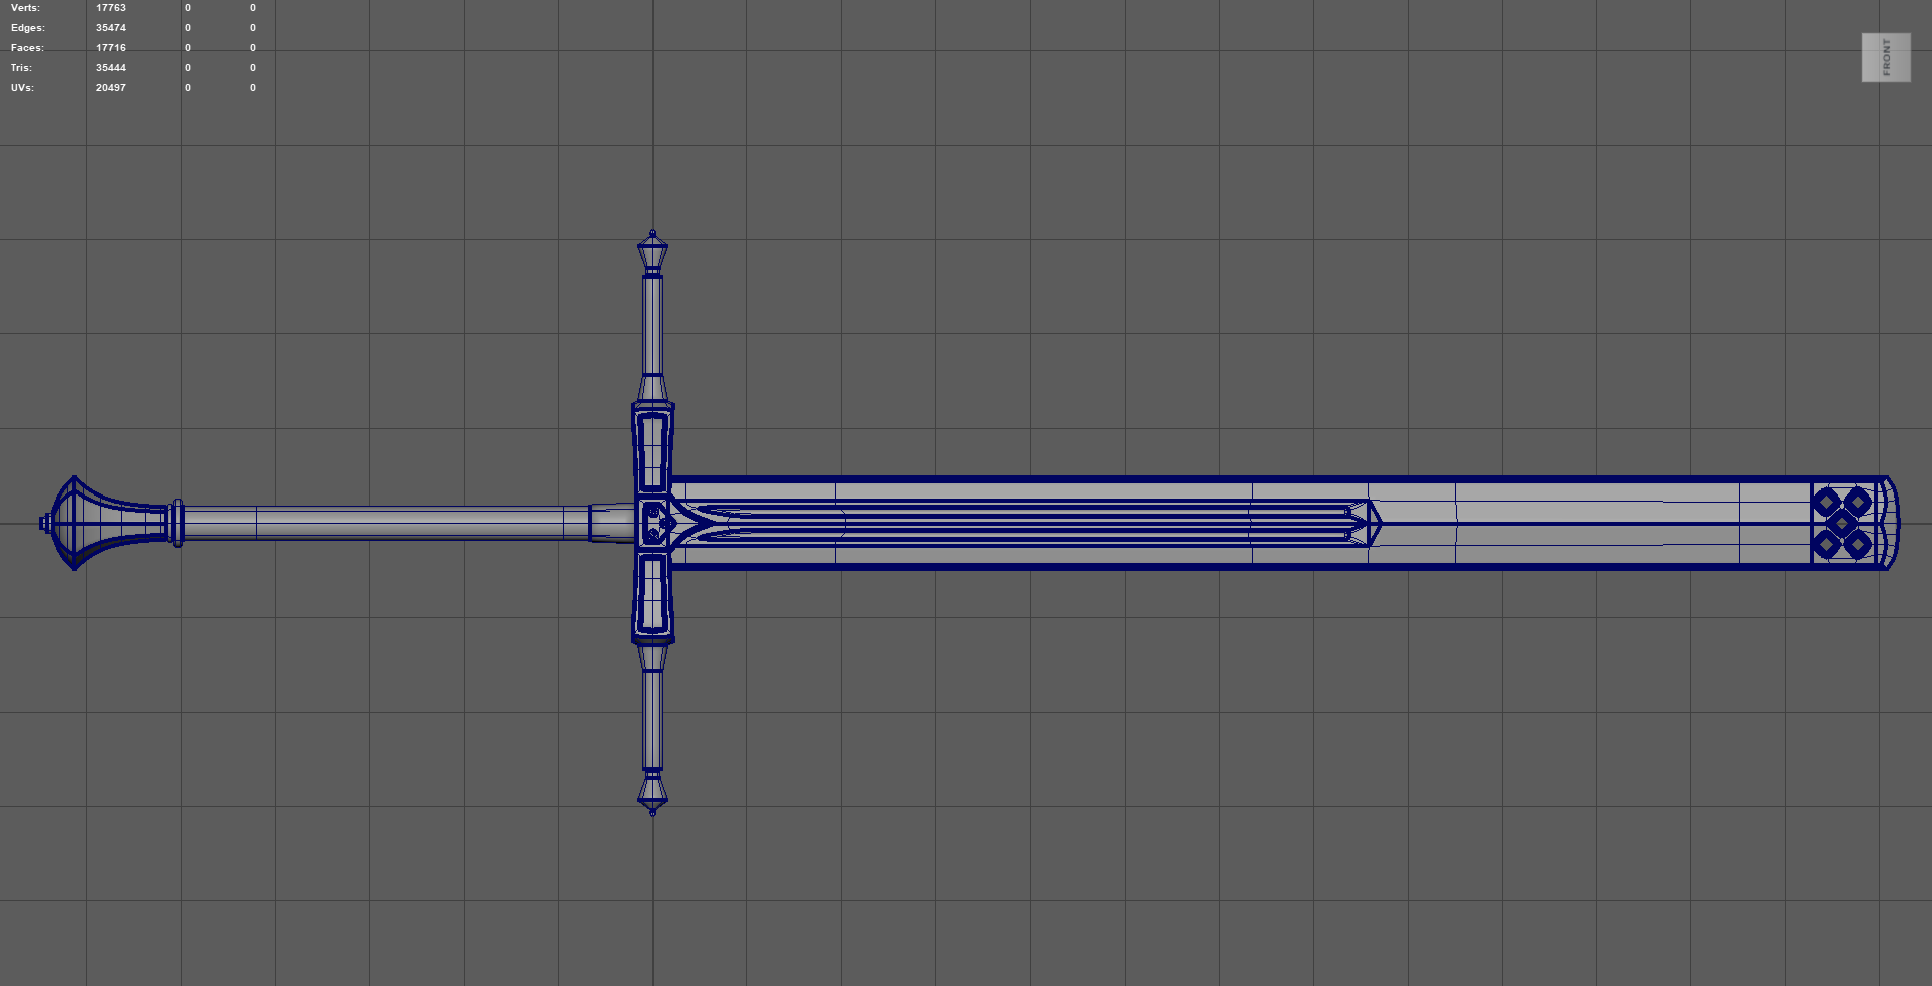
It is just a workflow I am most comfortable with; but I have been doing more and more in Zbrush to improve my skills with ZModeler. One of the major benefits is I generally can create the actual low poly model and its UV’s.
I have also picked up a few tricks with Maya that make block out easier/ more accurate. By using the animation timeline, you can place props without worrying about ruining orientation. Simply place the model in group, key the group on frame 0 while it is in the home location, move the group to line up with the reference, and then key the group at frame 1. this allows you to jump between the two locations and make tweaks
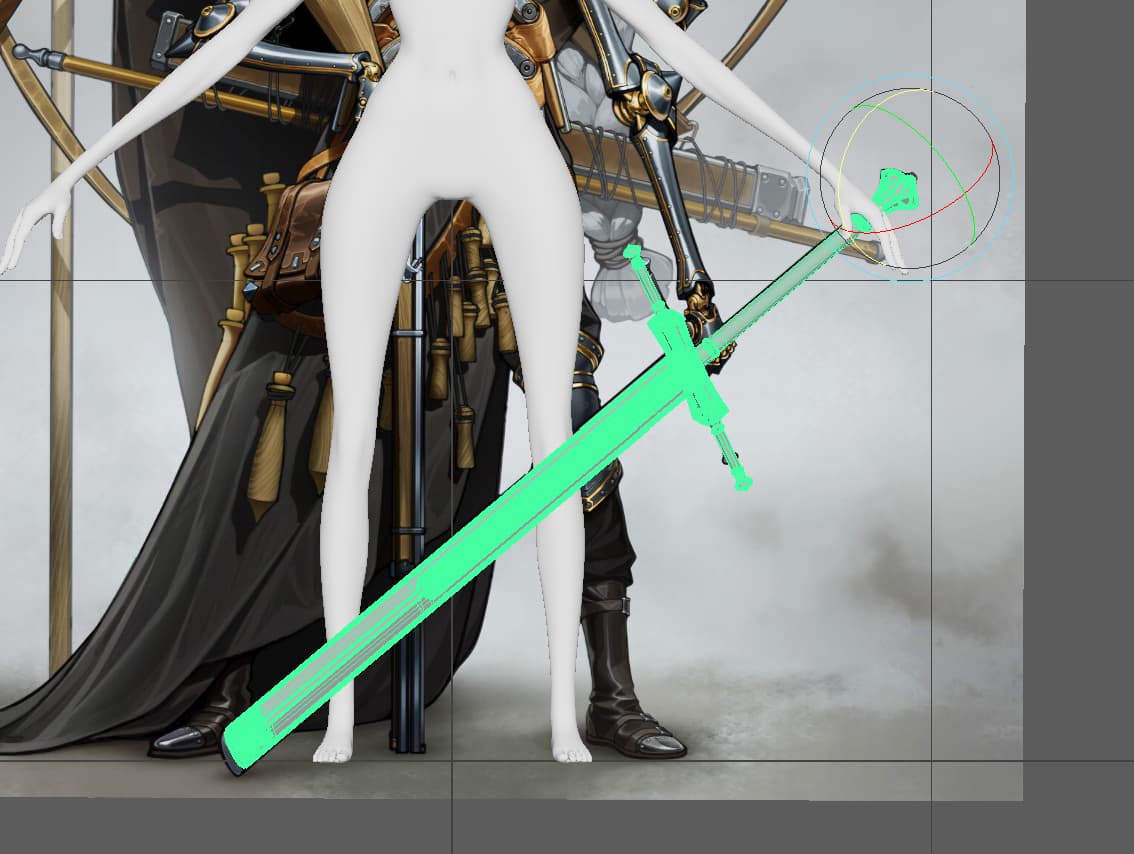
You can see here what I got before tweaking. Blade was a bit too short, and the hilt was too long and fat.
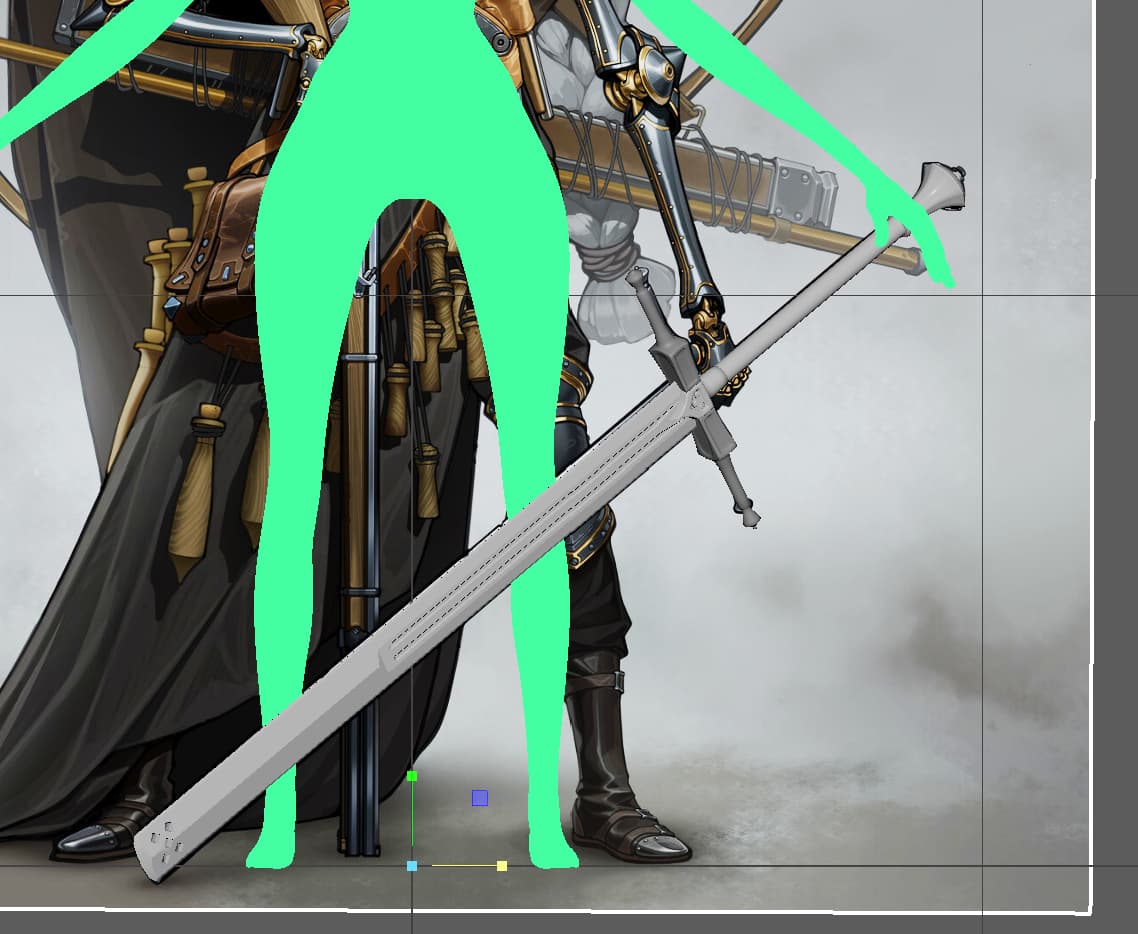
And here it is after!
I was hoping to get more done, but there is plenty of time (famous last words).
2 Likes
Man, life has a way of kicking you in the teeth sometimes! I don’t know if I will finish, but I’m going to give it the good ol’ college try!
Trying to get the props done so I can get back to the sculpting.


I use keyframes to move the reference around so I can model on the cardinal axies; this helps when it comes time to mirror and weld parts
I also learned how to use curves in Maya finally!
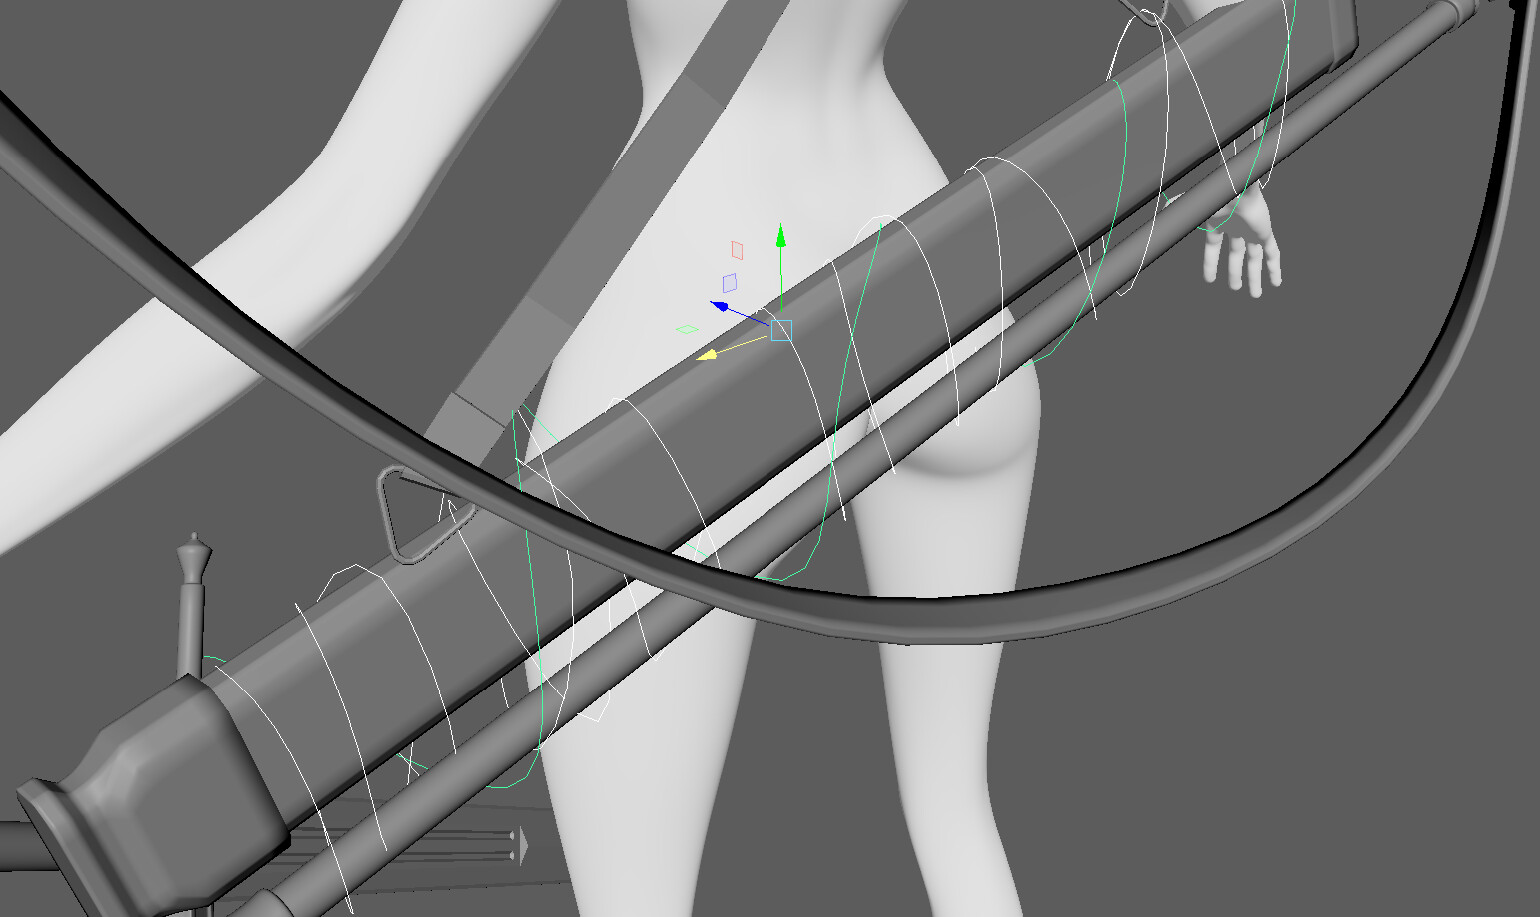
Which made modeling the cables so much easier!
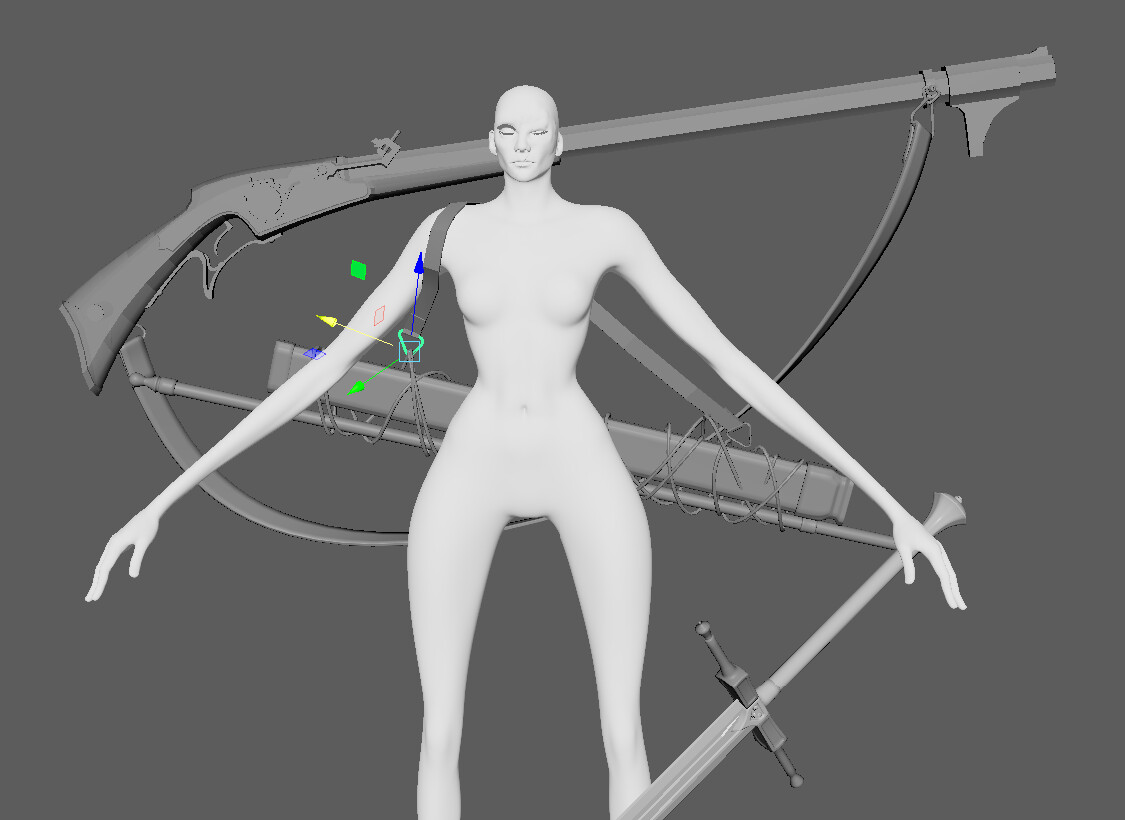
No I just need to model the pistol. After that, I will start UV unwrapping the props and send them to Zbrush for sculpting.
Wish me luck, I desperately need it!
1 Like
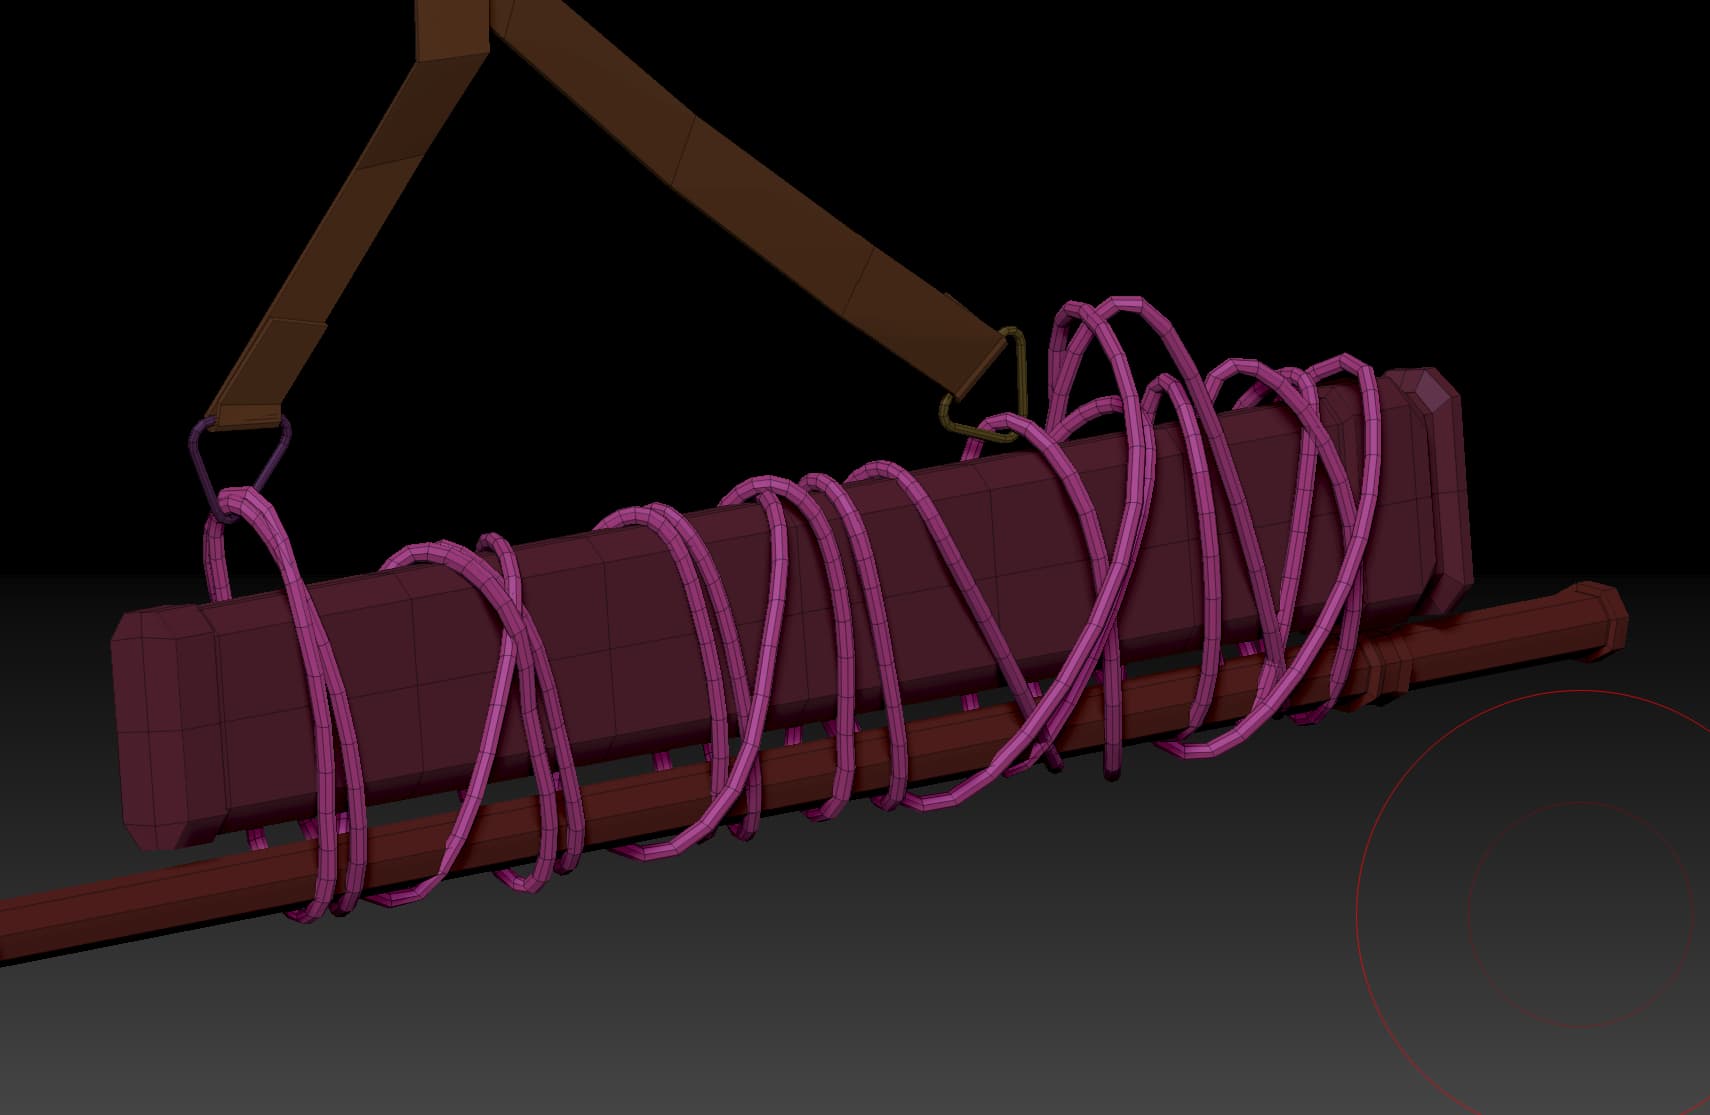
I brought my models into Zbrush so I could do a few touch ups. In particular I tightened up the cable running around the sheath. the cable on the left has been shifted using the move brush; the right is how it came in.
Starting to hit a wall. It doesn’t feel like I can finish which leads me to thing this could be a waste of time. Existential crisis aside, I am also running to the issue of analysis paralysis. There are just so many things that need to be done, and It’s hard to pick which direction I want to go. I decided I just needed to see something completed. I chose to start with the boot to warm up.
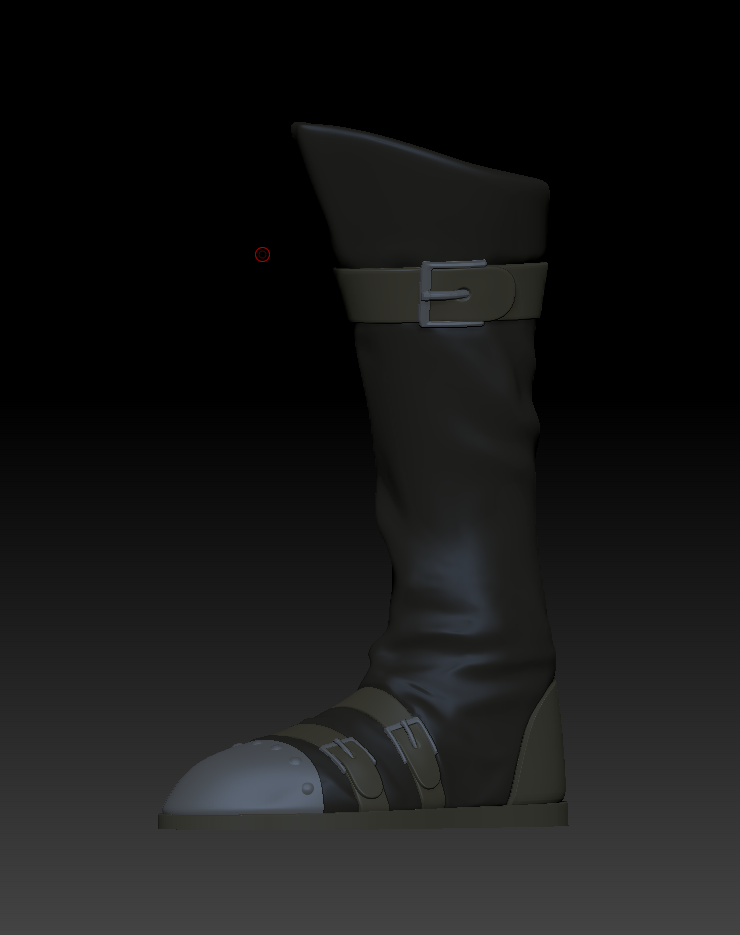
Most of the tutorials I am finding on the Arcane style seam to stop at the secondary details leaving fine details to be hand painted. I’m not super confident in my wrinkle sculpting skills, especially when I don’t have reference showing me exactly where to place them; but the only way to get it done is to do it.
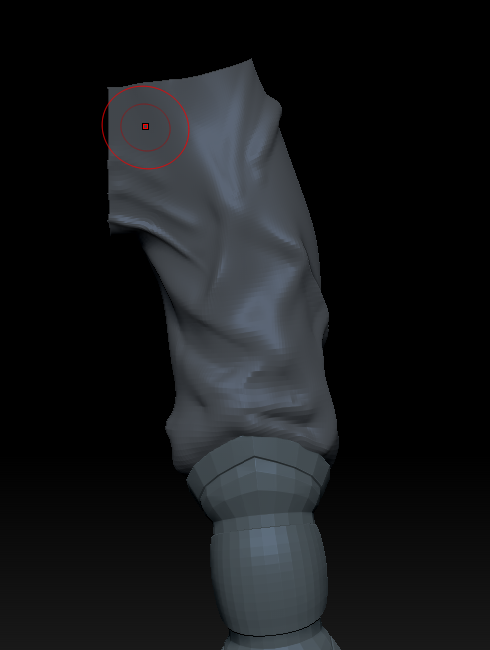
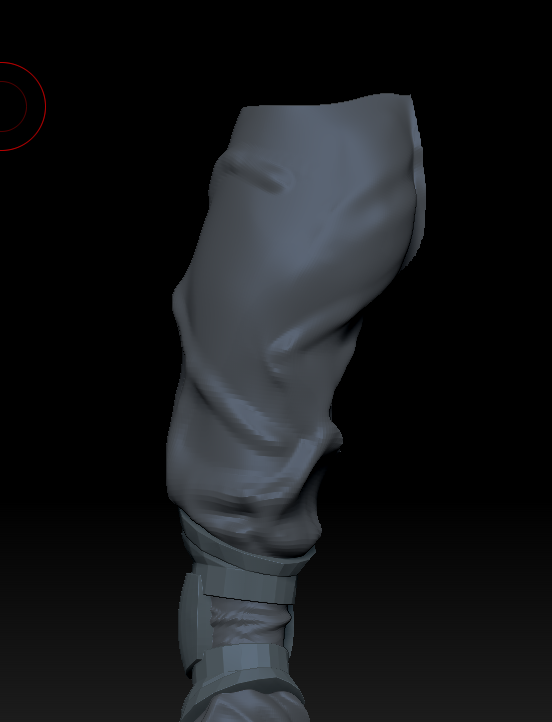
I start by adding wrinkles with the standard brush. I found a few good examples on AS and Pinterest.
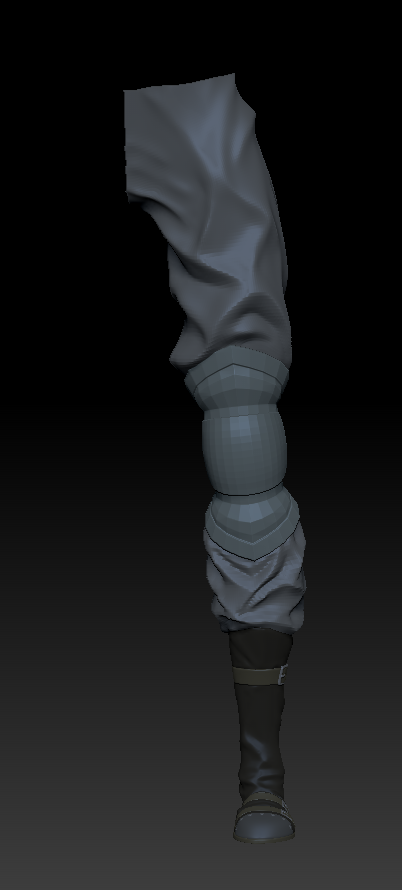
After I get everything roughed in, I move onto refinement using Dam-Standard and the pinch brush. Overall, I’m happy with it; right now the name of the game is: done, not perfect.
Because the right side of her pants are mostly covered by her wrap, I decided to just mirror the other side. I then used the Zbrush dynamics to create said wrap.
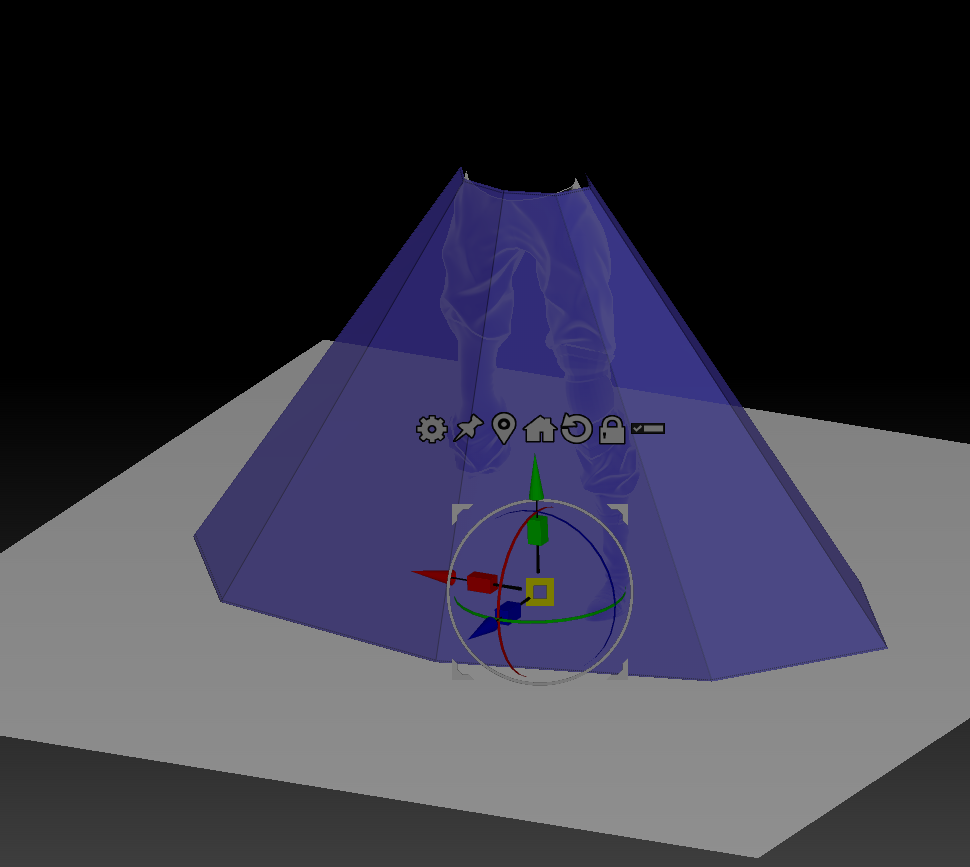
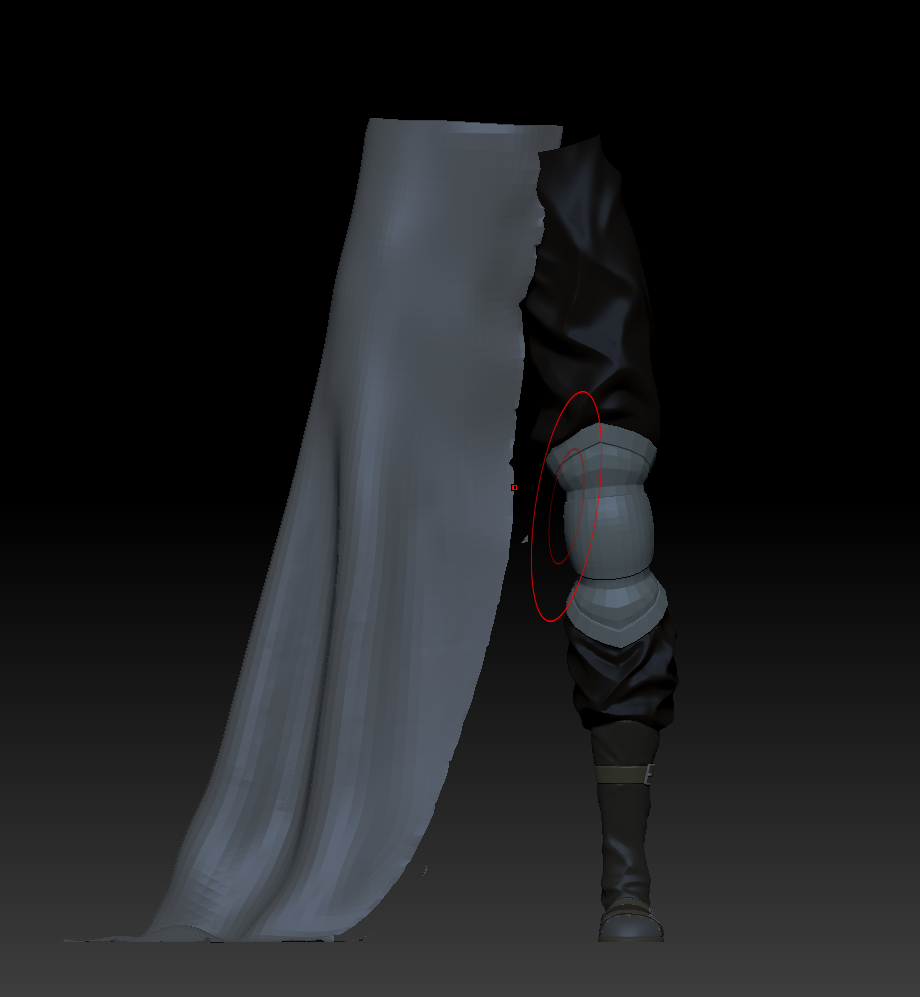
Going to try and get a little more done today, but I feel this is a good start.
1 Like