So I crated a morph slider to morph between to created characters.
Obviously its a Hulk morph. I am wondering is it possible to create a morph or second skin to have the green skin of the Hulk?
Probably easiest to make a second green version of the character and run the animation twice, then dissolve between the rendered animations in an editing program.
I also thought the same.
I had come across a demo video from Reallusion; had hoped to find a tutorial on it
You may use a blend map for body parts for that
(I have a flat map, but you may color it as you wish making sure seams have the same tone across blend maps)
Also in the video they might have been using a glow map slot for the effect.
2 Likes
hey okay, so the morph sliders didn’t work out well.
I created the morph in CC4; and it works fine.
When I open the iavatar in iclone; I don’t have those sliders
then I went to create a morph slider in iclone using the target avatar. I get an error saying the bone scale between the morph and target do not match.
Then I exported an obj from CC4; and used that to create the morph target.
It works, somewhat. I need to move all the sliders to get it to match (i.e Teeth slider/eyes/occlusion, other sliders which were preexisiting) along with the hulk slider.
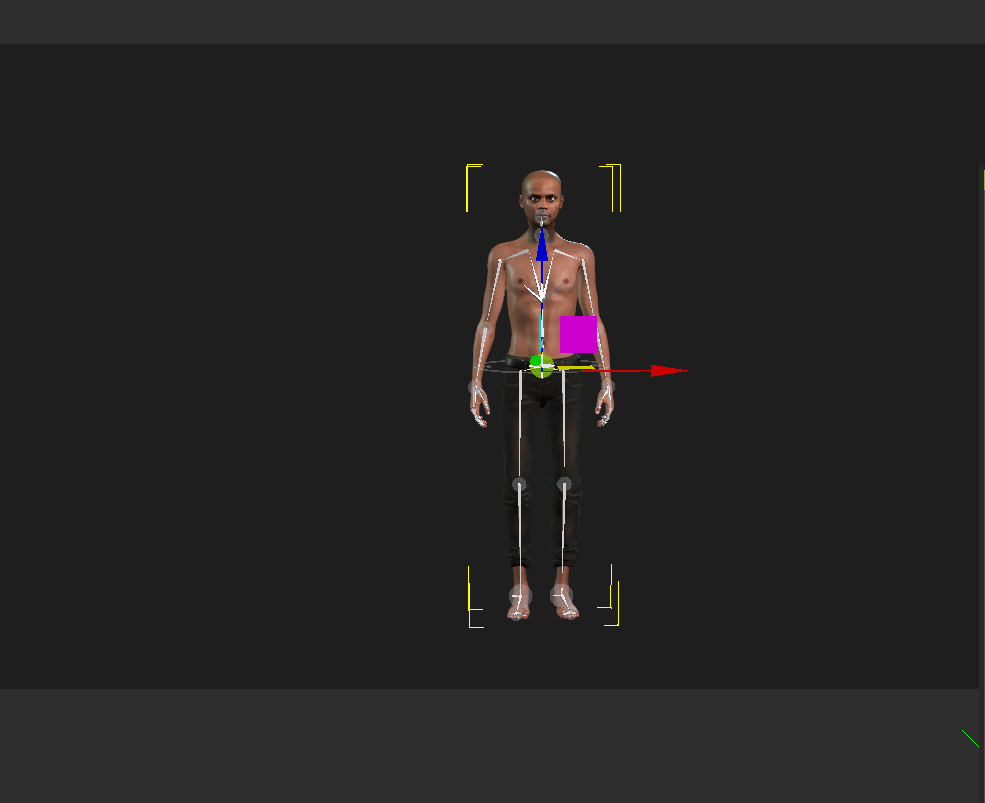
Anyhow, when I do it in the morph creator it works fine. When I export the morph to iclone and try to animate the morph, this happens
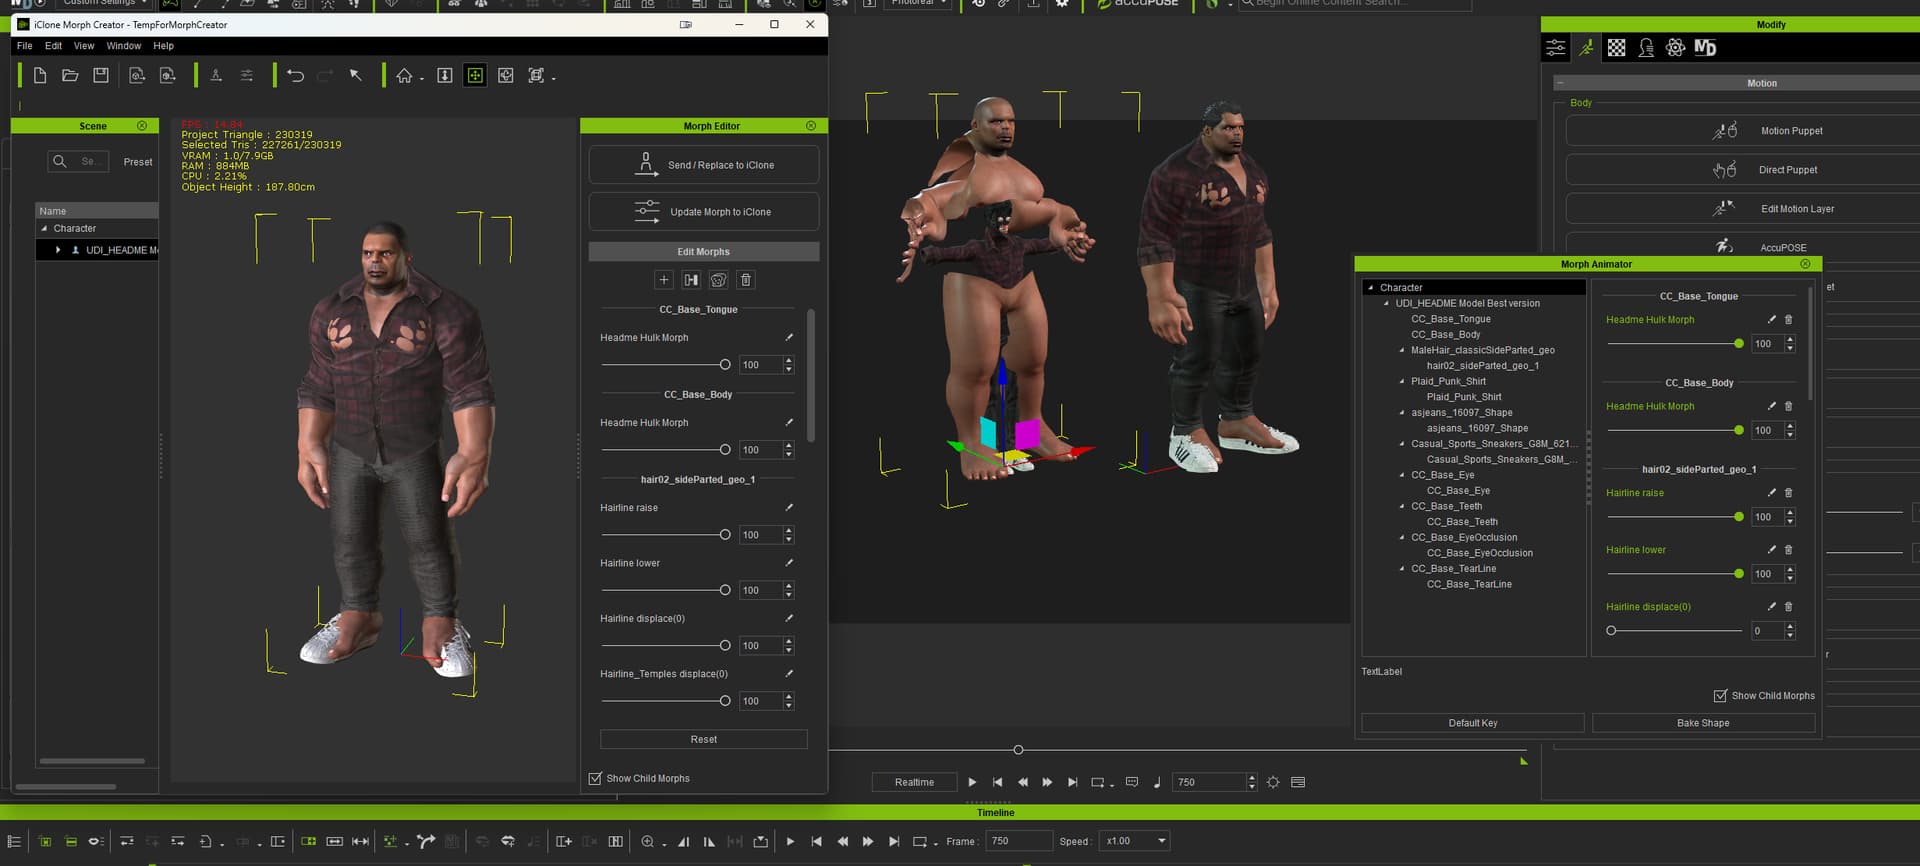
I did manage to figure it out; I recreated the morph in CC4 without selecting match bone.
now the challenge is to figure out how to get the skeleton to match when I morph the character in iclone.
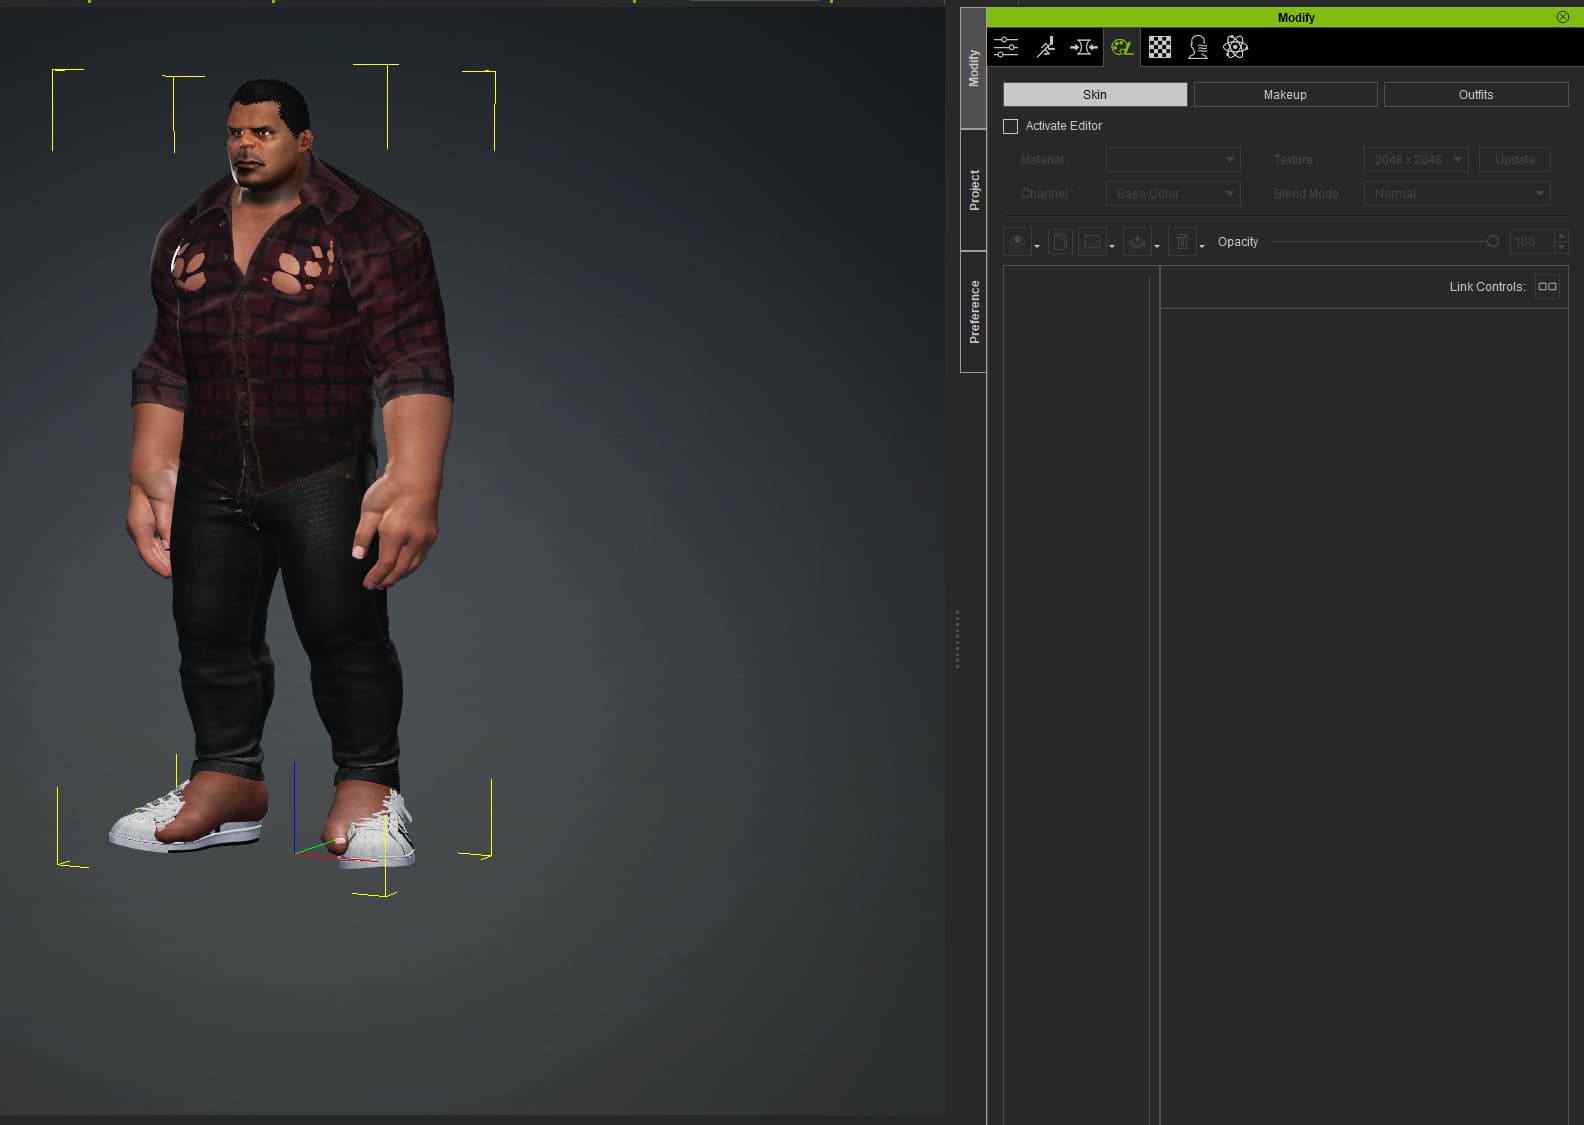
Below screenshots from iclone

Unfortunately that is not possible to achieve: Animated full body/head morph distorted in animation - #2 by 4u2ges
1 Like
Ahh bummer!! That suxs that we are able to do this much with iclone and missing out on the bone scaling!
Is there a wishlist we could add it to?
There is an FT ticket already created in 22: Change the size of a character in the timeline - Feedback Tracker
1 Like
hahaha! man do you know these forums like the back of your hand?
How do you pull these stuff up so quickly?
Thanks, I voted for it as well… Appreciate the help
-looks like its been a topic of discussion since 7 years ago.
Found this chat in the old forums; unfortunately, the suggested steps does not work anymore
I’ve been around for a while and remember all those long lasting issues with software. Plus a quick search on a subject in FT tracker (there was more that one ticker about it). Very annoying that you may do it easily in Blender but even then upon returning animation with bones scaling RL would ignore it altogether.
You may however finalize all animations with bones scaling in Blender and import character as animated prop and it would scale just fine, but it defeats all purpose of characters animation then.
1 Like
Hahaha nice!!
Sigh, I have all the Reallusion to Blender plugins; however I know very very basic in Blender.
Need to look up some tutorials on transferring a character with an animation and doing the morph.
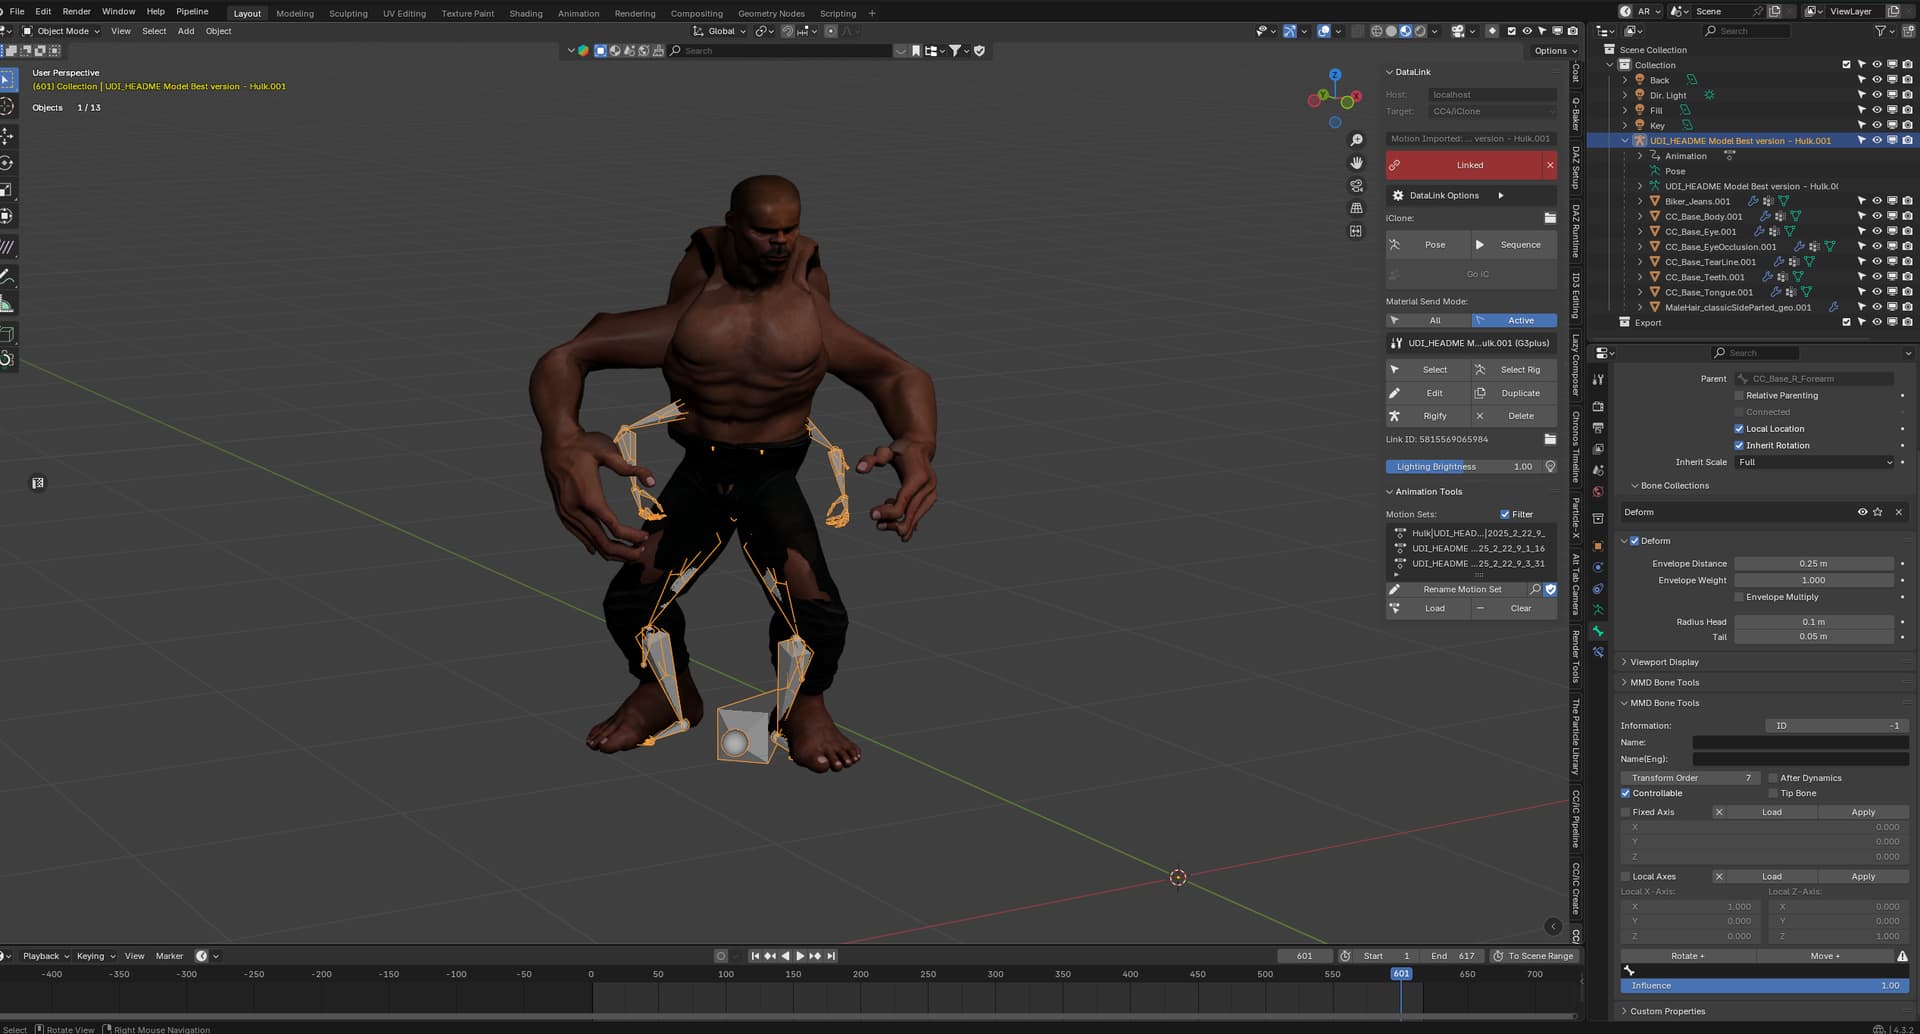
so I managed to get the character; animation and the shape key into Blender; however, I am still having the same struggle of scaling the skeleton
Not sure how to do that in Blender.
If I select the skeleton and try to enlarge it; the model scales.
There actually is a fairly easy way to a scale change on the timeline.
- Record your character animation on the iClone timeline.
- Make sure your character is selected and export as FBX.
- Choose the range for your animation export.
- Reimport that exported FBX and play it on your timeline. Notice it the same as what you had before,
just that it is a prop instead of character. - Set scaling keys along the timeline to scale.
This works because prop bones can scale, just not character bones.
1 Like
You have to animate scaling first by recording keys in Action Editor and then pump the muscles and do other tweaks with character and also record it at the time line. Note, your general animation must already be finalized in iClone before importing to Blender because after importing back, you can only animate bones in limited “prop” mode and remember there would be no Digital Human Shader for skin.
But if you just need to scale your character, you may use a base method Rampa recommended without Blender. There are some other variations in between once you understand the concept.
Here is a quick run shorty with scaling I just made ![]()

2 Likes