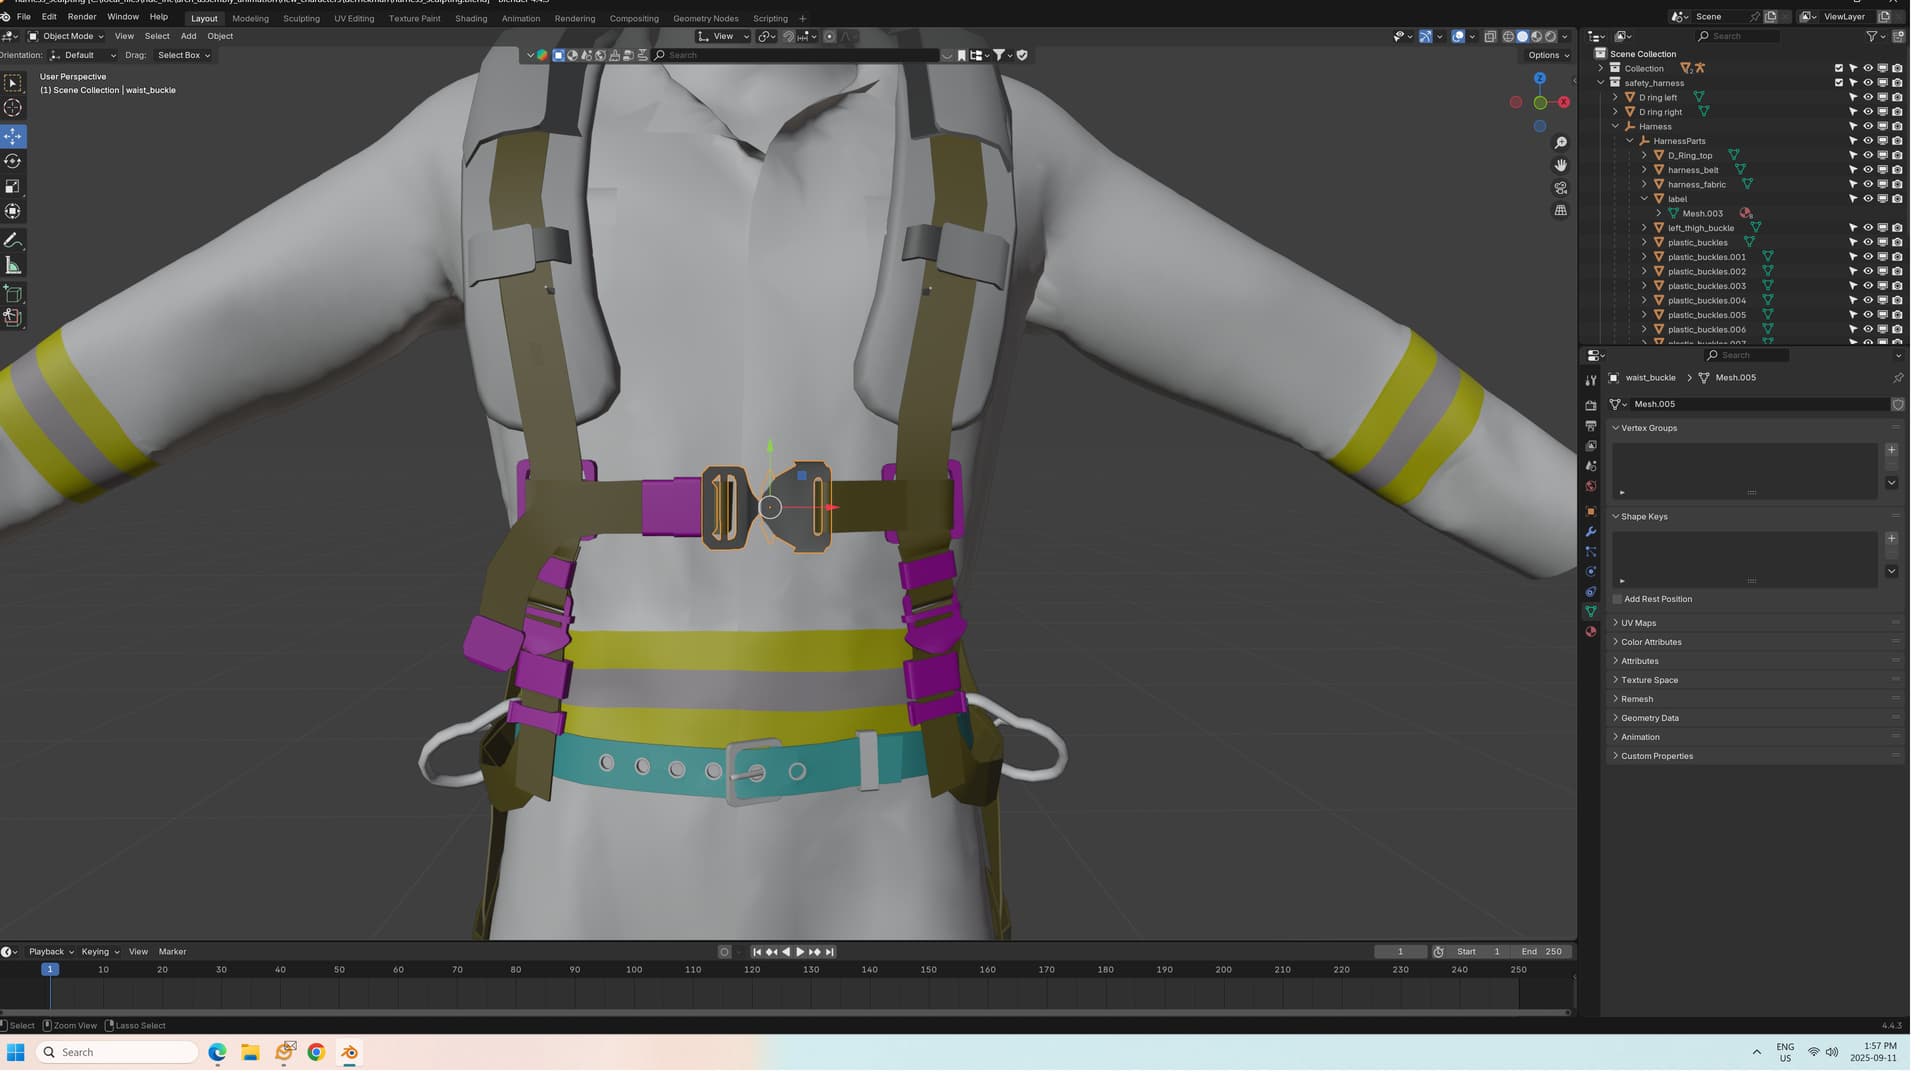
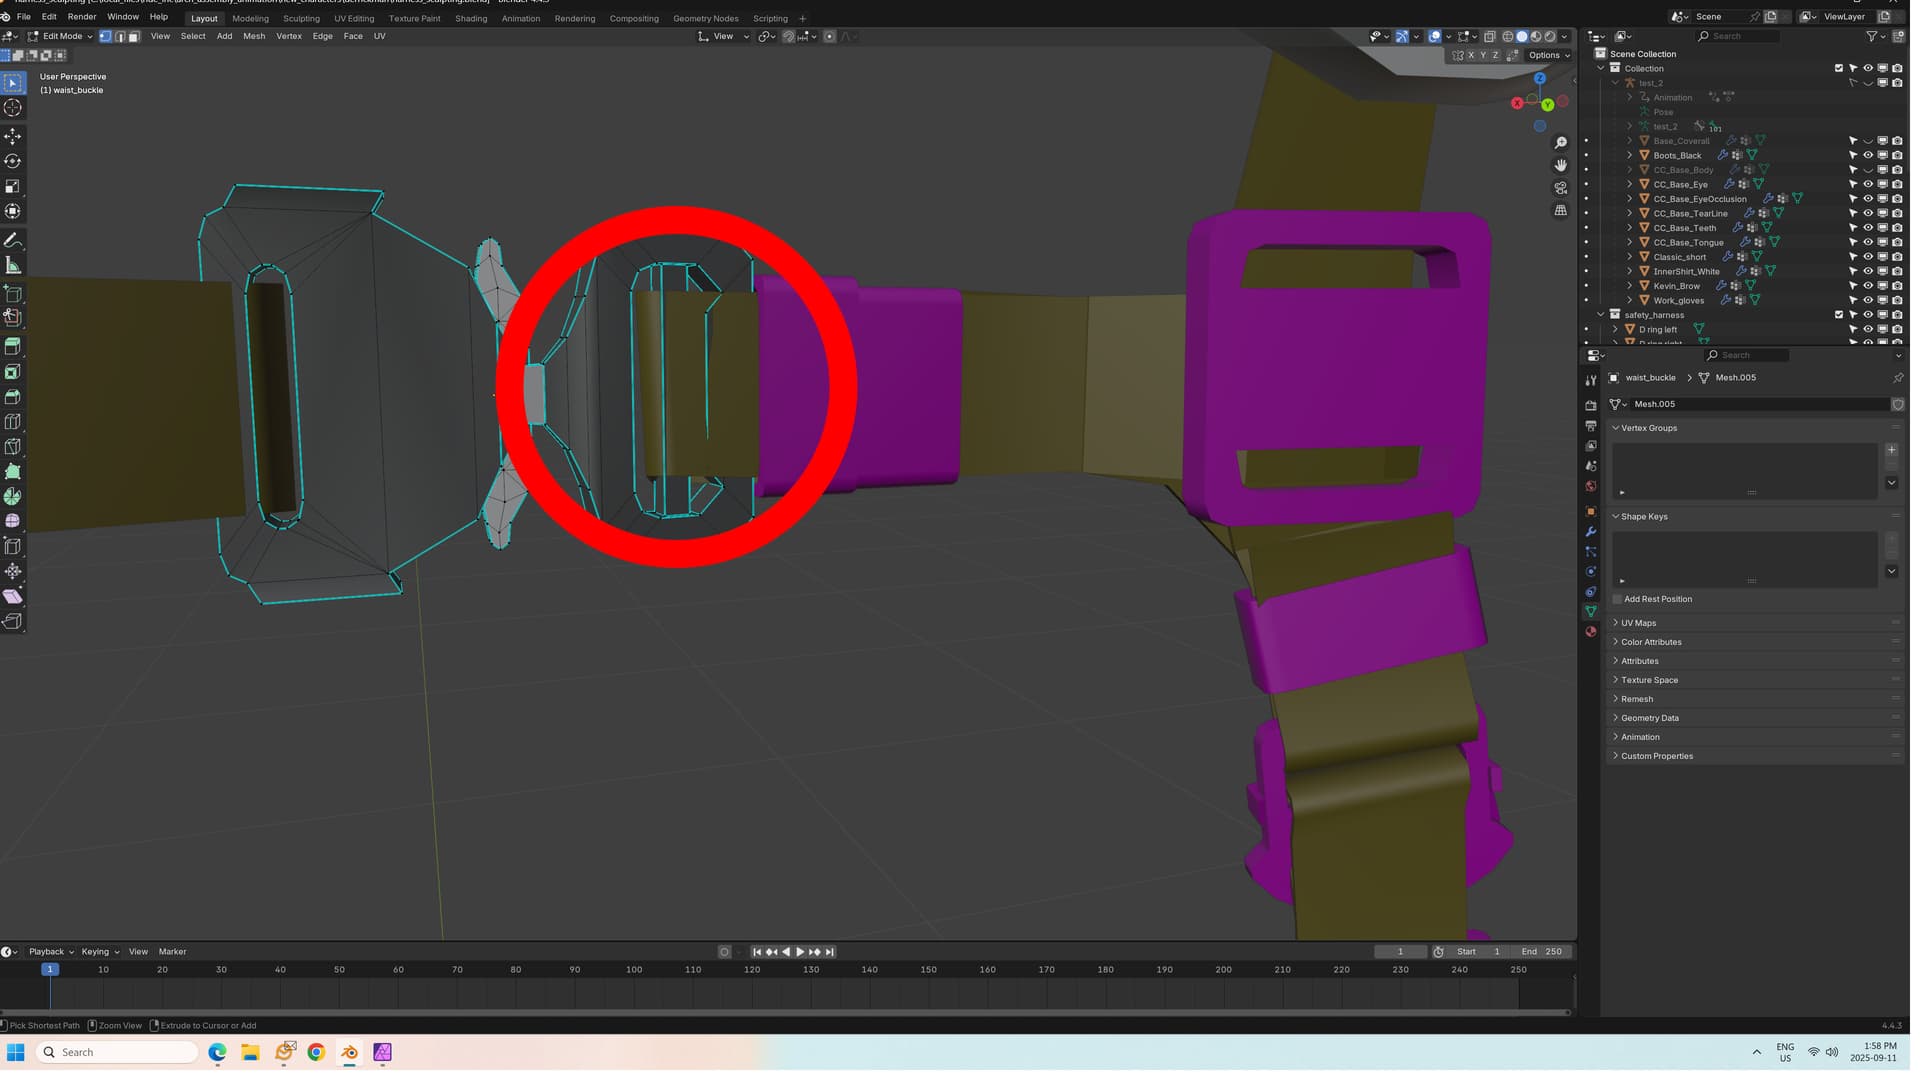
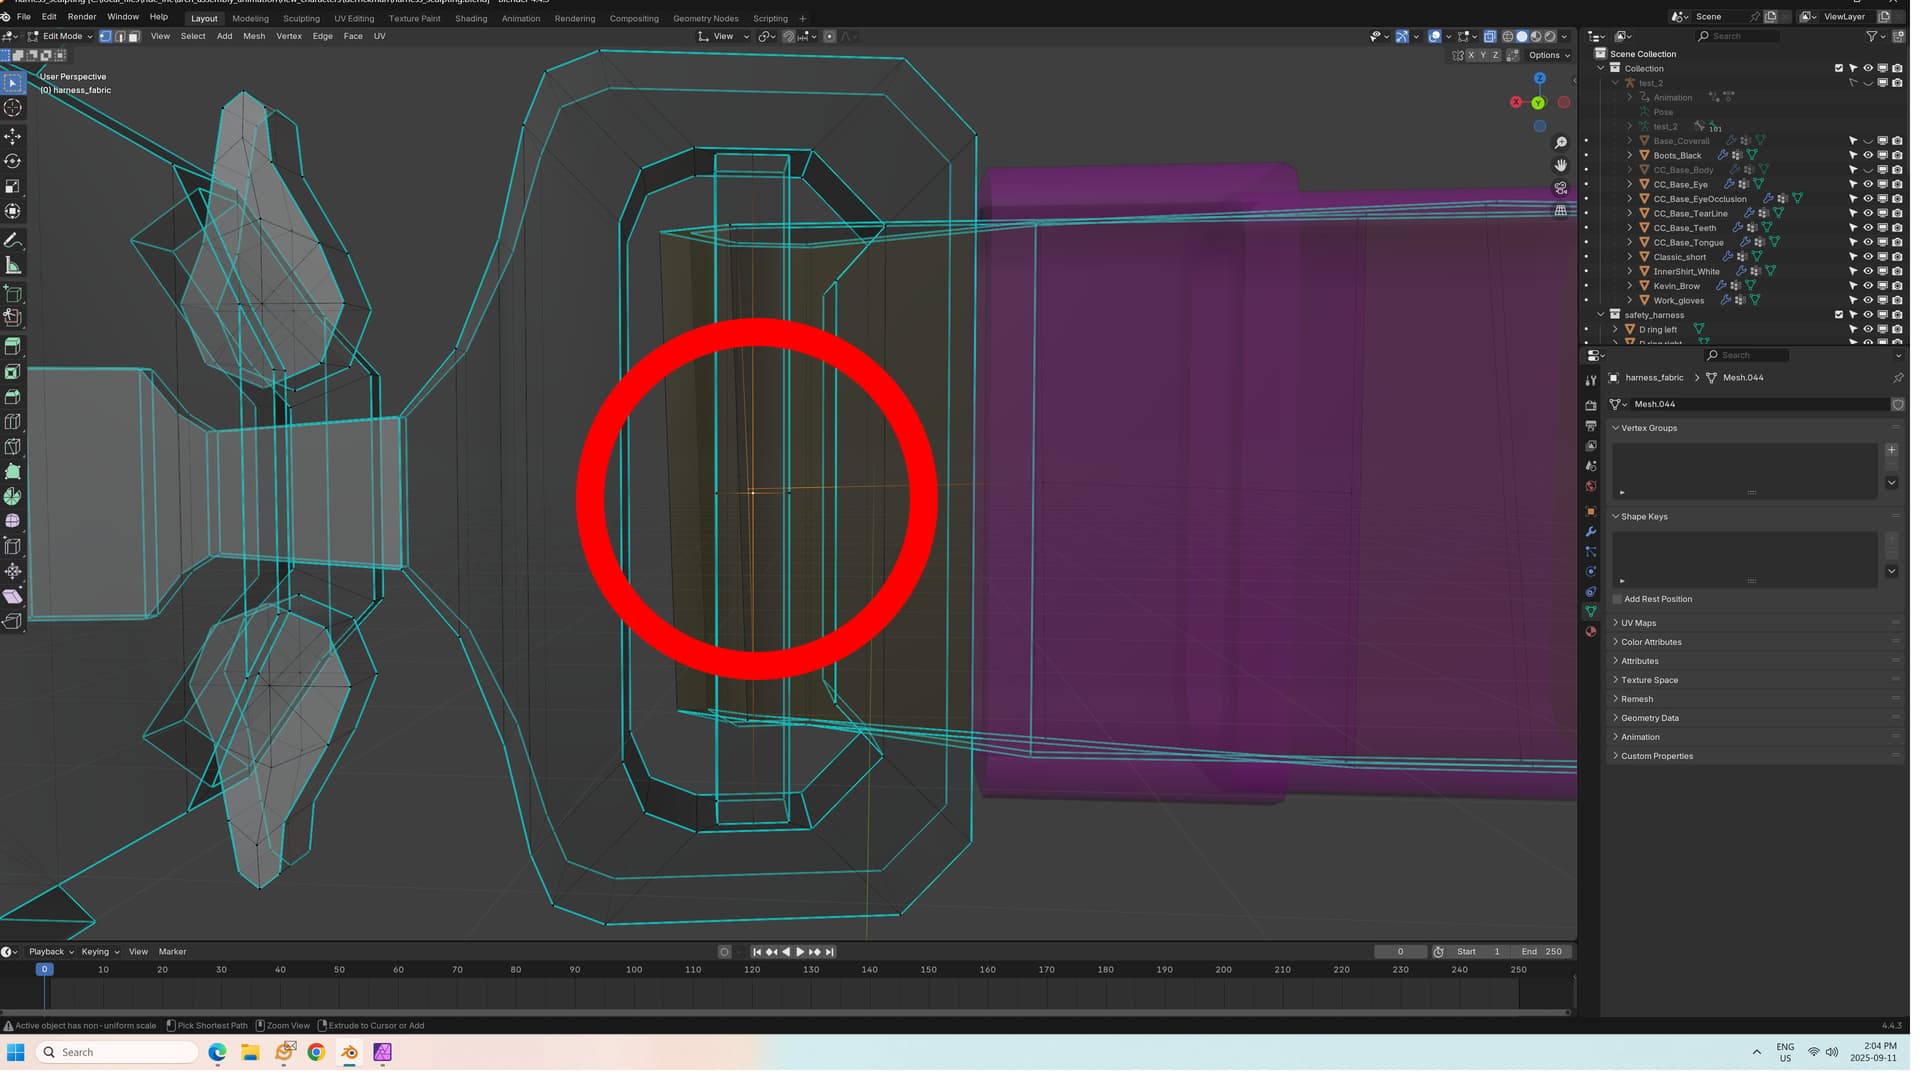
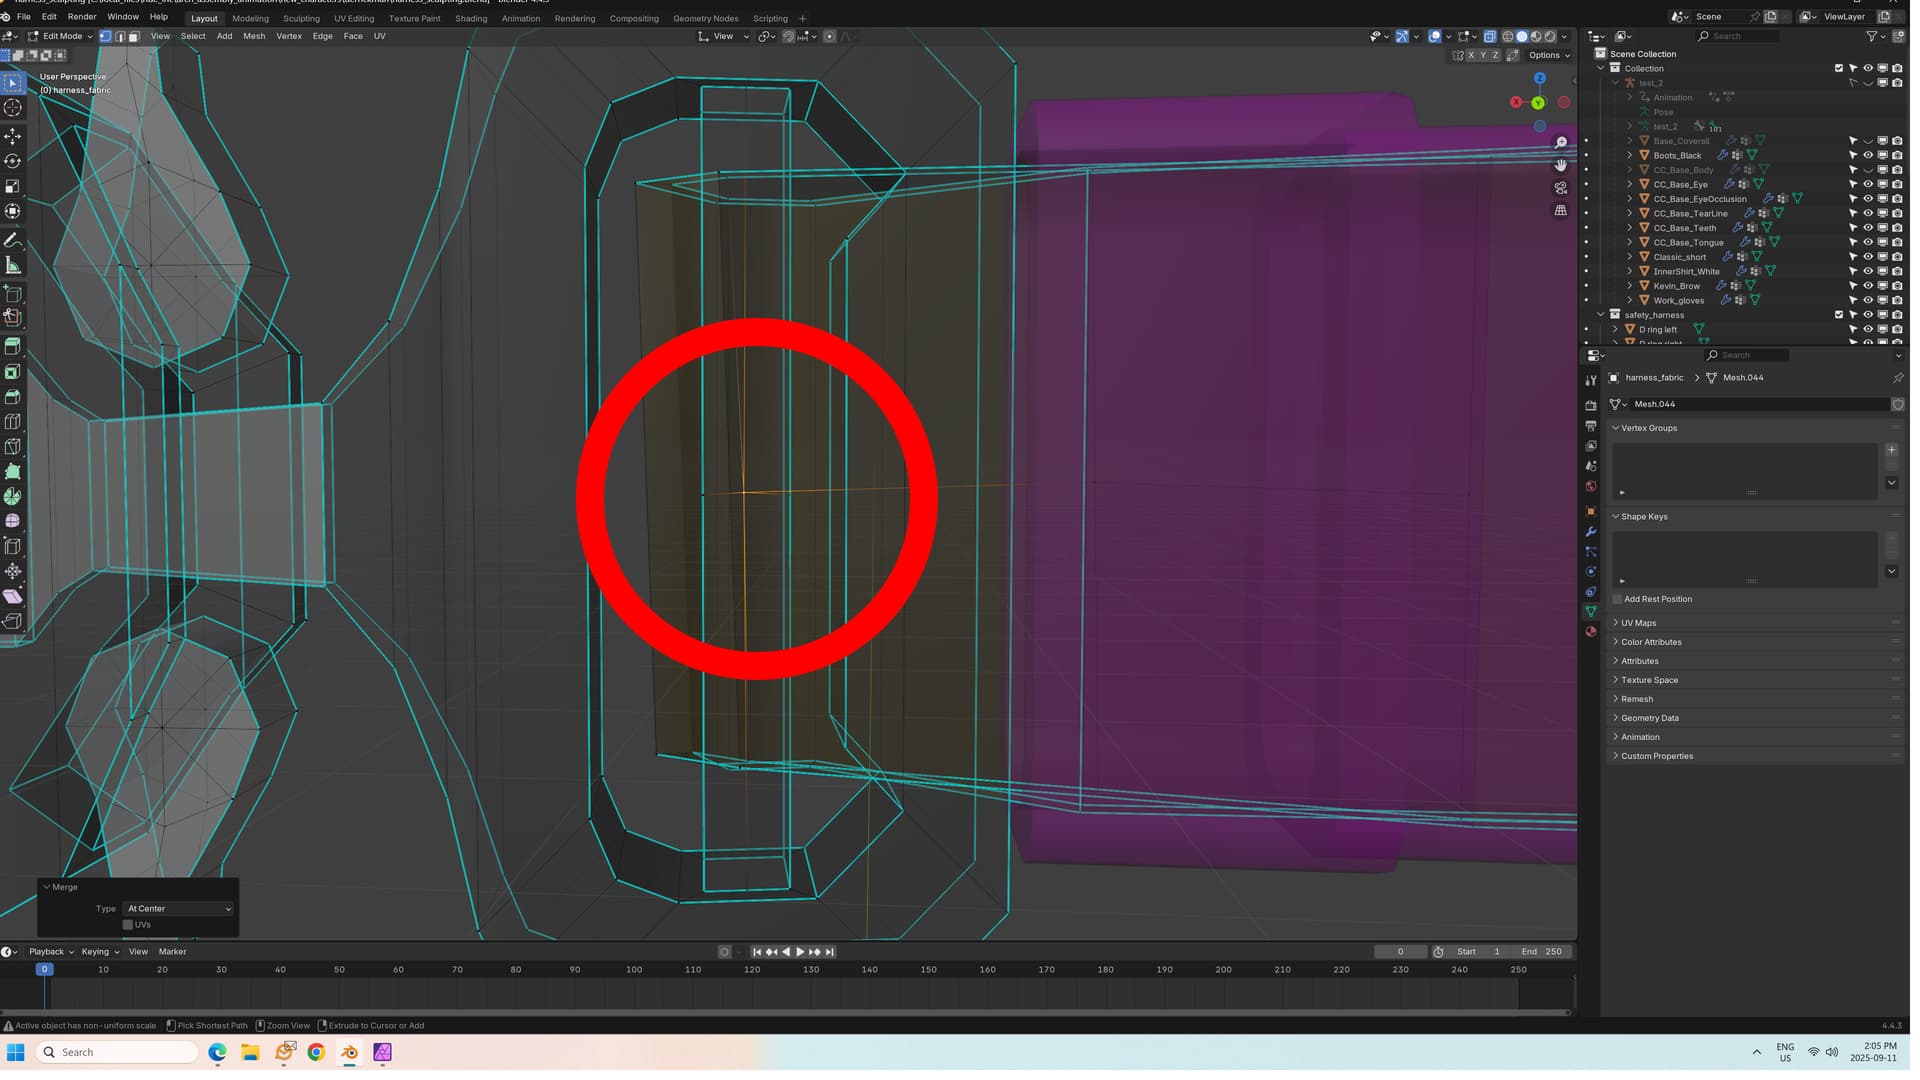
I ran into some problems, which I’ll relate, along with screen shots. I apologize in advance if some of the stuff I mention is too basic: I’m just learning how to use these tools.
I found that if I try to transfer skin weights to a complex mesh with non-contiguous objects, parts of the mesh tend to be left behind, or bind with weights too different to allow them to stay in place when animating. My first coveralls for this character were lazily built - with the reflective bands being separate meshes. They just stayed put at first, and though I tried painting weights in manually, I found it really difficult, and didnt’ seem to work well.
I ended up remaking the coveralls as a single mesh, and everything worked after that.
For the harness, I decided to try welding a single vertex between each separate part of the harness, so for example, if a buckle joined two straps, I would merge a single vertext on each end ot the buckle that corresponded to a vertex on the nearest strap. My reasoning was that the whole thing would be treated as a contiguous mesh, and the vertext weights would be more evenly spread.
This does mean that some rigid objects might deform slightly during animation - but I haven’t seen any really noticable distortion when testing the character after completing it.
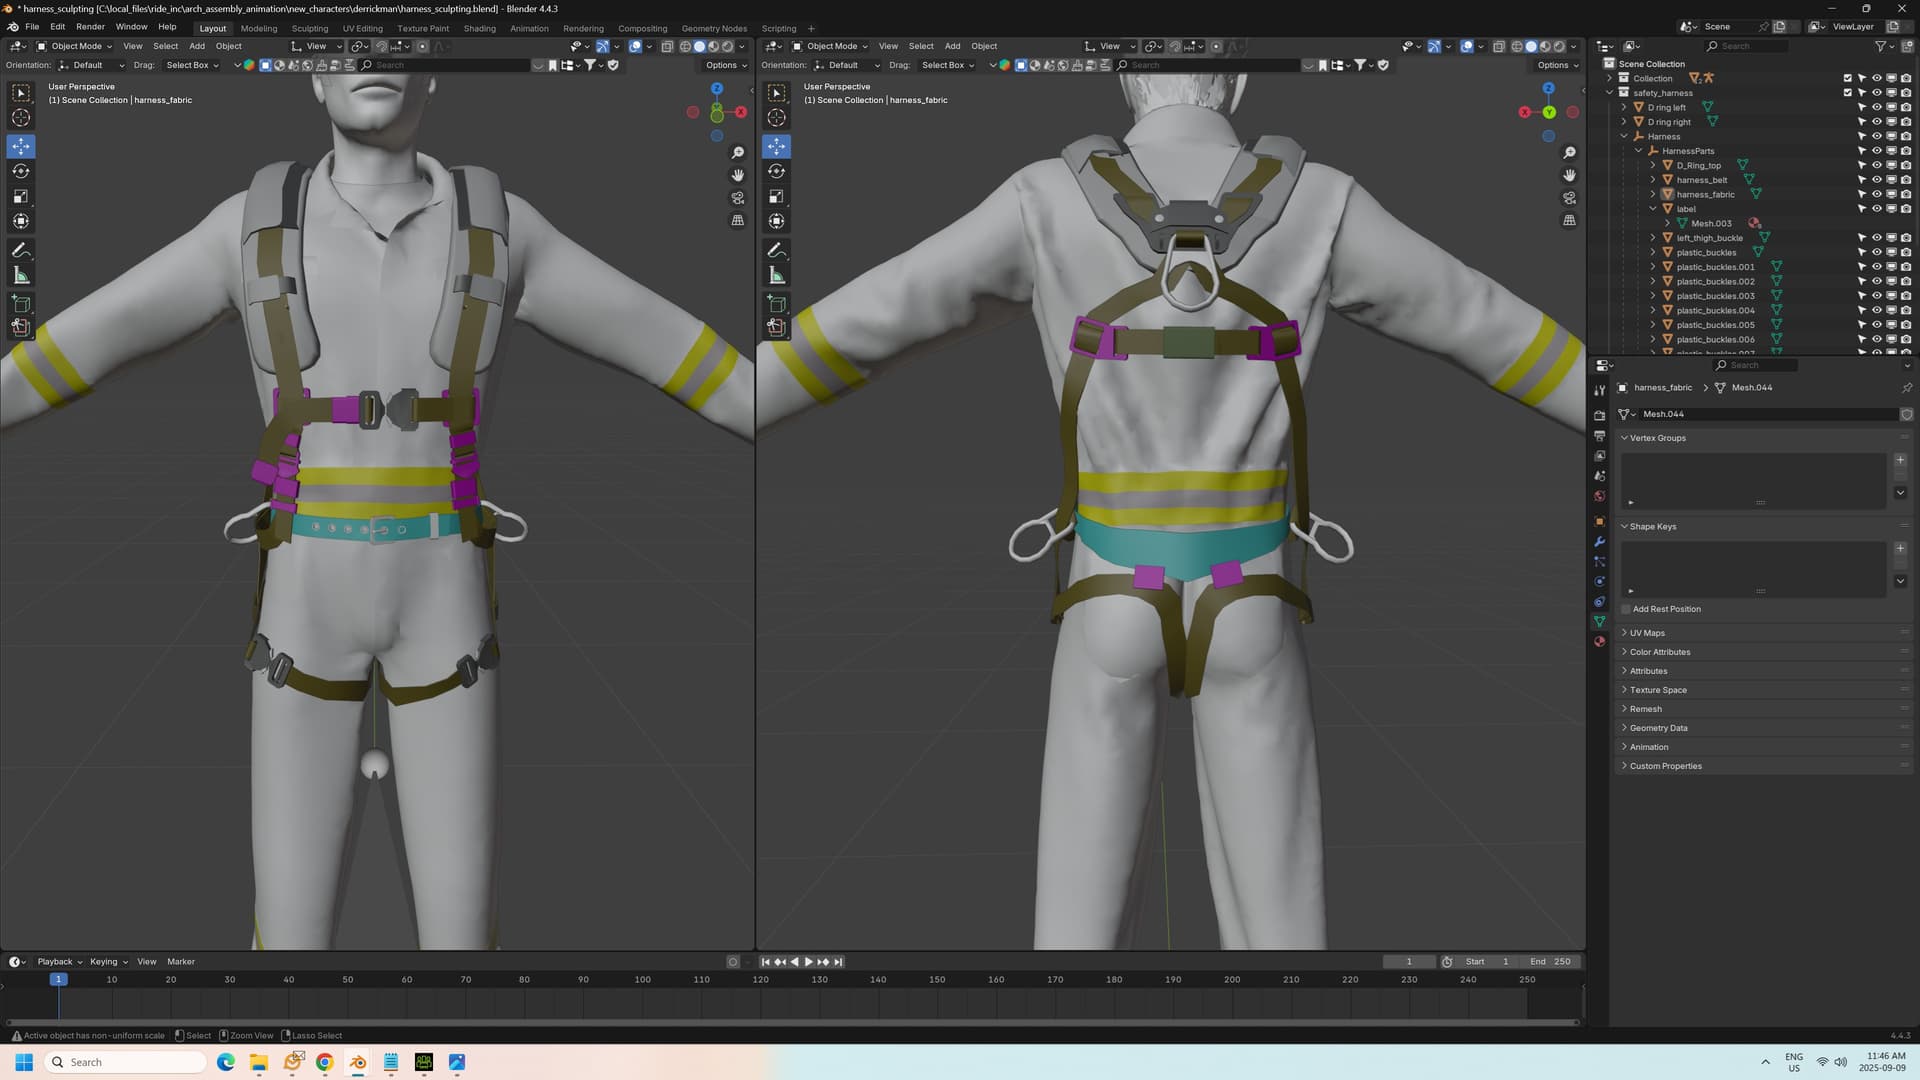
To start with, sculpt the underlying clothing mesh and porition all the parts as separate objects - to minimize the stretching and deformation that can happen during sculpting. We don’t want little details on rigid objects to get stretched or distorted while moving things around.
Then join the objects to the mesh one at a time, and look for good locations to make welds. In this example, I’m starting with the front buckle of the harness:
I look for places where any distortion of the faces caused by welding vertices won’t be too noticeable - here I selected the middle of the face where the strap wraps around the center of the buckle. I subdivided each face to provide me with vertices that are close enough that they won’t have to be moved much.
It can be tricky working this close up in the mesh. I will often hide intervening faces (select and press “H”), and toggle X-ray mode on and off so I can see what I’m doing. Swithching between vertex and face selection mode can be useful as well. I got to be good at using the vertex (“1” at the top of the keyboard) and face (“3”) shortcuts to flip back and forth.
I drag the two vertices as close as possible (“G” to grab), so there will be minimal stretching.
I then weld the vertices using the Merge tool (“Mesh>Merge>At Center”, or "M, then “A”).
Note that doing this will play holy heck with your UV maps - because you’re creating new geometry and merging vertices between different materials.
I made sure in advance that I had every face assigned to the appropriate material ID. I found that simply unwrapping and hoping for the best didn’t work any more.
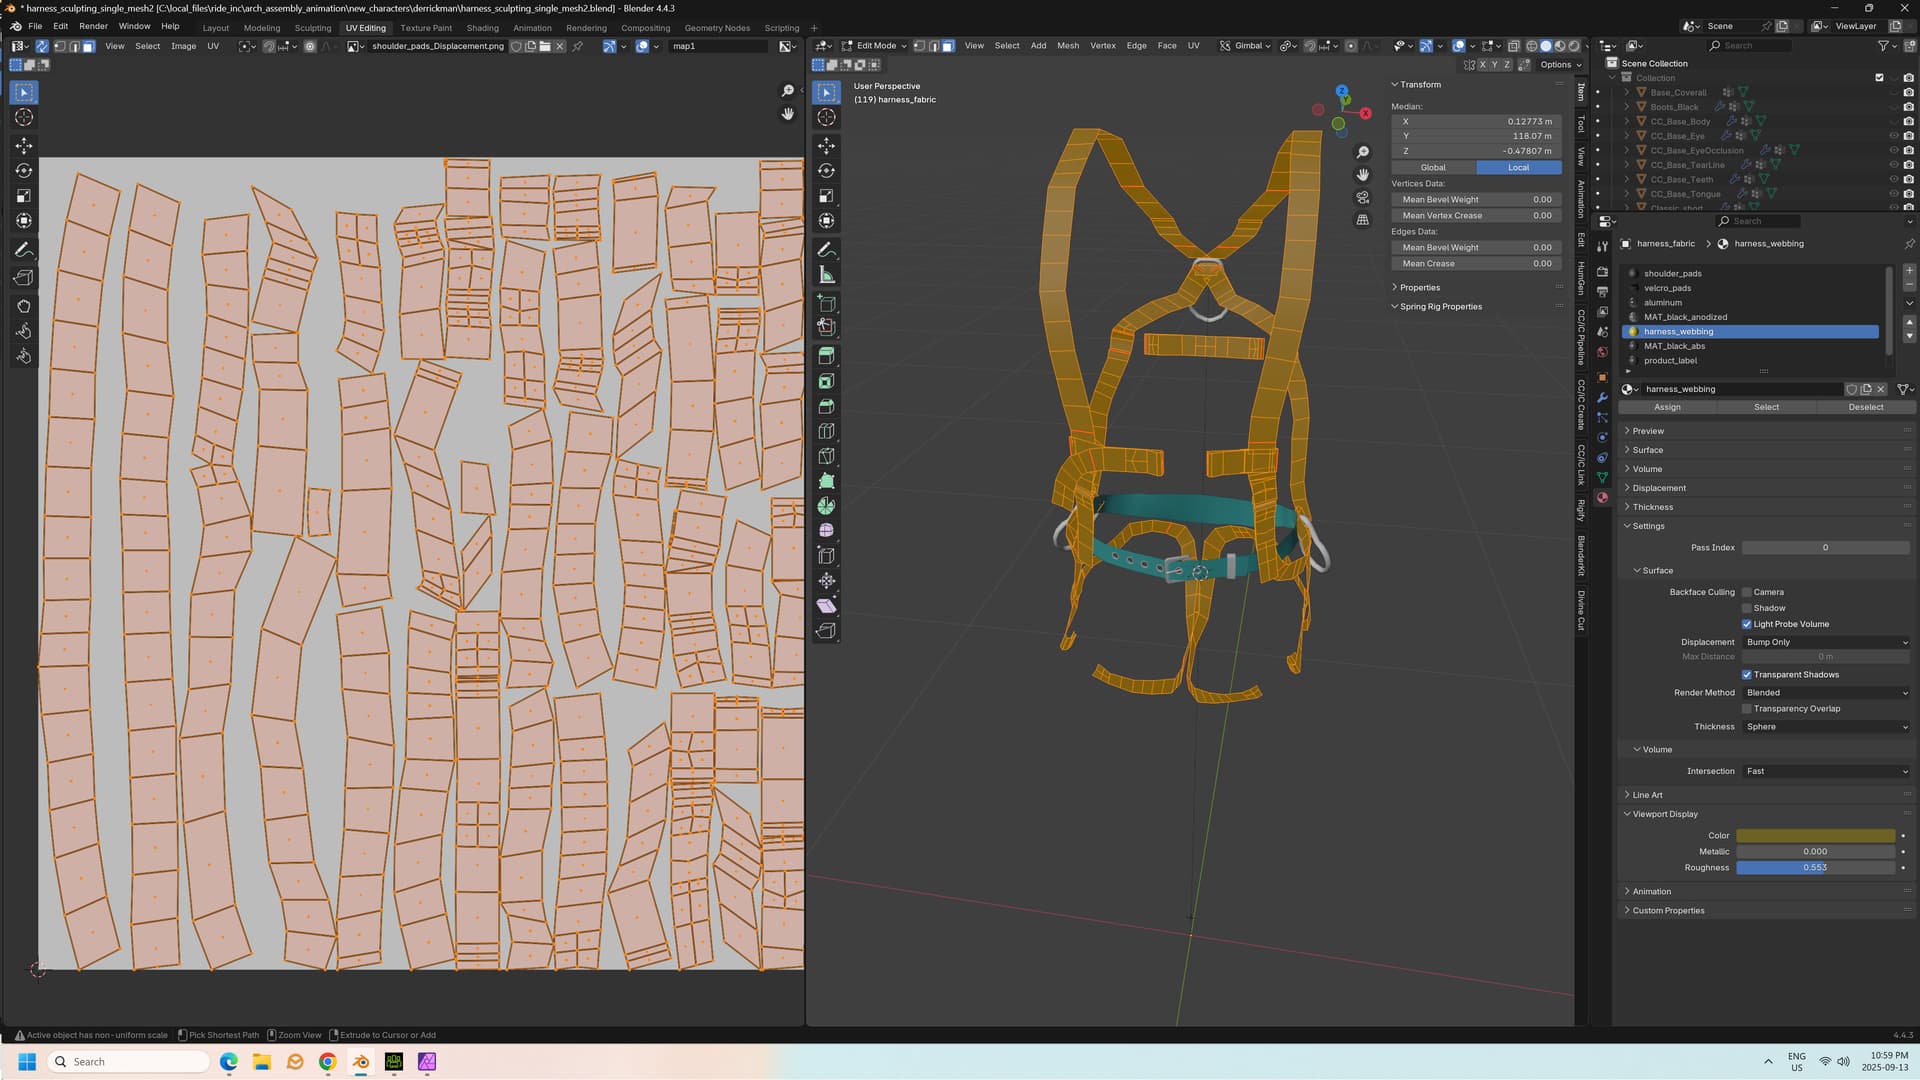
I ended up carefully marking seams where it made sense to unwrap them, and manually unwrapping all the faces for each material ID separately. This way it doesn’t matter if the islands overlap, and you can fill the map extents with each material.
I used a minimum stretch unwrap. Blender will complain that it can’t solve some islands in each case, because of the vertices you welded that now belong in two separate places on the mesh. However if you use the full extents of the map for each material and use the same unwrapping algorithgm for each material, this works remarkably well.
To help see what I’m doing, I hide all of the materials except for the one I’m working on. The final UV map will be an unholy mess of overlapping islands, but this doesn’t seem to make any difference to the final result.
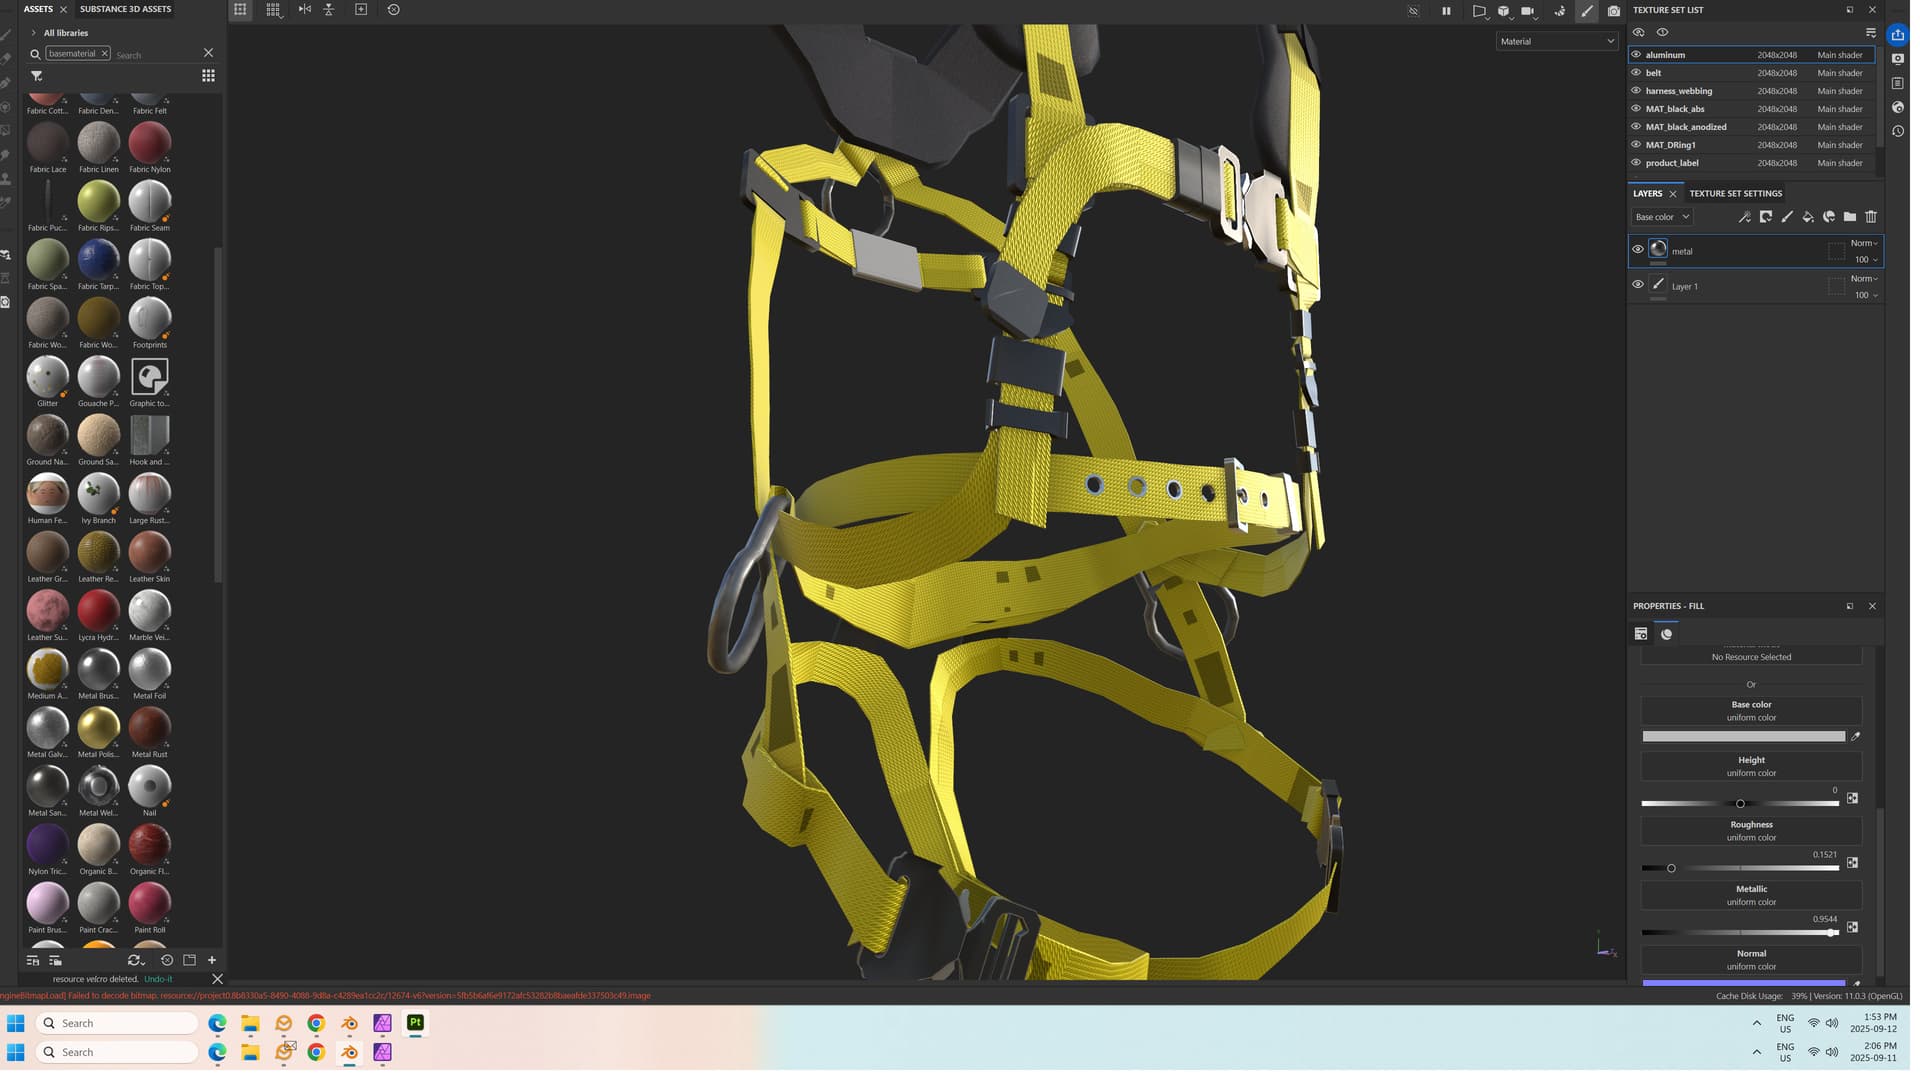
I then exported my mesh as an .fbx file and brought it into Substance Painter for texturing. Here’s where I ran into problems. The issue wasn’t the welded vertices or the overlapping UV islands, but the mesh itself. I had started with someone else’s mesh, and they had applied a solidify modifier to the straps, then sculpted them. All of these faces very close together resulted in overlapping normals that caused rendering issues.
You can see all of these odd-looking dark squares when you attempt to texture the mesh.
I spent hours manually deleting hundreds of faces so each strap was simply a single mesh only one face thick. Character Creator seems to do better transfering skin weights to a mesh like this anyway, and I can apply a solidify modifier to the strap material in the final render.
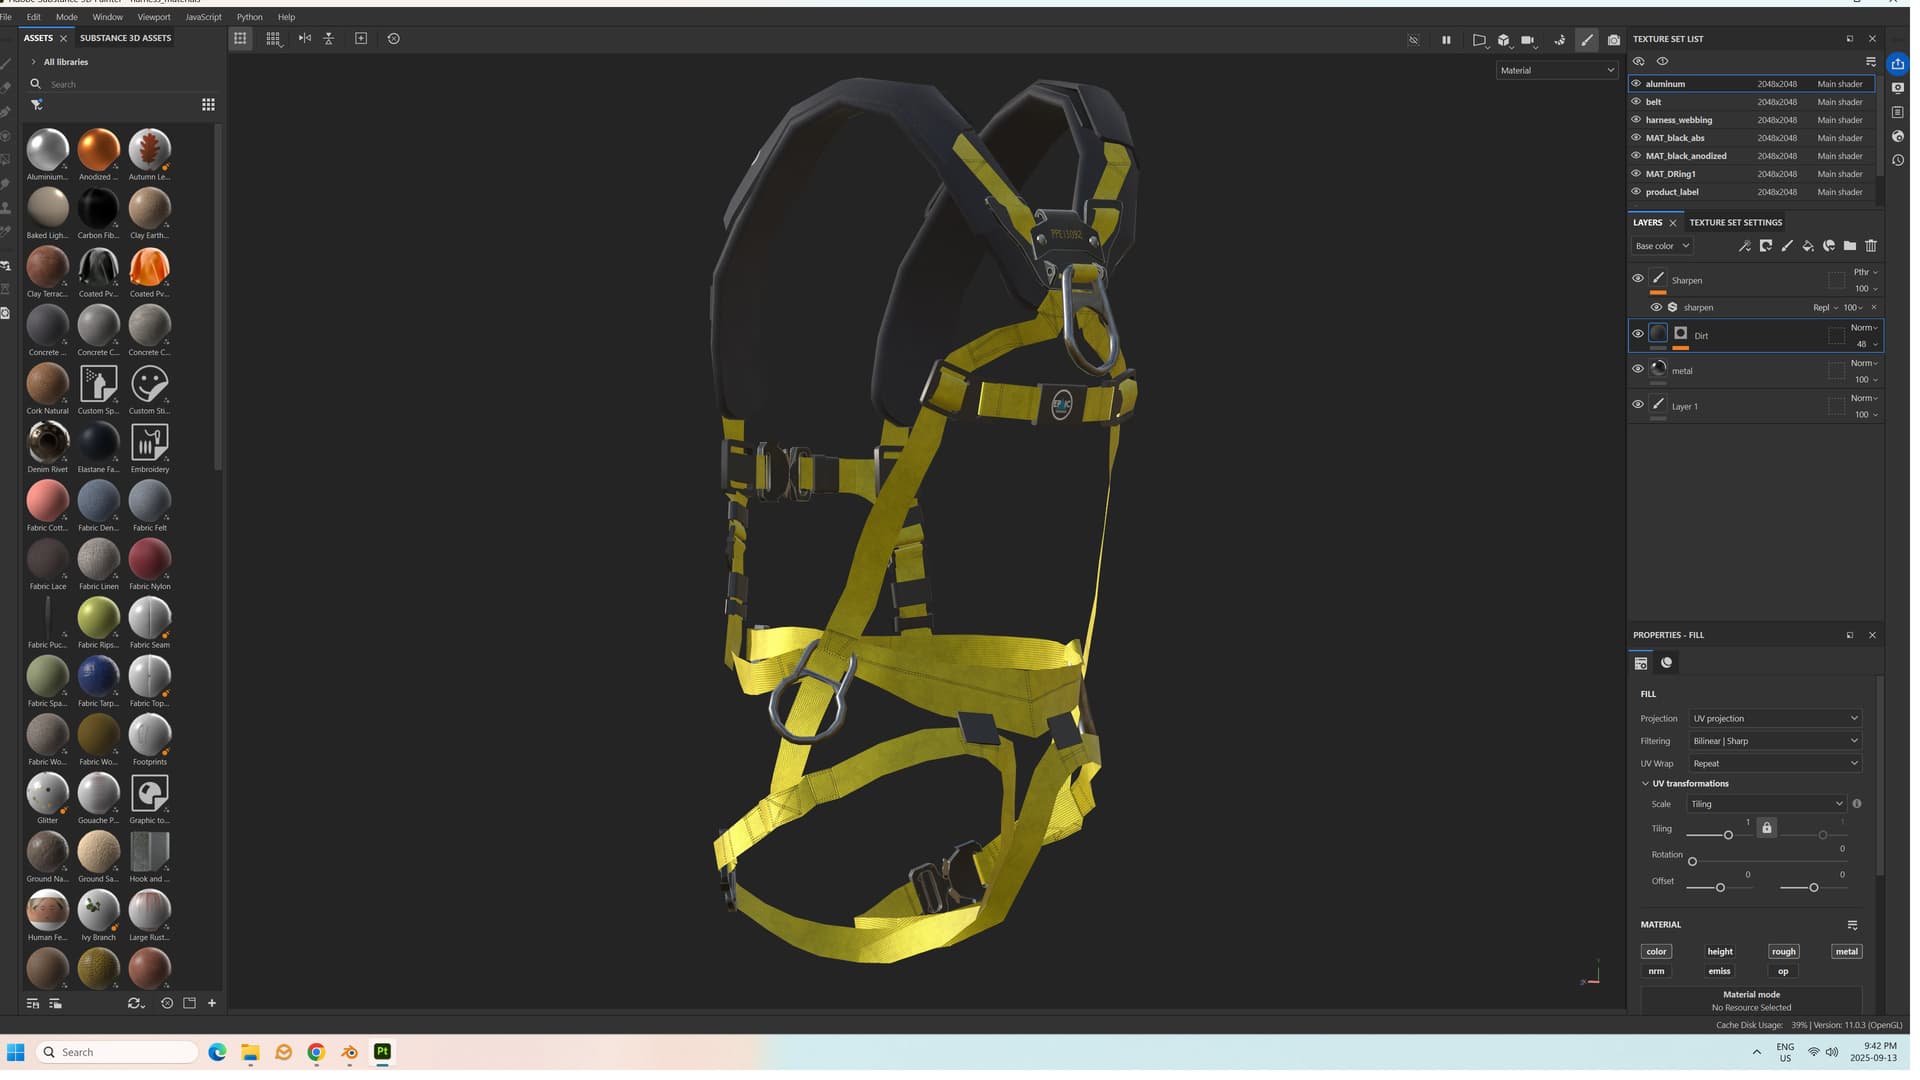
This didn’t completely fix the problem: I discovered there’s also an issue with substance painter creating artifacts when baking ambient occlusion with some NVidia GPUs.
I suggest simply deleting the ambient occlusion maps from your materials if you are using substance painter. It doesn’t really make sense for harnesses and other accessories that are worn around a body in any case.
I finished texturing the model, and then brought it back into Blender for export into Character Creator.
When I imported the mesh into Character Creator I discovered another issue: when I textured my coveralls, I baked the textures to jpegs, because they were 4K textures. I had to mess around re-linking all the texture files but they worked in Character Creator.
Here, because I was only using 2K textures, I baked them as pngs, an discovered that Character Creator seems to have trouble reading them. Even after I relinked all the texture files, it insisted on displaying the vertex colors instead of the diffuse maps. At this point, I didn’t care: they look fine in Blender.
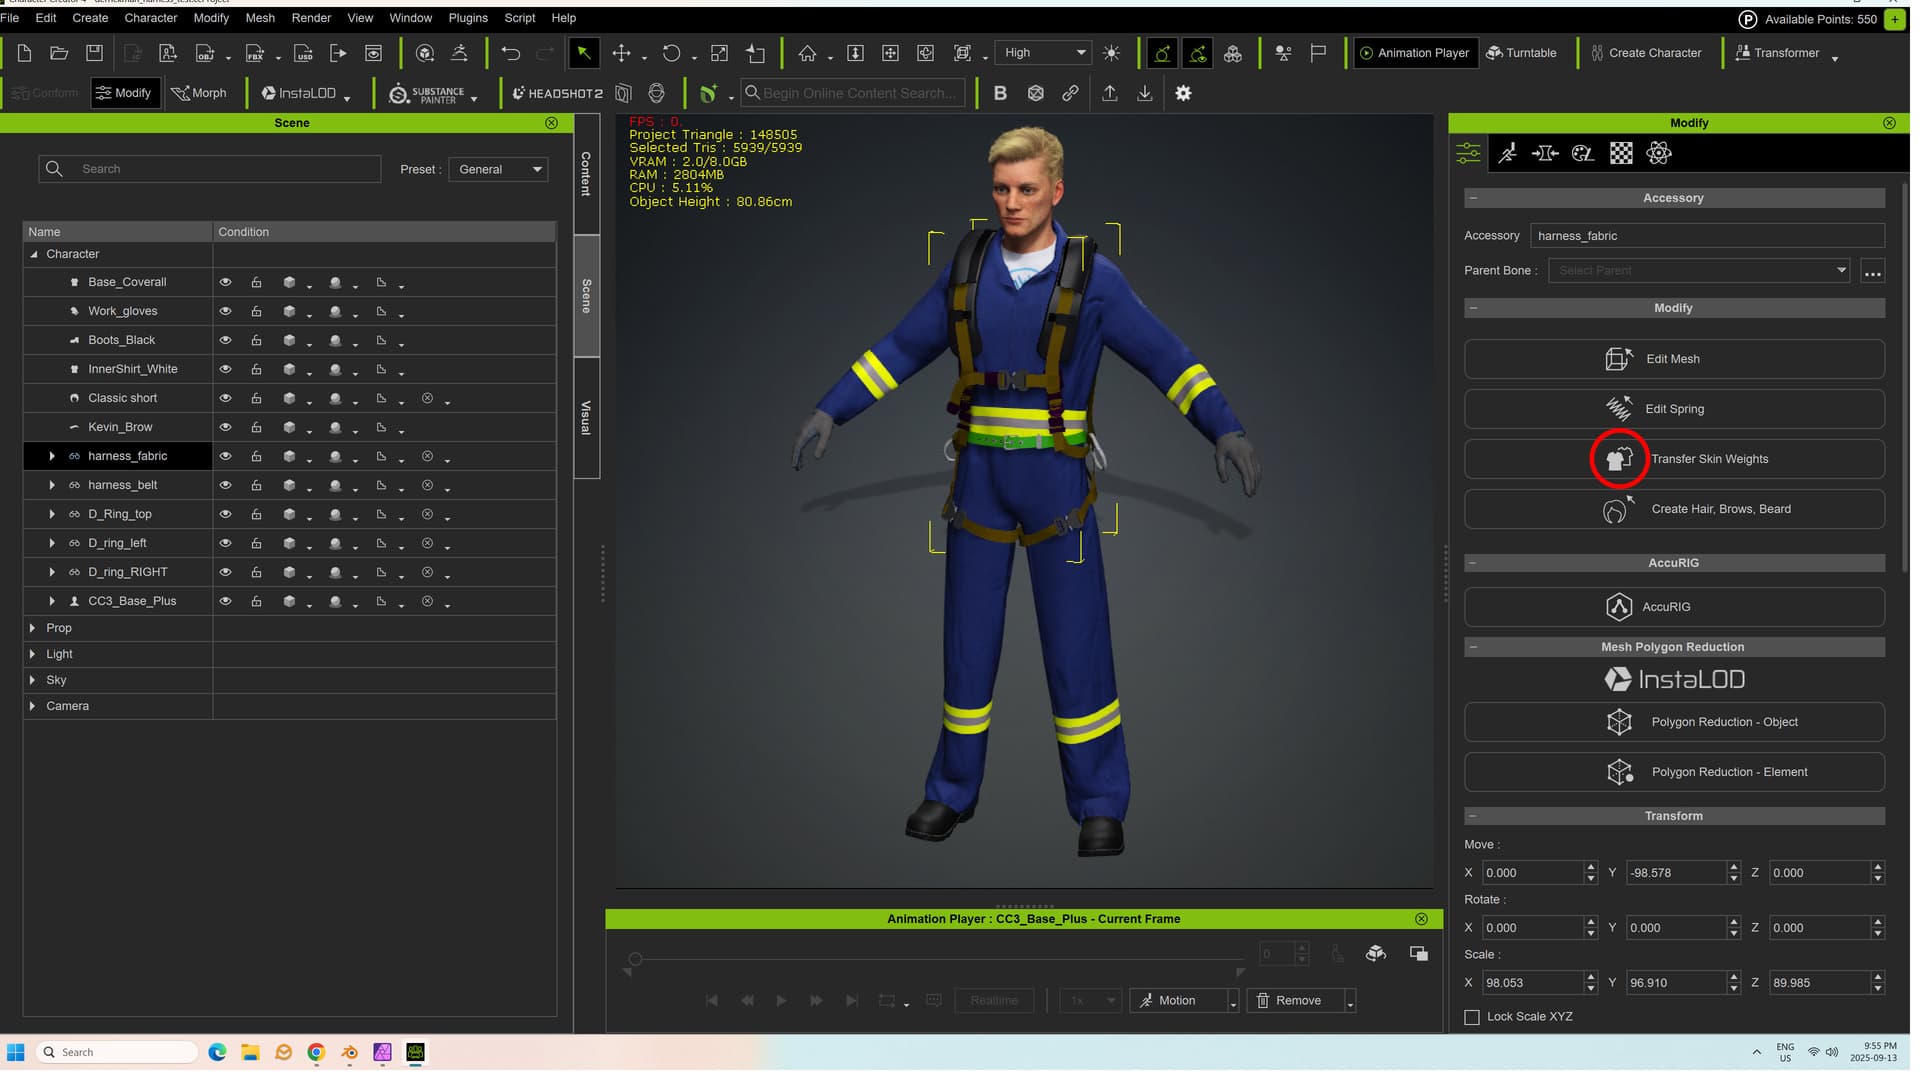
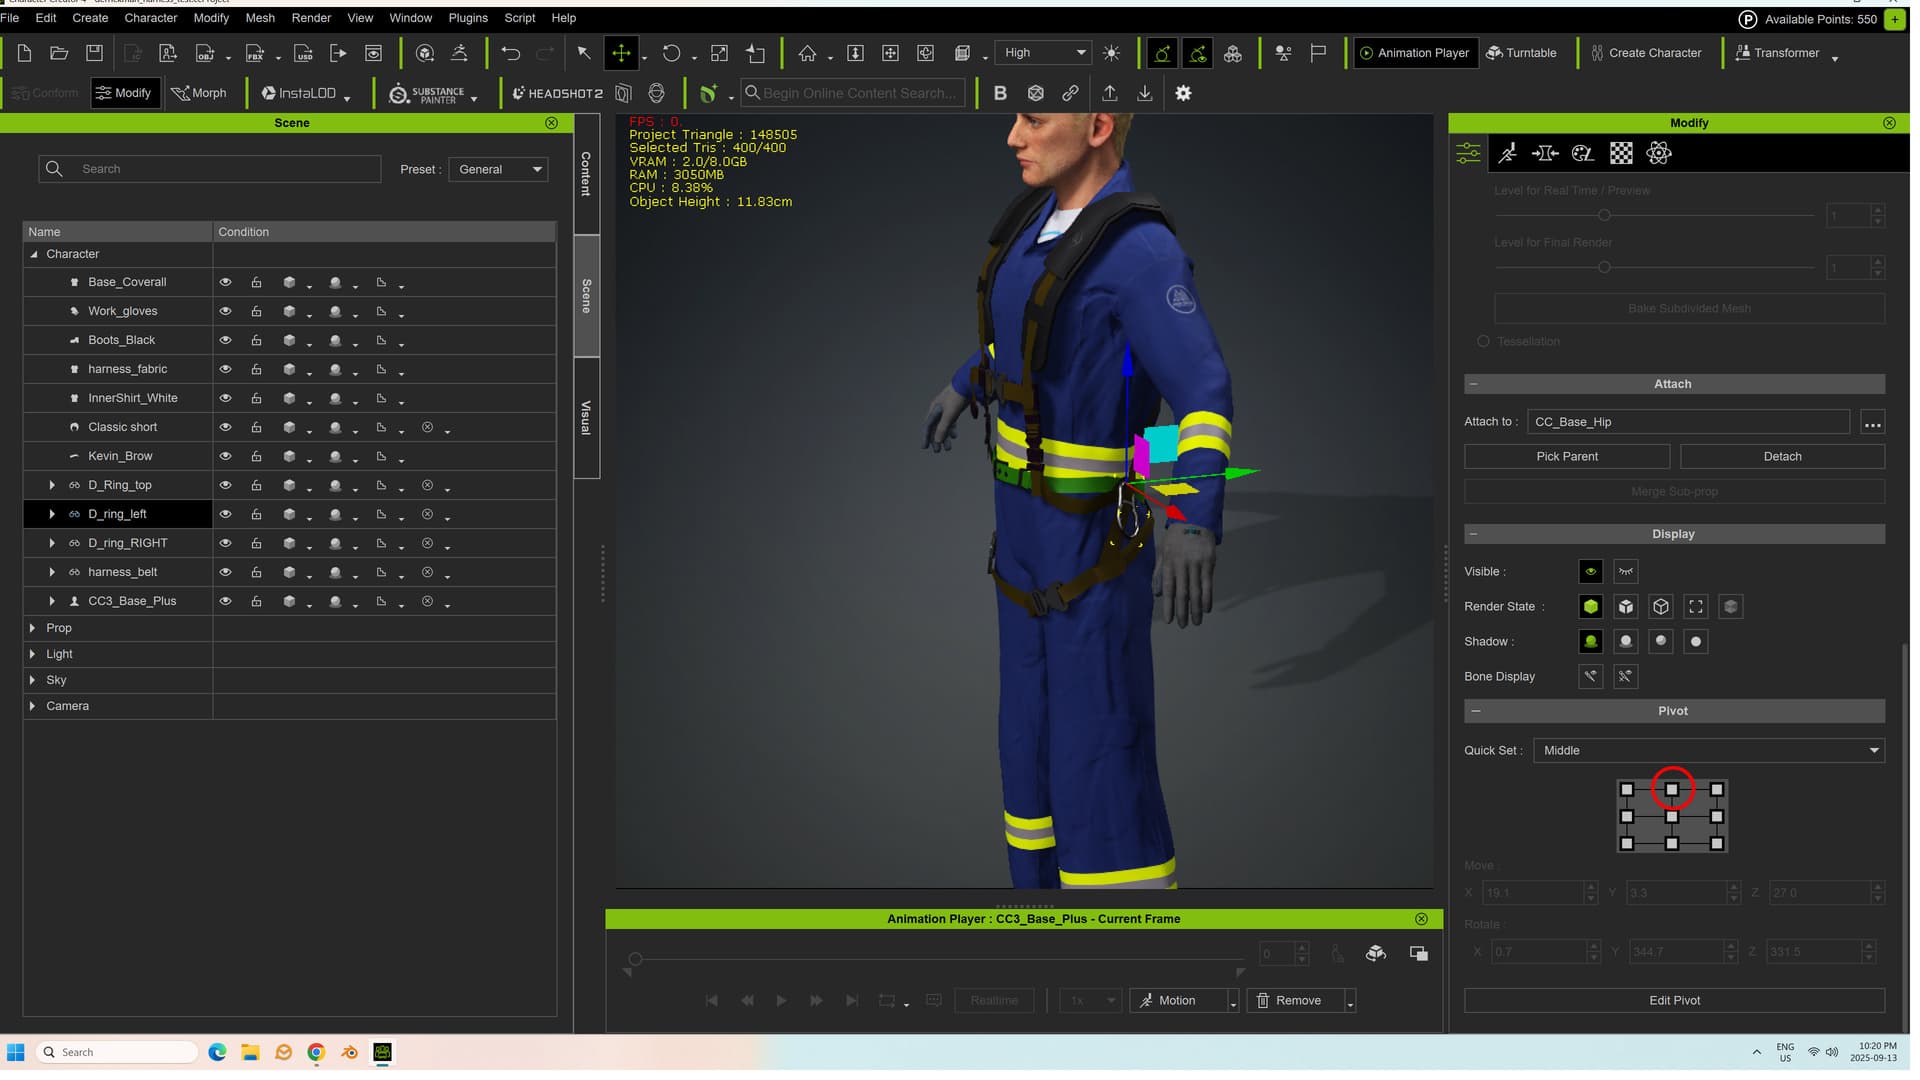
I exported the waist belt, harness, and D-Rings as separate meshes, and used the “Create Accessory” function to bring them in to Character Creator.
Even though the waist belt and harness are supposed to be connected, I felt it would work better if the belt was connected a the pelvis bone like a regular belt accessory. I used the “Transfer Skin Weights function” to convert the rest of the harness into a cloth accessory.
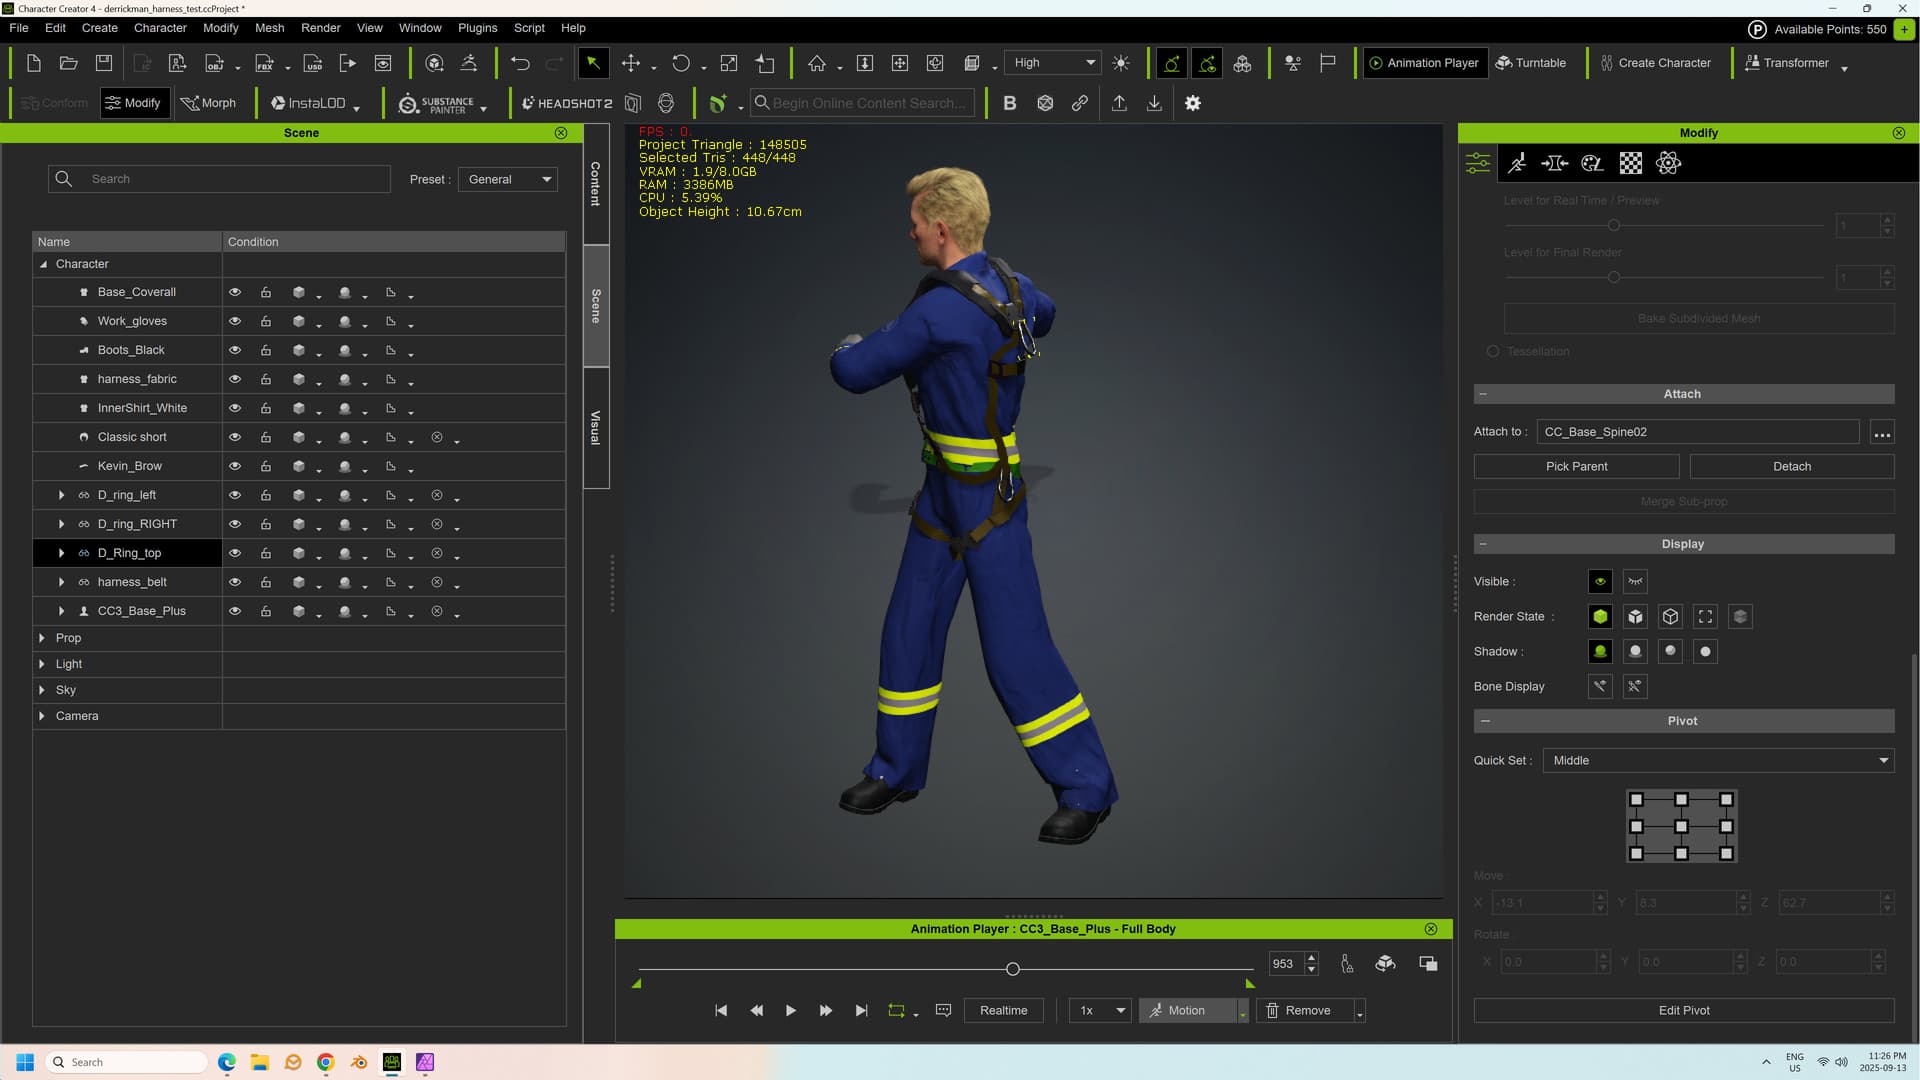
The belt and D-rings had already attached themselves to bones as accessories. I simply had to link the belt to the pelvis instead of the hip, and update the parent bones and pivot points on each object.
I then ran some animations to test how well everything conformed. It seems to be pretty good.
 I’ll follow up with a couple of posts and screenshots a little later today.