Hello everyone! This is your contest host Eric. Today, I’m excited to share Prosenjit Biswas’s workflow as a demonstration for the 2D Animation Contest. When submitting your entries, don’t forget to include a working progress video! For more information, please visit the contest rules page.
Prosenjit Biswas is a freelancer from India, and he has been obsessed with animation, superheroes, and anime since he was a kid. That passion led him to become a 2D animator. He also teaches digital graphic design at his local school, helping aspiring animators and educators create fun educational content
- Storyboarding
For complex animation projects, storyboarding is essential for him. It helps him plan camera angles and character interactions. For simpler animations, he might skip it, but it’s still handy for the detailed work. He uses Clip Studio Paint for storyboarding and composites in Filmora, but he can use any drawing tool or even pen and paper!
[YouTube]https://www.youtube.com/watch?v=5pD2PzObD94[/YouTube]
- Sene making
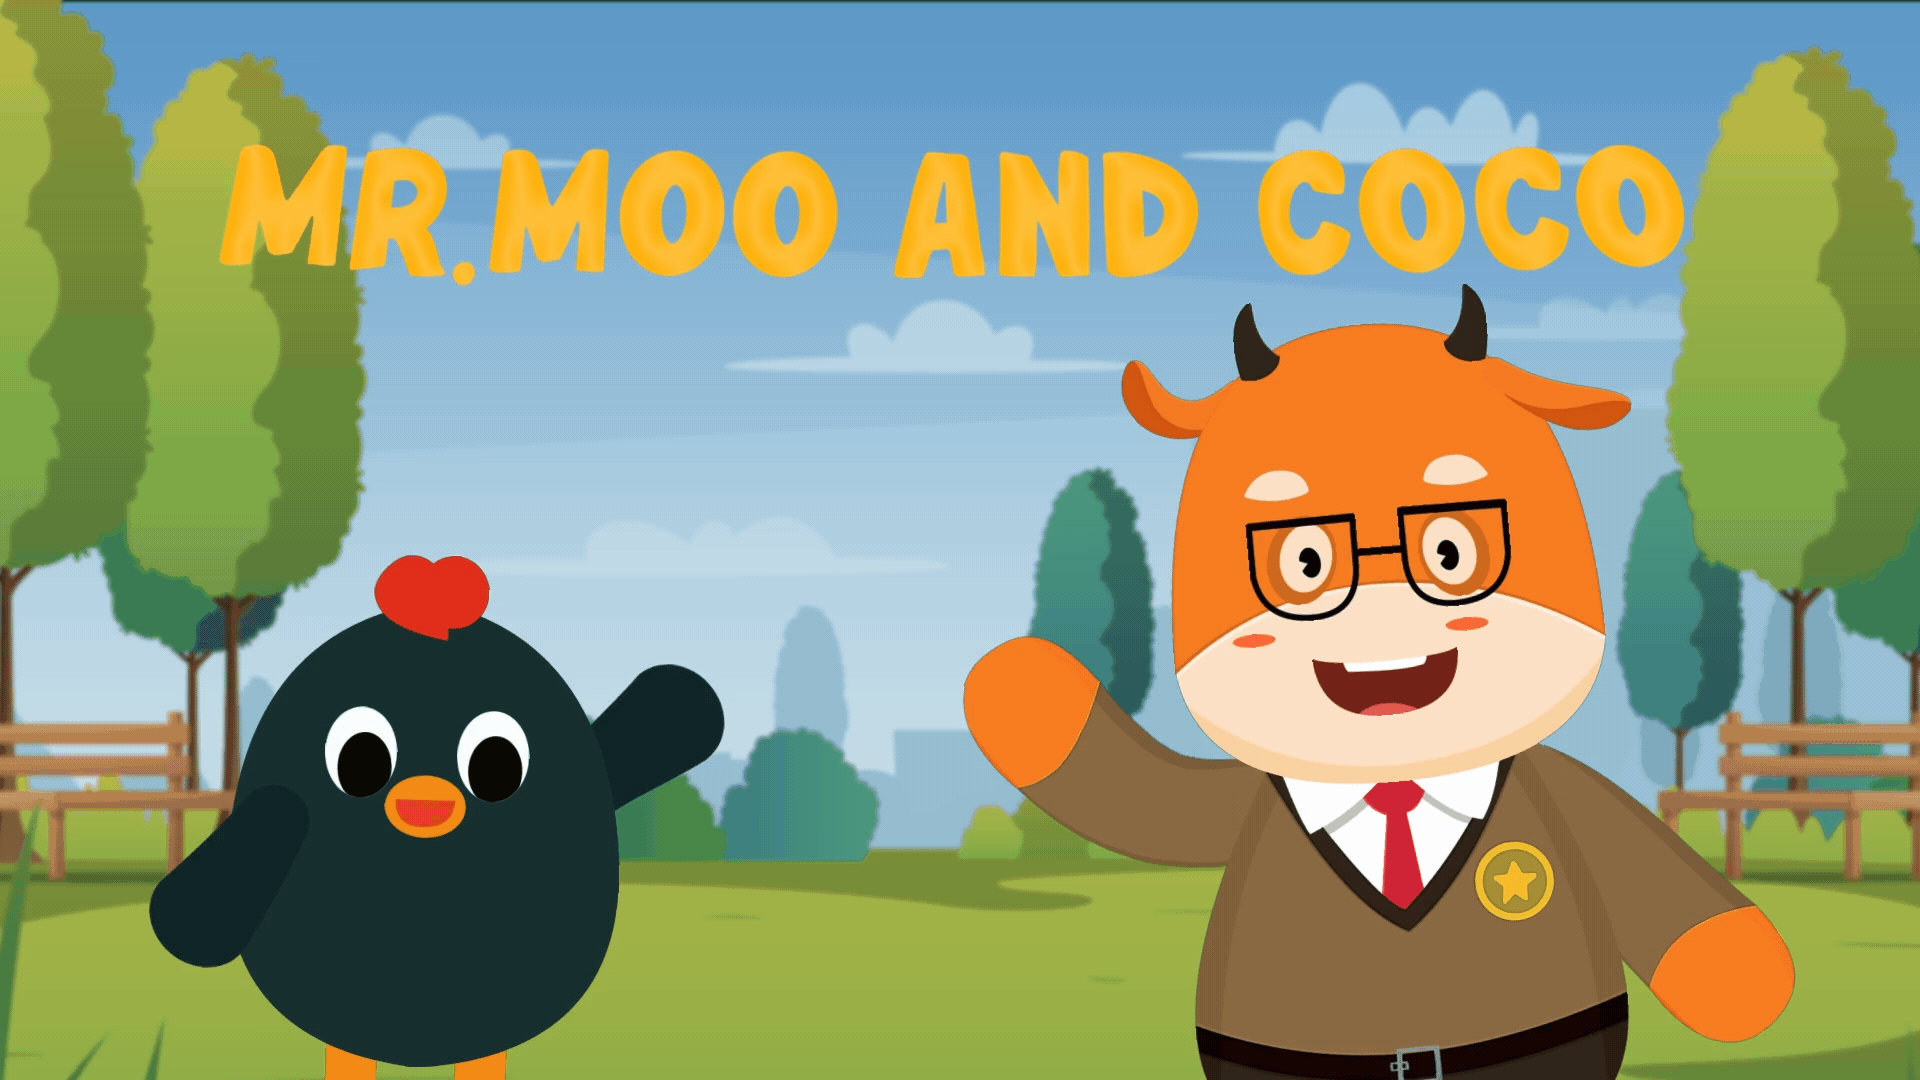
He starts by designing his scenes in a layered PSD file and then imports it into Cartoon Animator. The PSD layers become manageable scene elements in CTA, allowing him to arrange them with Z-depth easily. This way, he can achieve stunning 3D parallax effects using animated cameras!

- Character design
He sketches his characters in Clip Studio Paint, starting with simple lines and adding details. He pays close attention to the hand and leg joints to keep them easy to animate. For coloring, he uses the Adobe Color website to choose his palette since colors set the mood.
After coloring, he places the character on a premade template and organizes the layers. He adjusts the bones, especially the hip joint, which is key for movement. Finally, he double-checks the bone names and exports everything as a PSD file!
- Head Turn
The 360 Head Turn makes 2D art feel like 3D, allowing for up to 360 degrees of motion that brings characters to life in a dynamic way. Plus, it has Photoshop round-trip integration, so he can edit multi-angle characters back and forth with the 360 Head Creator. It’s super handy for creating engaging performances!
- Animation
For some scenes, he uses premade walk motions, but mostly he creates custom motions. Using the IK (Inverse Kinematics) and FK (Forward Kinematics) features, along with the End Effector, he places keyframes to pose the character, then applies easy ease to the character and adjusts the timing.
[YouTube]https://www.youtube.com/watch?v=9Aj9E6b-3YY[/YouTube]
[YouTube]https://www.youtube.com/watch?v=X8hREQVZJLk[/YouTube]
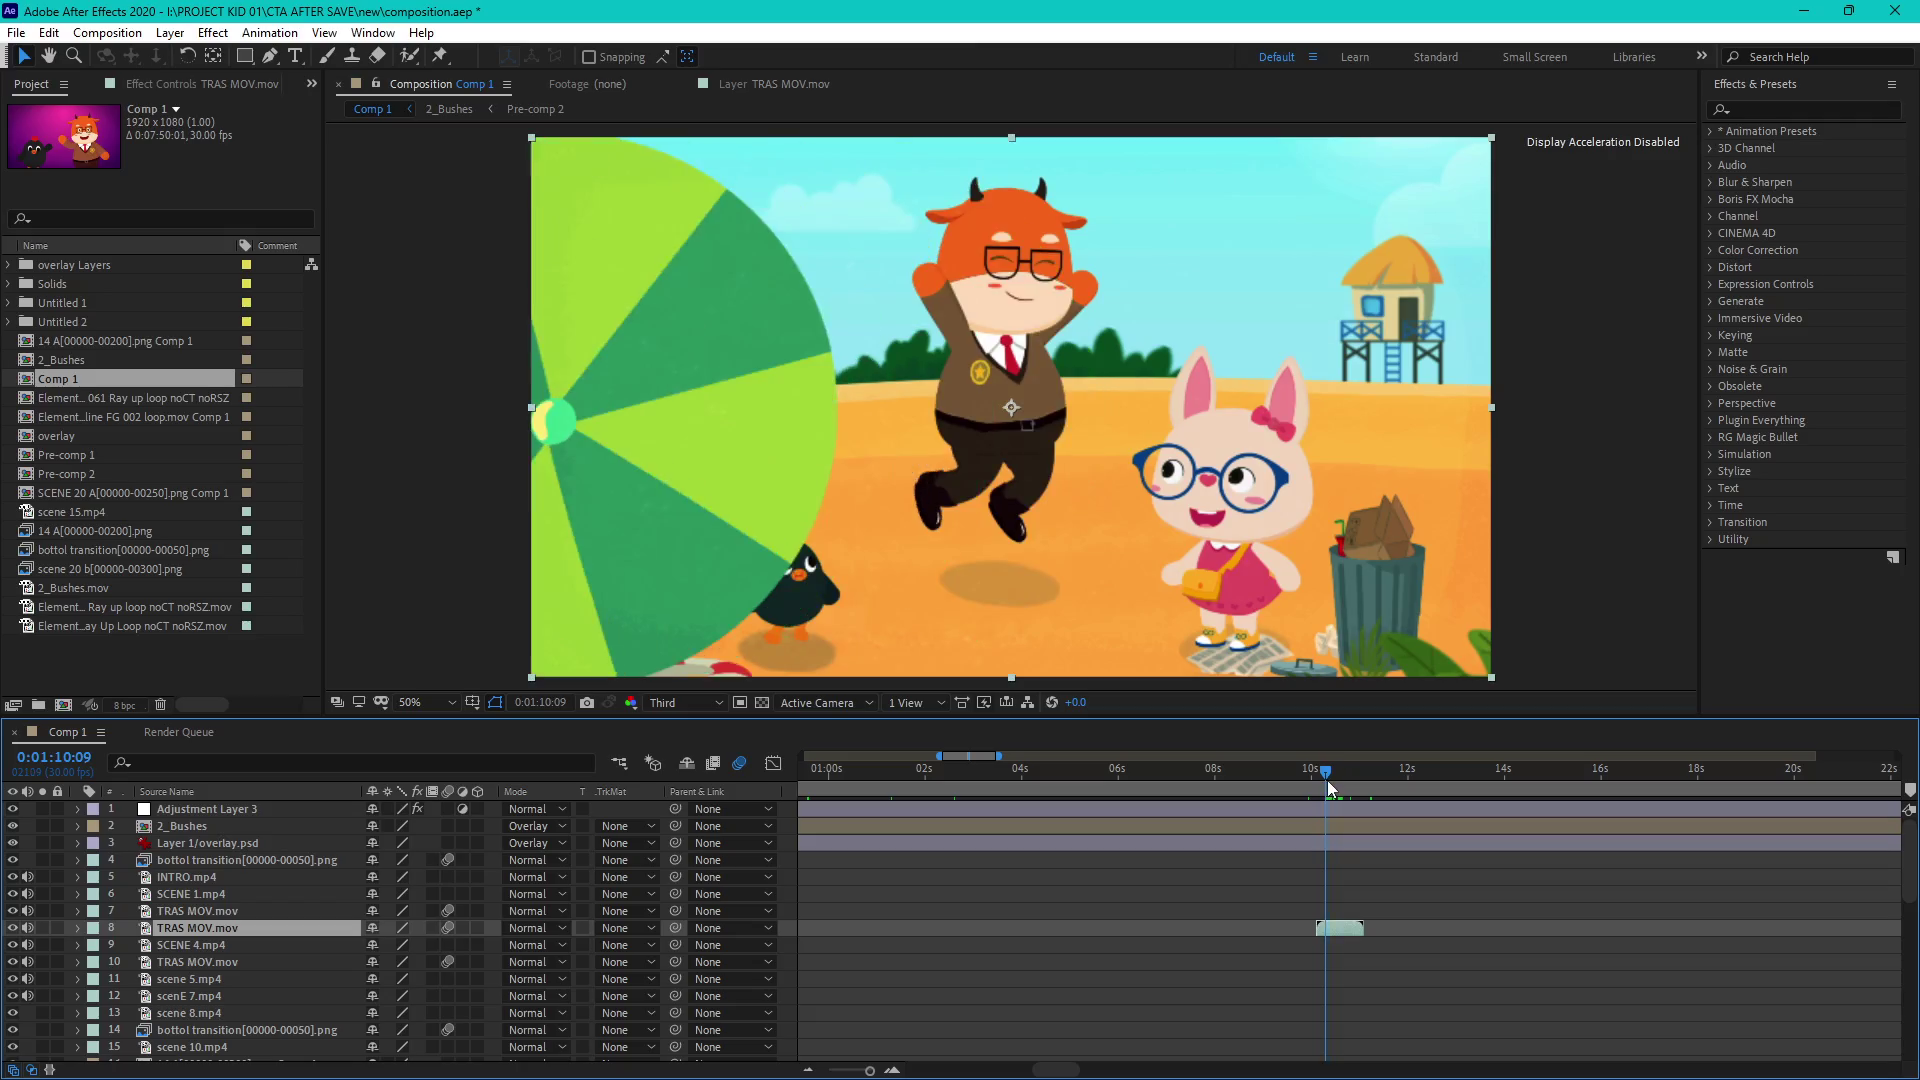
- Compositing
When all scenes are ready, he brings them into After Effects. There, he adds various effects, transitions, masking, and time remapping. After applying these enhancements, he exports the final render.
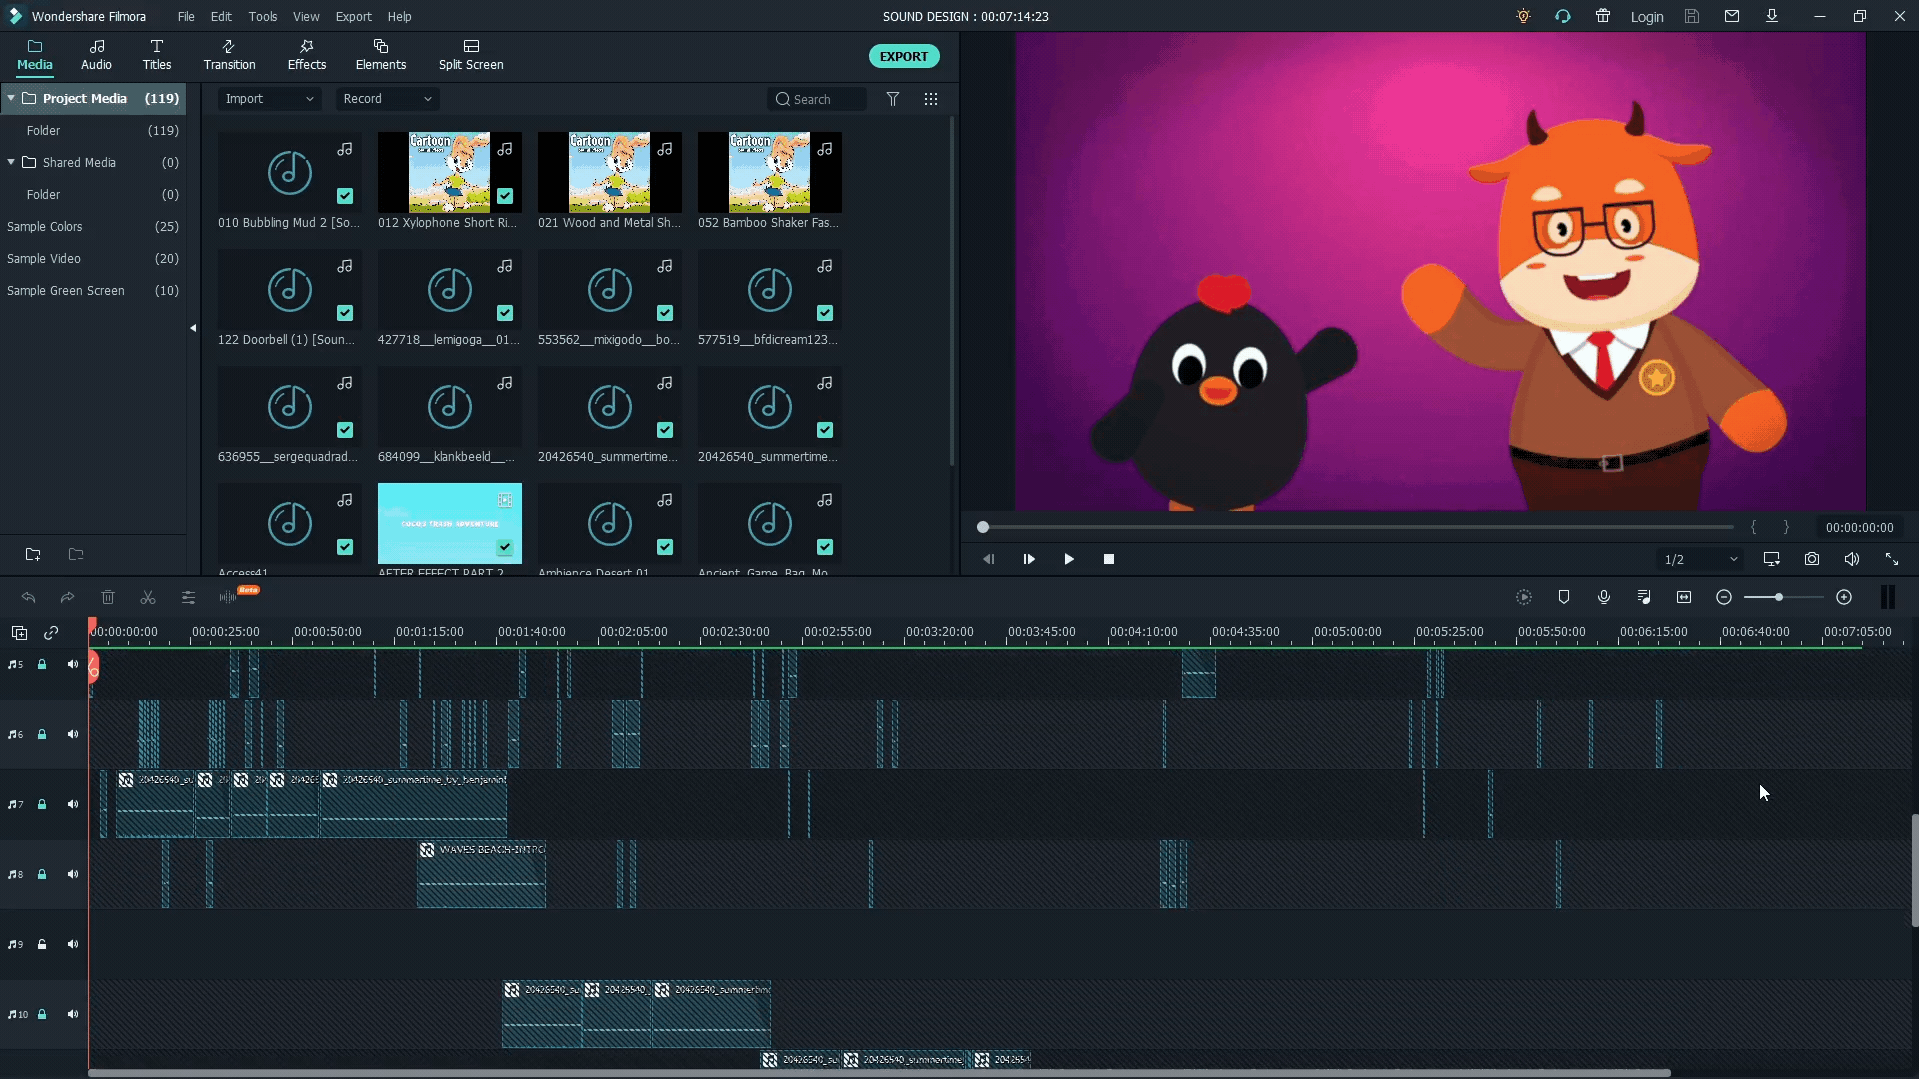
- Sound design
The final video is then imported into Filmora, where he adds all the necessary sound effects and voiceovers. He also includes an intro and end credits before exporting the final file. There are many websites where he can collect sounds, such as YouTube Studio and FreeSound.com.