Hello everyone,
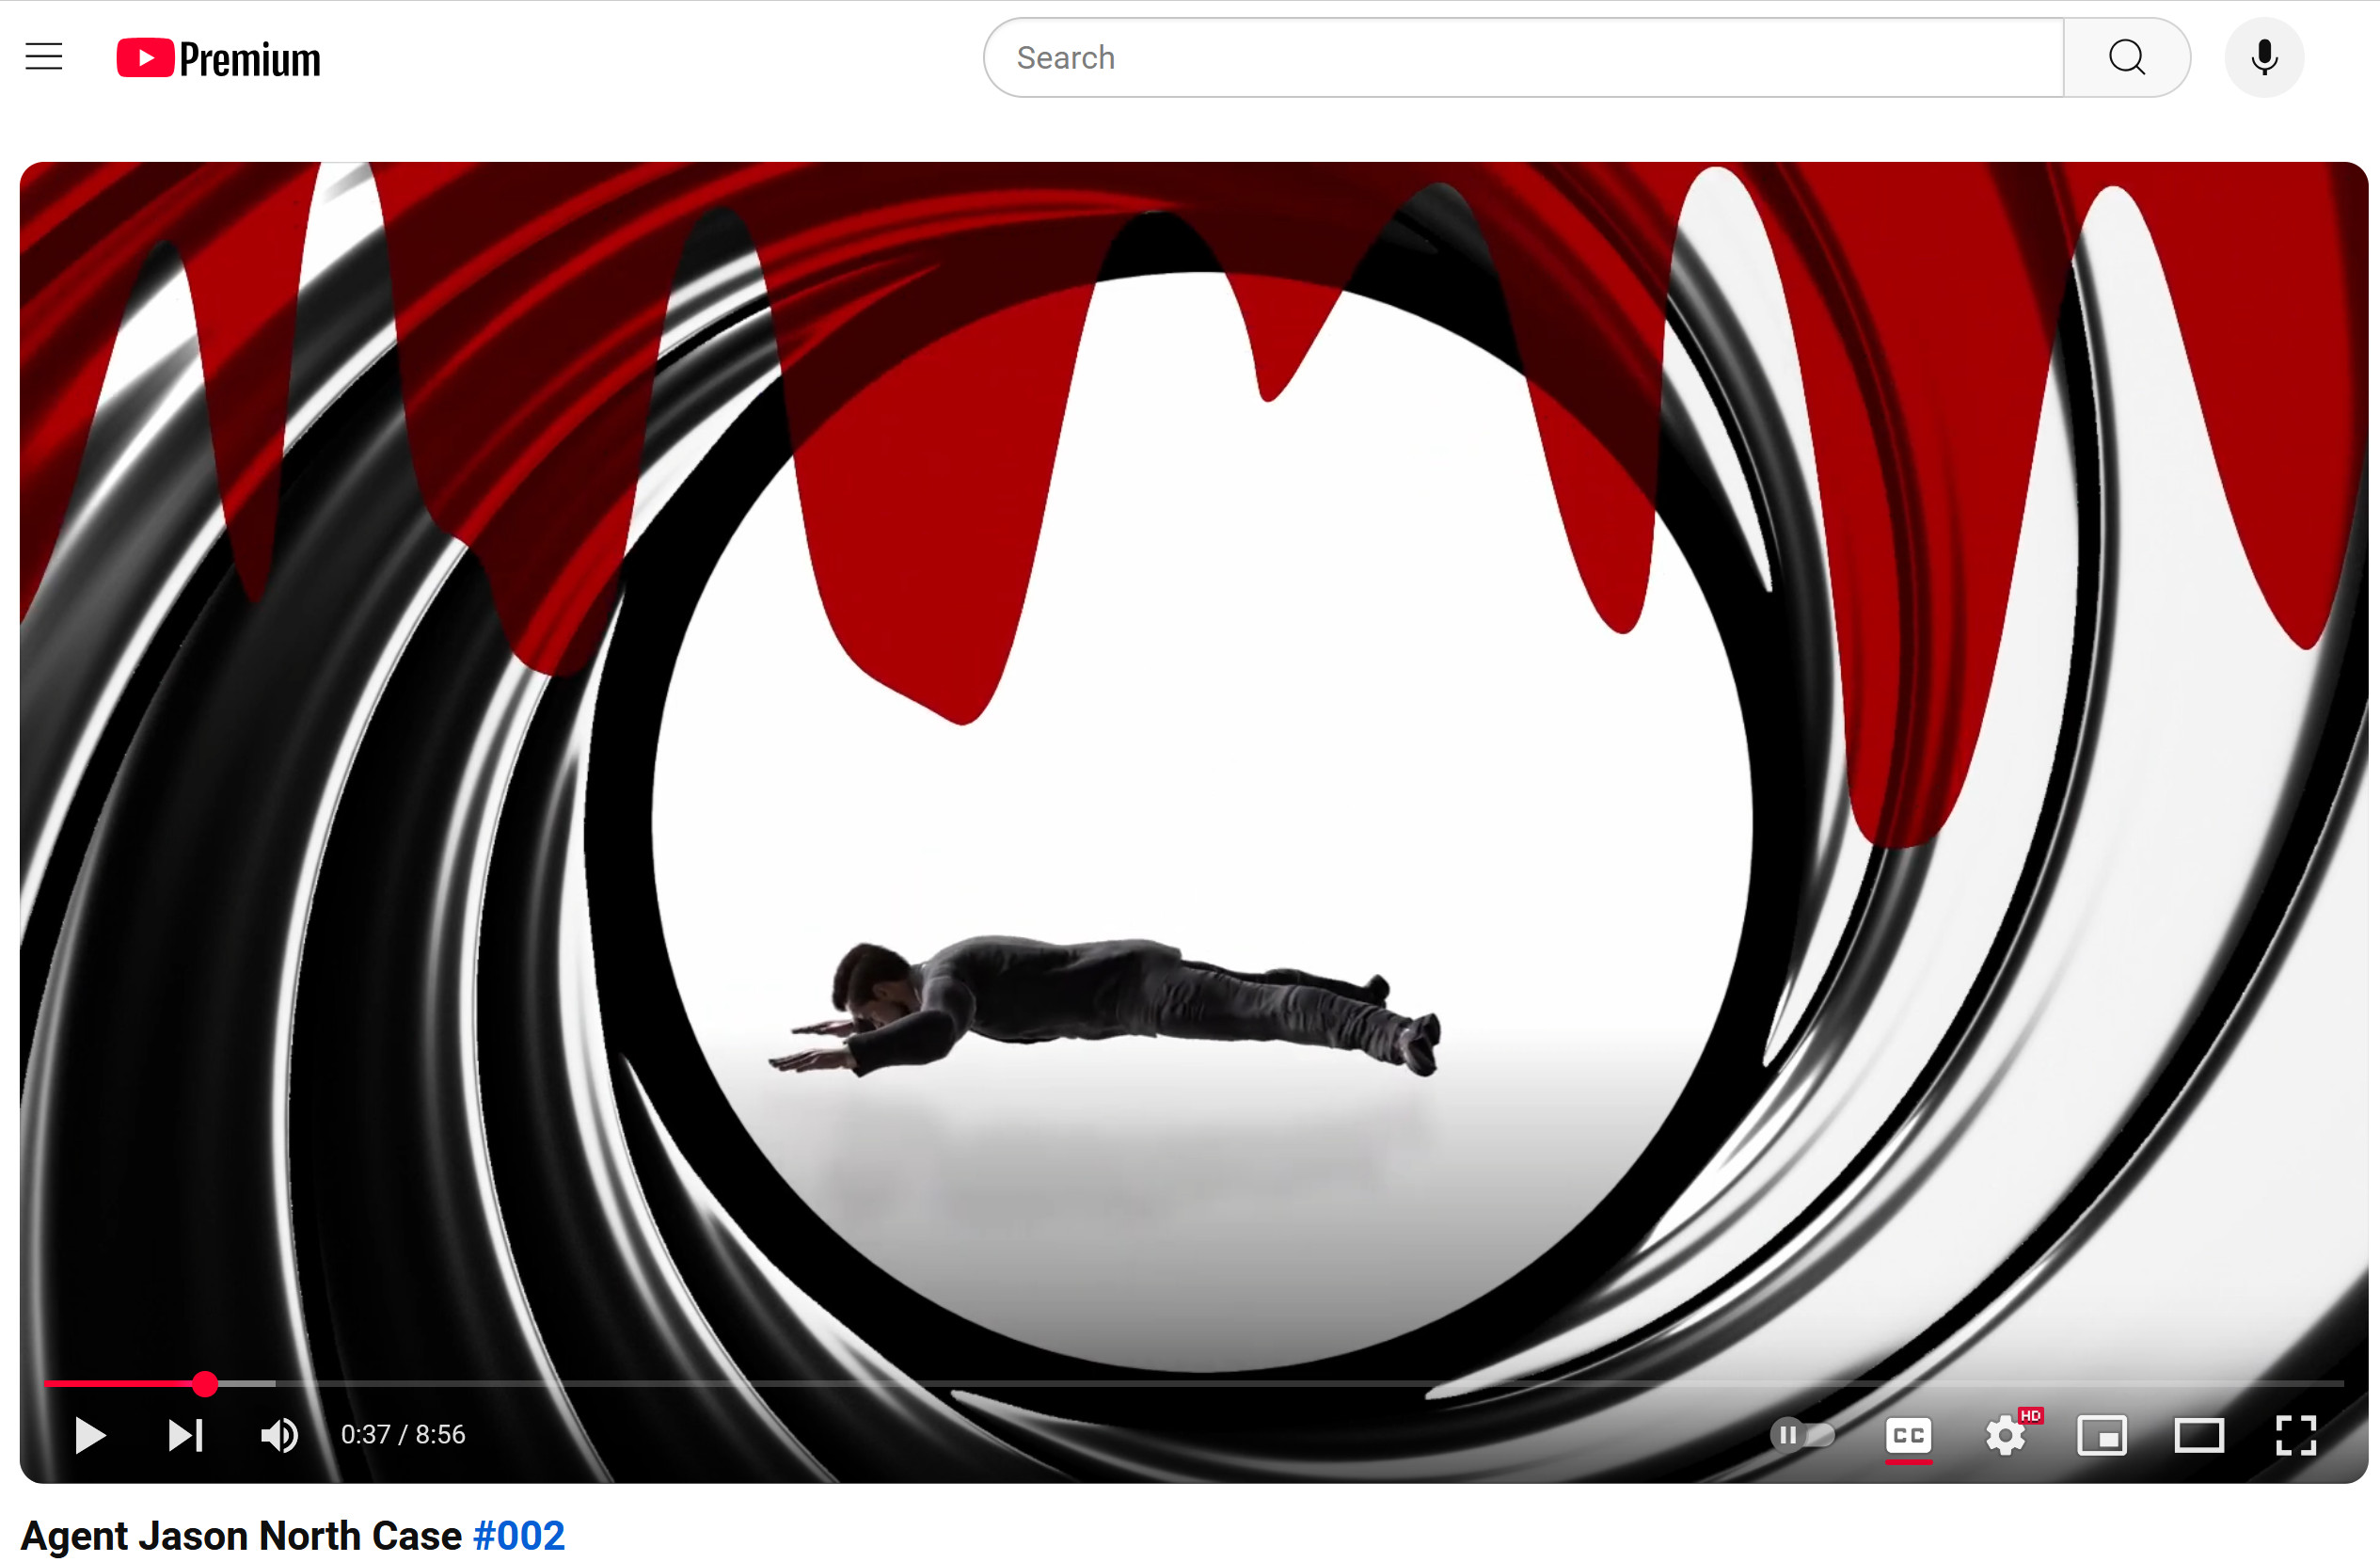
I’m happy to present you the latest adventures of Agent North.
Landscape and rendering in blender.
Characters and animation in iclone.
Compositing in Davinci Resolve Studio.
Have fun
Thorsten ![]()
Youtube: https://youtu.be/VAtcBs-a_GU
Hello everyone,
I’m happy to present you the latest adventures of Agent North.
Landscape and rendering in blender.
Characters and animation in iclone.
Compositing in Davinci Resolve Studio.
Have fun
Thorsten ![]()
Youtube: https://youtu.be/VAtcBs-a_GU
Hy,Thorsten, in this case iam the first who give you an answer. Amazing rendering in Blender, can you give me help for this rendering, what must i install and how do you rendering this. Very cool effects, i think by Hitfilm or Adobe.
A little detail at the beginning the Hair of your Character is flickering.
The landscapes look breathtaking, but I would like to see more camera changes to give the whole thing a little more dynamism. Looking forward of Part 2
Okay, here’s what I noticed:
Conclusion: overall render quality is slightly better than average iClone fare, but could be improved. The story line and action (yet another protagonist exploring a post-apocalyptic world and getting into fights), and what the viewer learns about the world and the characters in it, need more work (e.g. what’s the point of showing the landscape scenes at the beginning—how do these shots tie in with the rest of the “story”, such as it is?). If you plan to continue this series (?), you may want to consider some of the points I mentioned in your next installments (or maybe not). ![]()
This appears to have been rendered with EEVEE which uses screen space ambient occlusion that has consistency issues hence the flickering.
Rendering with cycles would solve this
(with way longer render times of course)
Also Blender has alot of botanical/landscape greenery types of addons that look great in promo videos but very few (if any) have collision physics.
this ruins any “realism” when tall grass does not react to being walked through or driven on by vehicles,
Finally and to be brutally honest here,
this video is a perfect example of why
having a better render engine is not the answer to any perceived problems with the “Iclone look”
The Character animation is floaty & weightless with lots of foot sliding
and you can see the clear hard transitions when one canned imotion clip ends and the next begins.
The main Character’s business suit looks like it is literally constructed from paper and the joints bend like wet noodles on the bad guys with sleevless shirts.
while this This is not YOUR fault
but it does defeat alot of the purpose
of sending Iclone avatars to these
“superior” render softwares and have everything look better than iclone except the very characters themselves.
lastly you really need to learn Blenders lighting system.
when he teleports those bright blue particles should have cast a blue light on objects in the room and this could have been easily done by animating a blue point lights intensity during the teleport event.
There should also be brief flashes of of light from the gun fire
as seen here is this video made three years ago.
I animated the base motion in Iclone retargeted the Data to Character models I created & rigged in blender
and rendered with EEVEE

Another more recent example of how brief flashes from gun fire adds depth to a scene
Again iclone base layer animation retargeted to custom Blender ARP rigs

Hello Nirwana,
First of all, thank you very much for your detailed comments.
The shadow is certainly something that can be added, but it didn’t seem important to me. The reflection is clearly visible.
A little is explained by the first part or case that I presented 3 months ago. This also explains the miraculous appearance like in the Terminator.
I still need to work a little with the settings for the blender rendering for the hair.
I agree with you, the shot is louder than with a silencer, but the typical sound with a silencer that can be heard in the films is too quiet in reality.
Well spotted. Unfortunately, I only noticed it after the release (despite watching the film several times before it was released). The error lies in the exclusion of the rendering of part of the weapon (blender is very powerful in its possibilities, sometimes confusing).
It was just a small grenade ( ).
I’m still working on the animation. For some unknown reason, I have some artifacts in the animation after transferring from iClone to Blender. I may have to smooth out the curves afterwards. Since I don’t have a mocap, the animations are generated from different movements. This seems to be the problem.
The villain has to fight upwards and makes the typical mistake of aim at the head (rarely hits unless you are fit like Agent North ).
I subsequently omitted a radio message between the roof gunner and villain No. 2 that refers to a time jumper (this is evident from part 1, which refers to the time travel space dimension device).
The opening title refers to the process of disintegration, which is why I used it.
The use of camera movements is always very subjective. In film history, we have good films with no or only sparse movements, as well as films with camera movements that make you feel sick.
Lens flare and lens dirt are intended to reduce the sterile touch of computer animation, which is sometimes annoying. But I agree with you that they can also be used more sparingly.
There is always room for improvement with the textures. I have made some changes in some places, but in other places this was only possible under difficult conditions.
The motivation, especially from Agent North, will be explained later.
Overall, I thank you for the comments. They help to tackle problems more specifically and find solutions in order to become a better animator. If you are a solo entertainer (story, script, modeling, rigging, animation, lightning, rendering, music, sound, …) there is always something that you don’t discover or only discover too late.
Best wishes
Thorsten
As a non-Blender user, I’ll take your word for it. Whatever the reason for the flicker, I don’t think I’d let that slide in a render of mine that was to be published (might be different, if it were a quick-n-dirty test render).
Yes, while I noticed the lack of collisions (as I said in my “review” above, I did not list everything I noticed), I also know that it is difficult to do (don’t know about Blender, but in C4D, I’d have to use hair for the grass, and that would increase render (and simulation) times substantially). So I might cheat it with camera angles or by using a different type of ground where the characters step or the vehicle has ground contact.
True. I have found that I almost always need to tweak materials on characters exported from iClone as well as the meshes themselves (subdivision, hardware tesselation at render time), because of the low-poly look of many iClone characters and assets (see also the thread on CC base characters being too low poly). With regard to the clothing/outfits, that is a different issue that takes a lot longer to resolve (such as simulating clothing outside of iClone).
Agreed. If Thorsten plans to continue using Blender as his render engine for iClone animations, the lighting should be set up in Blender (probably also based on the choice of engine (EEVEE vs. Cycles)), and, if it already was, then giving it a little more love wouldn’t be a bad idea.
Perhaps. But the character still seems to be floating here:
Okay, but you might want to provide a quick recap at the beginning of the current episode, for example in place of the alpine/river landscape shots which don’t seem story related to me. Not every viewer of this may have seen the previous installment (if you add future episodes, then many viewers may watch one of the later ones first and be confused), and even if they did watch the previous one, they may not remember all the details. You are much more immersed in the story, characters, the entire world building than anyone else, so a little recap or other ways to introduce background information my help viewers who are new to all this. On YouTube, you only have a few seconds to get the viewers’ attention before they click or swipe away; confusing them is probably not going to help with that.
Yeah, that is what I figured. If you want to use this effect for the main title, fine, but I still think it is a bit overkill as it is.
Years ago, when video editing software started to introduce all kinds of fancy transition and title effects, many video hobbyists began to use them ad nauseam (at the time, I was guilty of that myself). J.J. Abrams is also notorious for his heavy use of lens flares (e.g. in his Star Trek movies); as far as I’m concerned, it gets old fast. I don’t mind the occasional lens flare (when it seems warranted by the lighting conditions in the scene) but too much of a good thing turns it into a bad thing.
I also think that the overall look of the scenes needs to improve quite a bit before you need to worry about the “sterile touch of computer animation” as long as it is very obviously a computer animation.
You mean, agent North’s character motivation will be explained later? Okay… That could be a little problematic, though. Why should I, as the viewer, follow the story of someone whose character motivation remains in the dark for several episodes that may only drop with several months of waiting in between? The reason I watched this (more than once) is not because I’m invested in the story (so far), but because I figured you were looking for some feedback.
Also, as someone who is into 3D animation himself, I probably look at this stuff differently than your regular YouTube viewer; meaning, while I watch the entire thing to be able to provide feedback, “normal” YT viewers may not bother to (YT analytics may tell you more).
Sure. In my book, Hollywood and other professional filmmakers don’t always get it right, either. To me, camera movement looks right when it helps the “story” and is not just done for its own sake or to show off.
I hear you; after all, I’m in the same boat. That is also why I took the time to provide more detailed feedback—something I’d like viewers to do on my own stuff as well, but they rarely do (“Great job” is nice and all, but constructive criticism would be more helpful to me than simply stroking my ego).
Hello AutoDidact,
I rendered with Cycles, but am still looking for a setting that gives good results with good performance (I have tried out a number of settings based on tutorials, but I am not satisfied yet).
The abandoned city is precedurally triggered, unfortunately I have not managed to implement the collisions (but I am a Blender beginner!).
I am unfortunately very aware of the problems with the avatars, an adjustment is certainly possible (not for all characters) and partly implemented in iClone, but I have to get used to Blender first (I generally use the films as a playground to try out effects and workflows, others make a number of 10 - 30 second clips for this).
By the way, muzzle flashes have been built into both pistols and rifles.
Thank you very much for your constructive criticism. If you have any ideas regarding characters or settings in Cycles, I would be very grateful.
Best wishes
Thorsten
Hello Nirvana,
I did this in my first multi-part film projects, in the style of Star Wars, but some commentators complained about the beginning with the short summary. I haven’t done it since then, but it might be useful to bring more structure into it. I will be happy to take it into account in subsequent films.
I am grateful for your feedback, it is the only way to reflect on what you are doing and, hopefully, improve. And I agree with you that only someone who works in this field can see and evaluate the finer details. Just look at the AI-created advertising animation for Coca Cola. While many people say it is excellent, if you make animations yourself you can clearly see the many errors that stand out. So please keep it up.
Personally, I was initially taken aback when I saw J.J. Abrams’ Star Trek, but lens flares are an interesting stylistic device (and have since been copied many times). You just have to find out for yourself which stylistic device you personally like to use (I tend to use lens dirt a little, but I think that sometimes less is more). But you’ll never find out without critical evaluation.
Best wishes
Thorsten
It’s been a while since I last saw J.J.'s Star Trek, but I remember feeling that the amount of lens flares was overkill, and I didn’t really dig it even during the first viewing. After all, real lens flares are artifacts due to the limitations of optical lenses. Today, with lens-effects added in post, they are often being used carelessly (not the word I wanted to use, but the RL forum software was censoring me). So, yes, I use them, when they make sense (however, only when rendered right into the image by the 3D program); not as a post effect.
When you look at things IRL with your human eyes, you don’t see lens flares (at least I can’t recall ever noticing any). The same with a “dirty” lens. Since I wear glasses, I sometimes get the dirty-lens effect in real life and try to do something about that as soon as I can (i.e., clean the glasses). So, I’d rather not add such an effect to my renders.
My approach to making renders look a little less like a run-of-the-mill iClone render, is by adding additional details with procedural textures, and not only use just bump and normal maps but also actual deformation (at render times). And giving things a more used look (basically the George Lucas mantra for making sci-fi look more believable). In combination with decent lighting, this does more for a good overall look than lens flares or optical dirt effects—at least for me.
I was not suggesting a Star Wars type text scrawl to recap the previous episode, but rather a short, edited, version of the previous story, perhaps with voice over tying it together. (Sort of what they do on multi-part episodes of TV series: “Previously on …” and then recap a few highlights.) However, I haven’t actually tried this myself; all my animation stuff is very short (around 30-60 seconds) and not one continuous narrative over several videos, so there has been not need for recapping yet.
If this render was Cycles, then you really need to dial in your materials and lighting (the render settings may help with noise and such, but won’t help with “dull” materials or textures). Even though I’m no Blender user, I was kind of expecting that this was, as @AutoDidact speculated, in fact an EEVEE render.
BTW: I’ve done water surfaces based on deformed planes before, and I think the texture/deformation you used on the river seems a little too repetitive in my view. To avoid that, I usually stack several layers of procedurally generated noise on top of each other, so I can cover a large area without too much obvious repetition.
A few years ago, I did this animation using a single texture/material for the entire canyon mesh (about 1 million polys before tessellation at render time), which I think gives a fairly decent level of detail even when the camera is swooping closer to the ground towards the end of the animation.
")
Just a thought… ![]()
I rendered with Cycles, but am still looking for a setting that gives good results with good performance (I have tried out a number of settings based on tutorials, but I am not satisfied yet).
Hi, as this is rendered in cycles then the only explanation I can fathom for the hair flicker (which I did not see any where else in your animation),
is some combination of bad Iclone hair card geometry possibly causing artifacts such as “Z-fighting”
The abandoned city is procedurally triggered, unfortunately I have not managed to implement the collisions (but I am a Blender beginner!).
If your landscape (including grass) is procedurally generated (likely geonodes) then sadly you wont have any real option to even fake collision physics even with modifiers
You could technically do grass interaction with grass made with the particle/hair system but that gets into some really complicated setups that would be hard to justify IMHO
By the way, muzzle flashes have been built into both pistols and rifles.
I get it but my point is the muzzle flashes or large glowing particle effects should appear to briefly light
up the room. like an old school camera flash
you can fake this effect by animating the intensity of a light source in the scene or even globally in post by animating brief extreme changes to the gamma in color page of Davinci resolve.
If you have any ideas regarding characters or settings in Cycles, I would be very grateful.
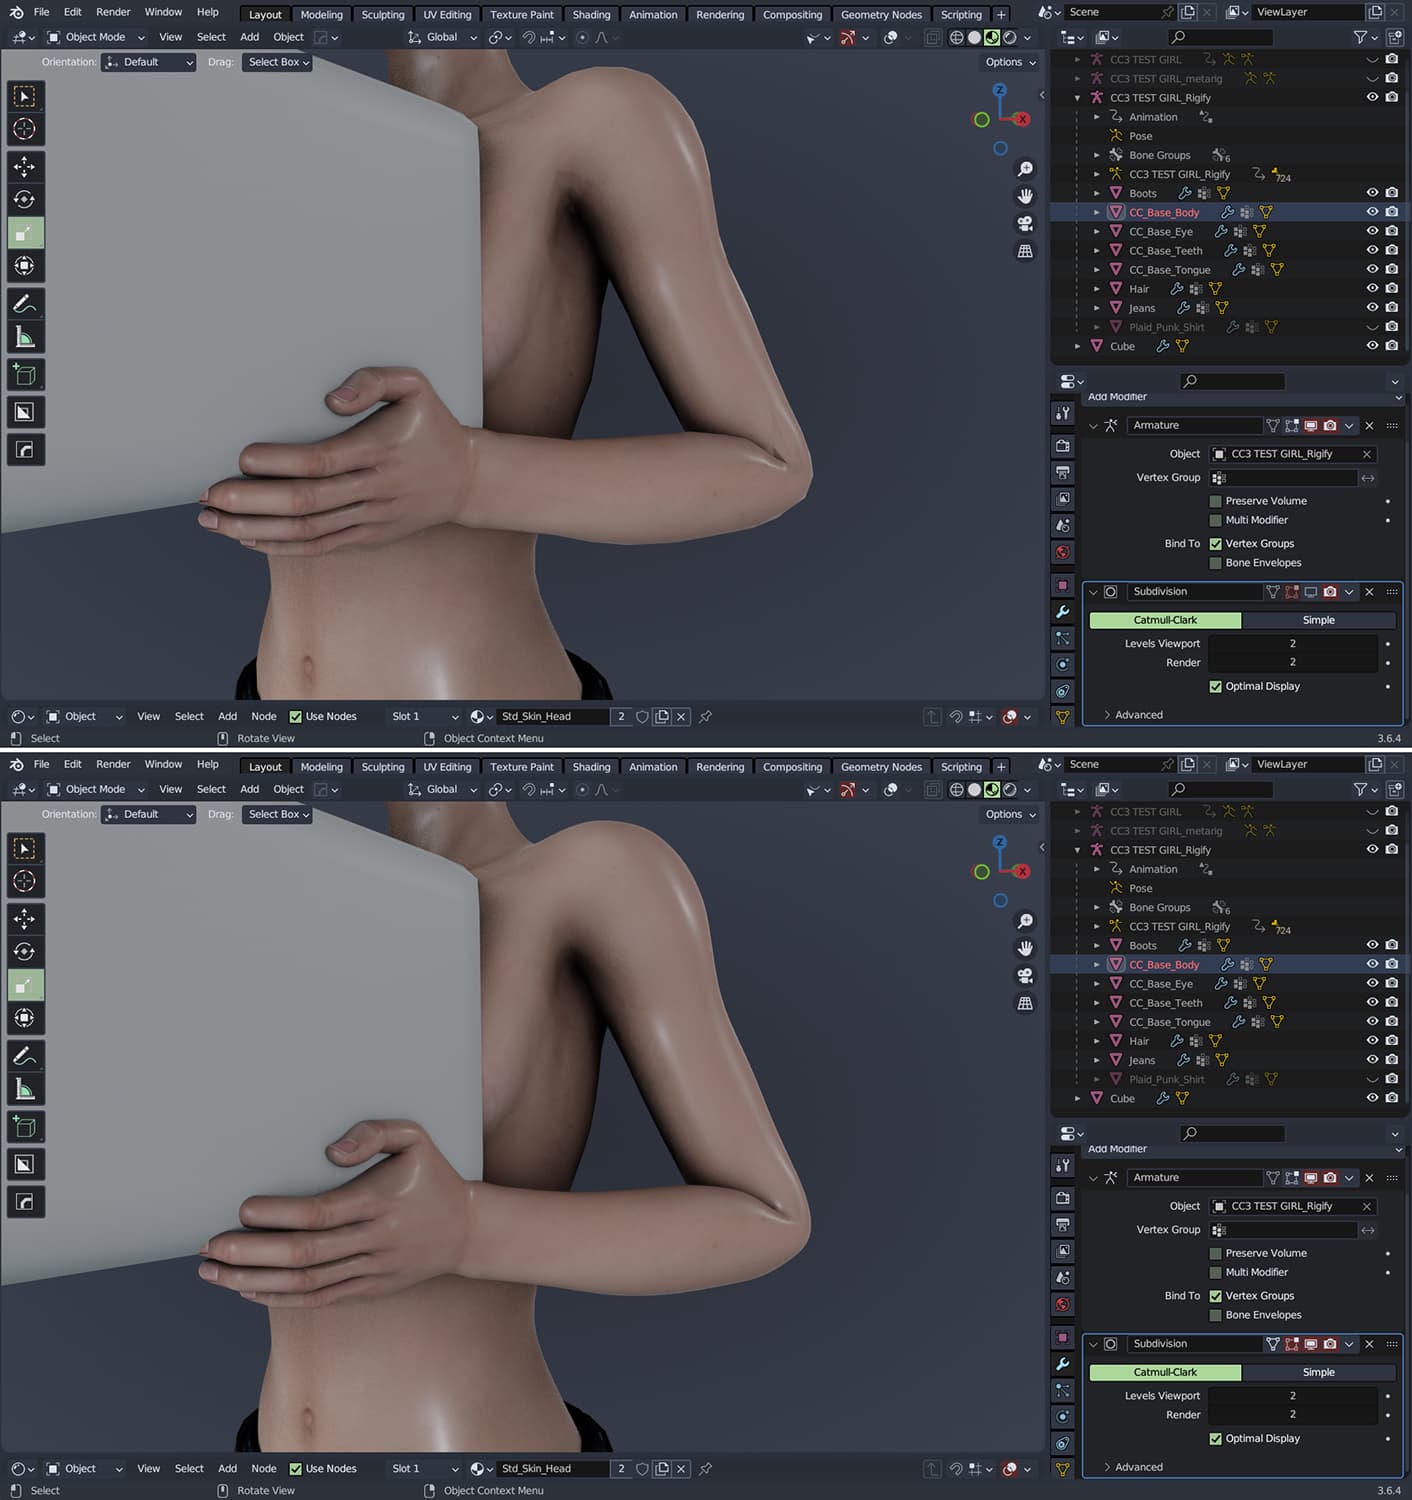
Well I assume you are using the Blender pipeline tool to bring in your CC4 characters pre-animated from Iclone.
thats fine.
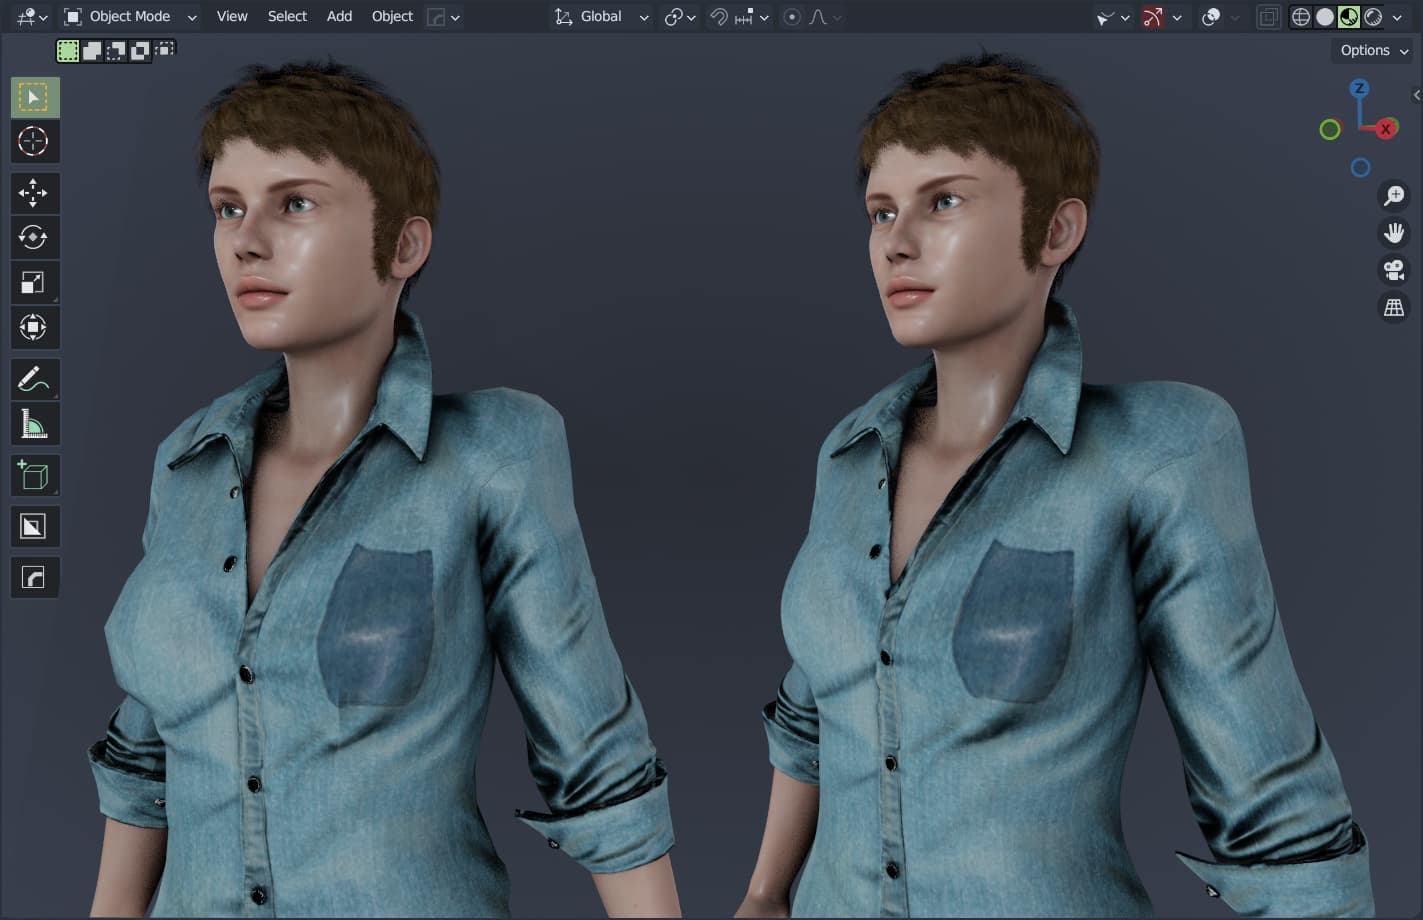
I personally went back to using Daz genesis figures imported via another plugin as they look so much better than CC4 characters
But at a minimum you should be applying subdivsion modifiers to your CC4 people ,at render time, which will help
alot in smoothing out the low poly clothing and joints
( see attached samples.)
Hello AutoDidact,
thanks a lot, this is very helpful. I will try it soon. I hope it will be better then.
Greetings
Thorsten
Hello Nirwana,
a kind of summary similar to “Previously on …” also occurred to me. This could also improve the suspense.
The water surface is also precedurally based. But there are good add-ons that can do this better. I’m currently experimenting with them.
You can see an example of Star Wars text here:

The entire film here:

It’s a long way to perfection, at least as an amateur.
Best wishes
Thorsten
That is true. So far, I have not even considered doing animations that are as long as the examples you linked. Render times alone would be prohibitive—at around 2 to 3 minutes a frame. And I don’t have a “story” that could serve as the basis for a feature-length animation, so there’s that as well. I might do something in the 5-10 minutes range, which seems more doable, although still very challenging.