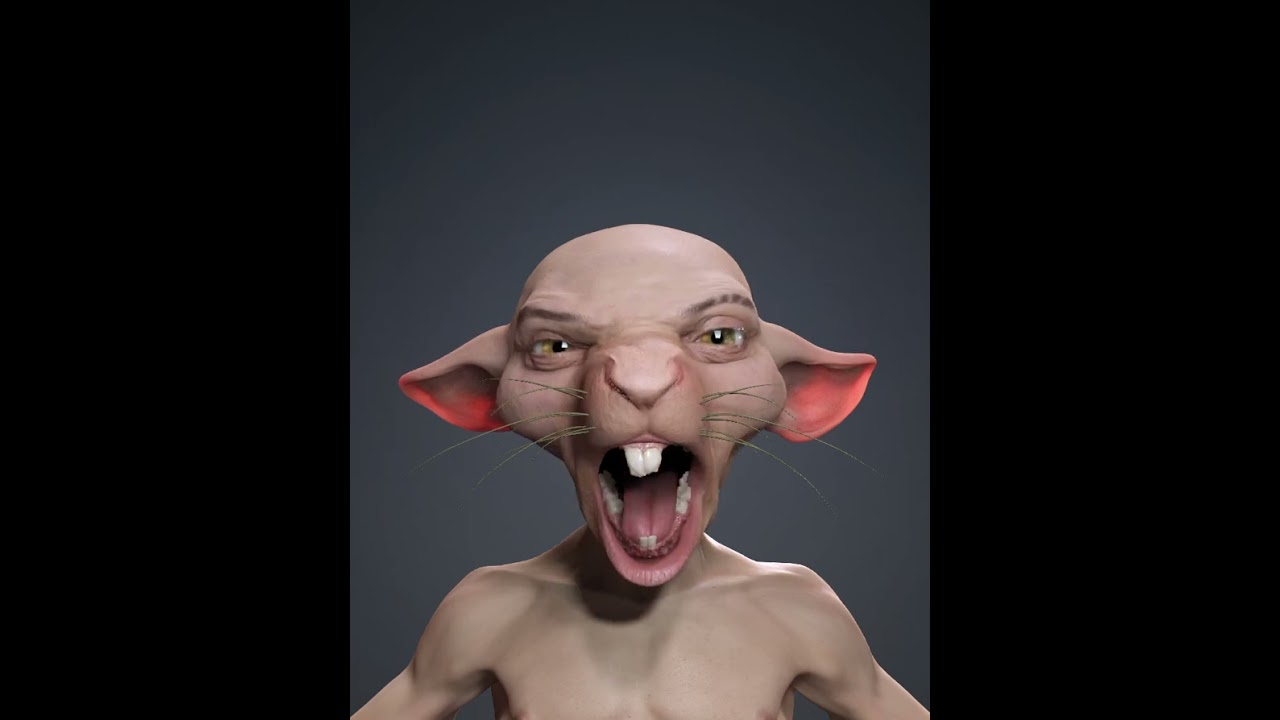
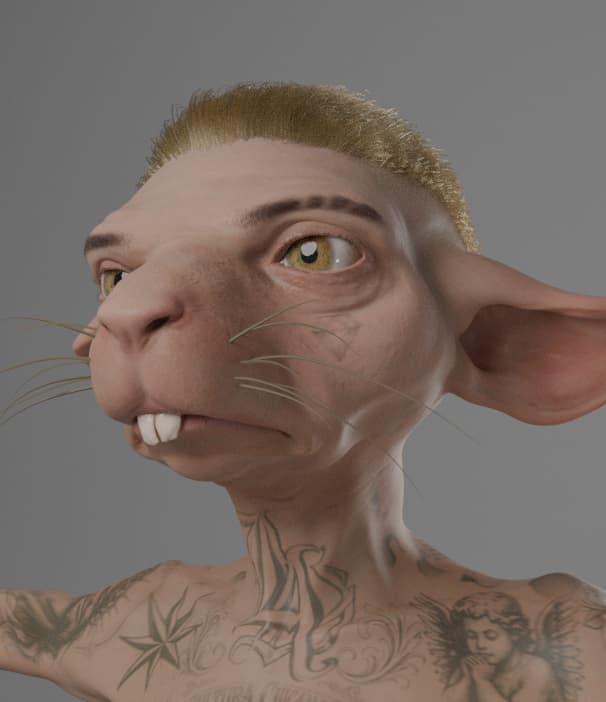
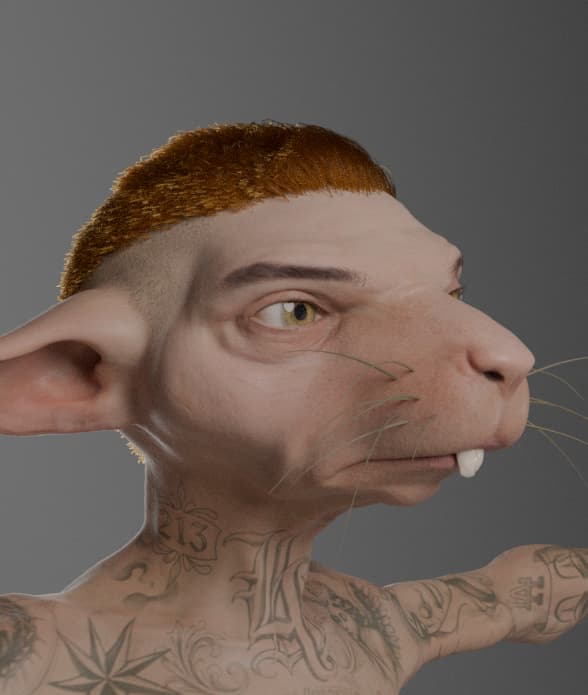
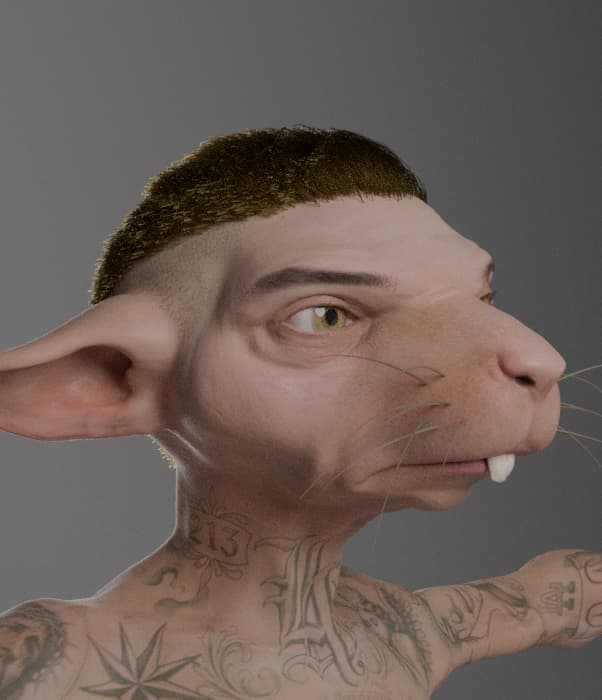
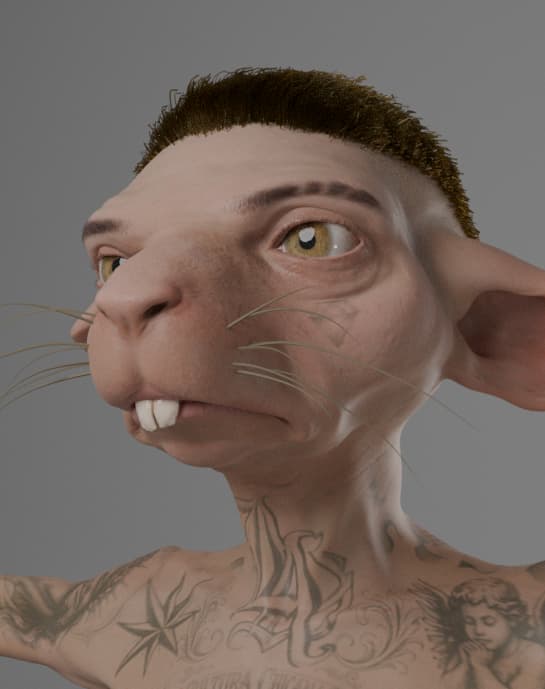
2026 Reallusion 3D Character Contest - Jax from Wasted Jungle - Stylized Character Design

Hi everyone,

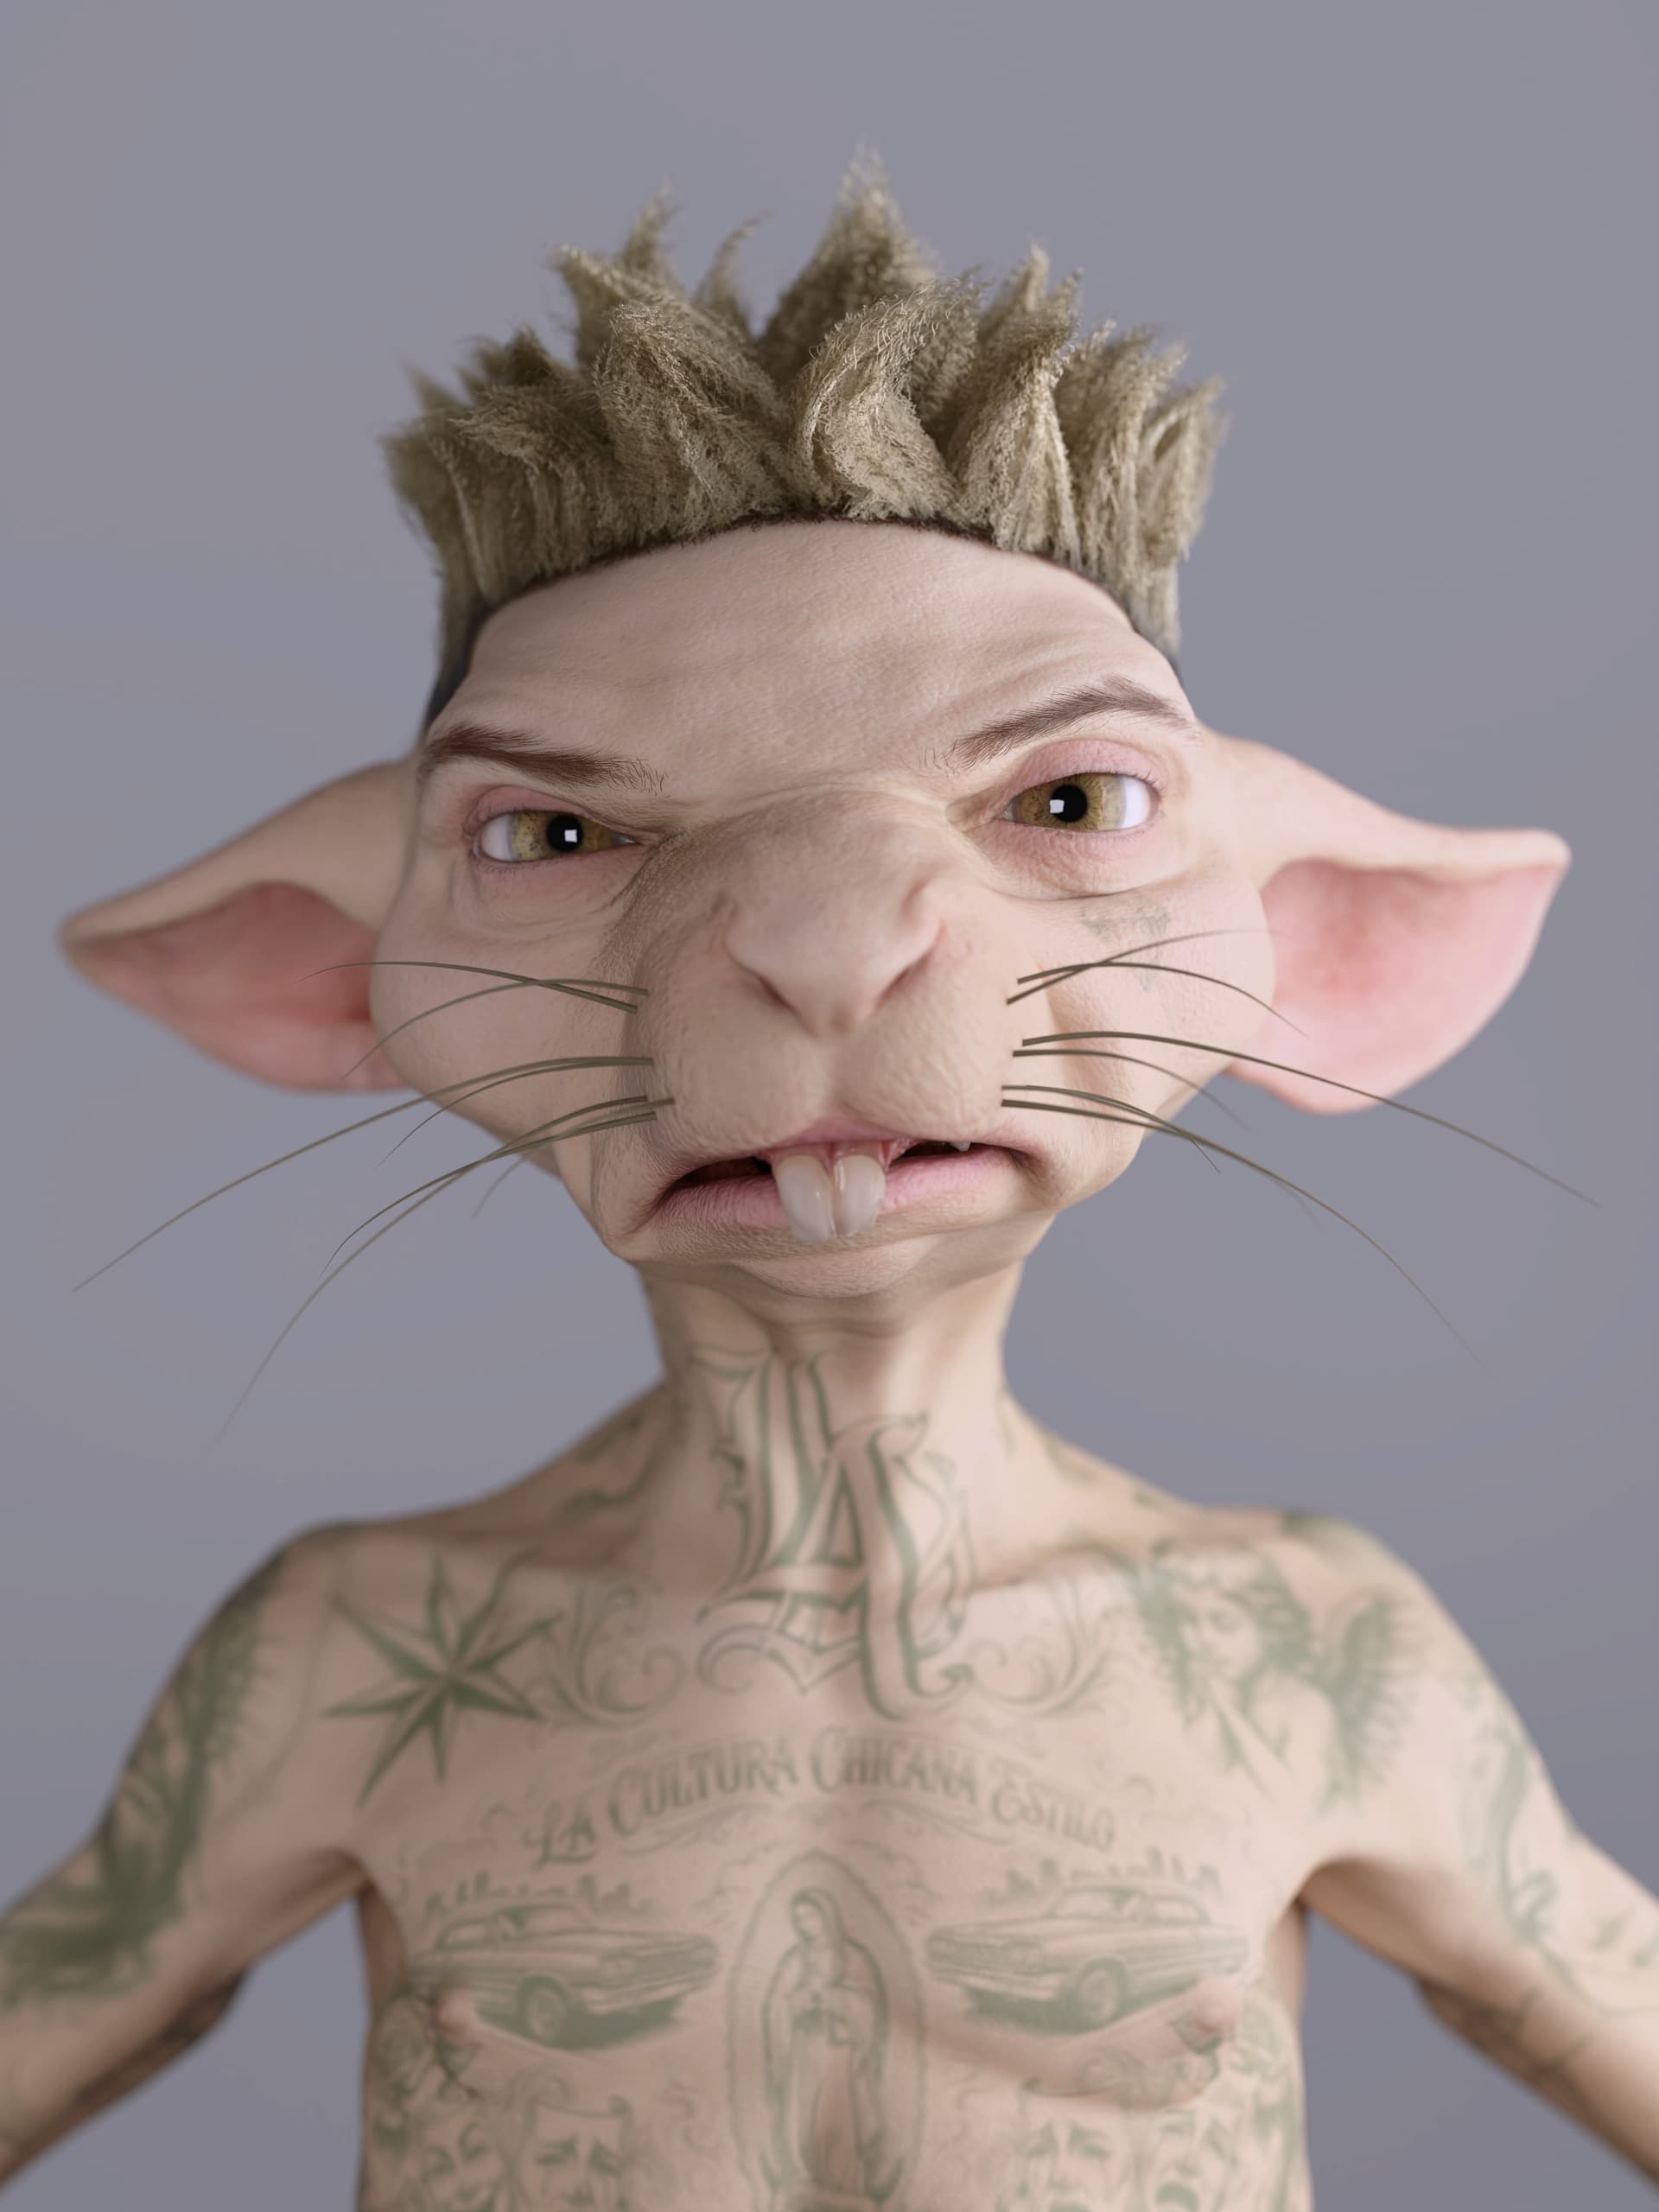
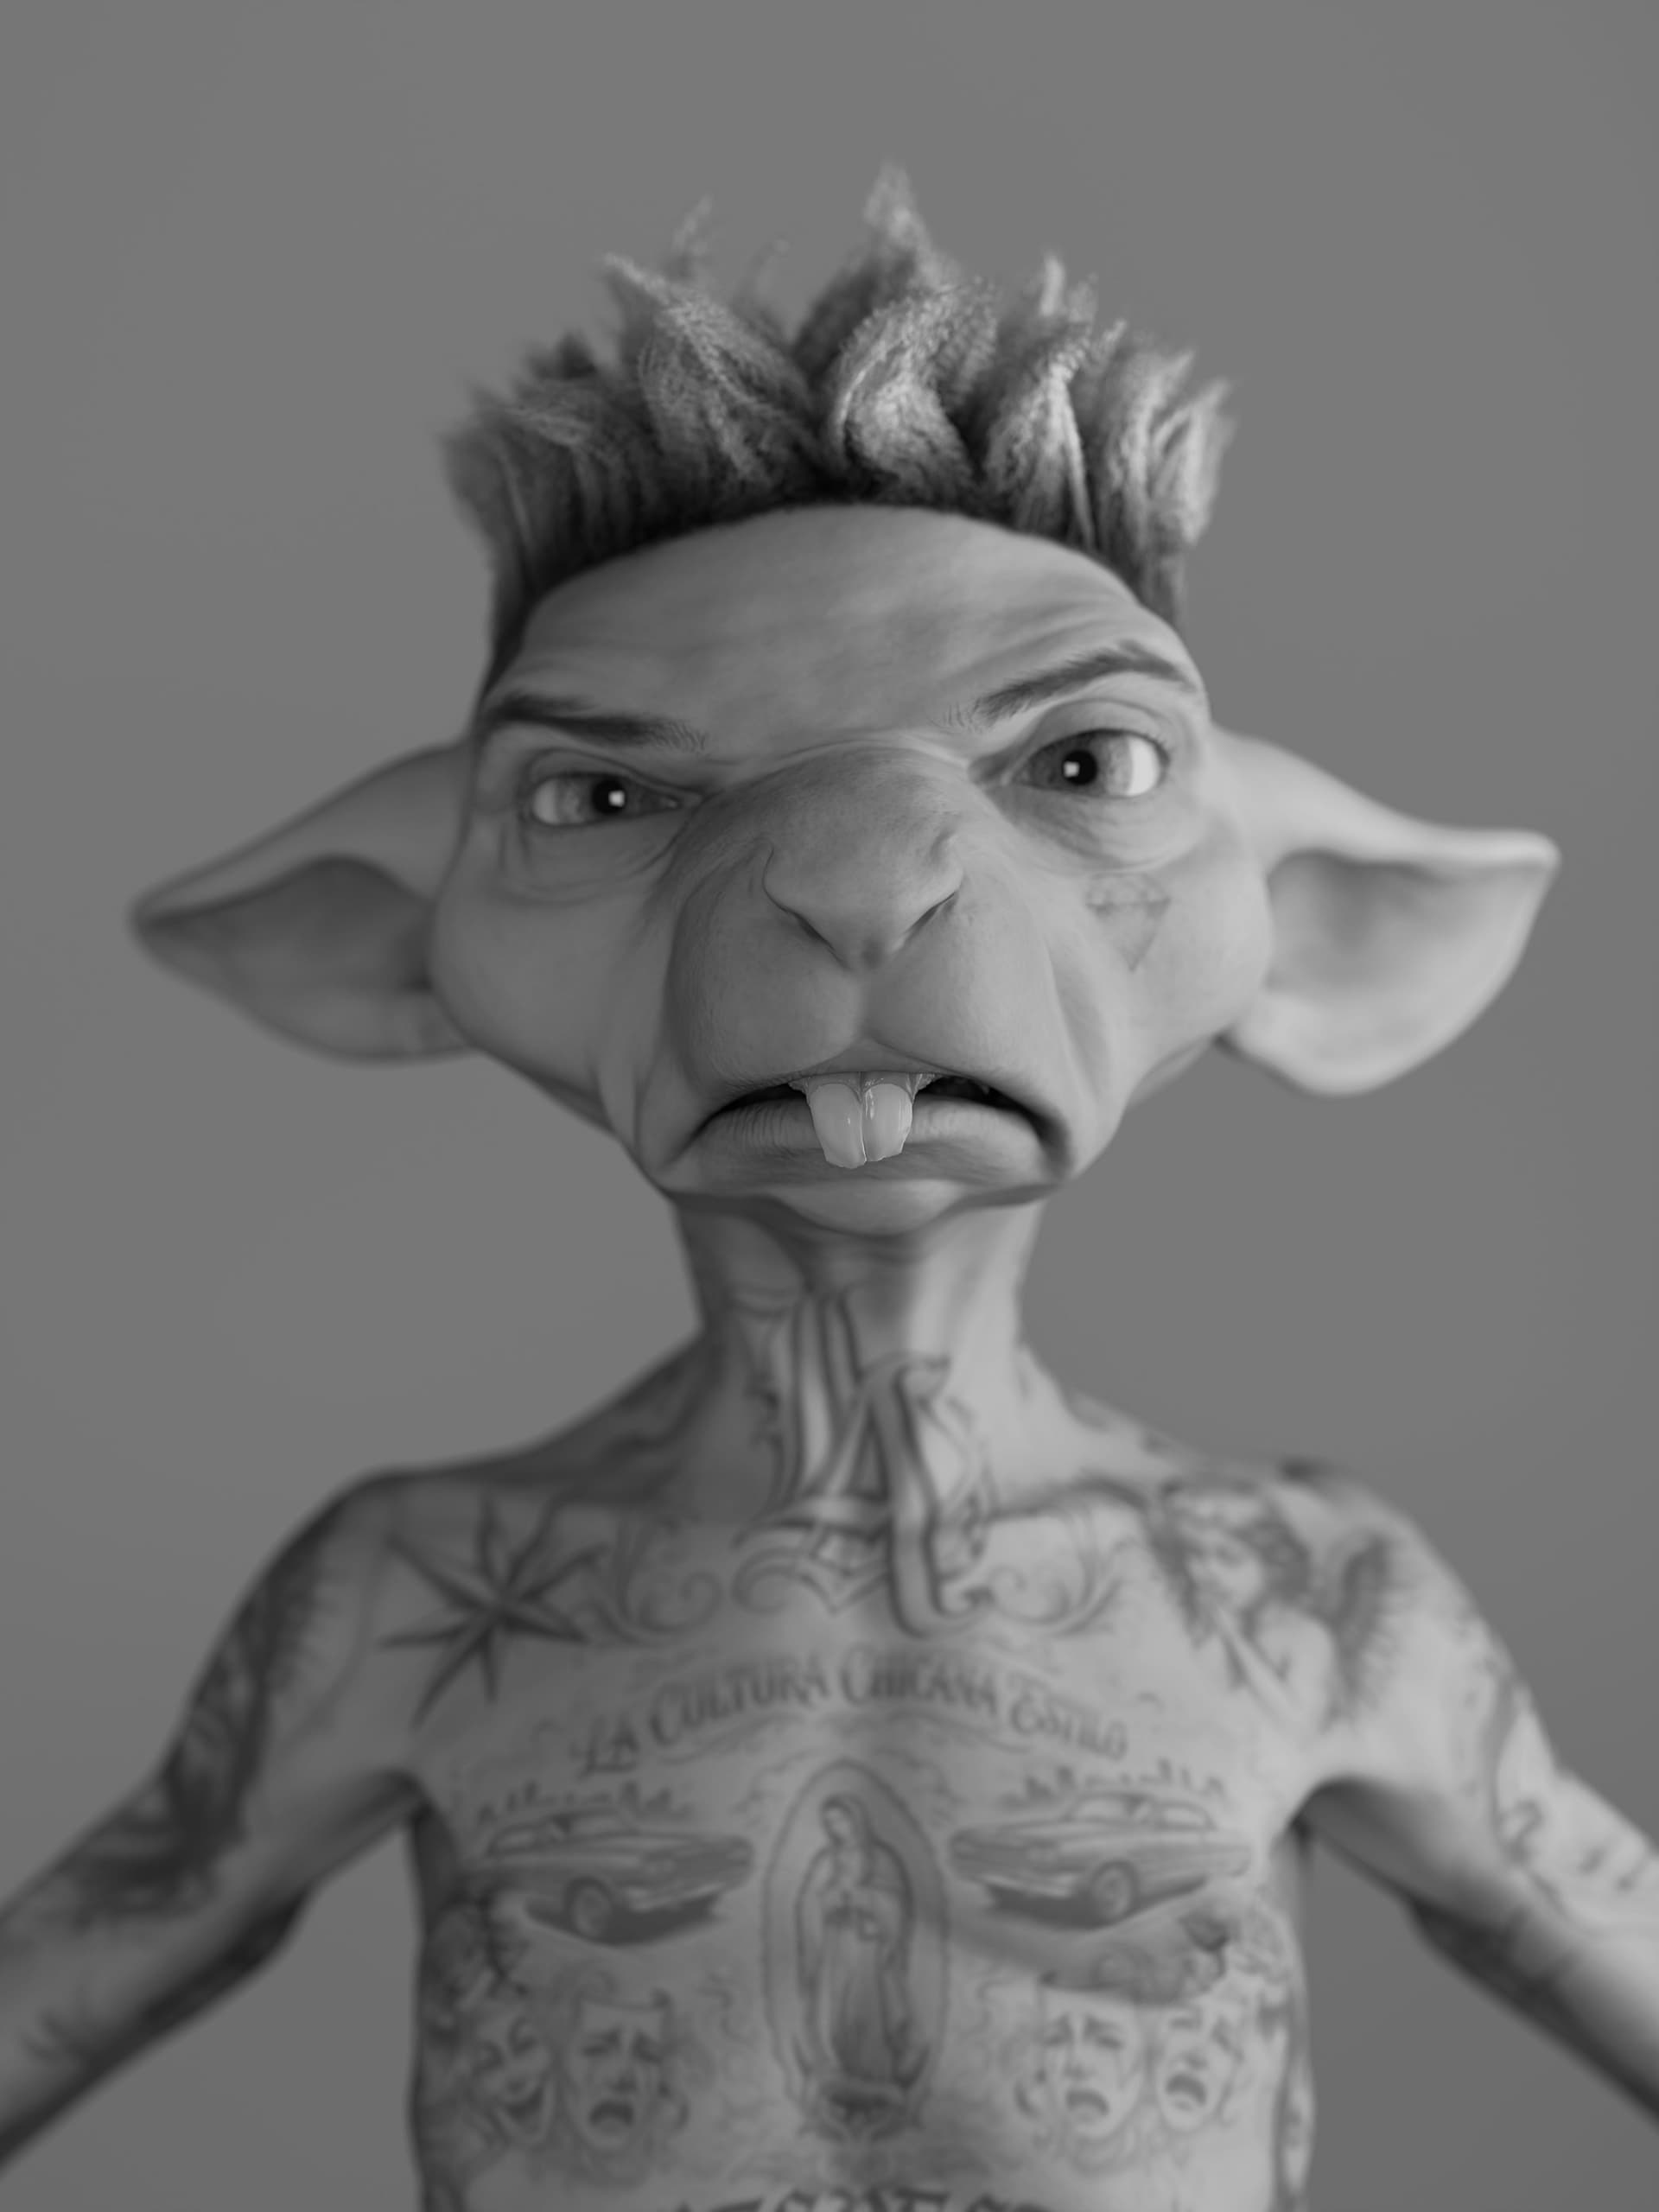
Here is my entry for, the 2026 Reallusion 3D Character Contest with a stylized character design project called Wasted Jungle.

Wasted Jungle is an electro-hip-hop mutant duo set in a dirty coastal city full of pirate radio, broken neon, illegal clubs, torn posters, concrete, sweat and noise. The music is not just entertainment in this world: it is a way to take territory.

For this first WIP thread, I’m starting with Jax.

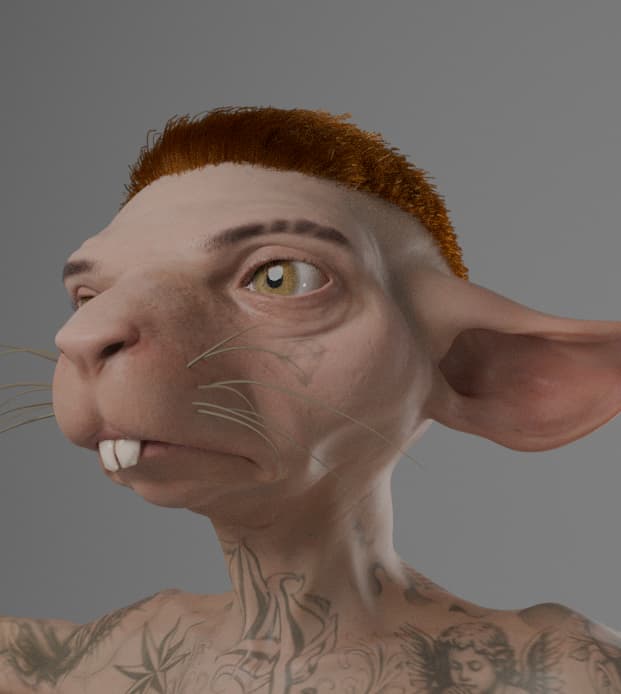
Jax is the dry, nervous and street-level half of the duo. He is not meant to look heroic or clean. I want him to feel like a small urban predator: thin, sharp, tired, ironic, and dangerous in a restrained way. Vexa, the second member of the duo, will be more frontal, toxic, seductive and explosive. Jax is the anchor. Vexa is the visual hook. Together, they form the Wasted Jungle identity.

My current category target is Best Character Design (Stylized).

Current workflow:

  • Character Creator base as the production foundation
  • NomadSculpt for early anatomy, silhouette and creature sculpt exploration
  • Character Creator / CC5 for production character setup with , headshot3, Zbrush and Zwrap.
  • iClone for final posing, lighting, presentation and possibly a short performance test
  • Additional tools may be used for textures, why not substance painter or directly nomadsculpt and final polish. As for the final render version, I’m not sure yet—maybe Evee, Cycle or Renderman It will depend on how much time I have left…

The main design goals for Jax:

  • readable silhouette from far away
  • thin nervous body language
  • large expressive ears
  • rodent/goblin/rat-king energy without becoming cute
  • dry facial expression, more street survivor than fantasy creature
  • final presentation that feels like a music performer, not just a creature model

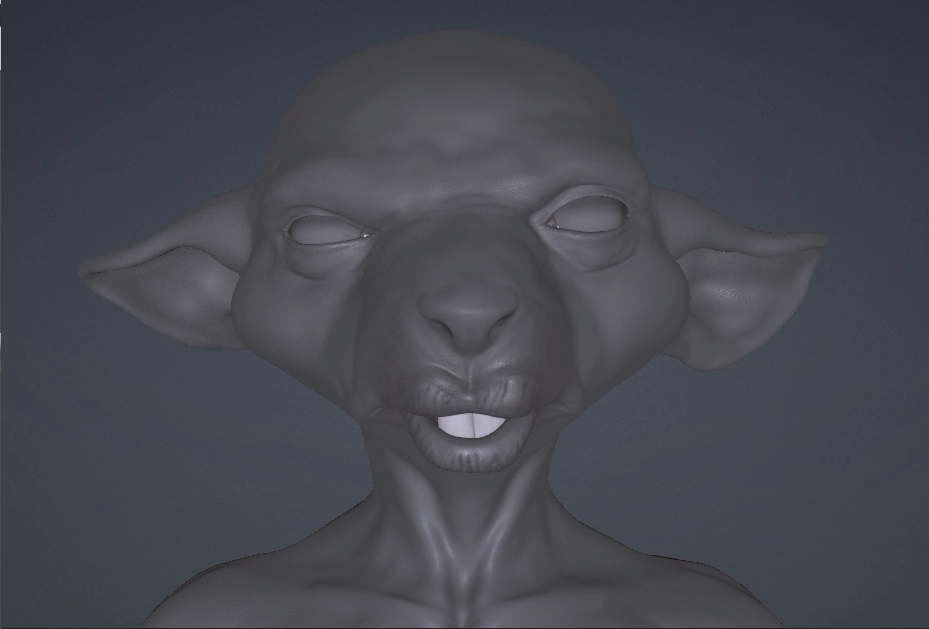
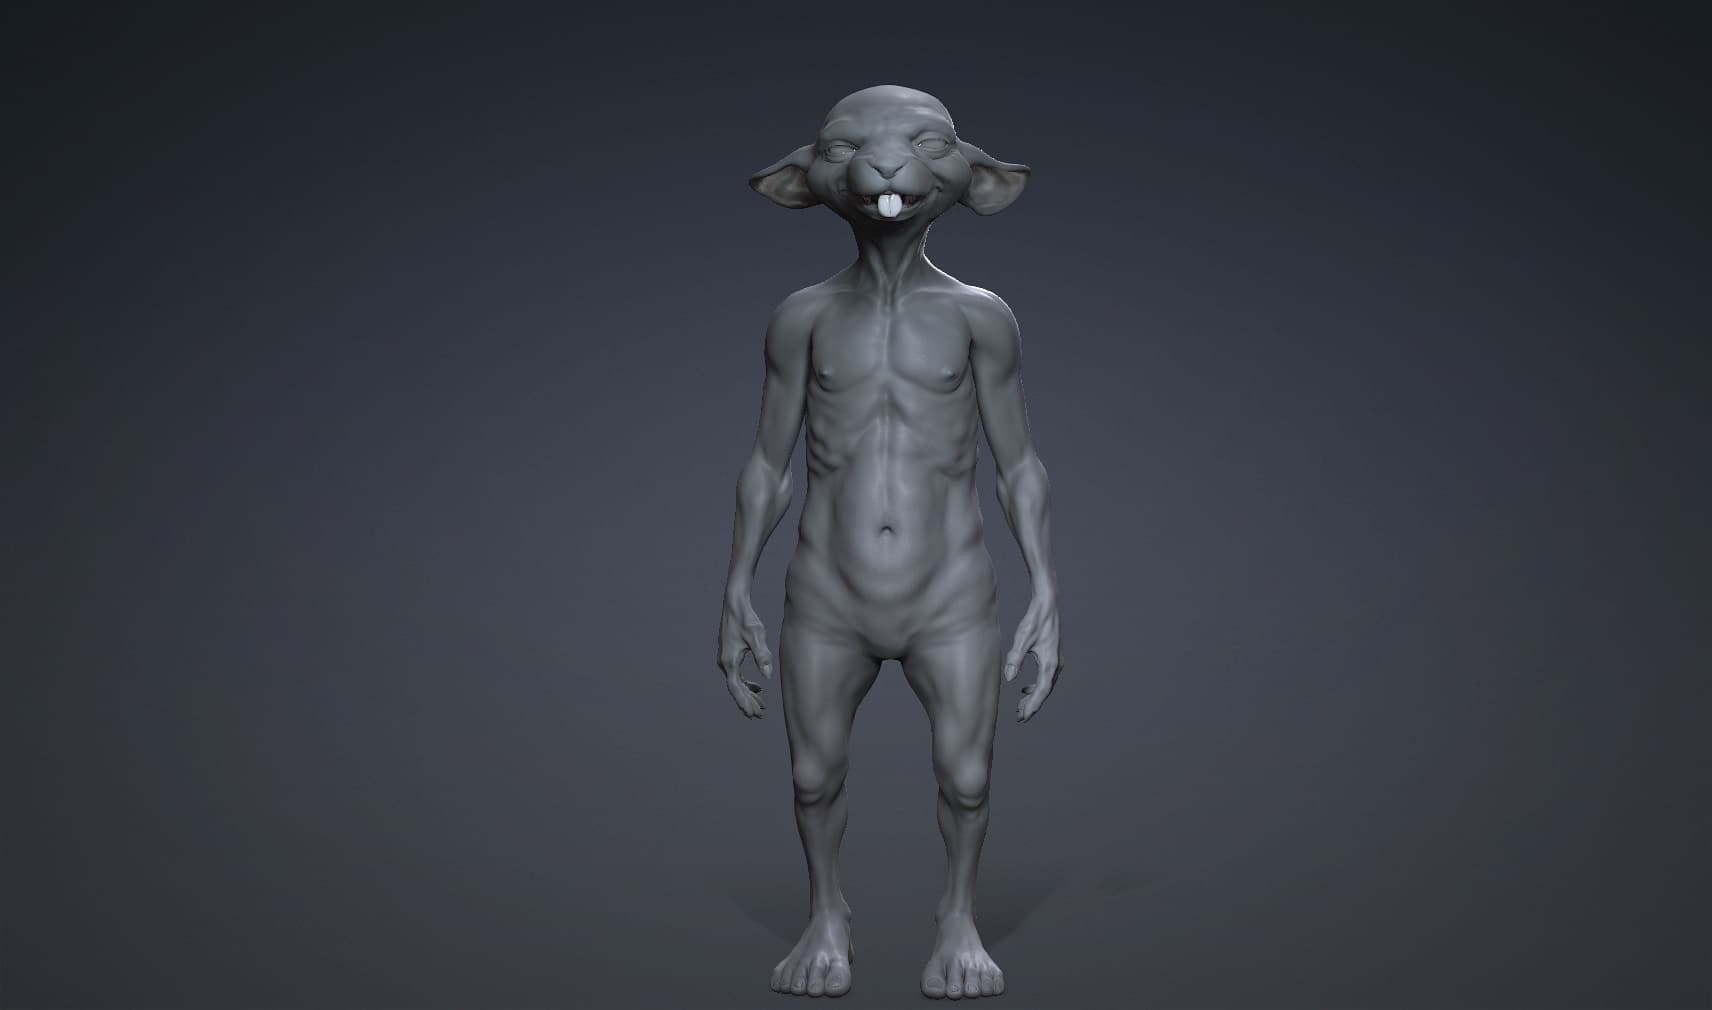
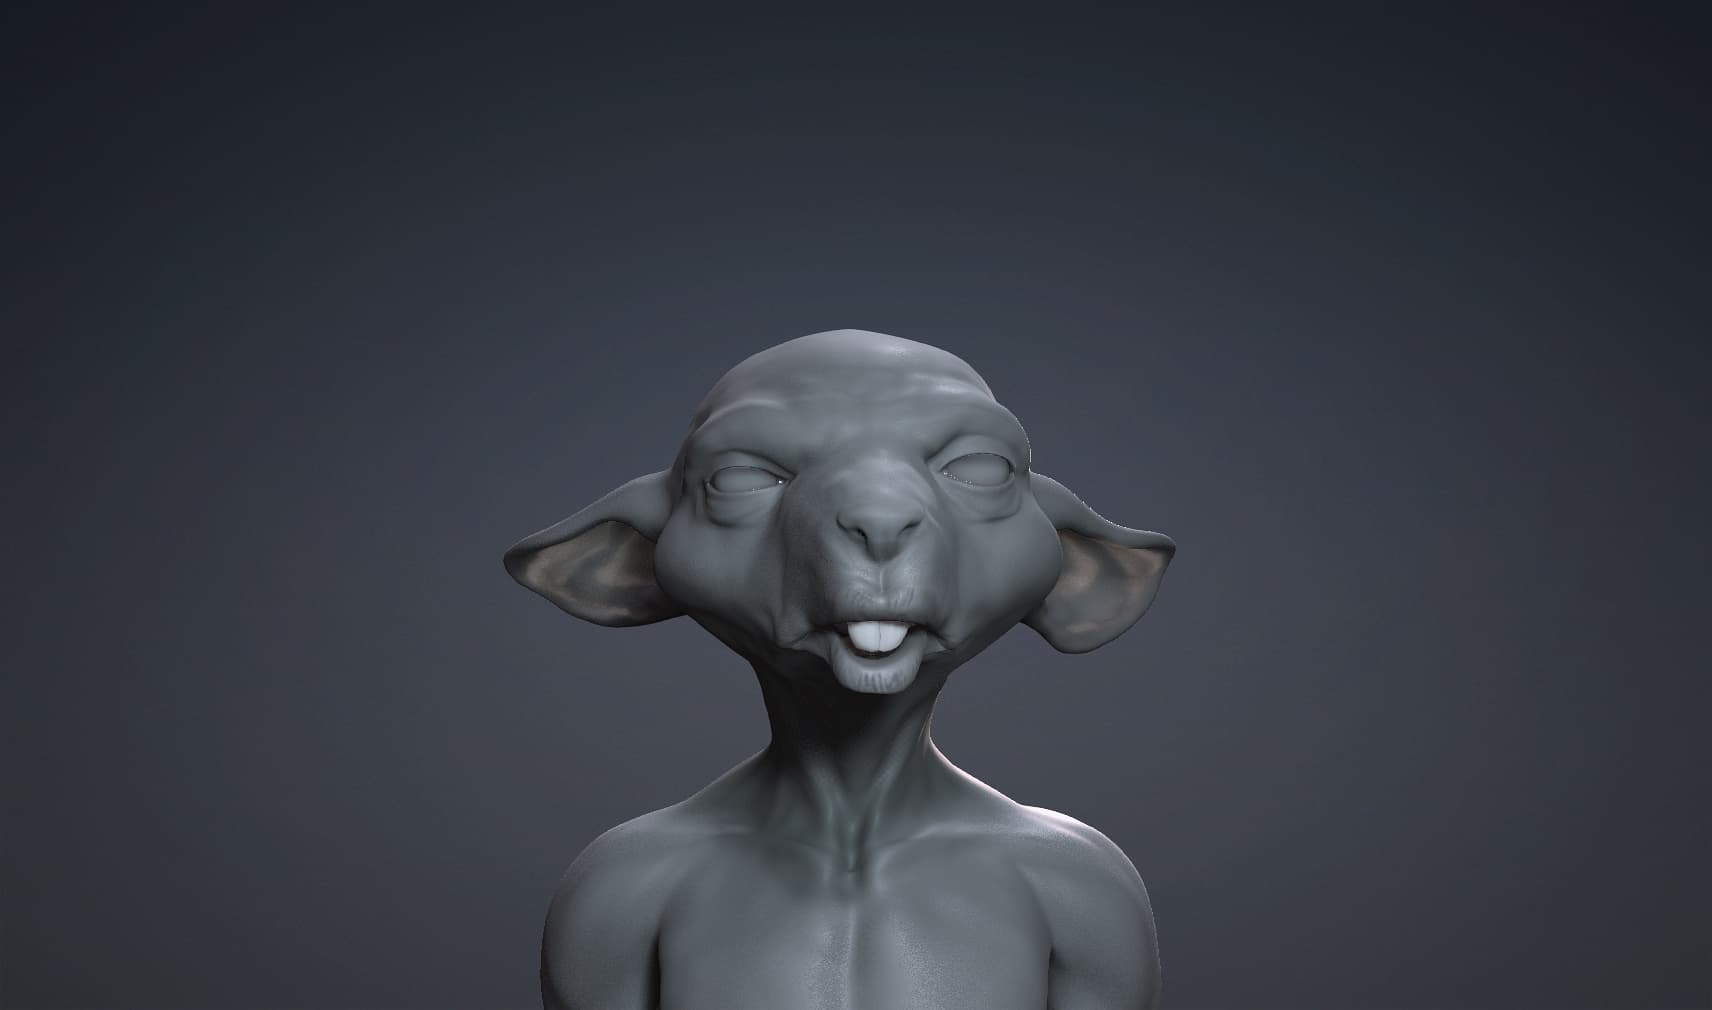
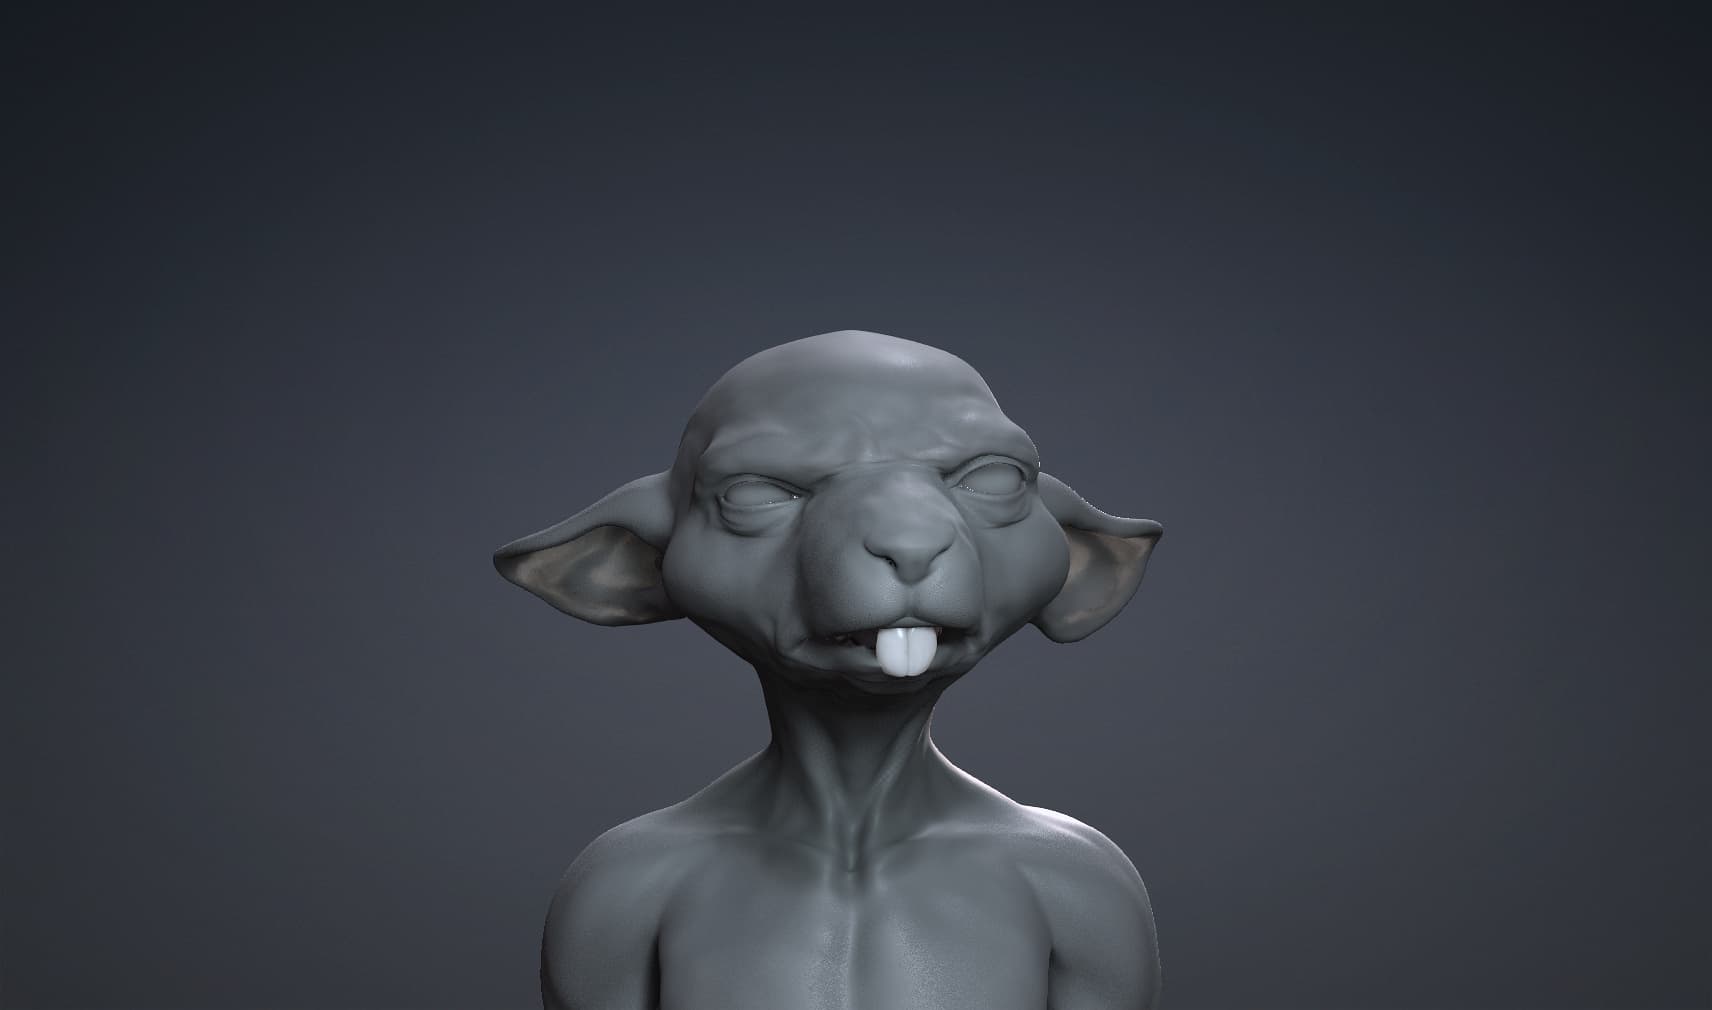
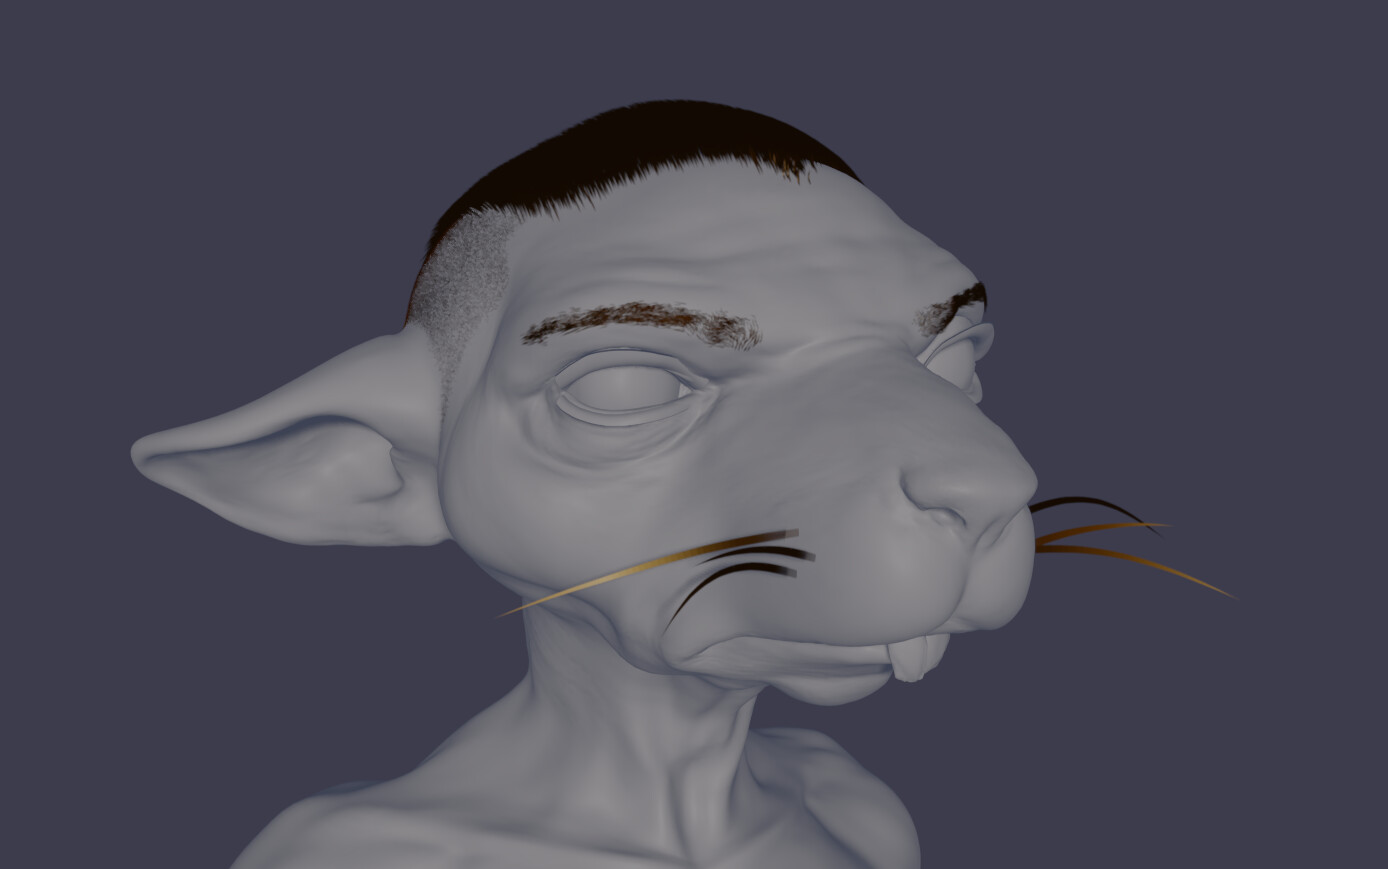
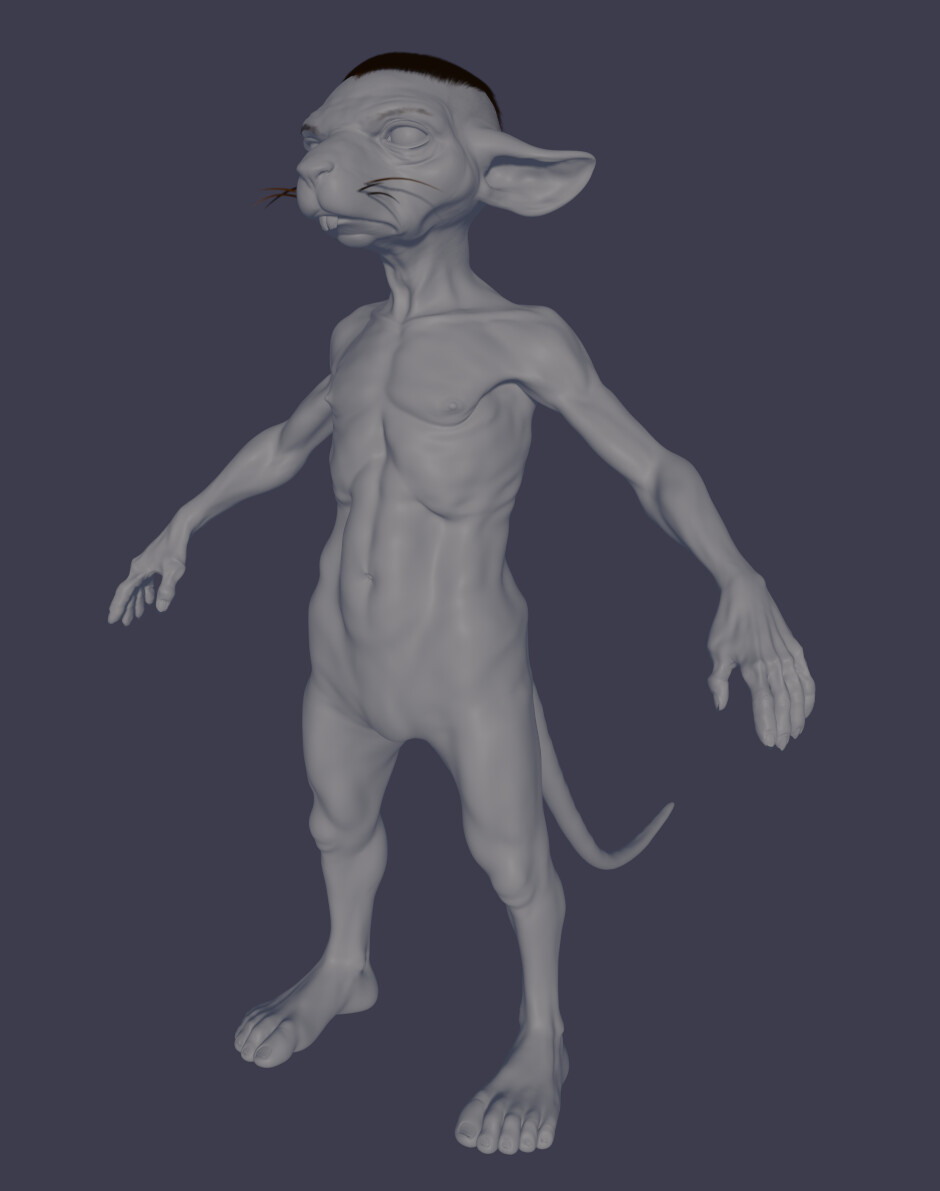
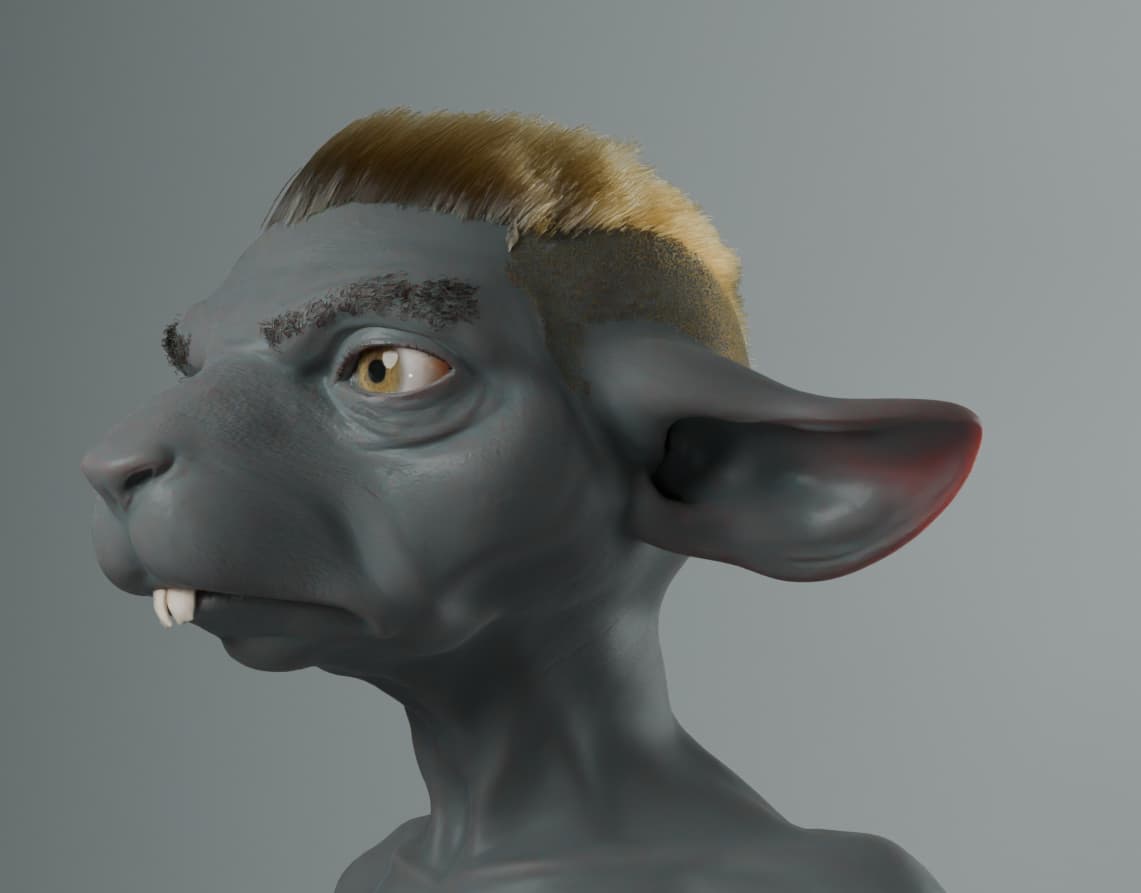
Here are my first NomadSculpt blocking and body sculpt WIP images

Feedback is welcome, especially on silhouette, proportions and character readability before I move deeper into production.

Here is JAx’s pureref
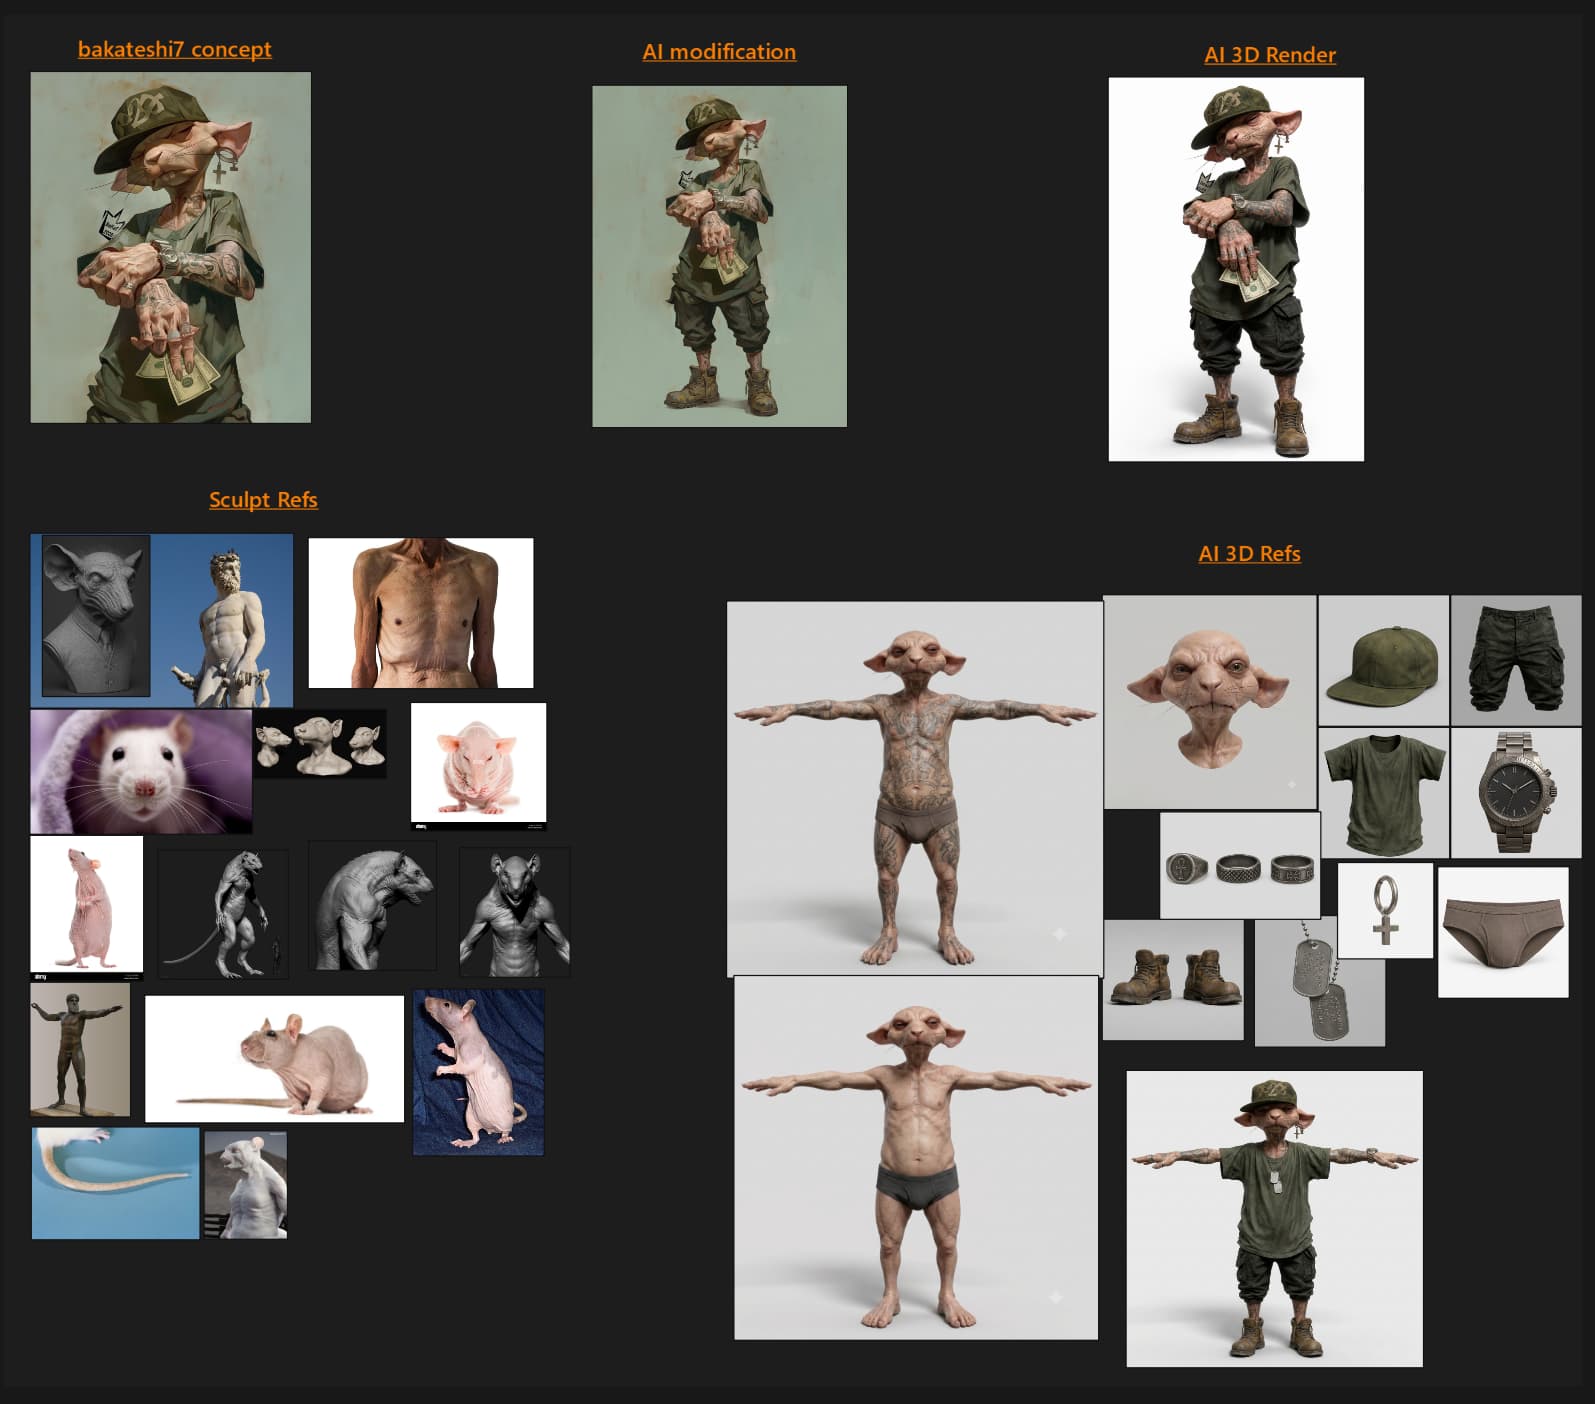
and, just in case anyone’s interested, my Pureref Brainstrom . I used a lot of AI (Nano Banana and GPTimage2) for this part.
Pureref_JimWatL
5 Likes

Hi everyone,

Here is a new WIP update for Jax from Wasted Jungle.

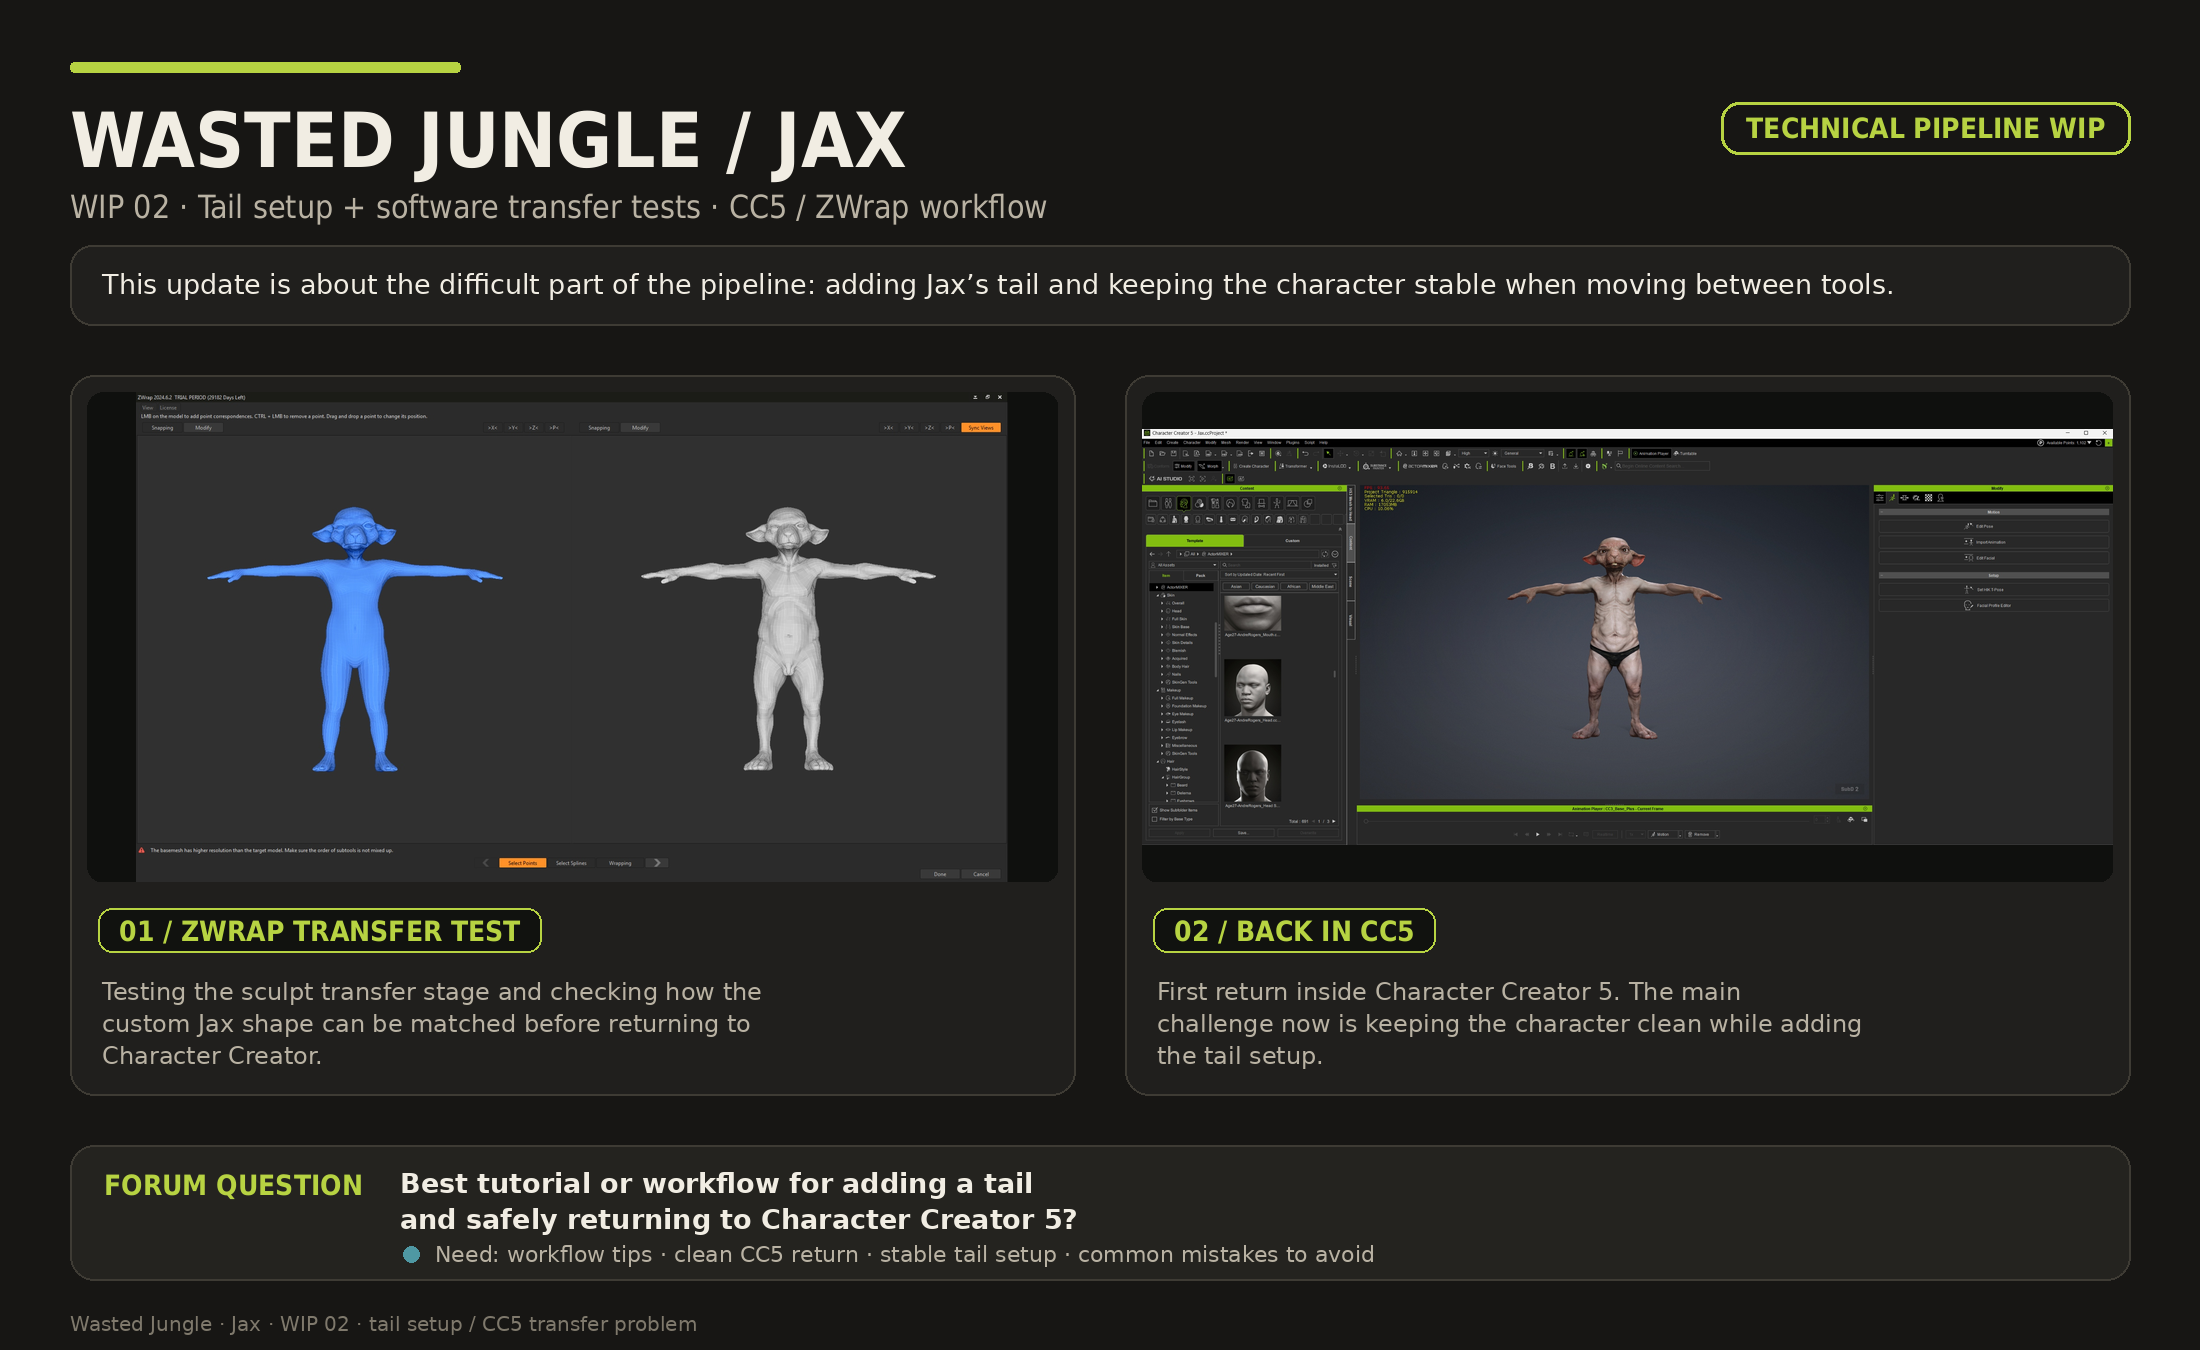
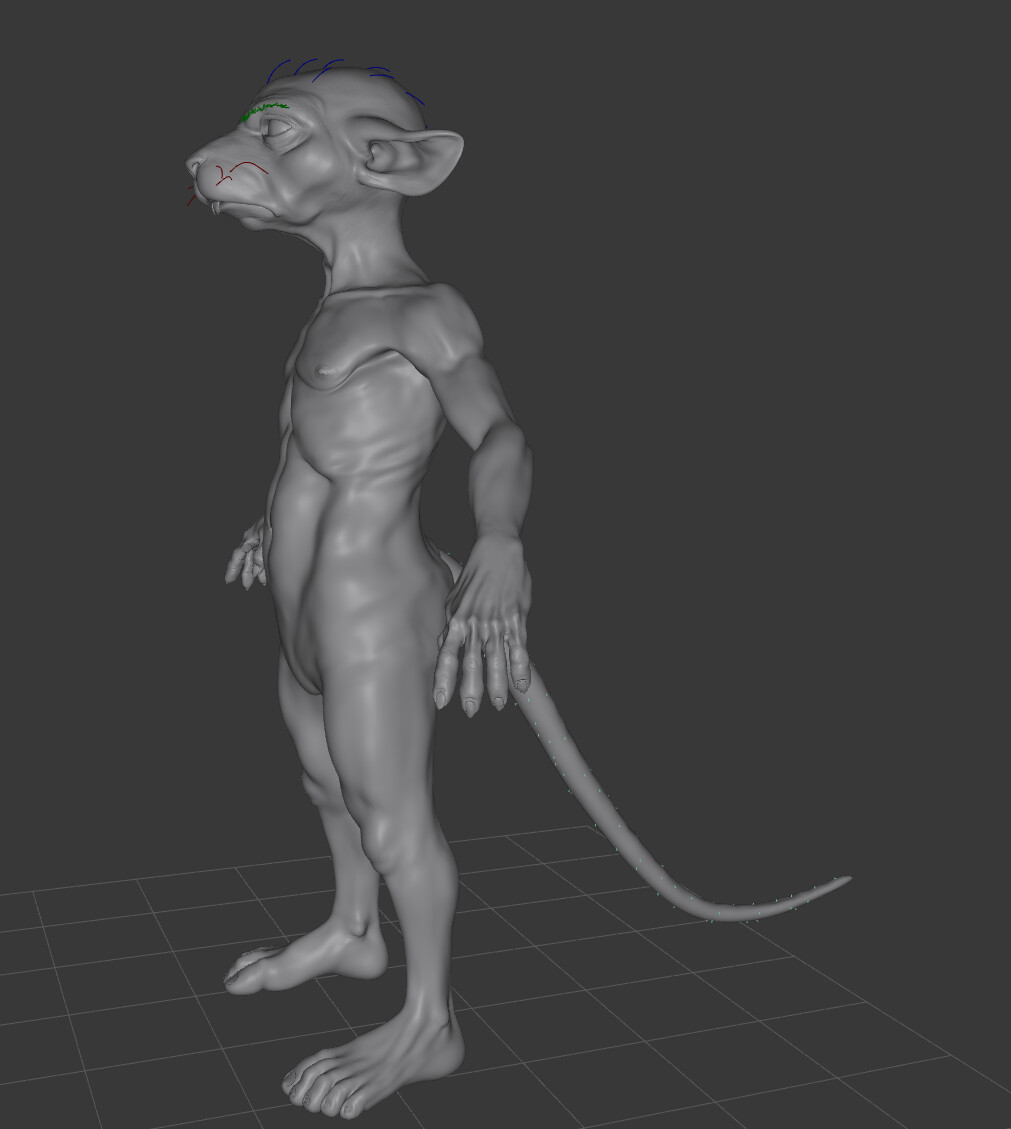
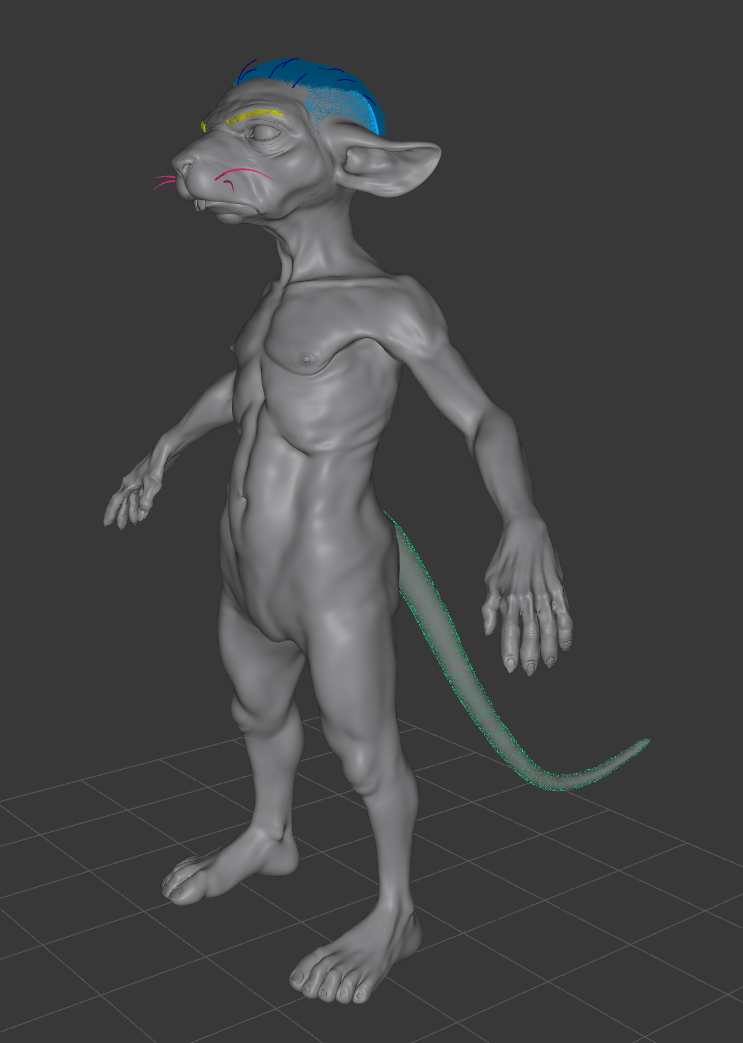
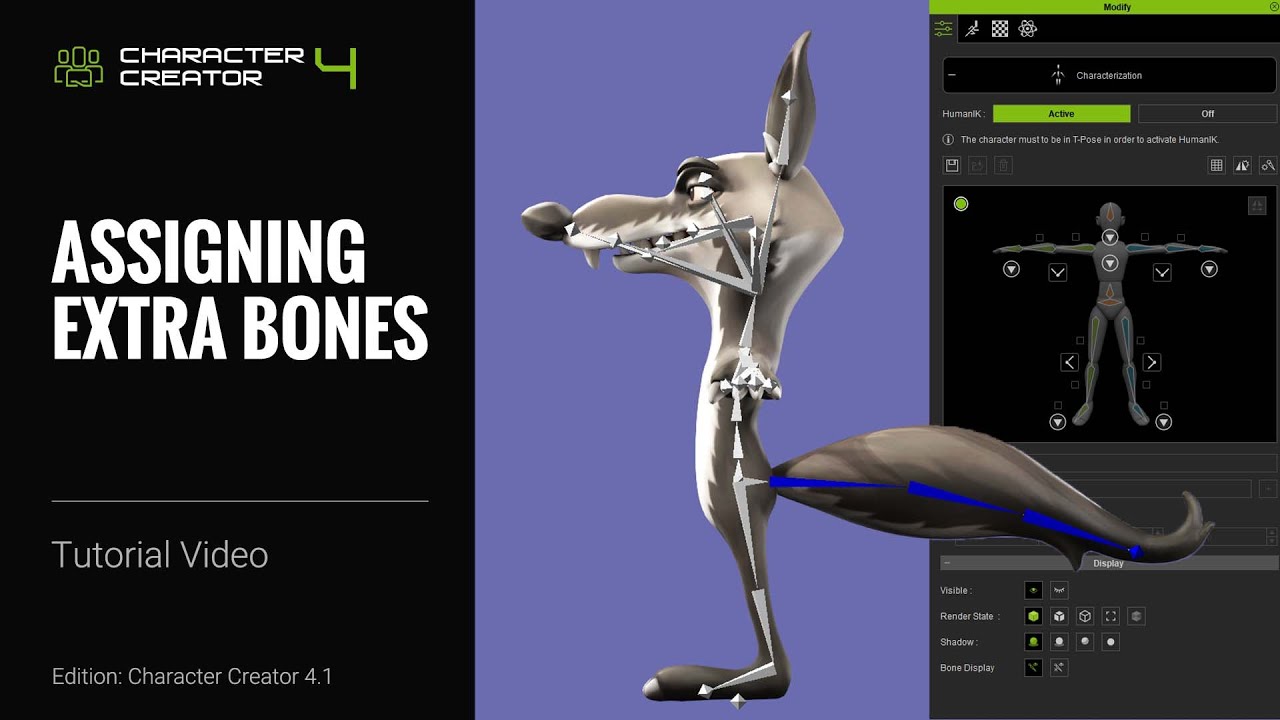
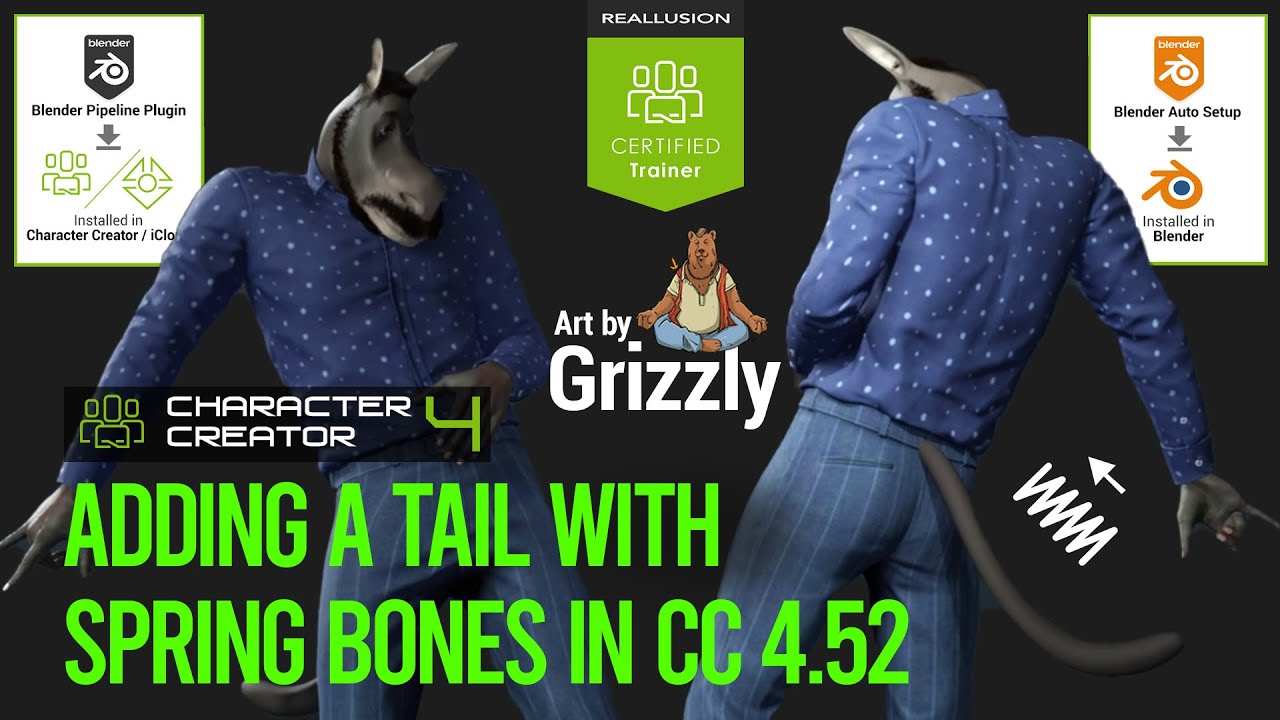
I decided to add a tail to the character because it really strengthens his silhouette and gives him more of that nervous street-creature energy. But I’m currently struggling a bit with the technical side of the workflow.

I followed a few tutorials:

But, as often happens while learning 3D, moving from one software to another creates a lot of small problems for me. Between the sculpt, ZWrap, the transfer process and coming back into Character Creator 5, I’m still trying to keep the workflow clean.

Does anyone know a good tutorial, method or workflow for adding a tail to a character and safely returning to CC5?

I’m especially looking for advice on:

  • keeping the base clean;
  • avoiding issues when returning to Character Creator 5;
  • preparing the tail so it can still work later for posing or animation.

Thanks in advance for any advice.

2 Likes

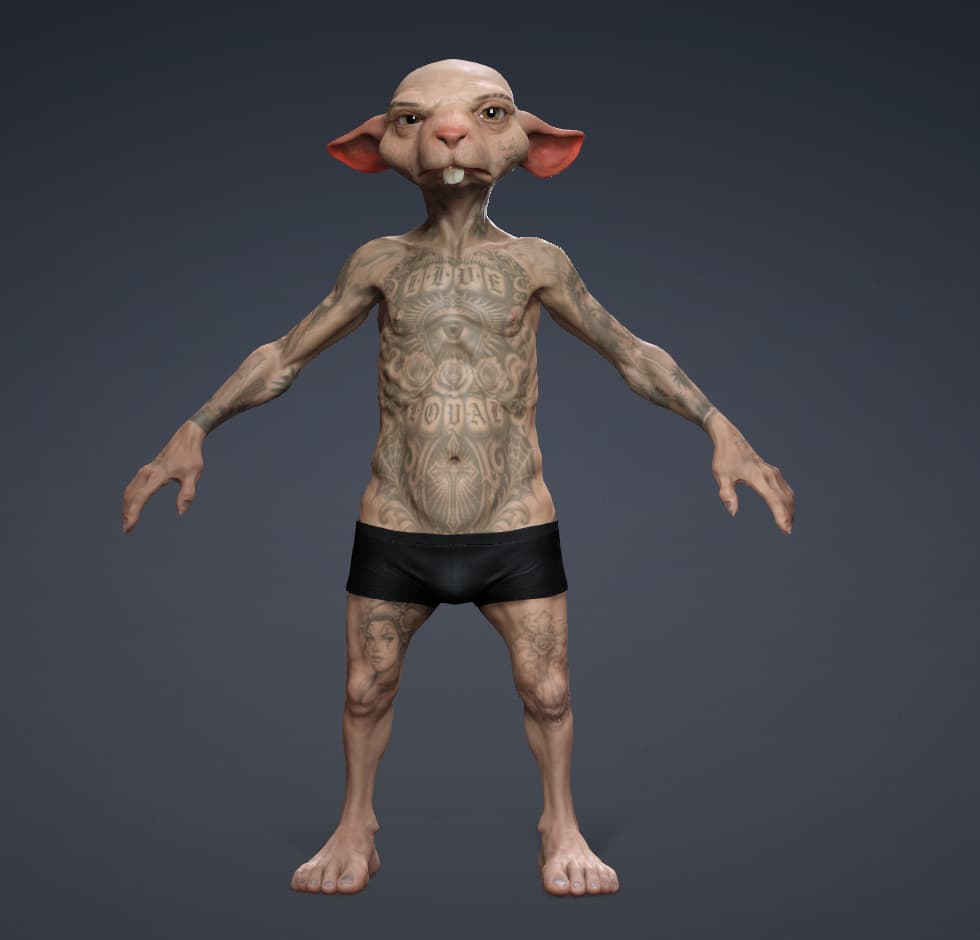
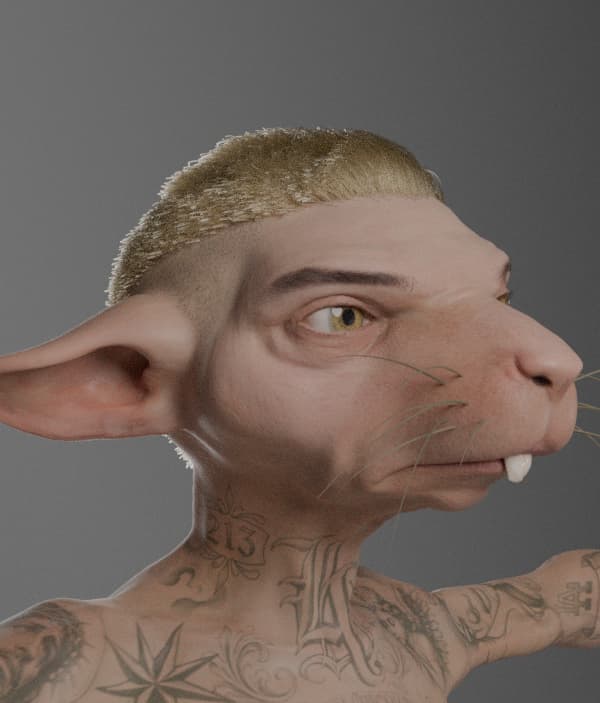
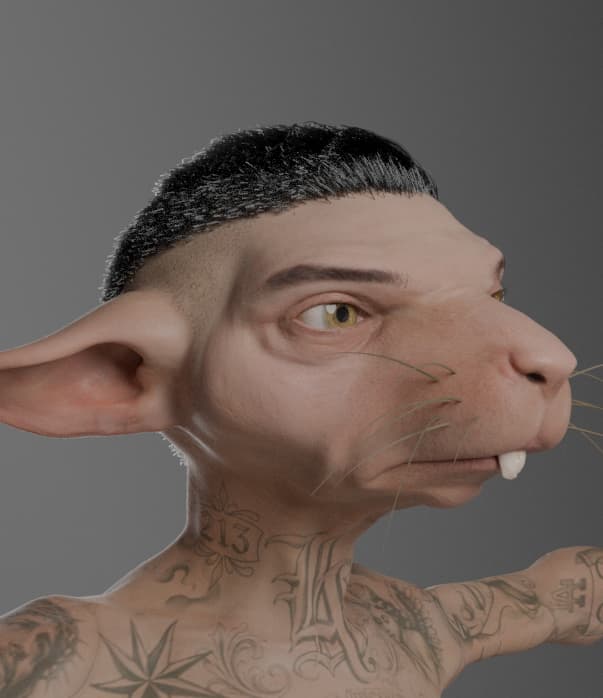
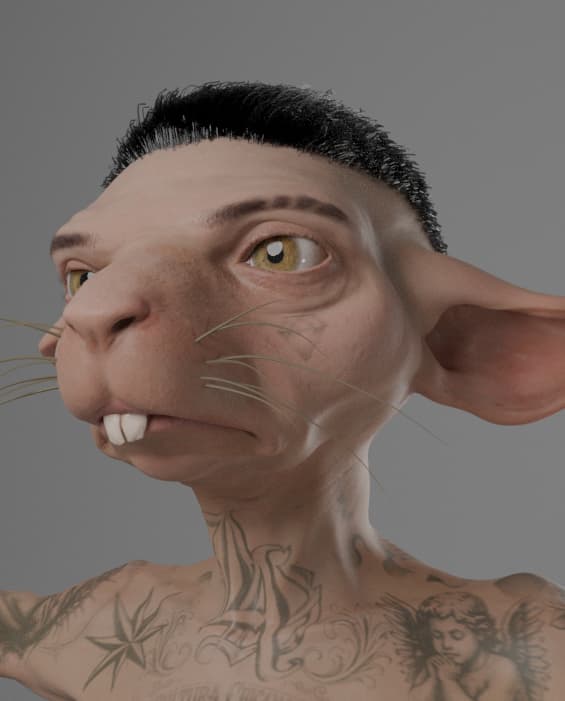
A quick update and tattoo test

3 Likes

The face and body look great. I would never know this is base CC topology on the face if you didn’t show the z-wrap scan to CC morphing above.

Thanks!
On my side, I usually start with Headshot to get a clean base topology, even though I prefer using Wrap directly since it’s much more flexible for micro-adjustments (unfortunately, I don’t have the license yet).

Then I adjust the body proportions in CC5 by working with the bones. I send the mesh to ZBrush via GoZ, and use ZWrap step by step on the first three subdivision levels of the CC5 mesh.

Once that’s done, I go back into CC5 to make sure everything is working correctly. After that, I use Face Tools to refine the expressions, tweak details, and improve areas like wrinkles.

It’s a somewhat long and tedious process, but it saves a lot of time later for animation, and most importantly, it allows me to skip manual rigging and skinning.

1 Like

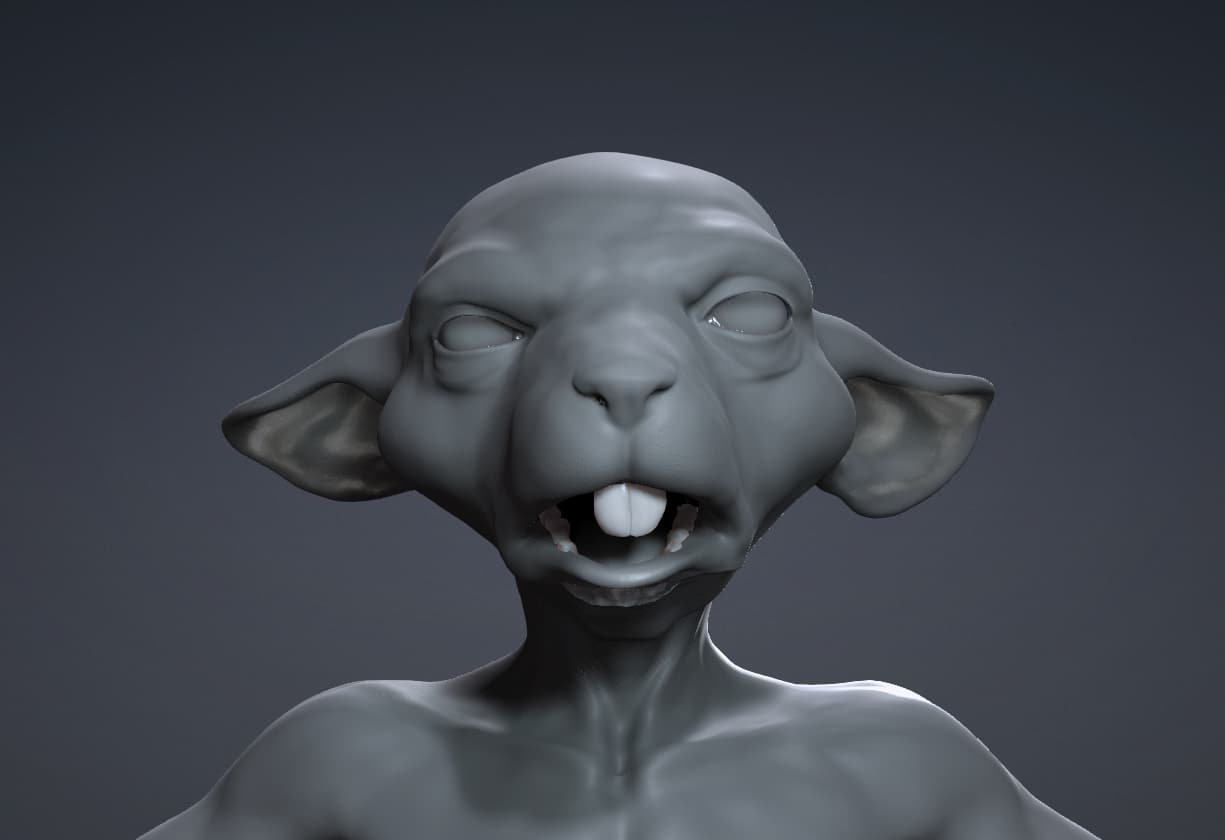
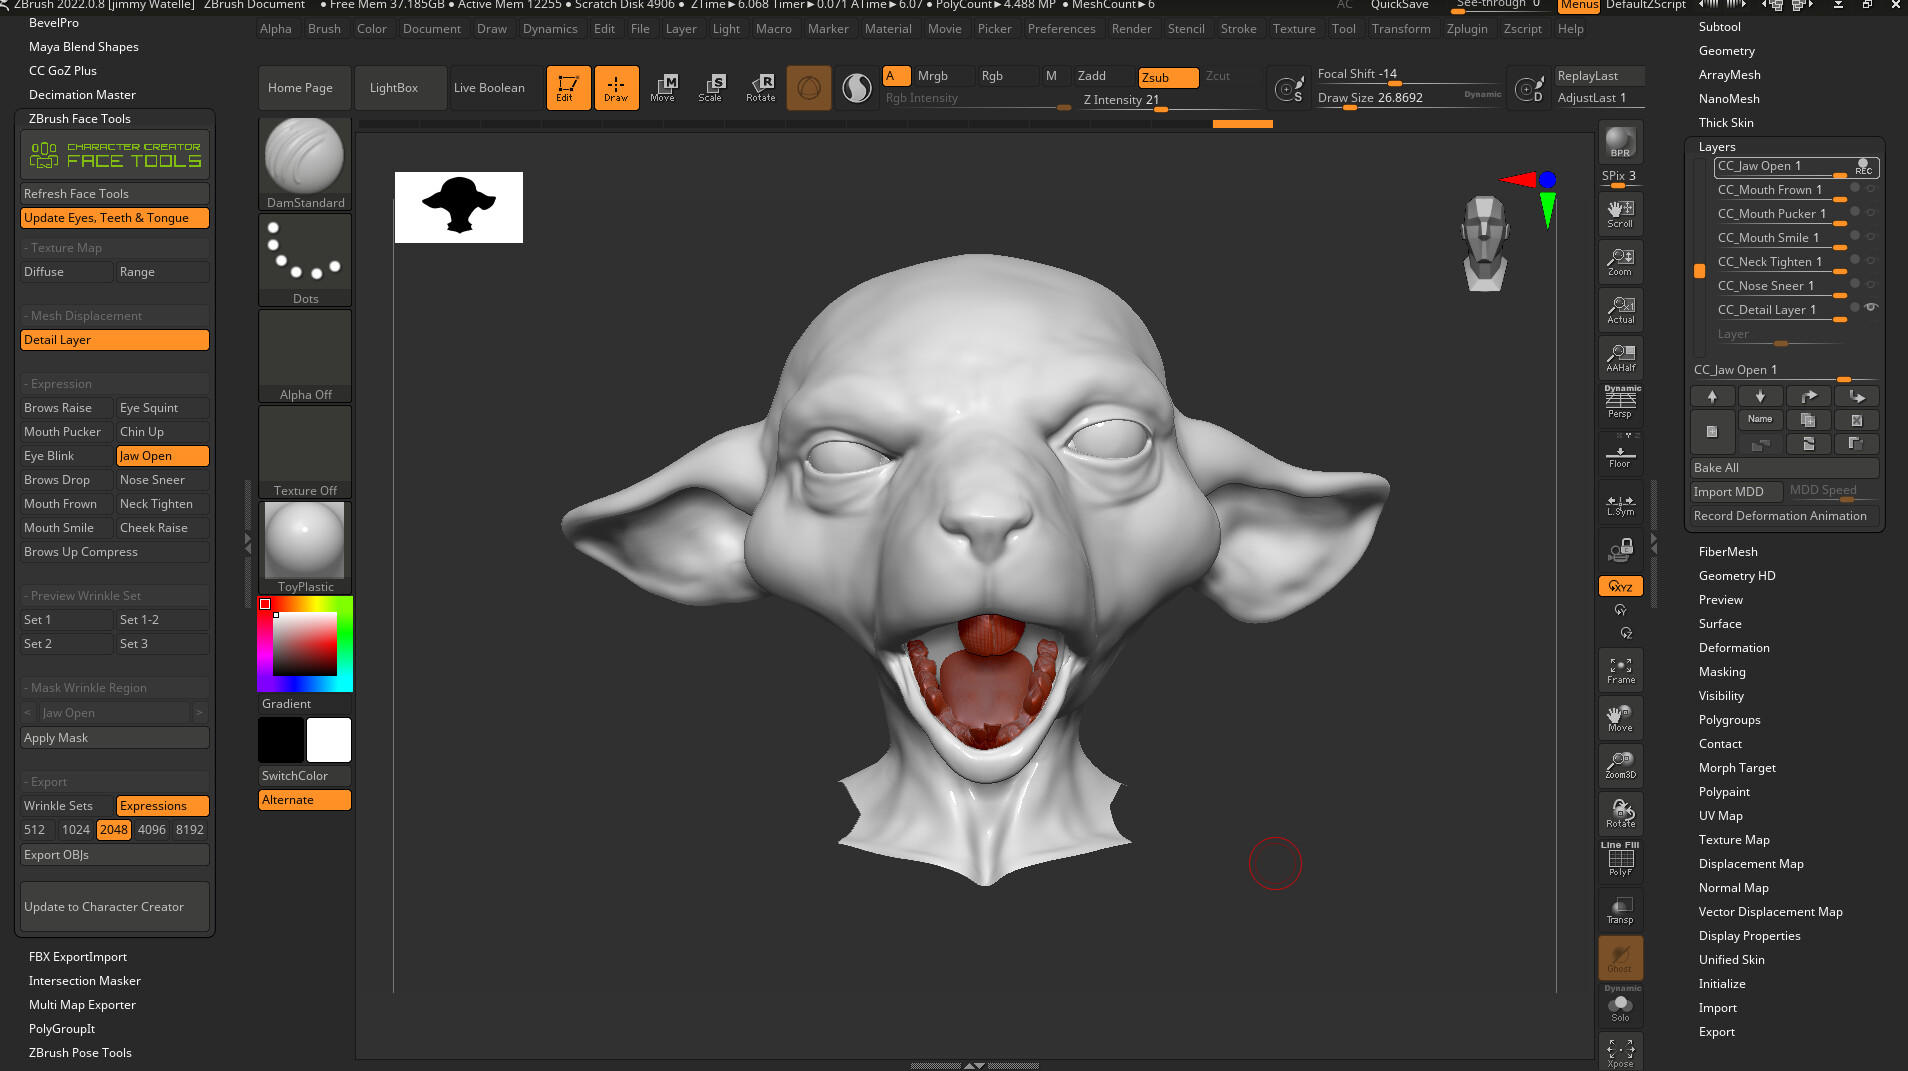
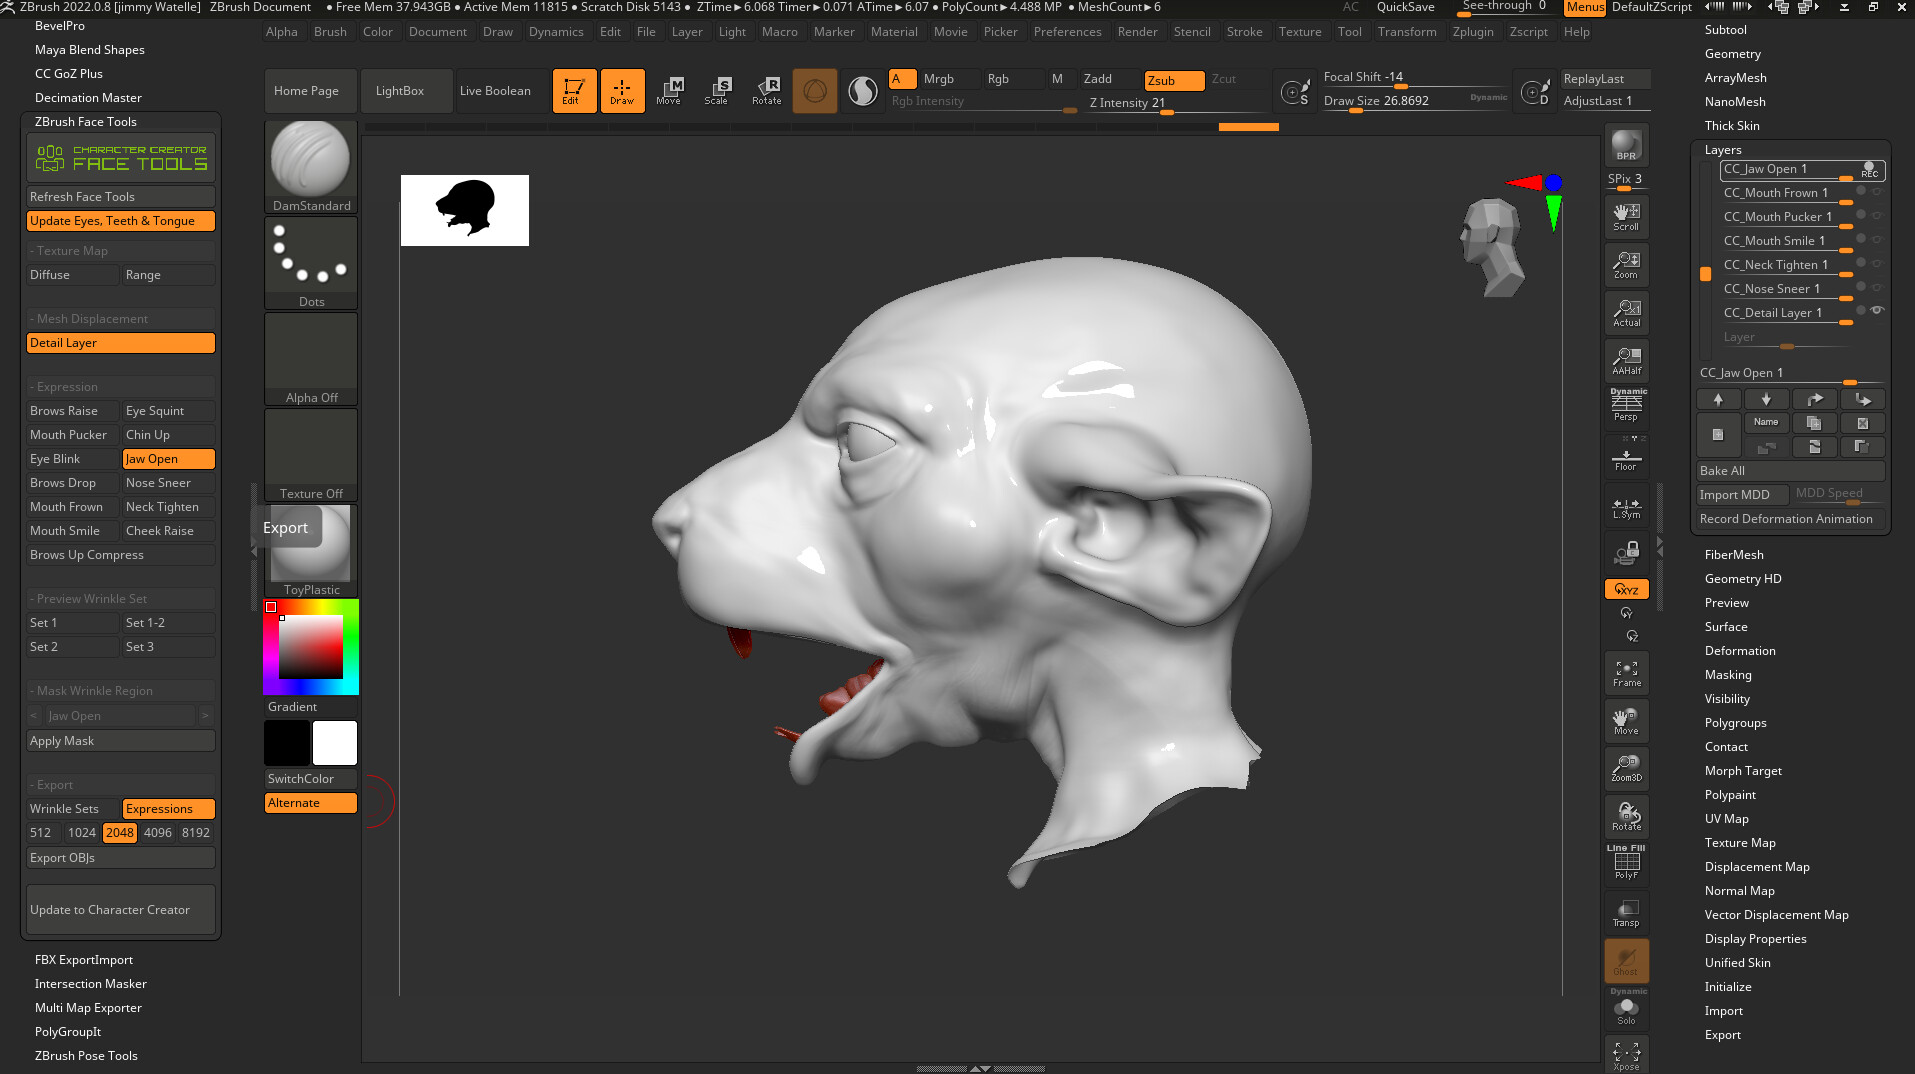
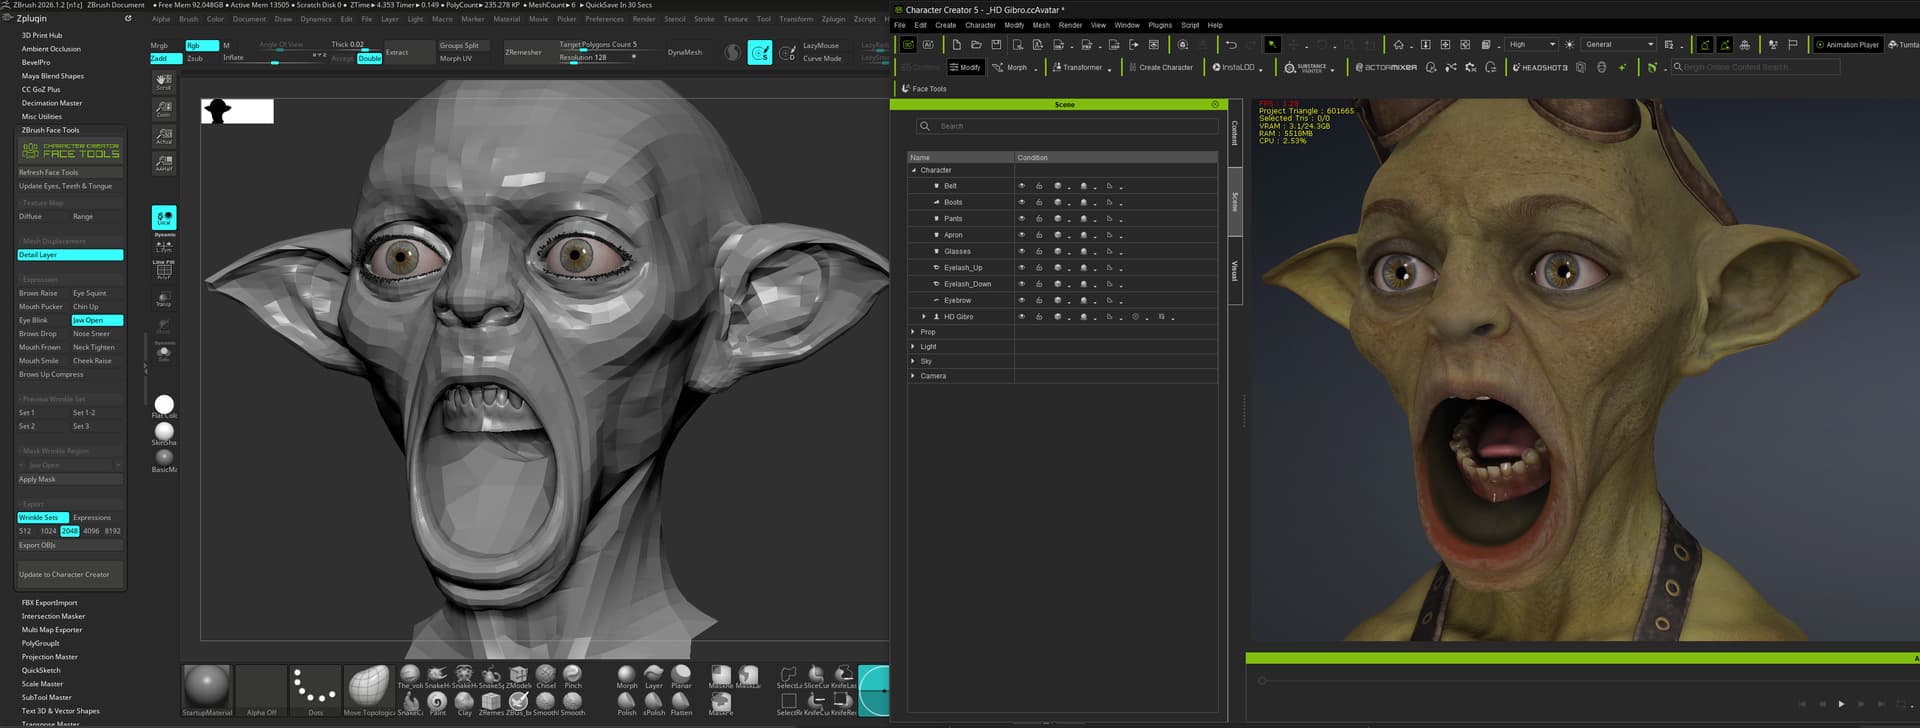
I’m currently working on facial expressions and I’ve run into a major issue with Face Tools.
When I edit and sculpt each of the 13 expressions in ZBrush, everything looks fine. But as soon as I send them back to CC5, all of the expressions get completely messed up.
I’ve tried many different settings and workflows, but nothing seems to fix it.
Has anyone experienced this issue with Face Tools, or found a reliable solution or workaround?

back to CC5 :frowning:


1 Like

Hmm that looks like your changes in the layers applied 2x. I tried it on the Gibro default character to make his mouth more open. And it seemed to work out ok. Are you toggling off layers manually in Zbrush’s layer editor somehow instead of using the Zbrush Face Tools Plugin? Or you’re switching to some other expression it in subdiv-1 + or above? I’ve seen zbrush somehow ‘bake’ the changes to the models when you toggle the layers in any other levels except subdiv-0.

1 Like

Thanks for your feedback, ThatNewID. I am indeed exporting to SubD2—maybe that’s the cause? I’ll try sending them via SubD0. Otherwise, I use the ZBrush FaceTools plugin, and the layers activate automatically when I change the expression to modify it—and my character’s shape requires me to do this across the entire model. However, I’ve changed the entire model and am trying to send them to CC5. Maybe it’s better to do it one by one? thank you

I think FaceTools also allows you to send to multiple subdivs. I think export them all at once, that should ideally replicate the Zbrush subdivs in CC5. It’s just me guessing btw, and there might genuinely be some minor bug that’s causing this issue.

1 Like

I have a question about the contest. It seems you have to write “[WIP Entry] 2026 Reallusion 3D Character Contest - XXXXX” for your work to be counted toward the contest. Do I need to create a new thread, or how can I change the title? Is it a problem that I didn’t write it correctly? [WIP Entry] not a problem?

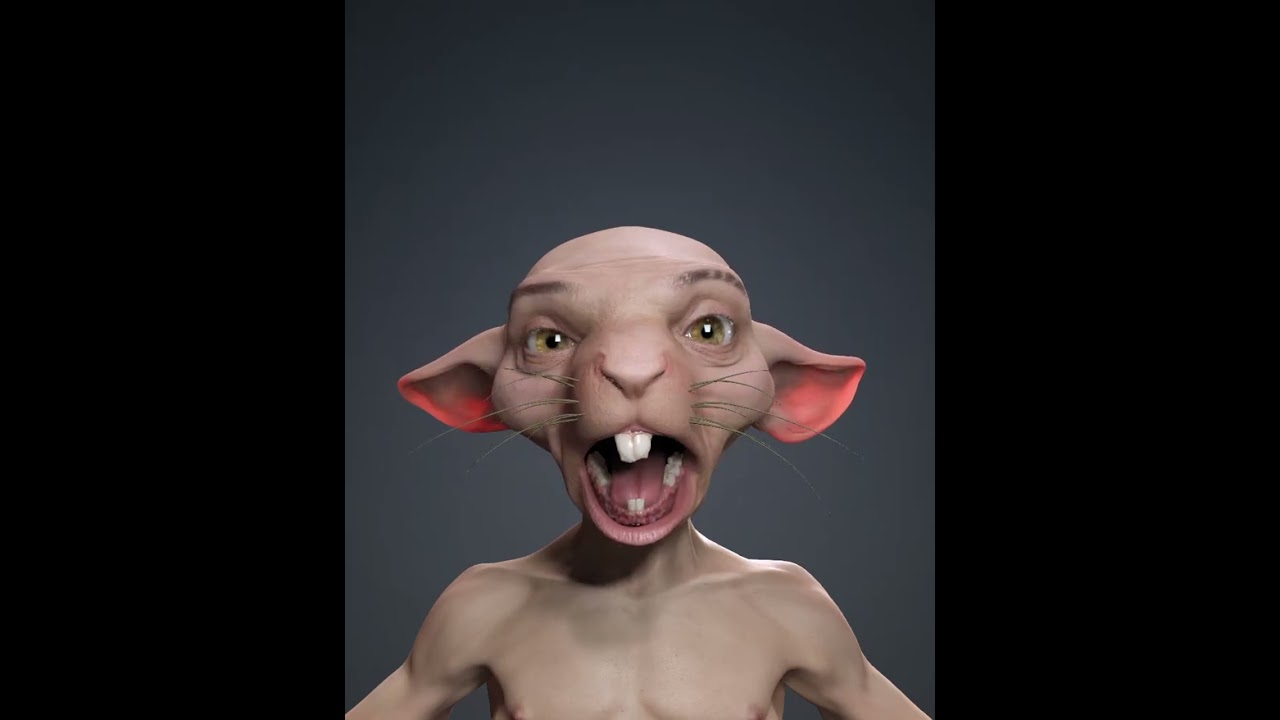
A quick update: I tested the 13 expressions. The results aren’t conclusive yet, but I managed to recover as much as possible of the sculpting I did in FaceTools by adjusting the sliders in the facial profile editor. I’m going to try sculpting each expression one by one to finish the adjustments and, most importantly, to make sure the teeth align correctly with the lower jaw. https://youtu.be/3ZT9o7hZeJk

I’m really struggling. I think I’m going to start all over from the beginning. I don’t think I was precise enough during the wrap with headshot, so I’m going to start over.

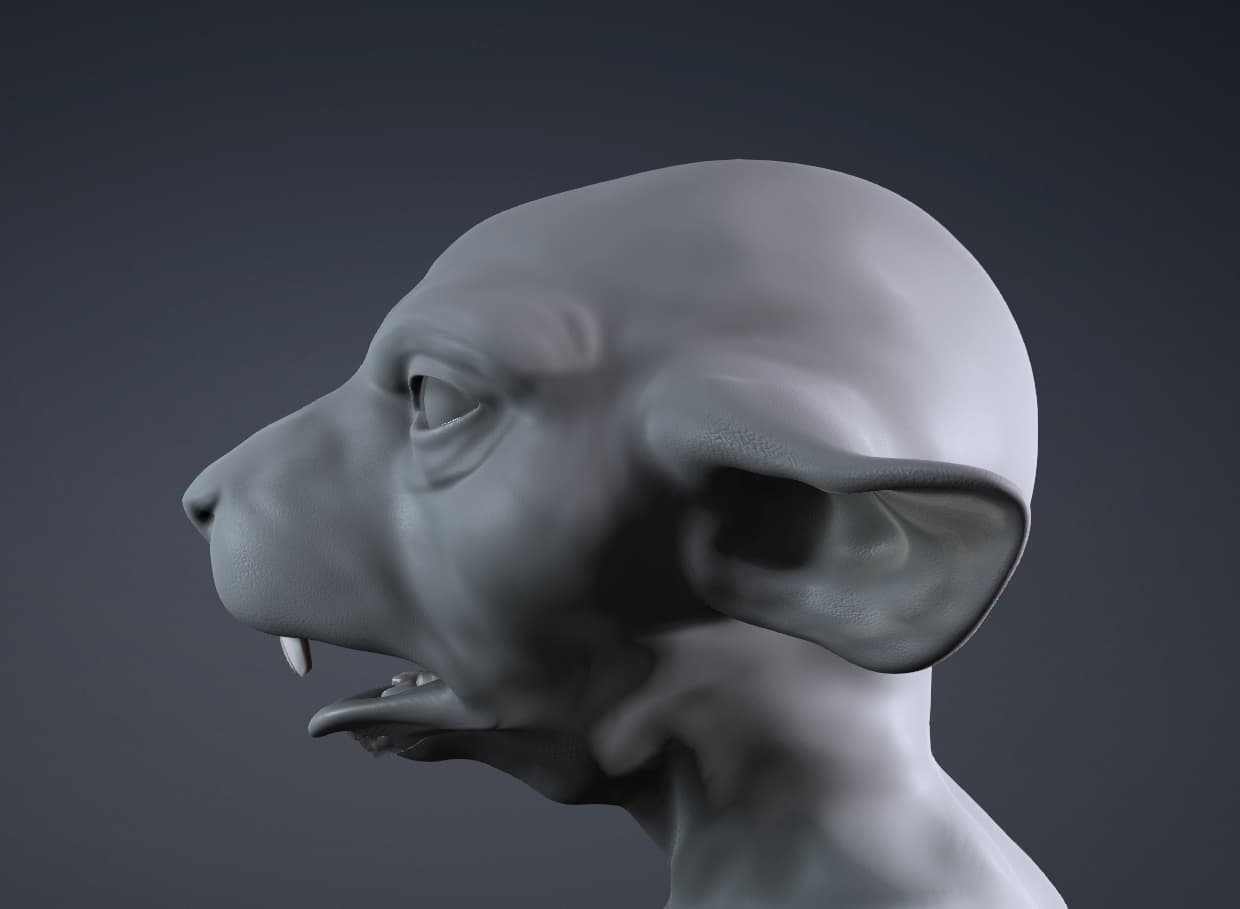
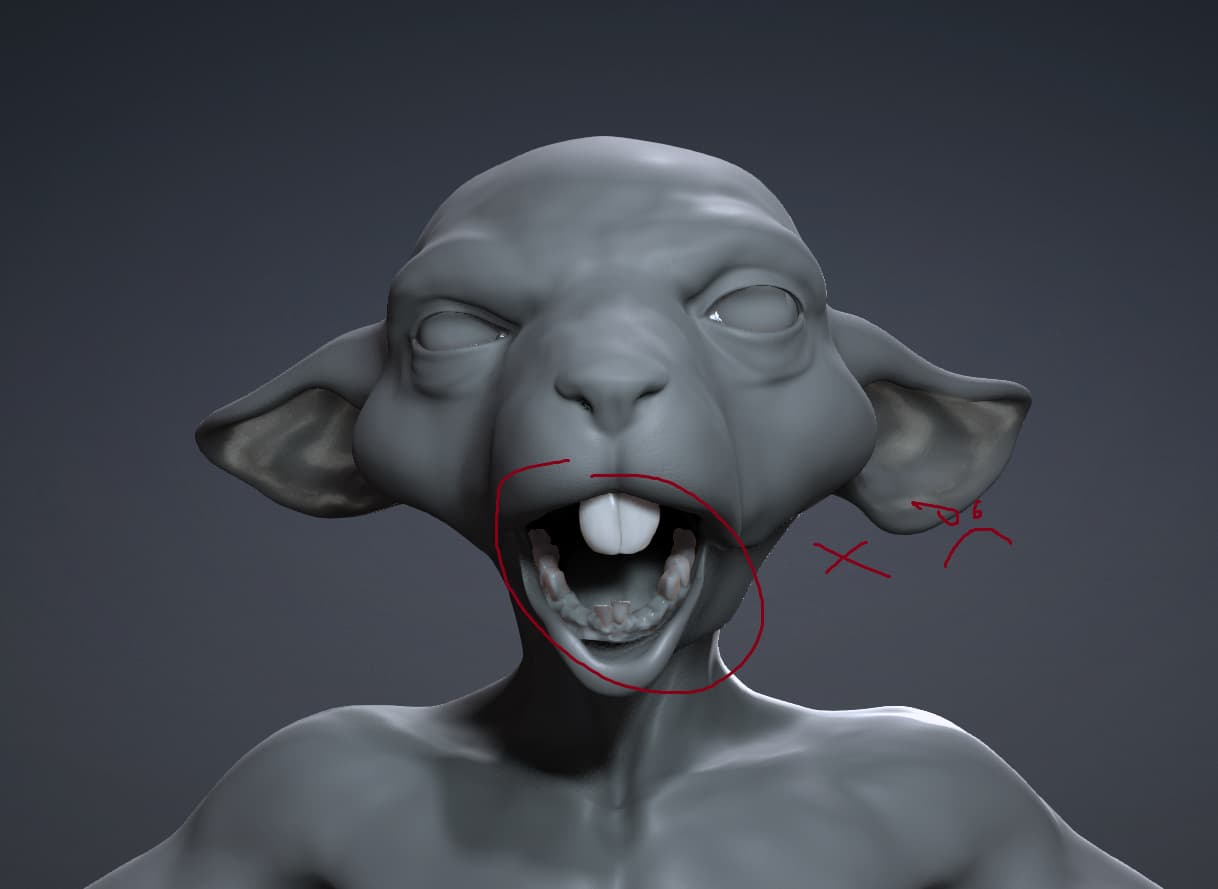
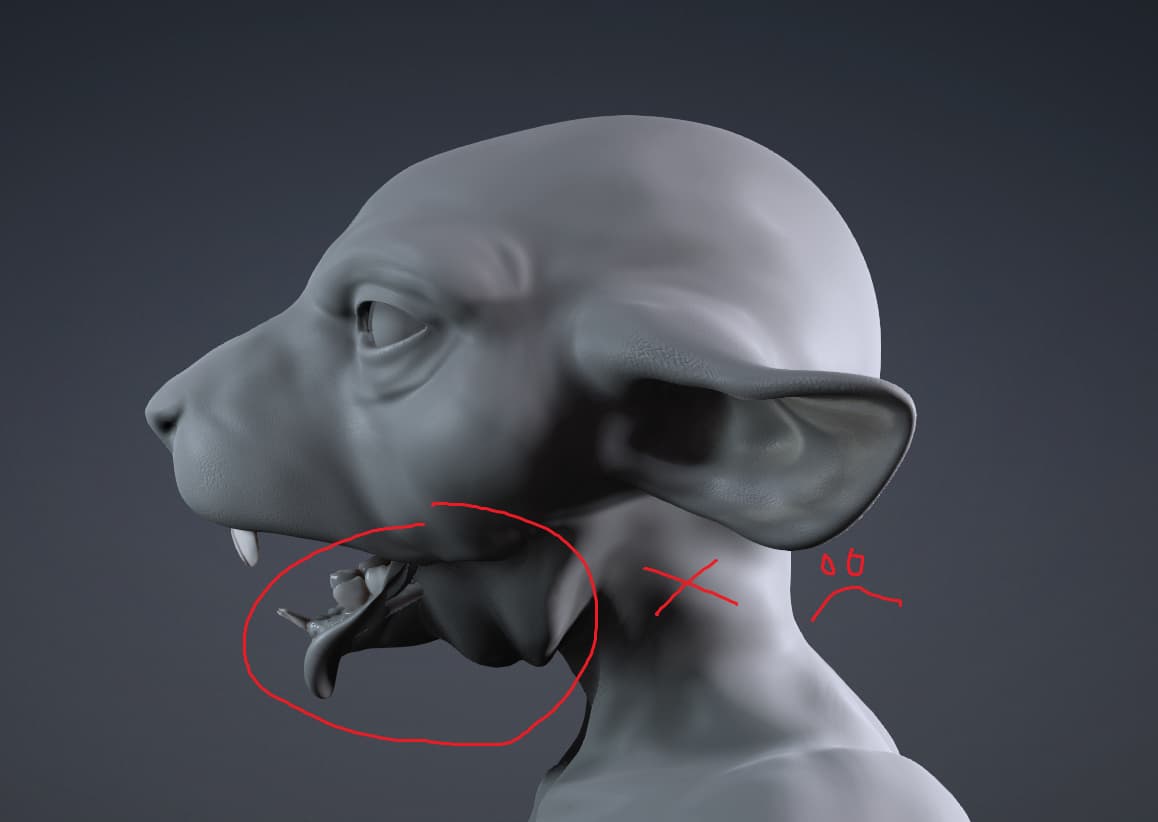
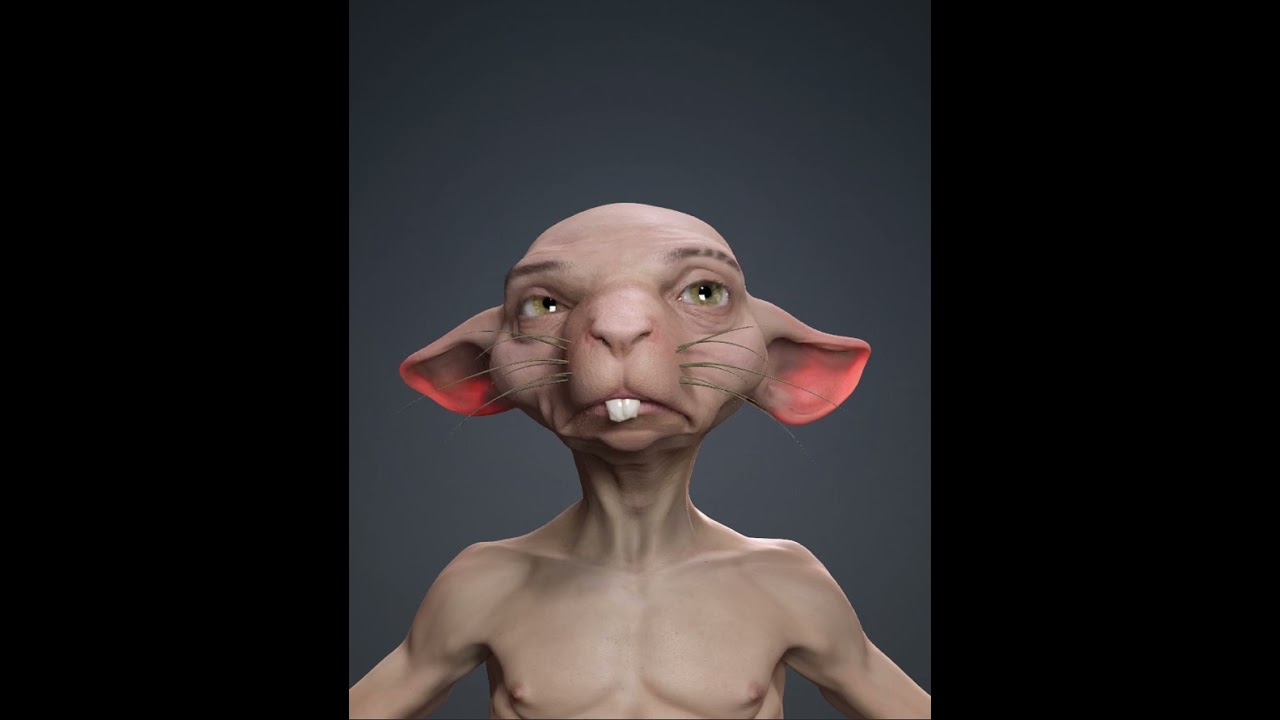
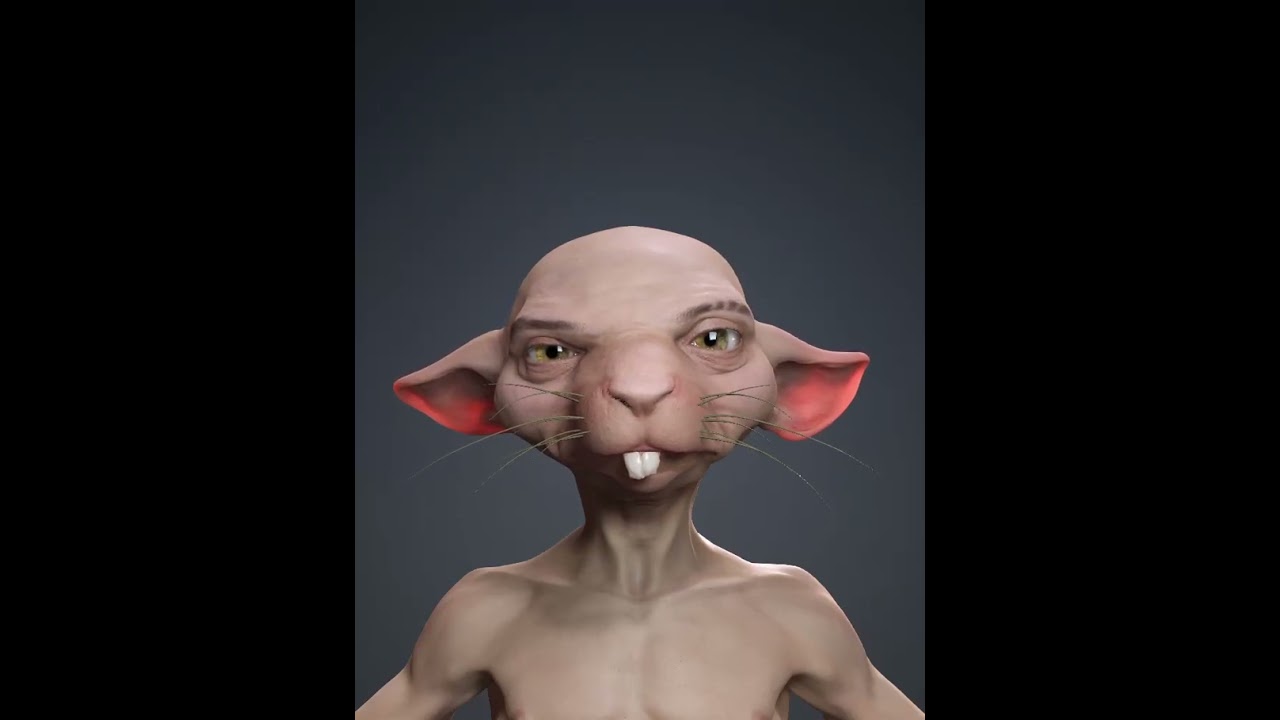
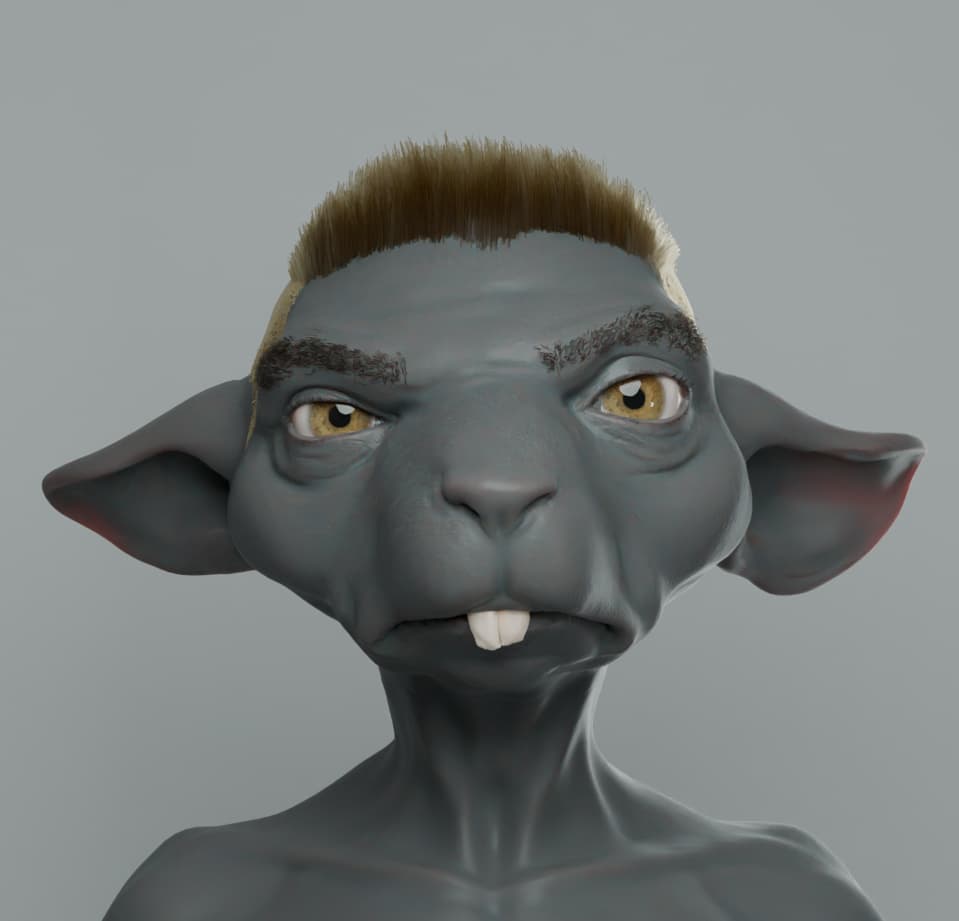
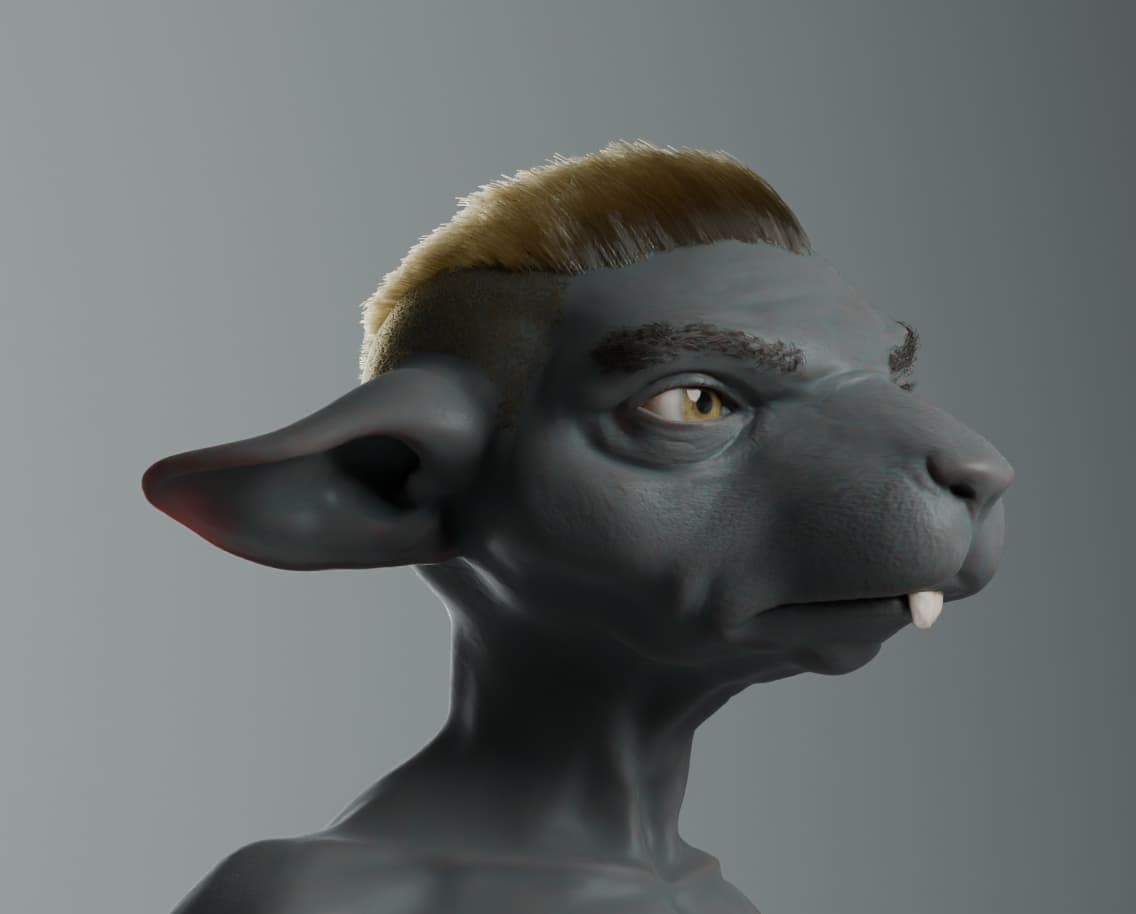
Test with the new character, There’s still a lot of work to be done on the jaw and the eyes:

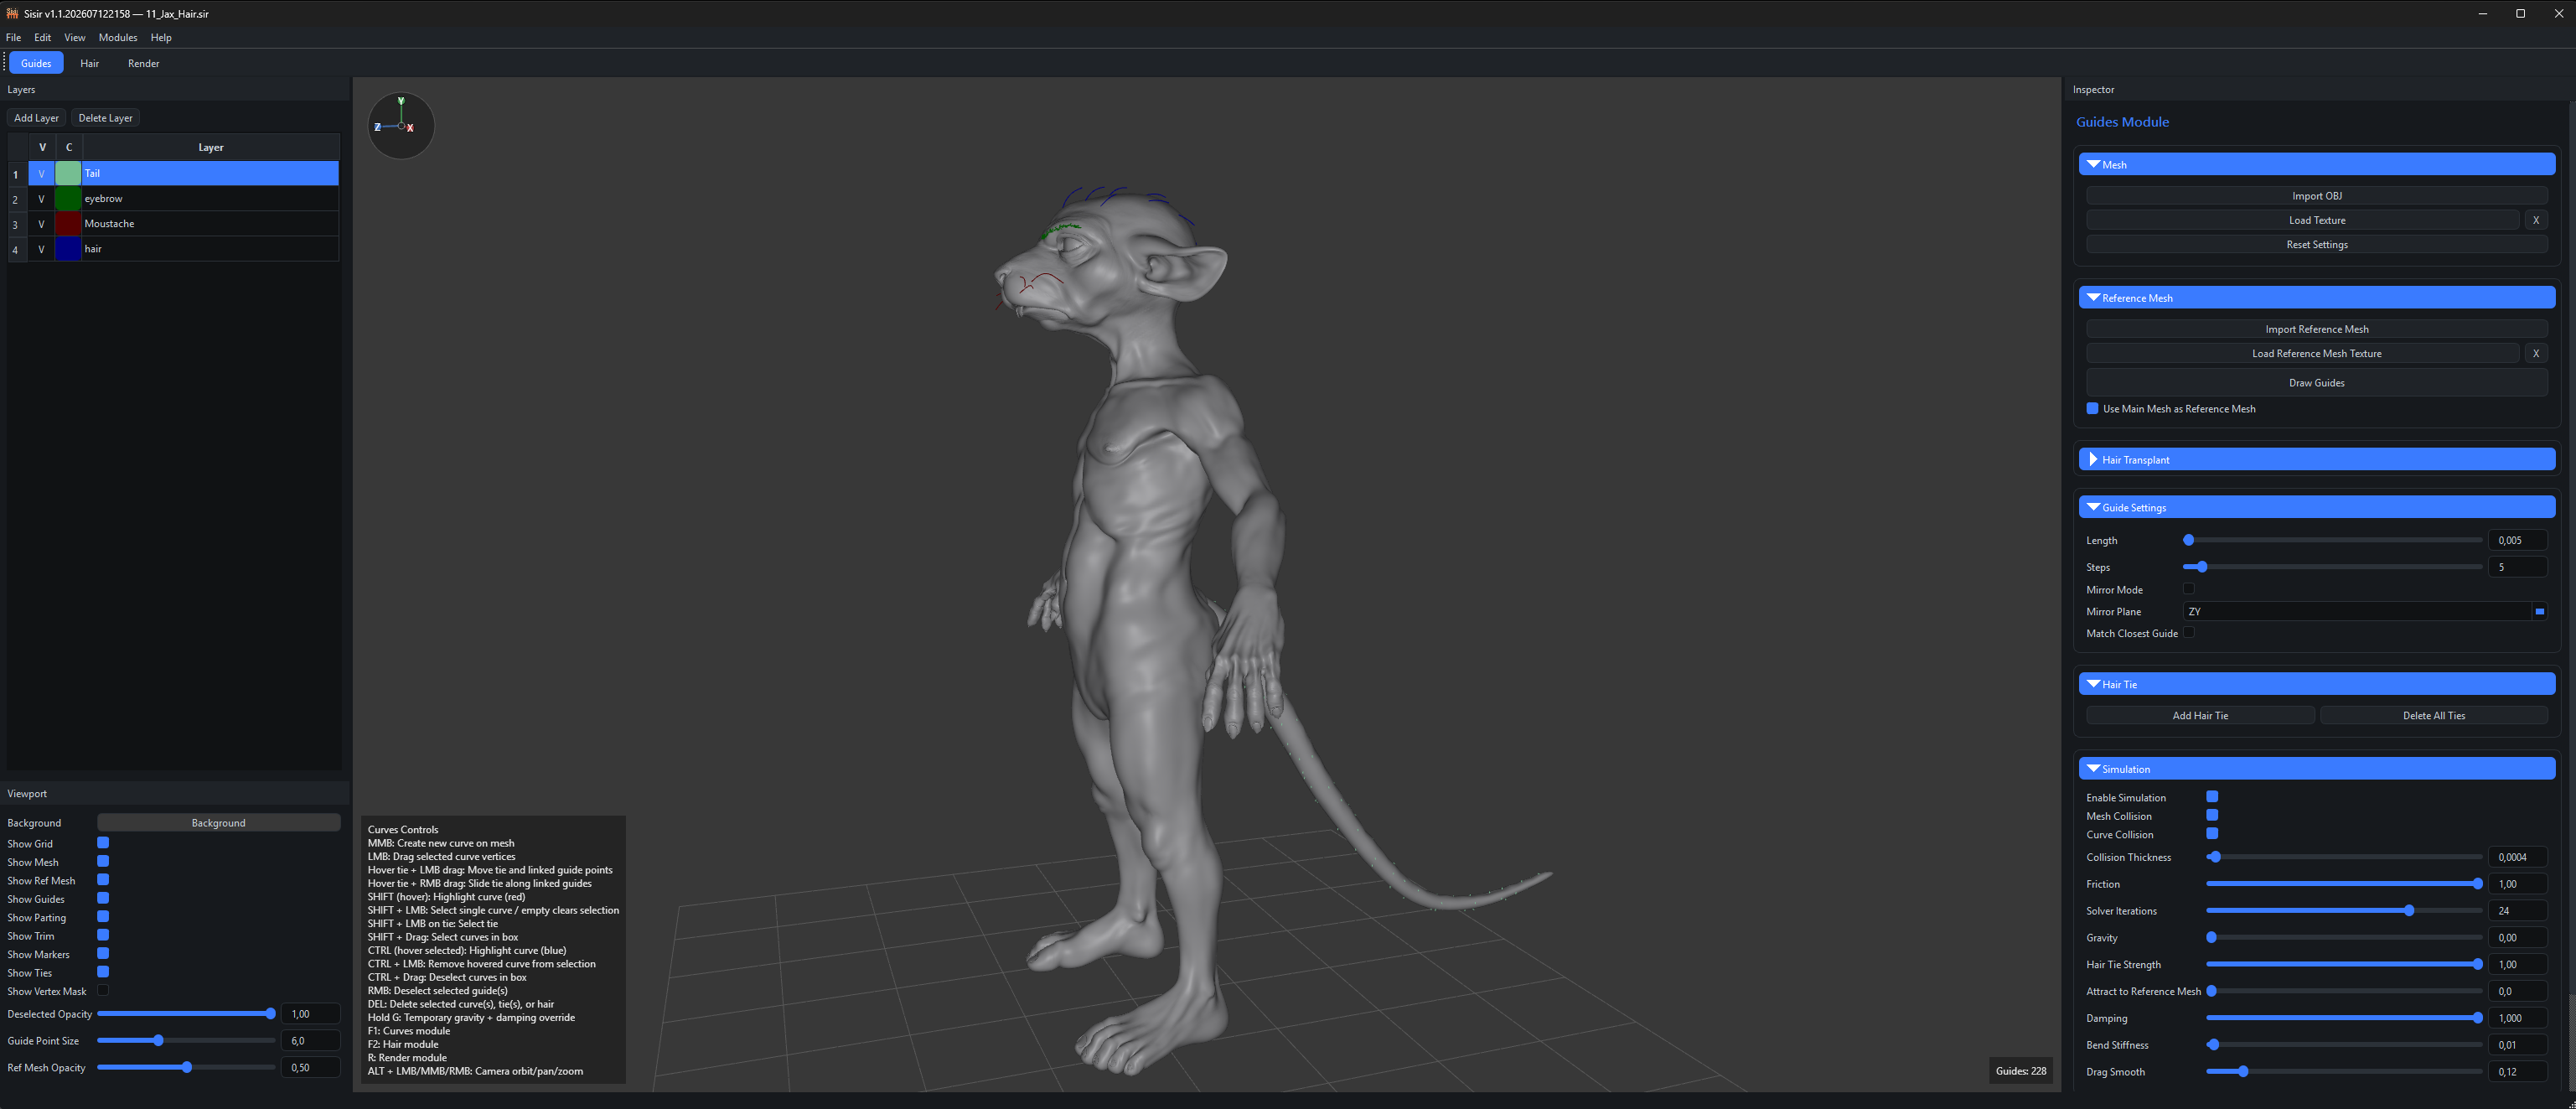
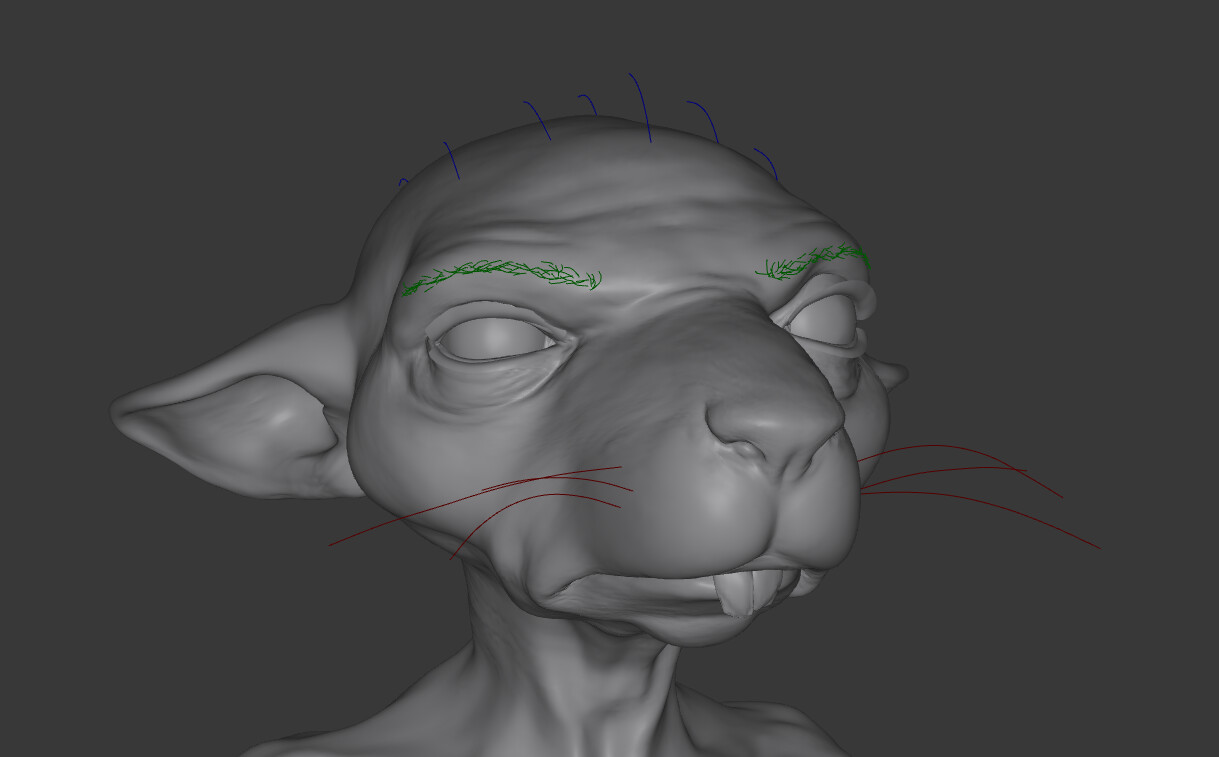
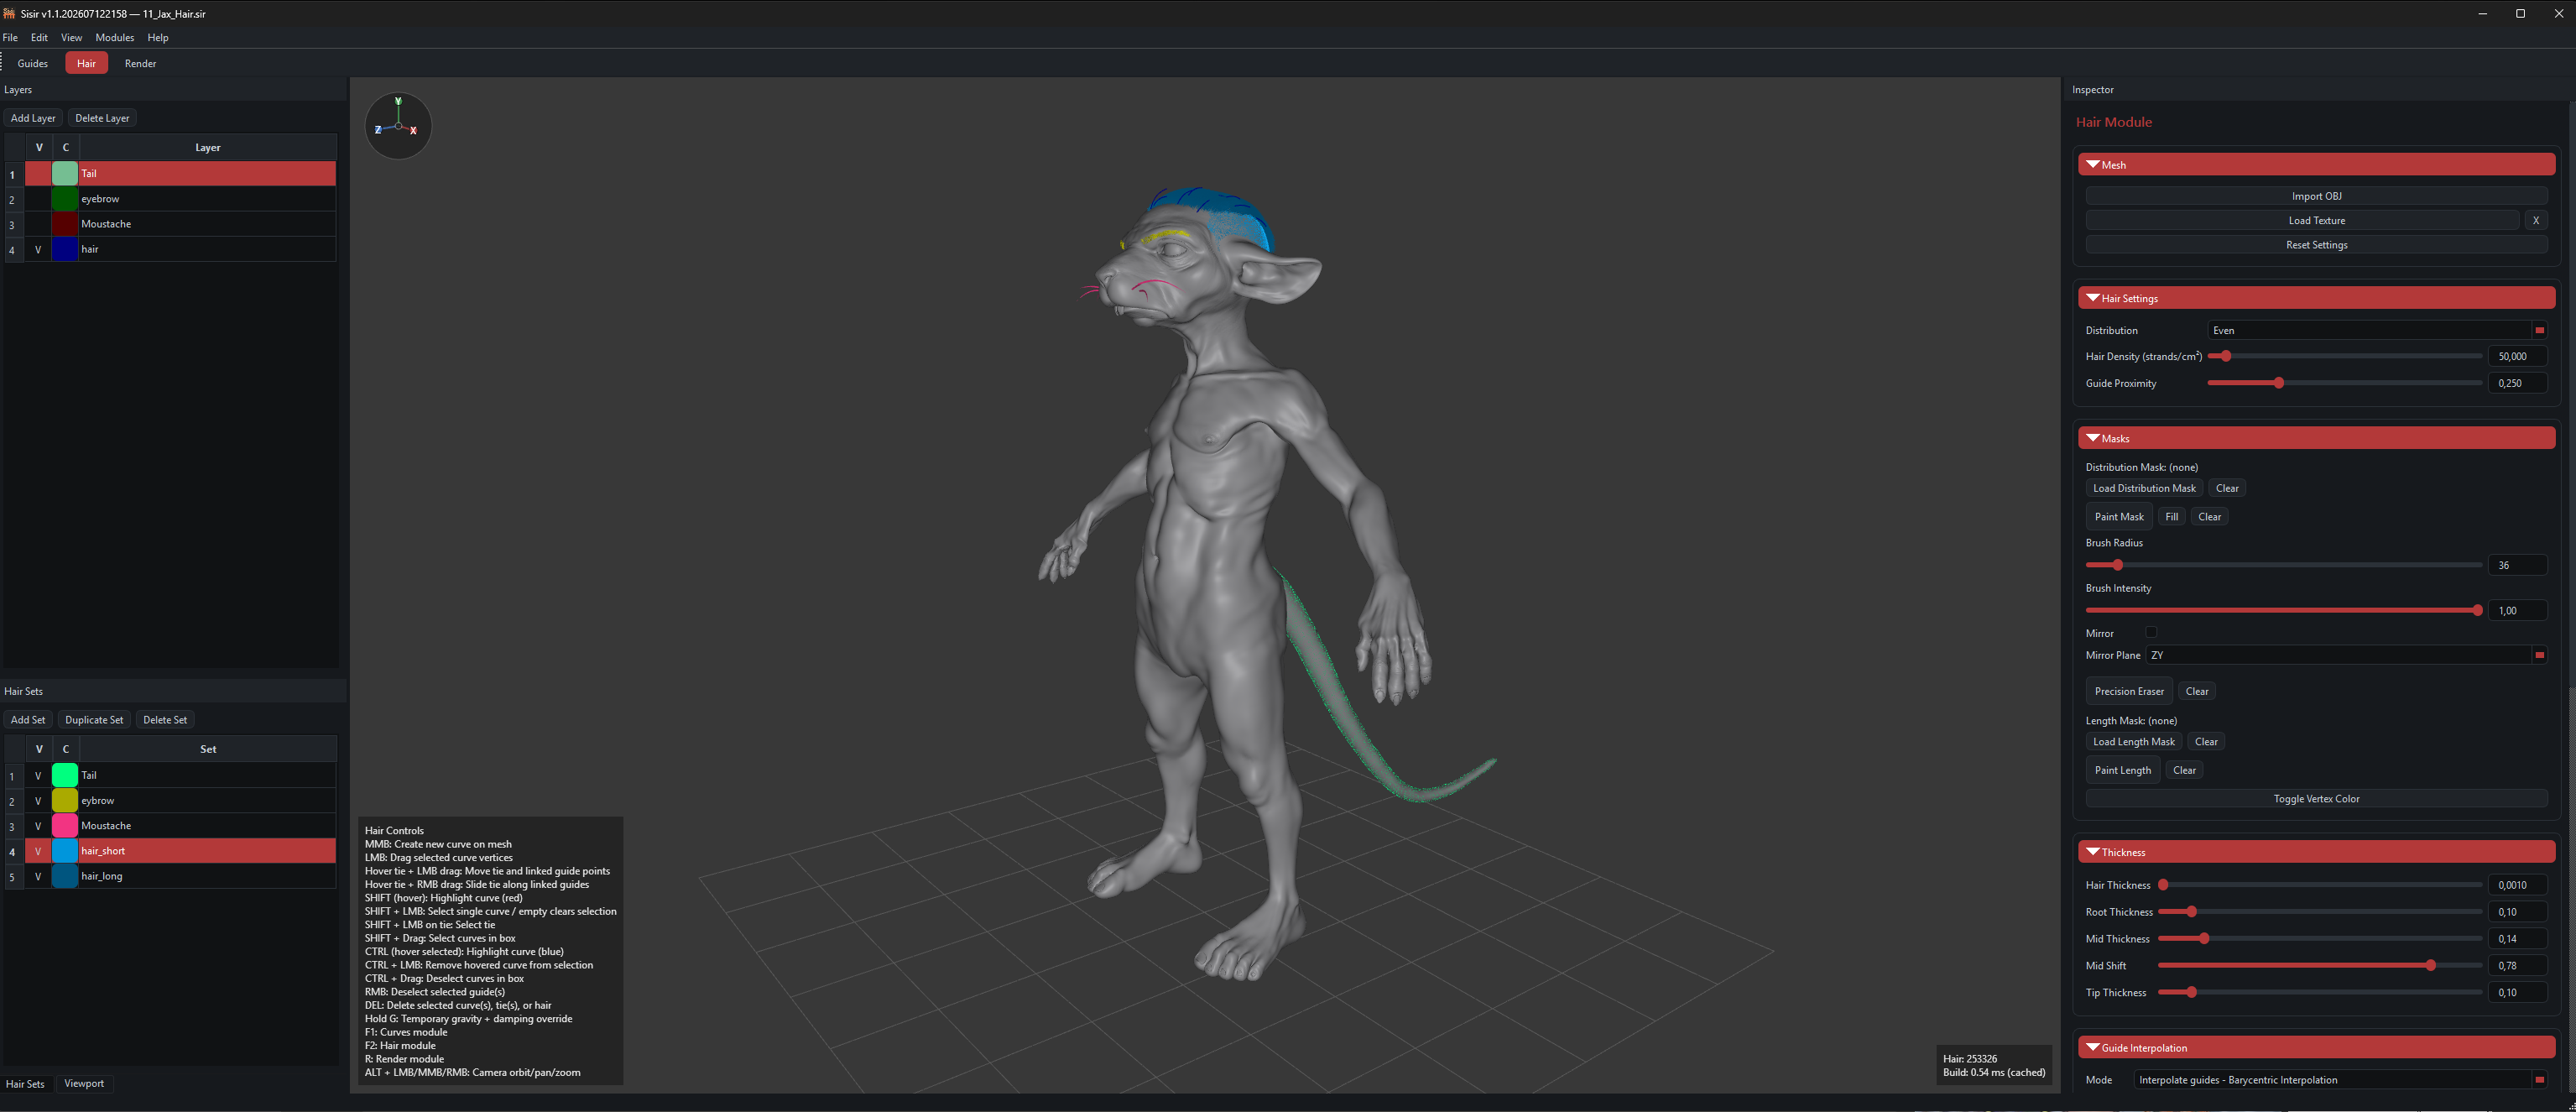
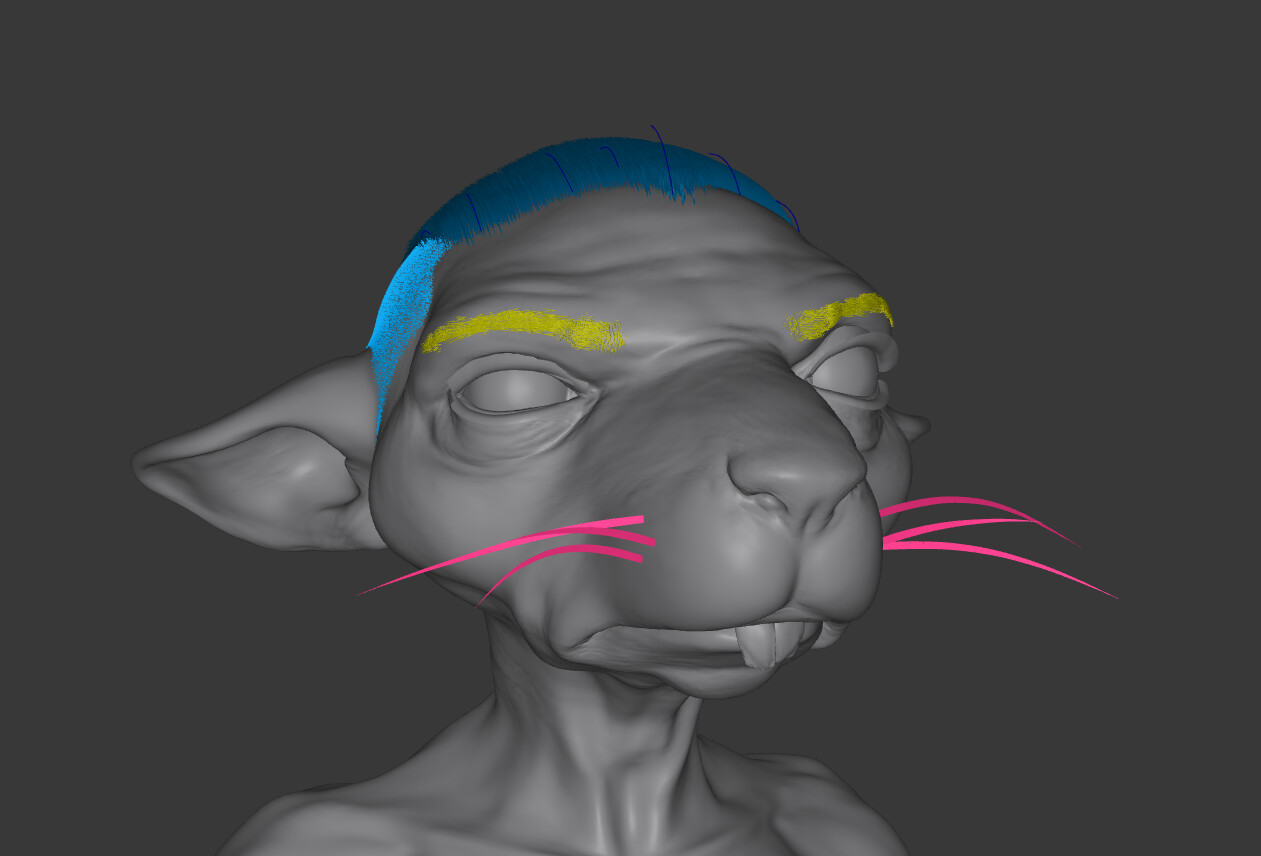
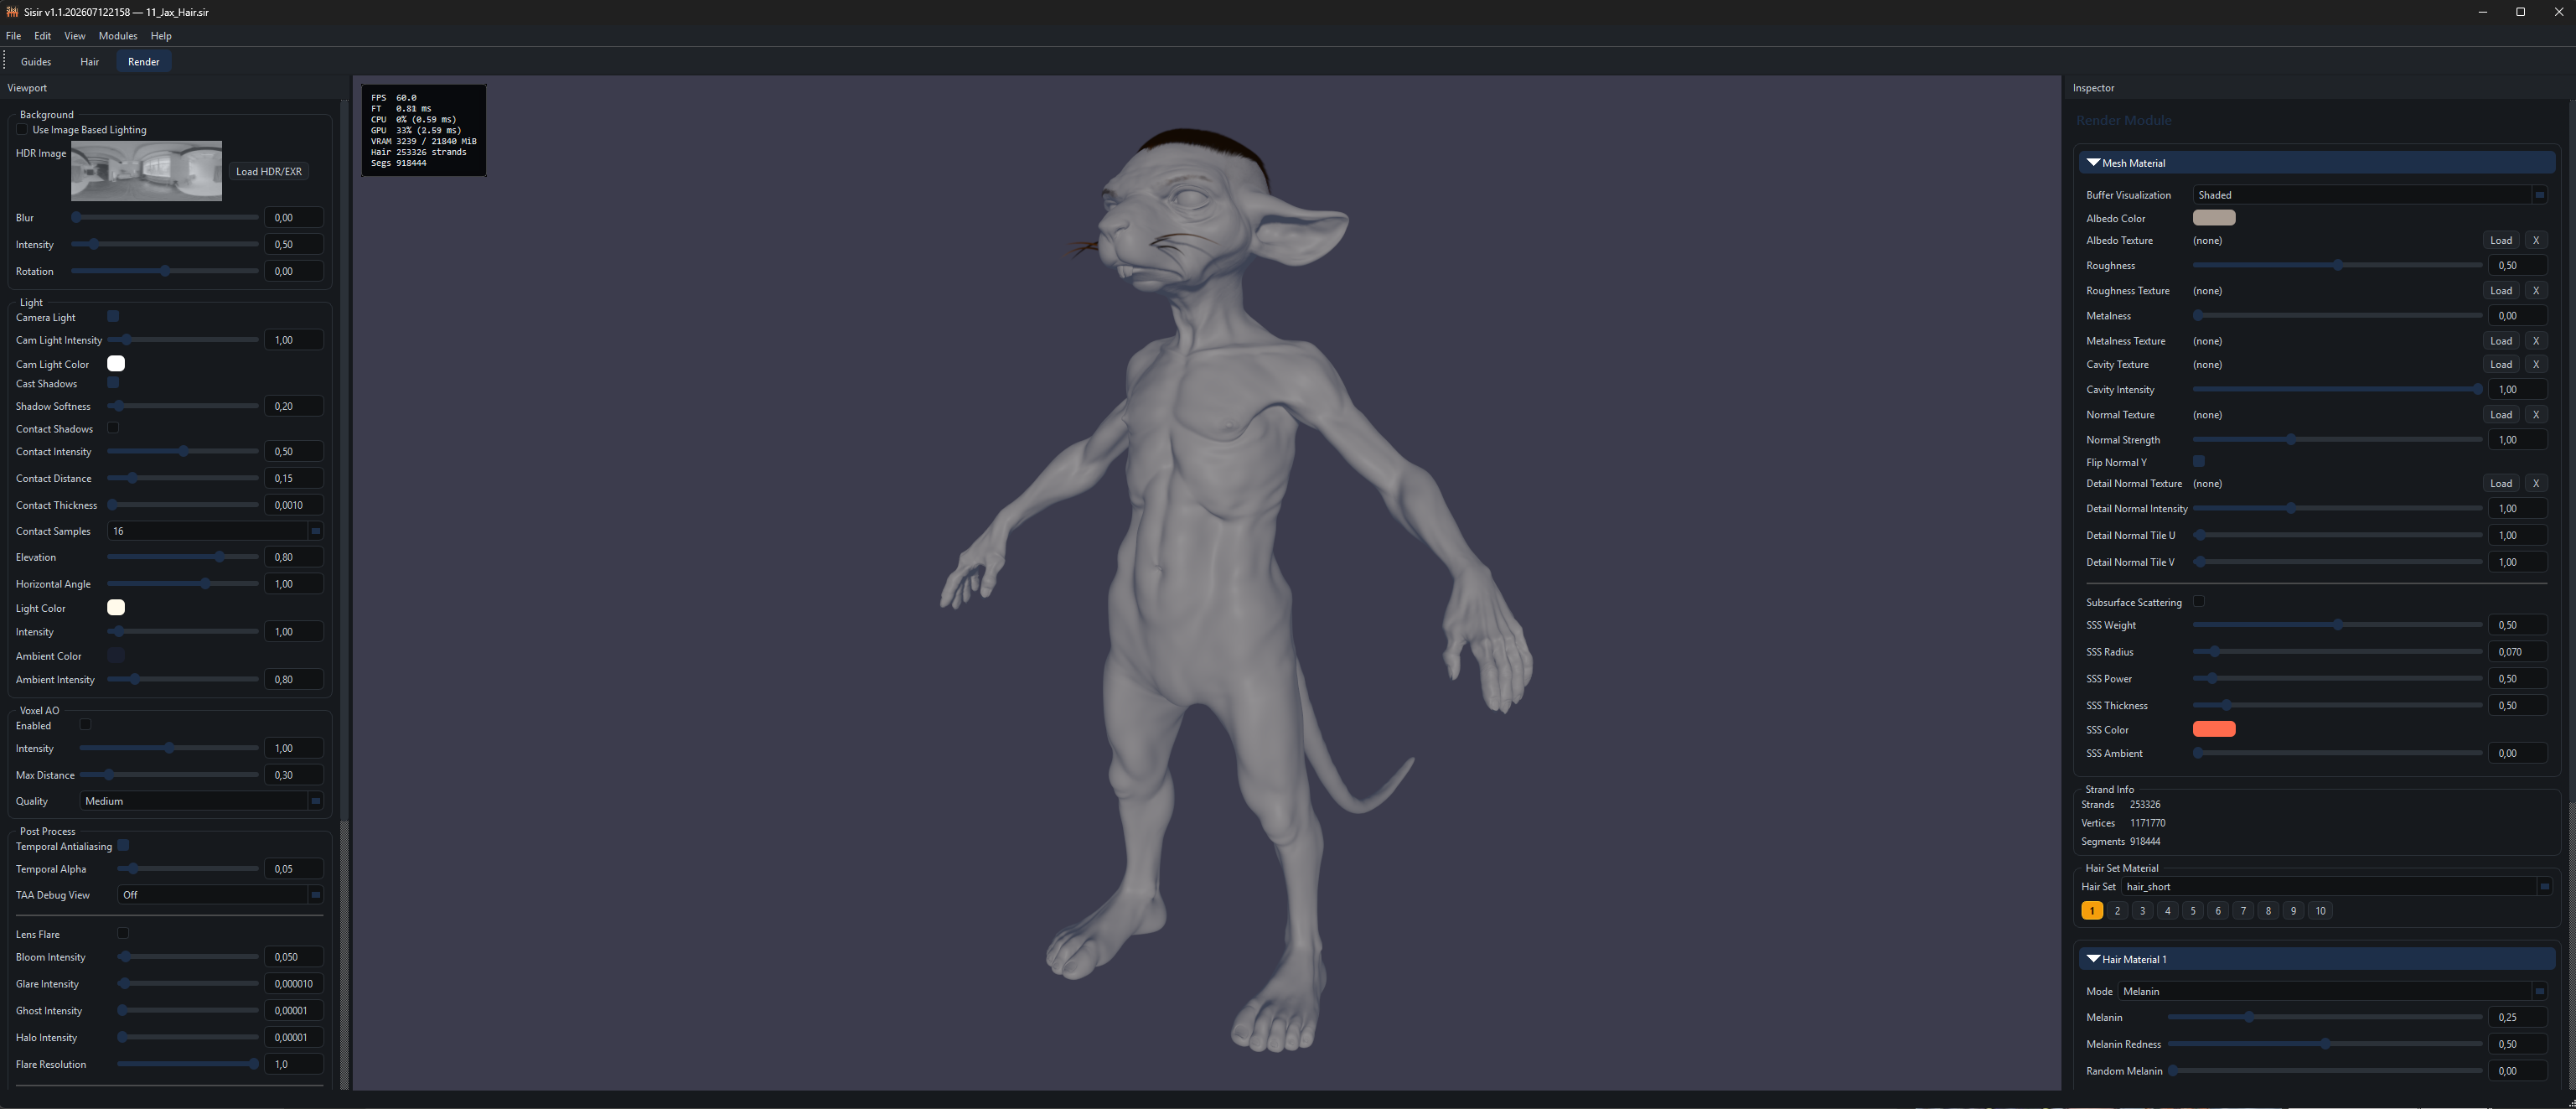
I’m looking for a way to attach the mustache to the model so that it naturally follows the mouth’s movements. Does anyone have any ideas?

1 Like

Where do you plan to do your final renders? If it’s in some DCC App then you can get away with some surface level constraints like a hair follicle in Maya constraint that’s bound to a joint that moves with the skin. And then you skin each individual hair to a corresponding joint.
Otherwise you’ll need to bake down (all) the facial blendshapes to the whiskers after you get it moving with the above solution.

1 Like

Thanks again for your feedback, ThatNewID. I’ll take a quick look at it—it seems really interesting. I’ll definitely use Blender for the final render, and/or UE5. Now that I’ve more or less fixed the morph issues, I need to tackle the textures and the clothing.