I always design a set in unreal engine first because it’s much more efficient. There are a wider variety of tools and models plus it’s often cheaper and easier to work with. Once you start looking at tools like brushify and ultra dynamic sky. You won’t look back at iclone for set design.
As much as one might want to Blame Reallusion for “reductive” marketing of the livelink workflow
You are essentially asking people to abandon the majority of thier Reallusion store content investment
(outside of CC4 characters)and become full time UE5 users full immersed in the Epic Eco sysytem.
As Maya/Blender user who only uses Iclone for kit bashing base layer animation, I understand why.
However you do understand the frustration of people who are primarily Iclone users who have no desire to endure the vicissitudes of becoming UE5 experts just to render their CC4 characters.
I get it and for those who just want to send their stuff and do renders, Omniverse would be a great option or even just sharpening up their lighting skills can suffice if you want to stay in engine. A lot of it comes down to lighting knowledge. It doesn’t matter which engine you use, you product will turn out horribly if you can’t light. I’ve seen great iclone works and terrible Unreal renders that looked worse due to lighting choices.
My advice for switching workflows would be for Wyrmaster or anybody seriously looking and willing to invest time into the Unreal Engine for their projects. You can still send props, animations, or whatever through. I think Wyrmaster overdid it which caused the program to lock up. It takes a while just to send a subdivided character through. You can send in props piece by piece as well. A tip… make a glass shader and replace it for anything with glass since iClone has a buggy system when it comes to importing translucent objects.
I don’t really use Epic content alone, since I’m using a wide variety of assets including Reallusion props and accessories for my cinematic work. I would just recommend a different mindset since Unreal Engine, like Blender, is way more than a rendering tool with a ton of potential behind it. Since Wyrmaster spent over 700 on this and kept on saying that they are giving up, why waste the opportunity and a ton of money? Why waste that by running into an obstacle and just stopping? Sometimes there’s a plan B.
Has anyone tried to run an animation from Iclone and I mean just Iclone and watch it doing the same in Unreal, that was the basis of buying it and what it advertised, I have spent a lot of money on animations, props hair you name it I bought it, if I cannot get them into Unreal, because they are too large and it can’t handle the process, it does not help anyone, wanting to use the stuff they’ve bought in Reallusion.
However, I have once again loaded a single figure in with a background prop and the animation you play in IClone does not work in Unreal, the figure loads in un-posed, this is not what it showed in the promo, it showed every change made in Iclone repeated in Unreal seamlessly. It also shows that when you add a prop into Iclone it shows up instantly in Unreal, yet again no!
The image shows both programs and as you can see no automatic update of added prop shows up in Unreal.
Also running the animation in Iclone 8 does not do anything in Unreal, this is what sold me the LiveLink, if anyone can explain or show me how it is done then brilliant.
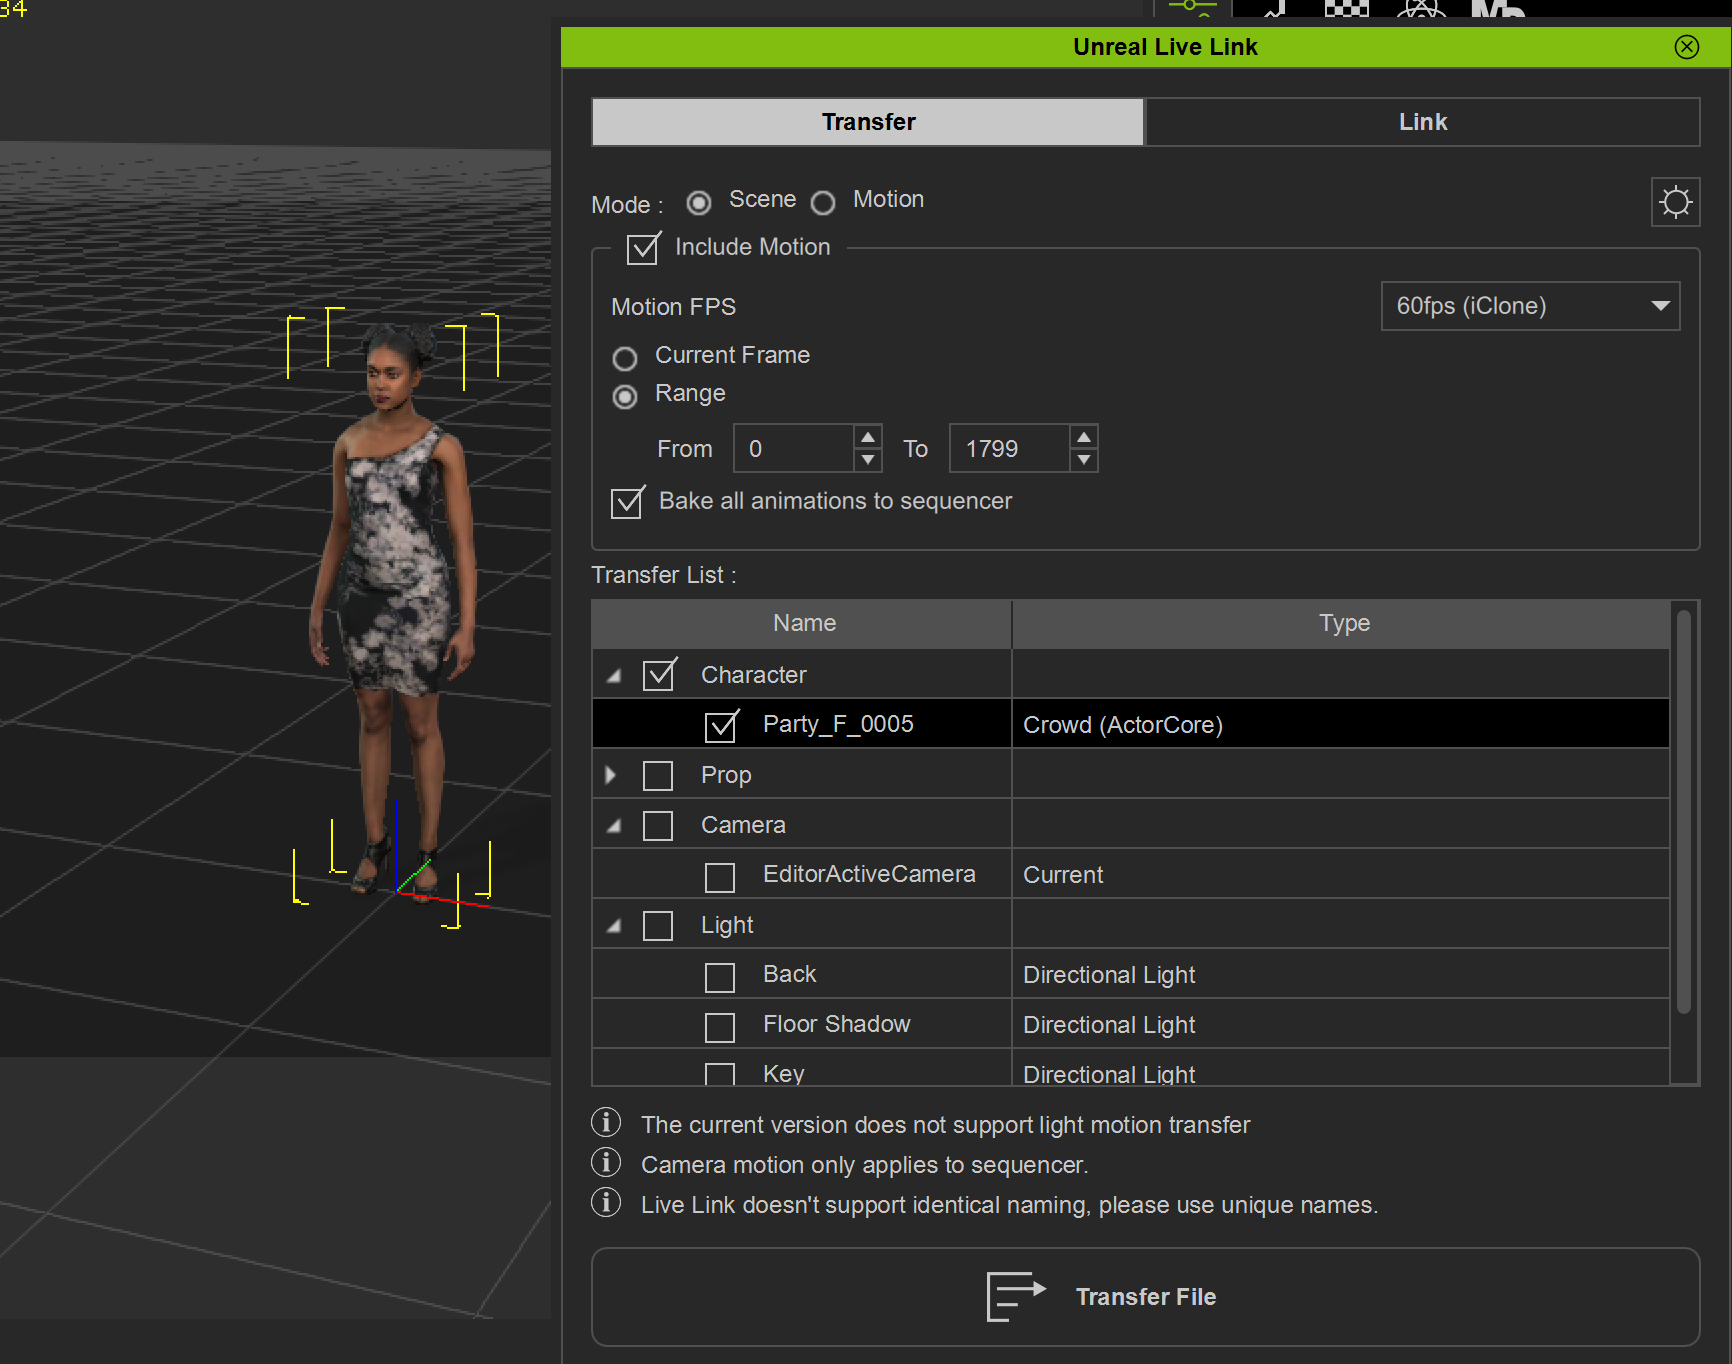
I have enabled both scene and motion and bake animation in link and all it does is replace it all over again, the motion enabled? no idea what that does.
if anything Reallusion need to create a ‘how to video’ explaining everything needed to get this horrendous live link to work or just give us a proper render engine!
(01) Upgrade your code. Curve elements count has changed from the previous frame. That will clear the previous frames of that subject. what does this mean?
Great news I got it to work with animation too.
I had not enabled the live link from Iclone nor the Unreal one in animation (Unreal side) and to get rid of the error I changed the figures animation and bingo it worked.
but how do you get a prop you add to scene to show up in Unreal, it is there in link description but not in the window scene?
Ok. I tried to be nice and help you out, but any advice is going out in one ear and out the other. I am just wasting my time with you, so one last time and I am done.
I have enabled both scene and motion and bake animation in link and all it does is replace it all over again, the motion enabled? no idea what that does.
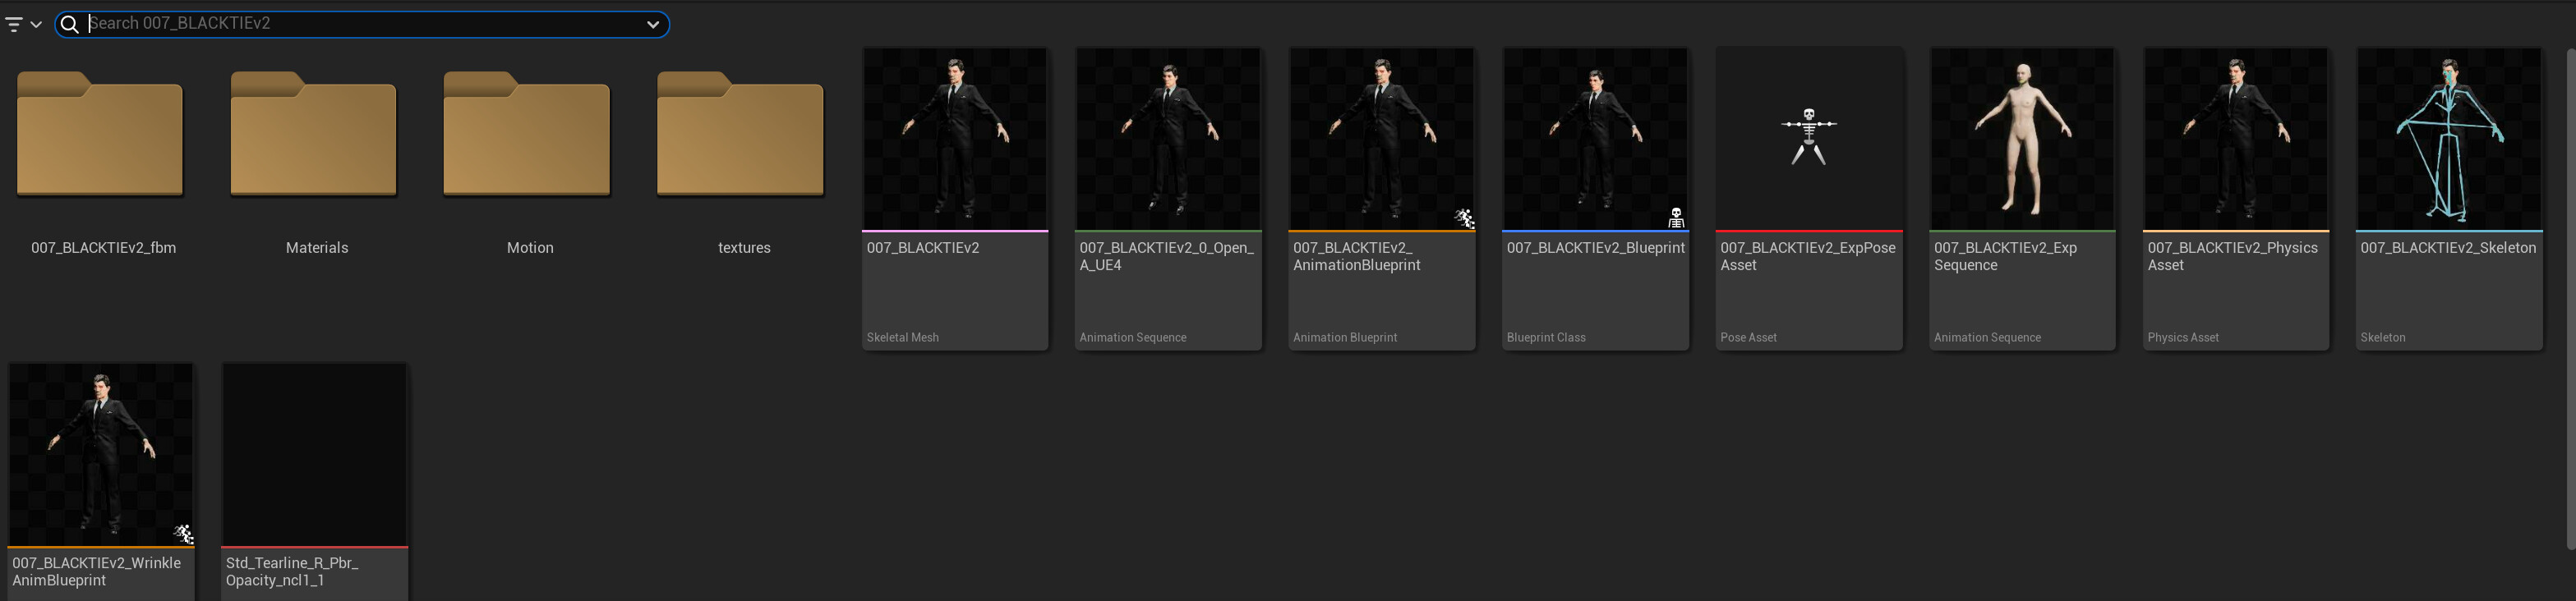
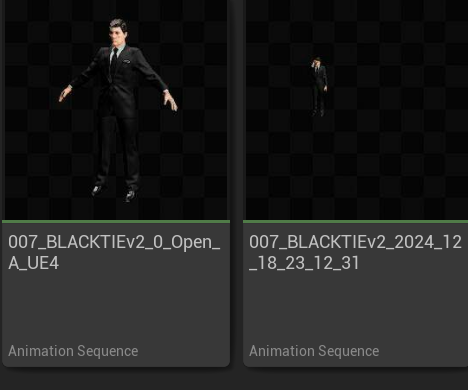
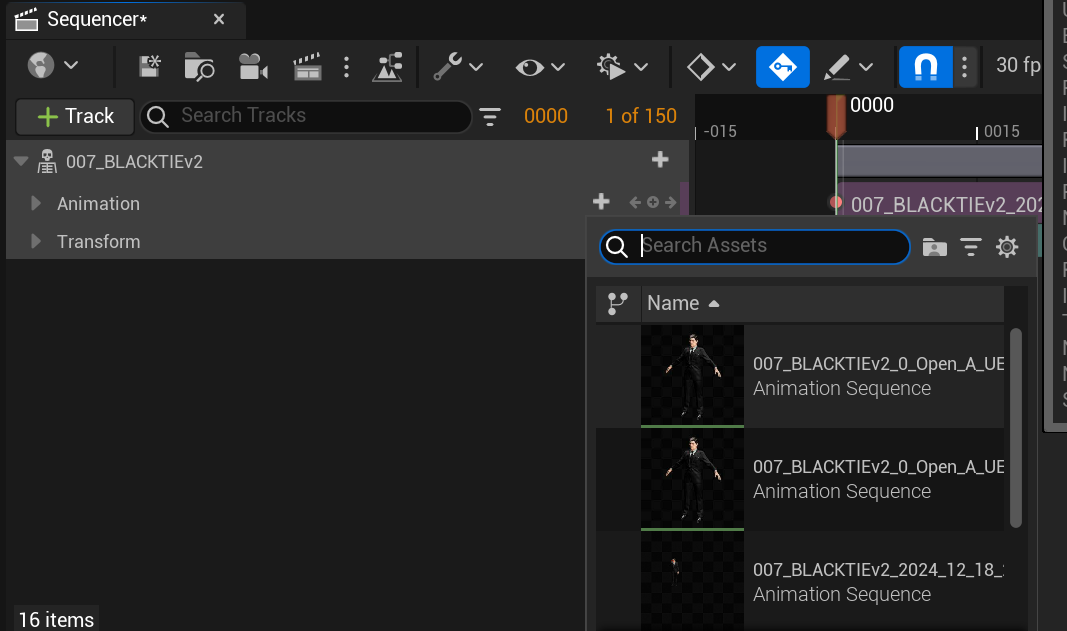
You didn’t pay too close attention to my video either because all of the answers were there too. When you transfer character with option bake all animations to sequencer; it sends a skeletal mesh along with the animation baked plus a sequencer file.
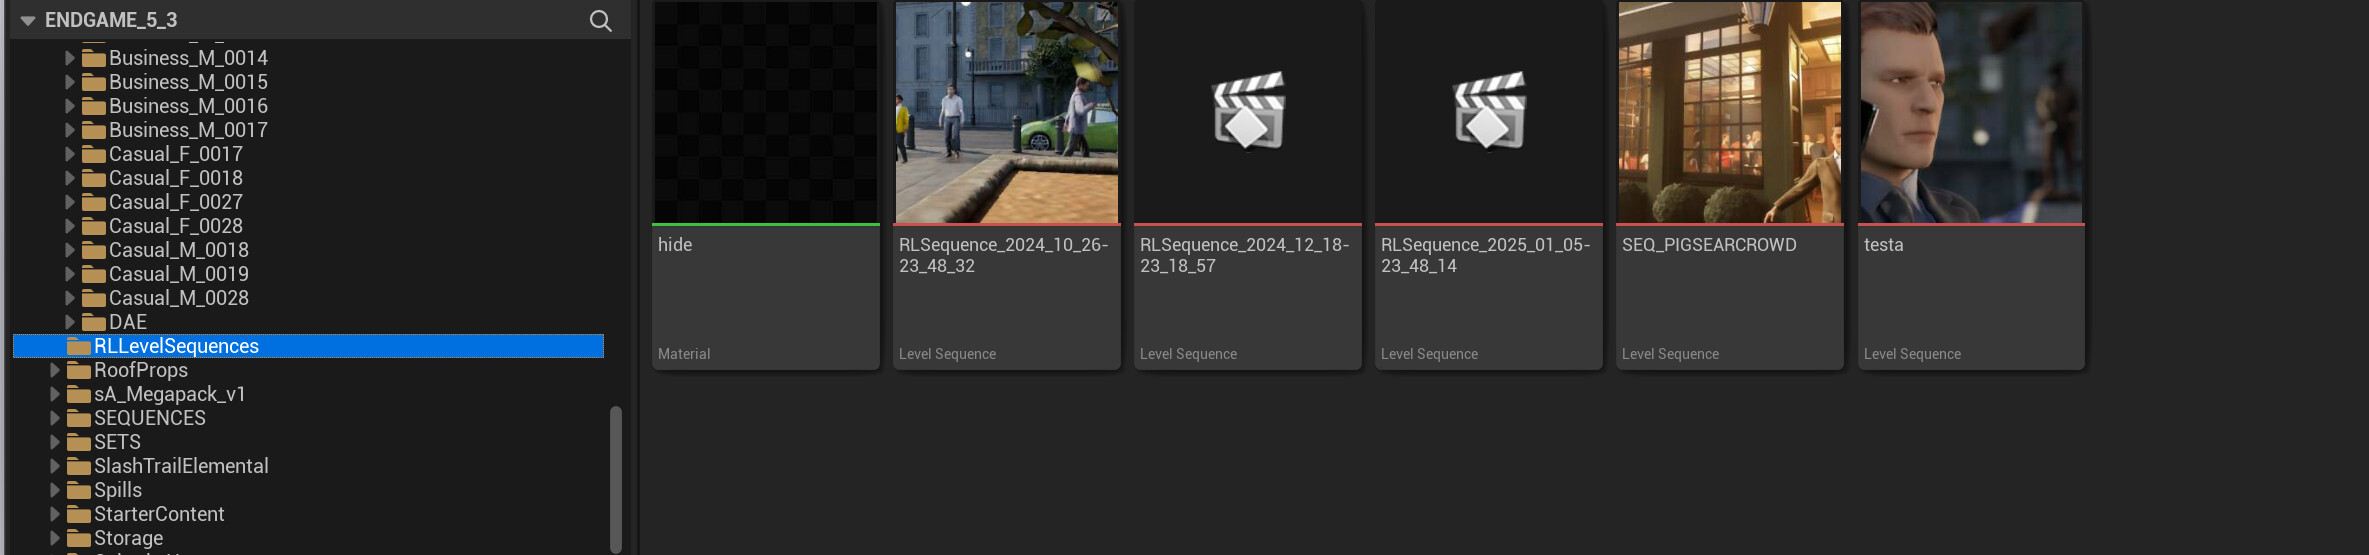
When you pull up character, motions and animations are saved in the folder ‘Motion.’ They are baked into the skeleton, so when you make a new sequence, you can apply animation into the skeleton. Green line means animation, purple line means skeletal mesh.
There you can apply your characters to a sequencer and have them animate without the fuss of a take recorder or any bugs. Just be patient and give it a few chances.
Very sorry if I have annoyed you, that was not my intention.
I did follow your instructions in loading it all into Unreal, I was having difficulty trying to get Unreal to mimic Iclone, and finally found what I was missing.
Your video as I expressed earlier was very much informative and without it I would not have finally succeeded. I did explain this in my post after the one you replied to, which you may have missed.
I have it working and it was down to you in the first place, so thank you
I am using I clone from the very beginning (iC 5). In my opinion it is one of the best and easy to use tool for novices and indie creators who are not familiar with other 3DCC tool. UNREAL Live link or auto setup is a great tool for getting good visuals. But, you @Wyrmaster can get also some stunning result in iClone too. I completely agree with @4413Media that lighting a scene is the one of the main keys for a good render. @Wyrmaster please view these videos, they are rendered in iClone native render.
No worries at all. I thought you were just ignoring the advice and video and just ranting. I’ve been through the anger and frustration too when starting out. I’ve worked with this production process for about five years, so seen and ran into most issues many have been through.
I just saw the previous post that you were able to connect through the live link. Good to know, the transfer motion and scene is a good back up plan just in case, it’s there to make things easier to work with and it is more streamlined than the take recorder process.
Unreal Engine is complex, so take it slow and get to know the program. You got the basics of importing animation, so spend some time just building a set and see how it works.
Here’s a link to some free items at the Fab Marketplace. Download a few and just build a set with them. Place a camera, light, and make a level sequence. Once you get more comfortable with the program and the process, it snowballs from there and you will be amazed at what you can do.
This is something I strongly recommend first and foremost. Drag and drop sky tool with weather effects. Worth every penny and I use it in every project. This is one of many that I work with under my arsenal, but one I recommend to get when starting out.
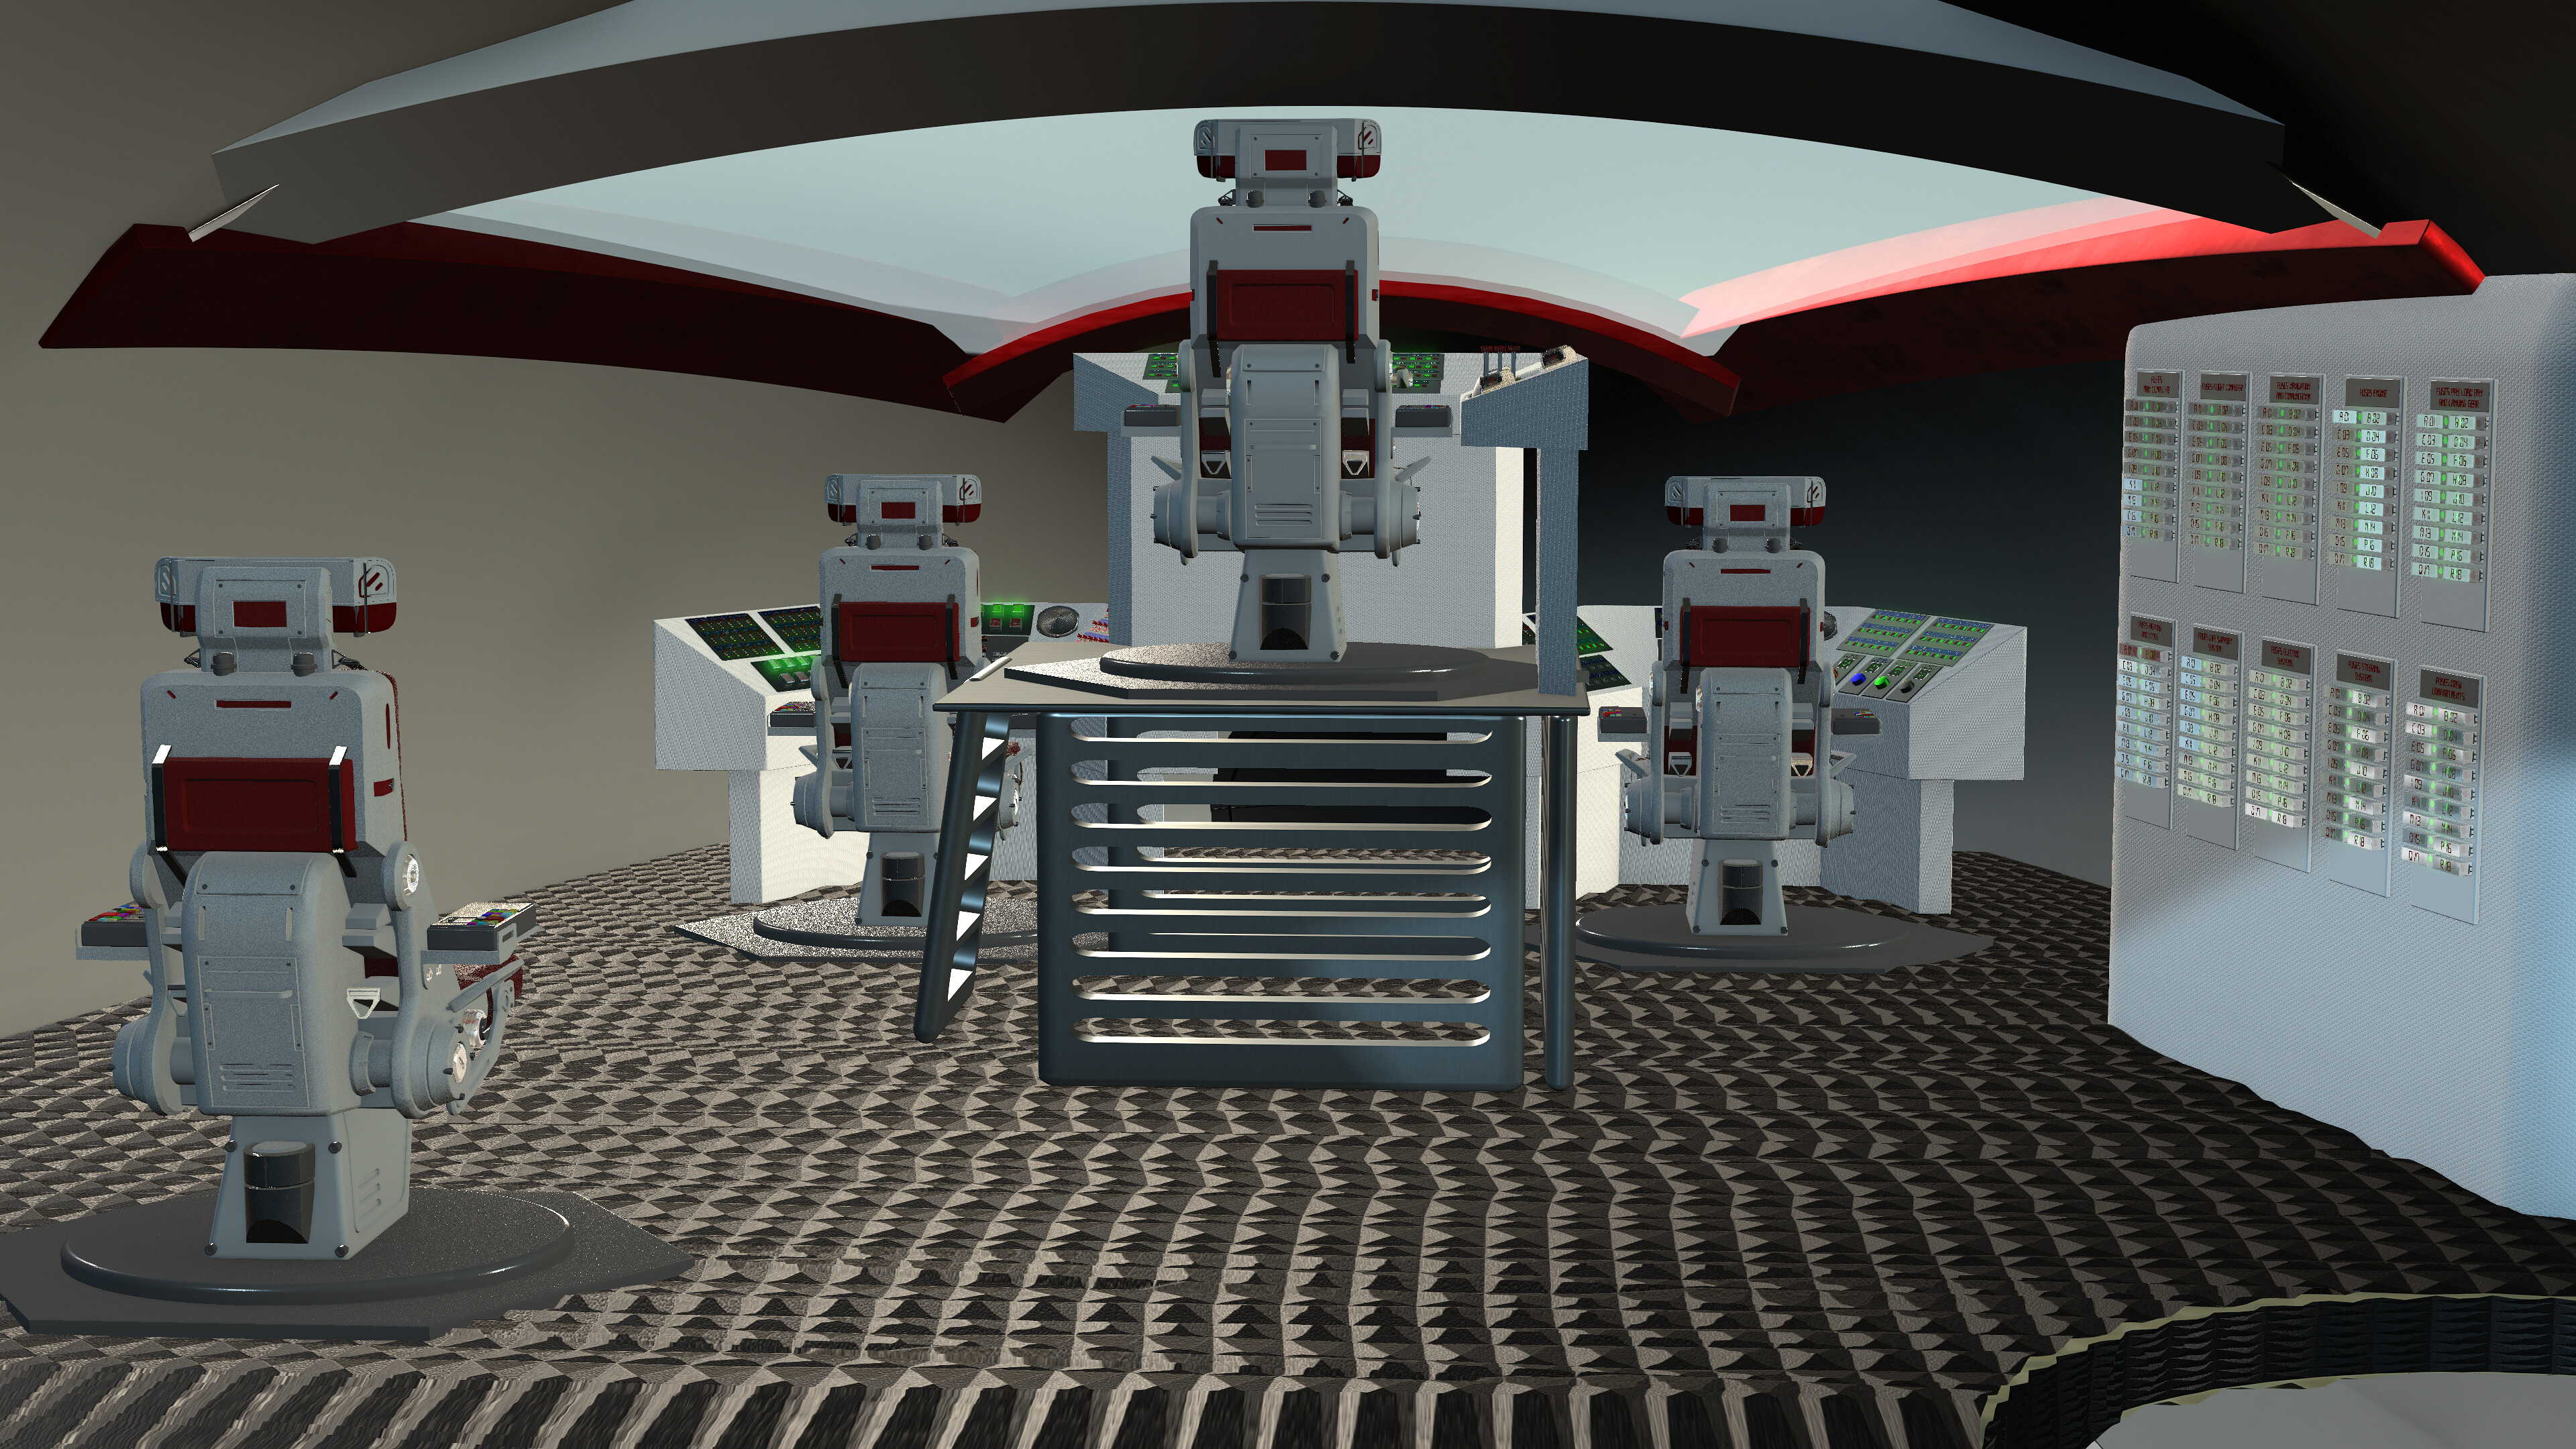
I am currently looking for an alternative to rendering. So far I have done this via C4D. However, importing from Iclone is becoming increasingly difficult. So I had a look at Omniverse and did a few tests. The angle is not exactly the same. But that shouldn’t be a problem.Here are the results.
I would have liked to set Iclone to the highest rendering quality. But after 3 hours and still nothing was finished, I aborted the attempt. I then used the lowest level. So it may well be that the highest level in Iclone produces better results.
the images appear to be of different size/resolution making a fair comparison of render speeds a bit difficult.
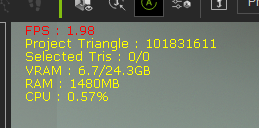
If the scene really has 101 million polys, you should consider optimizing the scene. From what I can see in the renders, this scene should IMO not take such a high poly count to achieve.
35 minutes for the iClone render seems very high if we are talking about the native iClone engine and not iray.
8 minutes in Omniverse for a full HD image does not exactly impress me either in terms of render speed. But that is hard to judge without knowing the render settings (not that those in Omniverse would mean anything to me; but, from my experience with Redshift, it may be possible to reduce render times considerably and give up little in terms of visual quality).
Have you tried to render this in C4D with Redshift?
The images had the same resolution, at least in the setting.
I would like to optimize them. However, I have not found a way to make clone objects in Iclone, which is possible in C4D.
You can’t see all the other displays on the images. They drive the whole thing up.
Yes, I see it the same way with Redshift. There are a number of settings that significantly affect the rendering speed.
Yes, I have also rendered the whole thing with C4D and Redshift in the past. But there is currently no image of the entire cockpit. To do this, I would have to manually reassign a large number of materials, as the asset inspector cannot find them in the directory.
Are you sure? If the scene was originally created in iClone and you export it as an FBX to C4D then C4D creates a new folder called “project name”+.fbm which contains some of the textures used in the scene/on the character (primarily those that C4D can automatically link in RS materials).
The other textures are in a folder called “textures” in the export folder from iClone. If you use the “Redshift Asset Manager” (under the Redshift menu) and not the “Project Asset Inspector” (under the C4D Windows menu; which, by the way, I almost never use), you may need to direct the re-link of missing textures to that other “textures” folder. That is what I do for characters; haven’t tried this with static objects/entire scenes, since I don’t export those from iClone.
For testing, I exported the Reallusion “Loft Scene” as FBX to C4D (without the walls): C4D created the .fbm folder, connected a few textures per material automatically (diffuse and bump, as well as opacity in the wrong channel) and the remaining textures (primarily roughness and metalness) are waiting in the “textures” folder for manual linking in the respective RS materials. But that is not because the “Redshift Asset Manager” or the “Project Asset Inspector” couldn’t find them but because they are not automatically connected. By the way this seems to be an FBX thing, for FBX files from other platforms (such as cgtrader) I need to do similar manual re-linking.
I must have expressed myself misleadingly again. But that is probably due to the translation from German into English.
What I meant was the following. I created the models in C4D and also filled them with material accordingly. After the last update of C4D, the material files no longer find the library. The RedShift asset inspector didn’t help either. I would then have to reassign everything manually.
Are you perhaps talking about RS materials that are part of some library that was installed in the C4D Asset Browser? If so, you may need to re-install anything in the Asset Browser/Content Library that you used in the previous version (e.g. R2024) when you update to, say R2025, because after such an update you start with an empty/clean Asset Browser (for R2025) so you need to install everything again that you installed in the Asset Browser of the previous C4D version (and you may need to point the RS Asset Manager to this newly installed library).
(If you downloaded any of the Maxon assets, such as RS materials, 3D models, etc., you may have to download those again as well.)
I sometimes have to move projects from one machine to the next (for example for further work or rendering) and then I use “Save Project with Assets” to save them to an external USB drive that I then connect the other machine (ideally, C4D should gather all the materials, textures, etc. and put them in the “tex” folder).
I agree it is silly that you have to render in a separate program. Honestly Iclone 8 is a big upgrade in render quality from iclone 7 but it still feels like it is at least one generation behind from other renderers. And using a transfer tool like live link is great but there are still massive issues. Like you can’t import the camera’s, lights, and special effects properly. Sometimes textures don’t work and objects are white or completely invisible. Plus its a load of extra work. Right now we are at iclone 8.5 which means we are probably around 1/2 way to the next version. When Iclone 9 comes out I hope the render engine is good enough we can stop relying on external render engines. At that point I hope it will look like unreal 5 but then again all the other engines will be using AI to make it fully photo realistic. Who knows maybe reallusion will find a way to skip a few steps and catch up and it will no longer be behind. I’m just glad i read this thread and can get unreal live link for free. That saves me $750.